At the start of 2022 I went about building a new desktop. The system came out well in the end, and I am still using it although it has always had one issue that I mentioned back then… When the system tries to reboot it shuts down Windows, then the fans spin up, and it never resets the CPU. I always assumed this was due to the fact: mistakes were made and when I needed a BIOS update to support the AMD Ryzen 5800X on that motherboard, I flashed the X570 Pro4, NOT X570M Pro4 BIOS. I decided the time had come to fix this and flash the board back to the proper BIOS.
Note: I will use BIOS and UEFI interchangeably here, I know they are technically different.
AsRock gives out the BIOS updates, and you are supposed to load them on a USB drive and select the “Instant Flash” utility in the UEFI menu. The issue is the system thinks it’s a X570 Pro4 (not M), and refuses to flash to the M variant. I saw some people on the internet mention you can use the “AMIBIOS and Aptio AMI Firmware Update Utility” utility to force a BIOS flash on the system and get around this. I did that, and then… the system never booted again… I don’t know what went wrong, or if the utility flashed everything correctly, but I couldn’t get the system to boot.
This led me to another rabbit hole, flashing your bios with an EEPROM writer. There are several to choose from, and of course I got both. The CH341A, and T48 TL866-3G programmers. I tried for a while to get the CH341A to work, and it may have in the end, but I had a better time with the TL866 software of XgPro.
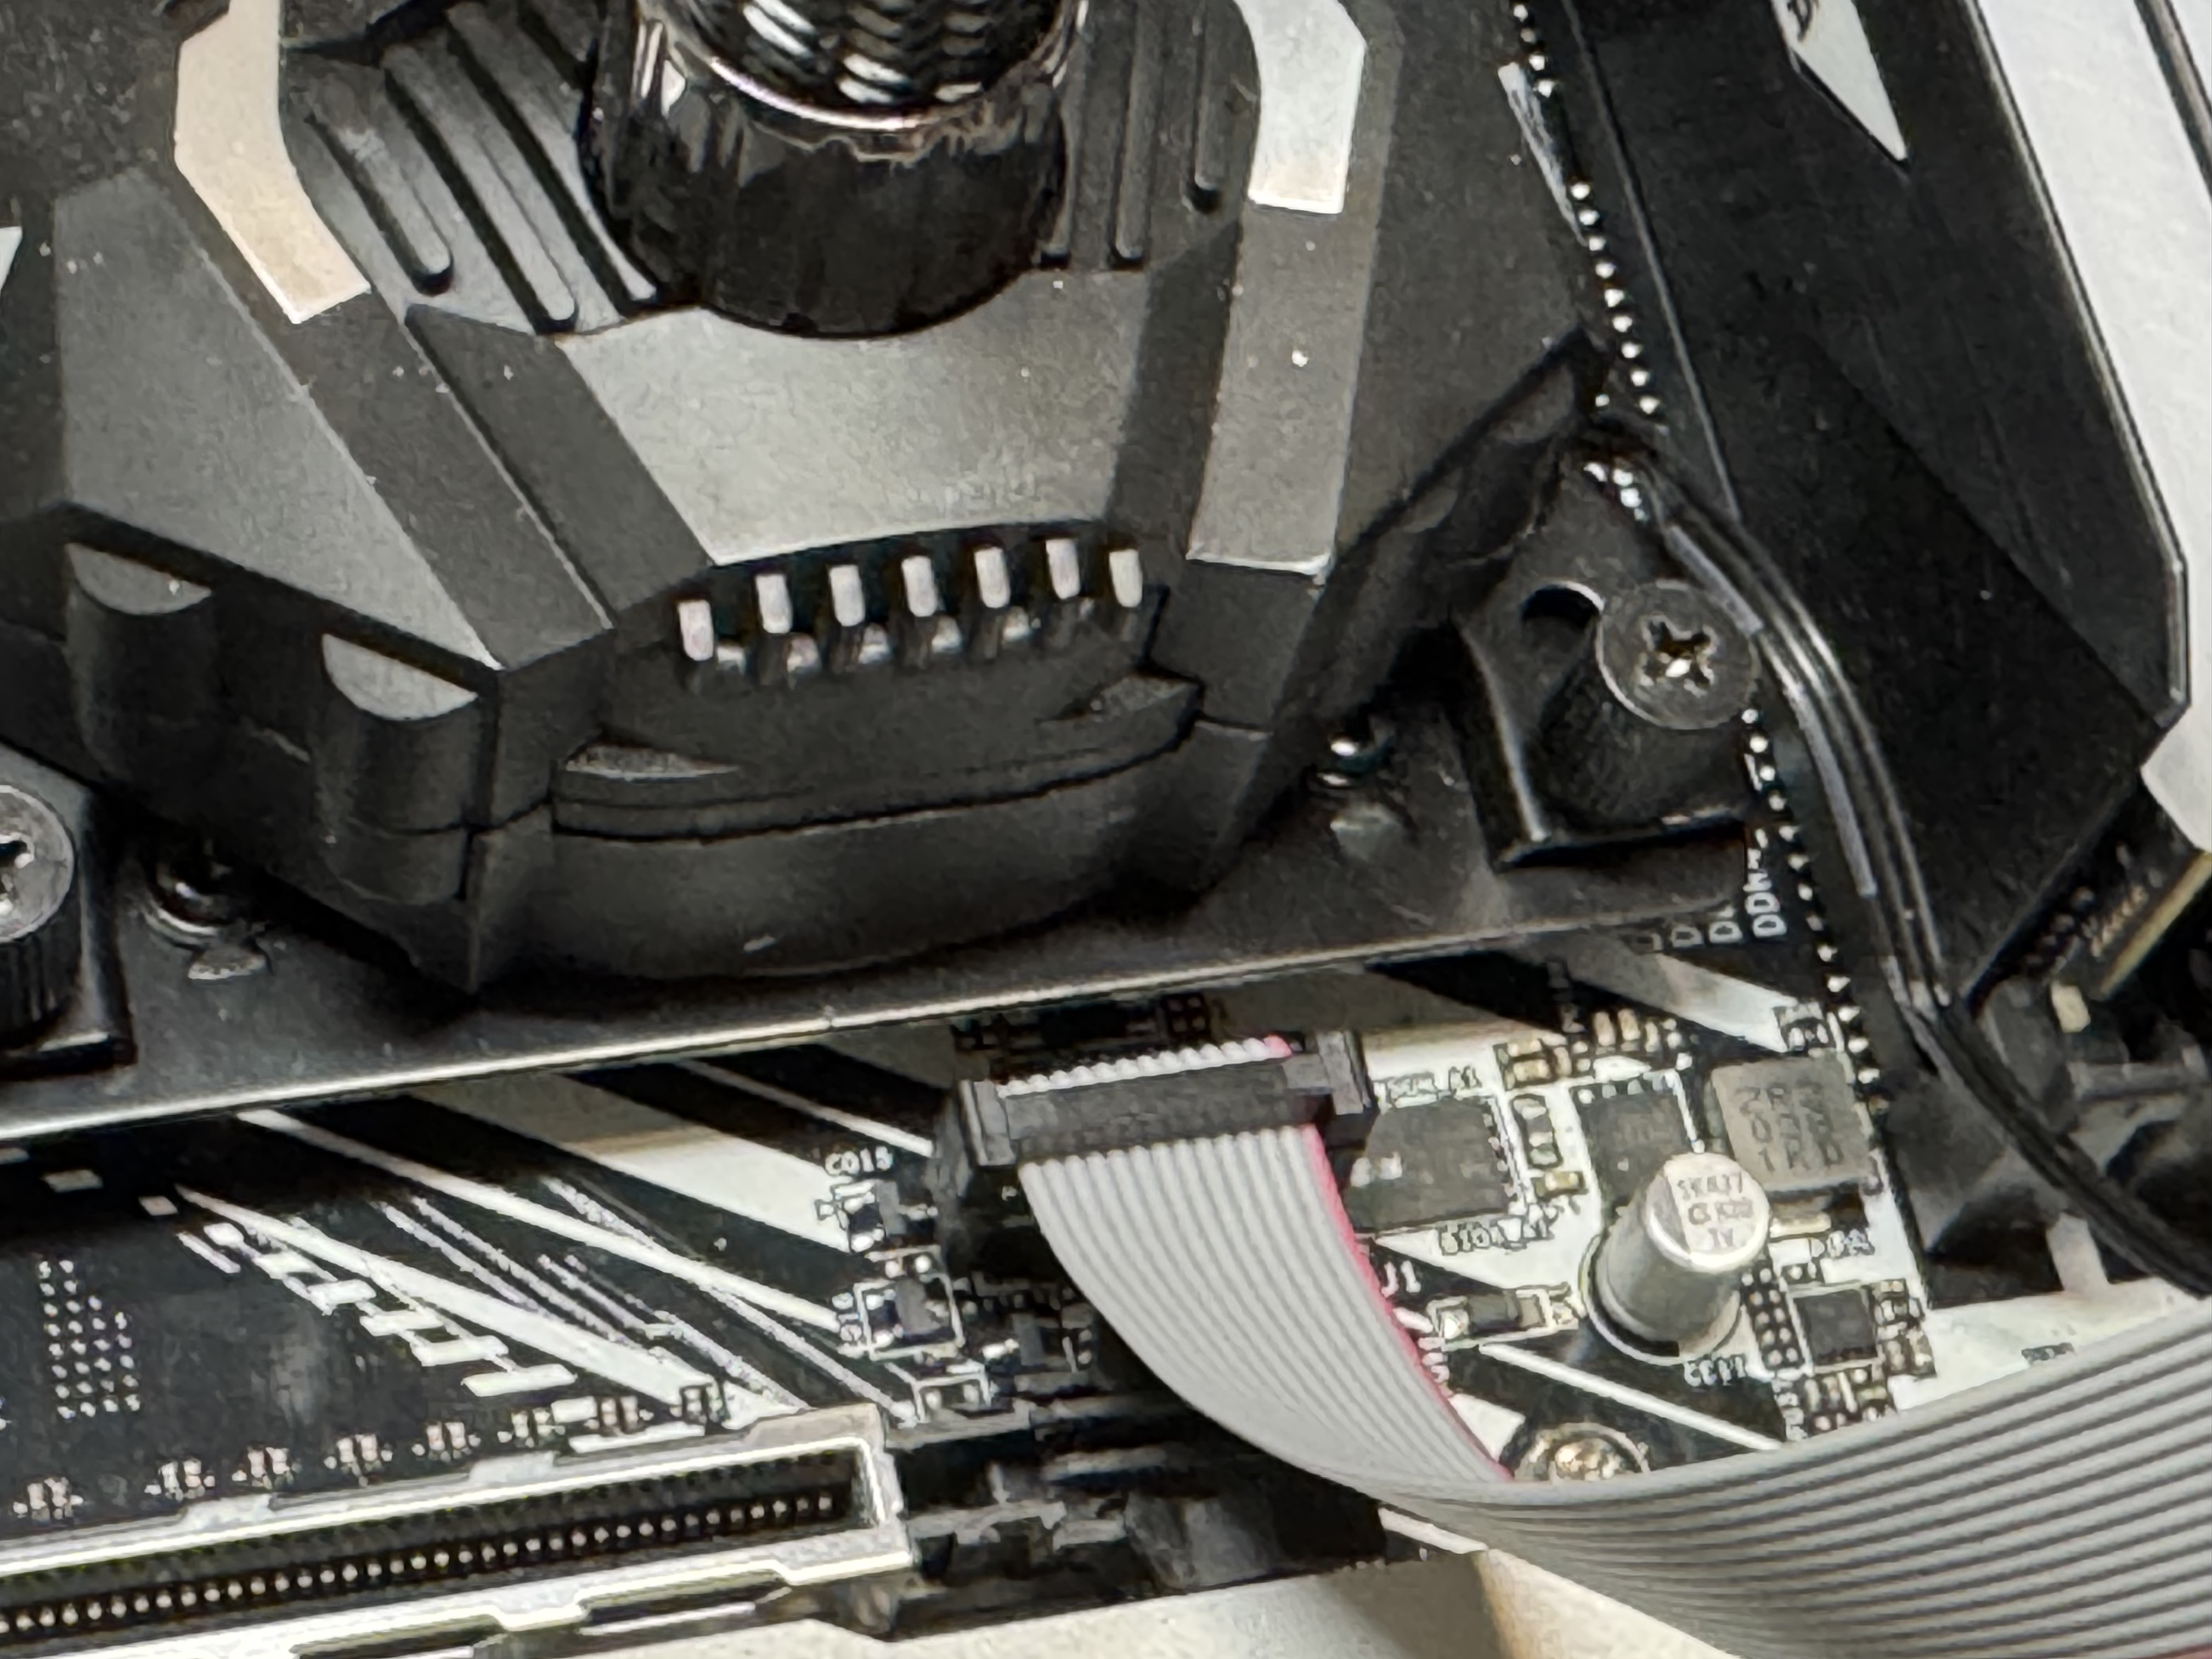
I unplugged everything and took out the BIOS battery. At first, I tried to use some of the tools that came with the flashers to grab the chip on the motherboard. Here was the first hurtle, the chip was a surface mount part that made it very difficult to connect to and every time I tried to read the chip I got an error. Then I found this post, https://www.reddit.com/r/ASRock/comments/1cz1bcz/guide_asrock_spi_tpm_j1_bios_ph_pinout_for_ch341a/, which mentioned the SPI_TPM_J1 header on the motherboard actually hooked directly to all those pins and could be used to flash the chip much easier.
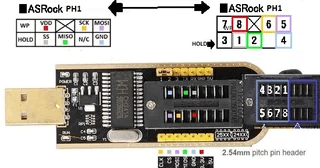
This diagram was the key to getting it working, which pins went to where on the motherboard.
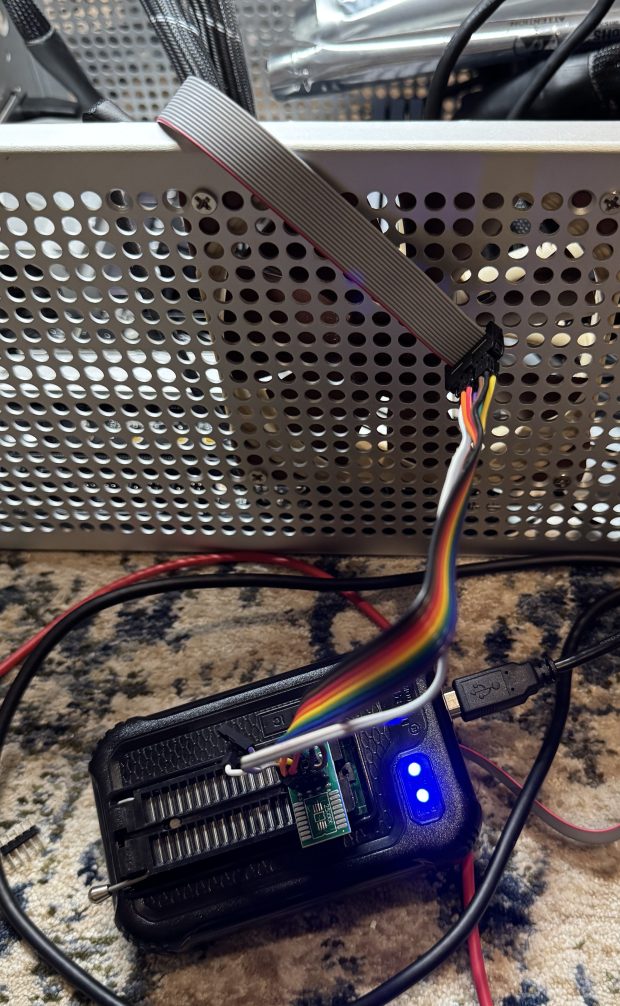
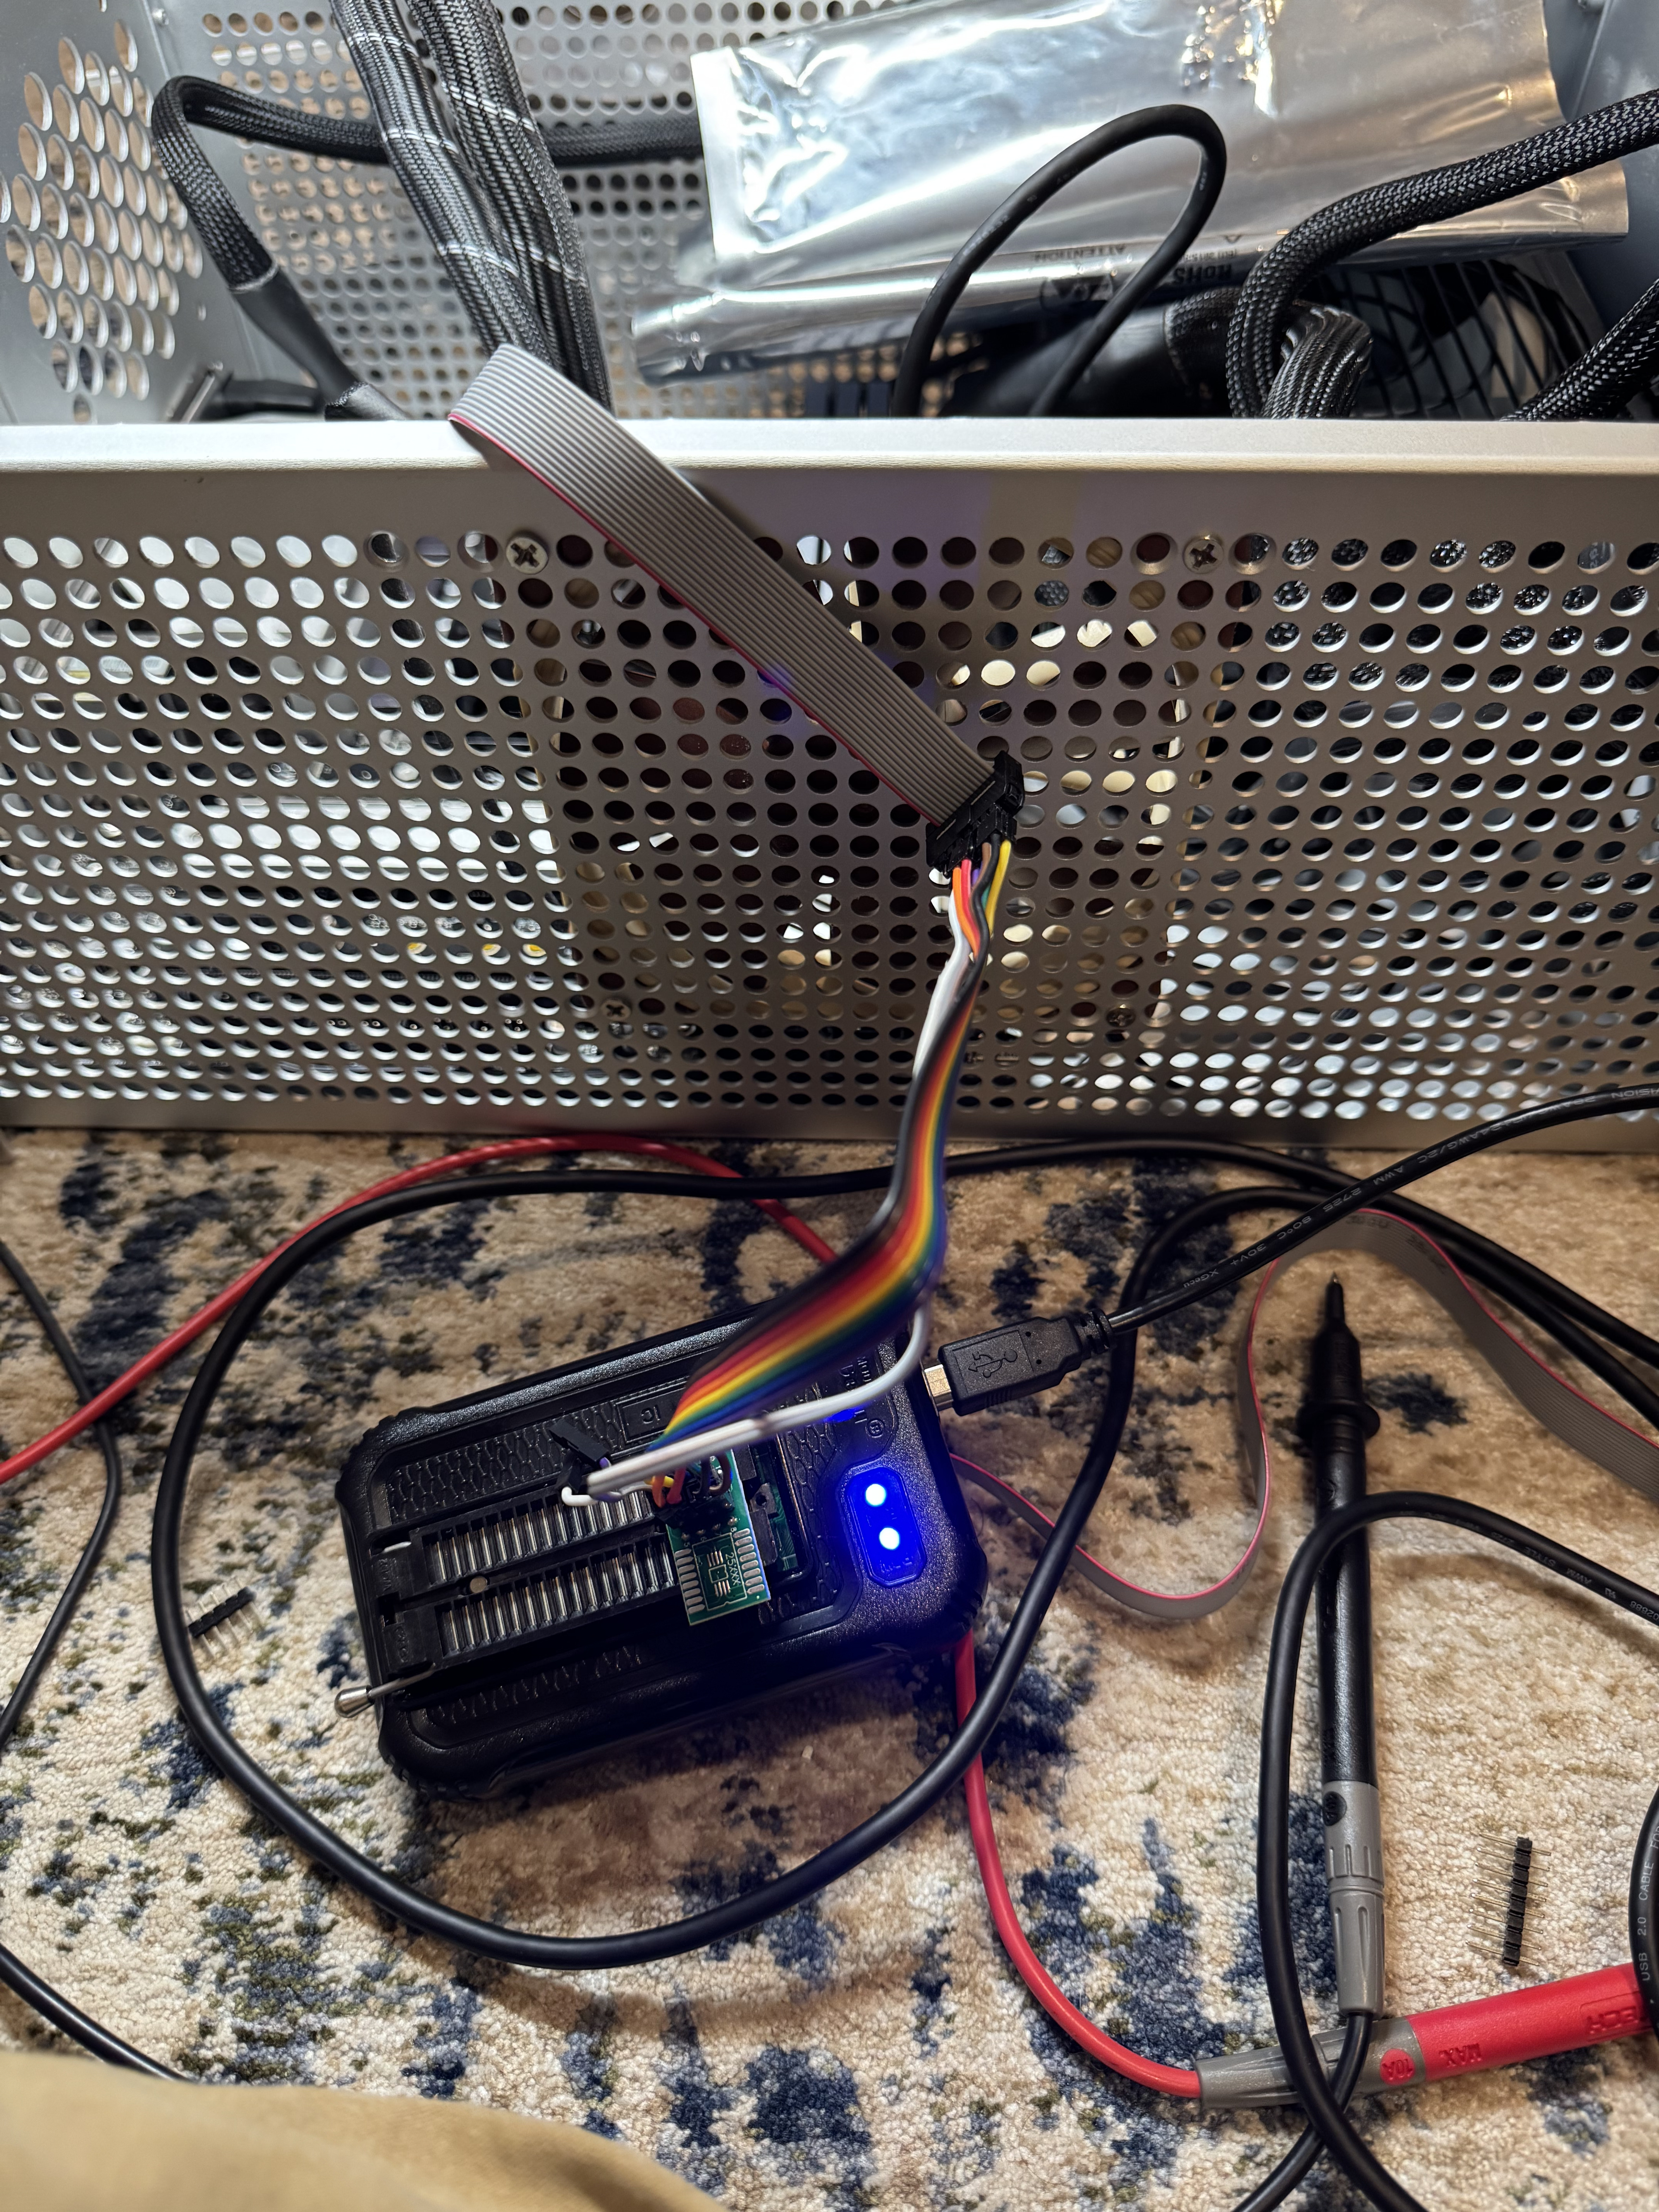
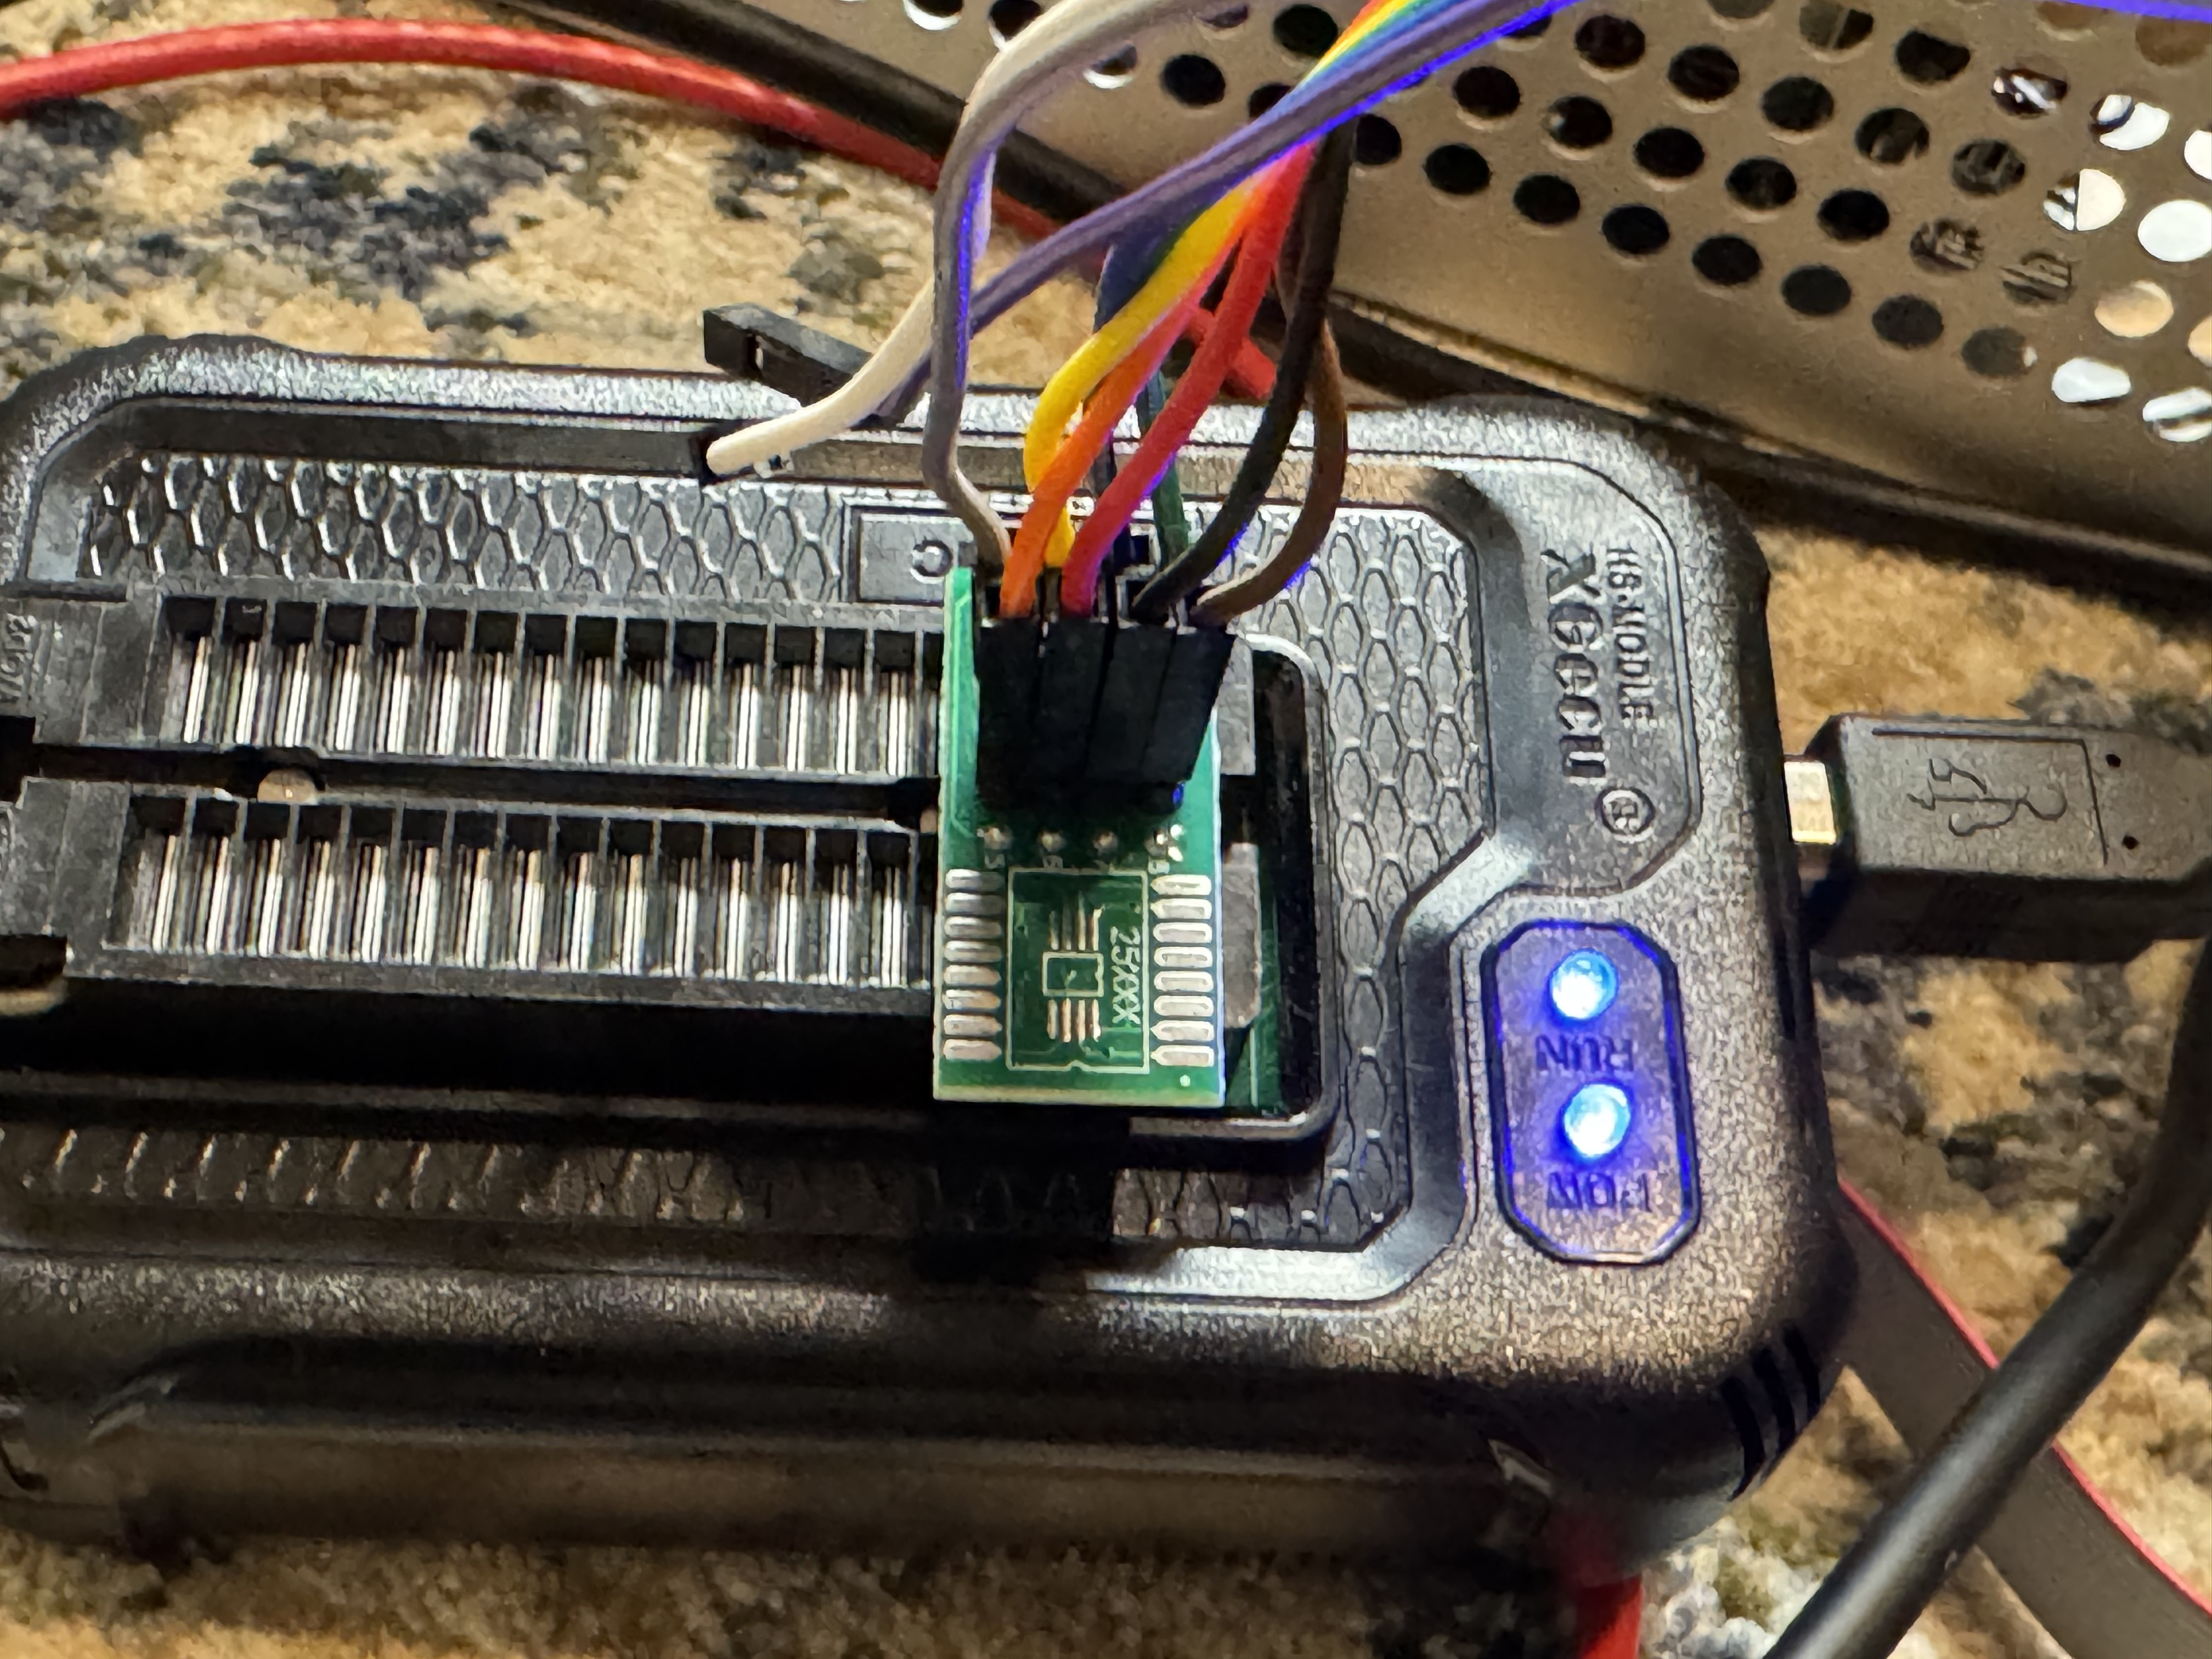
Connecting to the pins proved to be a bit difficult because of how small they were. Turns out they are 2mm pitch instead of 2.54mm (more standard), so I had to order https://www.amazon.com/dp/B07FKLKM7L as one of the commenters suggested to be able to connect easily to the pins. Then I did some janky stuff with jumper wires to get it into the TL866 programmer.
The programmer also uses Windows-only software, and I was on my Linux laptop. I installed a Windows 11 VM and forwarded the USB device to use the software. The Reddit post mentioned that they had a similar motherboard and needing to use the 1.8V adapter for their Winbond W25Q256JW BIOS chip. I assumed the same but when I went to read the bad BIOS back, I was given “ID Check Failed 0xC2 25 39”. Which turns out to be a 3.3V Macronix MX25L256, with Claude assuming it’s a MX25L25673G. I pulled out the 1.8V adapter and hooked right to the chip. I still failed to get an ID with the built in tool, and when I forced the chip type, I was told one pin wasn’t connected right. I adjusted the pin and hit READ again and got a hit, the ID didn’t match the software’s record for that chip type. I ended up disabling ID Check and then doing a read. AND I GOT DATA! This showed my wiring was good enough.

From there I went and got a new BIOS from AsRocks site. Seeing the BIOS file was exactly 32MB, and the BIOS was 256 megabits = 32MB, I felt confident that I could write this whole image and it didn’t have a header or something that would break directly writing this image to the chip.
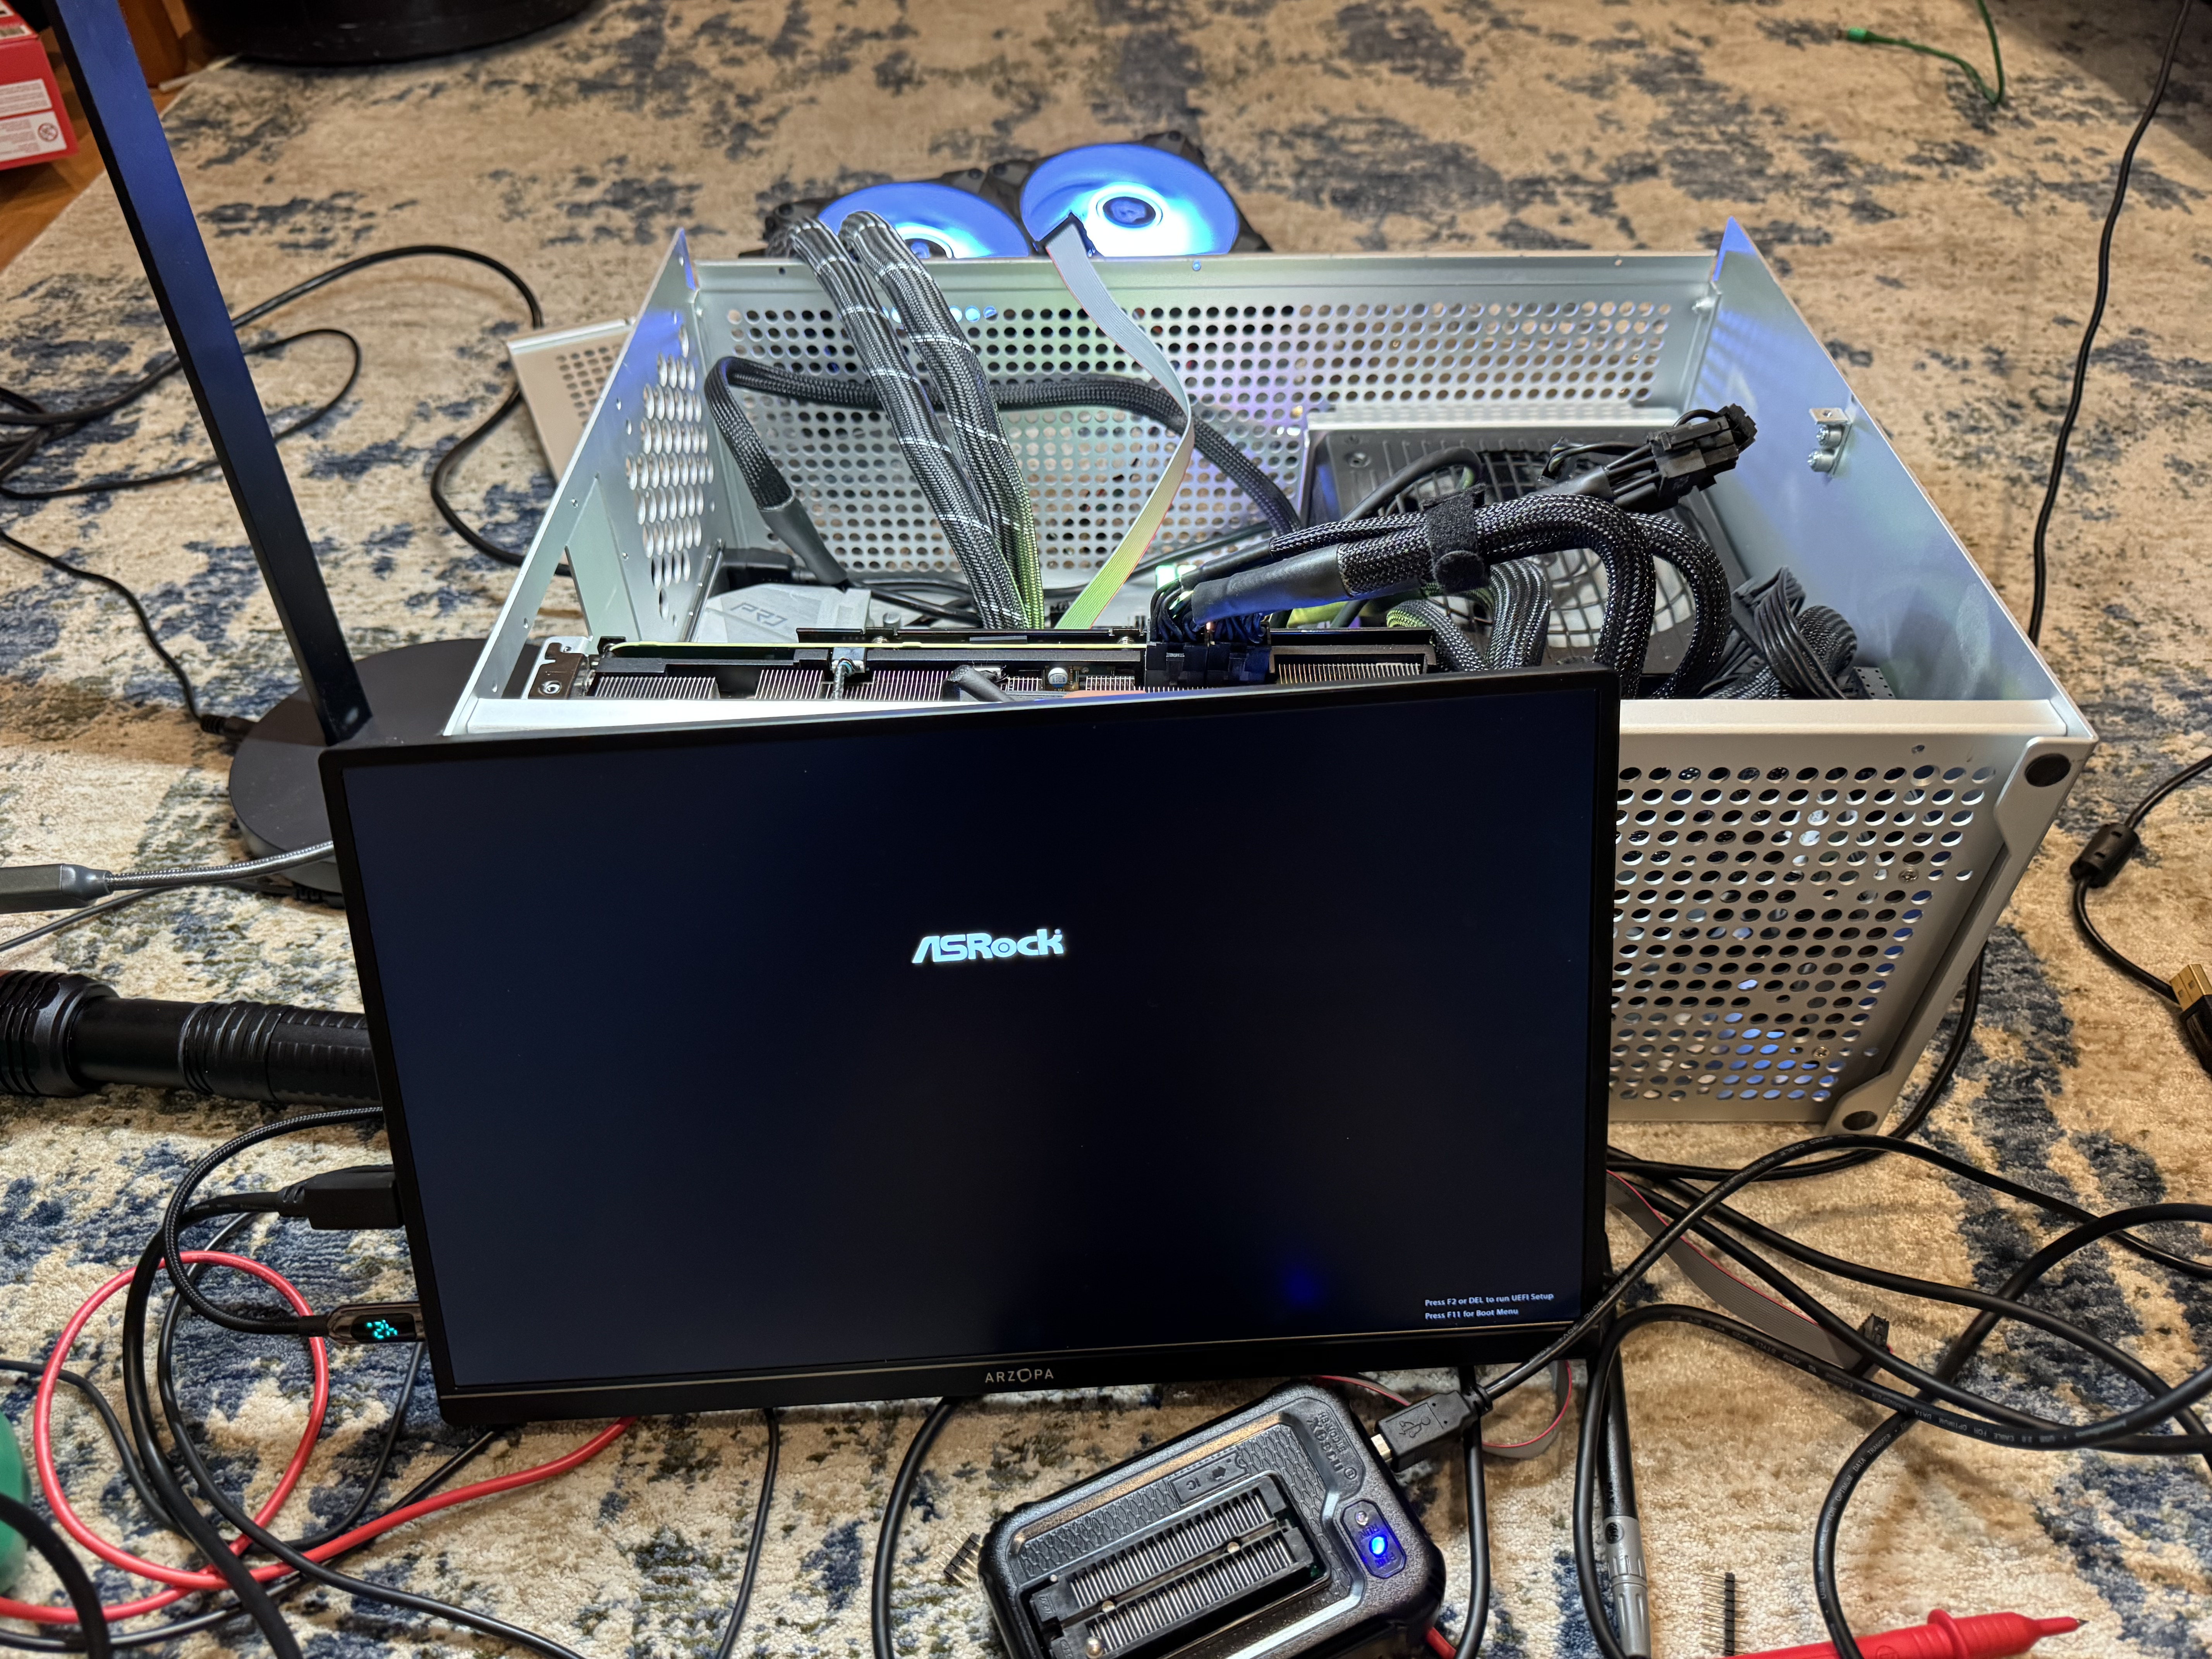
I hit program and crossed my fingers. After a minute of erasing, then a minute of programming and verifying it said it was done. I unplugged my laptop, and plugged power back in. The system came on when I hit power, but again no POST. Then I waited a minute, and it powered off, this time, when I powered it back on the system came to life with the AsRock UEFI screen! I had to re-enter UEFI settings but we are back!
The last and final irony… on the correct BIOS, up to date, the system still fails to restart…
