
We are finally here, we have OpenShift, Networking, and Storage all setup and its finally time to do add Virtualization.
- The menu used to be Operators -> OperatorHub, it has recently been renamed to Ecosystem -> Software Catalog.
- Search for, and install “OpenShift Virtualization”.
- Like before with OKD, you can do this part except you will install “KubeVirt” instead of “Openshift Virtualization”.
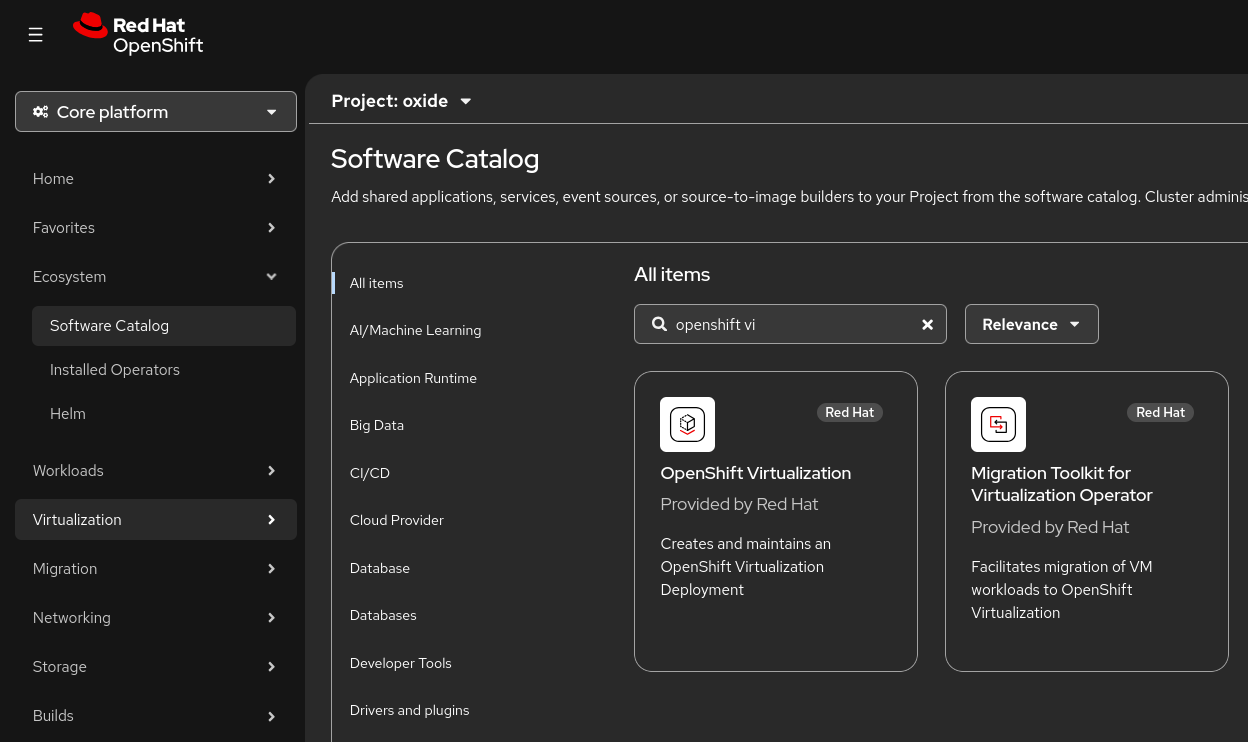
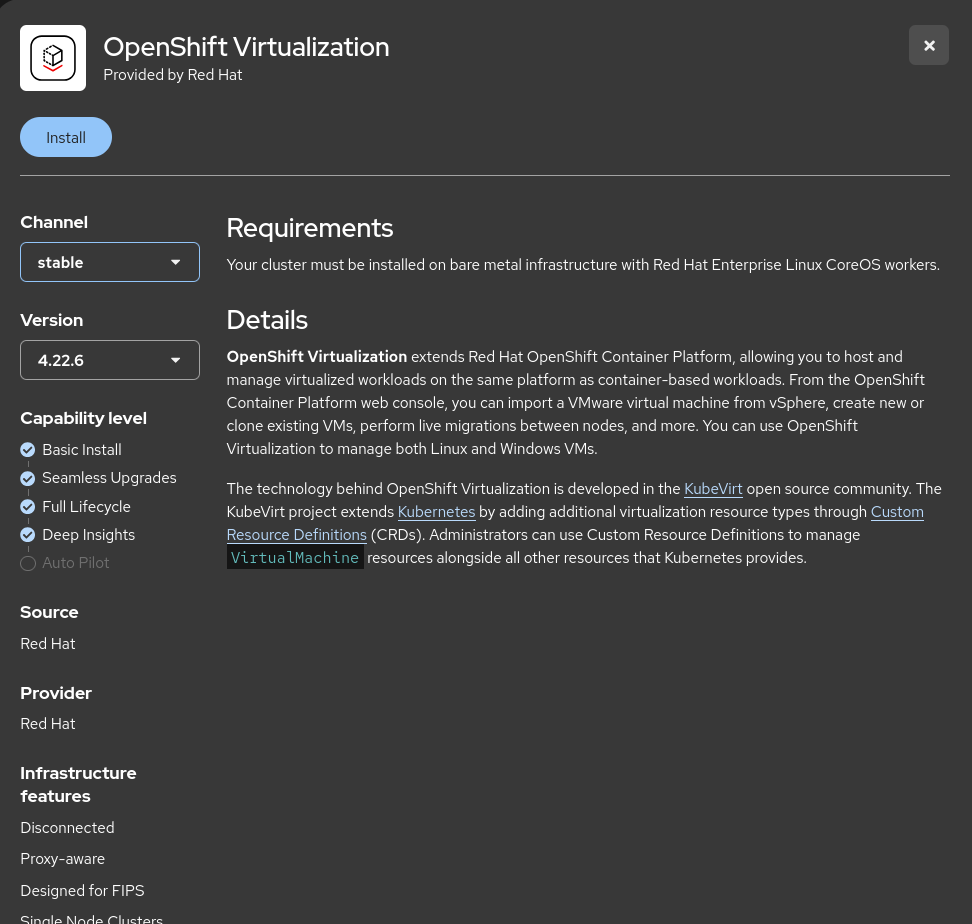
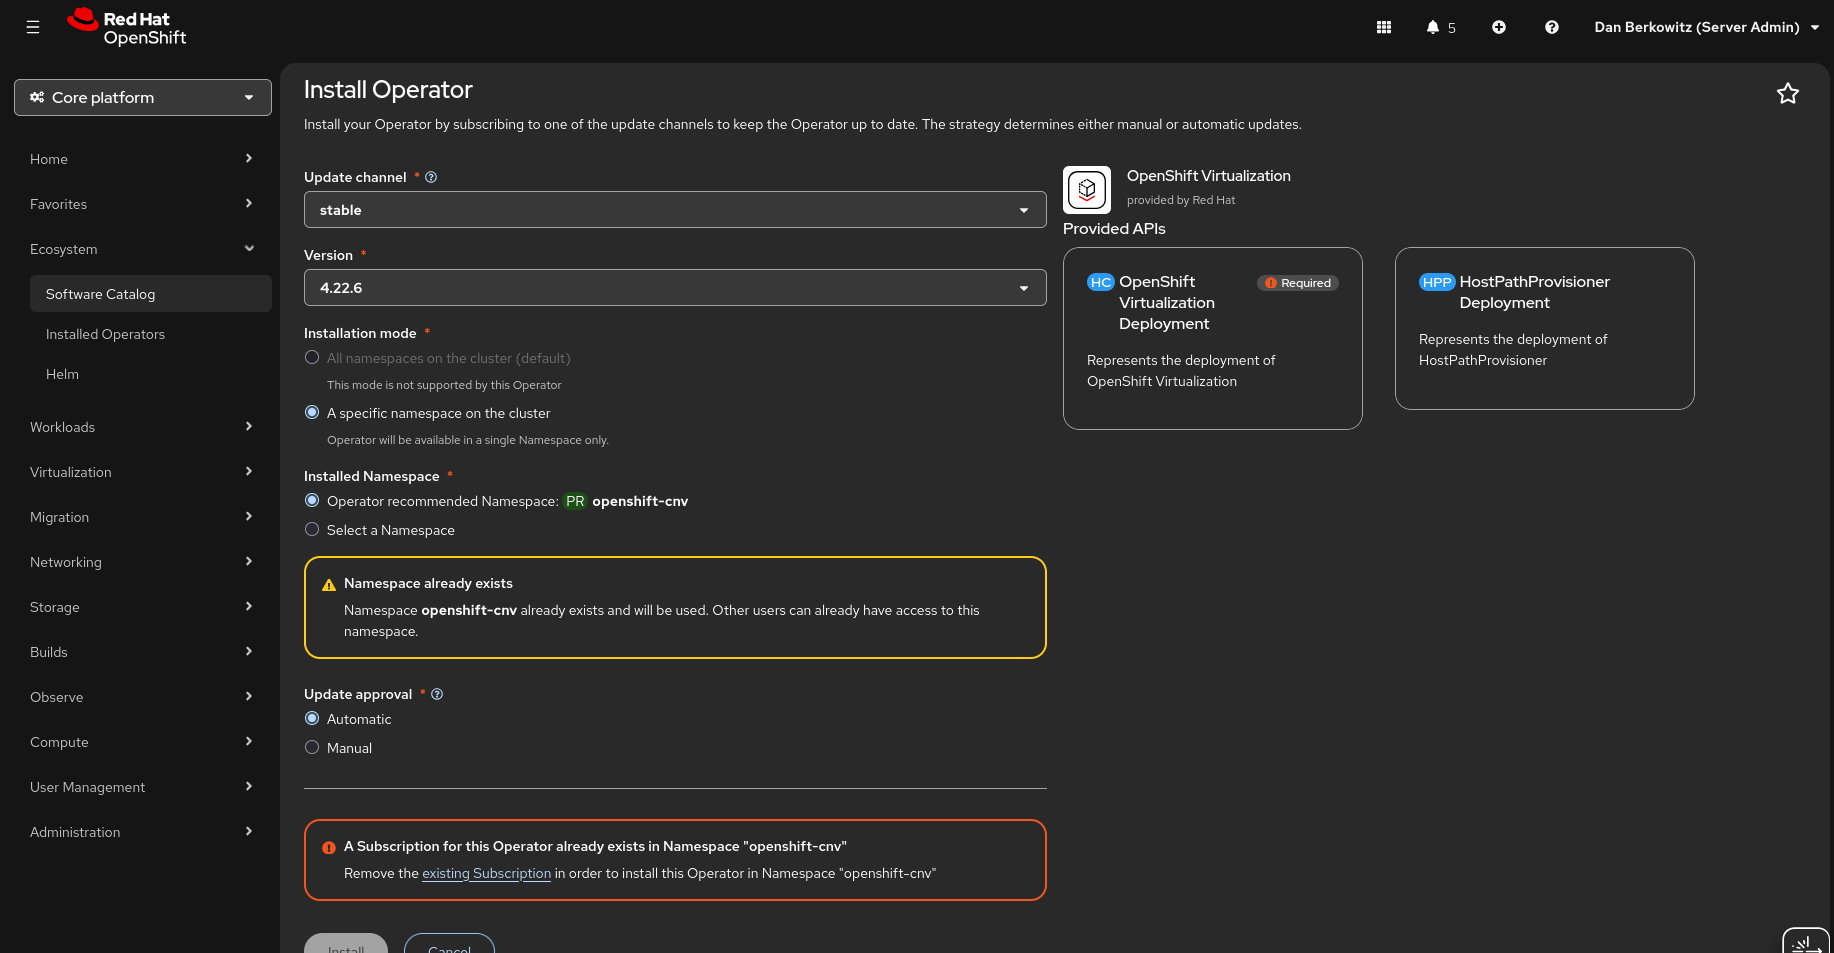
- Note: I am getting an error here because I have already installed that service.
- It will ask if it can deploy an instance of “HyperConverged”, you will need to do that, its the underlying object that hosts VMs. You can accept the defaults.
- The UI will reload, and you will have an option for “Virtualization” on the left!
Using OpenShift Virtualization
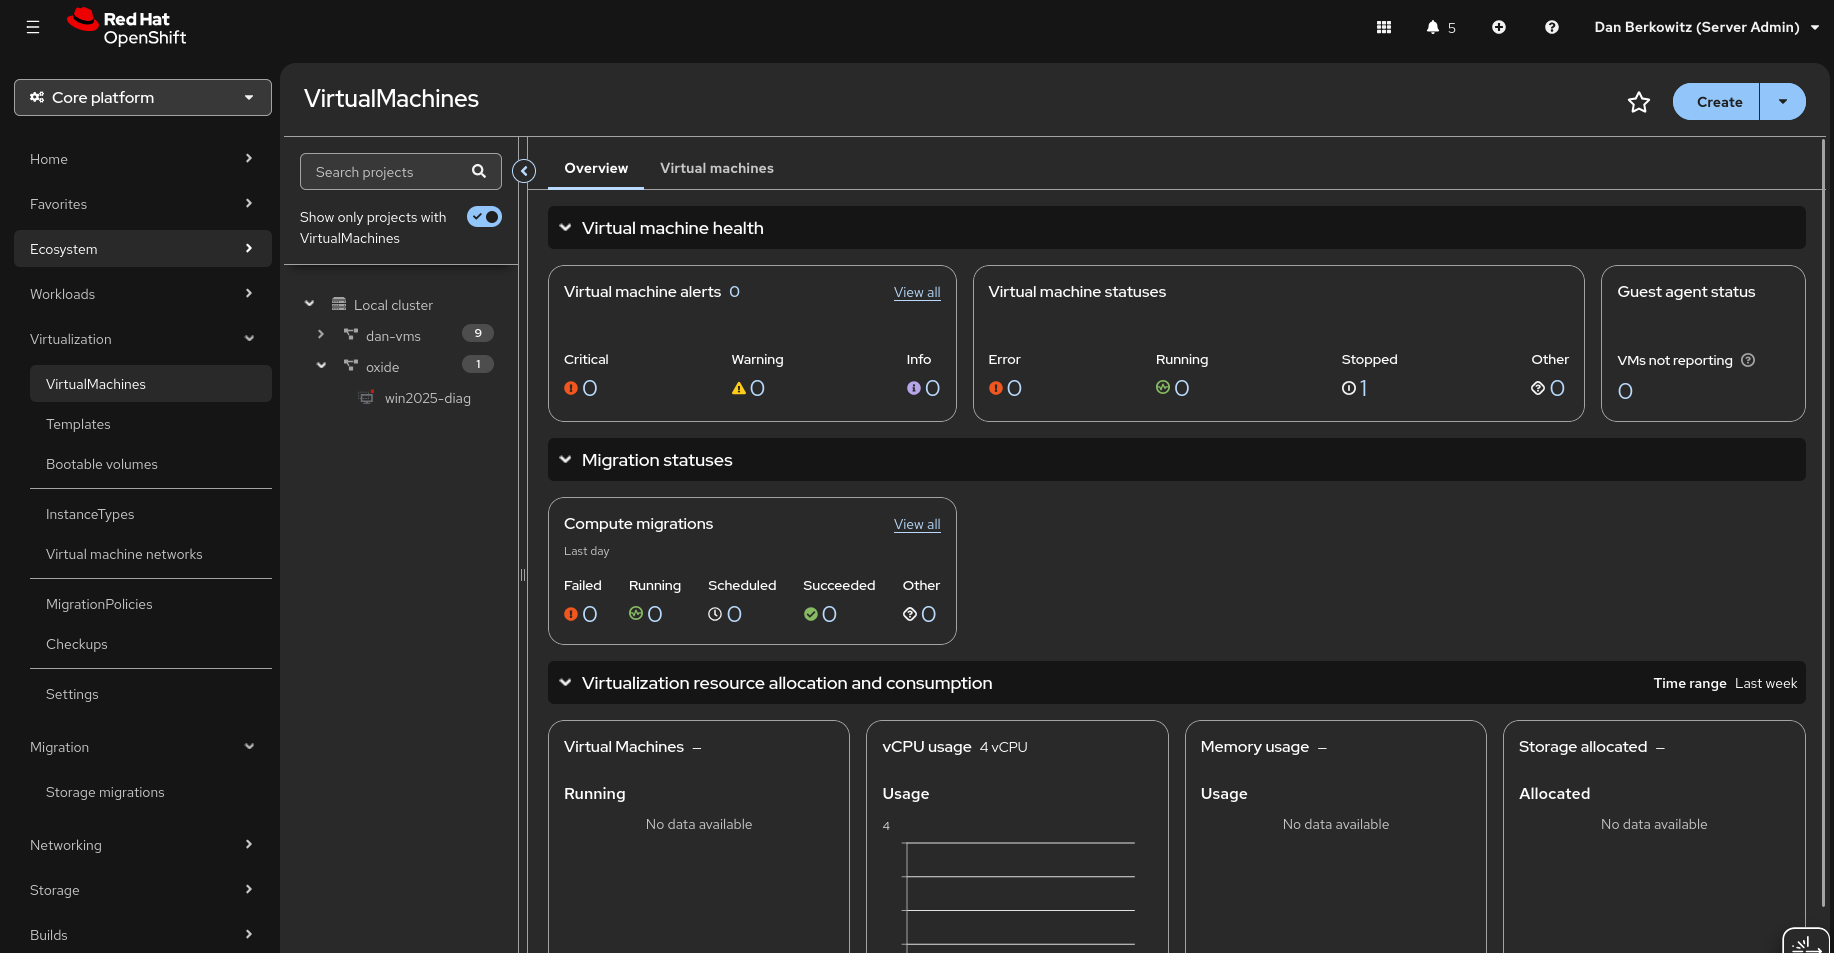
Clicking “VirtualMachines” gives the main VM interface. The first big important thing to know about Virtualization on OpenShift; you are still on Kubernetes, and running VMs on top of that. You get all the ups and downs. When you create a VM, it will spawn a new pod that will run the VM within it. You an also run into scheduling issues if no host has enough resources for that pod.
You need to create a “Project” (namespace) to store the VMs, and bootable volumes.
Right Click “Local cluster” and “Create project”, this will create a new “Project” in Kubernetes. This is how the system does security between Projects and resources.
Jumping back to NetworkAttachmentDefinitions from the earlier Networking article; we had to setup NADs which would allow VMs to connect to VLANs. The alternative is allowing the VMs to get outbound networking via your Container Network Interface. These NADs are tied to a Project, not the cluster. Depending on the order of the steps you have taken, you will have to create NADs after creating the Project.
Now that we have our Project and NADs setup, we need to ingest some bootable volumes. Go to Virtualization -> Bootable volumes. OpenShift Virtualization automatically will bring in some Red Hat related images under the “openshift-virtualization-os-images” Project: CentOS Stream, Fedora, Rhel8, Rhel9, and Rhel10.
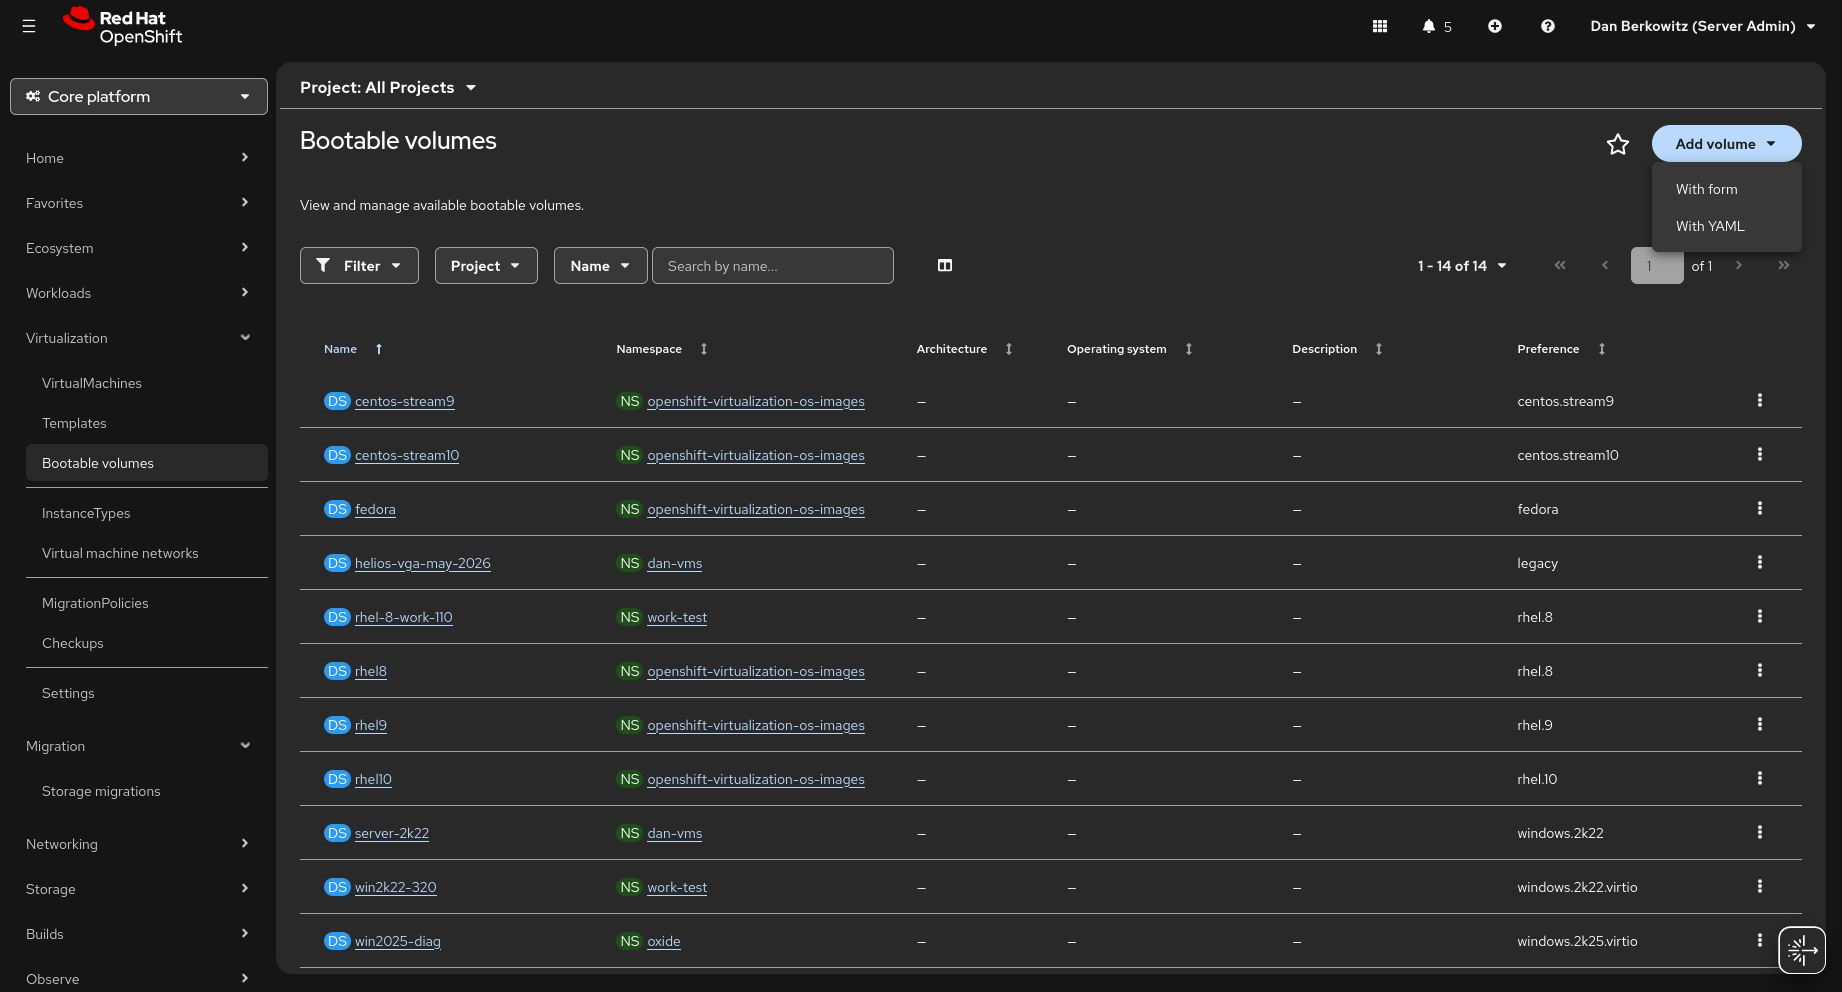
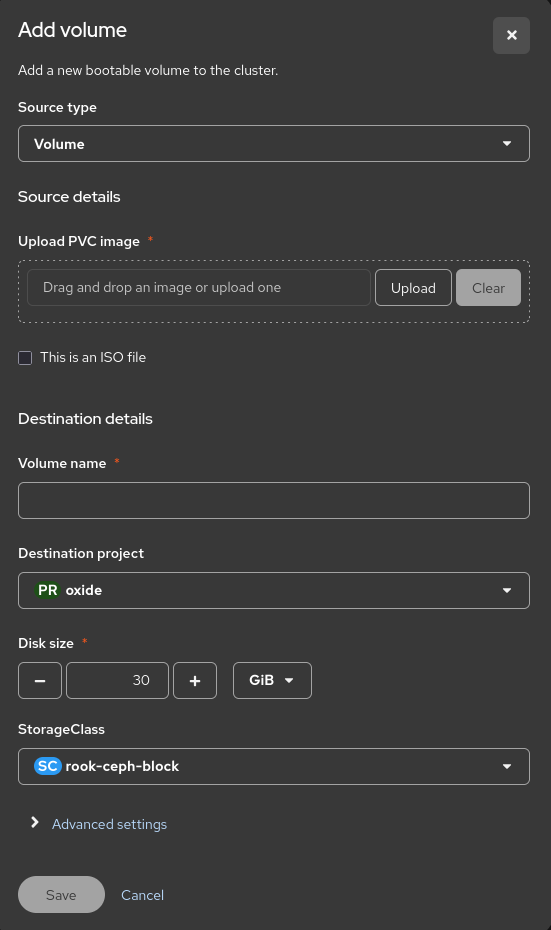
Click “Add volume” in the top right, “from form”. This form is picky, lets go through it.
Upload: Select your ISO, QCOW2, or VMDK file. This is the important part of using the upload form here vs directly uploading into a PVC; when you upload here, OpenShift Virtualization will pass the image through qemu-img convert, this is how it can support VMDK and other formats. OpenShift will convert the image once the upload is finished, it can take several minutes to be ready once you upload because of this conversion.
Check “This is an ISO file” if a disc image.
Name, all lowercase, no spaces.
Select which Project will store it, only this Project will have permission to access the image, so select carefully.
Disk size, this has to be big enough to convert the image, if I have a image that is 7GB, that expands to 100GB. You need to put at least ~108GB for the system to have enough size to process it. Or you will get an error later. ISOs can be just slightly bigger than the ISO. A 8GB image I would give 10GB. It takes some trial and error.
Select your StorageClass.
Last the Preference sets which type of OS is it.
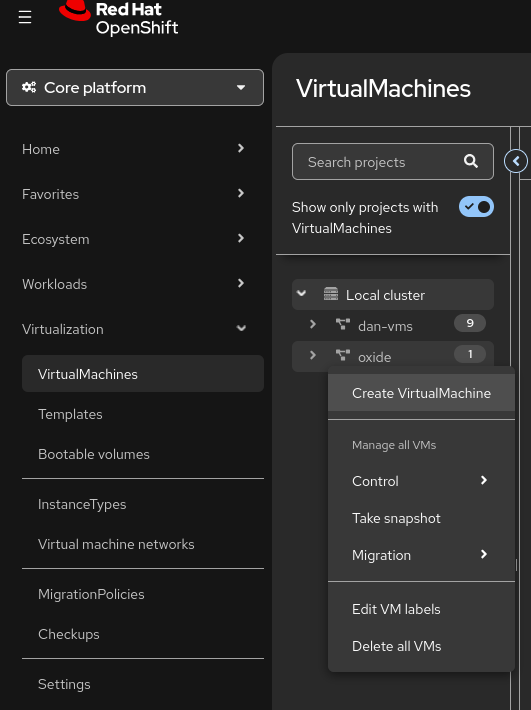
Going back to Virtualization -> VirtualMachines. Lookout for the “Show only projects with VirtualMachines” checkbox, it will hide Projects without VMs. Right click your Project, and “Create VirtualMachine”.
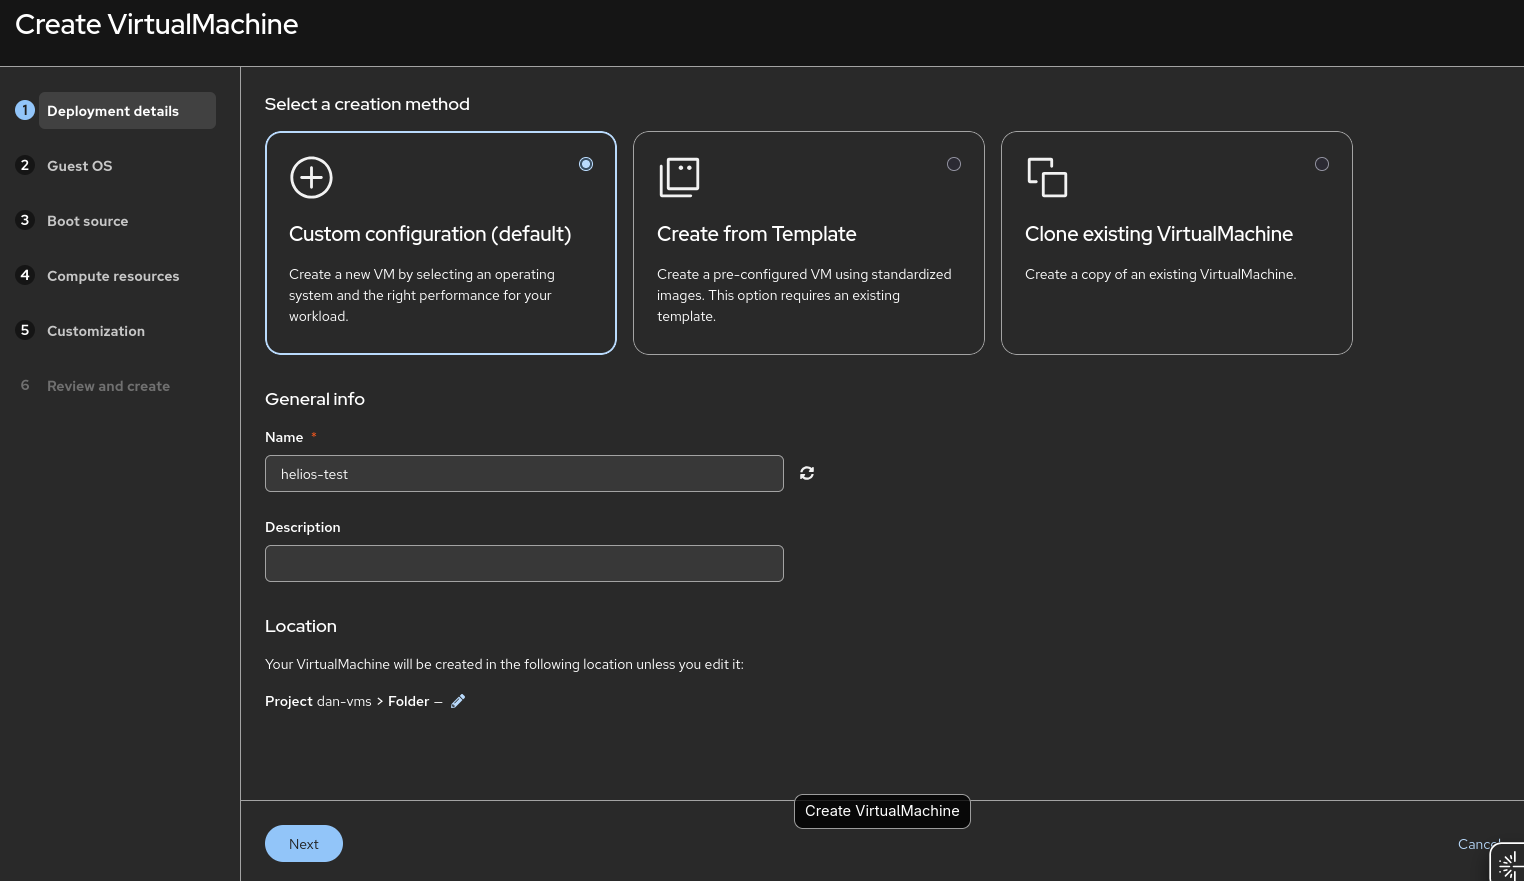
Red Hat keeps changing this wizard, I have pushed this cluster to 4.22 and its much different than it used to be. In general, I use the “Custom Configuration”. Then you select select the general type of OS. This will then show you the images the system comes with, and the images you have uploaded. The last big screen is “Compute resources”. This is the instance type the VM will run with. One important thing to know, is some of the types such as “Compute Exclusive” that require specific things to be available on the host. I tend to just use “General Purpose” instances, you can edit CPU and Memory later.
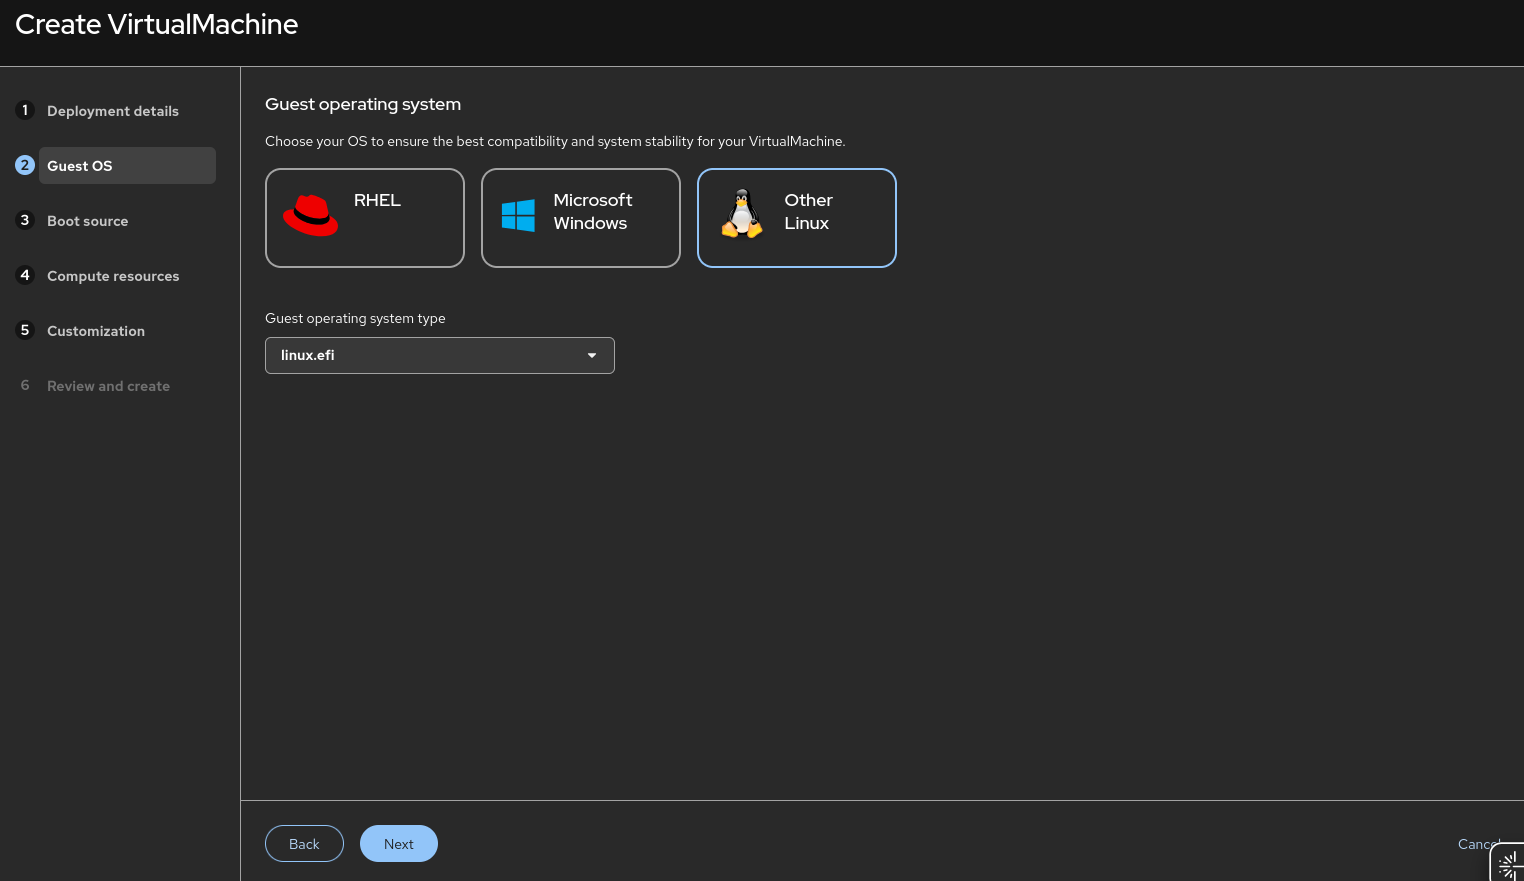
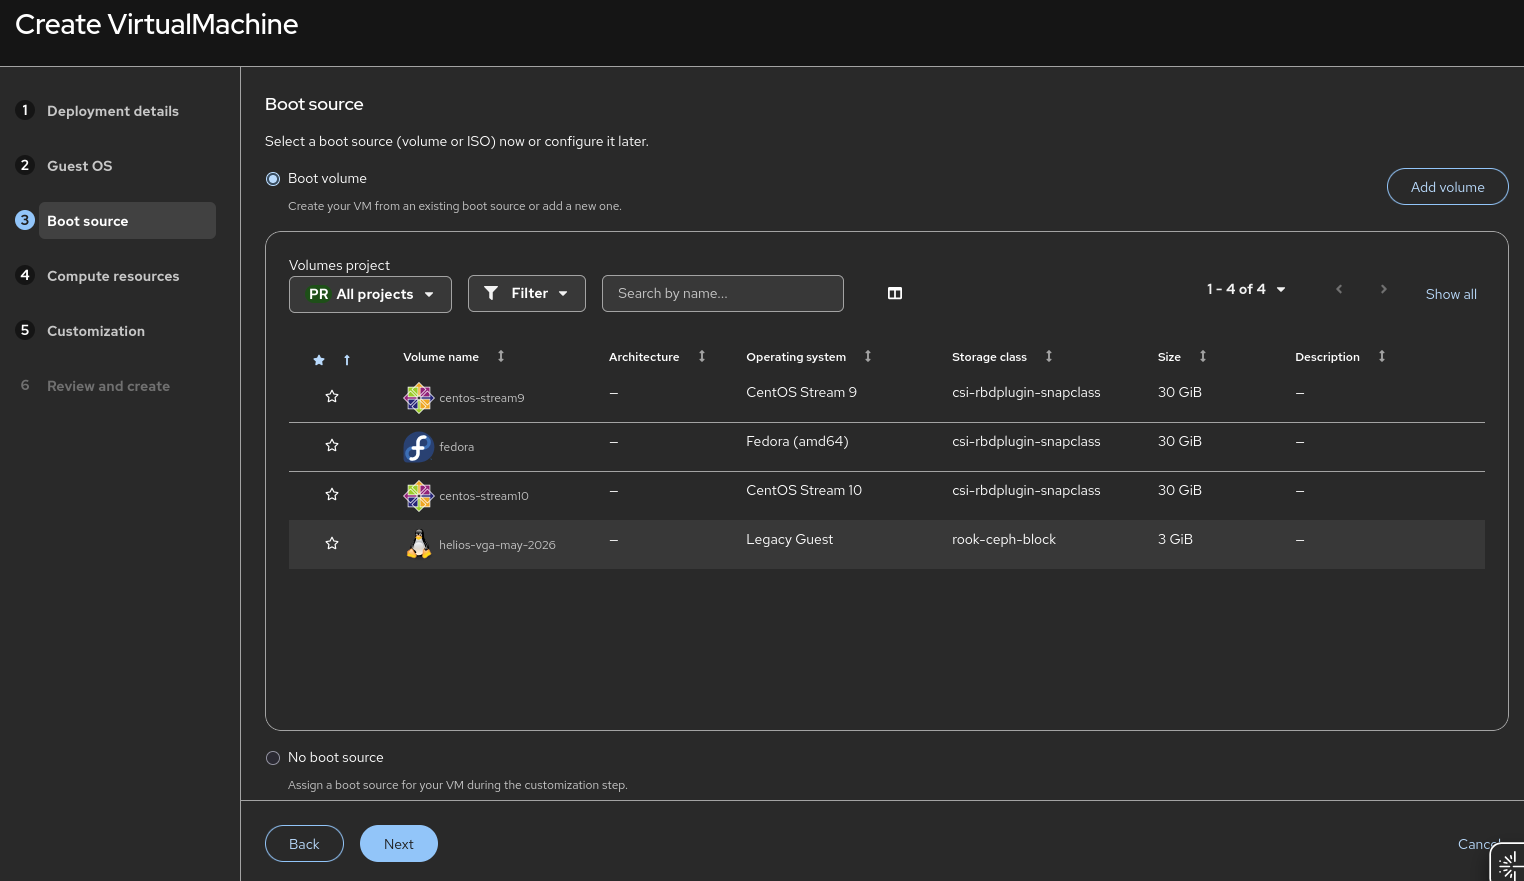
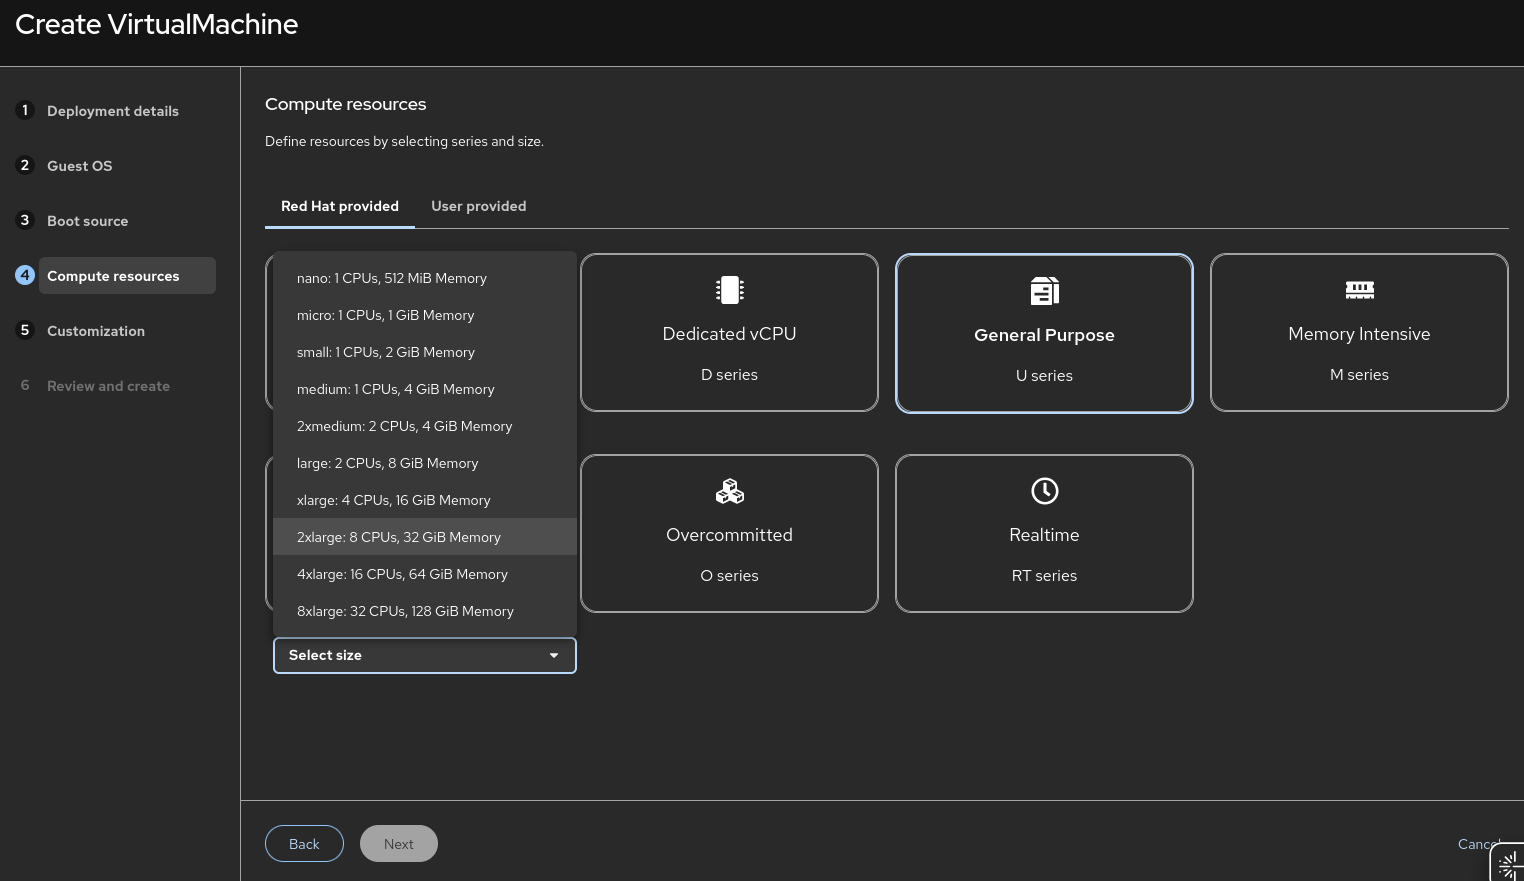
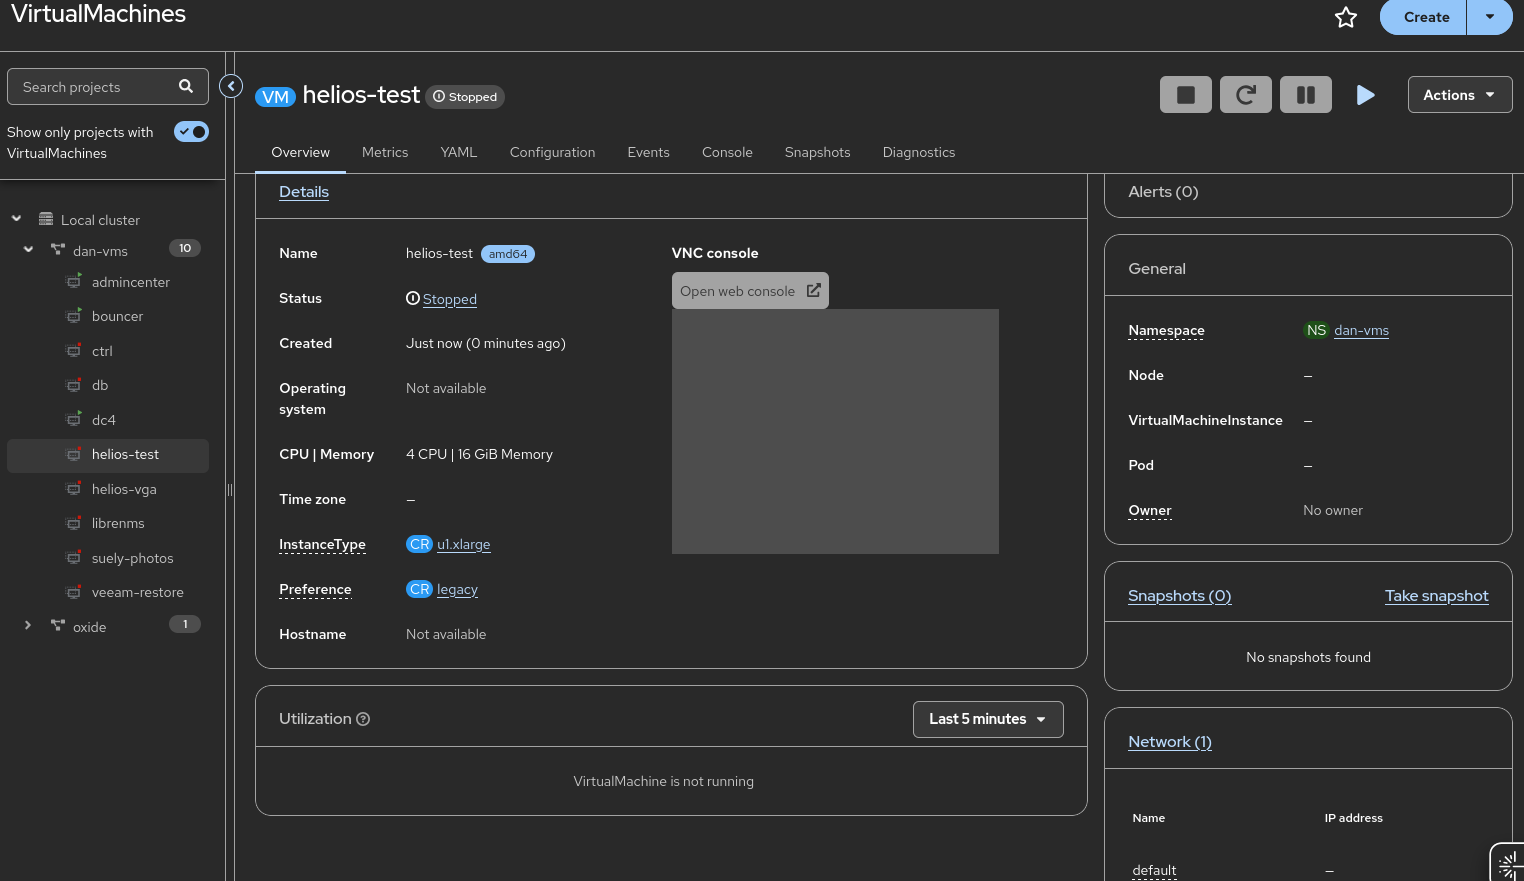
After the VM is created you may want to edit settings like Networking, and Storage. Depending on the OS selected it will automatically select a Boot Mode. You may want to set BIOS, UEFI, or UEFI Secure Boot. You can setup things like cloudinit to automatically inject settings into your Linux images.
Hopefully you do all that and it just works for you! The last thing to be prepared for, is this is when you can suddenly come back into contact with “ow yeah this is Kubernetes”. When starting the VM, it will try to find resources and space to start it; if anything goes wrong, or there are not enough resources, then you will get an error state. The normal new VM lifecycle is Provisioning -> Starting -> Running. If it cant create a volume for the VM, or the cluster is over provisioned you will get an Unscheduable error.
This is where the Diagnostic tab comes into play, it will tell you why its failing to start the VM.
For Windows you either need to install the VirtIO drivers, or fall back to more traditional virtualization hardware such as E1000 nics and SATA/SCSI hard drive controllers. Once the drivers are installed, you get the hybrid drivers to work with the hypervisor AND the additional metadata in the VM dashboard. If you go to a VM and the “Hostname” and “Operating System” are blank or “-“, that means the guest tools are not running. For Linux you need the qemu-guest-agent.
I hope this series has helped some people get started with OpenShift Virtualization. It is a big learning curve coming from something like VMWare but allows you to run VMs and transition workloads into Kuberentes as you go. There is a migration tool available in the same place this was installed, it can connect to vCenter and live migrate VMs into OpenShift, converting them along the way.
As always, if this helped someone out, or you have questions, please feel free to leave a comment!

