Restoration

Restoring a Dolch Pac 65: The Last of the Luggables

I love old portable computers. It goes back to the Compaq Portable II I have. I saw online there was a much later system from a company I hadn’t heard of called Dolch. The Dolch Pac 65, considered one of the last “luggable” computers. An industrial motherboard, with an ISA slot, four PCI slots, and a Pentium II 400MHz with MMX. These machines were built to be “portable workstations” for industrial use: factory floors, military, network diagnostics. A far cry from the Intel 286 in the Compaq Portable II. It also has an LCD screen instead of the small CRT of the Compaq. Gone are the days of tiny green and black displays, even if I love them. In comes a full 1024×768 LCD. I have been expanding my retro computing rack and wanted something more in the Windows 95 or 98 era. This system fit the bill.

Whenever I tried to find one online, they would come up for around $500. I saw one come up for around $150, with the small catch that it was in an “unknown” state and missing some of the panels and mounting brackets. I could see from one side photo that it had the power supply, and I saw what looked like the motherboard inside. A yolo later (and a few days), I had the system.

I was right! The motherboard was there! It had no disk drives, no RAM, no hard drive; it was perfect. A blank slate. The system definitely has some oddities. The motherboard is more of an industrial system, all on one board with CPU, memory, disk controller, ethernet, video card all together. Then a connector to another board that holds the ISA and PCI slots. My guess is it’s a PICMG or similar system. Being from that era, and a more industrial system, the fan is a 120-volt fan that always runs at a relatively high speed. I haven’t replaced it yet, but that may be on the shorter list of parts to swap out for a good quality of life improvement.

I need to thank Curious Marc! He also has this system, documented it well, and collected/uploaded all the drivers! This made getting the system online a good amount easier. He also has tables about the different RAM types it supports and information about the motherboard that got me moving a lot quicker on this project.

The first step was to get some memory to prove the system could POST. I found the system could use PC100 SDRAM, up to 256MB a stick for buffered RAM (128MB for un-buffered)! The KTD-WS610R/256 Kingston RAM ($7.50) I got was very interesting, it’s a multi-PCB board, joined together. I ordered just one for now, 256MB is plenty for this machine. I am currently using one of the two DIMM slots the machine has.

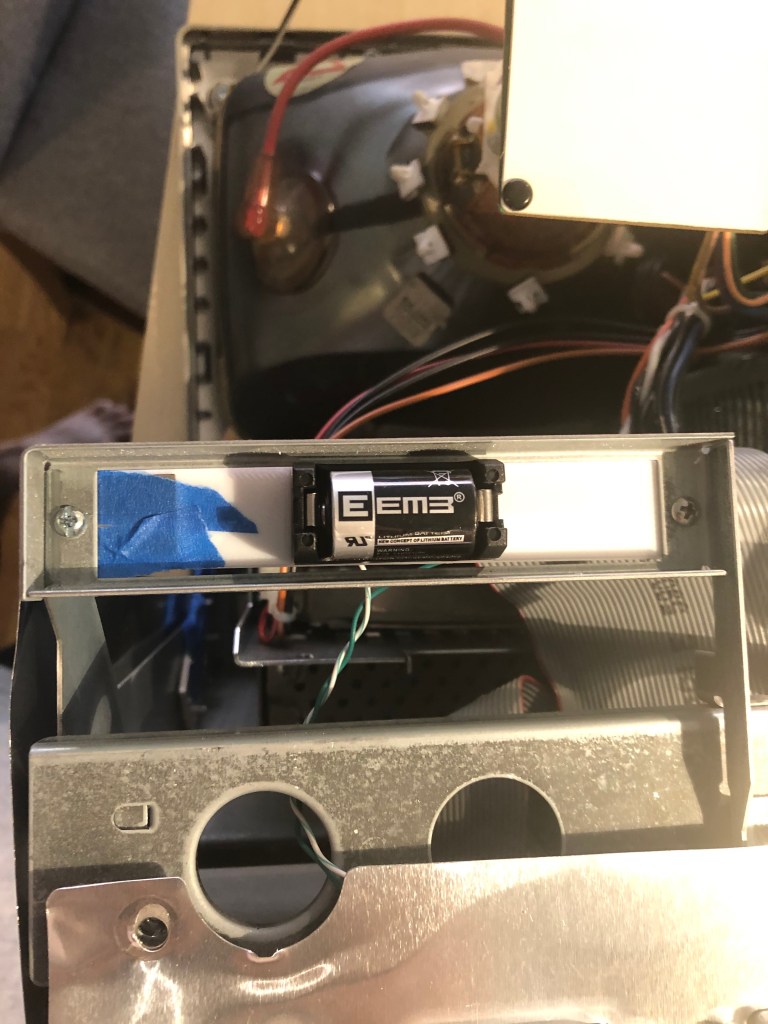
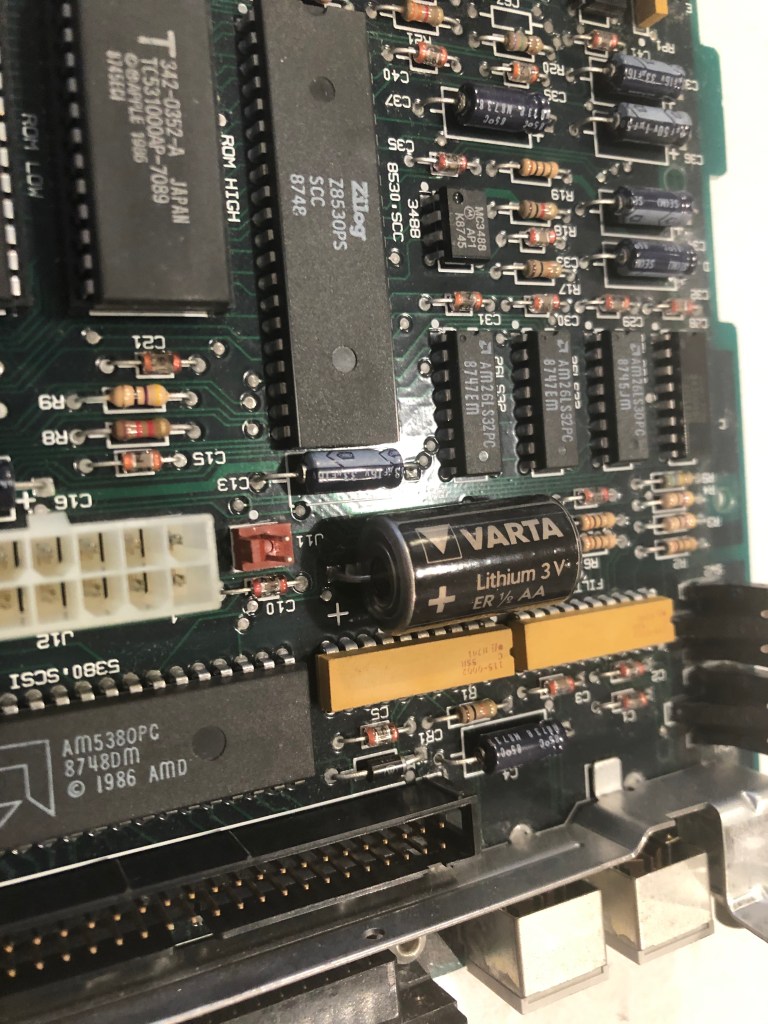
With that, we got the system to POST! It needed a new CMOS battery, but what system this age doesn’t? It was happy! Now I needed a hard drive, some disk drives, and expansion cards. For a hard drive I got a modern SATA SSD, and a SATA to IDE adapter. I put the drive in a spring loaded enclosure that goes into one of the PCI slots; this lets me remove the drive easily if I want to. I would pull the drive to add files before I got networking loaded from time to time. I later added USB, but the system couldn’t boot from that, and burning CDs wasn’t always my go-to.

Then I got a slim fit IDE DVD-ROM, and a laptop floppy drive. That let me burn Windows 98 SE to a blank CD and start installation. I also ran memory tests and stress tests on it just to be sure the system in “unknown” condition was doing OK. Now that I had those external drives, I had to start making some brackets. The original hard drive bracket and the optical/floppy bracket were missing when I got the system.

I pondered which operating system to put on the machine. With a 400MHz Pentium II, Windows 95 and 98 were the more obvious choices. The spring-loaded enclosure and optical drive make installing a new operating system not too difficult. To begin its new life (with me) I decided to go with Windows 98 SE. I get USB support right away, FAT32 for more storage, and generally better driver support. There are a lot of community patch kits, Windows Service Packs – PHILSCOMPUTERLAB.COM, that help fix rough edges. Eventually I may install OS/2 for fun, or an older flavor of Linux.

The brackets turned out to be the hardest part of the whole restoration project. The actual system came together so easily that this is where a majority of the time went: dialing in the models for all the brackets.

I then went to find some additional expansion cards to make my life easier, starting with a Belkin F5U220 USB 2.0. With USB mouse and storage support added, working within Windows 98 would be much easier. The little nub mouse works on the keyboard, but it’s not the most comfortable thing to use.

I wanted to get a Creative Sound Blaster, and I did off eBay. It was an authentic, old, ISA one that would work perfectly with all my DOS games. The issue I ran into was the ISA slot did not want to work. I am not sure if this is a later model, or maybe there is a jumper I couldn’t find on the motherboard that needs to be set for the ISA slot to work. There are many BIOS screens (screenshots below). I tried manually setting IRQ, automatic, no matter what Windows didn’t even see the card existed. After battling that for a little while, I gave in and got a PCI Sound Blaster. Using Windows 98 made this easier than older operating systems would have. That one worked immediately when plugged in.

Last, but not least, I got a Thomas Conrad PCI Token Ring card for the system. It has 10/100Mb ethernet on the motherboard and in a breakout slot. But for the true retro rack road warrior, I needed the Token Ring to go with the rest of my Token Ring gear. There was one downside to this card, the same issue others have mentioned with Token Ring cards… The driver attempts to join the ring when the system boots; if it can’t, you get a 30-second or so delay, then an error message. Every. Boot. But that’s the price to be awesome and have Token Ring.

I had been using the system for a little while, and the keyboard had some sticking keys, so I took it apart and gave it a good cleaning. I think it still needs some work, but overall, it does what it needs to do. I can always use a USB keyboard now.

It’s a fun machine, I’m glad I got it. The nice part about portable systems is I can fold it up and put it in the corner. It’s my new go-to retro system. When I want it, I just pick it up, plug in a power cable, and I am back in business. There are some outstanding items: the power supply hasn’t been serviced and could explode at some point, the motherboard capacitors are 30 years old, and the ISA slot won’t recognize cards. We are going to ignore those for now and play RollerCoaster Tycoon instead!

Dell 316SX (Intel 386) Restoration

I recently got around to restoring a Dell 316SX—my first childhood computer. It’s a 386SX that lived in my parents’ attic for decades, and reviving it was a journey full of debugging, power supply replacing, and data recovery.

Early Memories

This computer was the first computer I had growing up: a Dell 316SX, with a Intel 386SX. I remember being little and playing Sesame Street games on Prodigy on a parallel port dial up modem (I need to see if I can find that). Shout out to the people trying to bring Prodigy back, https://www.vintagecomputing.com/index.php/archives/1063/bringing-prodigy-back-from-the-dead. There is a photo of my mother pregnant with me, playing the original Sim City on this computer. I always knew I had this computer in my parents attic, and one day I would need to get it out to play with it. Now that I have a bit more space to work on these projects, I got that system (and an old 486DX2 that someone gave me well past its prime) to play with.

More will come of the 486 on here, but that one got going pretty easily and is my go to machine since it has 5.25″ floppy, 3.5″ floppy, a CD-ROM drive, and its hard drive died so I gave it an SD card reader. That makes the 486 very useful; it also has a ton of ISA slots and is easy to work in.

I found a catalog with this computer in it! A PC World from 1990, page 27! I think the monitor is long gone, being a big heavy thing to store. I know my parents got it through a program at one of their work that discounted computers so people could work at home.

I am guessing this was the 40MB VGA Color Plus system. This one also has 4MB of ram, which would have been added on later.

Powering On

Anyway, back to the Dell 316SX. I could do the right thing and check all the capacitors and everything in the system; that’s what I should have done… So I turn the system on, and I get the familiar fan noise, and the 1990s smell. But no beep, no post, no nothing. The floppy drives don’t even attempt to seek. I left it for some time hoping that the capacitors would reform on their own, and come back. No luck.

I took the case off for the first time in 30 years or so, and it all looks in good condition. No rust or corrosion from anything leaking. Below are some nice photos of the board and the system. It is a Dell 316SX (no math co-processor) Motherboard revision B03. (I had some glare on the board, so I uploaded several photos)

My first thought after chatting with ChatGPT was that this system was old, and had a Dallas clock chip. The Dallas DS1287 is a real-time clock with built-in battery — a common failure point in old PCs because the internal battery can’t be replaced easily. The internet said some 386 systems will fail to post if this chip is completely dead. I order a replacement (https://www.ebay.com/itm/134217827379) from the same vendor I got the PS2 Serial adapter from. Wait a few days, it comes, pop it in AND… nothing…

At this point I figure we are probably looking at a power problem. This system is 35 or so years old, its big capacitors failing would not be a shock.

Power Supply Restoration

I don’t love dealing with power, but here we are. I got the multimeter out and started probing the connections I could see. This is an older power supply than anyone today is used to, this is following the original IBM AT standard, minus the fact that is a seemingly proprietary Dell header on the motherboard. For anyone with the same system, the connector is a MOLEX 09-50-8121, more on that later.

Reading the motherboard pins +12V, +5V looked good, -5V, and -12V looked a tiny bit low, but within tolerance for a system like this. I popped in a ISA/PCI diagnostic card and see that the RESET line is holding high, and the CPU is never being released. Then I probed the last line on the motherboard PSU connector, POWER GOOD; this pin goes high once the power supply has all the lines at a good voltage, releasing the processor to start… processing… That line never came up for me, and thus never released the processor. I opened the power supply and saw it was 2 boards with many wires going in-between them. I may eventually repair this power supply, but I do not feel like tackling that whole thing right now. I put that power supply on the shelf, and started the task at building a new one to meet this computers needs.

A while ago I bookmarked this device, https://www.tindie.com/products/dekunukem/picopsu-adaptor-for-ibm-5155-ibm-pc-compatibles/, an ISA card that can replace a power supply in these old machines. Looking at that I thought it would be a good place to start. I didn’t want to use this exact thing here, because the Dell 316SX only has 3 ISA slots, and I didn’t want to lose one to power. That brought me to 3D printing a bracket to hold whatever parts I needed for this power supply. The original power supply was a 85 watt, Astec SA85-3407.

The low wattage supply was neat because there are tiny modern supplies that can do 200ish watts. They are a bit scary because they are an exposed power supply delivering 200 watts. They also deliver ATX power, not the AT power I need. These days there are cables to convert between the two standards. Yet, again, the Dell used a specific MOLEX 09-50-8121 header, which I found on Mouser for $0.92. I gathered up my adapter cable, and the new header, and a cable kit from Amazon for Molex connectors; and spent the evening rewiring a new header, very slowly and carefully. I checked every pin several times to not spell doom for the system.

Its also interesting to point out, with the PicoPSU, it takes 12V DC in. This helps it be smaller and cooler, since the AC-DC conversion is done with a brick outside the chassis.

Then I plugged in just the motherboard, and with the power supply held in a little soldering clip, hit the power. And the system came up! Well at least I got video with the BIOS showing up! Plugging in the diagnostic card I saw +12V, -12V, +5V were all good, but the card said 3.3V was failing. That’s odd, 3.3V is not a voltage I provide. Turns out the motherboard uses the -5V rail to create the 3.3V rail. Searching online shown that -5V wasn’t really needed for anything, but its part of the ISA spec and some Sound Blasters and network cards need it, which means I wanted to have it. It’s worth noting this rail is used in very little quantities, the original power supply had .30A for the -5V line max. While the ATX standard mentions -5V, its not longer used in modern PCs. Thus, no modern power supply tends to give out the -5V. I got a step down converter that can do negative voltages and stepped -12V to -5V. Wired that in line, and I suddenly had all the power rails I needed!

Now that we had our semi-sketchy power situation working, I wanted to design a bracket to drop in where the old power supply went and could hold all these pieces nicely in place. I ended up working on a cover to mostly protect myself from the open PicoPSU running at the heart of the system. I added a fan with a speed controller as well, since the original power supply fan in the system was the only airflow the whole computer has. Then I added another fan to the front of the chassis. The system originally only had the one power supply fan, and when I took thermal measurements some of the chips were getting toasty and I thought another fan couldn’t hurt.

One last fun fact about this old power situation. The old computers didn’t have “soft power” like we do today; where you hit on and it tells the BIOS to start booting. This system had a big ON/OFF switch in the front with mains voltage (120V for the US) going to it. In replacing the PSU, I swapped this for a ATX, low voltage on, switch.

Video

While the Dell 316SX does have standard VGA on the back, there is not a spot for pin 7; the second pin in the second row. If you lookup pinouts for VGA online, this pin is either called “green ground” or “not used”. These days even if not used we include a spot or pin for it and not connect it. This machine has no spot for a pin. I had to get a VGA cable, and cut the pin out; allowing the cable to plug in.

Data Recovery

Now we had power, and can POST. The Dell 316SX had a Seagate ST-157A-1 – 44MB IDE/ATA-1 HDD; and a Hardcard II XL – 100MB ISA card. The first thing I wanted to do was get a backup of each of these storage devices just in case after 35 years they suddenly died. The Hardcard was easy, I moved it over to the 486 I had, used an old copy of Norton Ghost, and captured the drive no issues.

The hard drive was a bit harder since the 486 is old enough it can only have 1 drive on its primary IDE channel; that left the secondary channel. In trying different setups I realized that the Dell 316SX did not have the correct hard drive parameters entered when it was in use. This means, when I tried to read it on a machine where I couldn’t set those settings, I wouldn’t get the correct data back. I HAD to have the disk read from the primary 486 IDE channel where I could edit the parameters to be incorrect on the 486 like it was on the 386. I got an ADAPTEC AHA-1542CP ISA SCSI CONTROLLER (from this seller), this allowed be to boot a DOS floppy, load Ghost, and image the drive to the new SCSI device, with the correct – incorrect hard drive parameters. This SCSI card has a full BIOS on it, allowing DOS to reference and even boot off of it without a driver.

The true savior here was Spinrite. I didn’t realize the hard drive parameters were causing my issues, and I thought the drive had just died. I figured I would give one last shot with Spinrite before calling the drive dead, and the data lost. Before I could start a scan, Spinrite popped up saying that the drive wasn’t recorded correctly and I should edit those settings!

After capturing images of both devices, I started cleaning the system, taking some photos, and putting it back together. One last test of powering it up, and the Hardcard died. It would no longer POST, freezing when the card tried to spin up. I am very glad I captured an image while I could! I copied that image into an image for the BlueSCSI device I had, and we were back in business! The Hardcard started giving “1703(K) — Hardcard IIXL Error at BIOS address C8000h.” which the internet said was the drive had died.

For those of us who haven’t done that much with MS-DOS in years, here is a reminder how partitions work (this is important because the old system had the Seagate drive as C and E, then the Hardcard as D); all Primary partitions that are accessible to the BIOS are added as the system boots, THEN all extended/logical partitions. This means, with the internal drive coming up as C: D:, then the Hardcard as E: I had to figure out how to switch them. In the end, it ended up being that the Hardcard was coming up as a extended partition, and it needed to be a primary one to force it earlier in the order. Turns out the Seagate drive had 1 primary, and one extended partition. After doing that change, and copying all the data back the system and all the links within Windows 3.1 came up correctly.

Cards

I got the Dell 316SX with a Hardcard II XL – 100MB ISA card and a Sound Blaster 16. I put some deoxit into the volume control knob of the Sound Blaster, it had the crackles when you moved it. That cleared it up.

I mentioned swapping the Hardcard for a SCSI controller. While I was in the system I also decided to get a 10MB Ethernet controller off ebay and put that into the system to have easier file transfers in the future.

Drives

This Dell 316SX has a 5.25″ drive bay, and a 3.5″ bay. Both are working happily, but I did give them some lubricating grease on their rails after cleaning them up.

Case Cleanup

I put some time into cleaning the case. For being ~35 years old, it was looking in good condition.

Conclusion

In the end, I am very excited to have my childhood Dell 316SX back up and happily running. It took some work, with non-stop issues along the way; but in the end, its working with most of its original hardware. Below are some other photos I have taken. While I was working on the system I ordered 4 more 1MB SIMMs to bring the total memory to 8MB. I figured I would max it out while I had the system open. The only downside is the POST checks all the memory and this slows it down a bit.

I uploaded this playlist of a few videos I took working on the computer; they are in a playlist below.