The Mac journey continues with me searching for a way to transfer files from my modern PC/Mac onto the old Macintosh SE I recently was restoring; a way without constantly removing the SD card from the SCSI2SD adapter and mounting it in an emulator. After reading a lot of different pages, and hitting different dead ends, or methods that involved a lot of hardware, time, or monetary investment I found an old reliable way to transfer files.
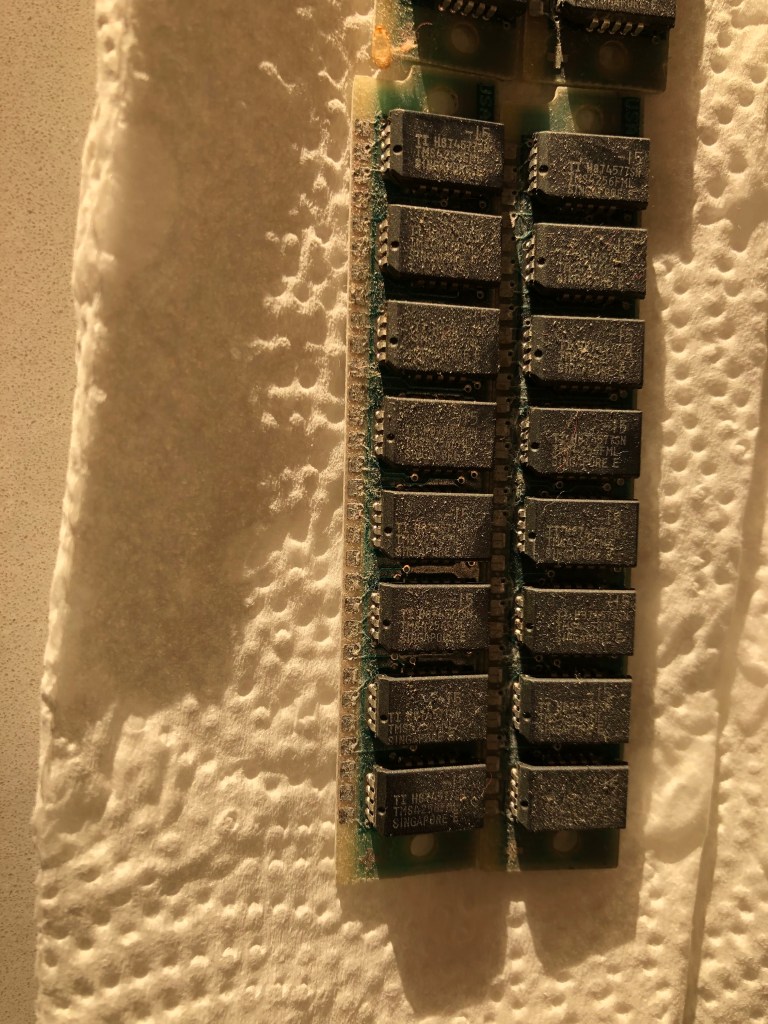
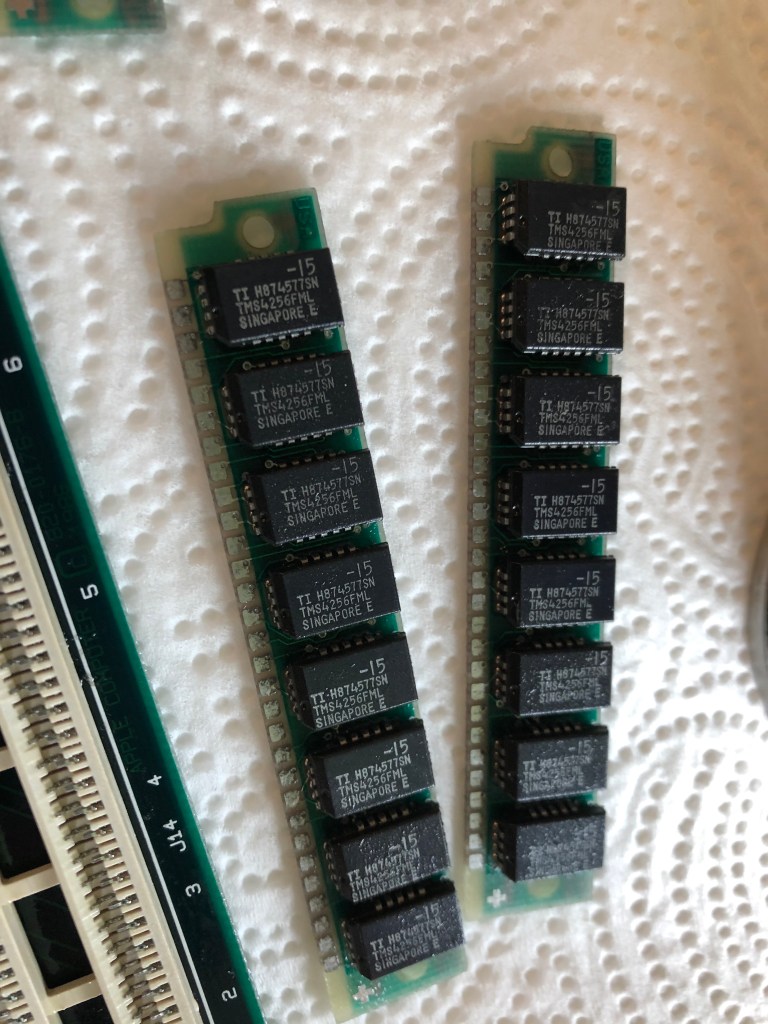
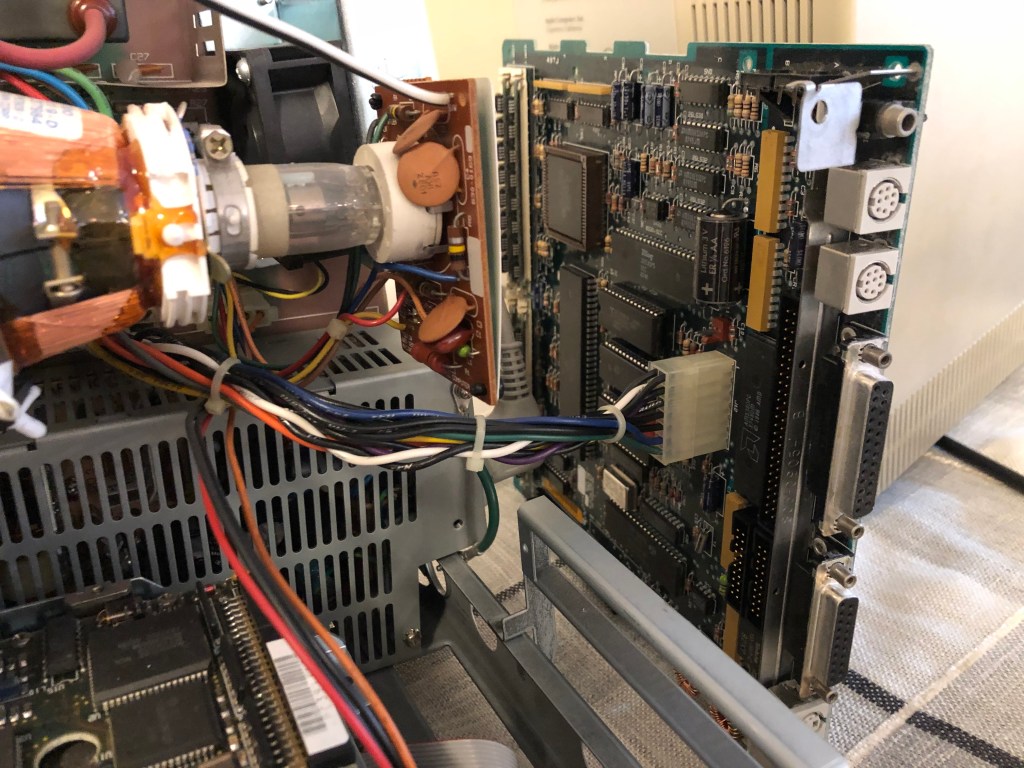
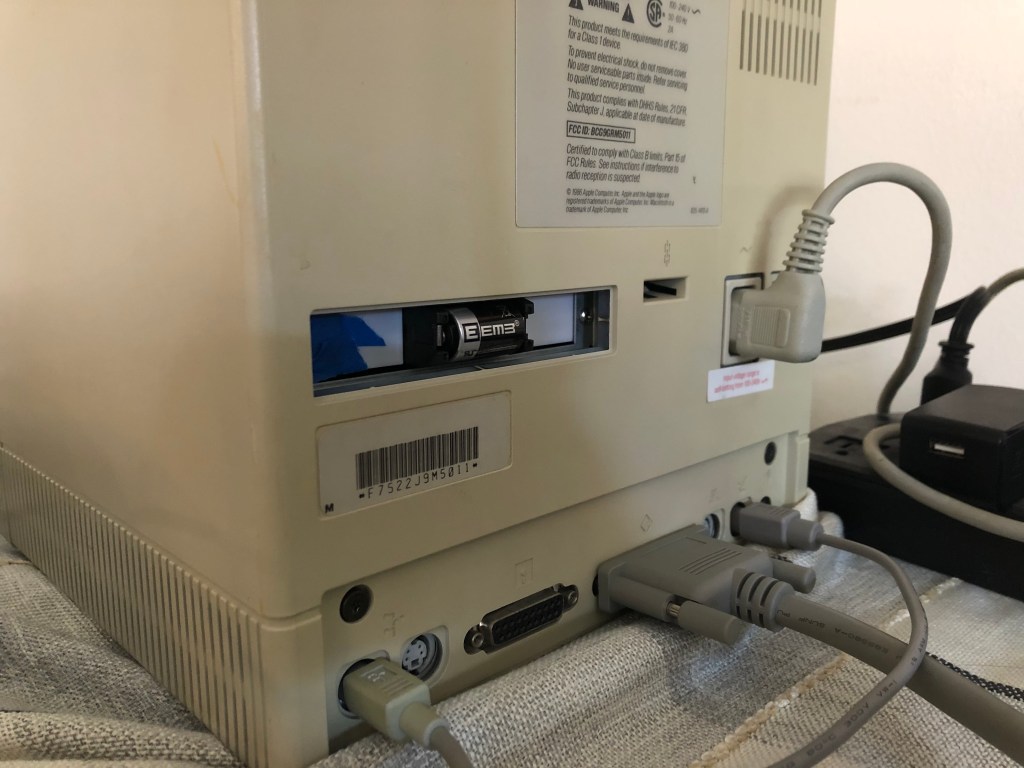
One of the methods I looked at was an ethernet LAN adapter for the Mac SE; the issue I saw was some of them were expensive and a lot of them required more RAM than the 1MB my SE had. I then turned to the serial ports available in the back of the machine. The Mac does not come with a lot of software to help in this endeavor, which made me use the SCSI2SD adapter to load the initial setup on, then I could use the software to transfer after that.
I ended up using the Kermit protocol, the same protocol used to transfer software to the Compaq Portable II. The project was run by Colombia University for many years. While they have since transferred it to be an open source project, the original project files are still on their FTP server, and this offers everything from DOS to Mac to C64 binaries. ftp://columbia.edu/kermit hosts all the files, for archival purposes I also uploaded a clone of that folder to archive.org; https://archive.org/details/kermit_202008 . Kermit is not fast, being serial and the Mac can’t support anything over 57600 baud; but it offers compatibility with almost every OS at this point. Get ready to experience what dialup was like all over again.
Required Hardware:
- Serial Adapter for the modern computer if your system doesnt have one on it
- RS-232 to mini DIN 8 cable (I used this one)
To start the connection, I will be using a modern Mac as the server (a modern Mac being a 2012 Macbook Air), and a USB Serial cable to connect to the Mac SE as client. Using homebrew on the Mac, you can install “c-kermit”. Once that is installed search for your serial device under /dev/, mine is /dev/tty.usbserial1420. Please note wherever you start kermit, will be the home folder for file transfers, I suggest making a folder somewhere that you will drop files to transfer.
Server
$ kermit
> set port /dev/tty.usbserial1420
> set carrier-watch off # Assume there is no carrier signal
> set speed 57600 # Or whatever the speed has to be
> connect
Get ftp://columbia.edu/kermit/mac/mackermit.hqx and get it onto your Mac SE, through some means. I transferred the whole “mac” folder from Colombia’s FTP server onto my Mac SE. I would suggest a SCSI2SD adapter for this initial transfer. You may be able to use a floppy, but you may hit issues depending on your model of SE. Mine has a 800kb floppy drive, so results of writing floppies from a modern PC usually end with it not reading them. Modern floppy drives are cheap working at 1.44mb, and the tracks wont align. Once you have the Kermit app on the Mac open it up.


Select “Settings”, at the top, then “Communications”. Here you can set the speed to the max speed supported of 57600 over the default 9600 baud. Both of these are terribly slow… but there is nothing we can do about that. Make sure to select the Phone or Serial port based on which you are using; I used the Phone port.


Afterwards, click the “File-Transfer” menu at the top, then “Set Directory” to set where the files transferred should end up. Then open the same “File-Transfer” menu again and “Get file from server”; here you can type in a filename that exists in the folder you opened Kermit on the Server.

Now be prepared to wait for a while… Eventually the files will be in the folder you selected and you are good to go!
A few things to look out for, if you have a older Mac SE like the one here and it only has 1MB of RAM, that means you can only run Mac OS 6. (https://www.lowendmac.com/oldmac/compact3.html) I may upgrade this system in the future to its max which I believe is 4MB, but for now I am stuck with 6. This also means I can only use DiskCopy 4.2, and some good amount of classic apps will not work on Mac OS 6. The biggest issue is there are a lot of archives that are in DiskCopy 6 format, which I can’t load on the system.
The first thing I thought I would do is extract the archive on an old Mac VM on my modern computer, then transfer the files onto the Mac Se. Here I ran into a lot of issues with the file types that exist. If you want to go down a weird rabbit hole, the classic Macs used an odd 4 letter system for the file type, and 4 letter for which program created it, http://livecode.byu.edu/helps/file-creatorcodes.php . The Mac mostly ignores file extensions. There are programs such as ResEdit (that comes on the provided SCSI2SD disk image I used in restoration) where you can edit these attributes, but it usually leads to weird outcomes. Kermit tends to bring files over as “text”. StuffIt seems to do a decent job of just looking at the file extension and allowing you to expand it, then those files are the correct type. This whole issue is something to look out for, doubly so on a System 6 machine and can not run DiskCopy 6.
Otherwise stick to websites that say they backup with DiskCopy 4, or get more RAM… Then have fun with the system! Write that novel you have always wanted to write without distraction.