
Over the last few months I decided my aging 2012 i5 wasn’t enough to play the latest games. The biggest deciding factor was in I playing Battlefield 1, all 4 cores it had went to 100% and stayed there until the game was over. Not being a stranger to building PCs I quickly put together a a build I wanted involving a AMD Ryzen 2600X, kept my NVIDIA GTX 970, and got the other RAM (16GB for now) and SSD (Samsung 970 Evo 512GB) pieces I needed. Then I had the idea that this time I should not just buy a PC case, but do something interesting. My first thought was to get a Classic Mac that was broken and then put my PC inside that case. I got a classic Mac, and then quickly was able to get it working again…

At this point I had also done some math, and my 11″ long GTX 970 would not fit anyway into that case. And at this point the decision to make an Mac-Inspired case was made. I designed a case, a bit larger than the original by an inch or so in Illustrator, then went and laser cut it. I ended up giving myself another inch, so that I could get a Mini-ATX motherboard over a Mini-ITX one. This gave me 4 DIMMs for ram over 2, and an extra PCI slot for the future. Note: some of the final designs on Github don’t perfectly line up, or have holes that are not positioned right; mostly this is only for the lid, but since it is held in by gravity I did not do extensive work to fix the issue.
To go back to the start, I liked the little screen on the front of the original Macs, my thought was if I had a tiny PC like a Raspberry Pi running the screen, I could have it show information about the computer. And then via a relay turn the main PC on and off. I also figured this PC could be used to play music/videos, and have a KVM that would switch over to the main computer, then back again. That idea was going until I got everything in the case and realized it was very tight. At this point I also just wanted the machine to work so I could play games, so the second computer and KVM idea was scrapped.
The front screen is a touch screen, as well as a secondary screen to the main monitor. At 1080P I can put Spotify on it and have touch screen controls, or play movies. I tend to leave a GPU and Task manager on it while playing games to see how much I am using the system. I have had these Eyoyo brand screens at work before, they are cute, fairly inexpensive (~$90) little screens that offer a lot of inputs (HDMI, VGA, Composite, BNC); their main draw back is the LED on the front is brighter than the Sun.
General Construction:
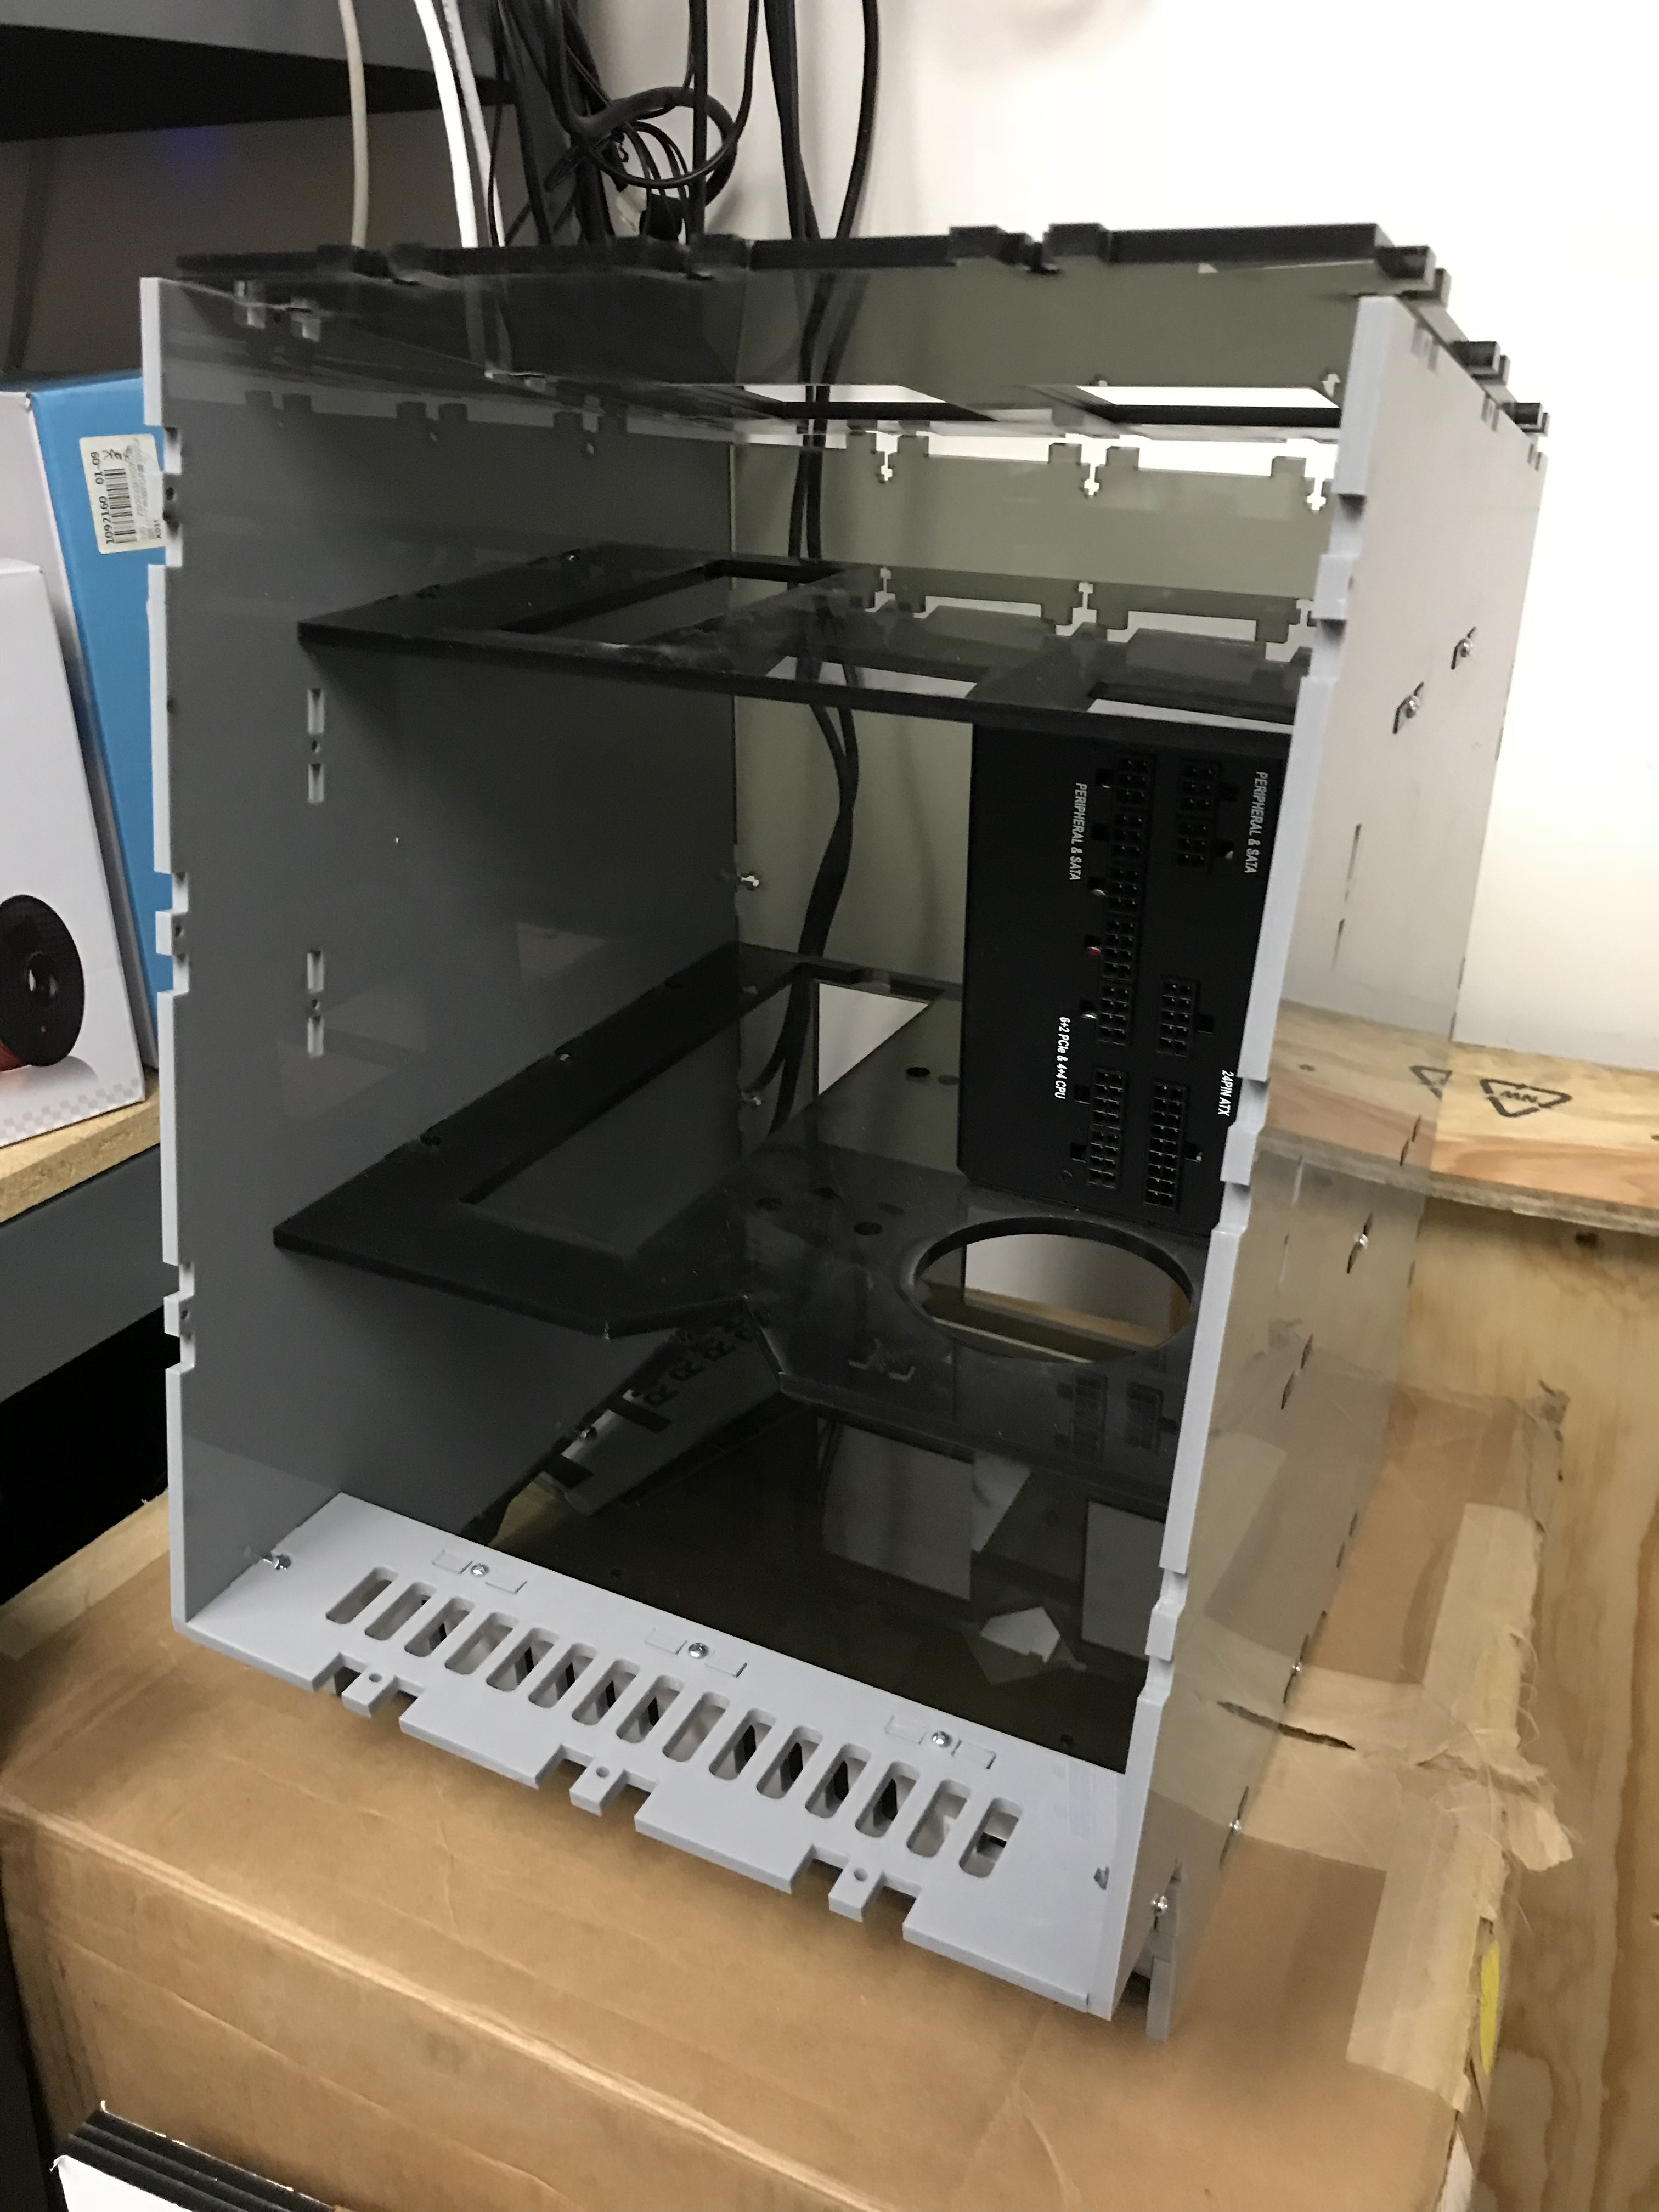
The main method of construction for the case is “Interlocking T Bolts”, as described in https://www.instructables.com/id/How-to-Make-Anything-Using-Acrylic-and-Machine-Sc/ . This allows 90 degree acrylic pieces to snap together and hold together tightly. The primary design has the two sides doing the main support and sitting on the table, with a few layers internally. This has the added benefit of not having the motherboard sit on the ground. I left a good amount of room over the motherboard for airflow, then have 2 fans out the back, and 2 out the top. The main air comes in the front, and then goes over the GPU and motherboard to go out the back and top. The motherboard I got only had 1 fan plug on it, so I used a fan multiplier.

The bottom has an area for the motherboard to go in via a tray. The second layer of the case has a screen mount in front, then the PSU sits flush with the back. A hole brings the power cables down to the motherboard from the second level. On the third layer, the graphics card exhaust, and ports go to the front screen and the two back hookups, and I put the fan distributor. I needed to be careful with wire management at this point since there are a lot of cables up top, and the fans up top as well.
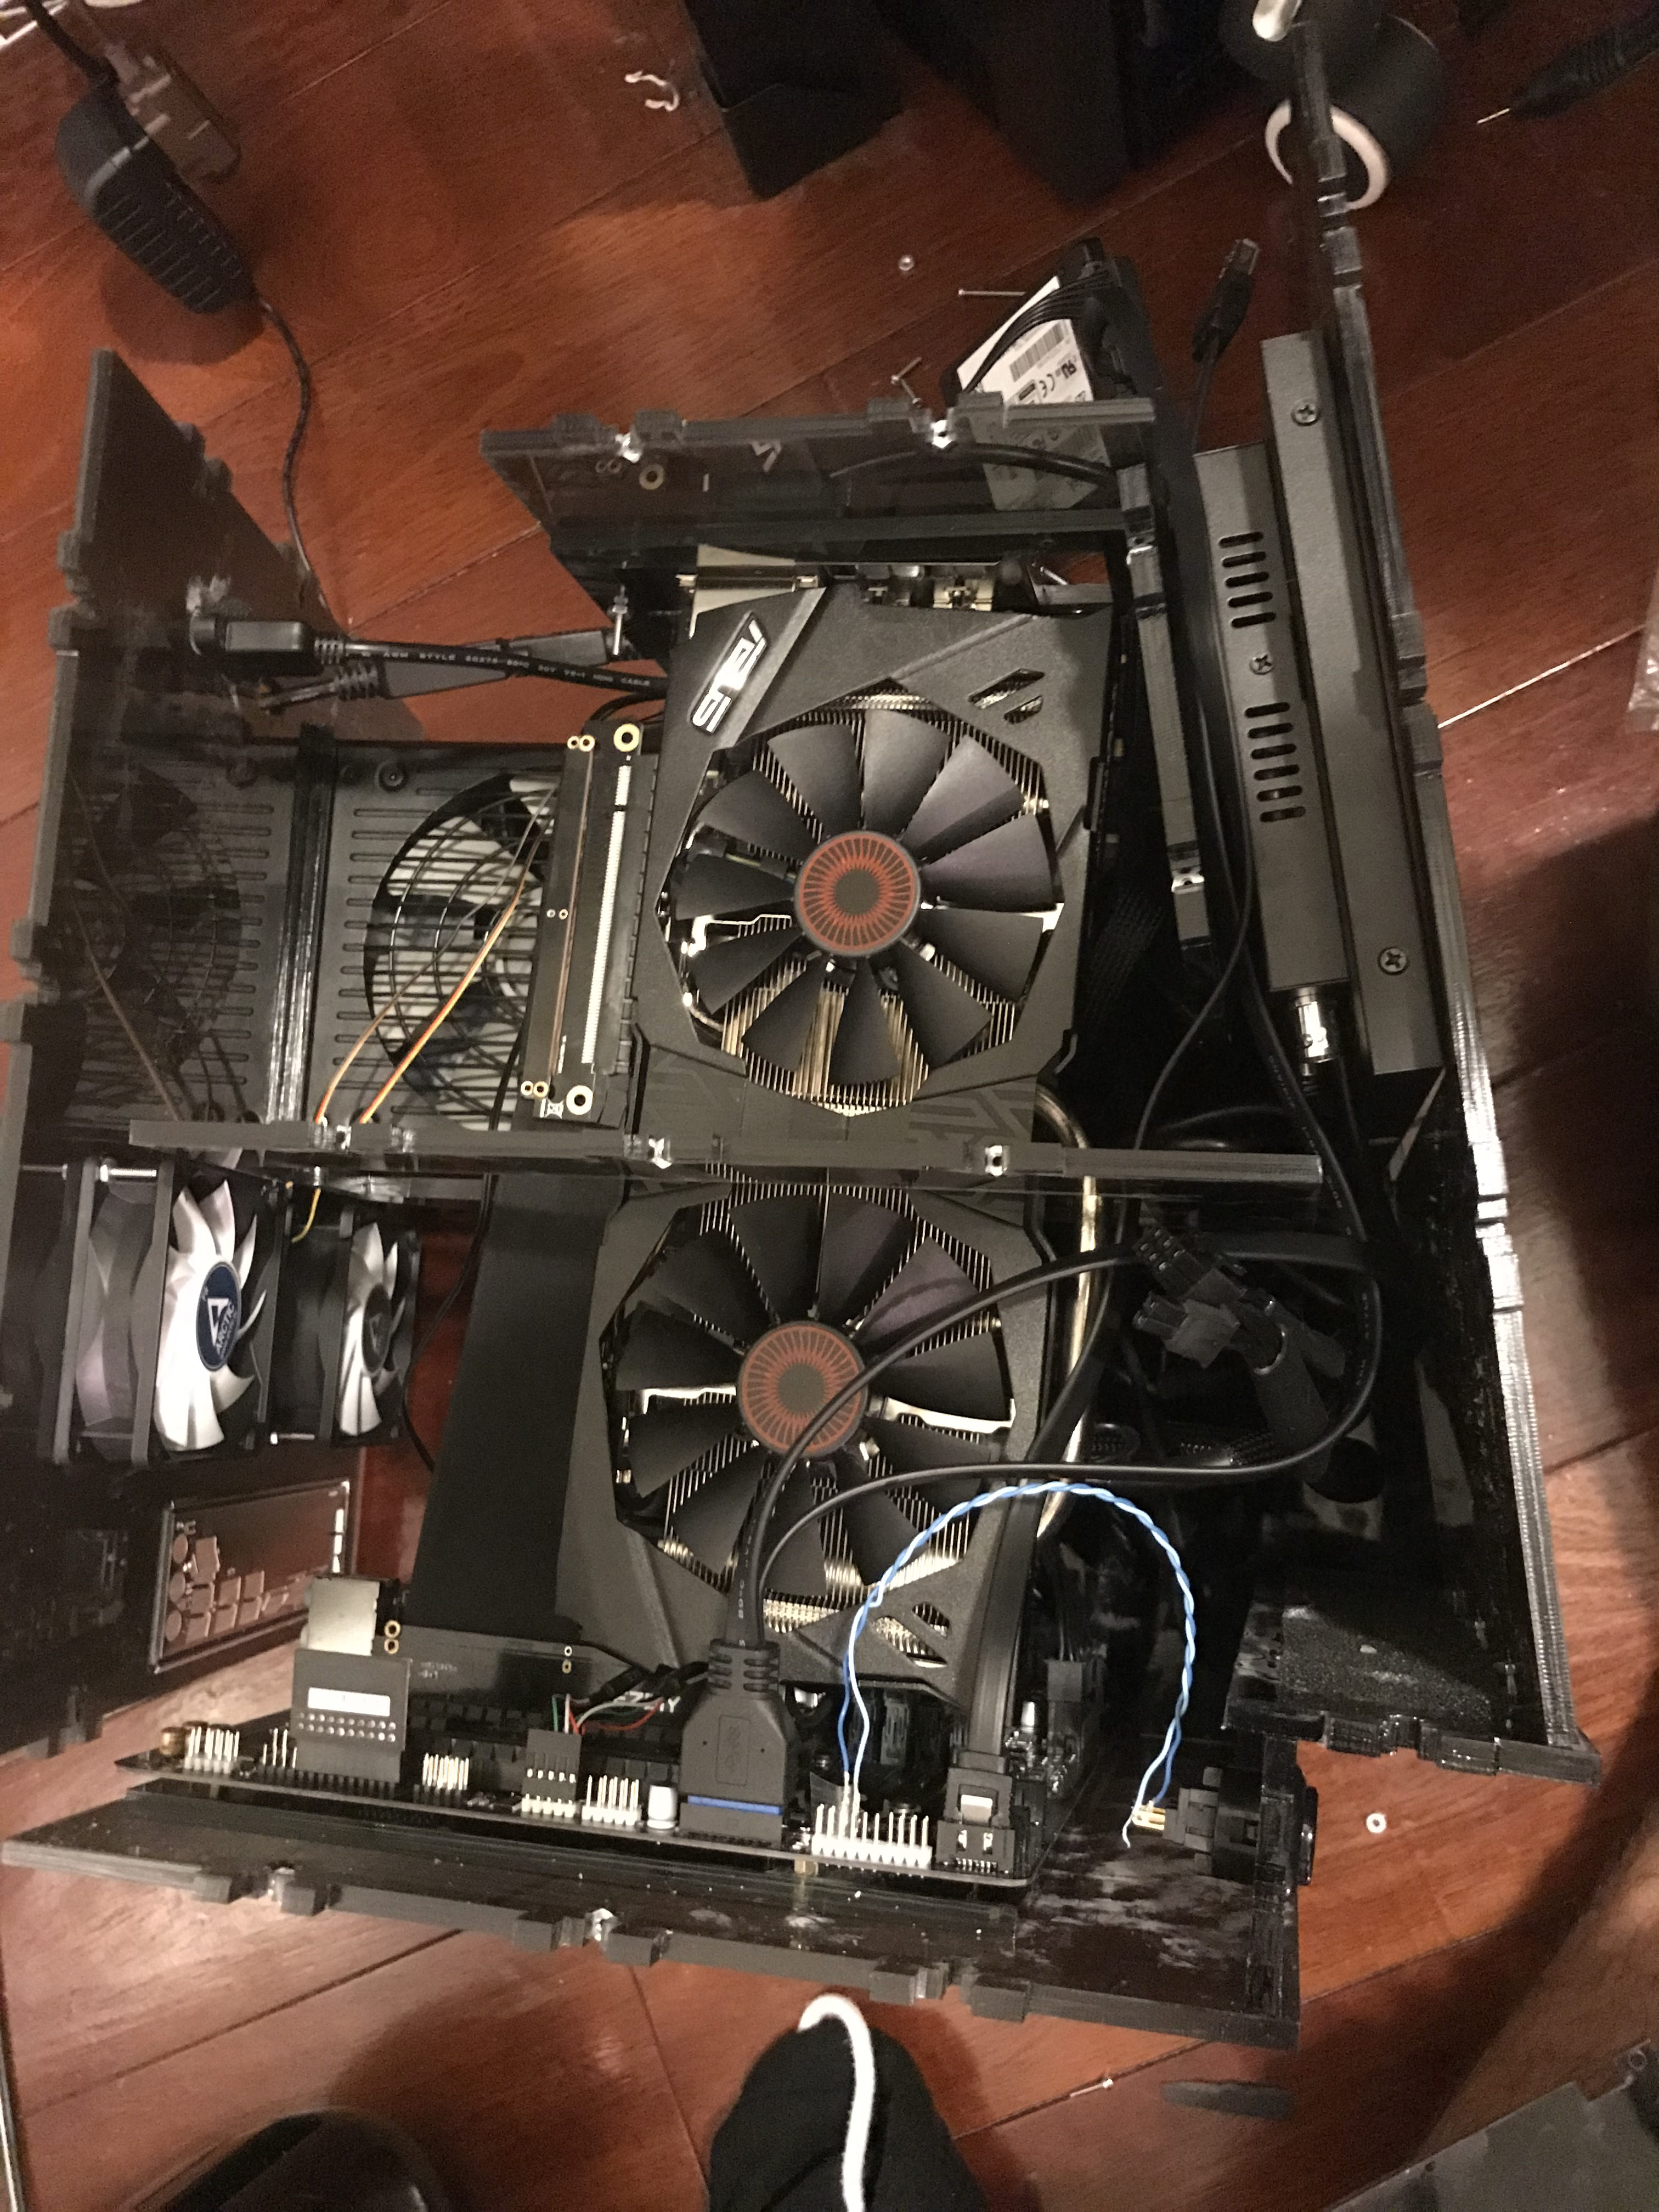
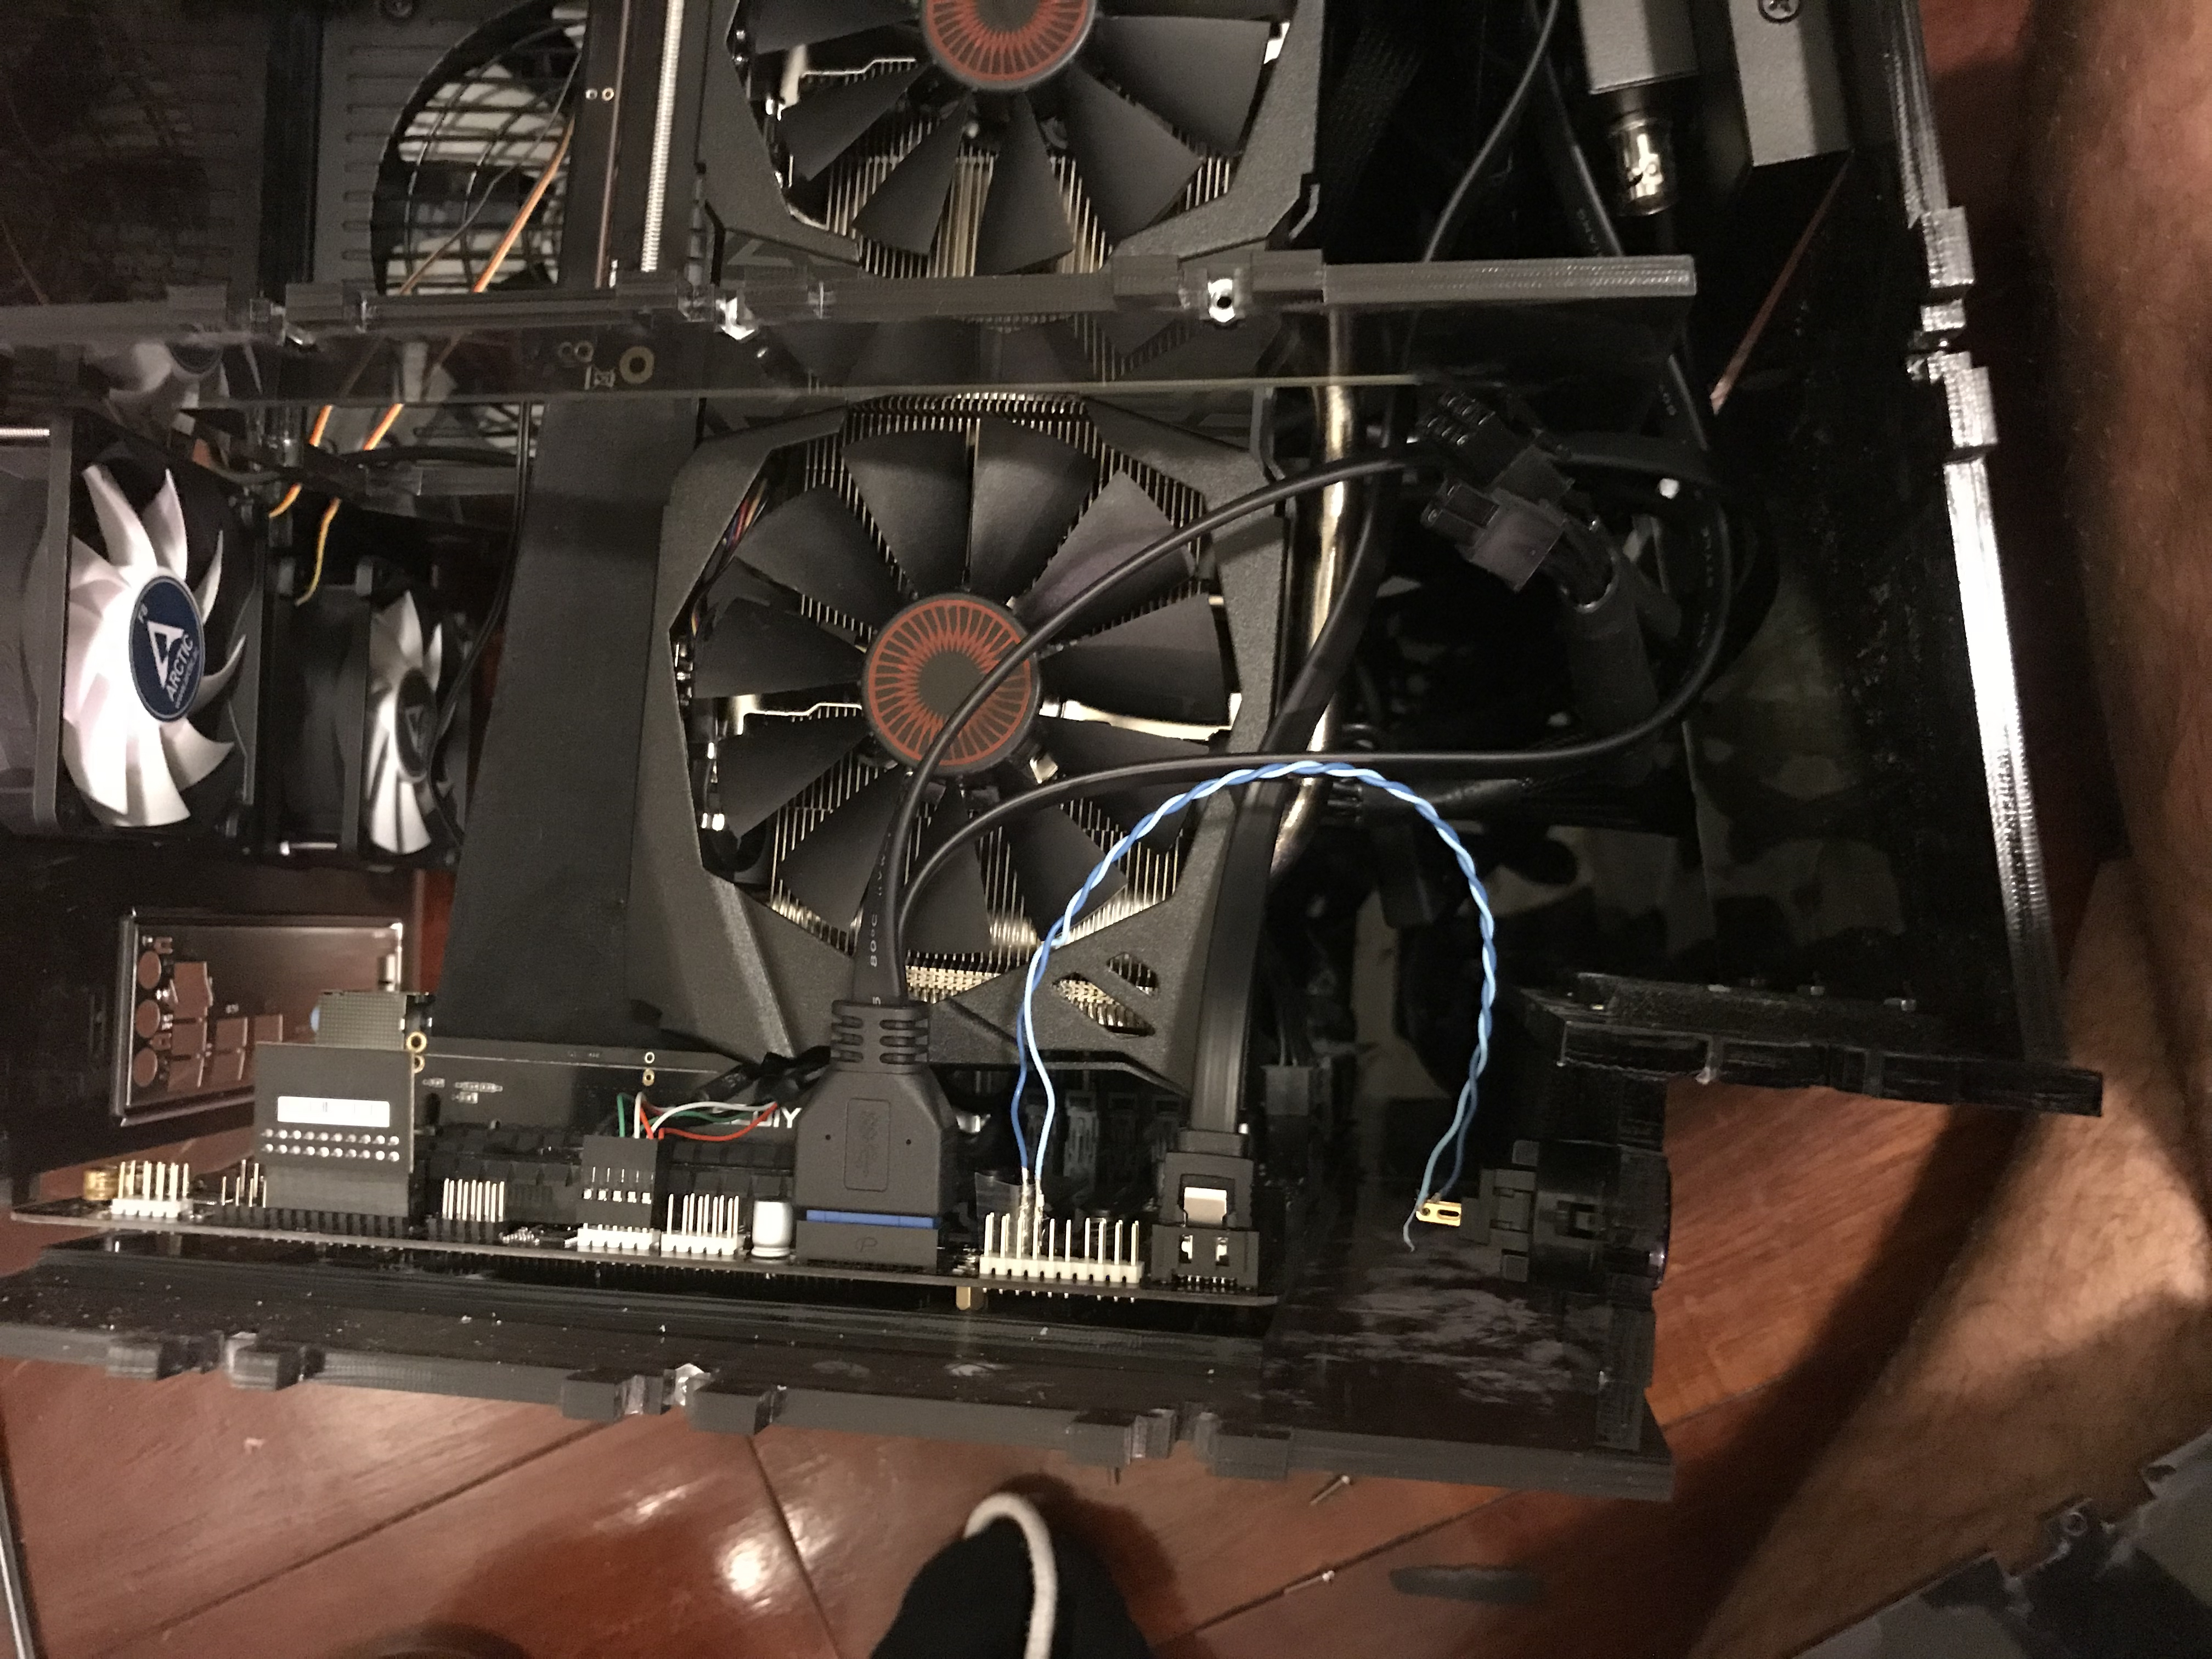
The hardest part was getting the graphics card to stay. Its held in place by a bracket, and then I used a piece that I am usually opposed to, a PCI Express Extension cable. So far, after a few months of use, it has worked perfectly.
The side walls hold the whole case together, I found putting a lot of the middle pieces into one wall, securing them, then laying that wall on its side lets you easily add the other wall to the top. Note, I do this without any components in, once they are in taking the case apart is much more difficult. The front grill has to go in when the middle pieces do, since it is also secured on both sides and can’t slide in and out. The top, back, and front pop on after the middle pieces are secured. Its a good idea to keep the side screws loose till the front and back are in since sometimes you need a little wiggle room. These last pieces don’t need to go in till the last second though, since they give access to the motherboard, and screen.
The power button ended up being an arcade button I had laying around from another project. I did put a USB 3.0 port out the front, where the original Mac had a keyboard port.
Materials:
Most of the things in this list are self explanatory. RAM with LEDs is silly, but then it was a few dollars more and looked cool so I got that, I obviously had to get it. The air conditioner foam I put on the inside of the front grill where most of the air comes in to filter the air for dust. I found nice 80mm fan grills online, they work so I have something to screw the fan into, as well as keeping dust/fingers out of the fans. I got HDMI and DisplayPort extender cables to go from the graphics card to ports in the back of the case.
The motherboard stand offs are a must. The motherboard tray has larger holes than the standoffs by a good amount. To hold the standoffs into the motherboard tray, I screwed the standoffs on the motherboard, then put the ends of them onto the tray while the motherboard was upside down. Doing this, I was able to put super glue in the holes of the tray and stand offs to hold it in place. This isn’t the best, but I was having issues of getting exact Mini ATX dimensions and this worked for me. Just make sure to not get super glue on the motherboard. Then the motherboard can be removed and the tray screwed into place of the main case.
Before getting all the PC components into place, I got the front screen bracket installed, then installed the screen itself, running all the wires where they would be easy to get to, and also out of the way. I got the motherboard in the bottom of the case, followed by wiring the PSU. As mentioned before, now the hardest part was getting the long graphics card in, it sits with the normally external PCI plate at the top of the case, and is slotted in from the top. I got the card straight down the hole, then used bolts and washers to secure it up top, with the help of a laser cut bracket. Once the PCI-express extension ribbon, which aren’t may favorite but needed to make everything fit, was in place, I tested powering it up. Once everything was working it came down to installing the solid state drive, and mounting it where I wanted it, and wiring up all the assorted fans.
For software, I am running Windows 10 Pro with UEFI. Also because its 2019 I decided to get a TPM chip for this motherboard, and use Bitlocker for whole disk encryption. There is not a real performance hit these days so why not.
In the end it was a fun project, but took slightly longer than I had hoped. The things I was originally worried about, airflow and the PCI ribbon, have turned out not to give me any issues. I tend to not use the screen in the front too much, and the system is not too portable since the 1/4 inch acrylic is a bit heavy, but it looks neat next to my desk, and in the end, wasn’t that the point?


A small shout out to a new store in NYC, I am a member of Fat Cat Fab Lab (http://fatcatfablab.org/), and they have a new store near by for Acrylic. MakerKraft, a division of BeadKraft, offers free shipping to the lab at prices that are very reasonable. I also had issues with my order and they called me, offered options, and a discount, very nice people doing great work. If you are in or around NYC and need acrylic, https://www.makerkraft.com/ is cheaper than the Canal Street places at this time. Note: I am not paid by them, just had a really good experience.
