
Over the holidays I got parts to put together a Mister FPGA system (project home, sub-reddit). This is an open source project which allows to run classic game consoles and classic computers in hardware on the FPGA. Instead of normal emulation, where in software you pretend to be the CPU/GPU/Hardware of what the original code would run on, this projects has a Field Programable Gate Array that can change itself into being that hardware. By doing this, the system can get very very close to 100% accurate running of these old systems. Each system is created into a “core” which is applied to the FPGA to run software. The community around the Mister Project is growing, there are some projects to get systems like N64, and PSX working on this platform; but the Mister Project standardized a while ago on one FPGA, which may not be up to that task once the new cores are done because of their size and complexity.
There are many nice features that have been built out for the projects over the years. Standardizing around the DE10-Nano FPGA, there are many add-on boards you can get for it. From additional RAM, to VGA outputs. The FPGA has a ARM CPU that manages the base system, that supports Wi-Fi cards, Bluetooth, and has automatic updating features. With an IO board that most people who use the project get, you can click a button to reboot the system, or another to go back to the main menu and select the core you want to run. I have a standard IO board, USB Hub, and 256MB of RAM addon. The documentation for the open source project is actually good, with it all centering around the Github Wiki. There are automatic installers for the SD card you need to do the initial ARM side setup.
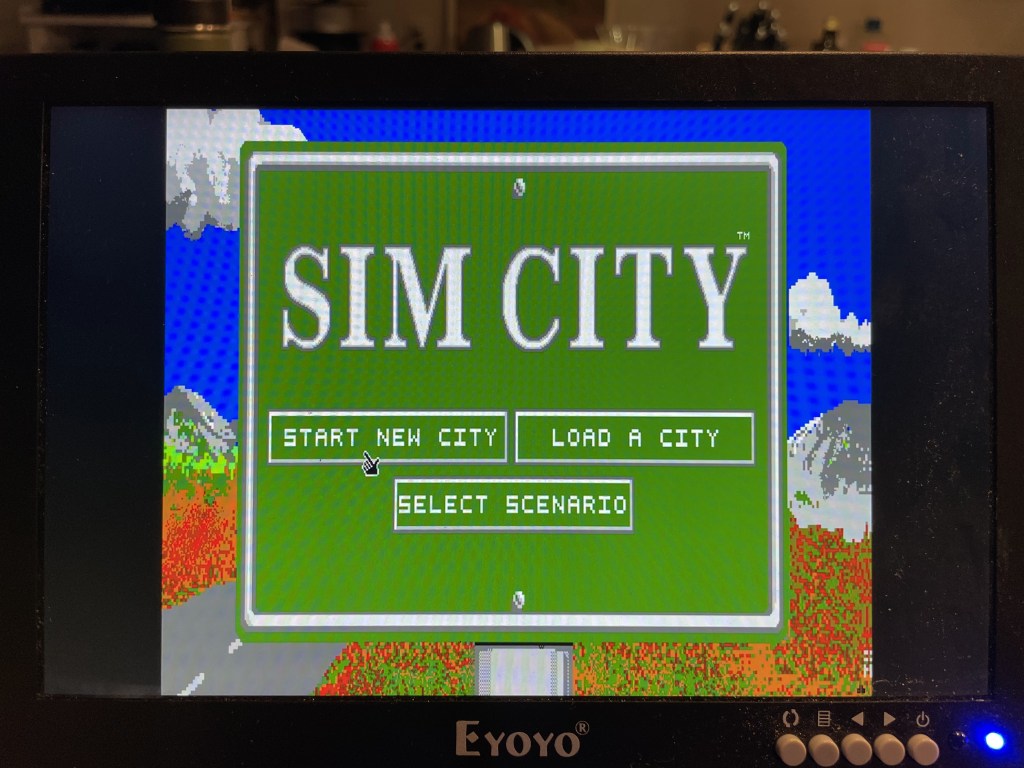
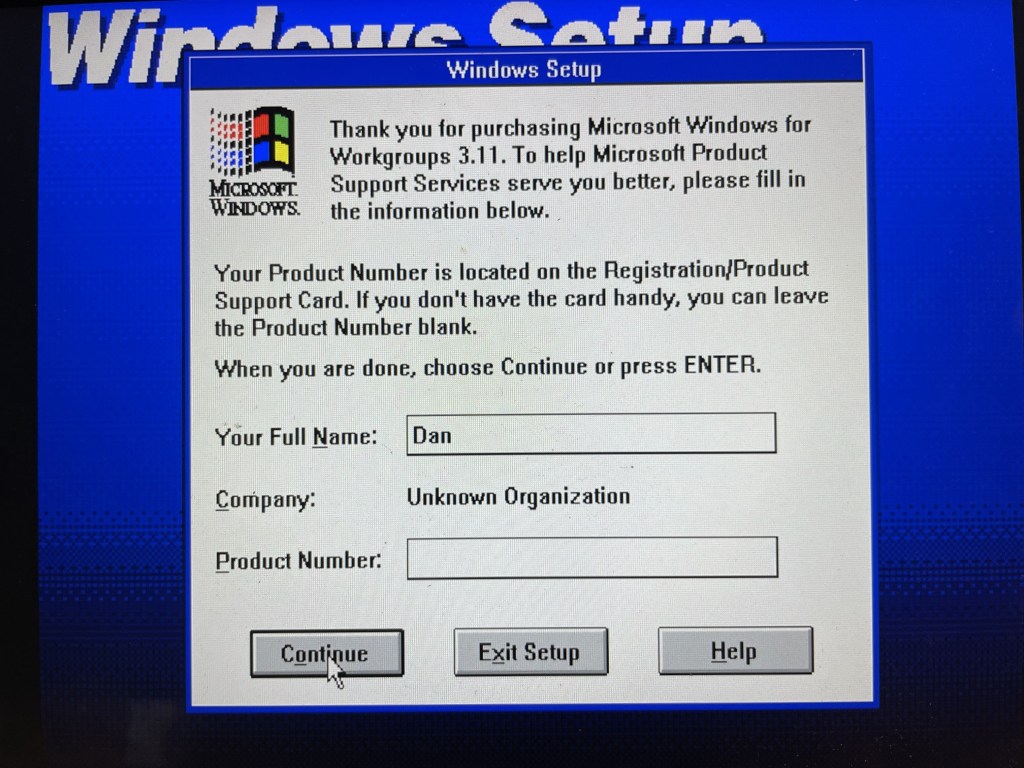
I was most interested in one of the completed cores, it is a 486DX (project home) with Sound Blaster, and everything you need to run Dos/Windows 3.1/Win 95. Having played many games as a child in that environment, having a 386SX, I was excited to give it a try.
Hardware
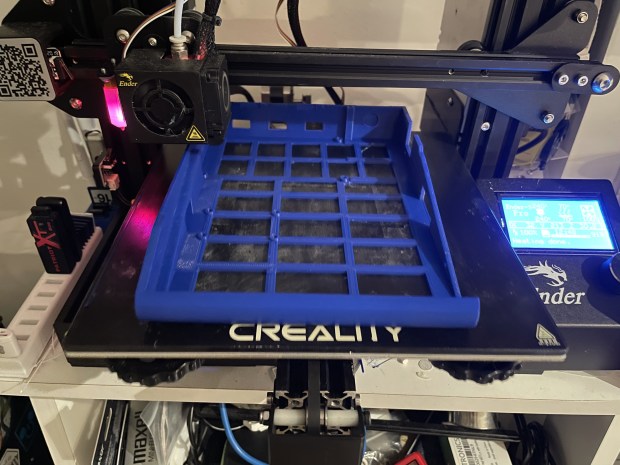
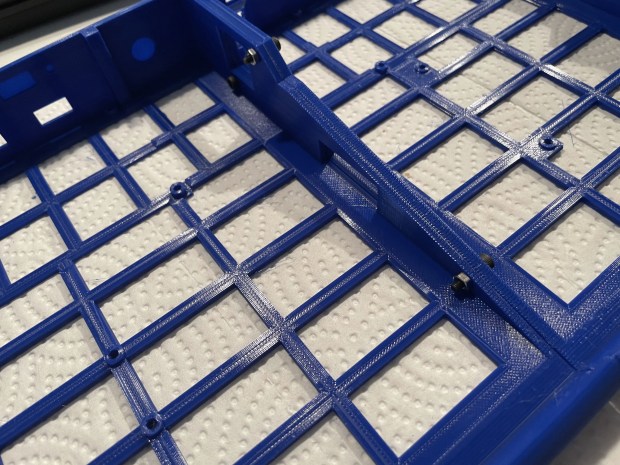
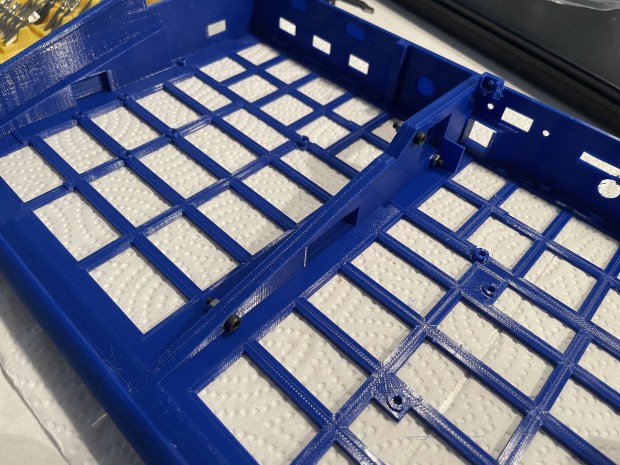
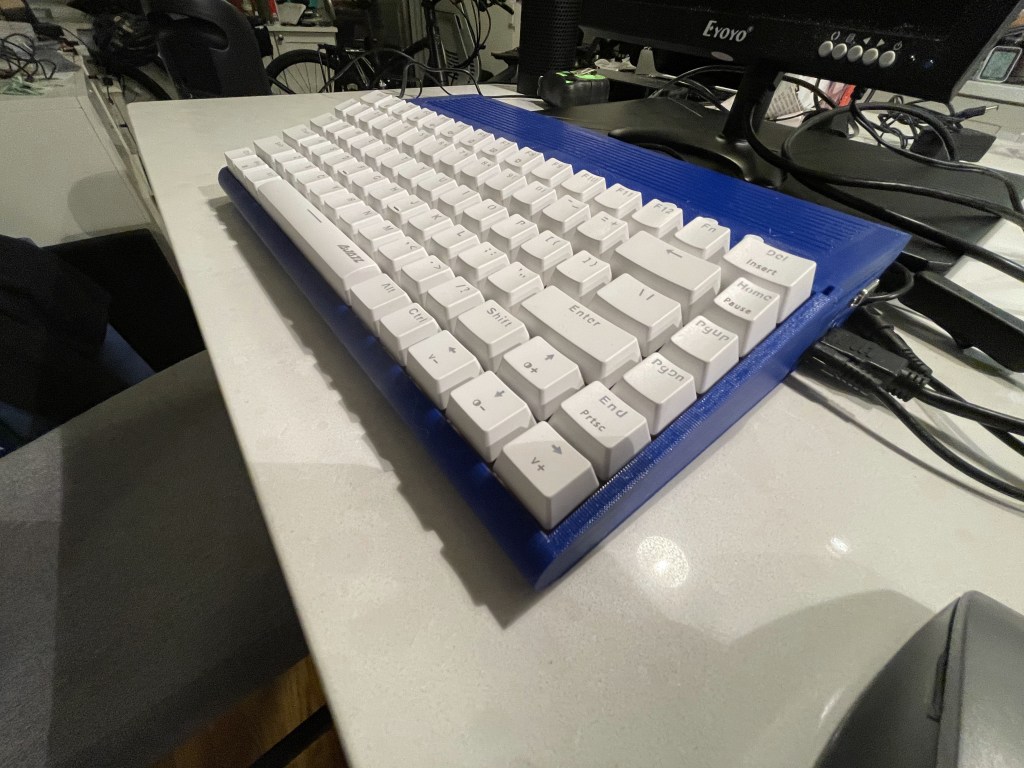
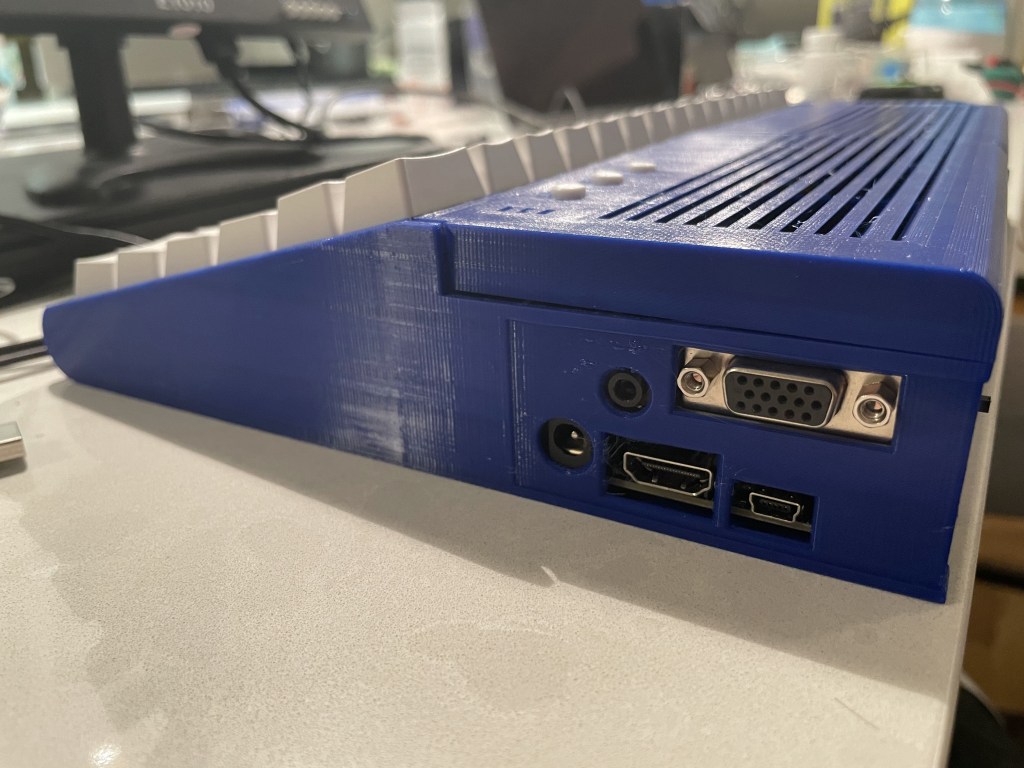
When I was thinking of getting the parts for the project, I looked on Thingiverse to see if anyone had put a case up; there are several. The one that caught my eye had an embedded keyboard in it (link, updated case), that one had a note on it that an update to the case was coming soon, and to hold off on printing. The estimate for printing the case was around 24 hours, and I didn’t want to do it twice, so I waited. I reached out to the creator who worked away over the holiday season to get the update out. Myself and another were chatting with him in the comments about printing it, and the creator graciously put up the design, before all the instructions were done so the two of us could start printing.

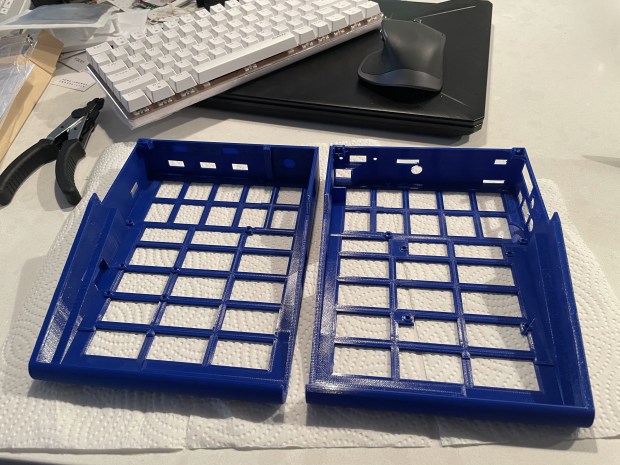
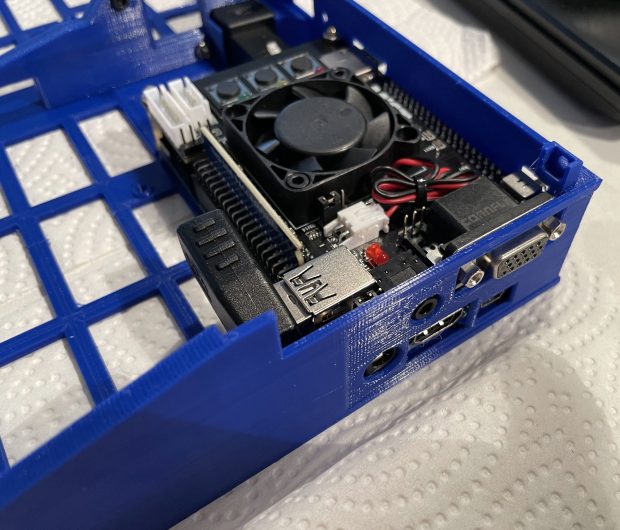
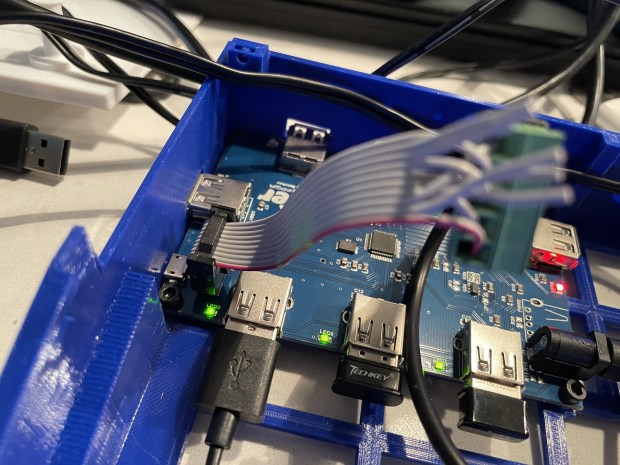
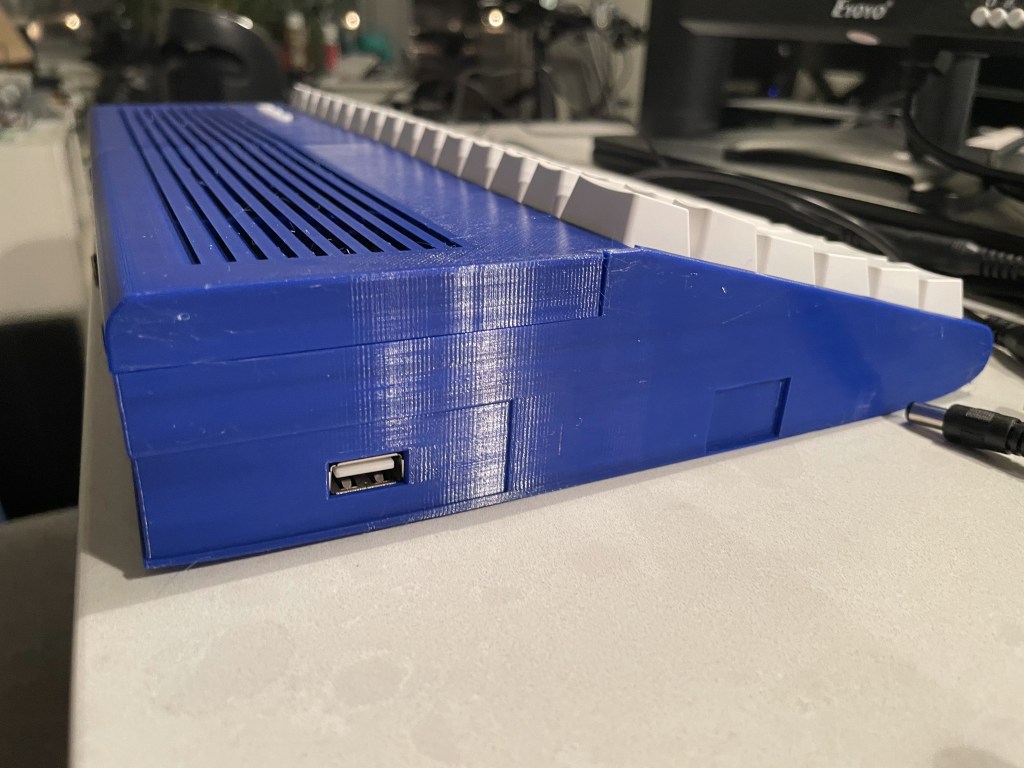
This is the largest thing I have printed on the printer, with my print bed holding up to 220mm, and the case coming in at ~210mm. It printed great. I used PETG instead of PLA plastic to have added resistance to heat. After that, it was screwing parts together, and making a tiny circuit board to support the normal buttons on the top of the case. I ran into a small problem with the updated USB board I have, its input was blocked by the side of the case. The creator had a different revision of the USB board, and thus hadn’t tested with my version. I ordered some cables online and ended up checking the pinouts and making my own header to USB cable, after that it was smooth sailing.
I ordered a collection of M3 screws, to have different sizes. That is the size the case was built around. I also had some screws that do not have heads on them, I was able to use these internal screws to hold some of the boards in. I will put a full list of the parts I ordered below, including the headers for the Mister IO board, which took a bit of research to find.
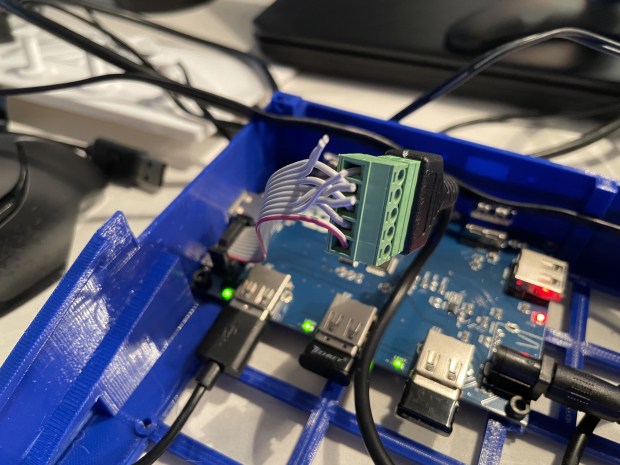
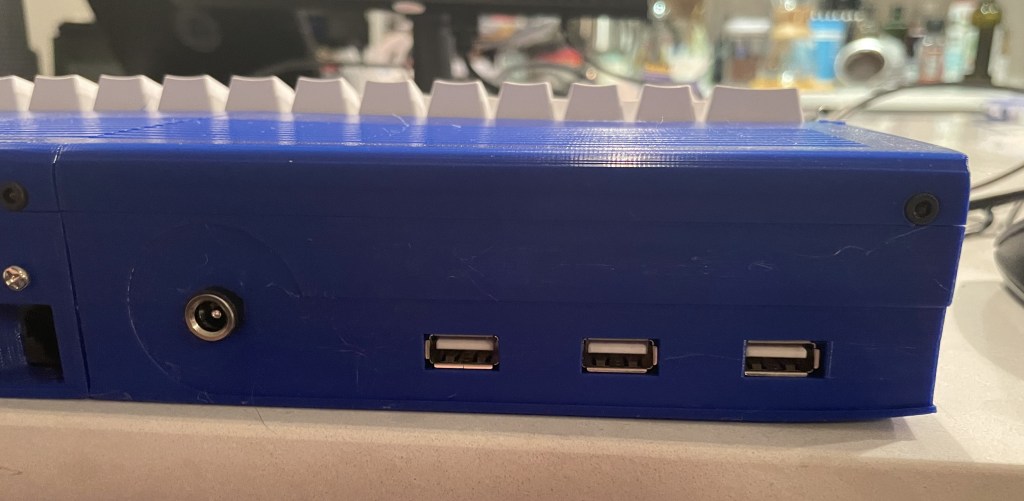
The USB board, and the Mister FPGA itself need 5V power, the USB board came with a Y cable to breakout a single power brick into the 2 boards, but it was not designed for them to be this far apart. Usually the USB board stacks directly under the FPGA, with this case they sit several inches apart. I ended up getting a 1ft extension cable to be able to make up the difference. While that worked I then got a 2.1×5.5mm barrel connector and socket to put on the back of the case, now it has a nice flush place on the back of the case to plugin the power for the USB board. I am using a SD card right now for all my storage. The 128gb it gives me is fine to get started. I have seen people with setups that have a SATA SSD in the case with a USB adapter. This case supports in in the spot under the FPGA. If you load the system up with a ton of classic games and systems, that may be needed.
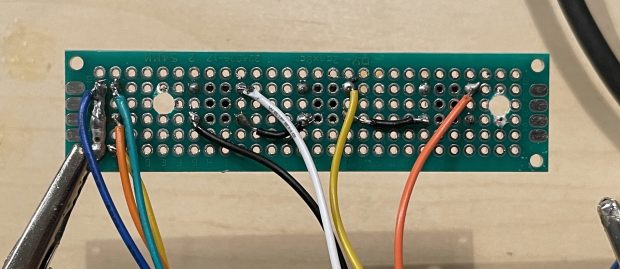
Circuit board 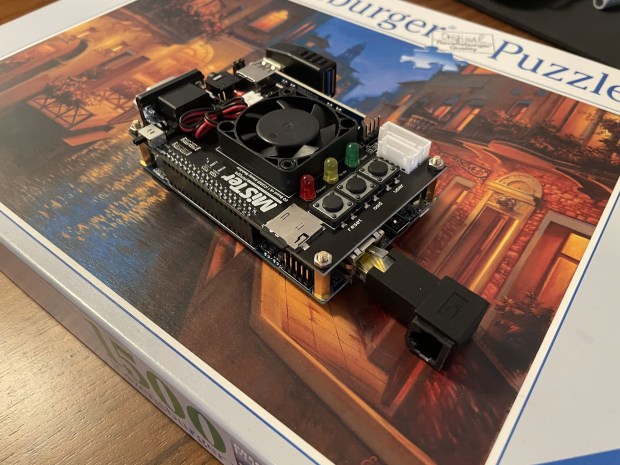
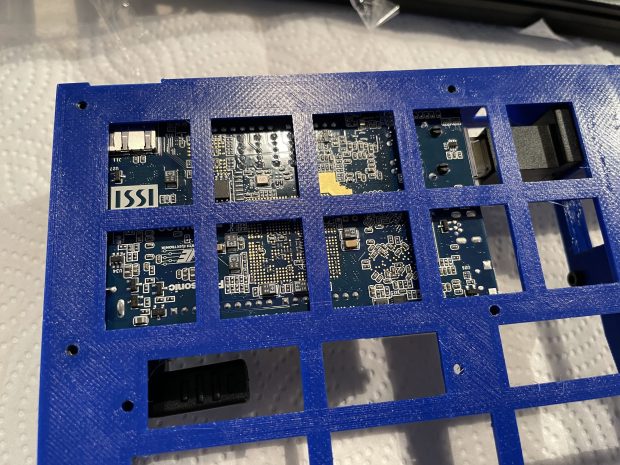
Internal, no head, screws
Setup and Software
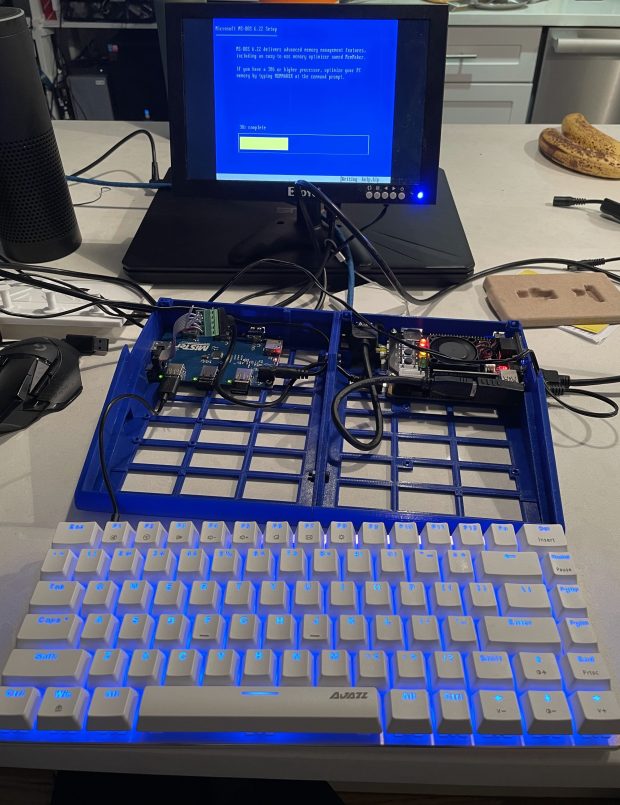
Setup I used the Mister “Mr Fusion” Windows installer. Popped in a 128gb micro SD card, and a few minutes later it was ready to go. It takes about 10 minutes the first time it is setup and has internet access to download all the “updates” which is every core registered with the project. The Wi-Fi and Bluetooth dongles were automatically detected, I just had to enter Wi-Fi credentials.
I think the case came out nicely, and have been having fun installing things on it and playing with it. While the 2GB virtual hard drive I gave Windows 95 is on a SD card and gives decent read/write speeds there, the FGPA 486 at 90mhz still struggles a bit with Windows 95. People are working on getting the perf better. Improvements like recently added L2 caching can help. With the click of a button I can swap it over to Windows 3.1 on a different virtual drive and load up my DOS collection. One of the benefits of the Mister project as mentioned is the ARM management layer, I can add files to a ISO, then SCP it to the system. You can also use any size SD card for all your images, and when you want a new virtual hard drive, its a few clicks away. Then mounting those images is straight forward. Windows 3.1 and 95 are supposed to be able to open a null modem connection to the host and transfer files/browse the internet that way, I have yet to get this working.

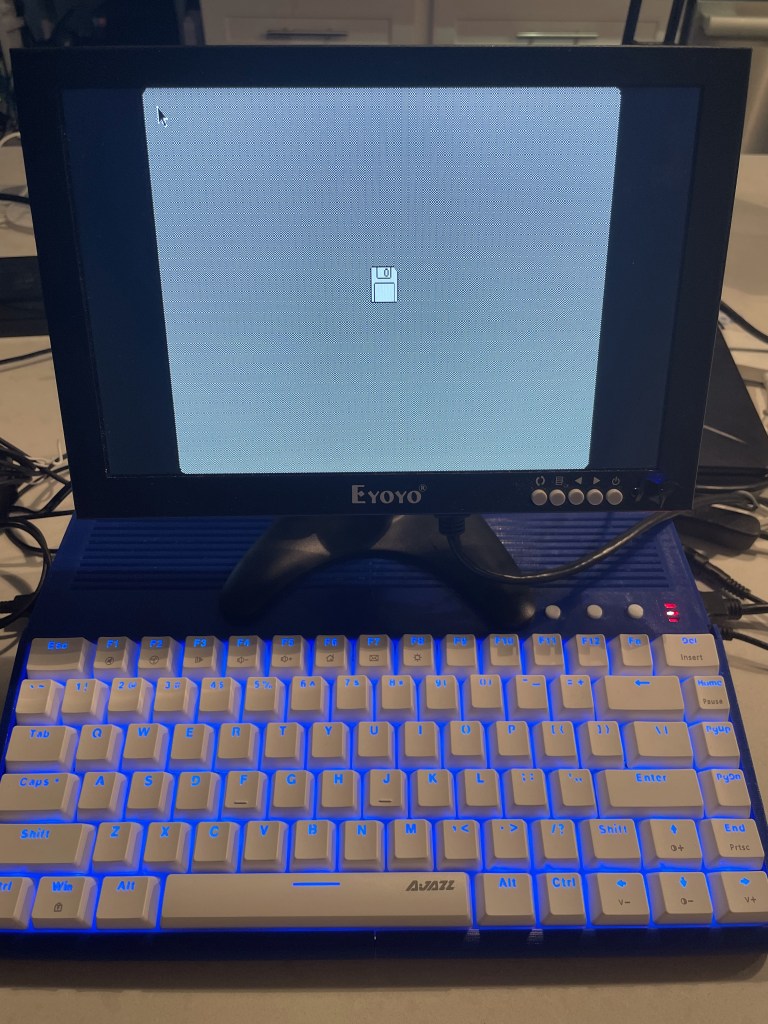
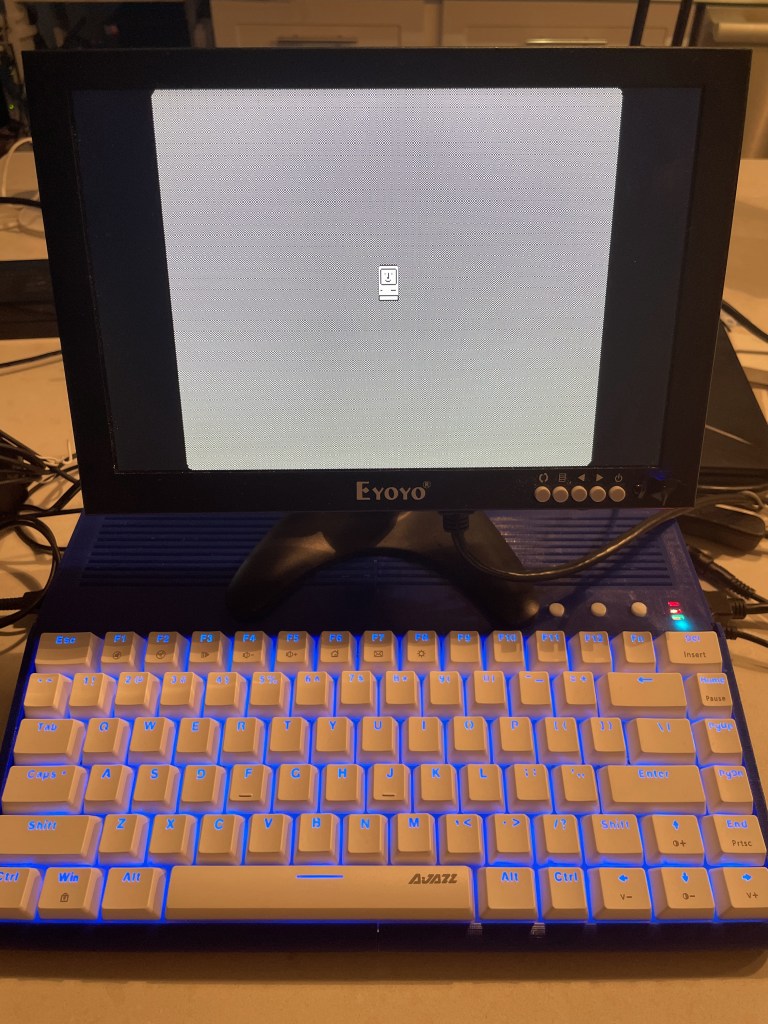
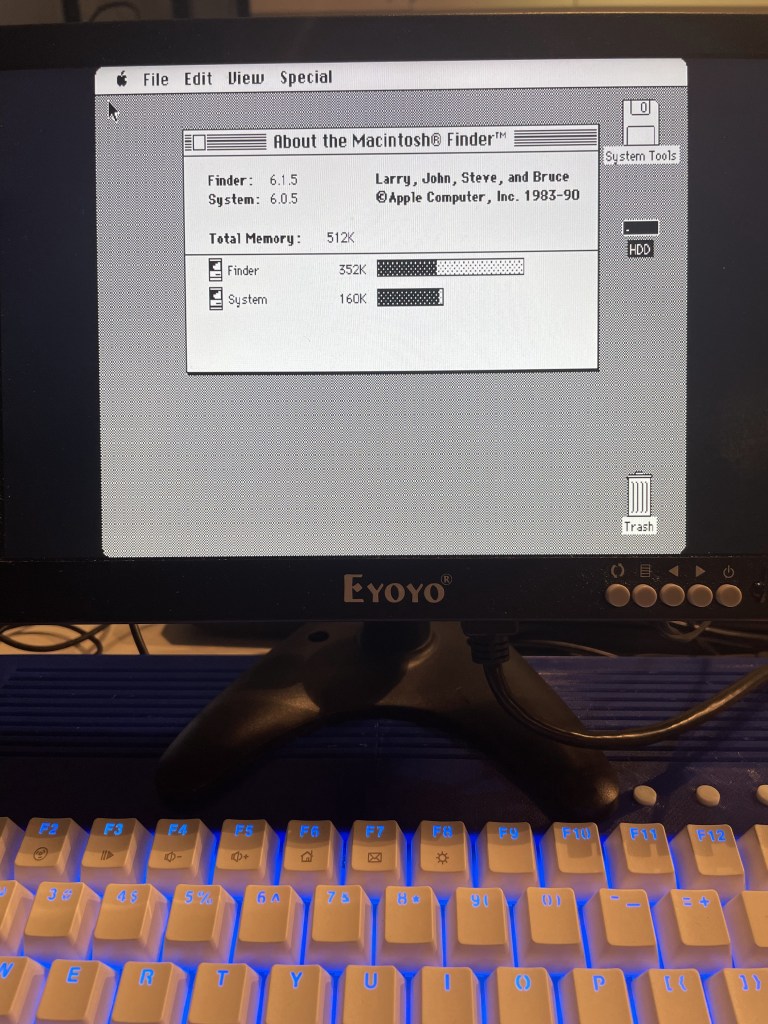
After all the posts I have done on here recently I couldn’t just play around with the 486. I also got the Mac Plus side of the house running. You can run with 512kb, 1mb, or 4mb of RAM. It has a 20MB HDD, and 2 floppy drives. There is also a Turbo mode, which we obviously need because turbo! And because classic Macs can be slow…
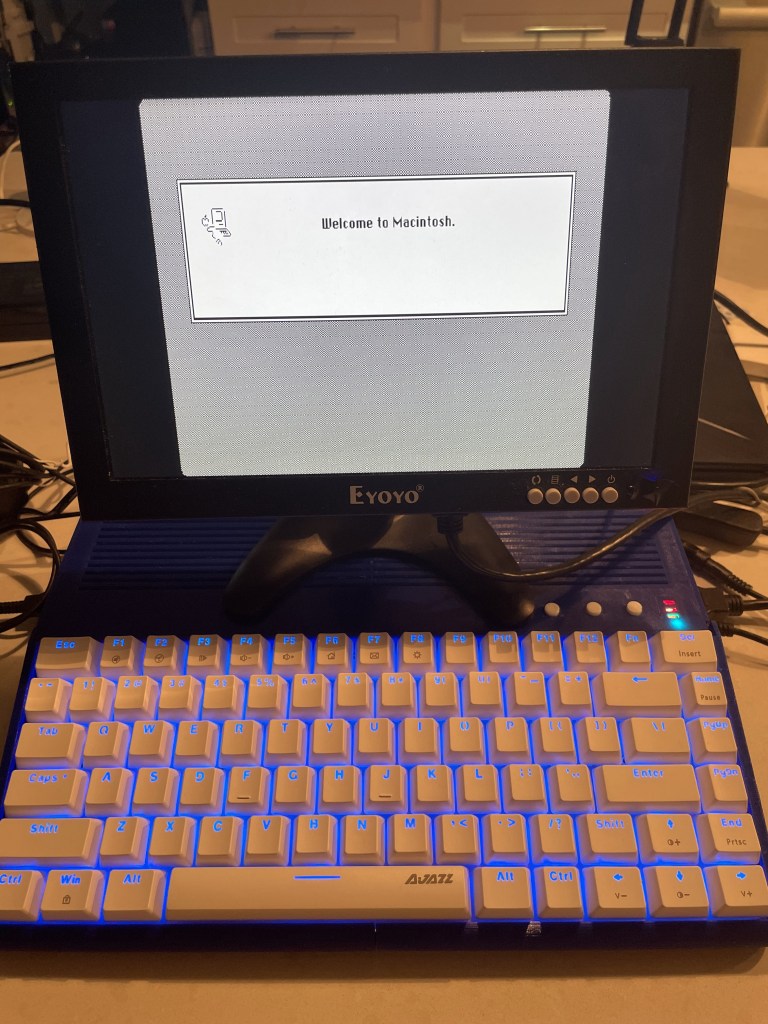
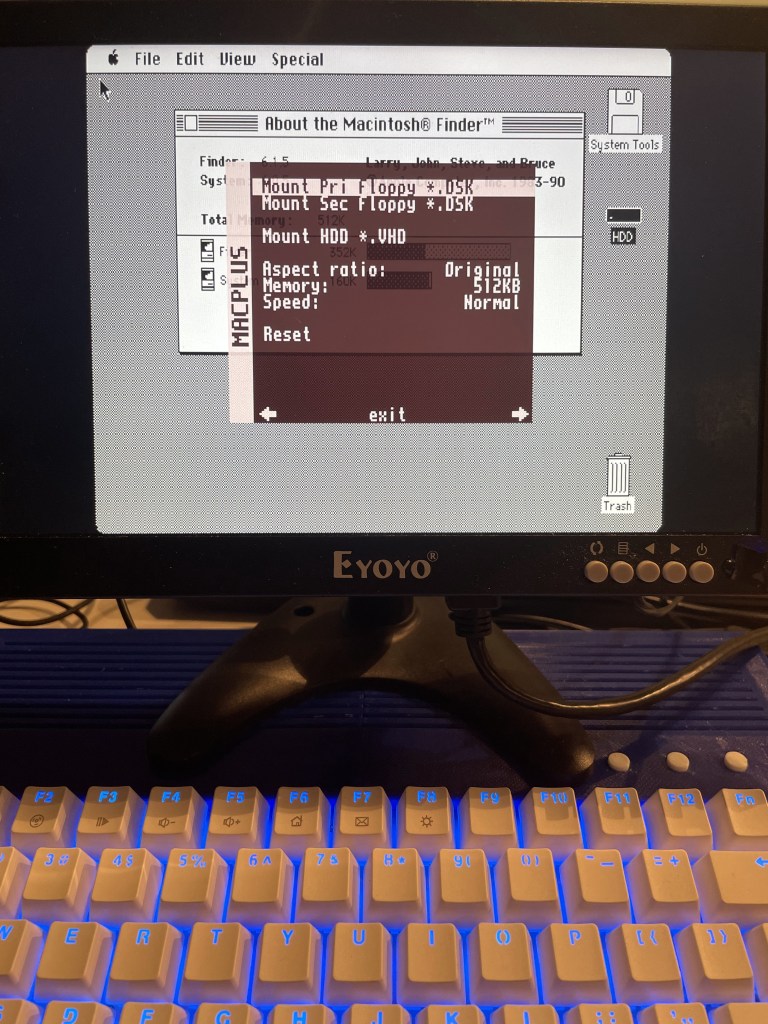
An example of one of the Core’s menus
All together it is a fun project I continue to play with. I like being able to play with classic systems like a Commodore 64 without it using up space in my small apartment. The ease of loading software also makes for a very enjoyable experience. If anyone has experience with this, or has questions feel free to comment below!
Parts List
I tend to get packs of things when working on a project like this. I can use them later and it gives be options with several sizes. I did not include the Mister Board and IO board since there are many sellers of those standard parts, I did include the USB and Bluetooth because they have been proven to work.
