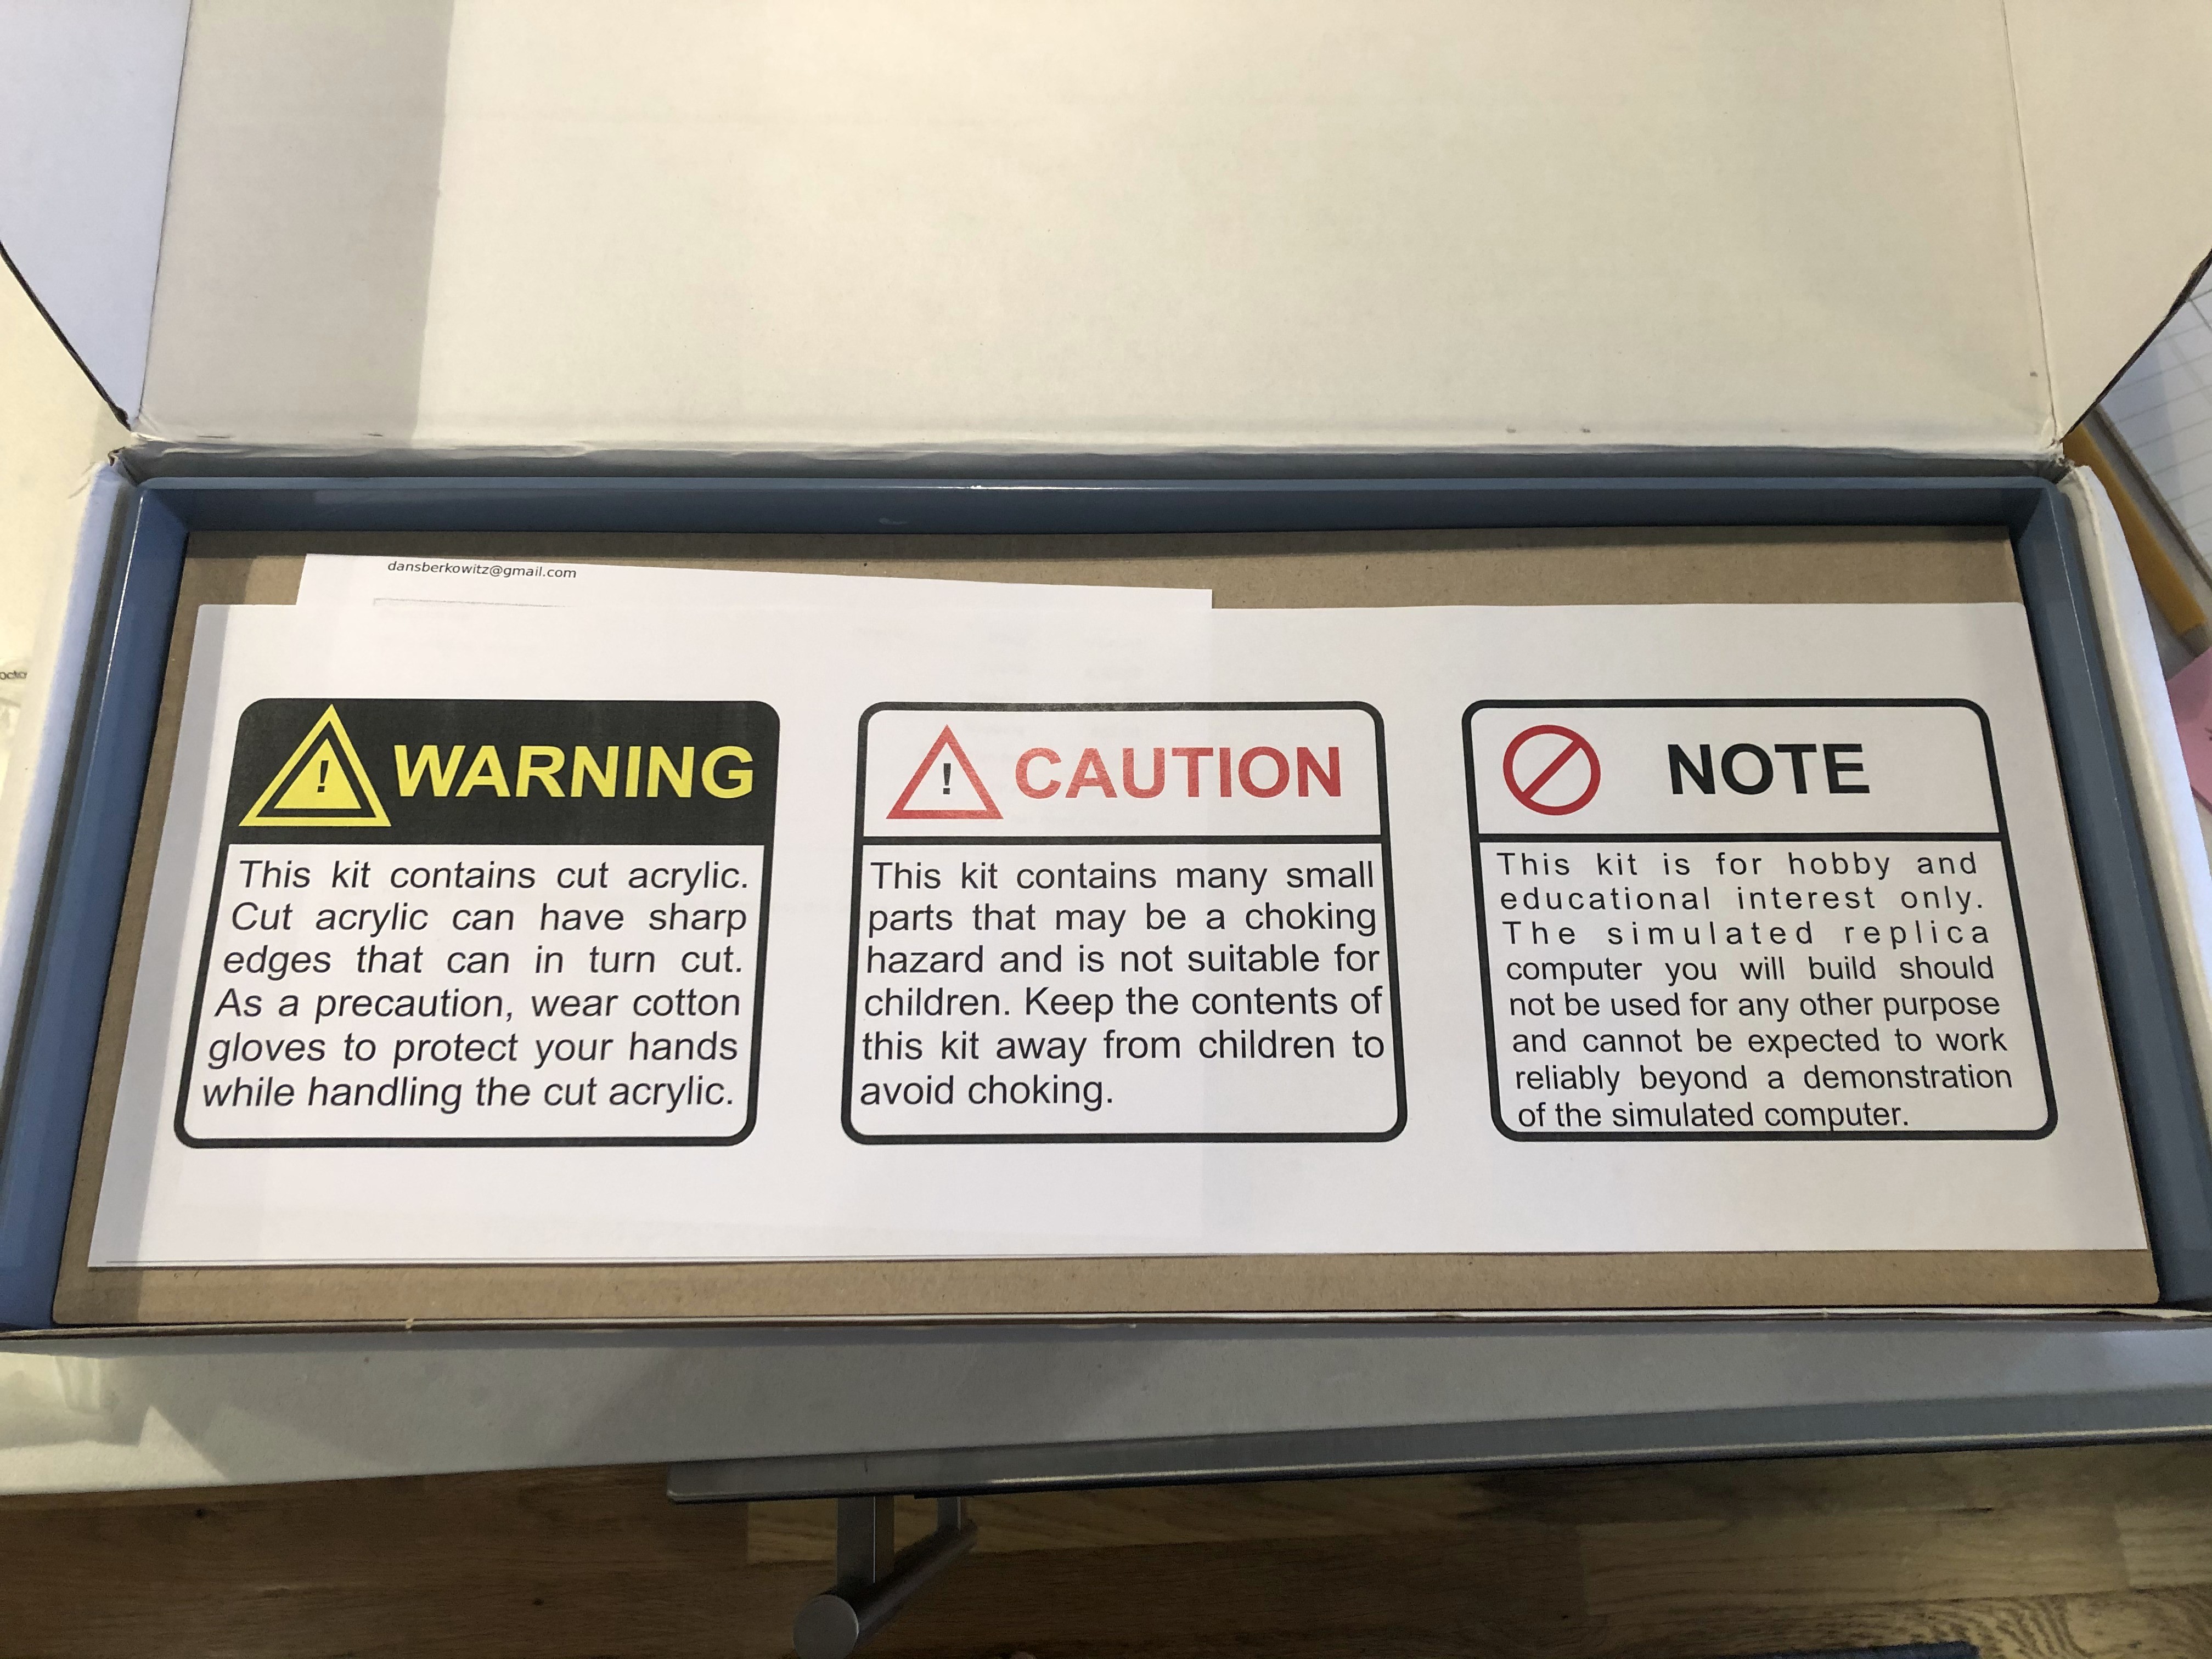
Continuing the journey of retro computer kits, I emailed the creator of the IMSAI 8080 kit over at https://thehighnibble.com/imsai8080/#overview when I saw the kit he had, but didn’t know if any were available; then one day out of the blue get an email saying a kit is ready for order! They come out in batches, this makes it take a bit to get them sometimes. To start off I can say this is one of the more well put together kits I have gotten. I was a little worried when I looked at the instructions and it mentioned a lot of part numbers and no photos of the setup; then I realized I had missed a link to a video that walks through the whole process, making it much easier.
The Kit
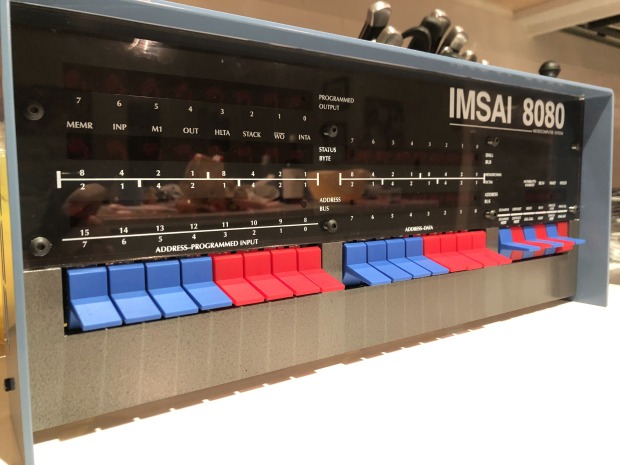
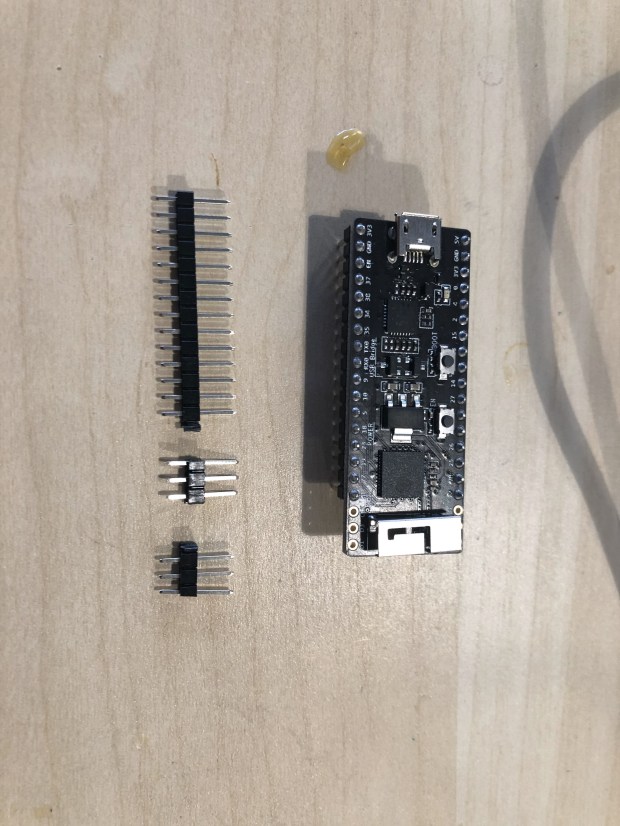
The kit is one of the more professionally put together kits I have done. From the metal case the system sits in, to the cut out cardboard all the parts come in. The creator, Dave, put a lot of attention to detail into everything. This kit includes everything from serial console lines on the back, to the micro controller having a WiFi antenna, which you can access over WiFi. The shipping box is also the correct size for the unit, you can use it as storage after you are done with the project. This kit comes with what you need ready to go and be put on the board (except solder and flux); some of the kits I have had in the past have required painting. You do pay a bit of a premium for it, but I think it is worth it. The kit also allows RS-232 connectivity or USB directly into the ESP32 controller.

Assembly
I will start off saying the hardest part of putting the kit together is at the beginning. There is a tiny chip for memory and that needs to be surface mounted to the board. This involves getting a small amount of solder onto the pads and then heating them with the chip on it. I accidentally bridged 2 pads and spent a chunk of time getting the tiny amount of solder off. After that part is over, you move onto the micro SD card reader, this is a similar surface mount; yet either I got better after doing the first one or got lucky, that was put down relatively quickly.
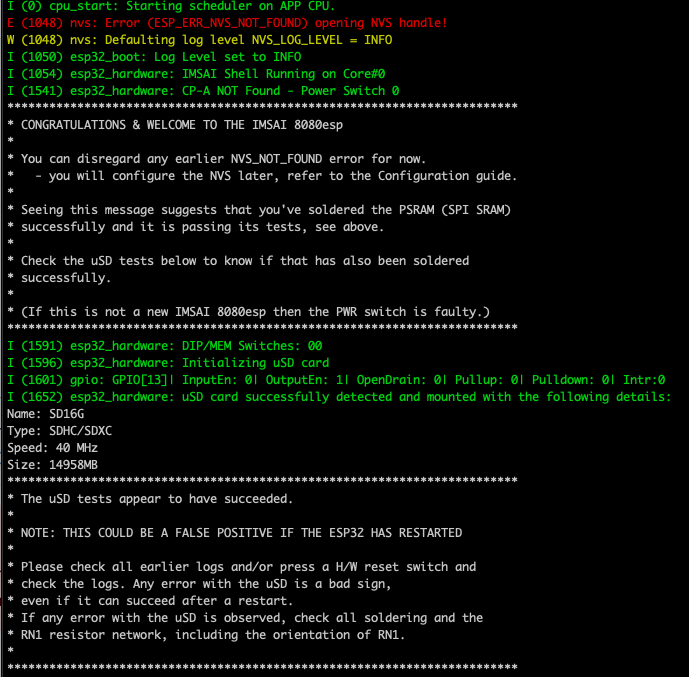
There is a diagnostic program you can run at that point to check if what you have soldered so far is working (which is fantastic), after that it is time for you to press on to soldering all the LEDs and their corresponding pieces. This part of the process is much like other kits of this type you may have done. It takes a while, but is a straight forward process.
In the end you sandwich the board together, and get it screwed into the case. There are a few parts where its gets a little tricky if you don’t want to have to pull the whole thing apart, but the video guide easily walks you through it.
Parts for controller 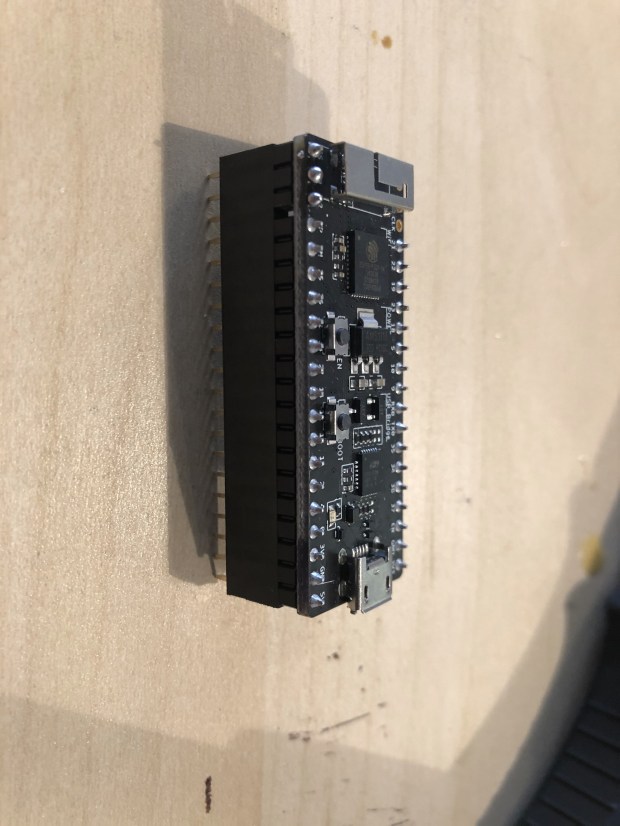
Controller with legs 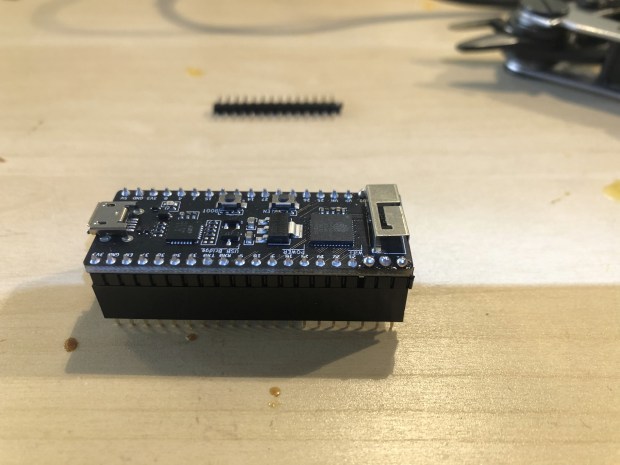
Controller with legs 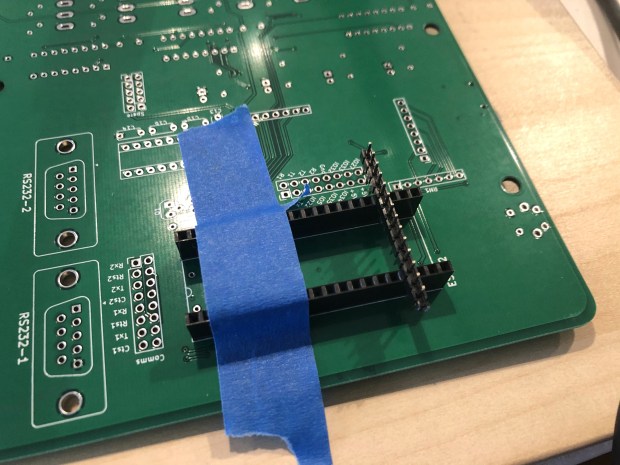
Socket mount 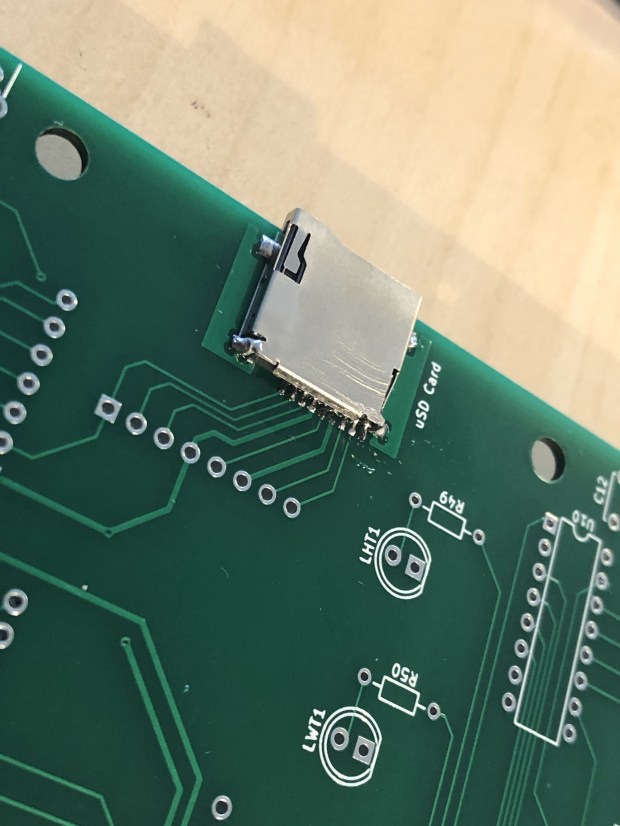
SD card mount 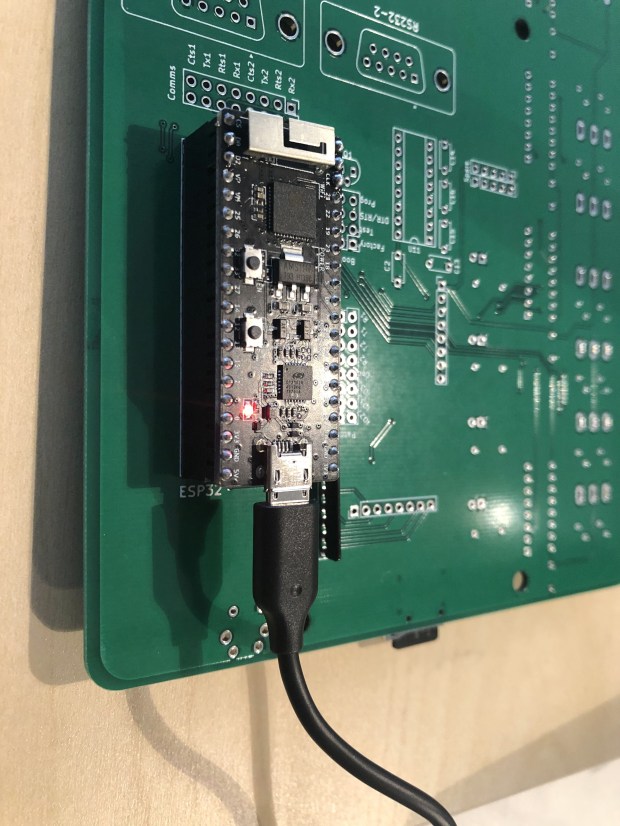
Controller is in and running diagnostics! 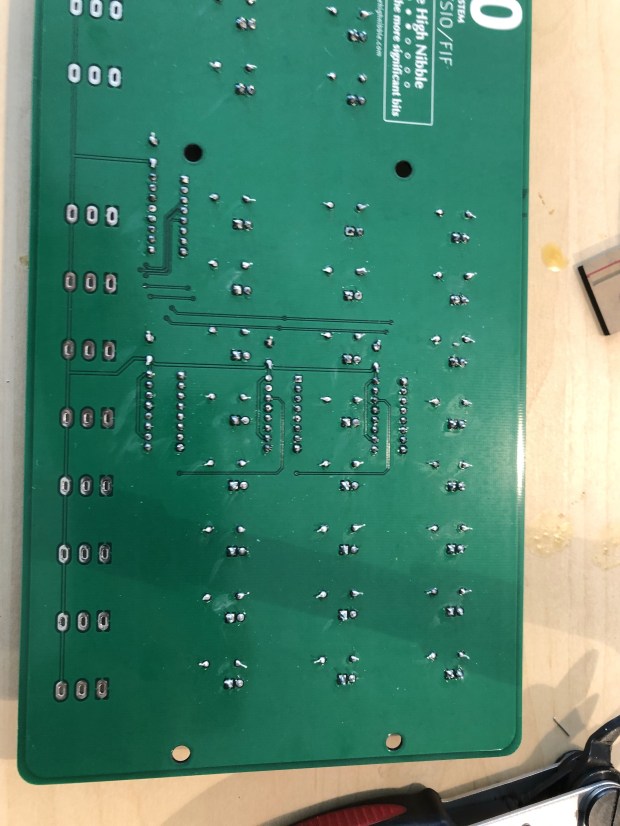
Back of board 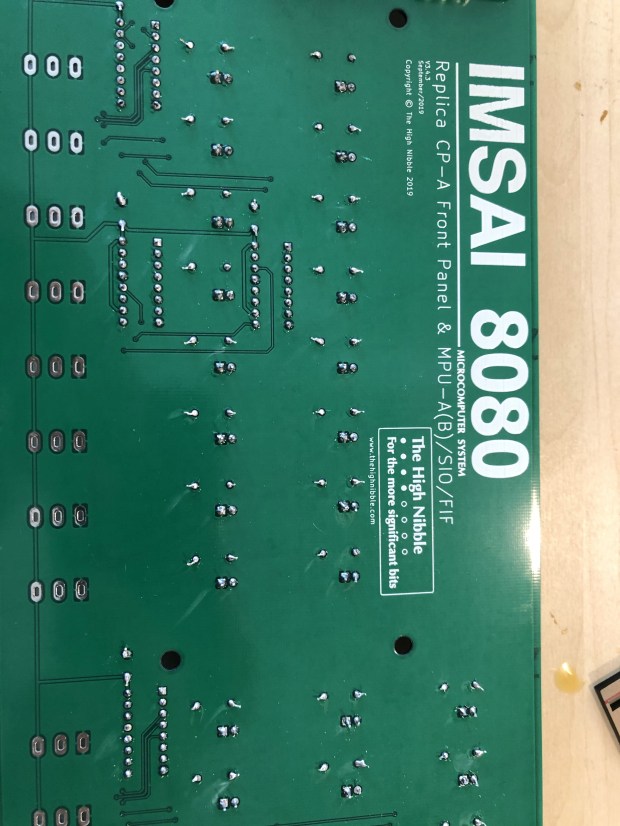
Back of board without parts on yet 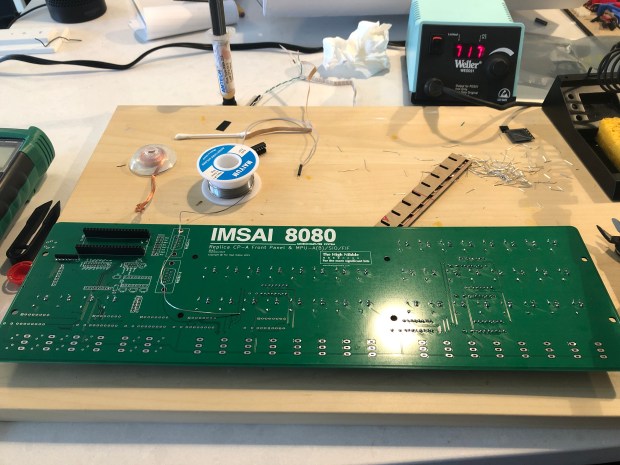
Back, with little done 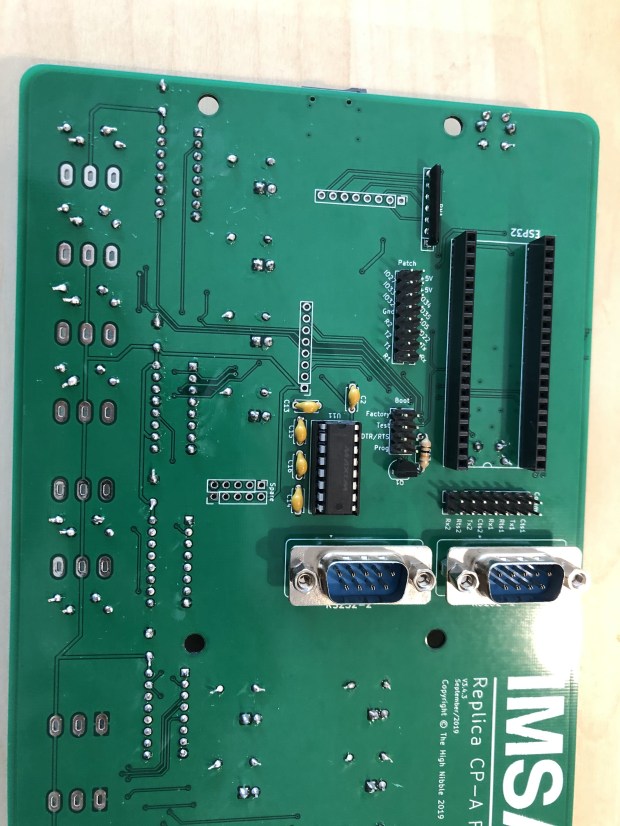
Back with sockets in 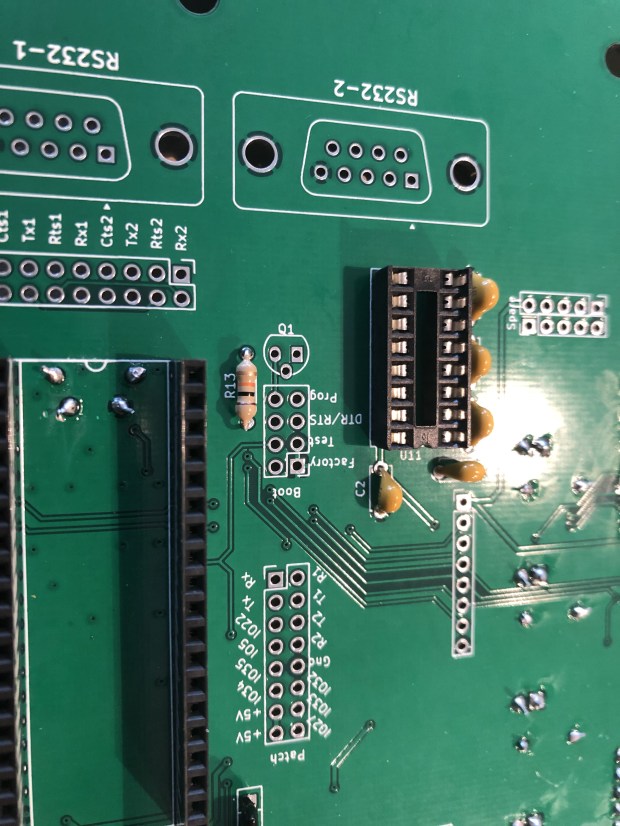
Chip goes here 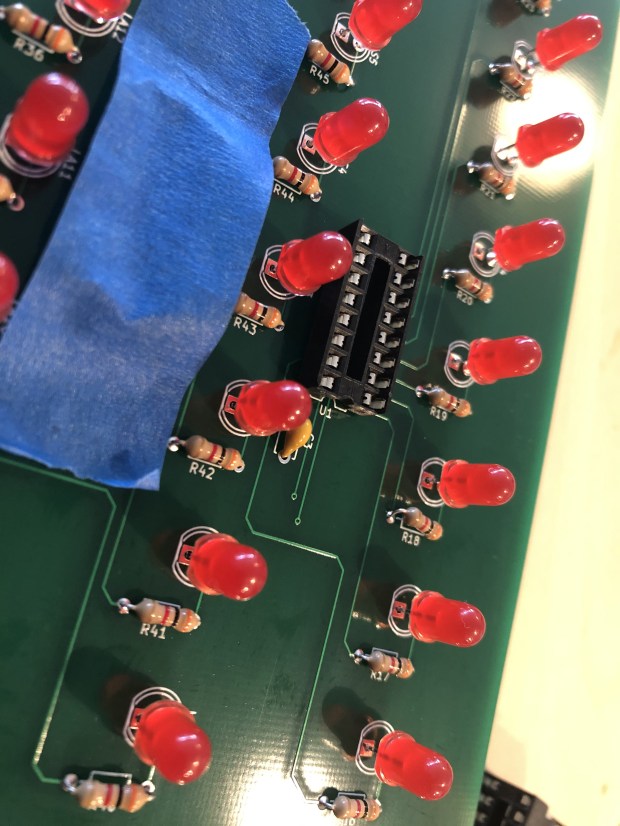
Taping down sockets to solder in 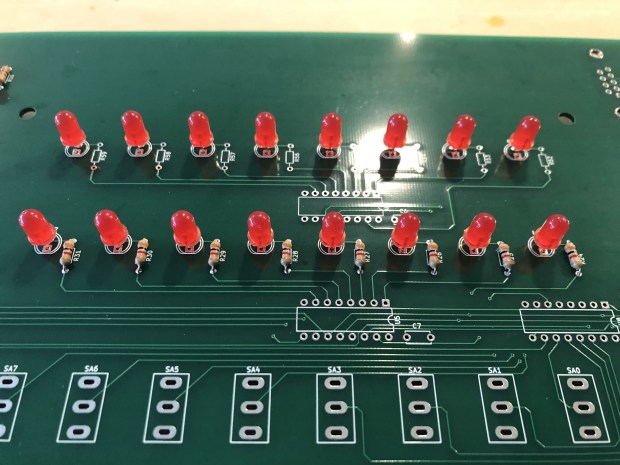
Some LEDs are done! 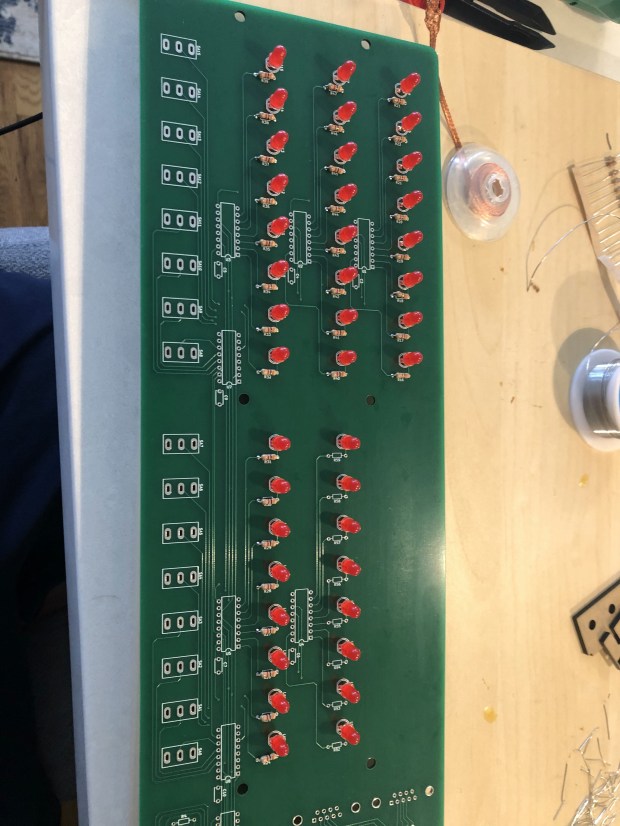
Lots of LEDs 
Close up front shots 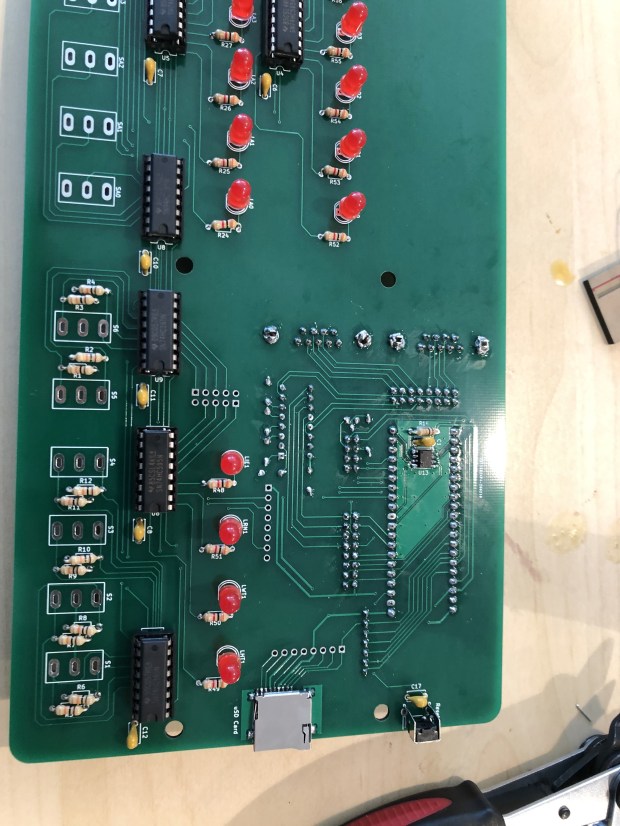
Front coming together 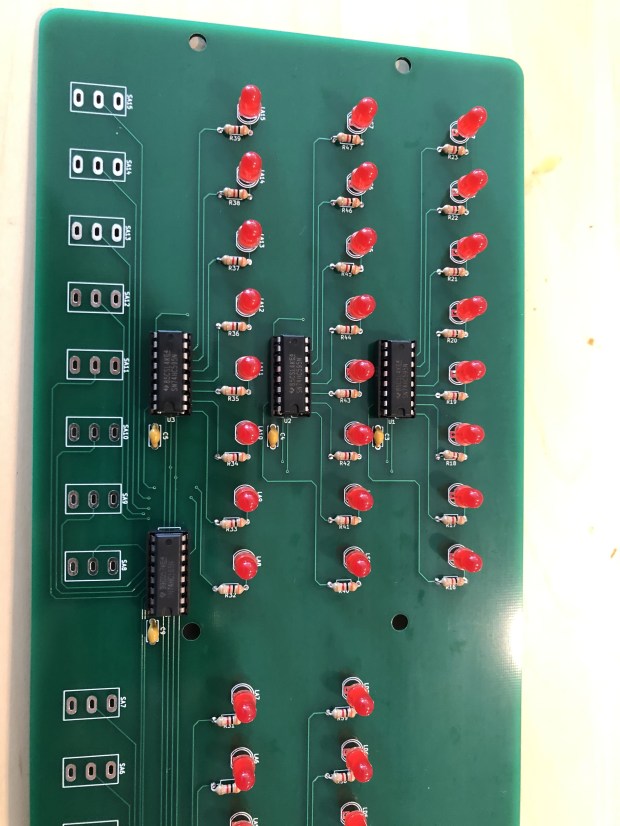
More front 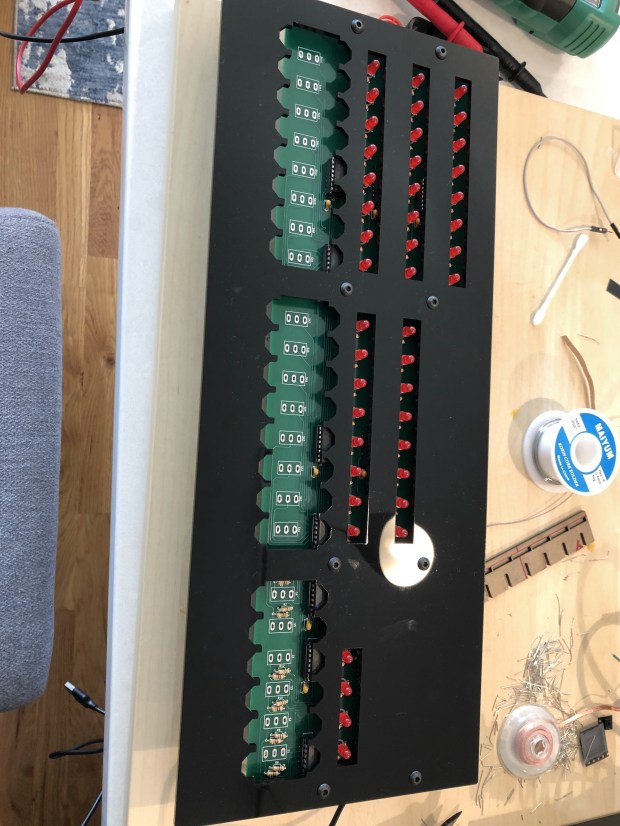
Front without switches 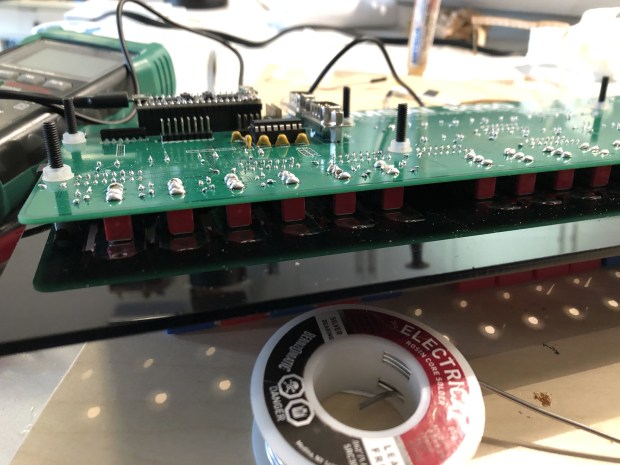
Back, showing between layers 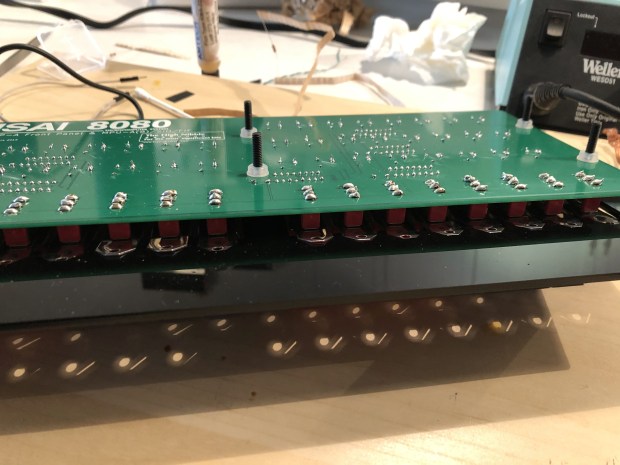
Back without clear acrylic on 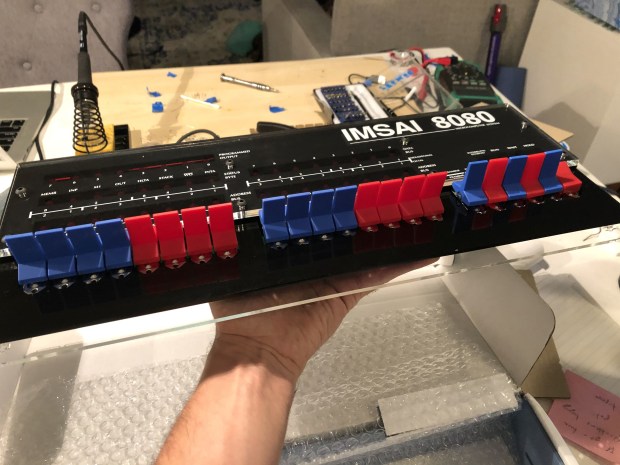
Front without finished case 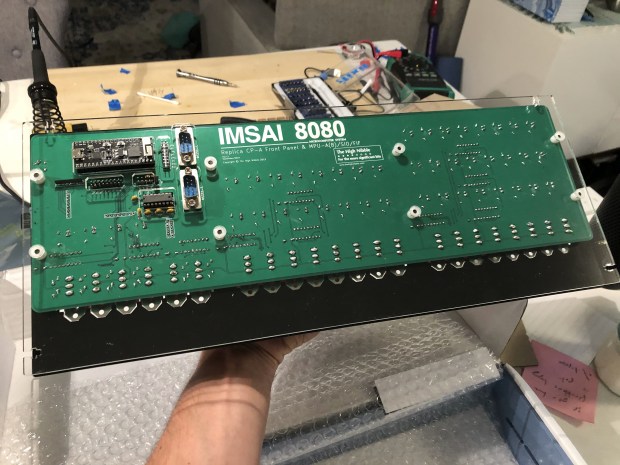
Finished back of unit 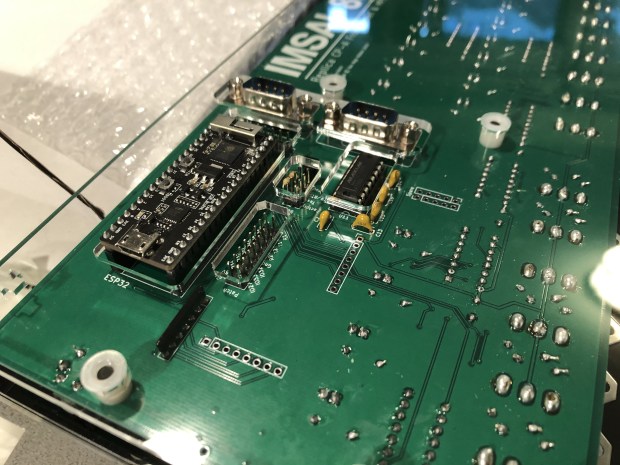
Controller through back 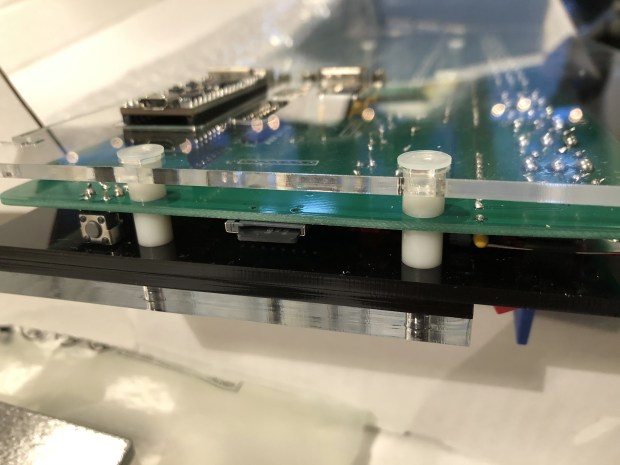
Back with controller, sd card, and reset button
Software
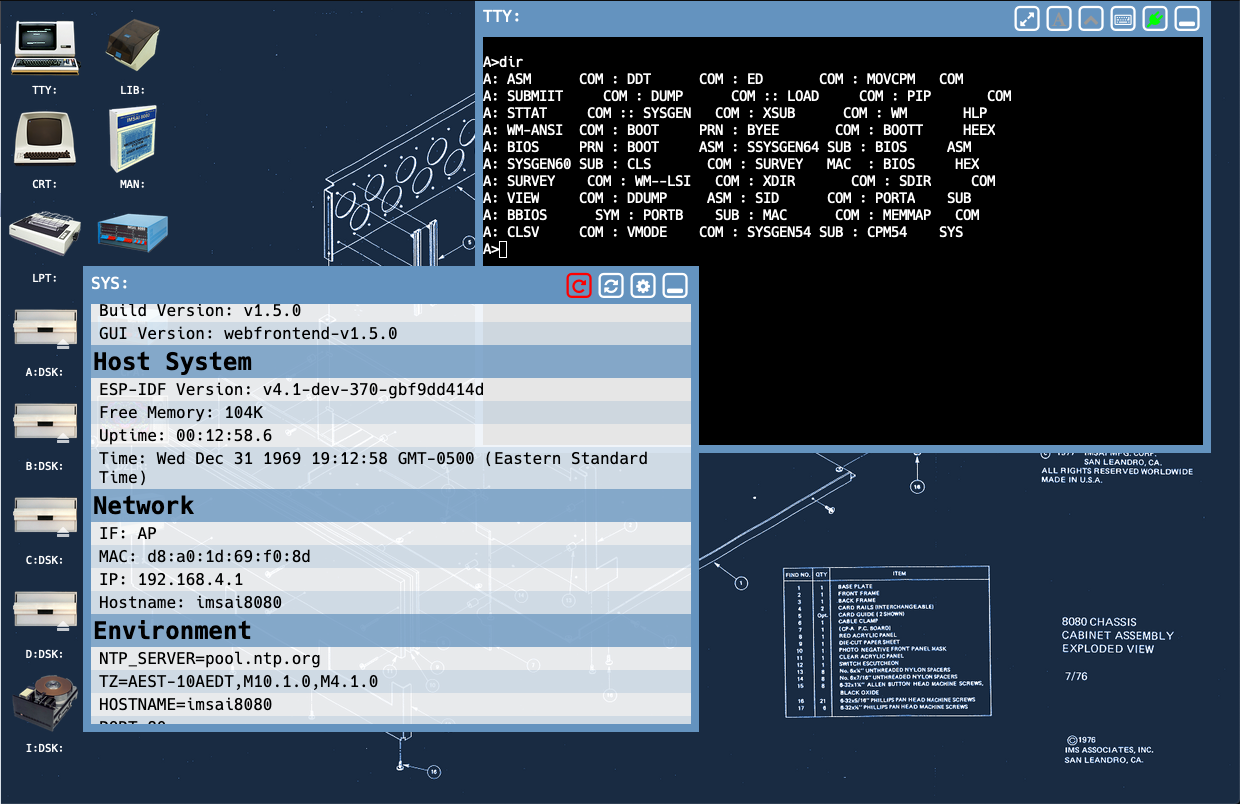
The software for the unit is great; the projects website, thehighnibble.com has instructions on how to use it. Similar to other projects there are certain switches you can flip to send the system different commands. But then, my favorite part is you can connect to the device over WiFi (either adhoc or with a AP) and then see the terminal. This allows you to leave the system on a shelf or a desk, and play with it at the same time. This interface also allows you to edit which “disks” are inserted into the system, to easily change images.

Overall it was a very enjoyable kit, other than the first little bit with the surface mounts. I think any beginner could do it once it is past that point. The resistor and LED soldering is straight forward. The metal case, and back clear acrylic make it stand out and look great. The WiFi and web interface put it over the top, as a it you can play with and connect to easily.


