Kit
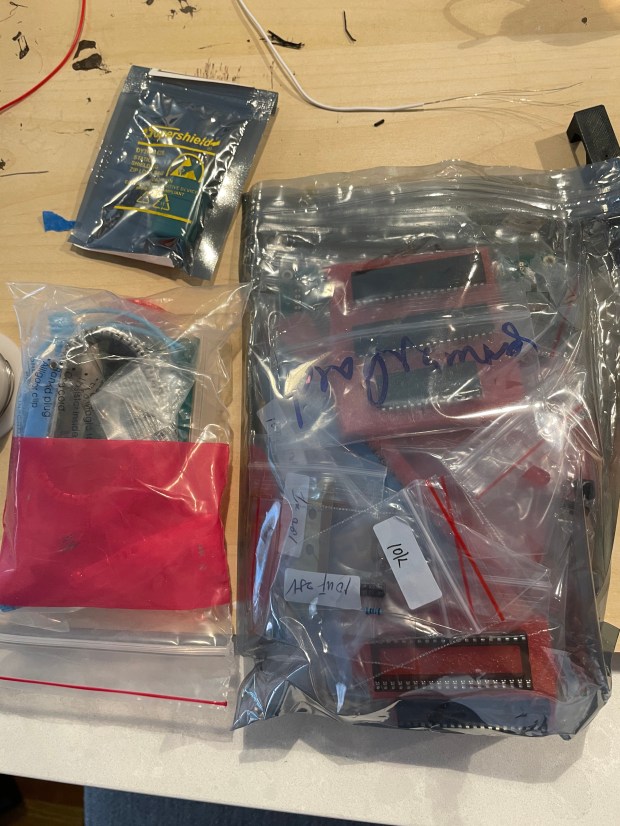
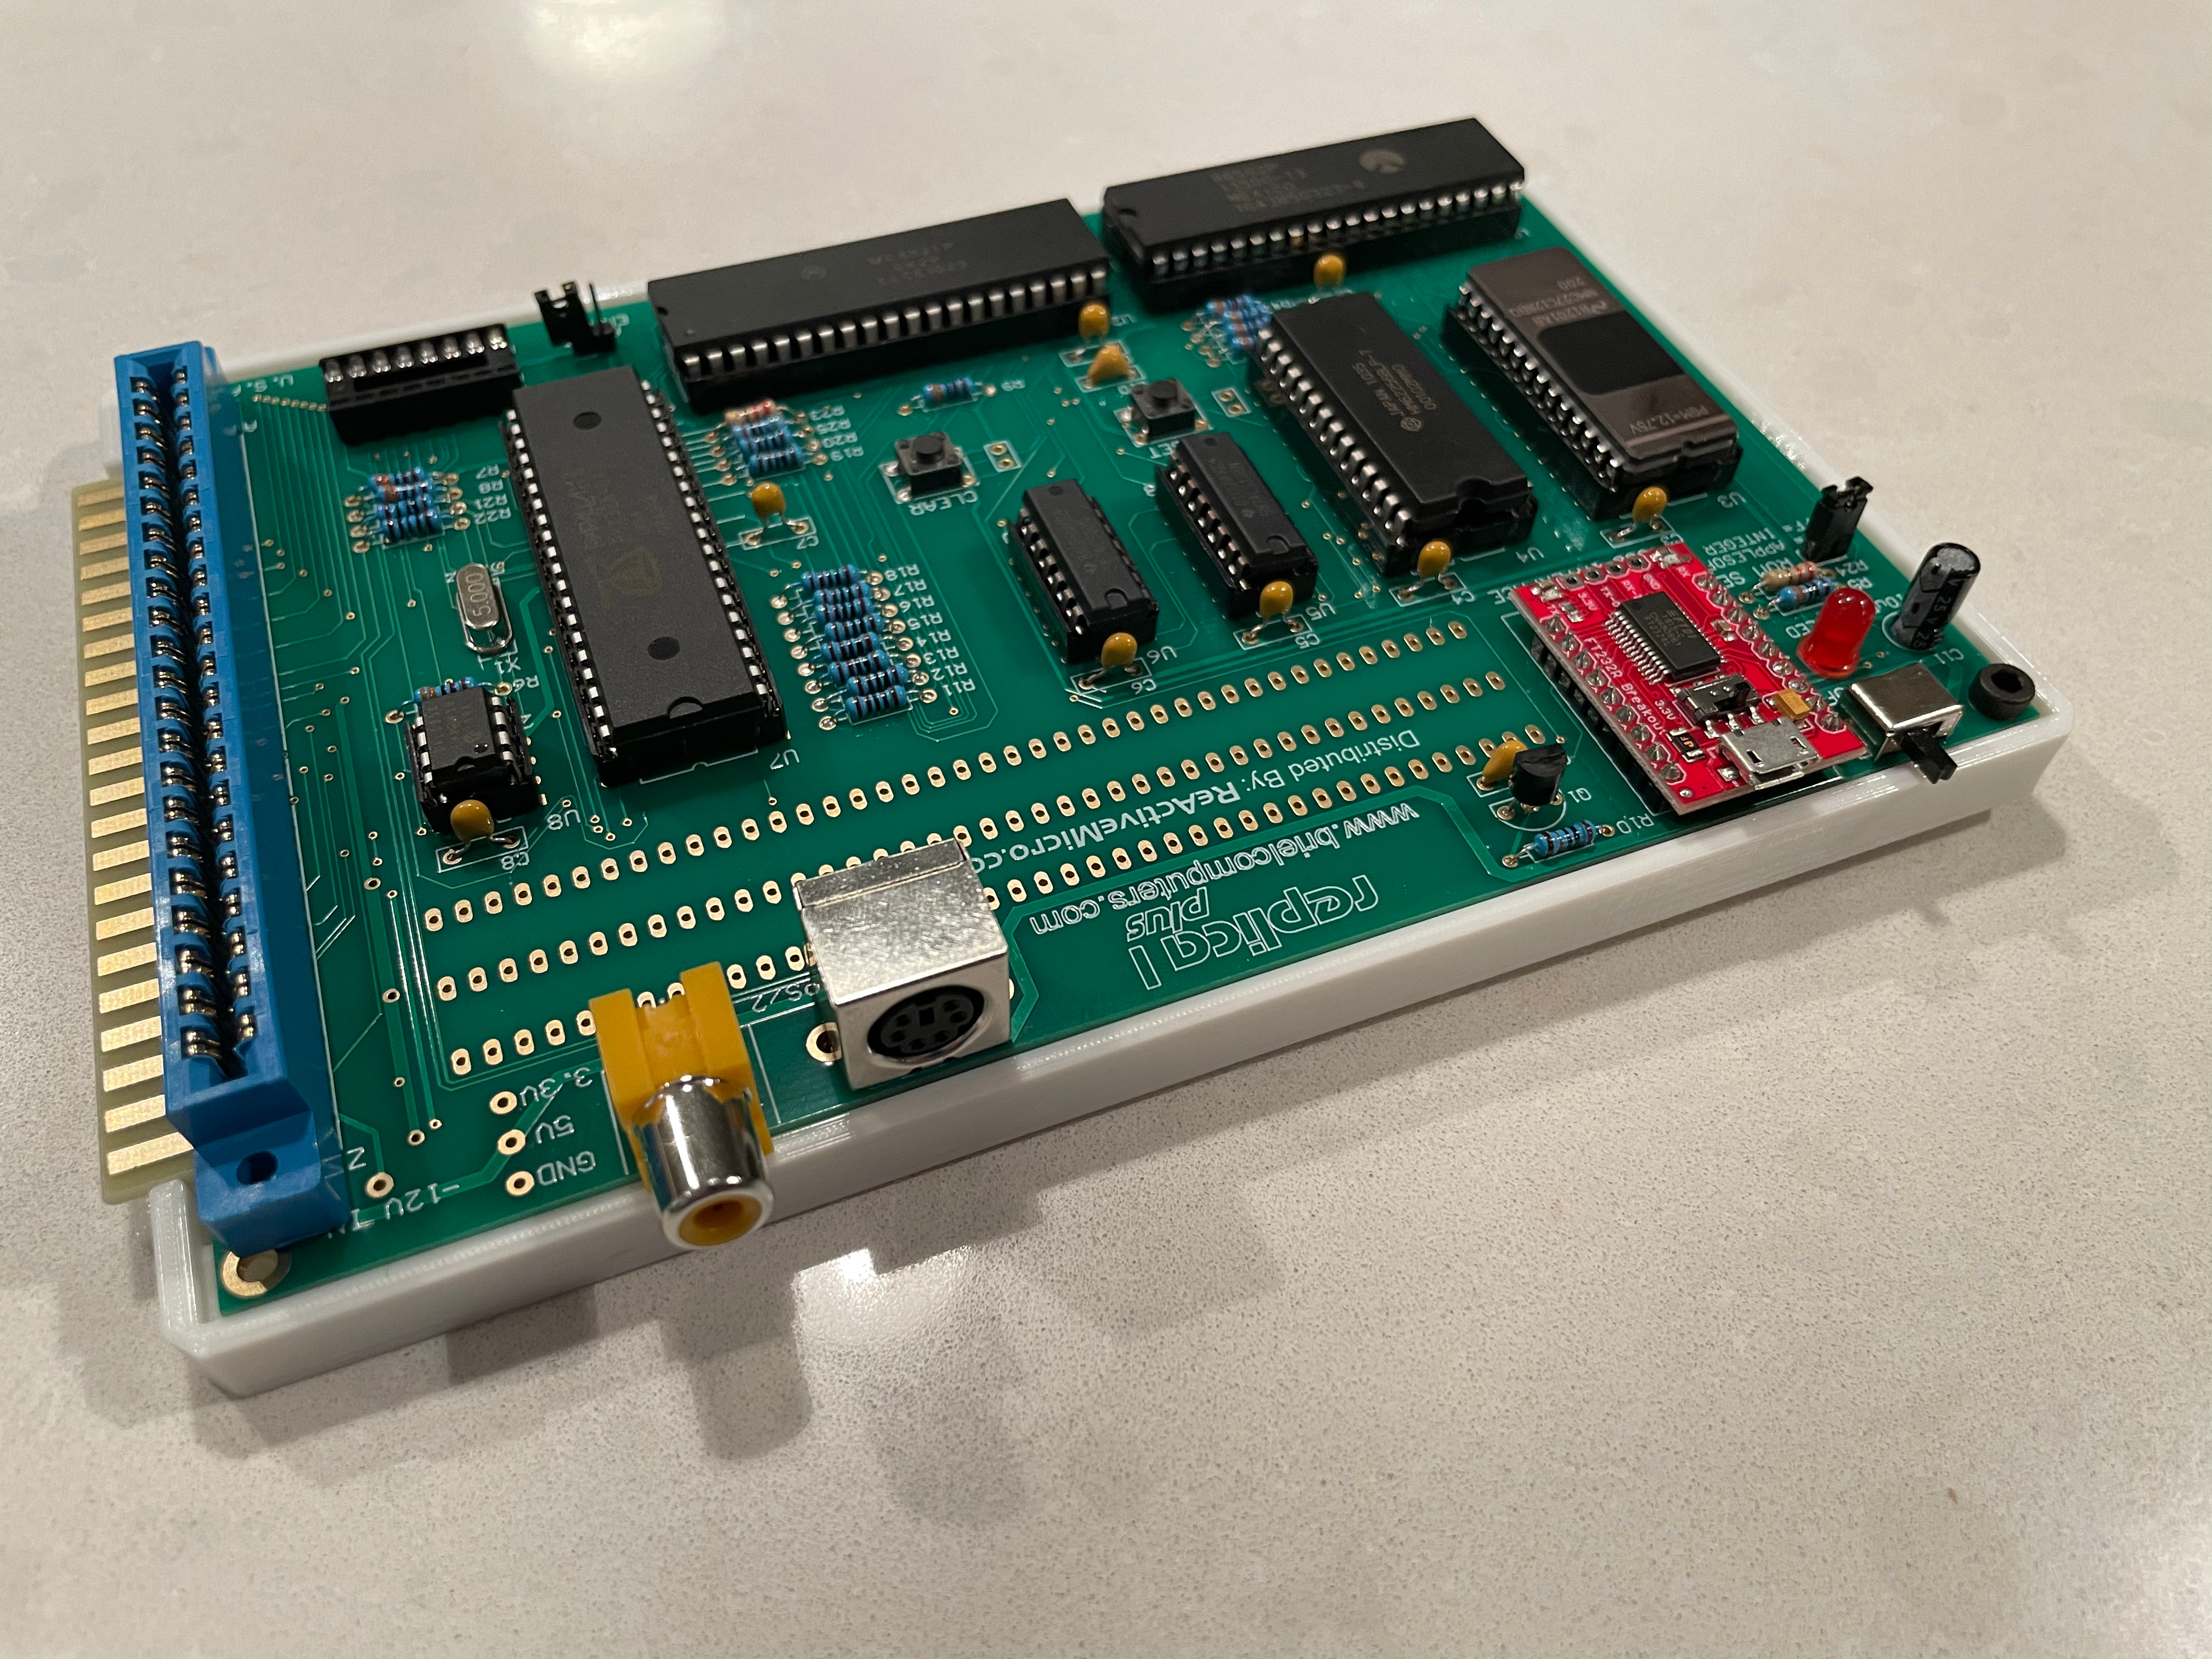
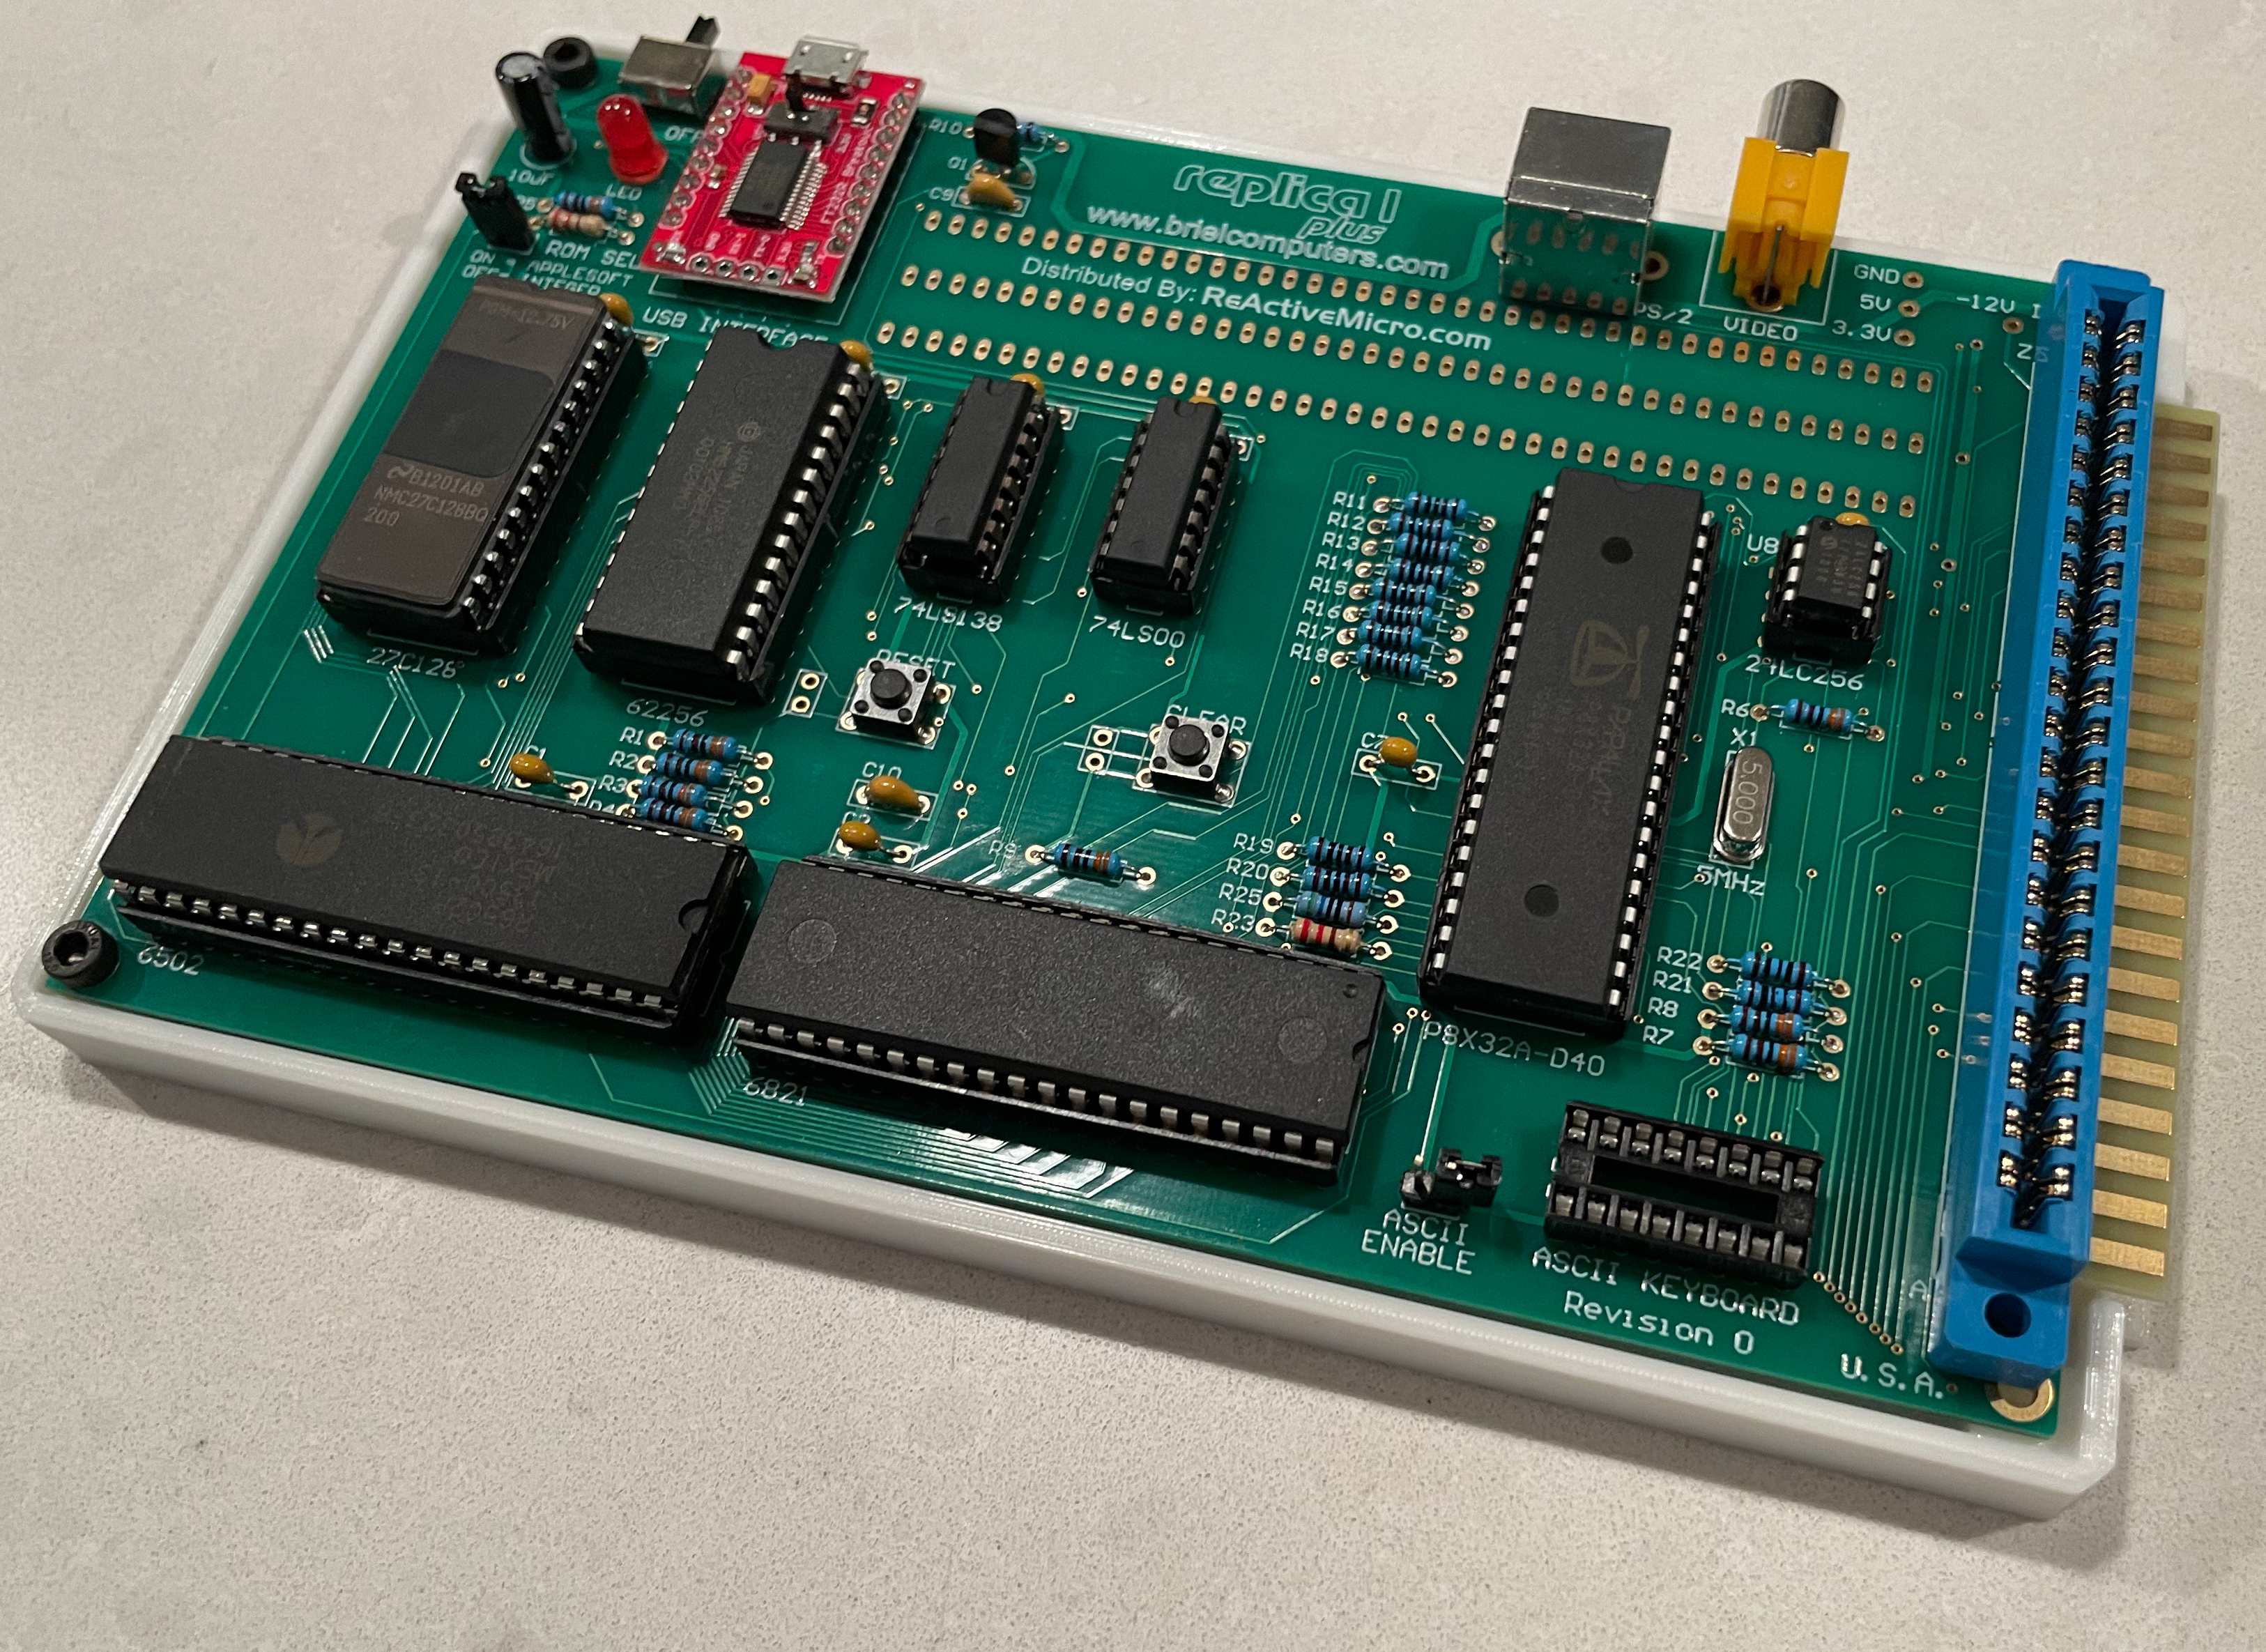
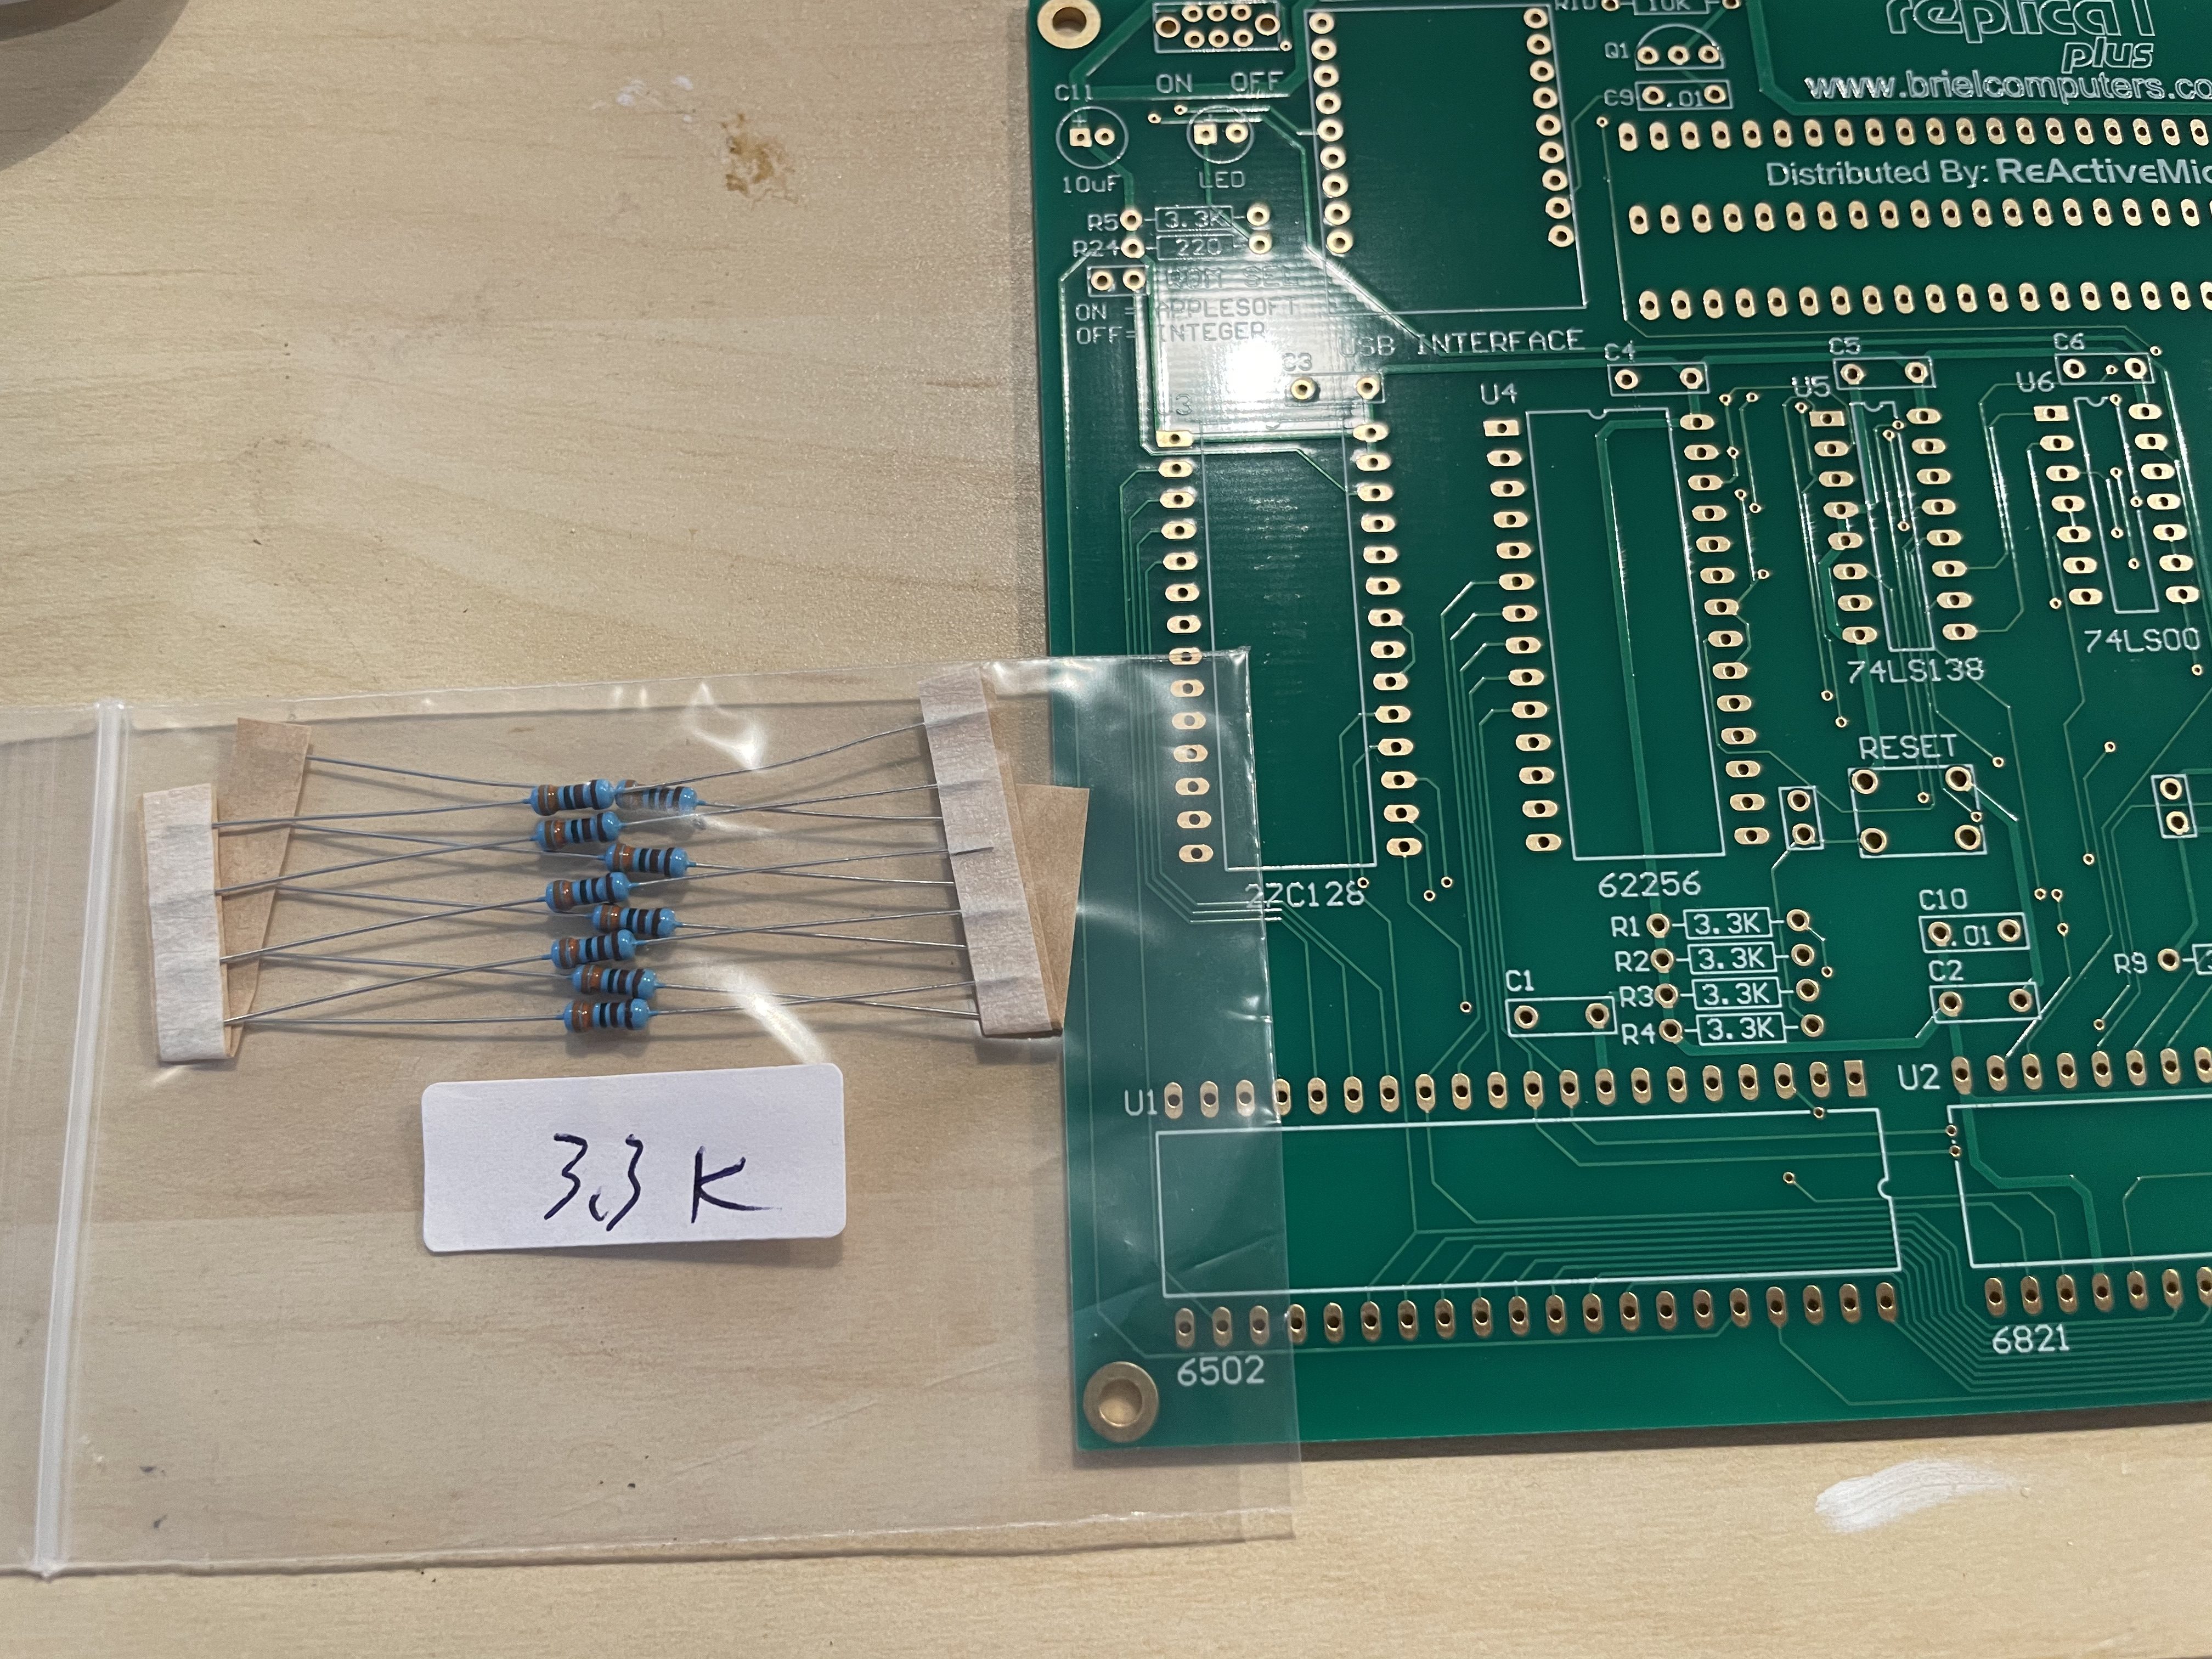
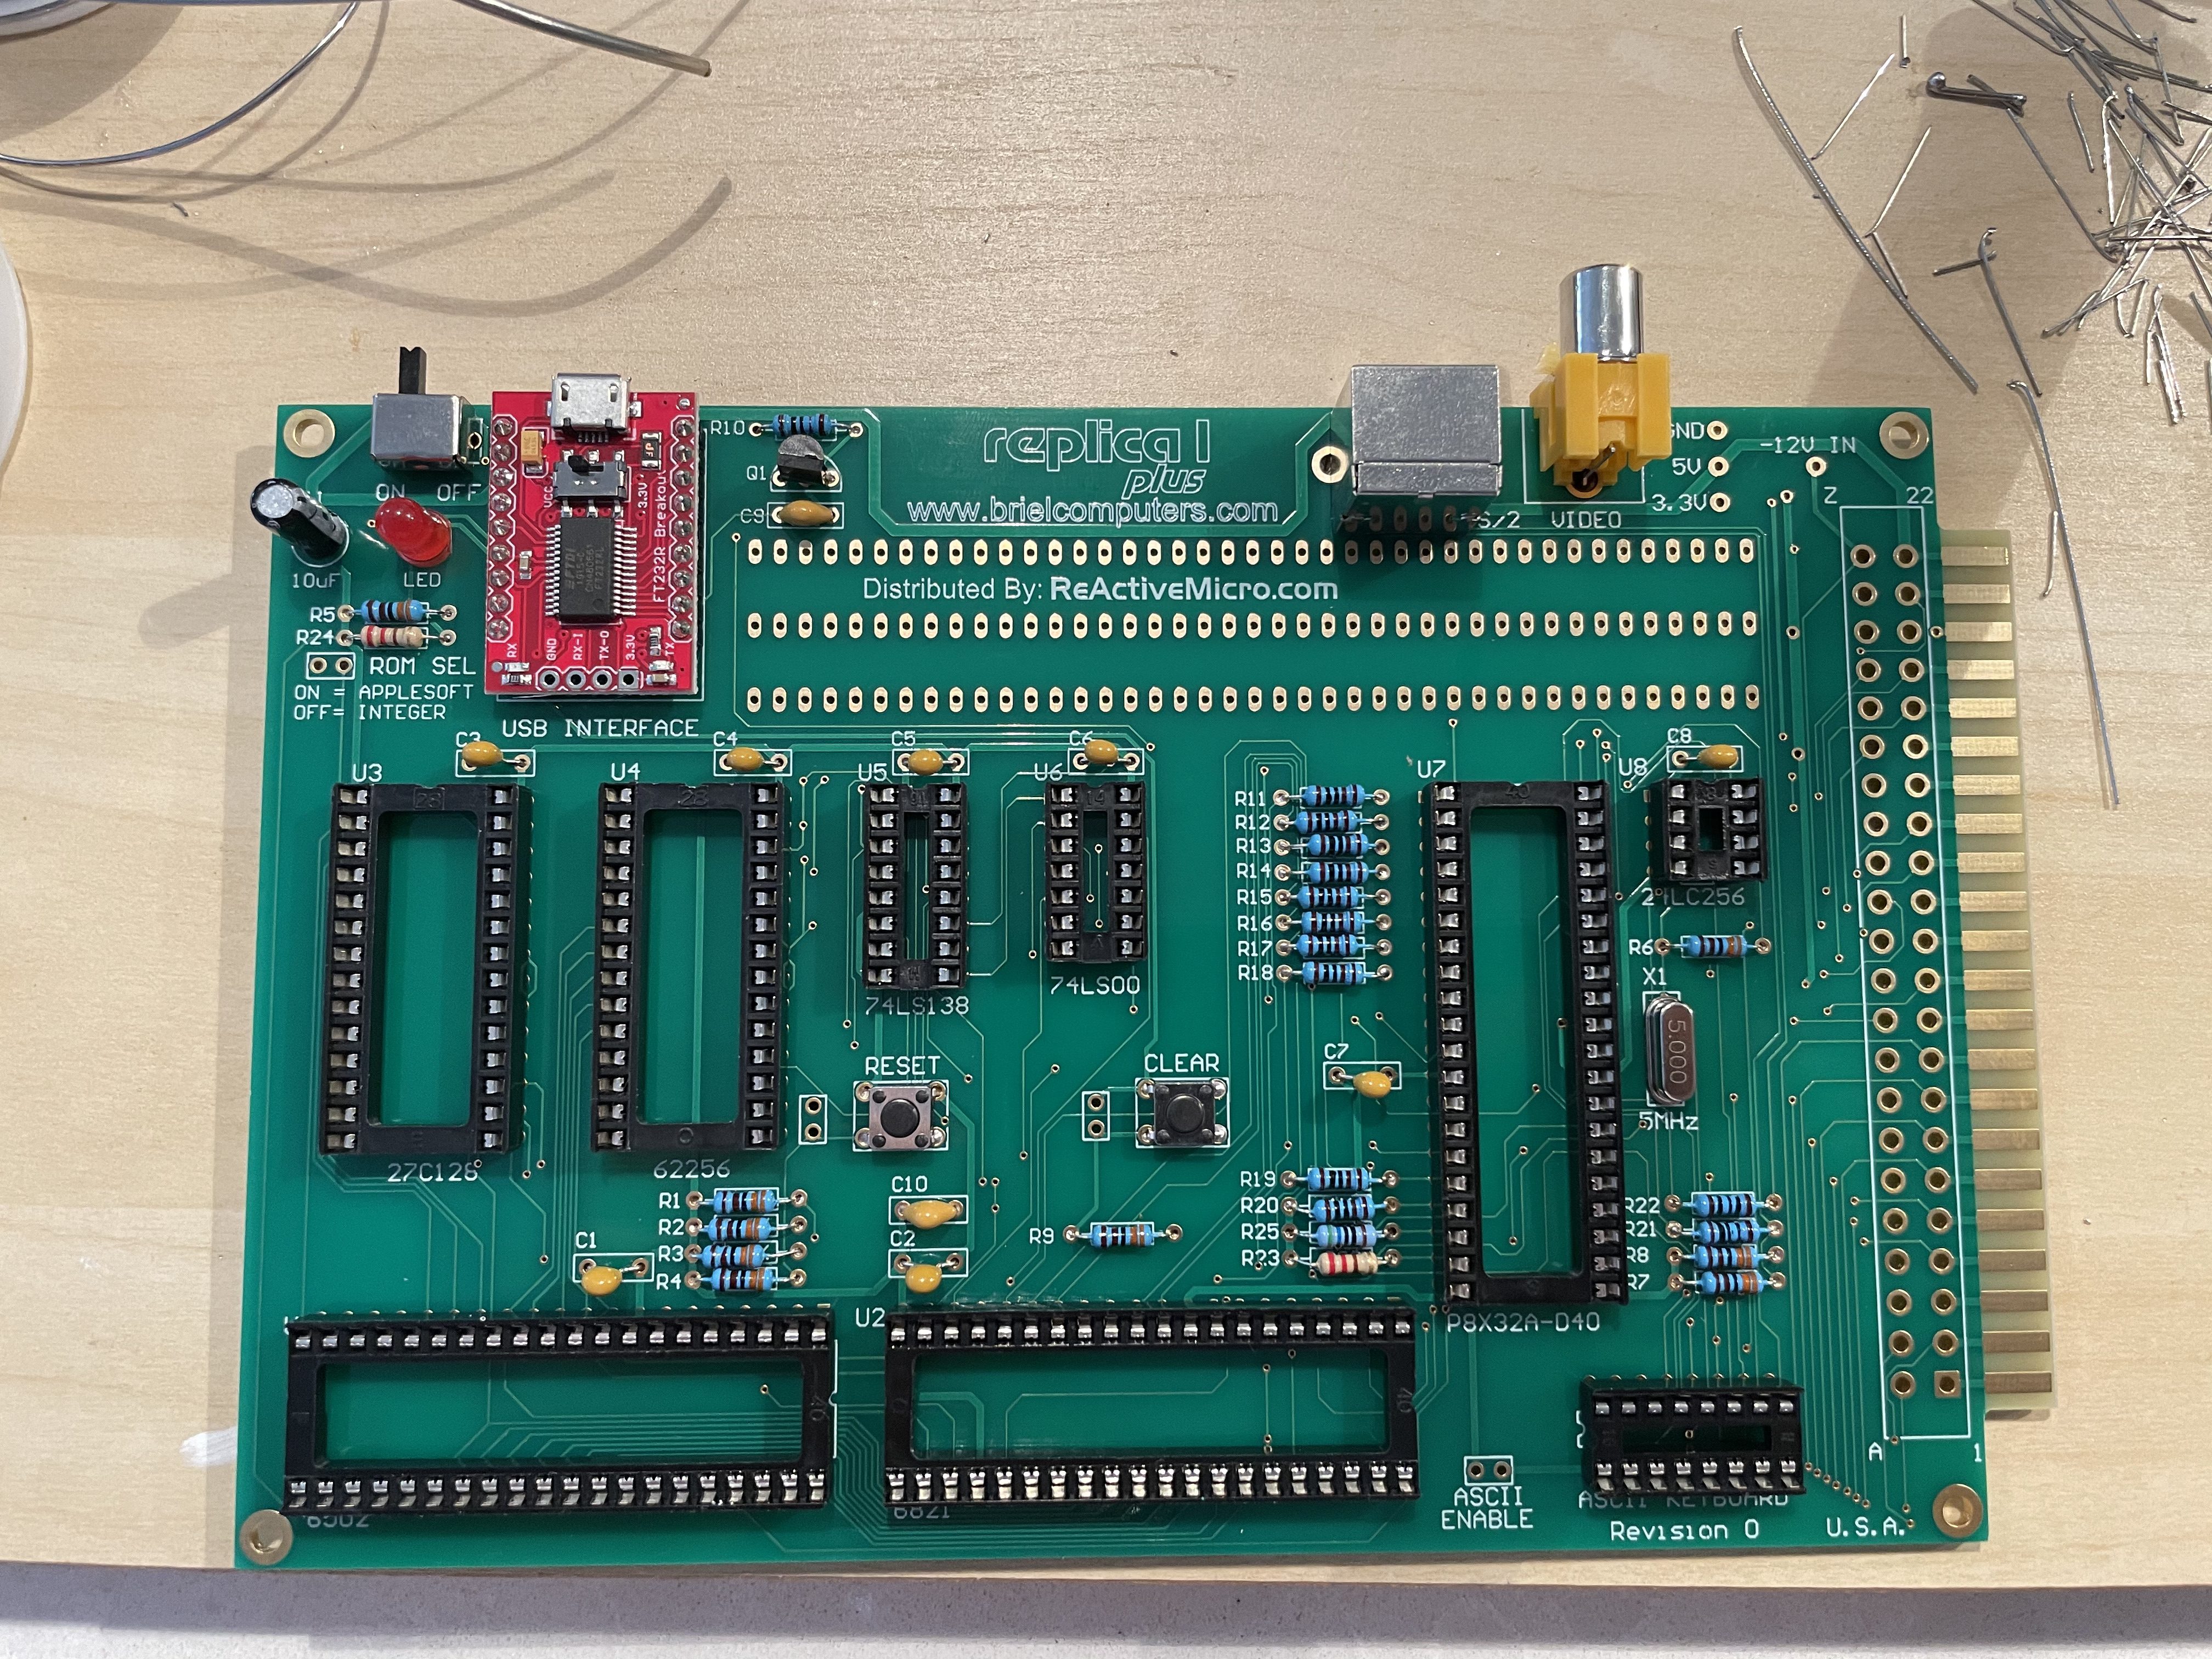
I recently ordered the Briel Computers Replica I Plus, a Apple I clone. Instead of the originals big board to do a lot of NTSC generation, it uses a more modern single chip. The shipment came in a small box, and with everything I needed. The creator of the kit did a great job including everything you need, down to including an anti-static strap! The project came with some solder, but not nearly enough for everything, I think it was thicker to go with the structural points. Briel Computers sells the kit through ReActiveMicro.com. At $135 it is one of the less expensive kits I have had, but also comes with just the board. If you want a case that needs to be 3D Printed (more on that later).
ReActiveMicro points you over to the Project Wiki for more information, there is a ton there and a link to someone putting the project together. I found this easier to follow along and do than reading the instructions.
The kit was fairly easy and straight forward; I ran into a few small issues around the PS/2 port since the solder points are close together. Getting the few connector ports in can be a bit difficult with a few tiny pins and getting them in the board. As long as you have patience, then you can get through it.
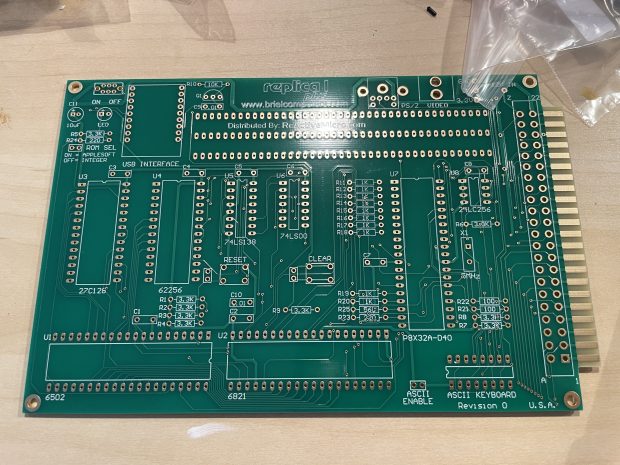
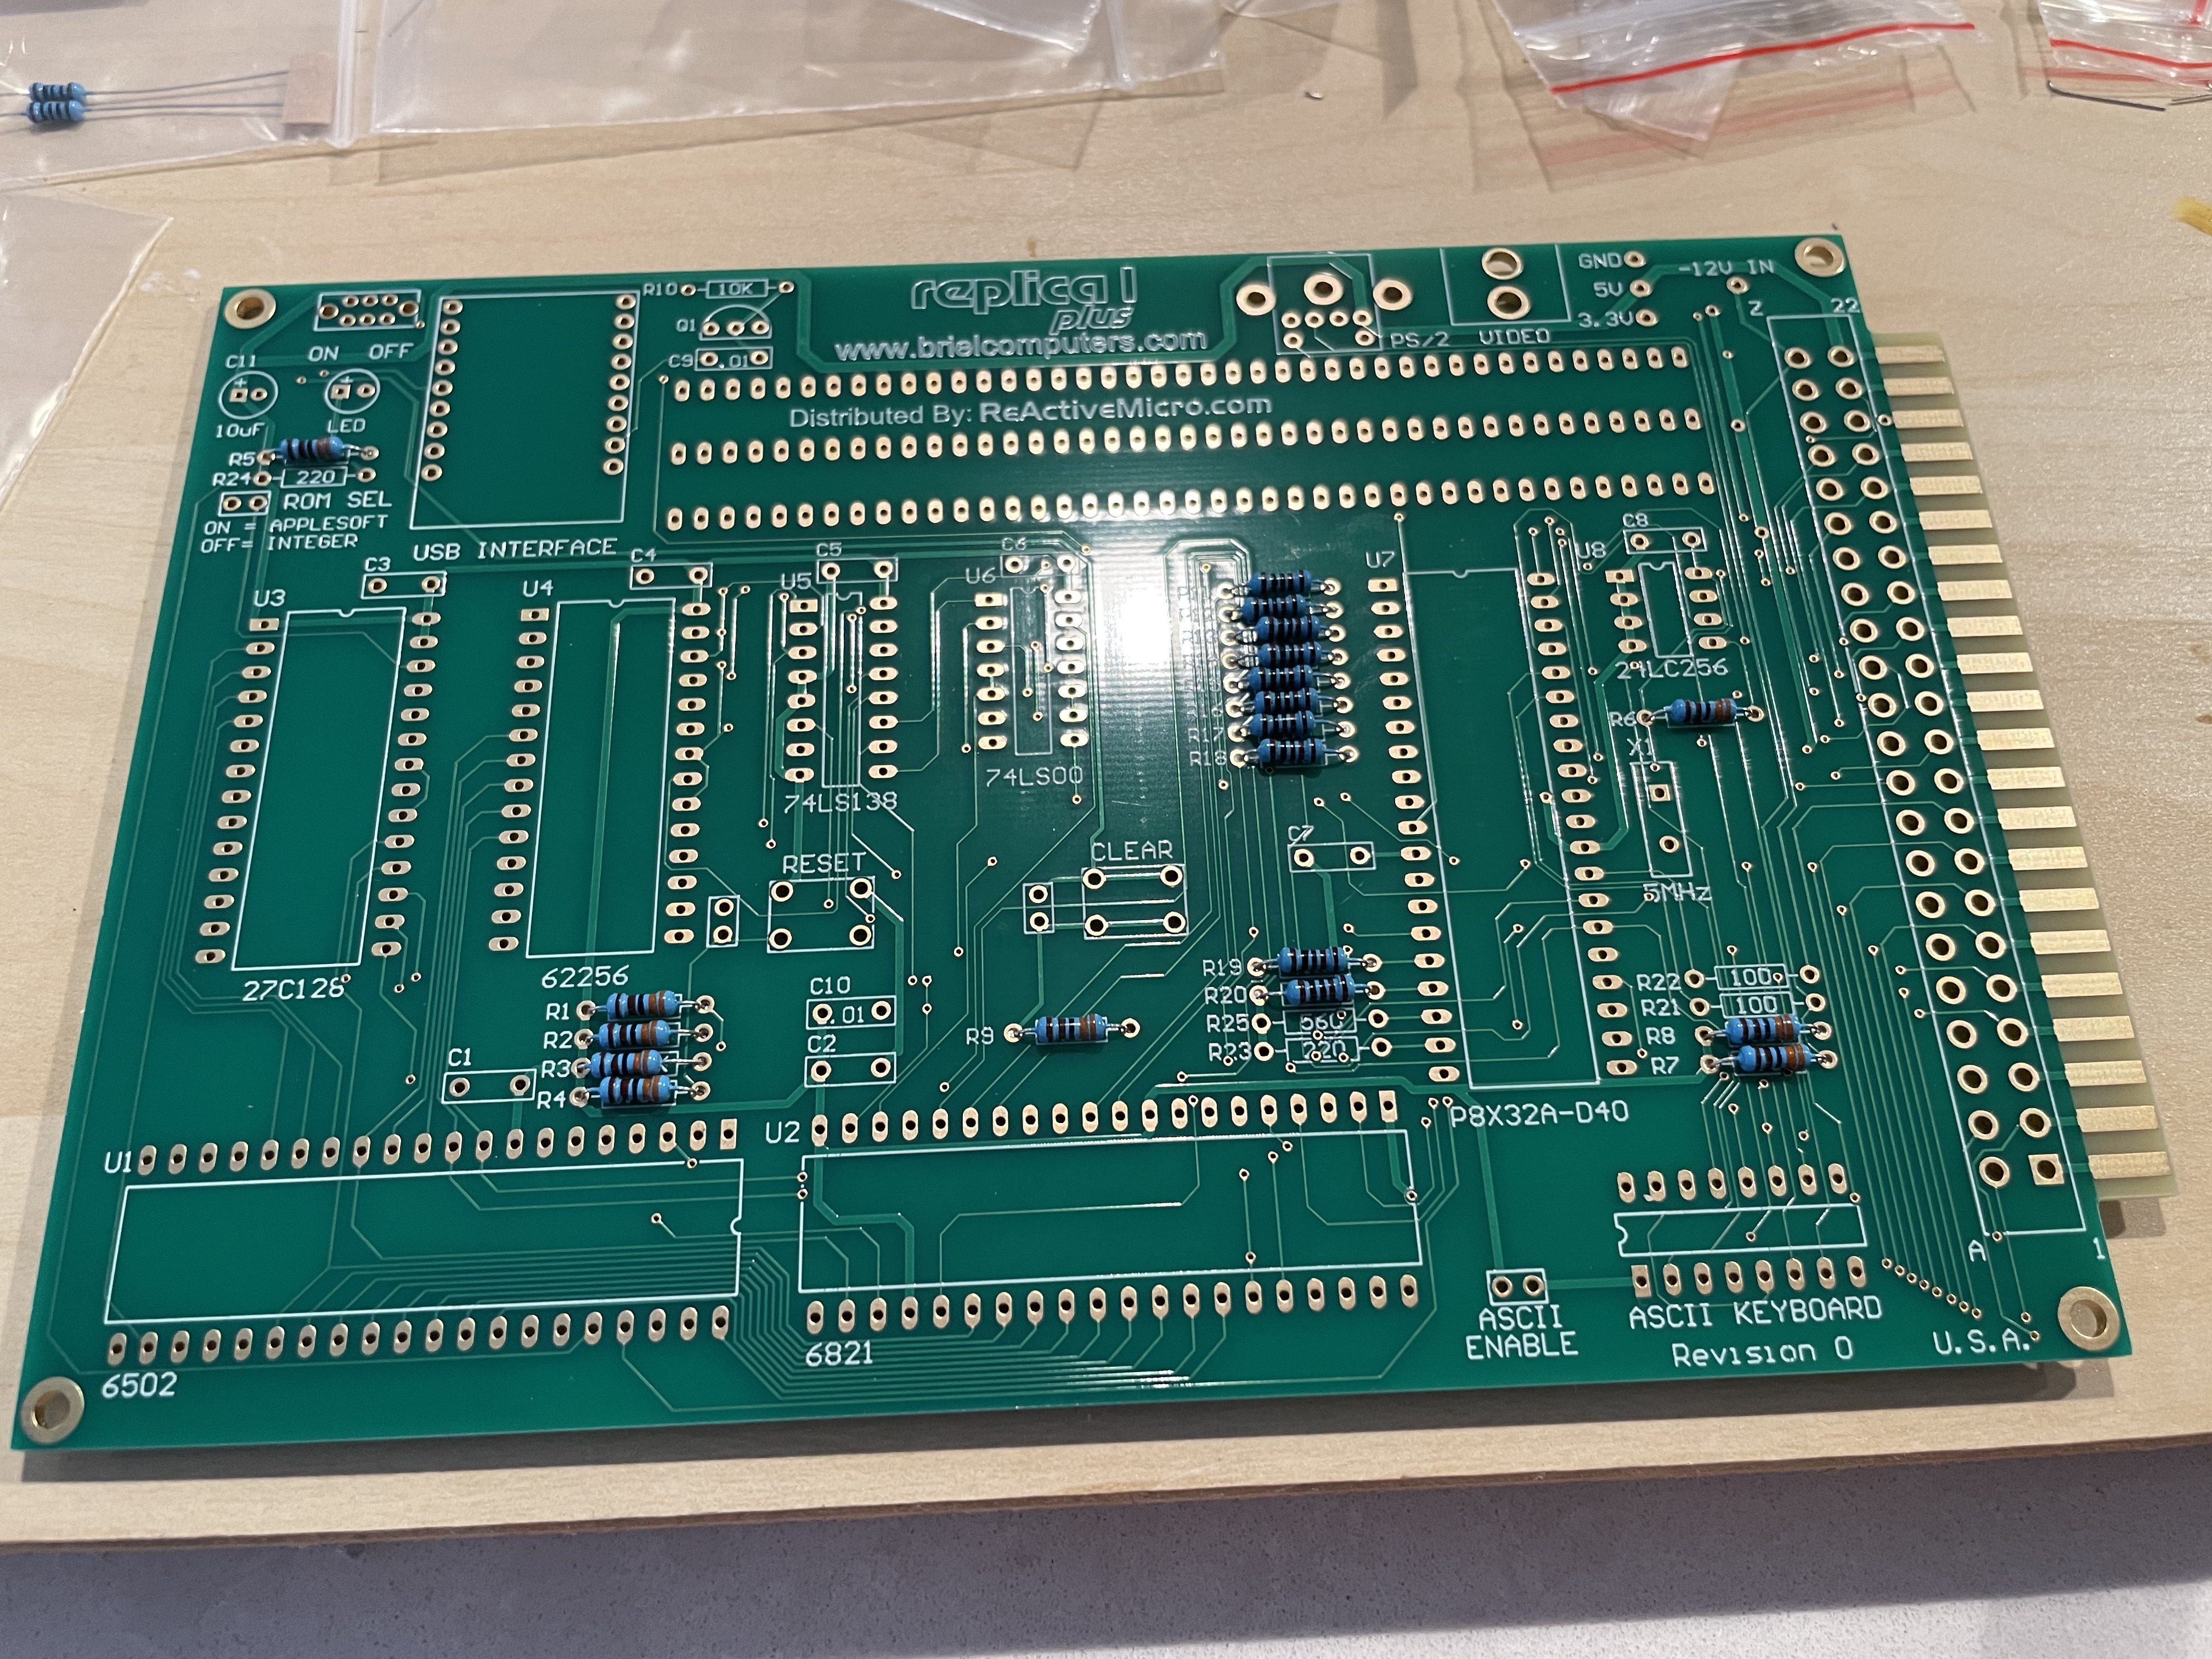
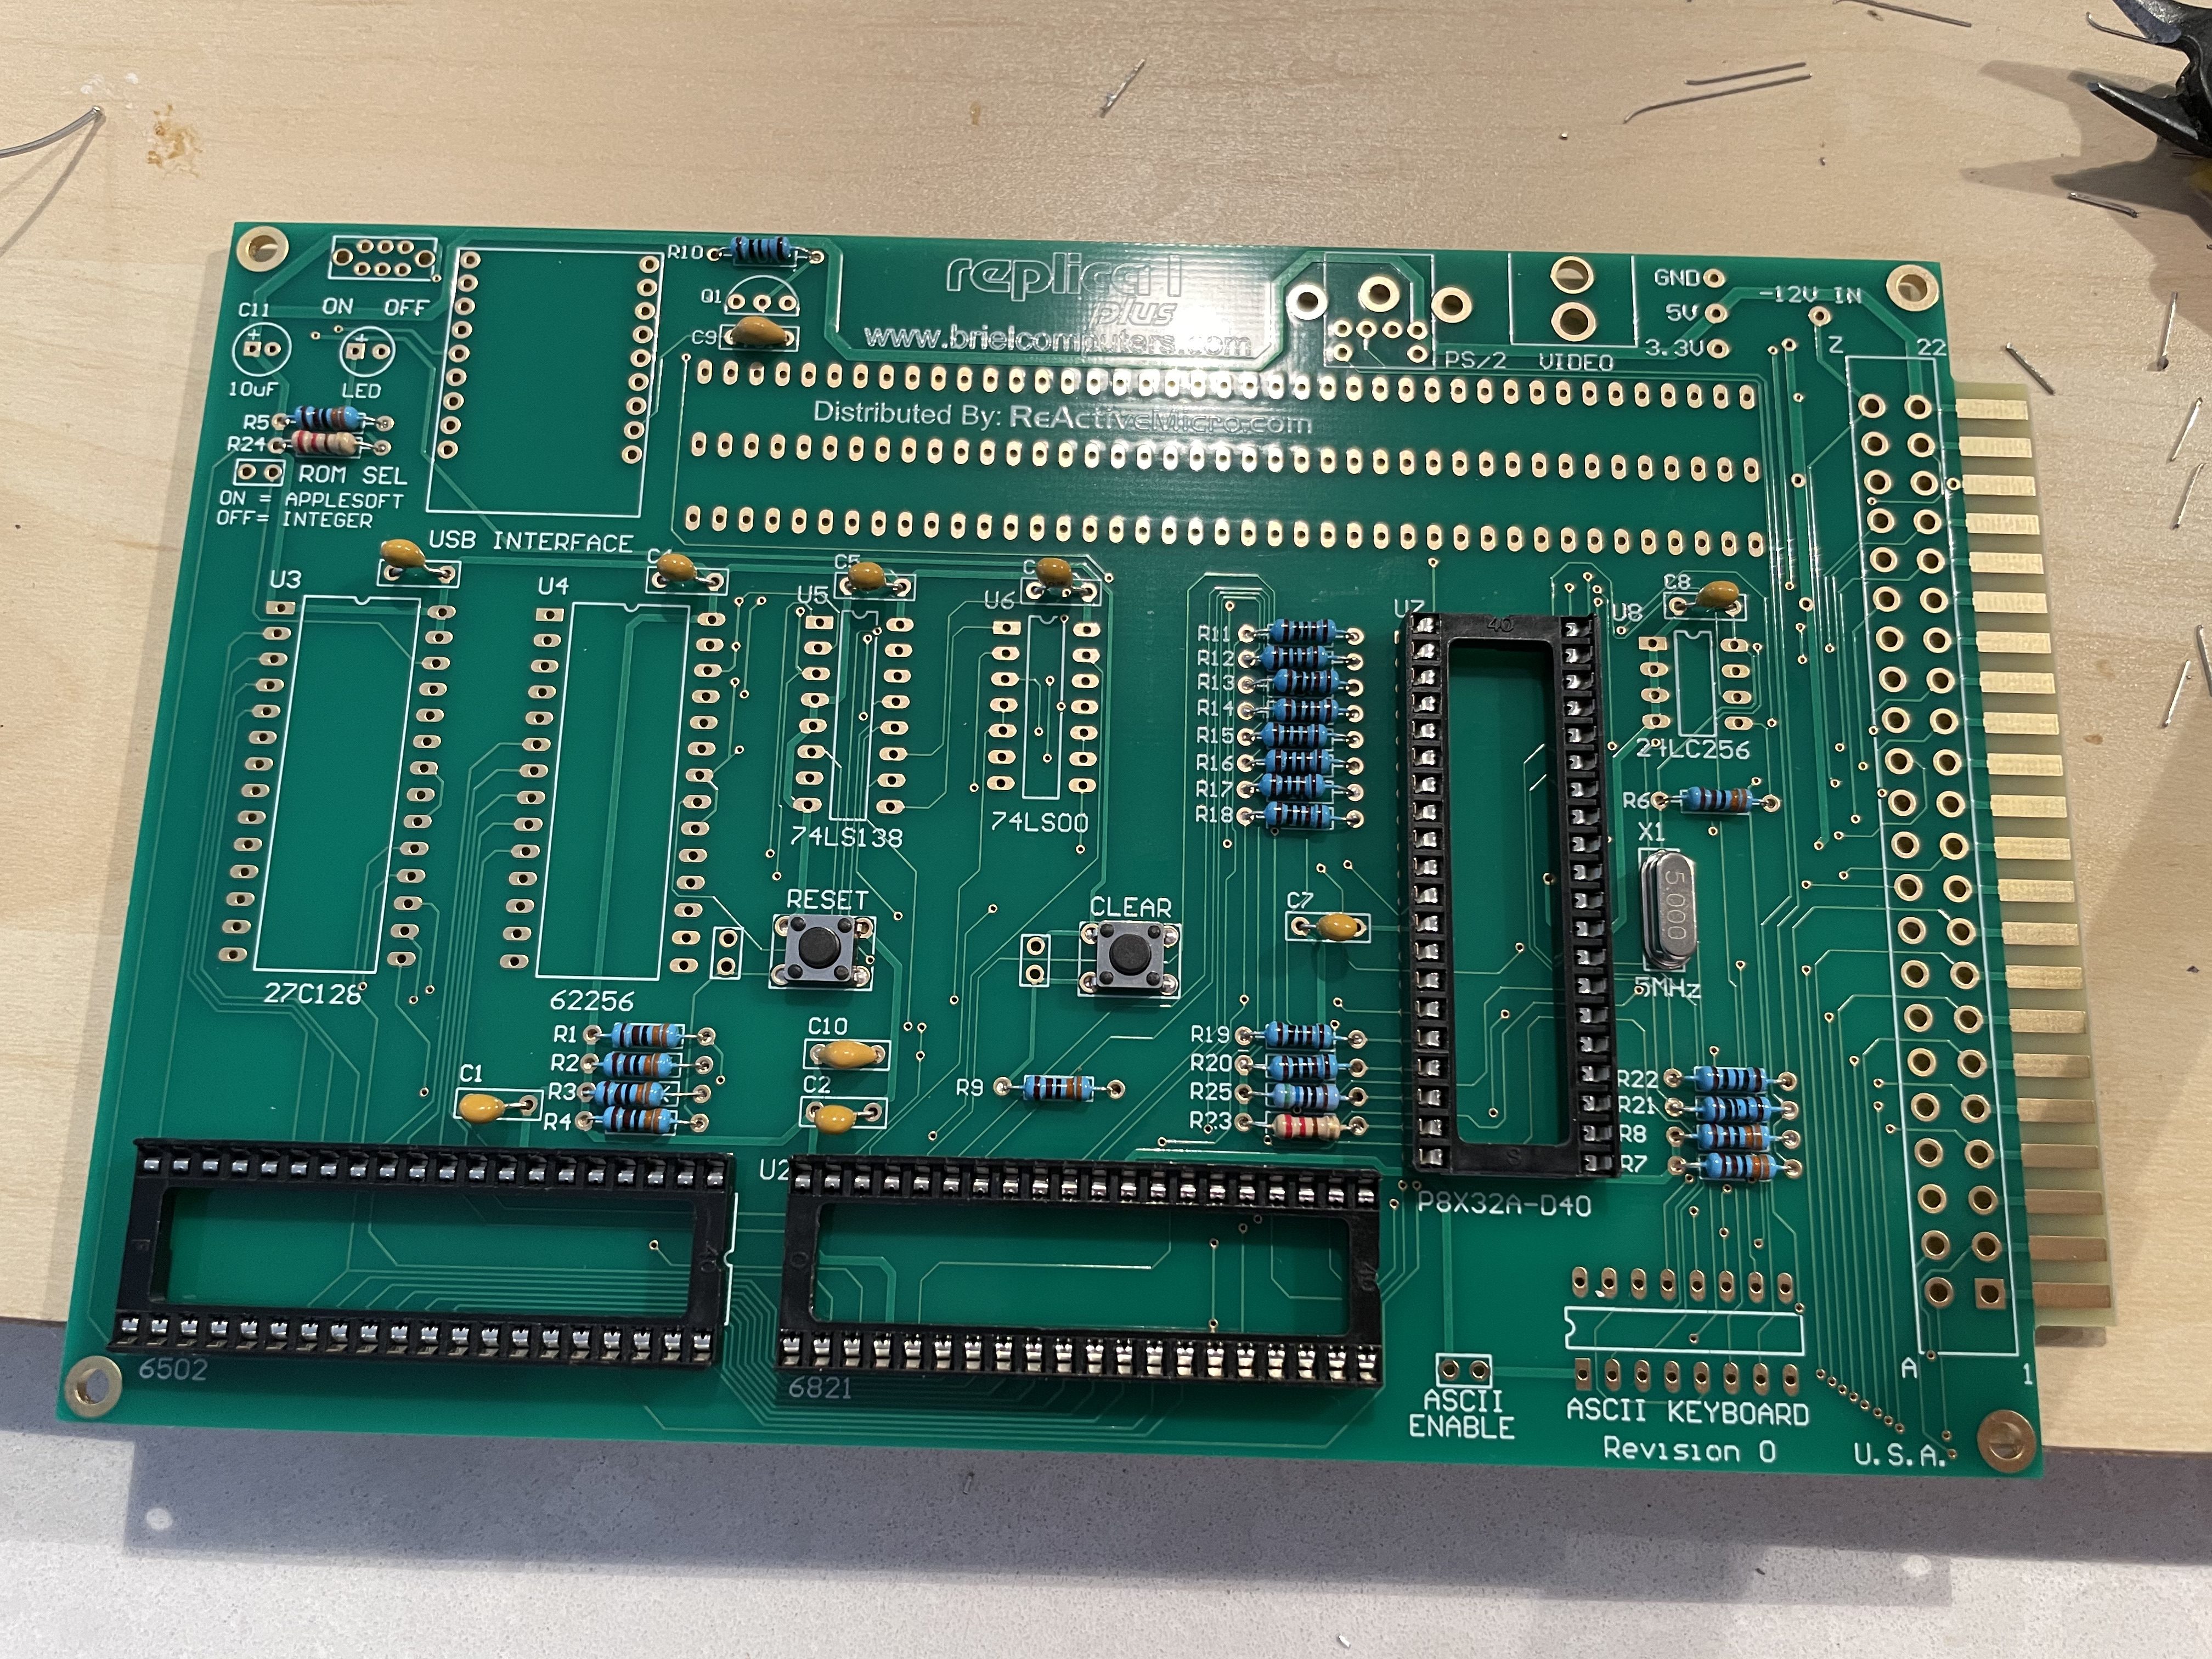
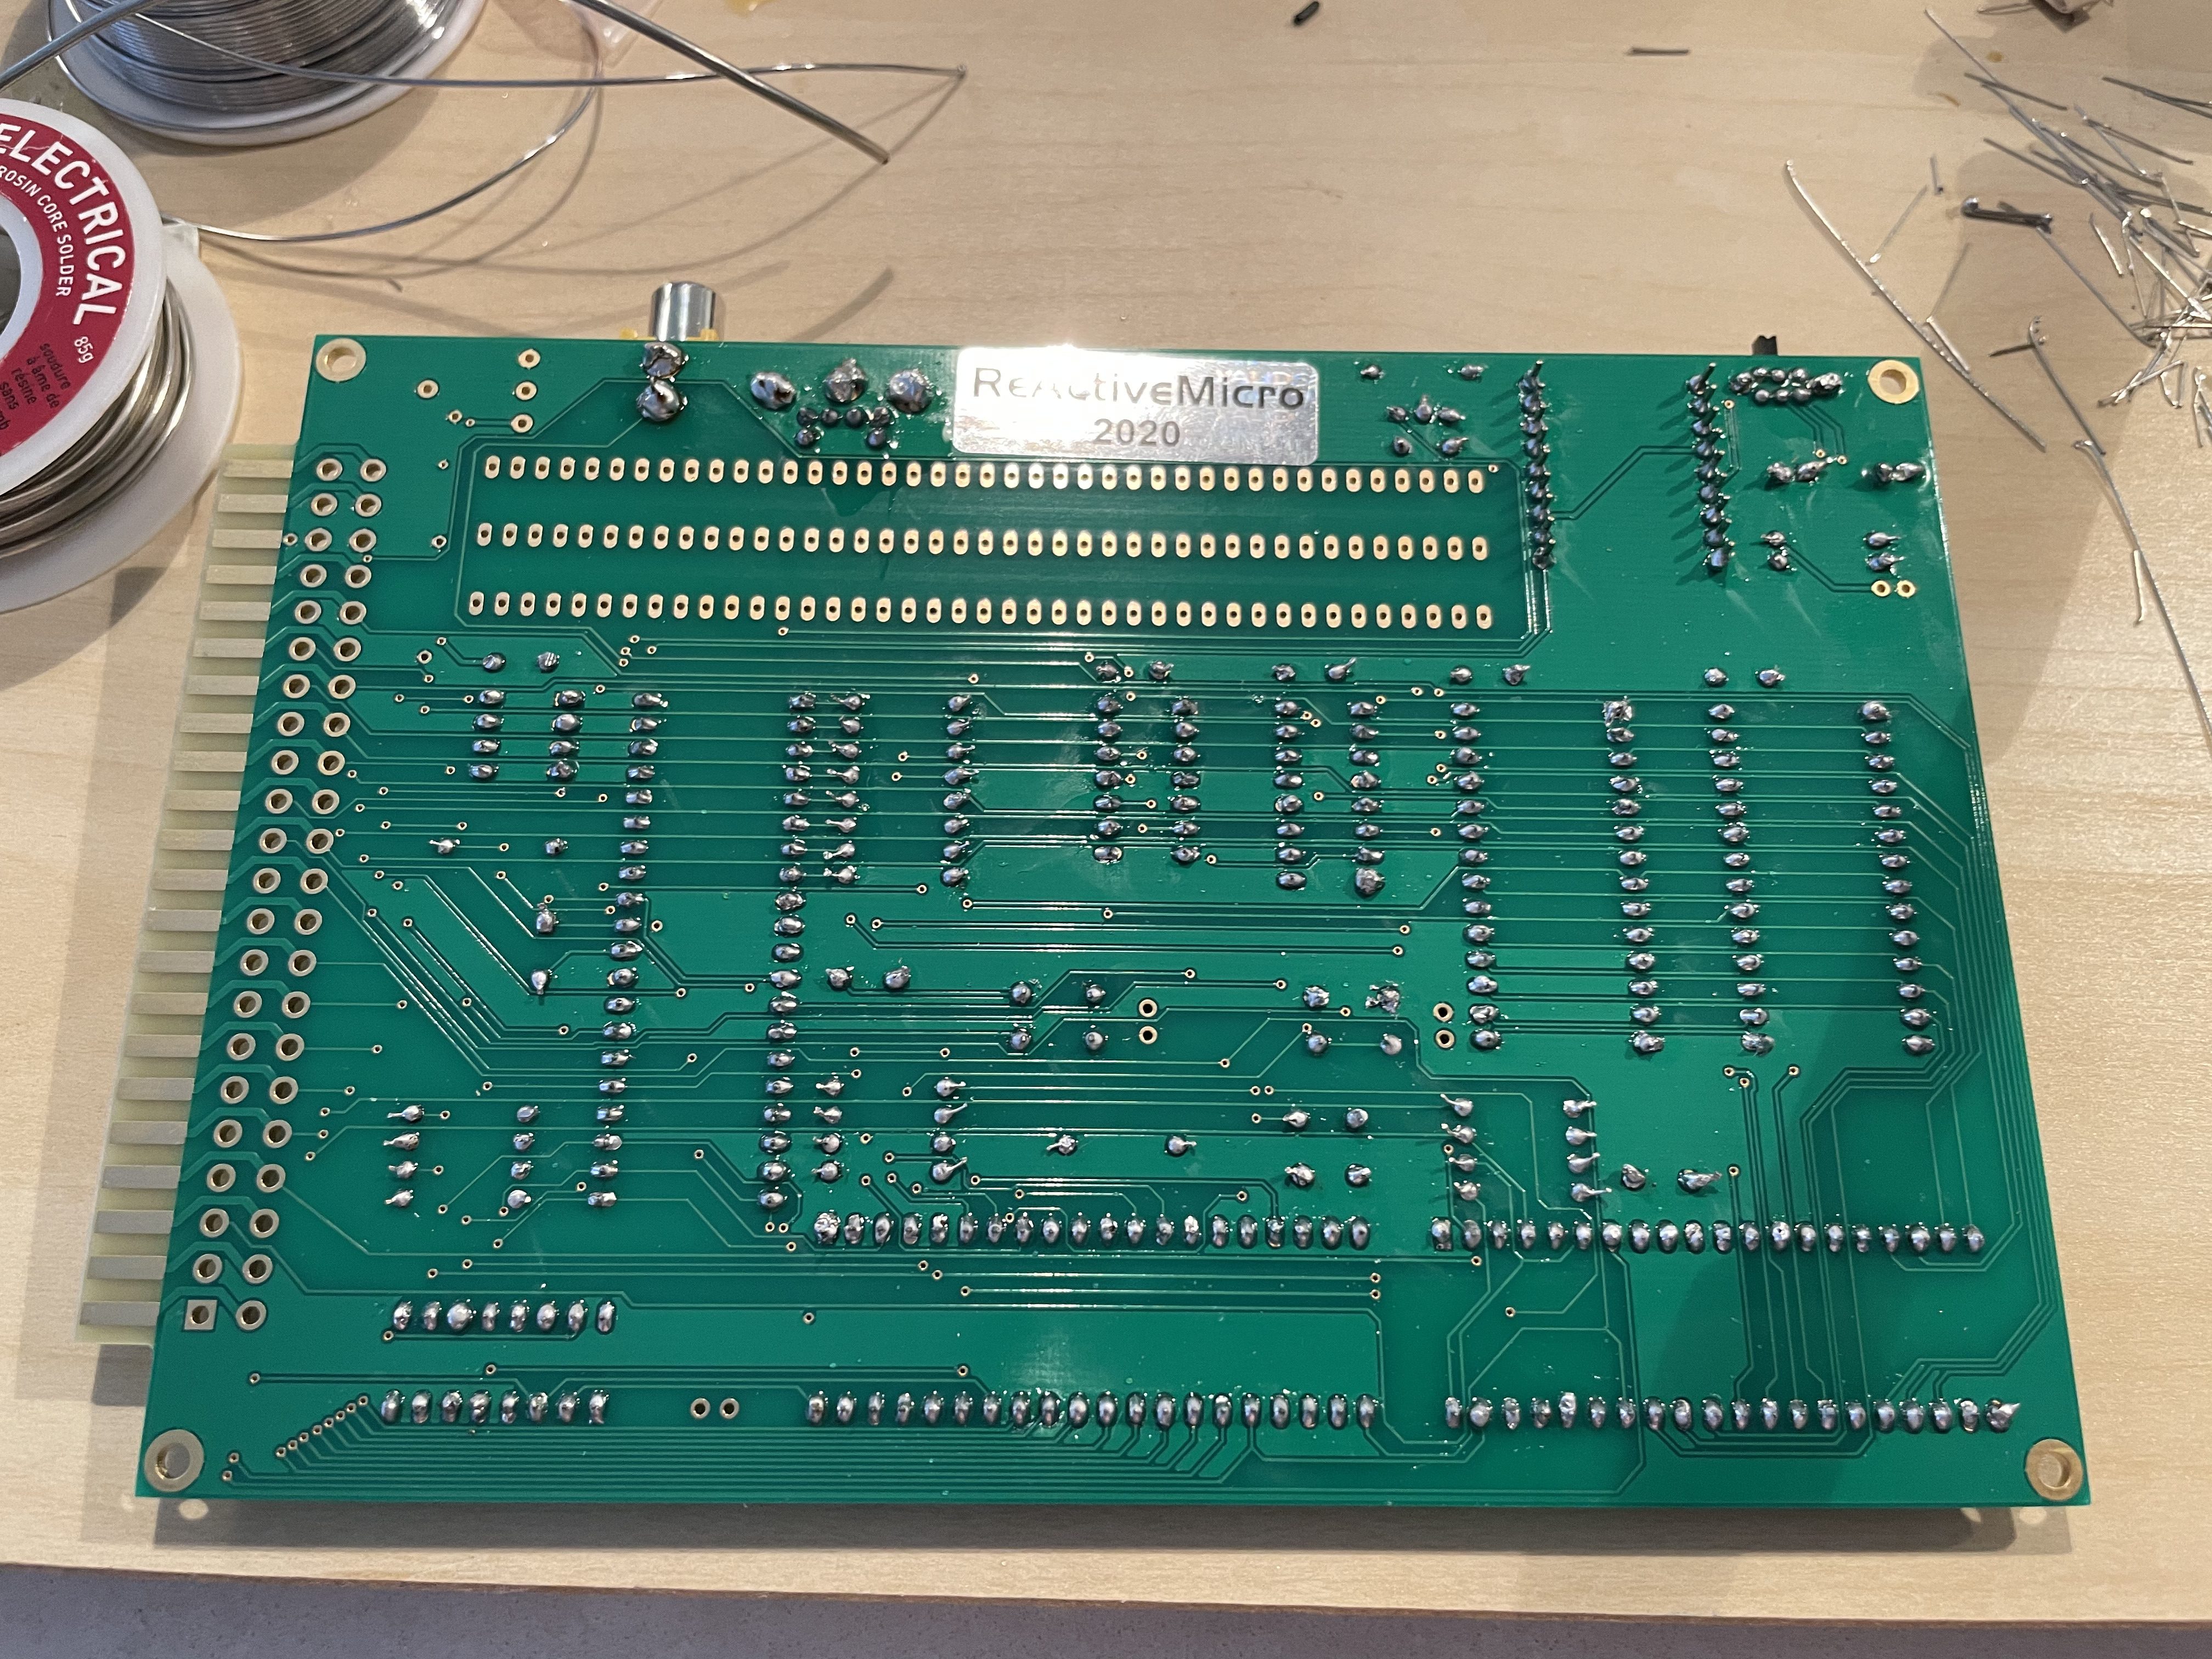

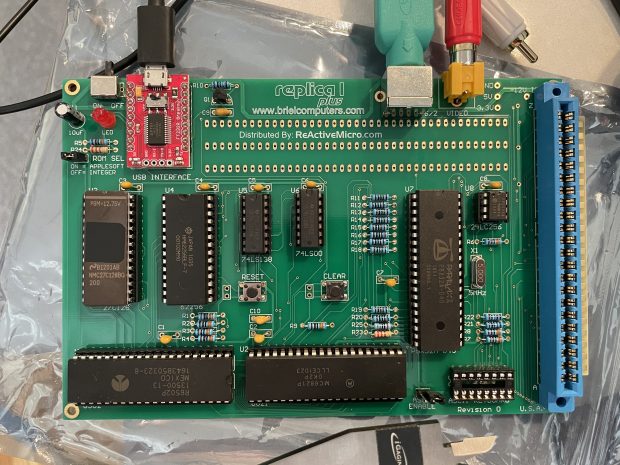
I got it all together, and the board started the first try. I did have the same issue the person who made the video had; I was getting a lot of noise and characters added to the screen. I reflowed a lot of the sockets, and made sure all the socketed chips were fully seated. That cleared up the garbage at startup. The wiki also has some other notes on noise issues the board can show.
I also could not find a PS/2 keyboard in the house, and all the USB keyboards I had didn’t seem to like the USB->PS/2 Adapter. I am not very surprised by this because I didn’t have any very simple, older keyboards.
The USB port that is used for power is also a serial device for a PC/Mac. I plugged into that and got the serial driver working from SparkFun website, they produce the module. Then the output worked well, and I could enter BASIC on the board!
Case
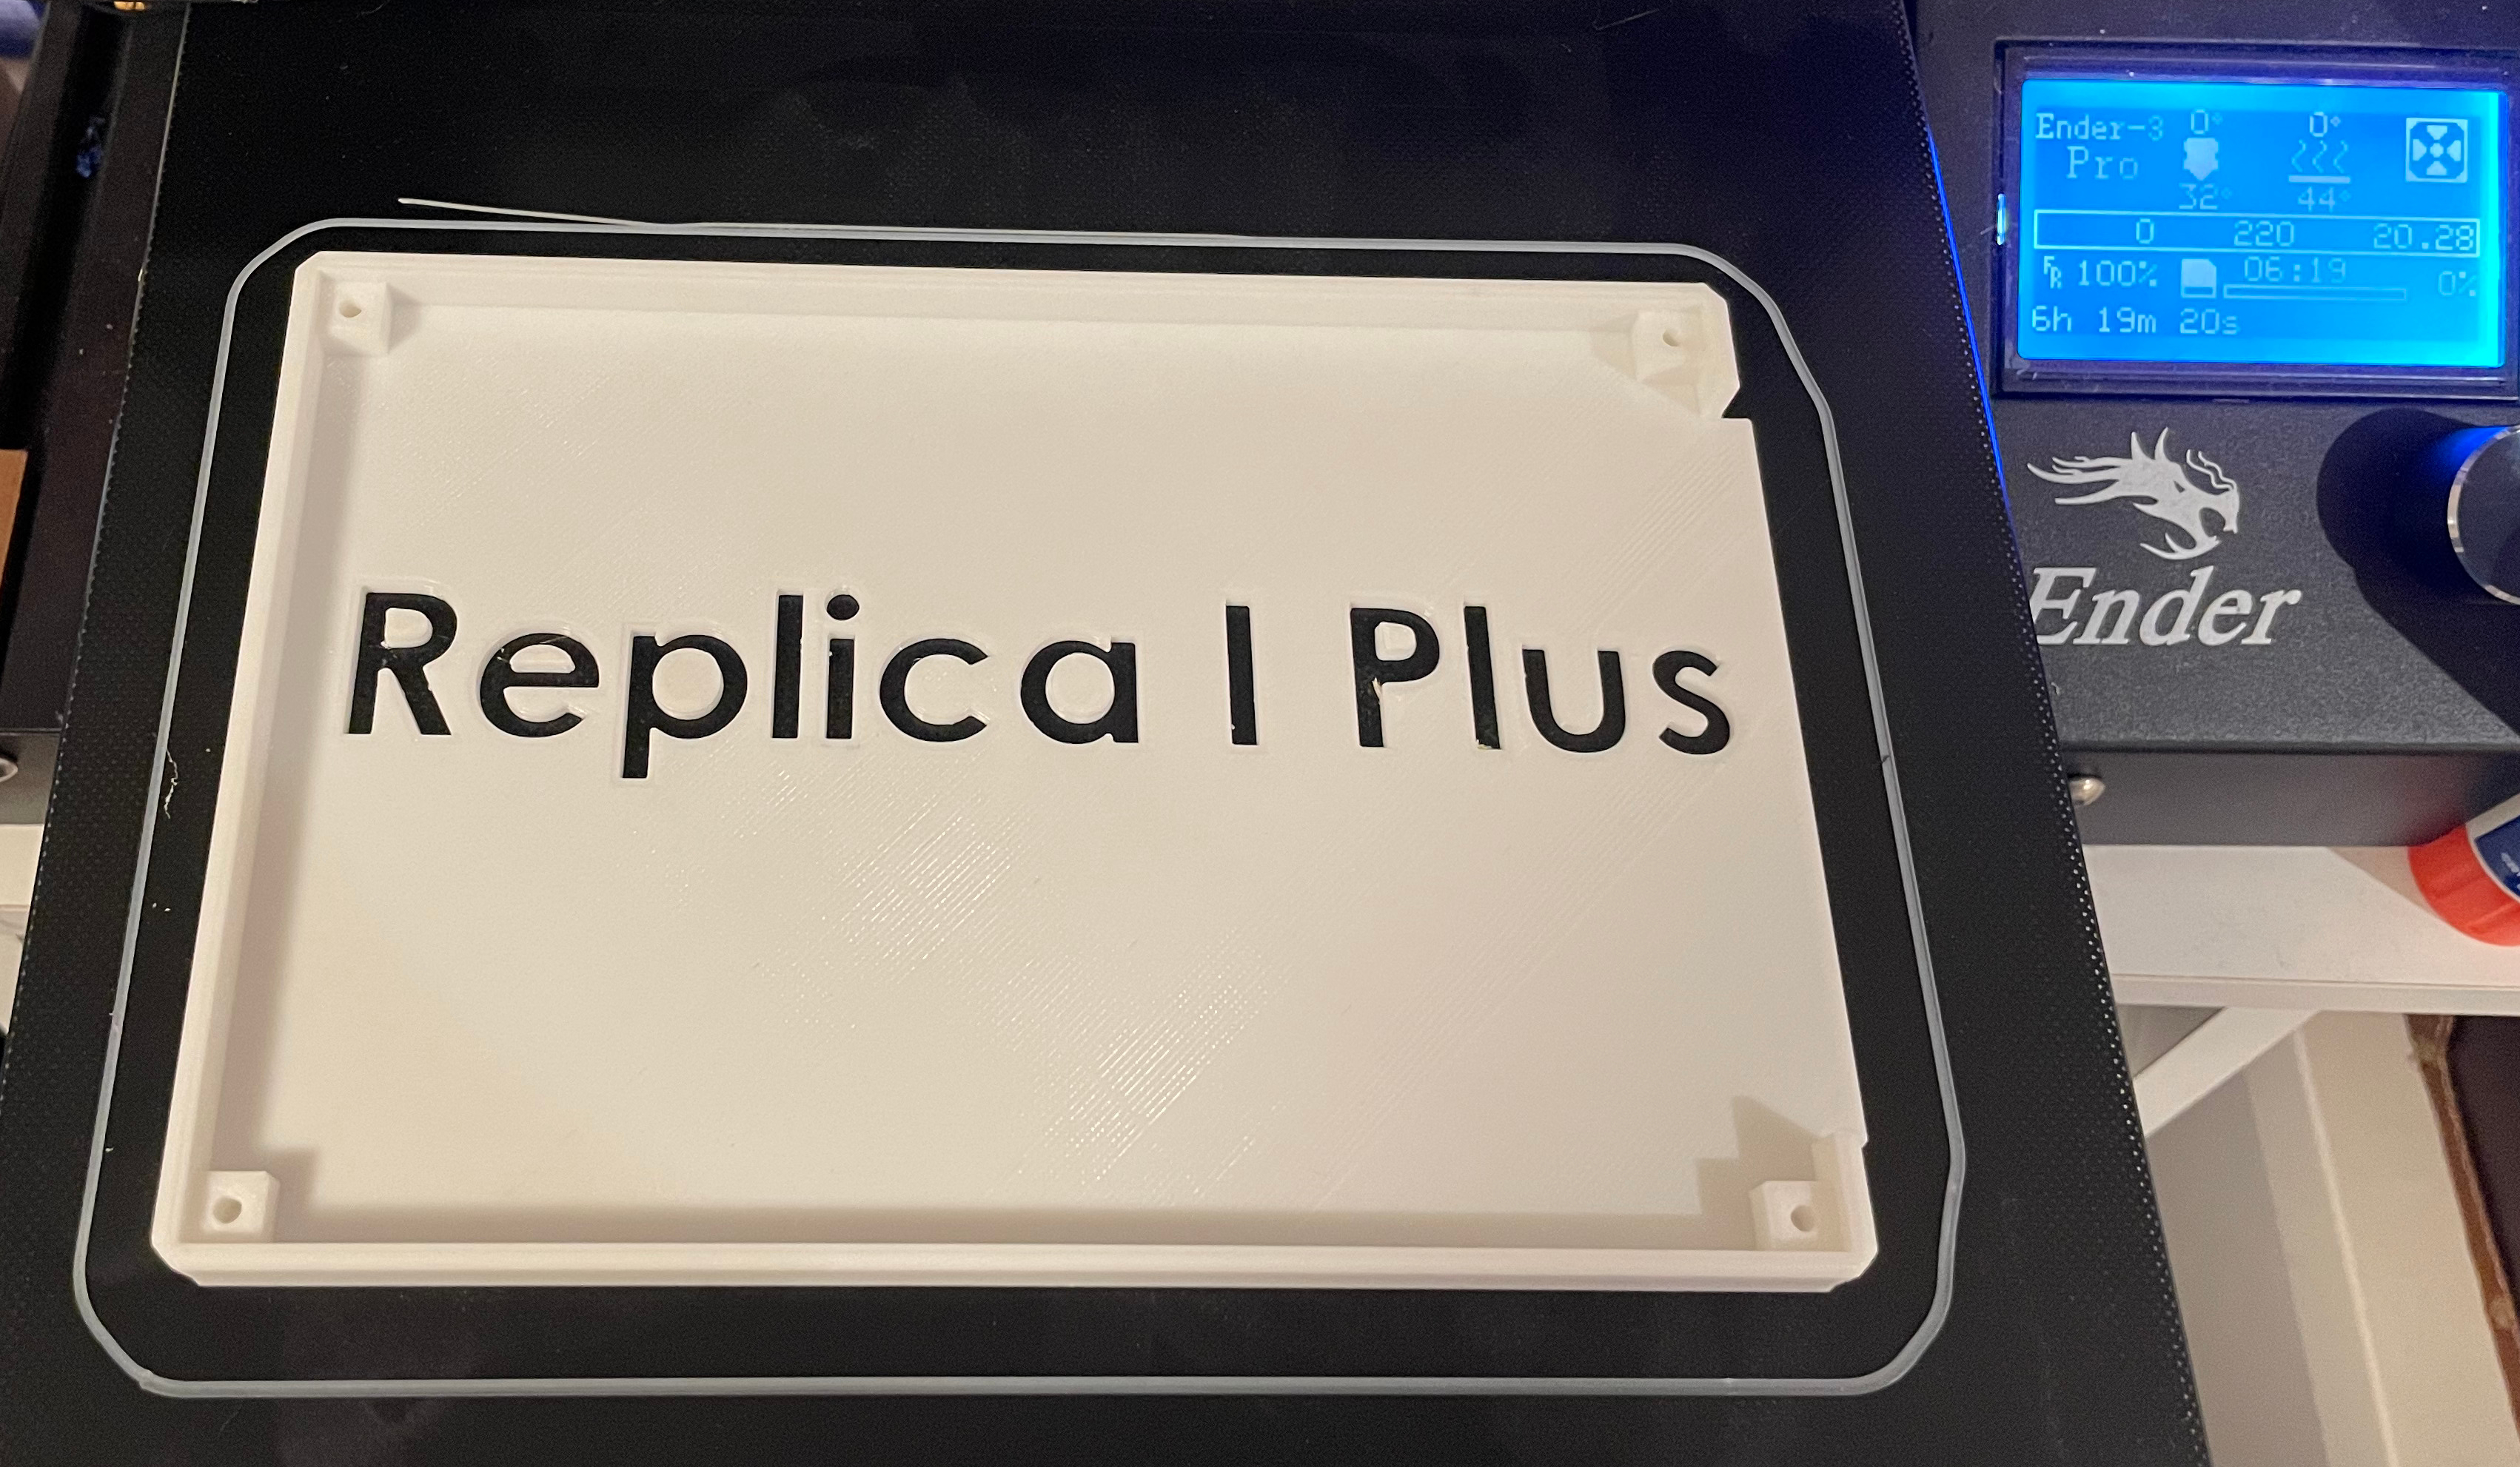
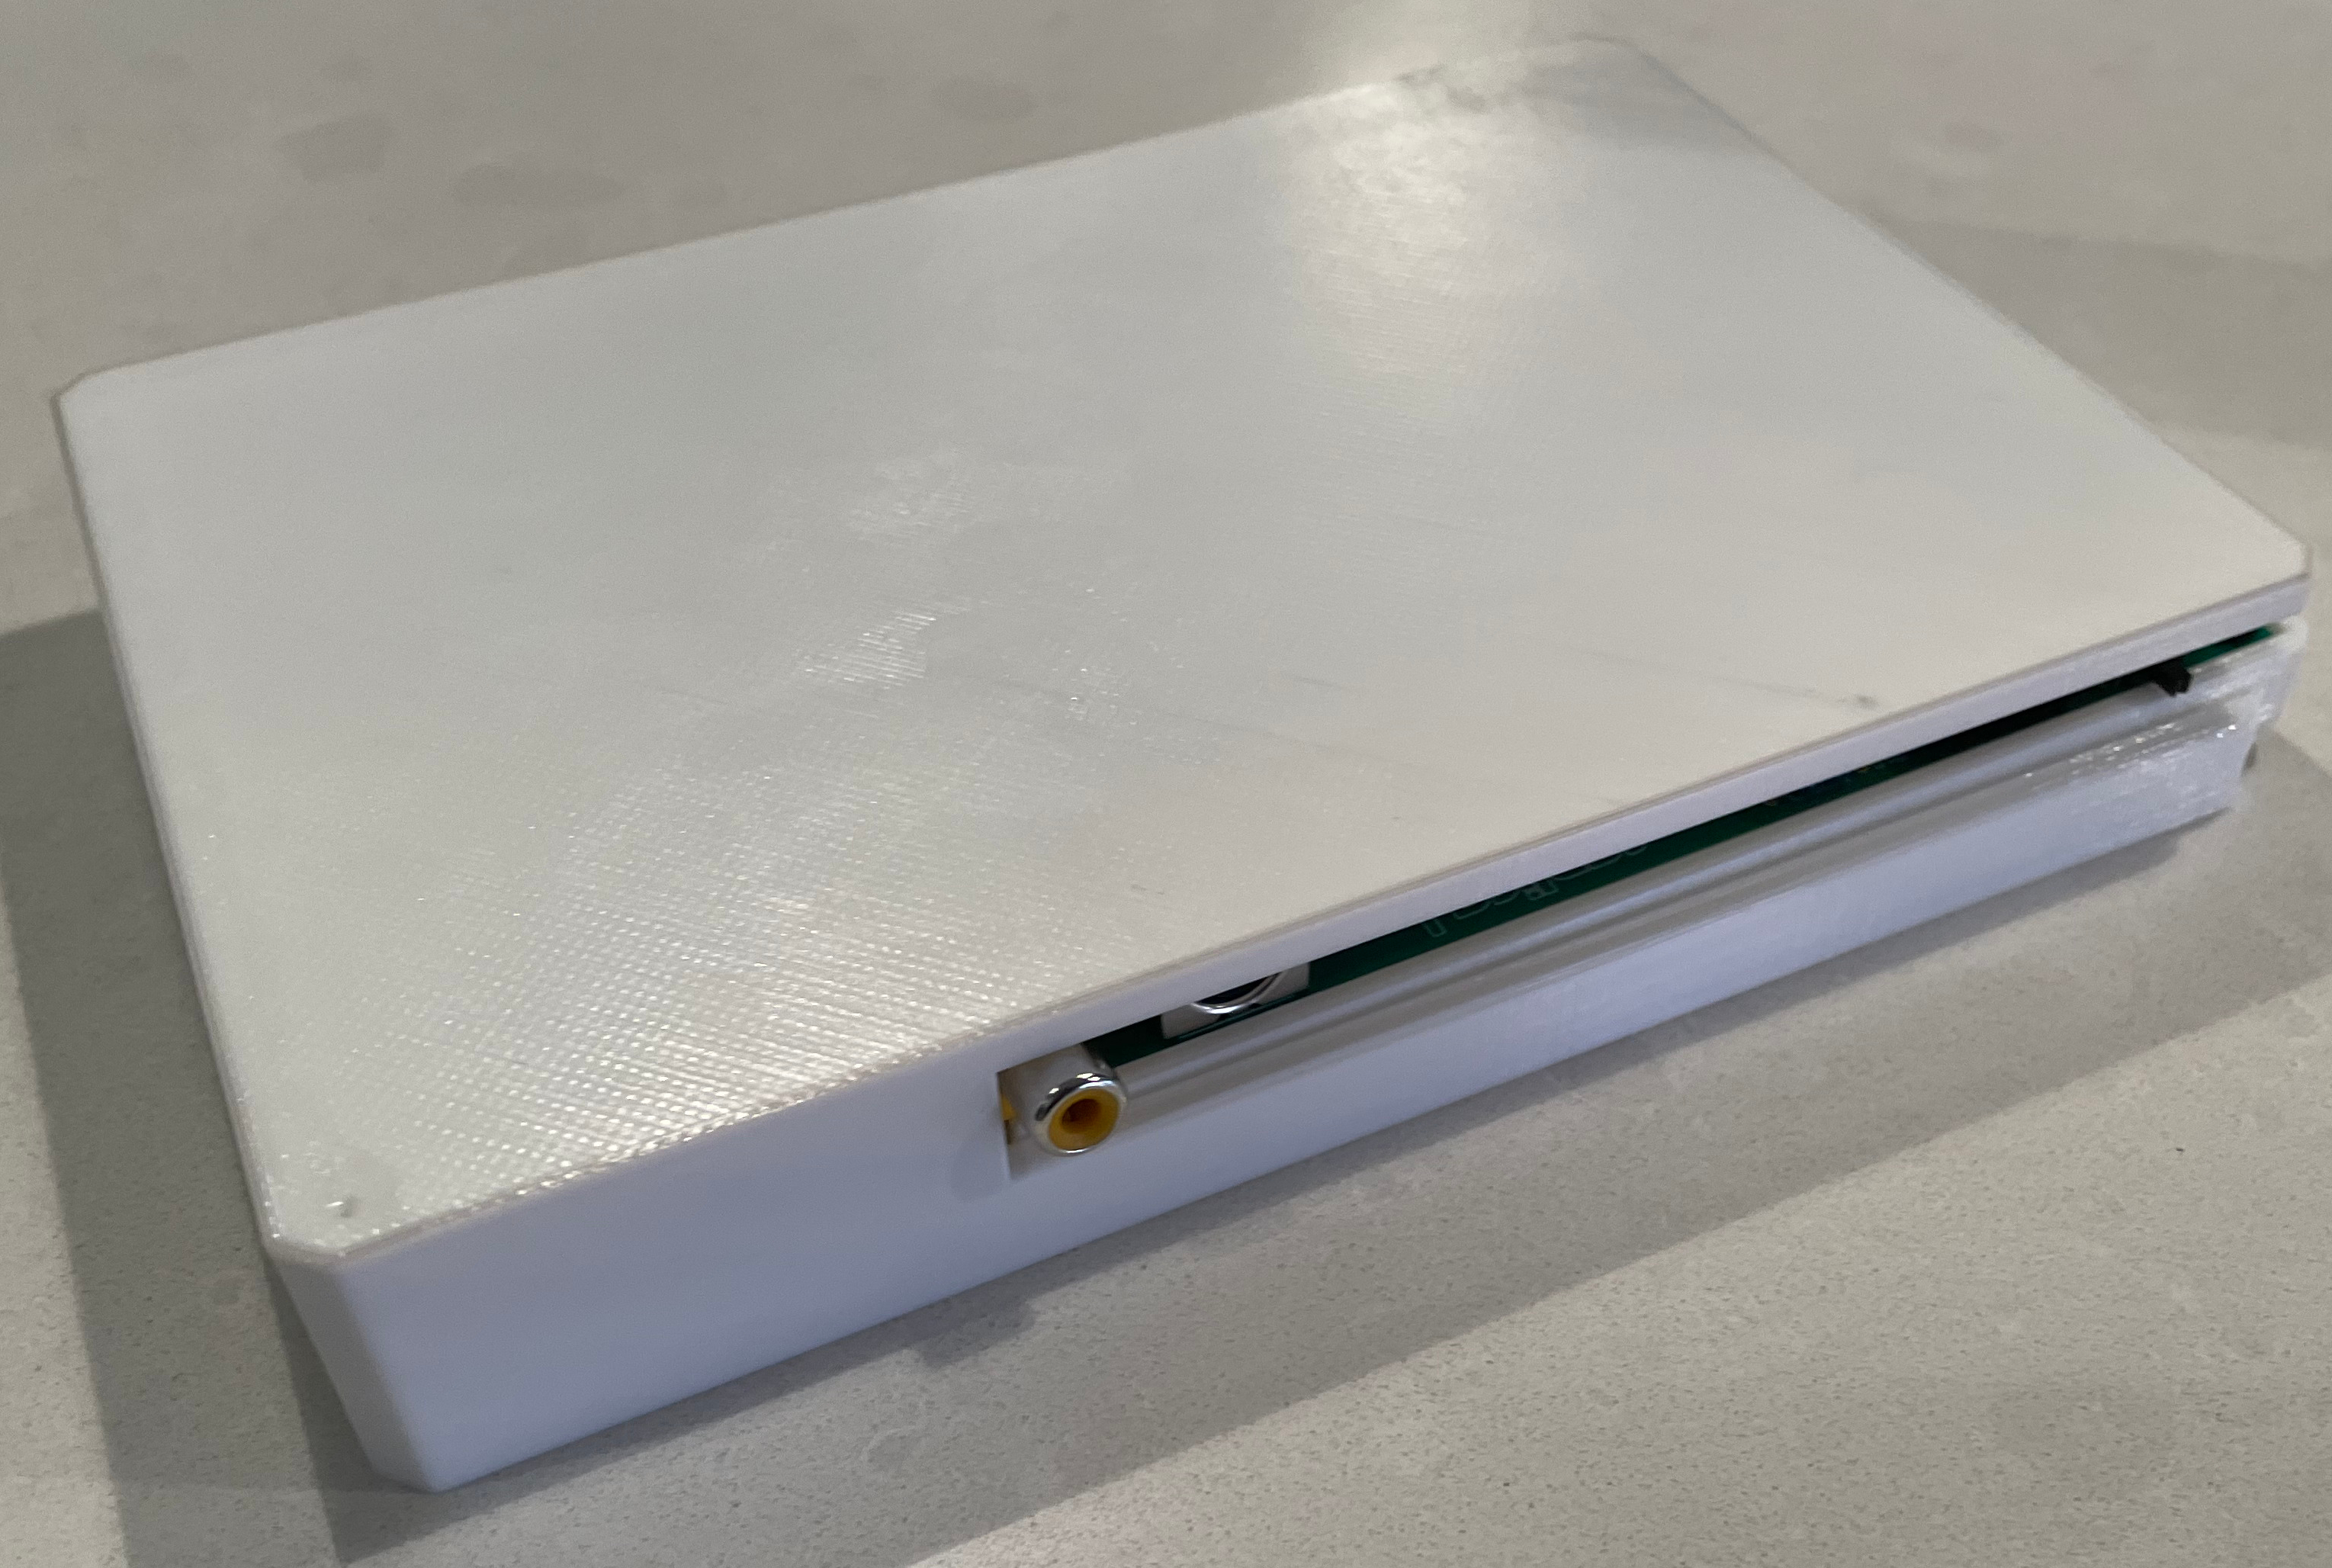
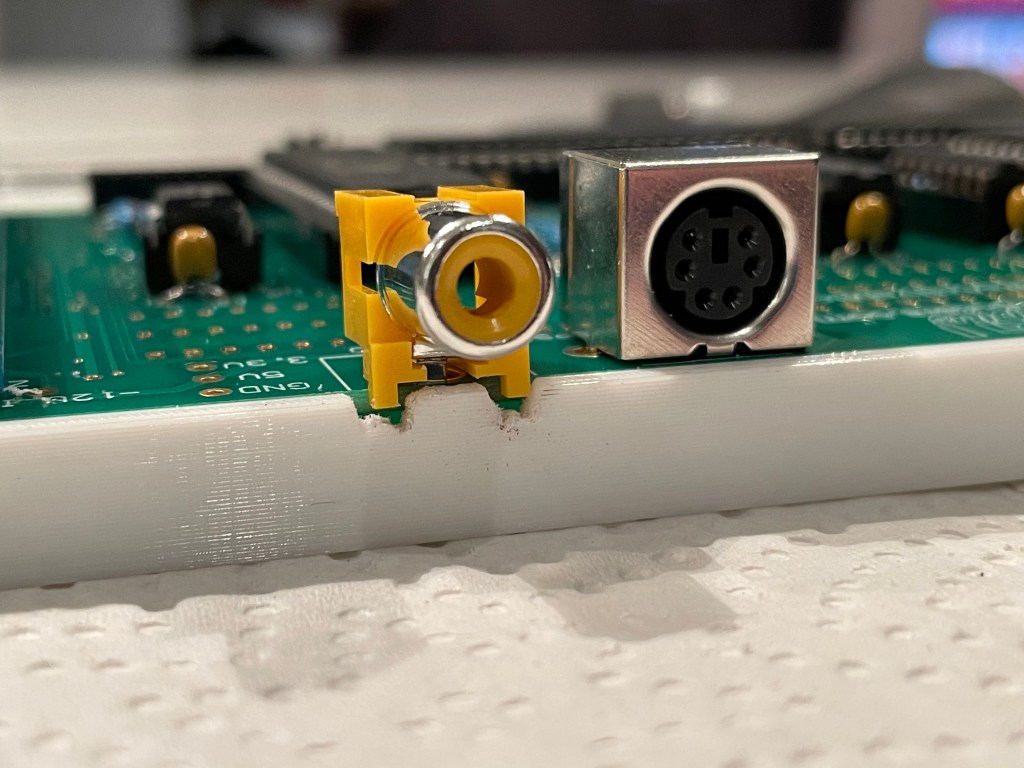
I wanted to put the board in some sort of case, and after searching online I couldn’t find any. I thought I would throw something together quickly that I could put the board in. I took some measurements and threw together a V0 of the case. One small issue was I didn’t account for the RCA jack the video comes out of little let that sticks out. Instead of spending another 7 hours printing a new one, I used a little saw I have to cut a hole out.

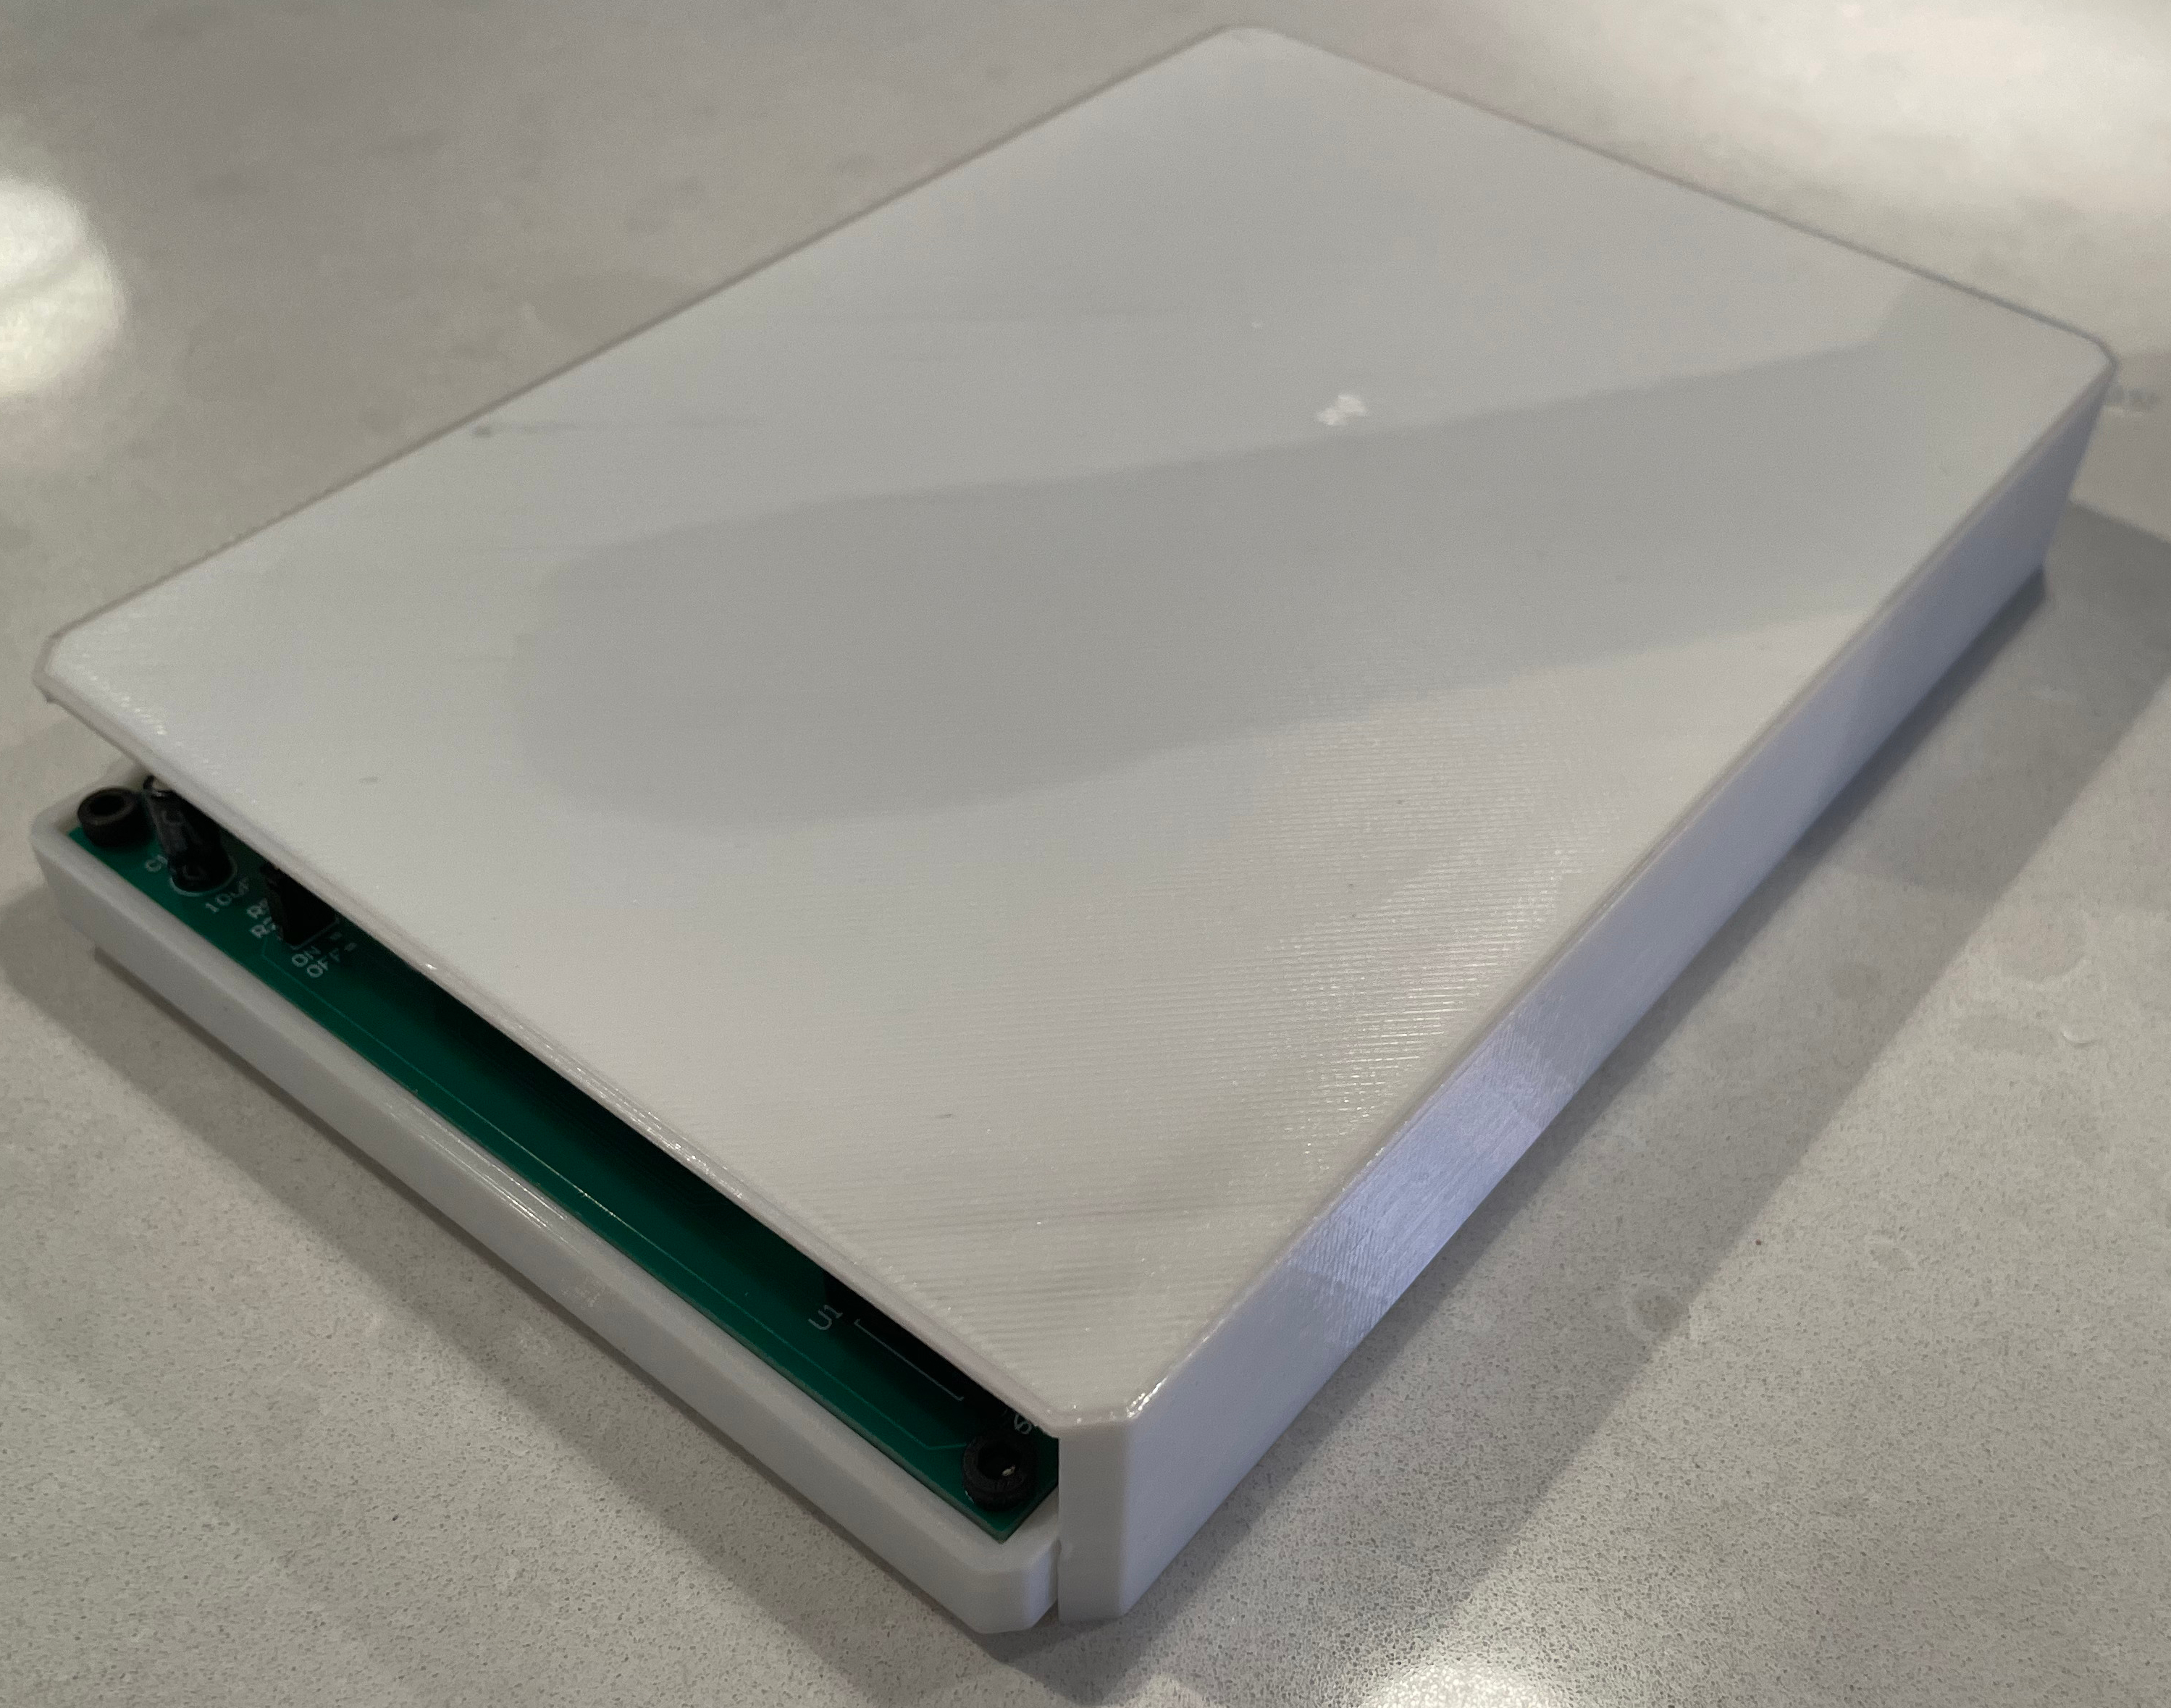
Part of my thought of creating a case was to have something I could put the board in, then store it in a cabinet or shelf and not be worried that the board would get damaged. I also made a case that can go over the entire unit to protect it in storage.
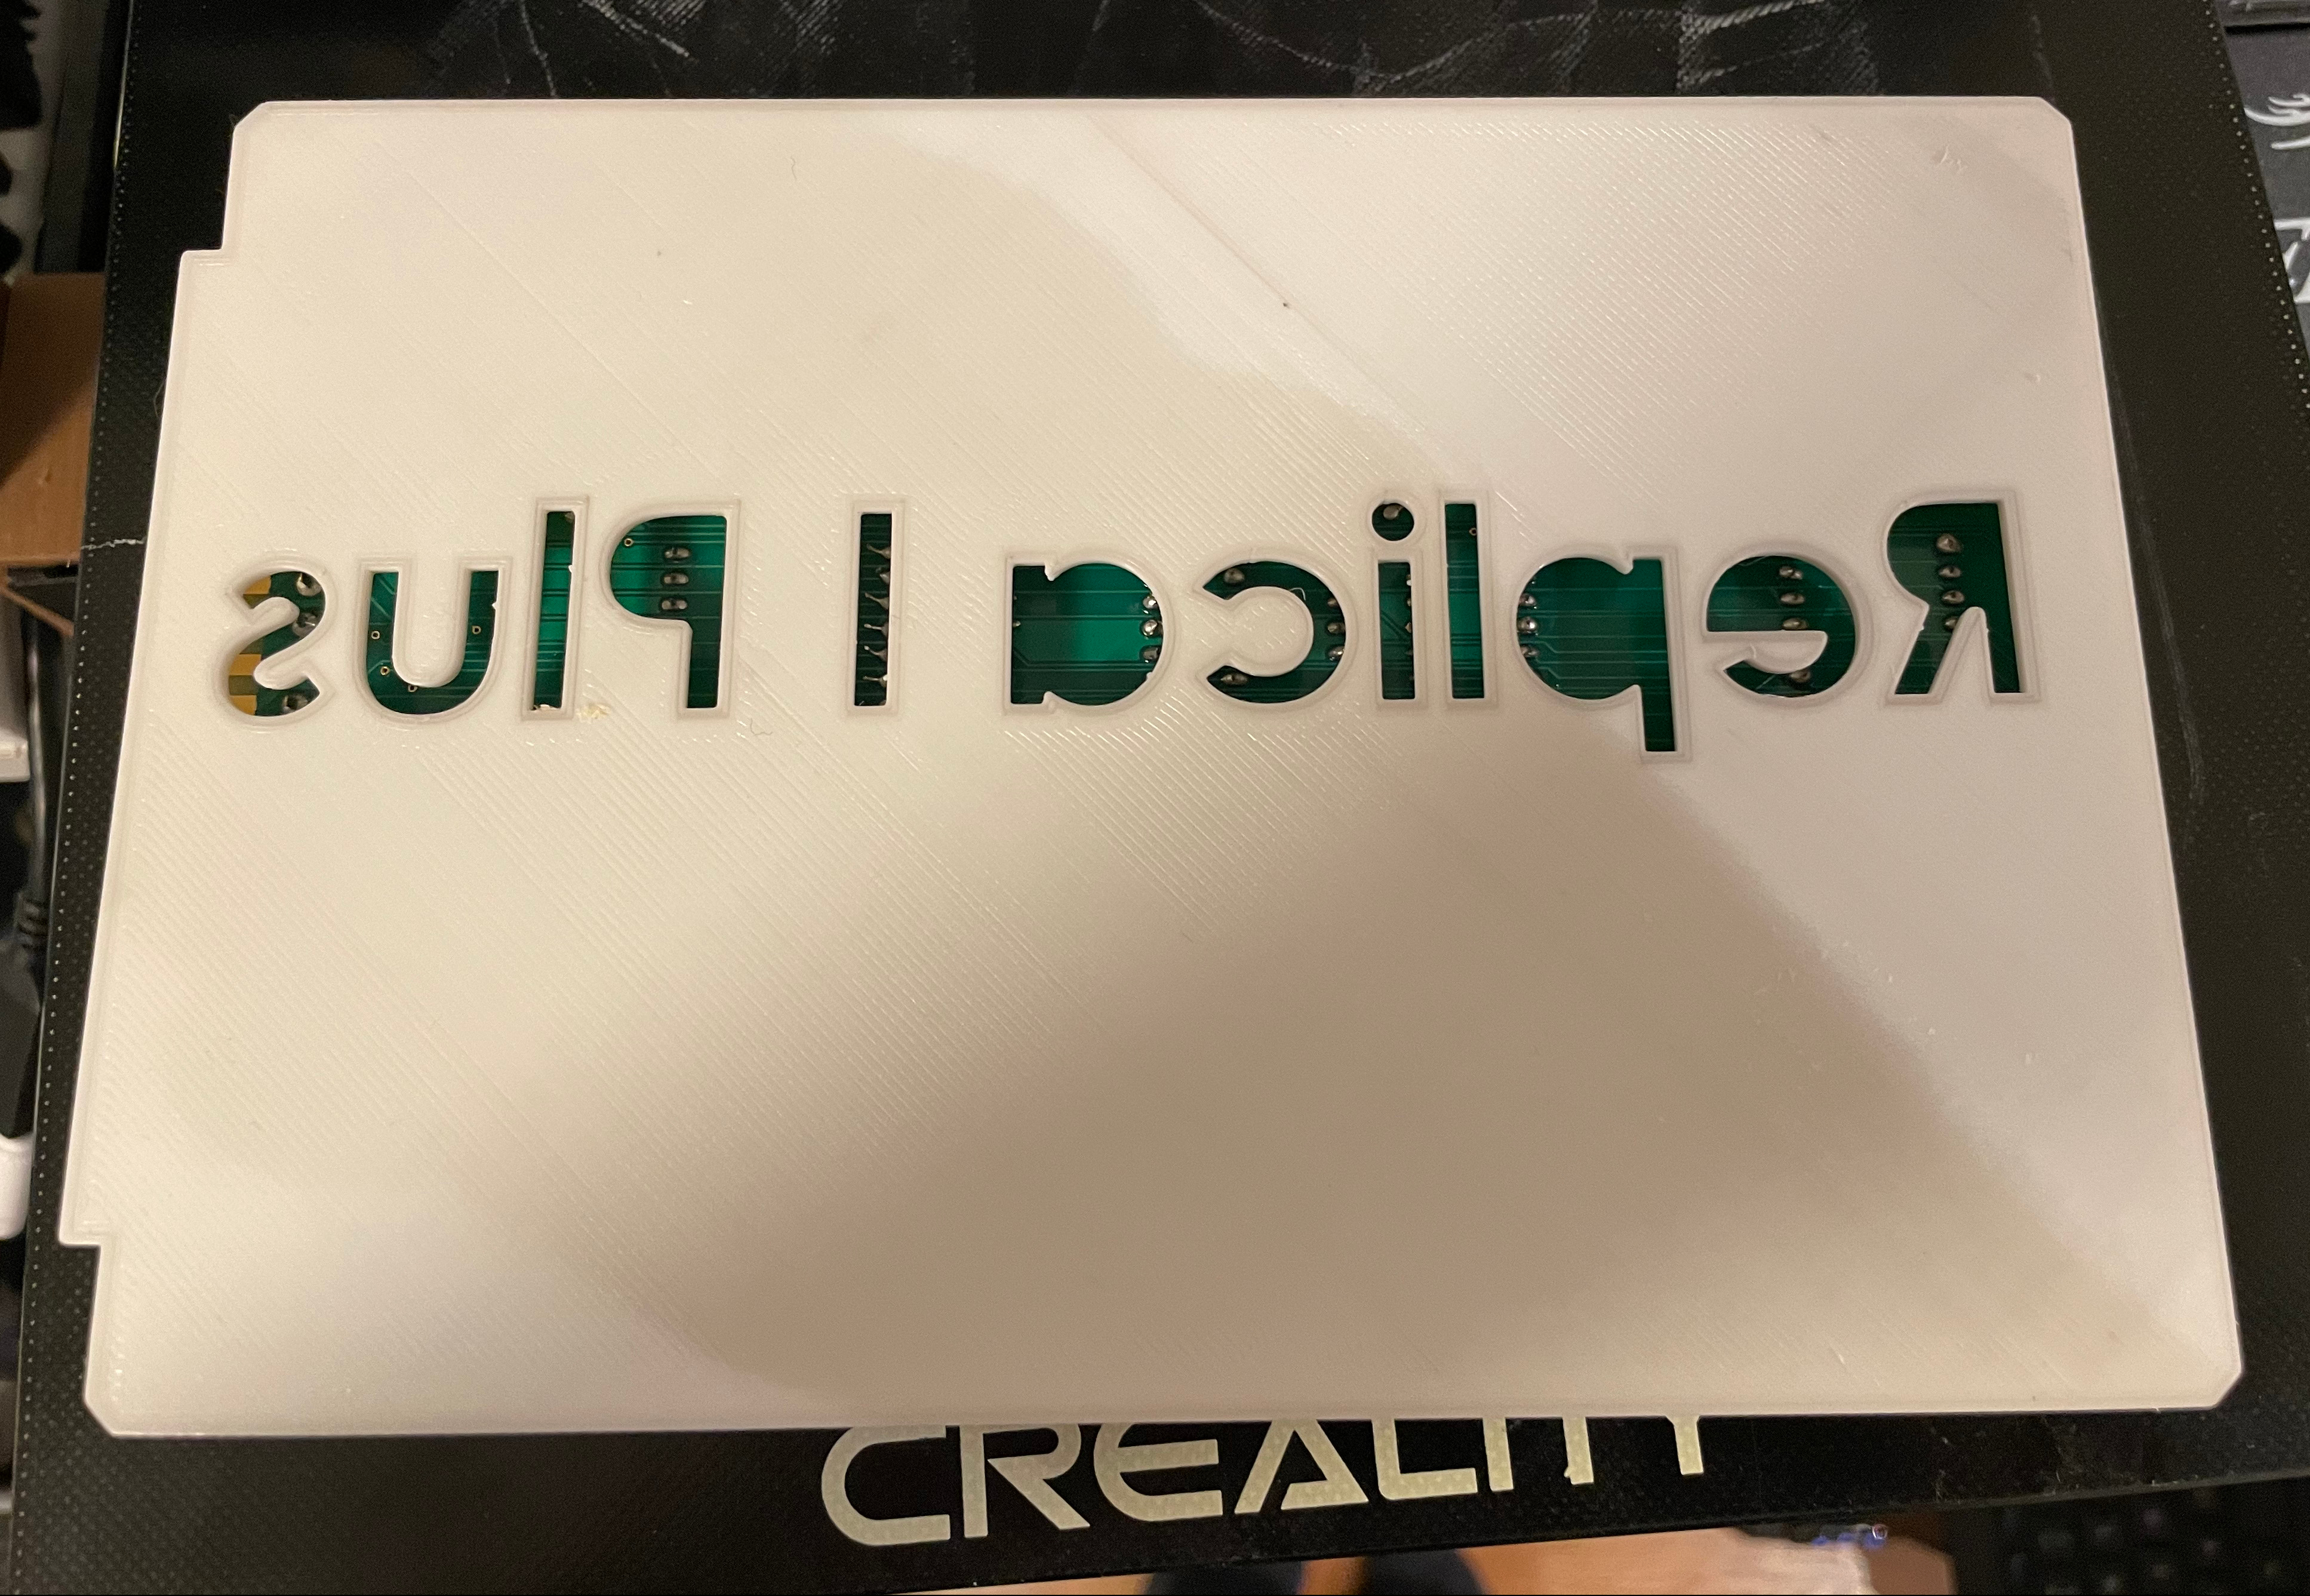
Again, looking back small design things could have been changed, like flip the name of the project in the case, so looking at it in the protective cover, the text would be right right way. Getting the scaffolding out of the protective case was not the easiest of things. I designed the protective case with a rail that brings the edge of the mounting board into a locking position when you slide it in. I have to say, that was a nice aspect to the design. It took over 6 hours to print though.
Link to case: https://www.thingiverse.com/thing:4819716