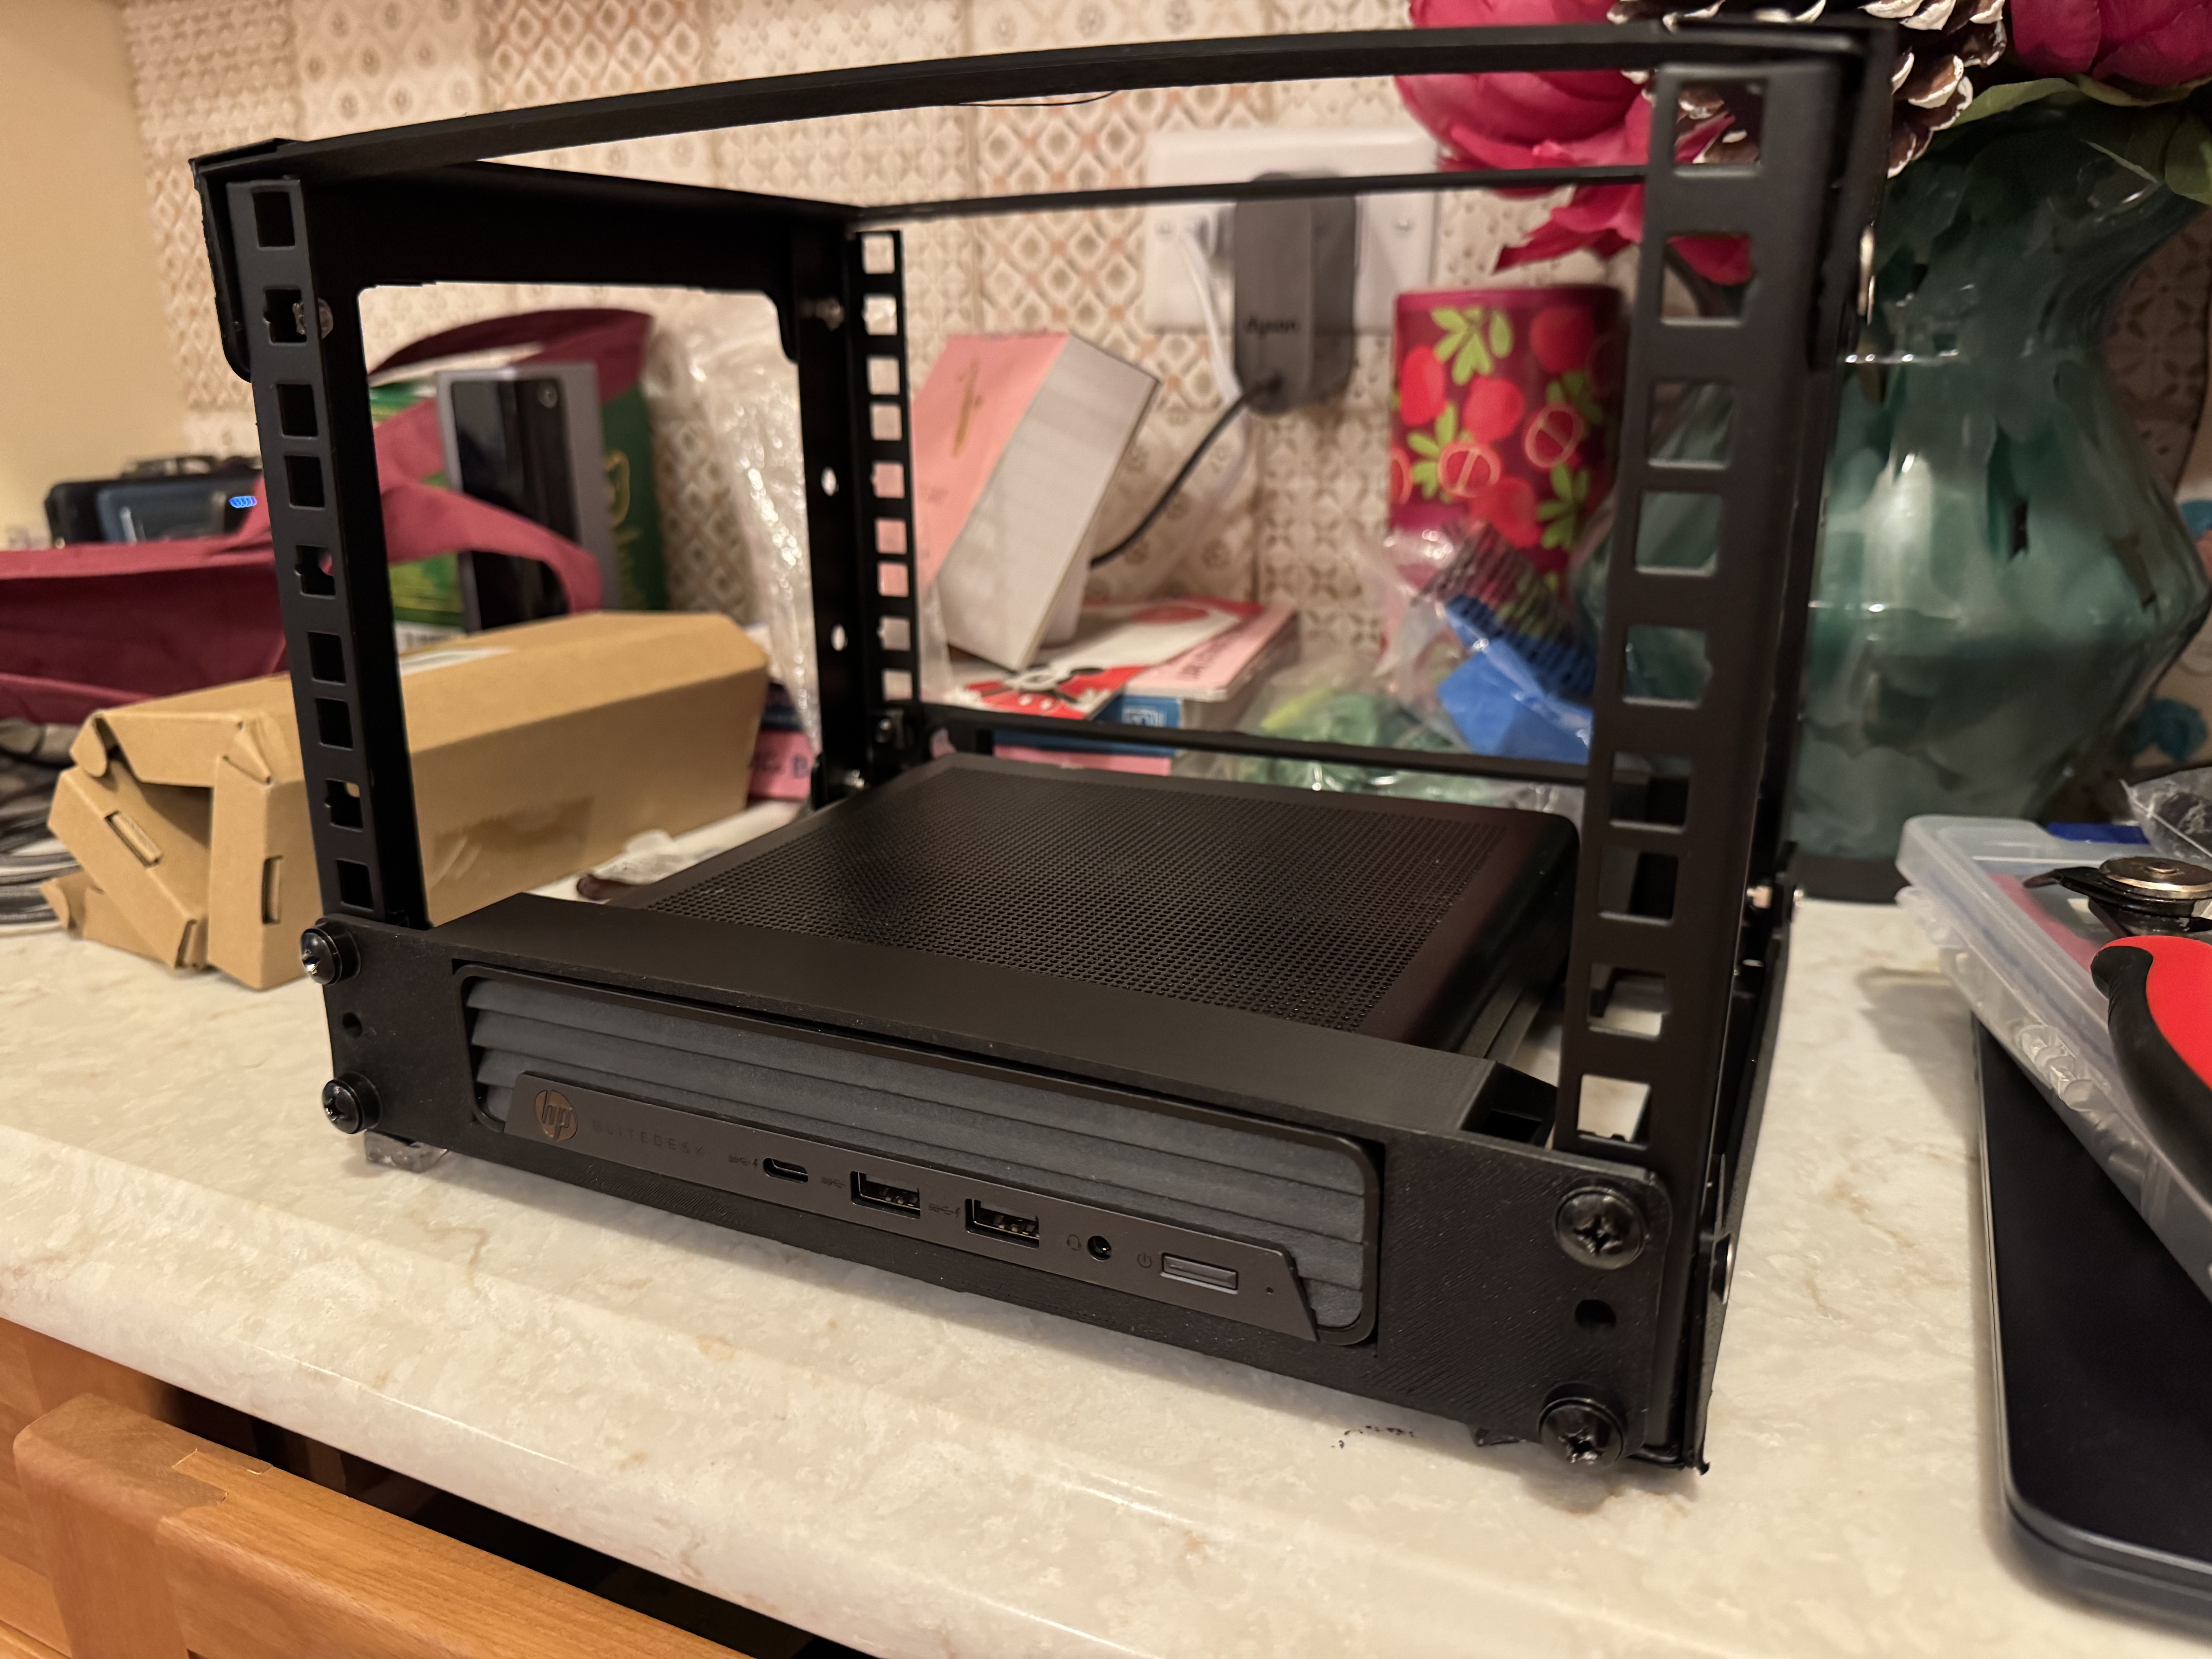
I am working on a project that involves Intel vPro and AMD Dash. I am hoping to automate vPro and DASH systems with ansible the same way you can do iDrac and iLO for OS level development. I needed a few of those Tiny/Mini/Micro PCs to have the actual system API available. After stacking a bunch of them on the shelf next to my desk, I wanted a nicer way to organize them. I tried 3D printing a stand for one, and that worked for a time, then I decided to stack them. First I tried 3D modeling and printing little shelves that could fit them, this didn’t work great, I made the tolerances too tight making them hard to snap together. Then I decided to pivot to a 10″ Homelab rack.
There are many of these out there that come as full kits, but those can go for $100+, and I have a 3D printer… so where is the fun in that…
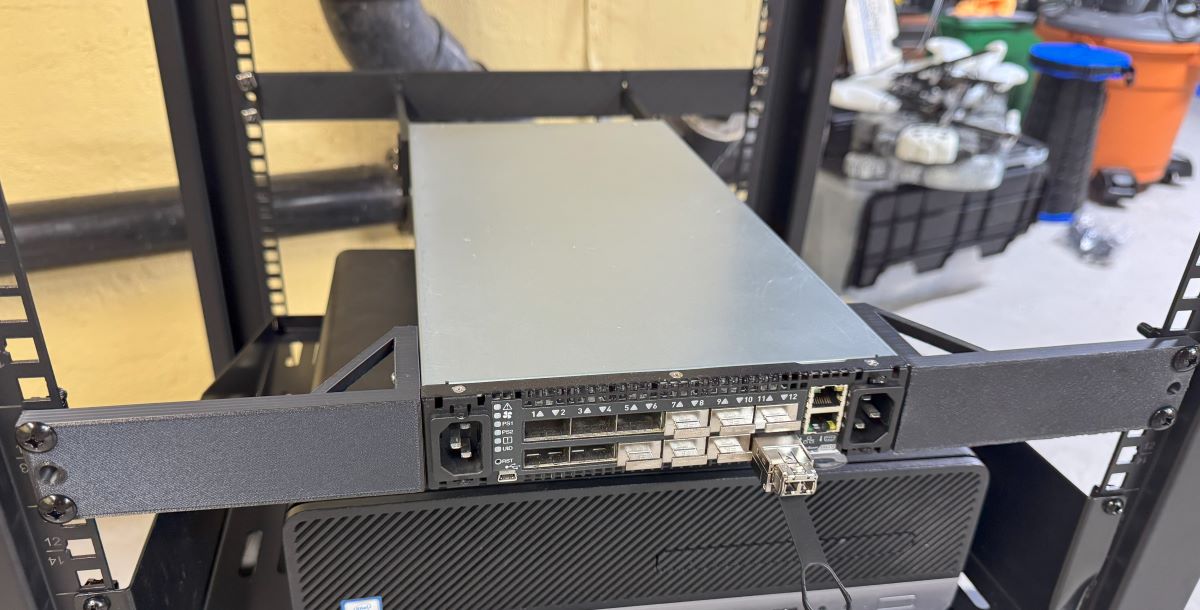
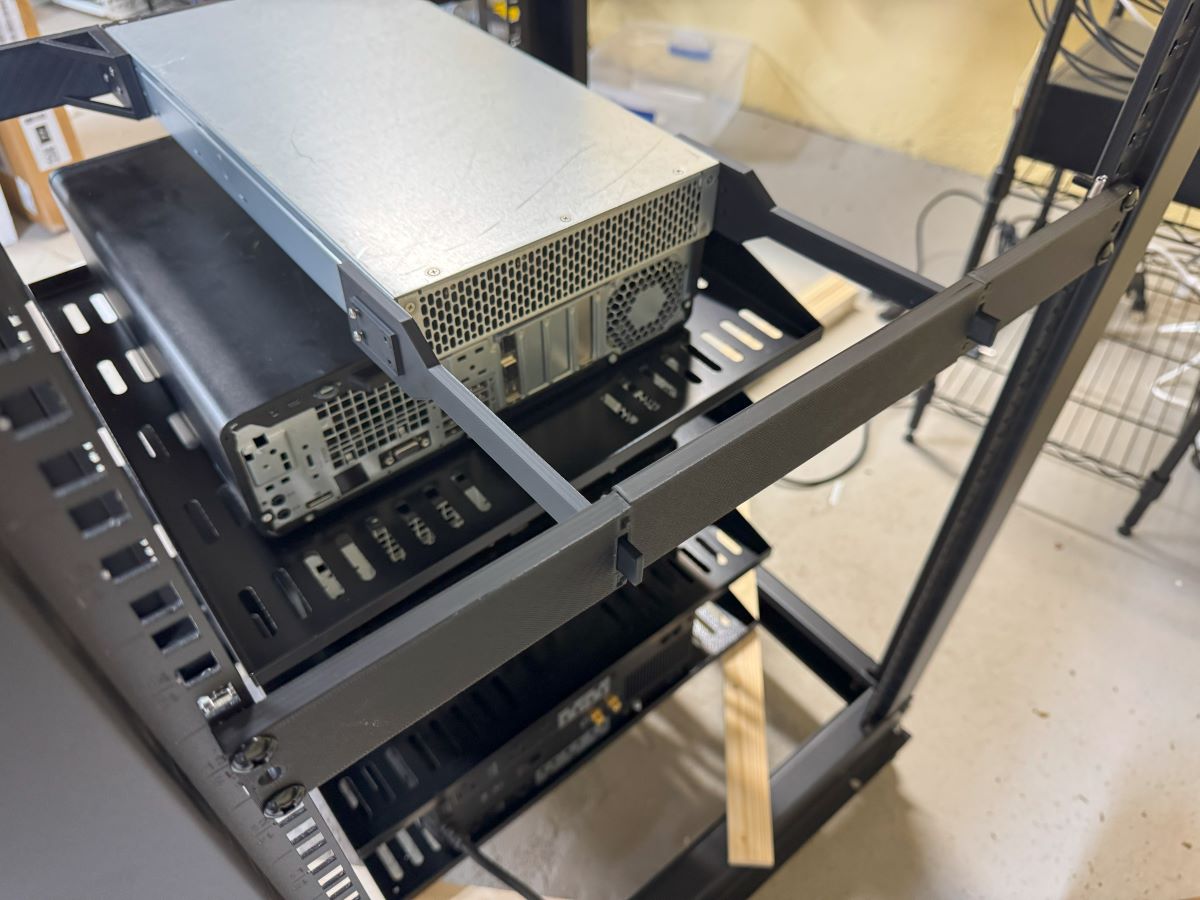
I found this https://www.printables.com/model/329801-10-ah-rail-based-servernetwork-rack/files model. You buy the metal posts offline, then this is the frame that holds the posts together. That brings the cost to 2 sets of posts (about $10 each), then some filament. I got these posts. That is more my style! There are many 10″ rack 3D models available. Many of them are BIG and engineered with handles so you can carry the systems around. Some are engineered to be 100% 3D printed with no metal posts. I wanted a rack with the strength of the metal posts, but simple.
I printed this, and while it was printing saw someone made a beefed up version with thicker corner pieces: https://www.printables.com/model/666403-10-in-mini-rack. I wish now that I printed that one instead because of the flimsiness, but it’s working as is. The frame is a bit flimsy, instead of the frame holding in the gear, the gear is more holding together the frame. I printed all these parts with 3 walls, and 50% infill. More than likely overkill, but I was just using PLA and wanted extra strength.
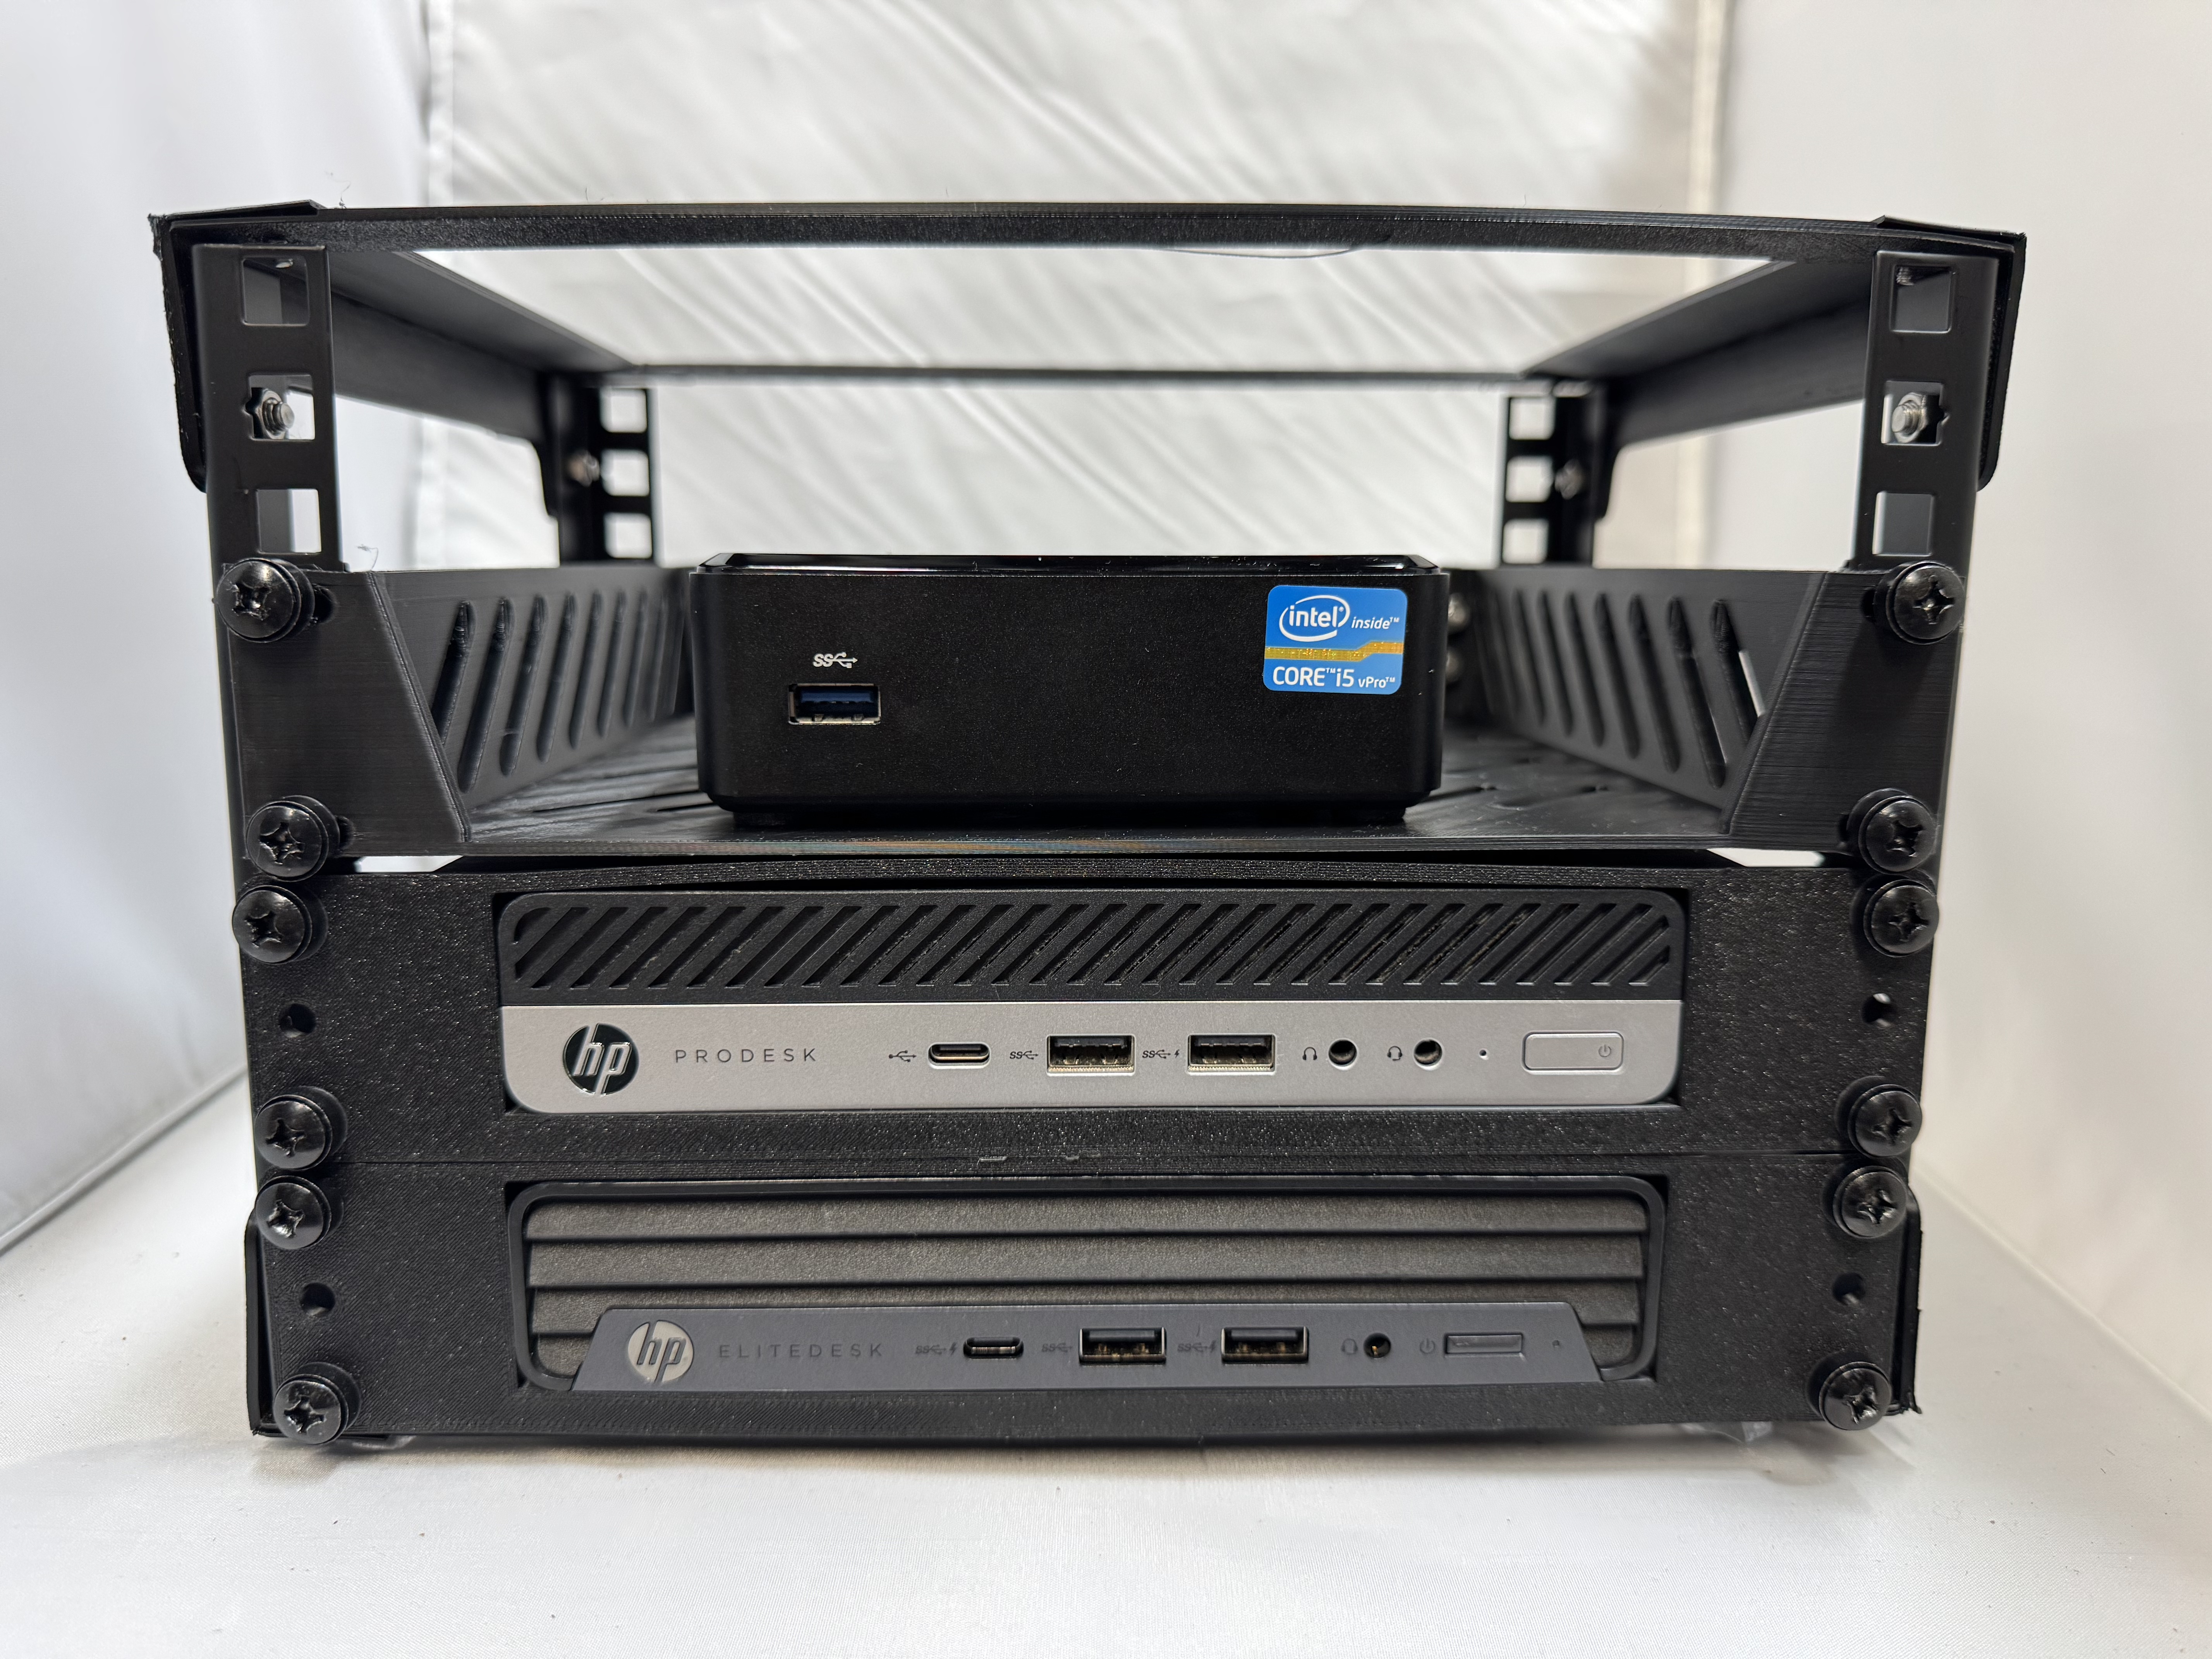
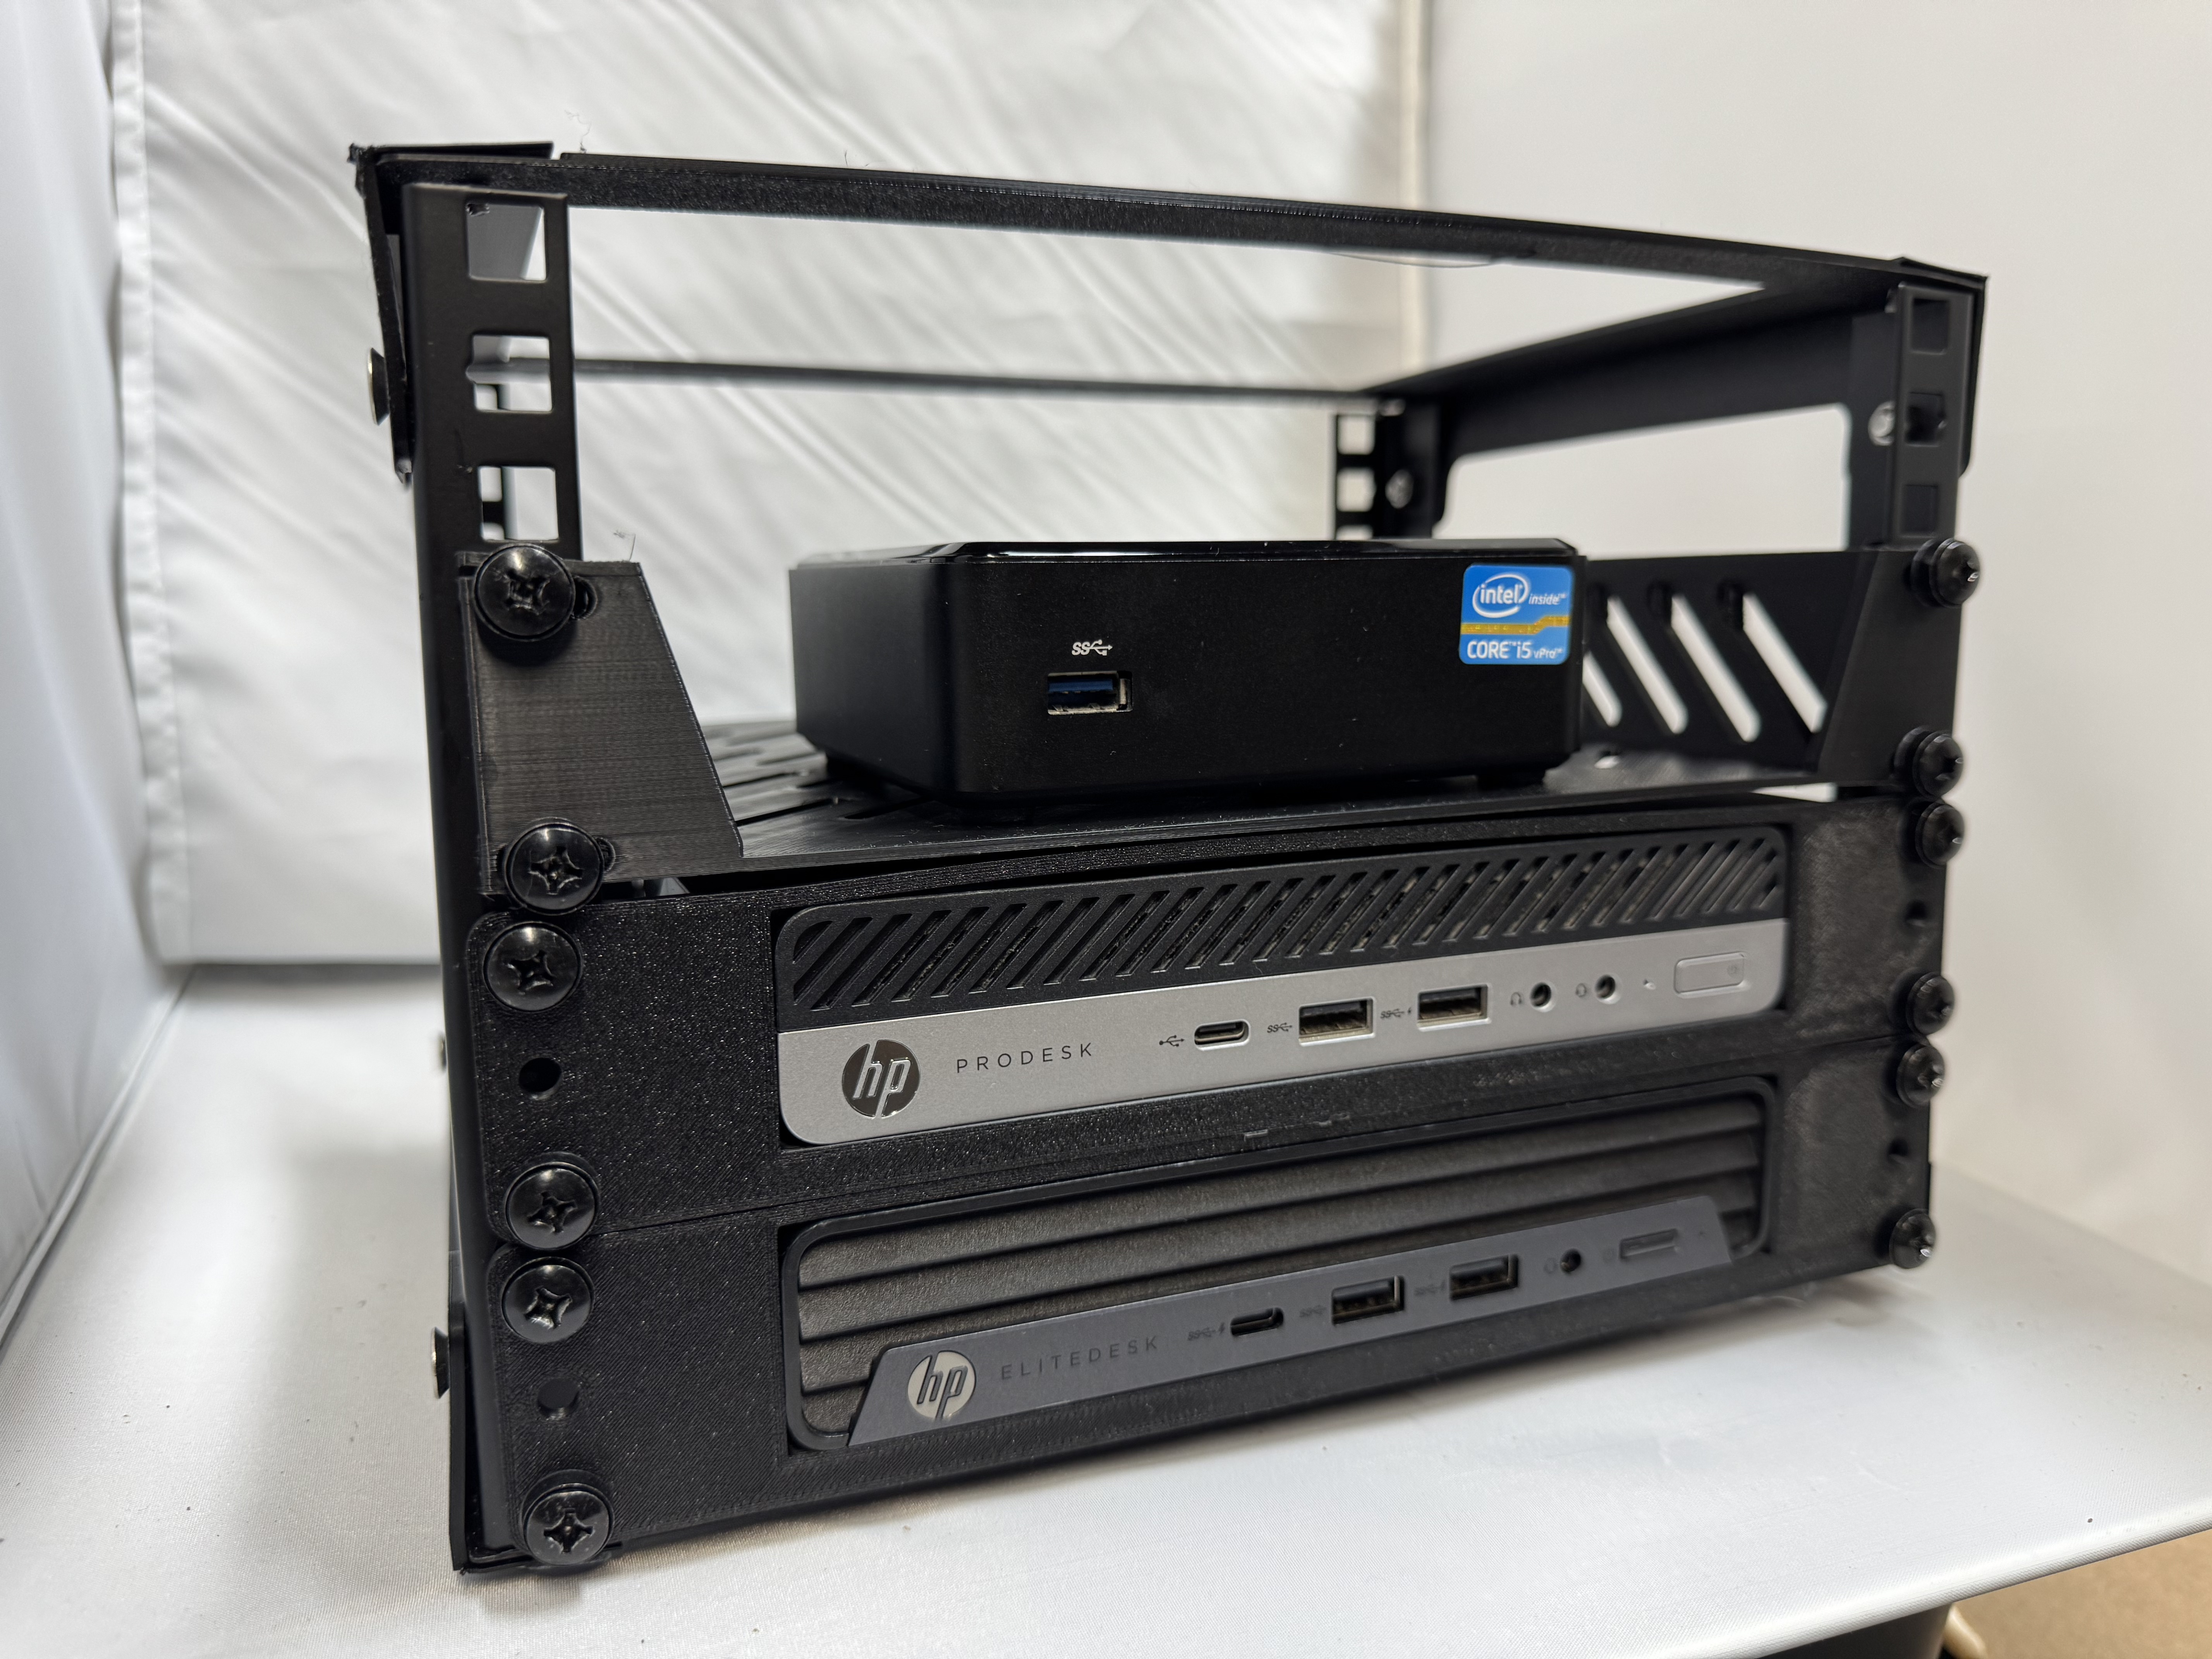
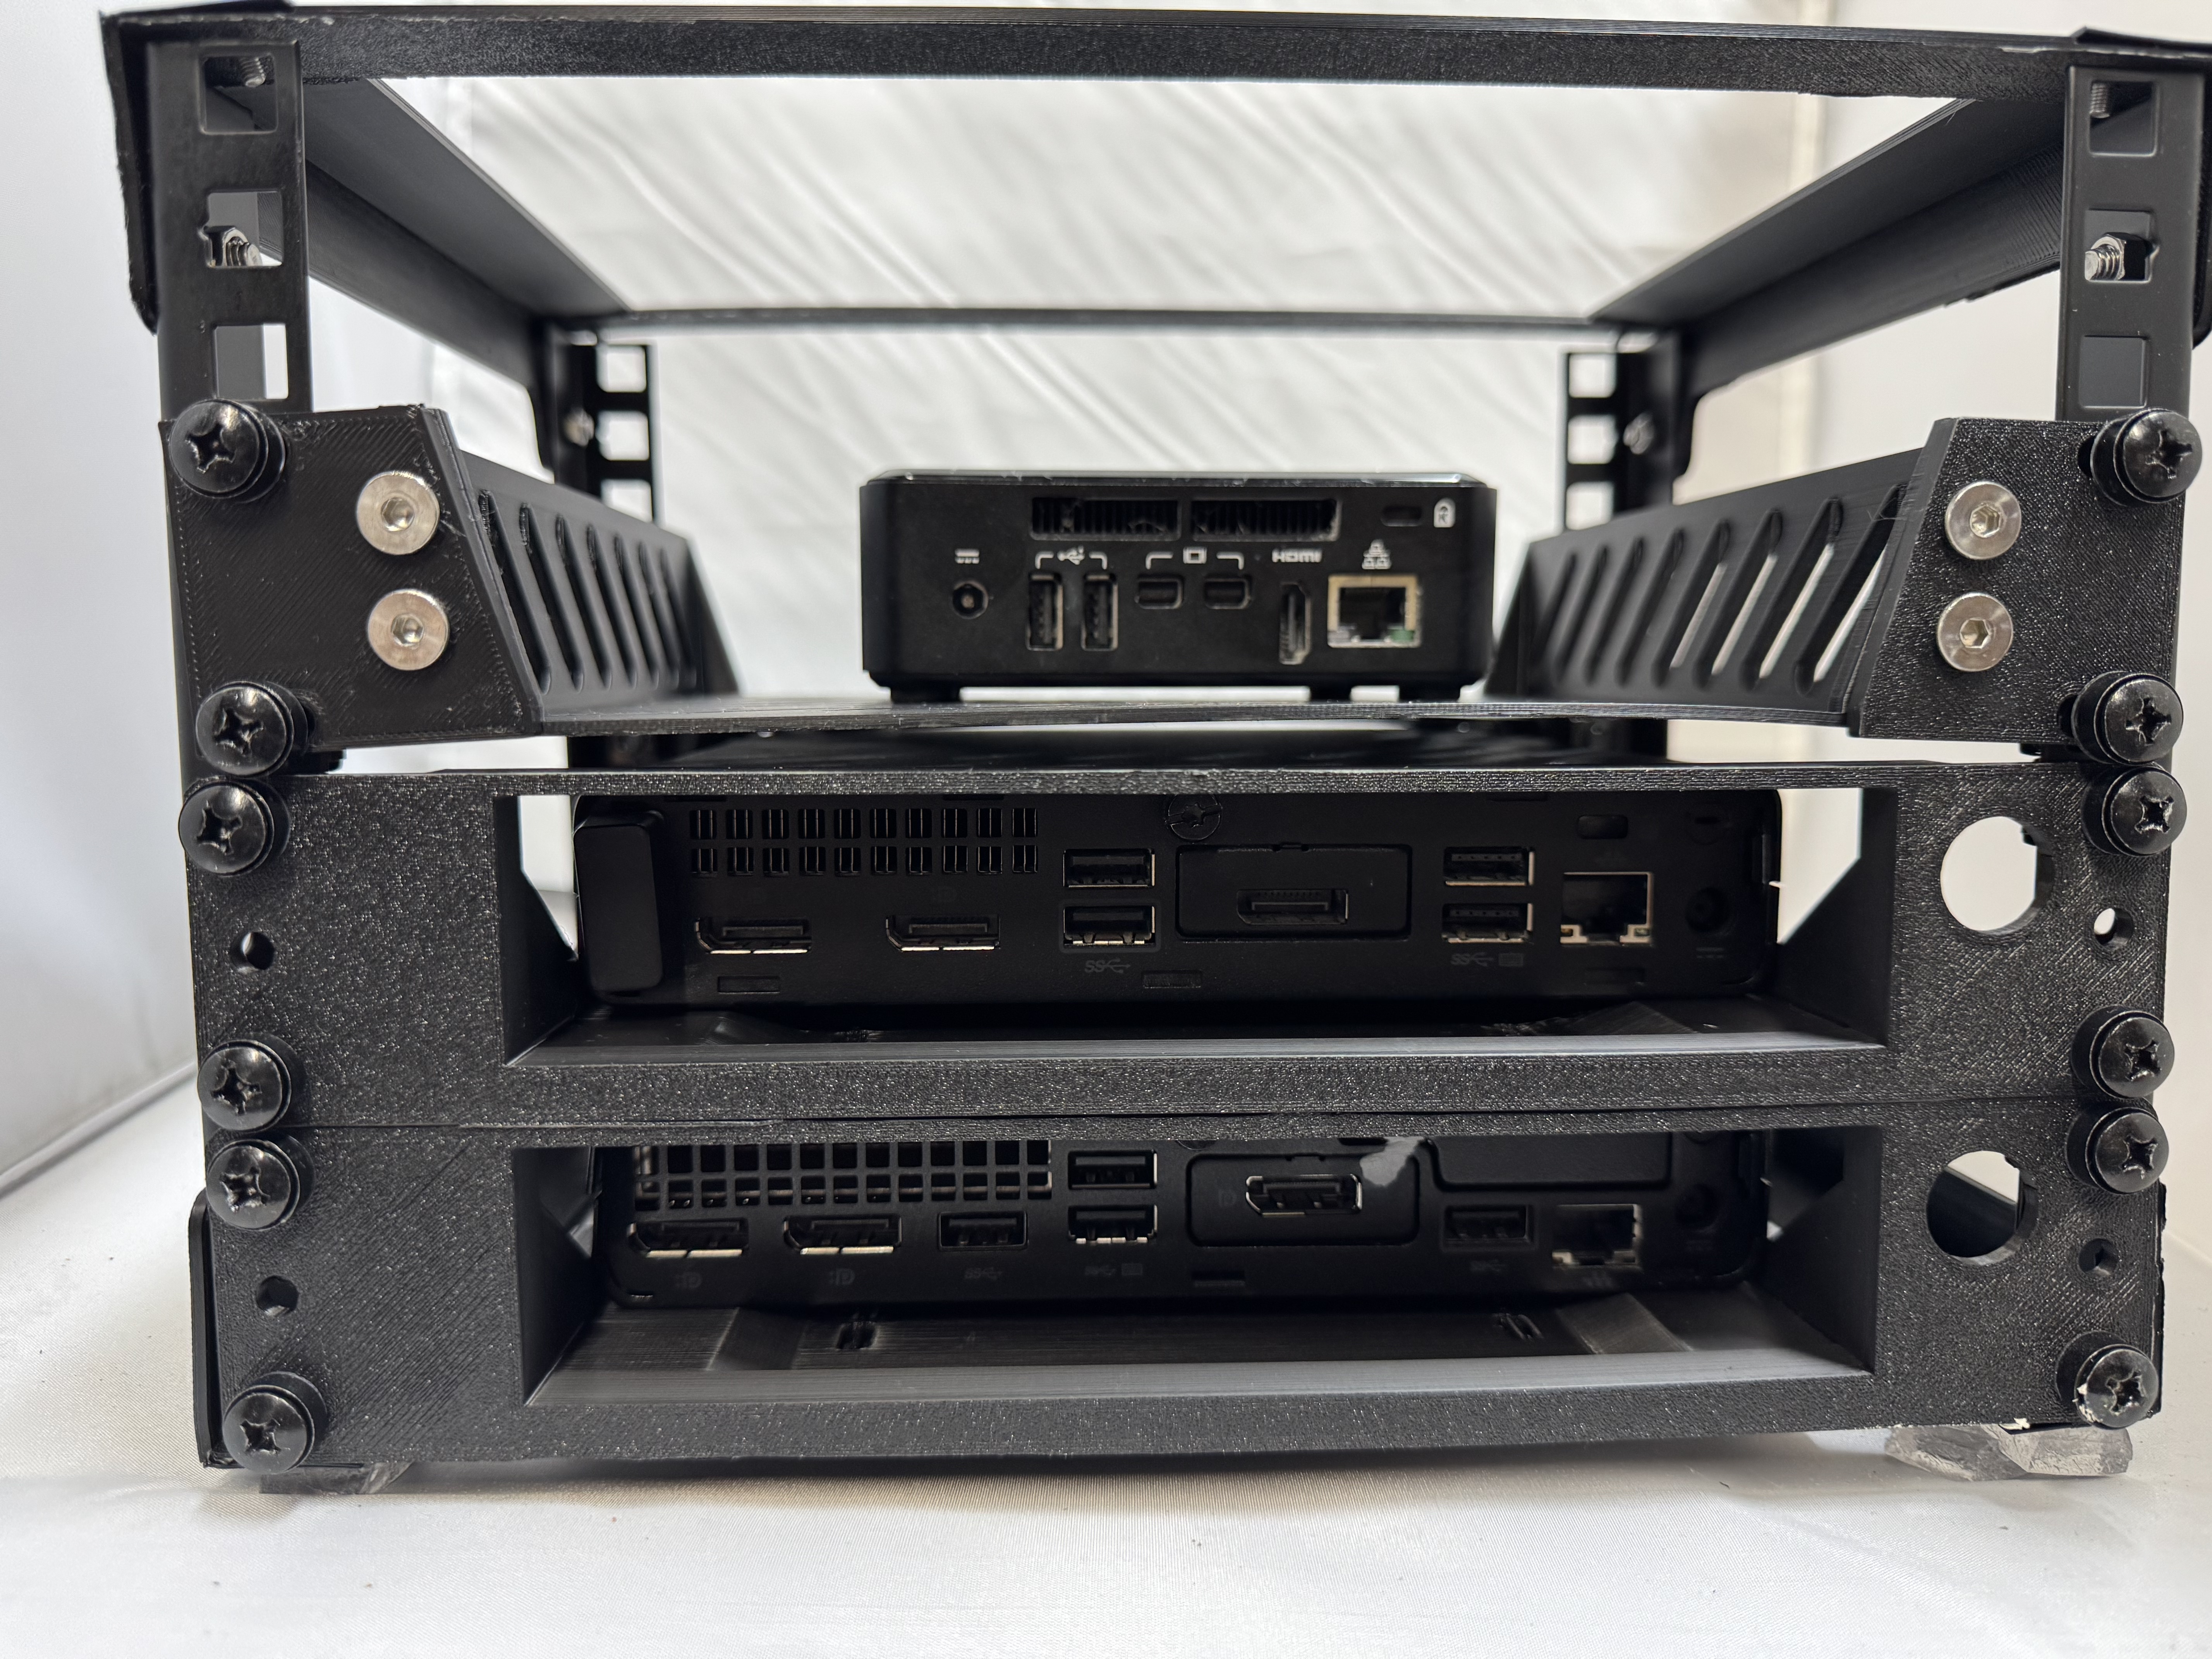
I went with 4U rack posts, I don’t need that much more than that now, didn’t want it to get too big, and for $20 investment I can always change the posts out later. Each of the mini pcs is 1U, this would give me 4 “slots”.
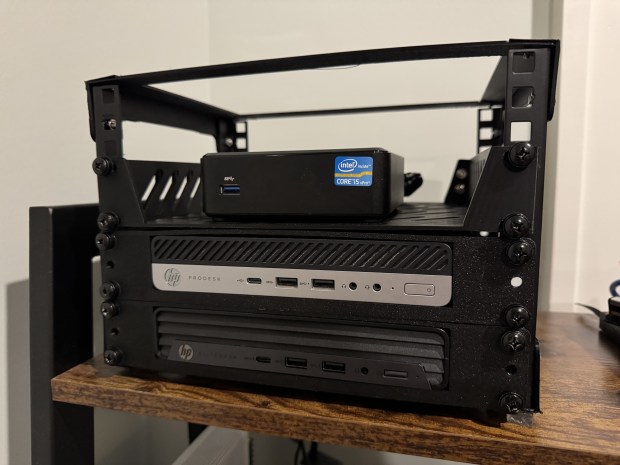
I printed this to hold the HP models I have: https://www.printables.com/model/585091-10-inch-rackmount-for-mini-hp-prodesk-elitedesk-g1. They were strong but I wanted to support that back of the mini pcs also, and found someone made a remix for that, short Remix: https://www.printables.com/model/841903-10-forward-or-reverse-rackmount-for-hp-elitedeskpr. The systems airflow is mostly front to back, and there are gaps between the systems for airflow.
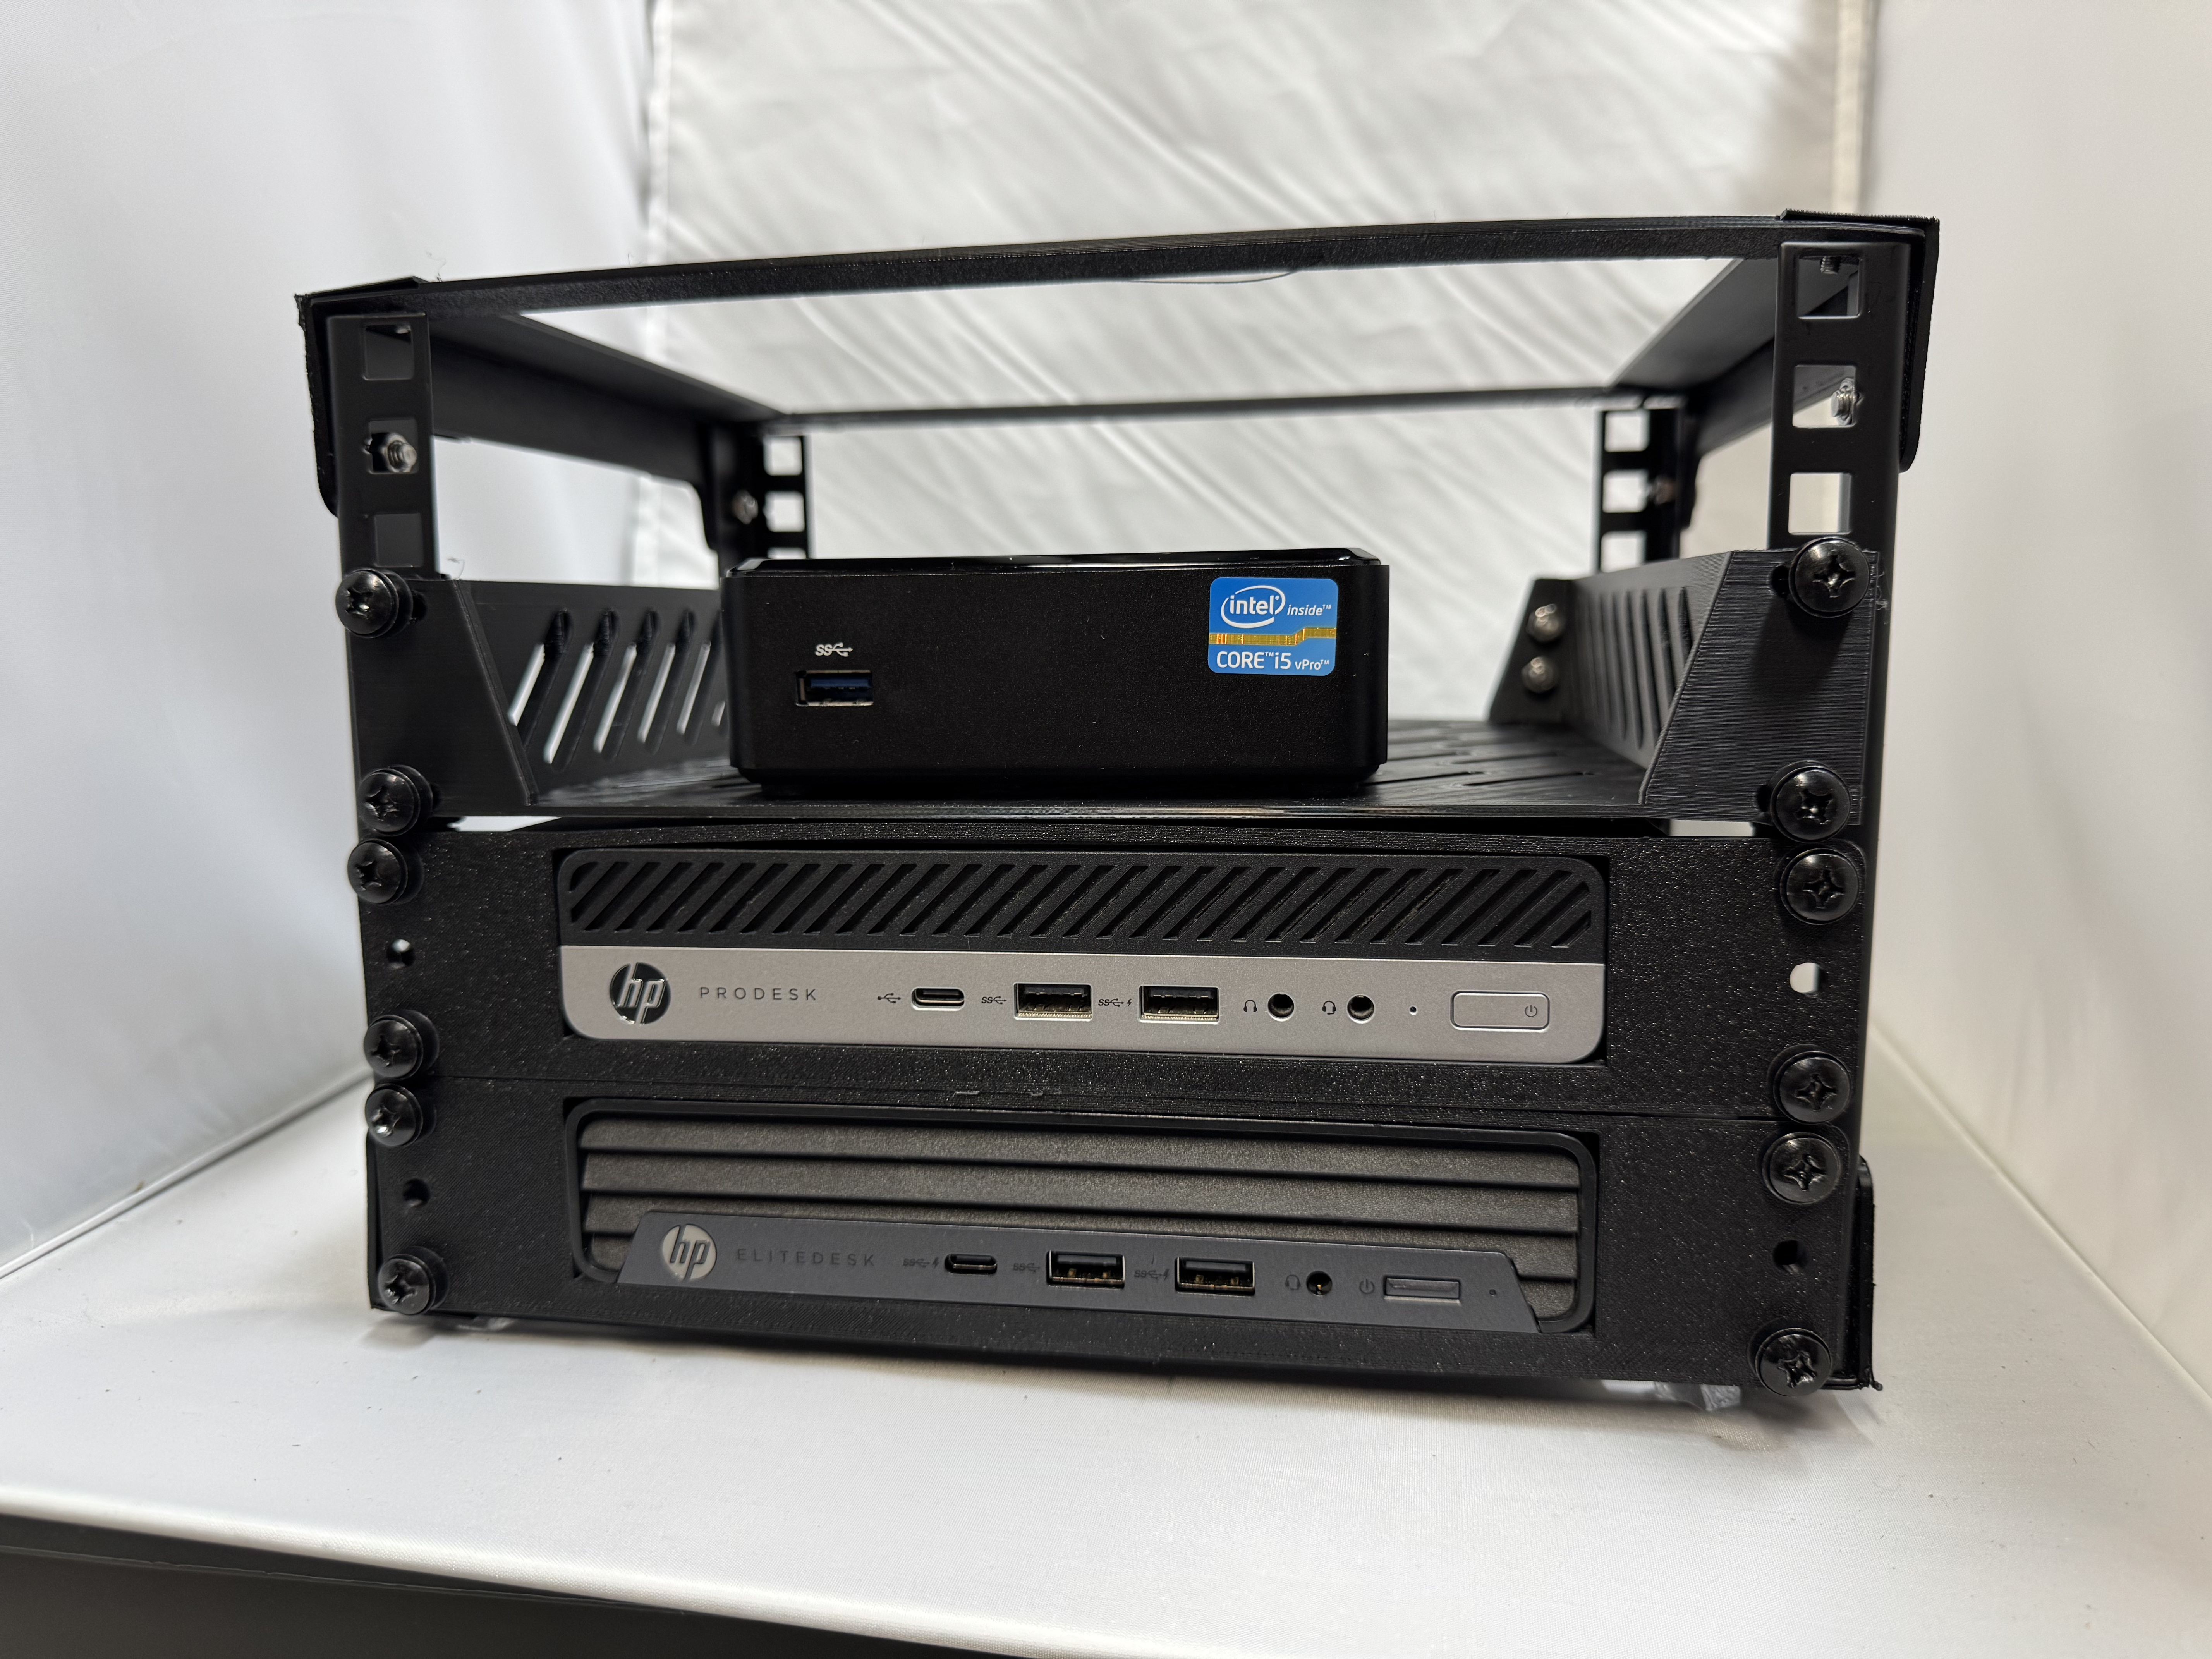
I have an Intel NUC I also want to have in the rack. The NUCs are a little taller than 1U it seems, so all the 3D models to mount them are 2U. I didn’t want to use 2U up for it, I would just put it up top and it could stick out. I found this nice shelf: https://www.printables.com/model/1002978-geeekpi-10-in-rack-shelf, and printed that. I used this one specifically because it had adjustable rear supports.
The little rack is working well for me, sitting on a shelf and holding what it needs. The power supplies for these systems go down the shelf the rack is on to a power strip. Since these are development systems, I skipped having a UPS. Once I got the rack posts, the whole rack came together in a day and was easy to put together. This was a better solution than any other home grown one, because I get access to the entire ecosystem of 10″ standard rack parts!