At the start of 2022 I went about building a new desktop. The system came out well in the end, and I am still using it although it has always had one issue that I mentioned back then… When the system tries to reboot it shuts down Windows, then the fans spin up, and it never resets the CPU. I always assumed this was due to the fact: mistakes were made and when I needed a BIOS update to support the AMD Ryzen 5800X on that motherboard, I flashed the X570 Pro4, NOT X570M Pro4 BIOS. I decided the time had come to fix this and flash the board back to the proper BIOS.
Note: I will use BIOS and UEFI interchangeably here, I know they are technically different.
AsRock gives out the BIOS updates, and you are supposed to load them on a USB drive and select the “Instant Flash” utility in the UEFI menu. The issue is the system thinks it’s a X570 Pro4 (not M), and refuses to flash to the M variant. I saw some people on the internet mention you can use the “AMIBIOS and Aptio AMI Firmware Update Utility” utility to force a BIOS flash on the system and get around this. I did that, and then… the system never booted again… I don’t know what went wrong, or if the utility flashed everything correctly, but I couldn’t get the system to boot.
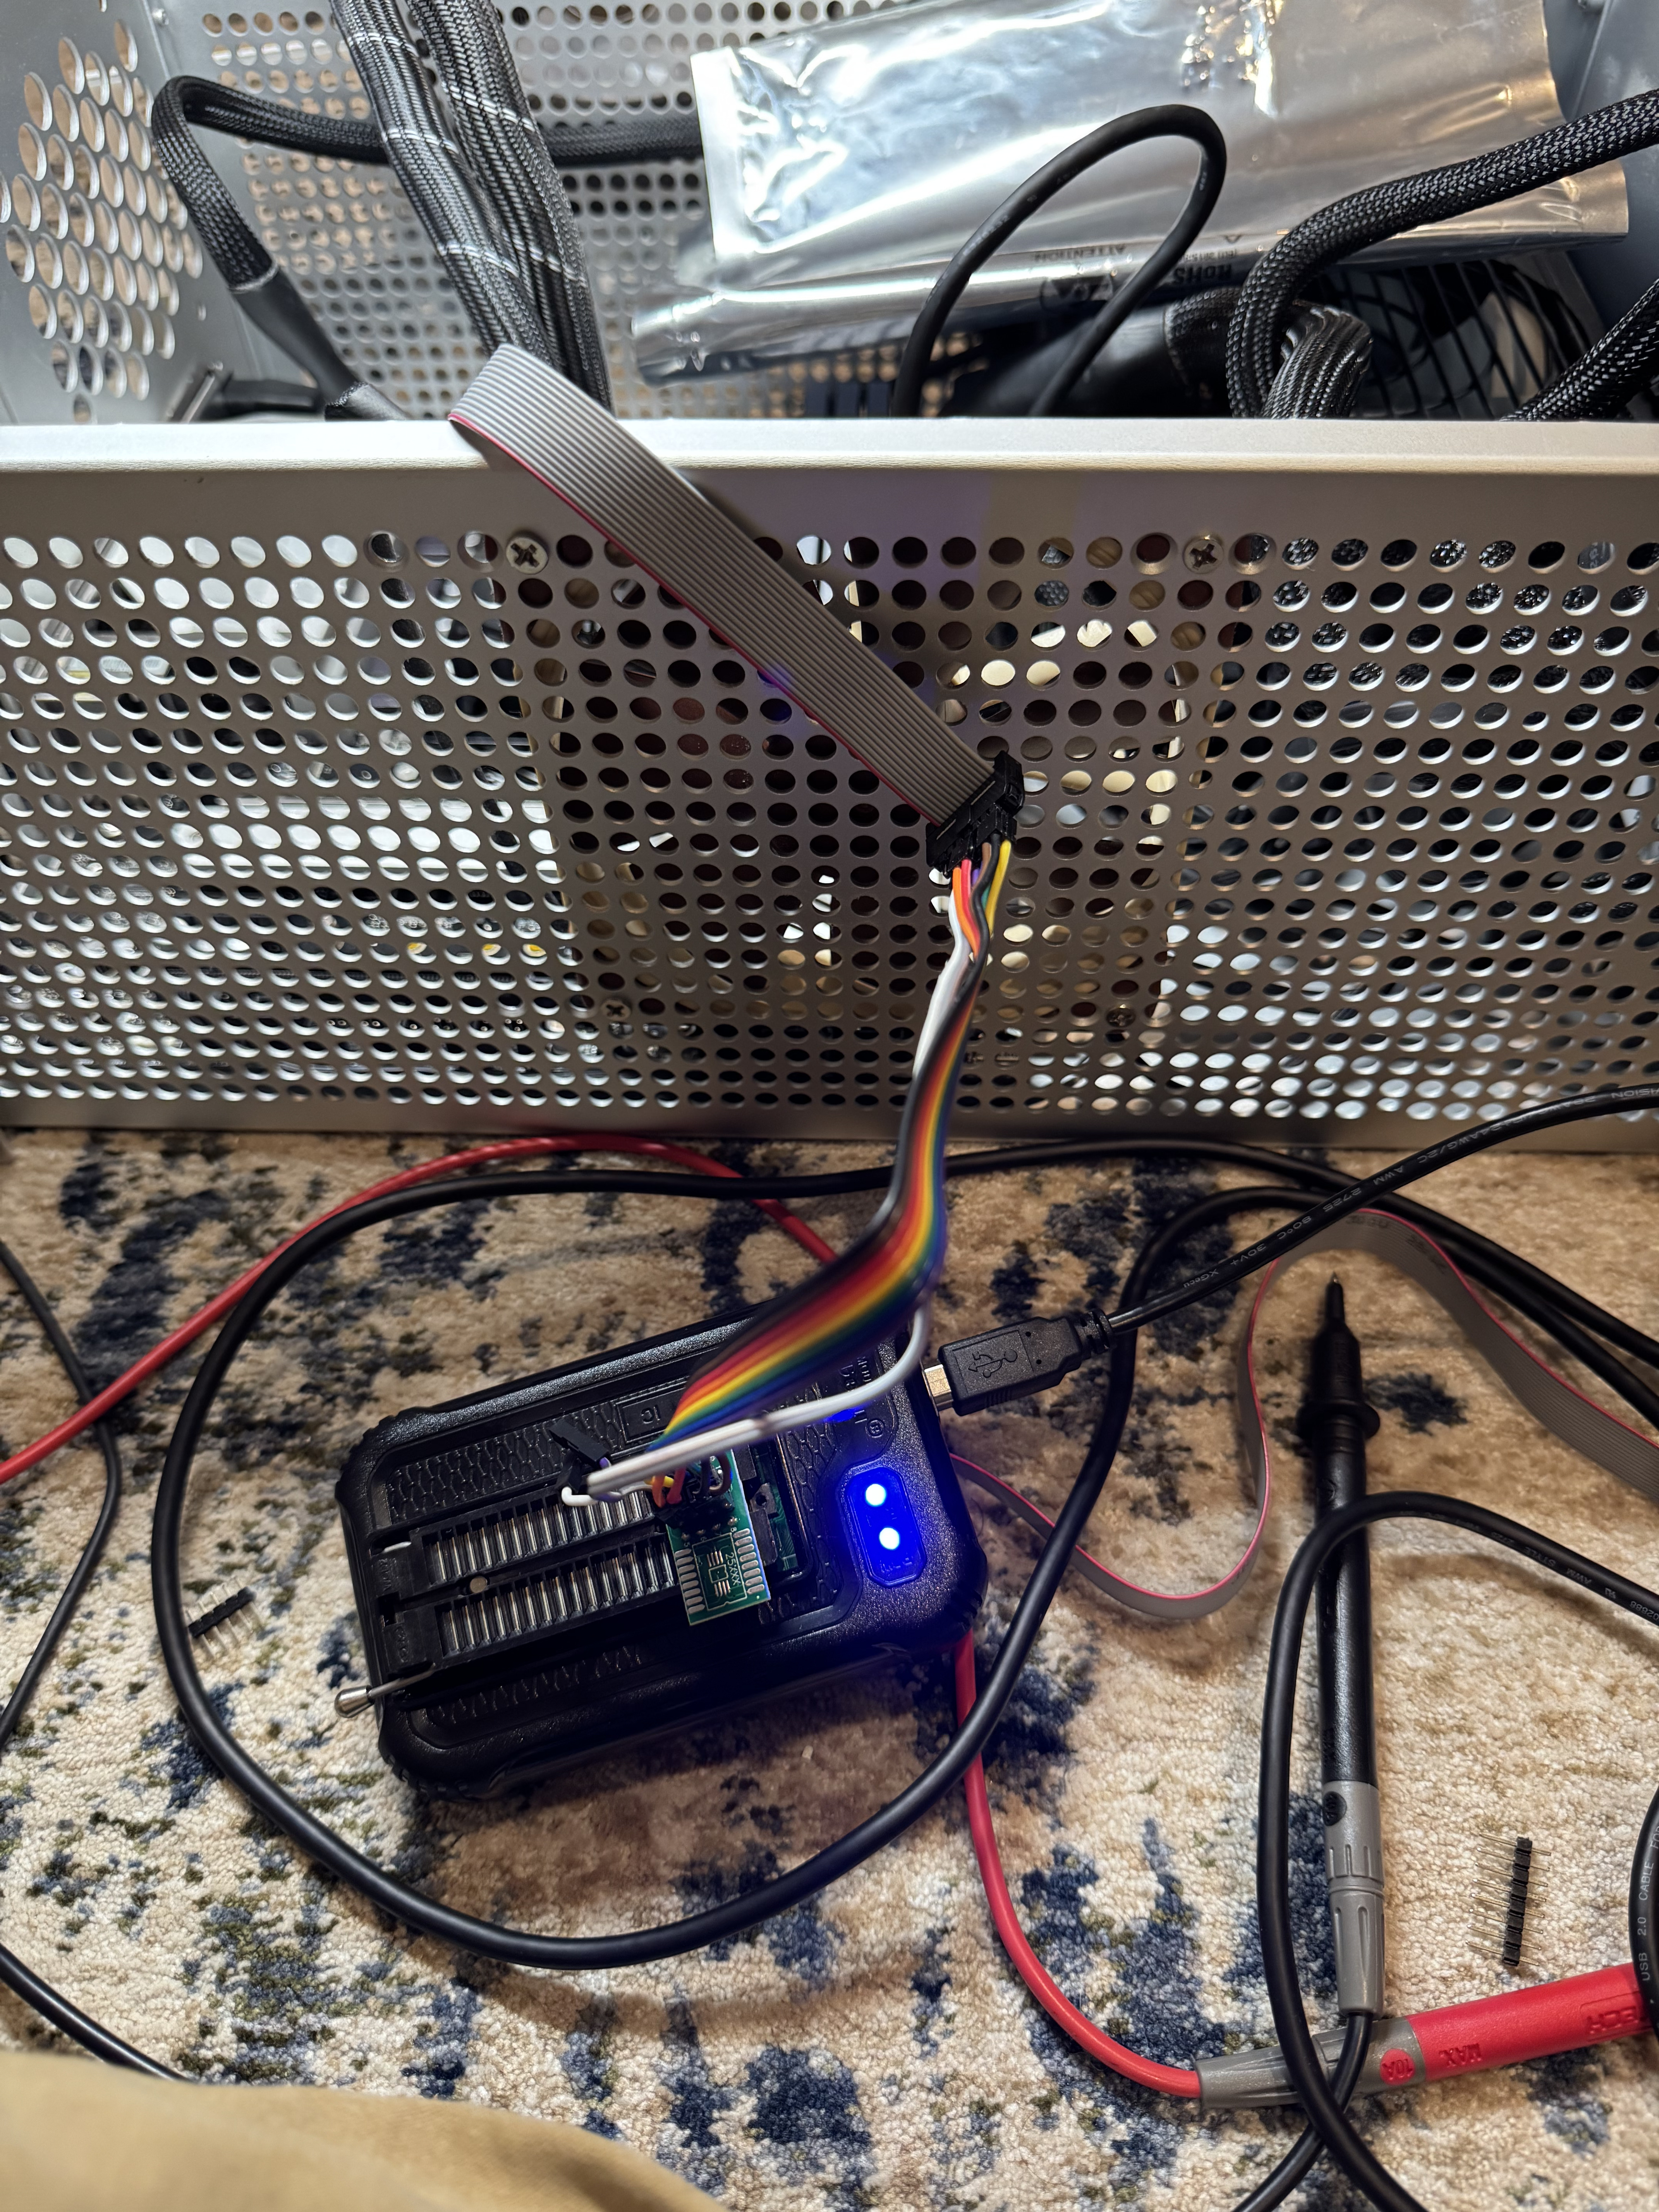
This led me to another rabbit hole, flashing your bios with an EEPROM writer. There are several to choose from, and of course I got both. The CH341A, and T48 TL866-3G programmers. I tried for a while to get the CH341A to work, and it may have in the end, but I had a better time with the TL866 software of XgPro.
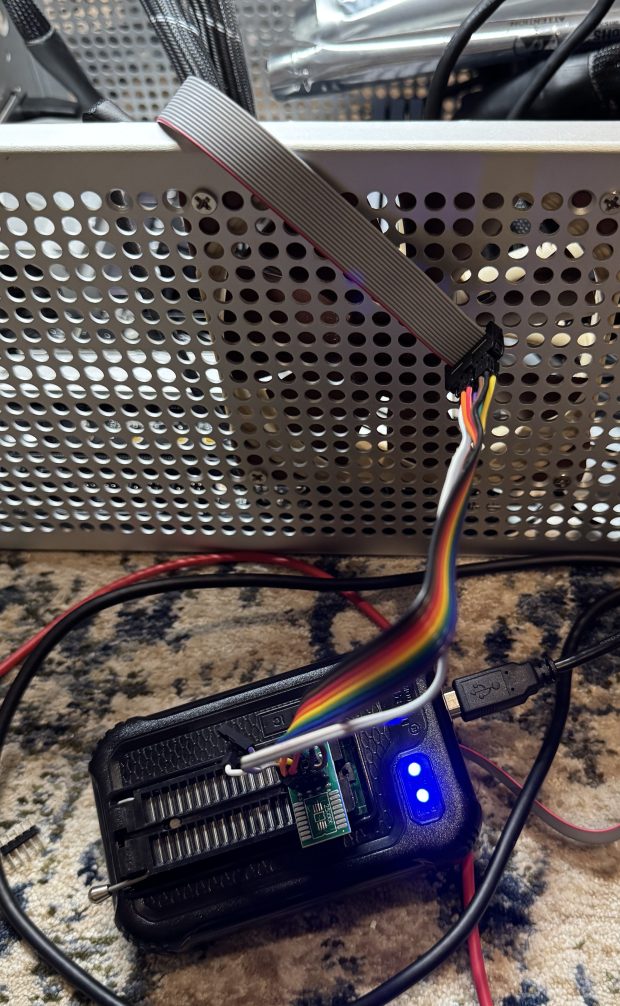
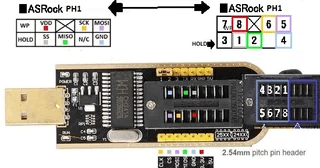
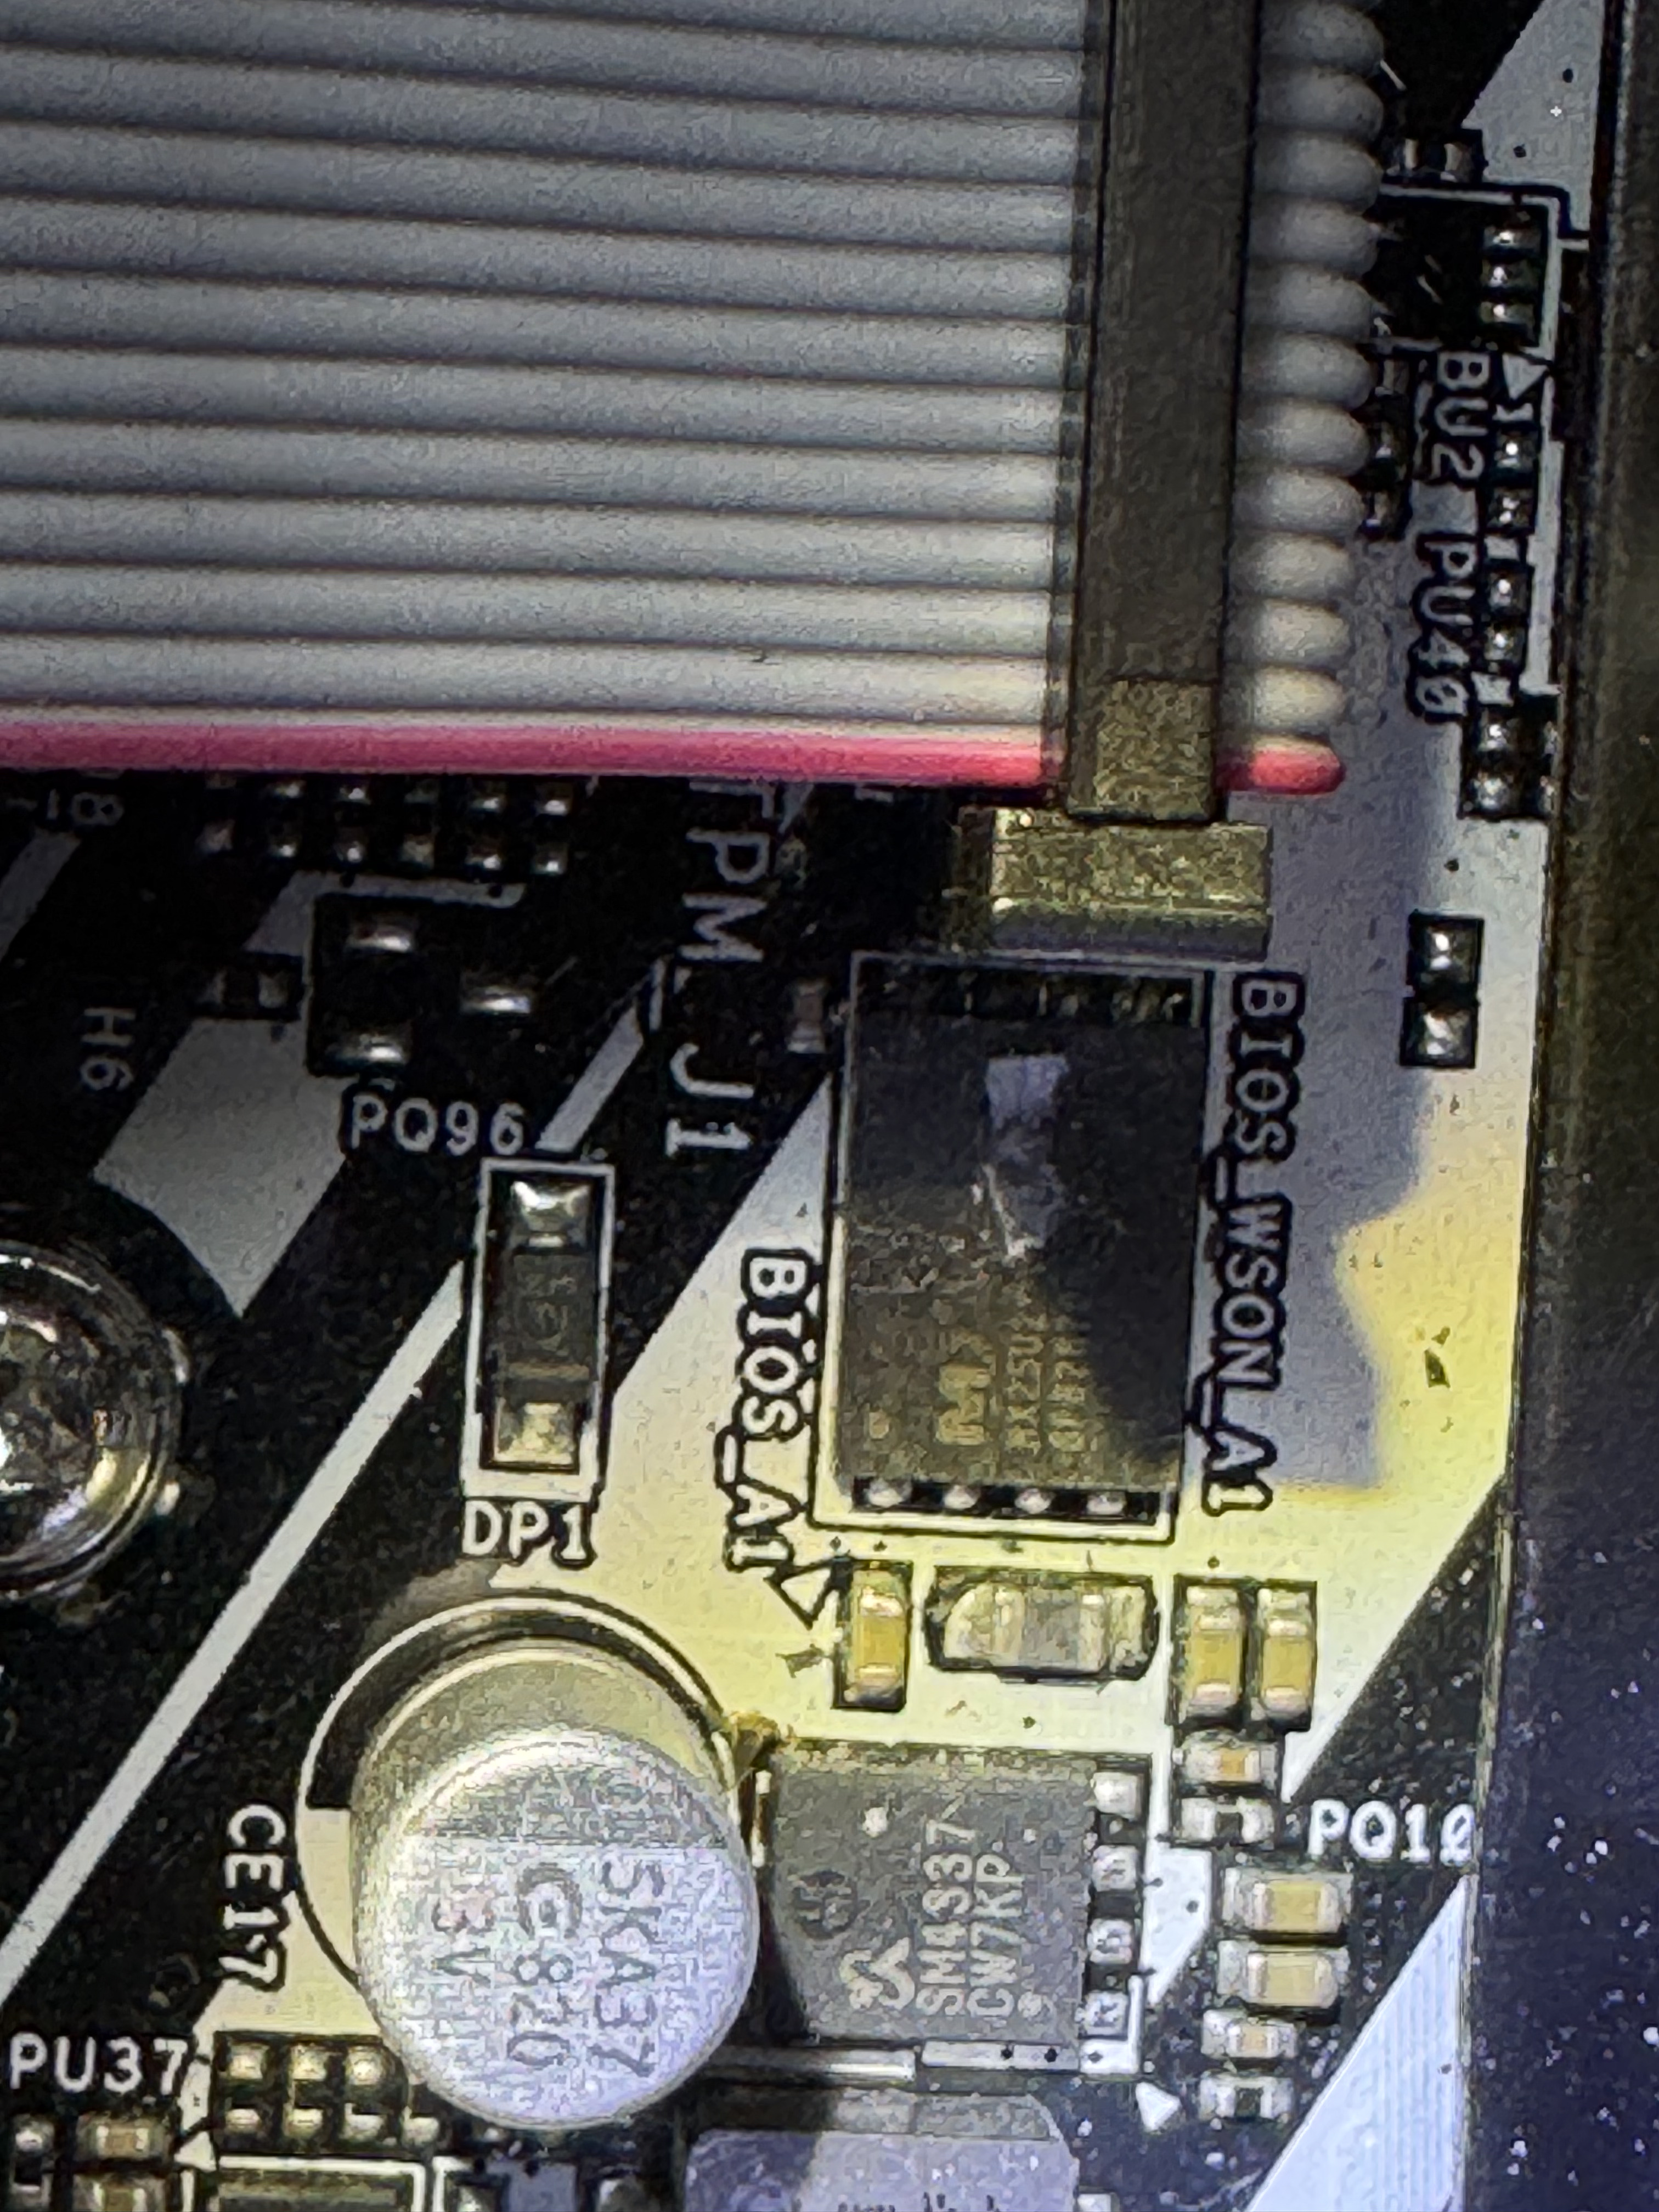
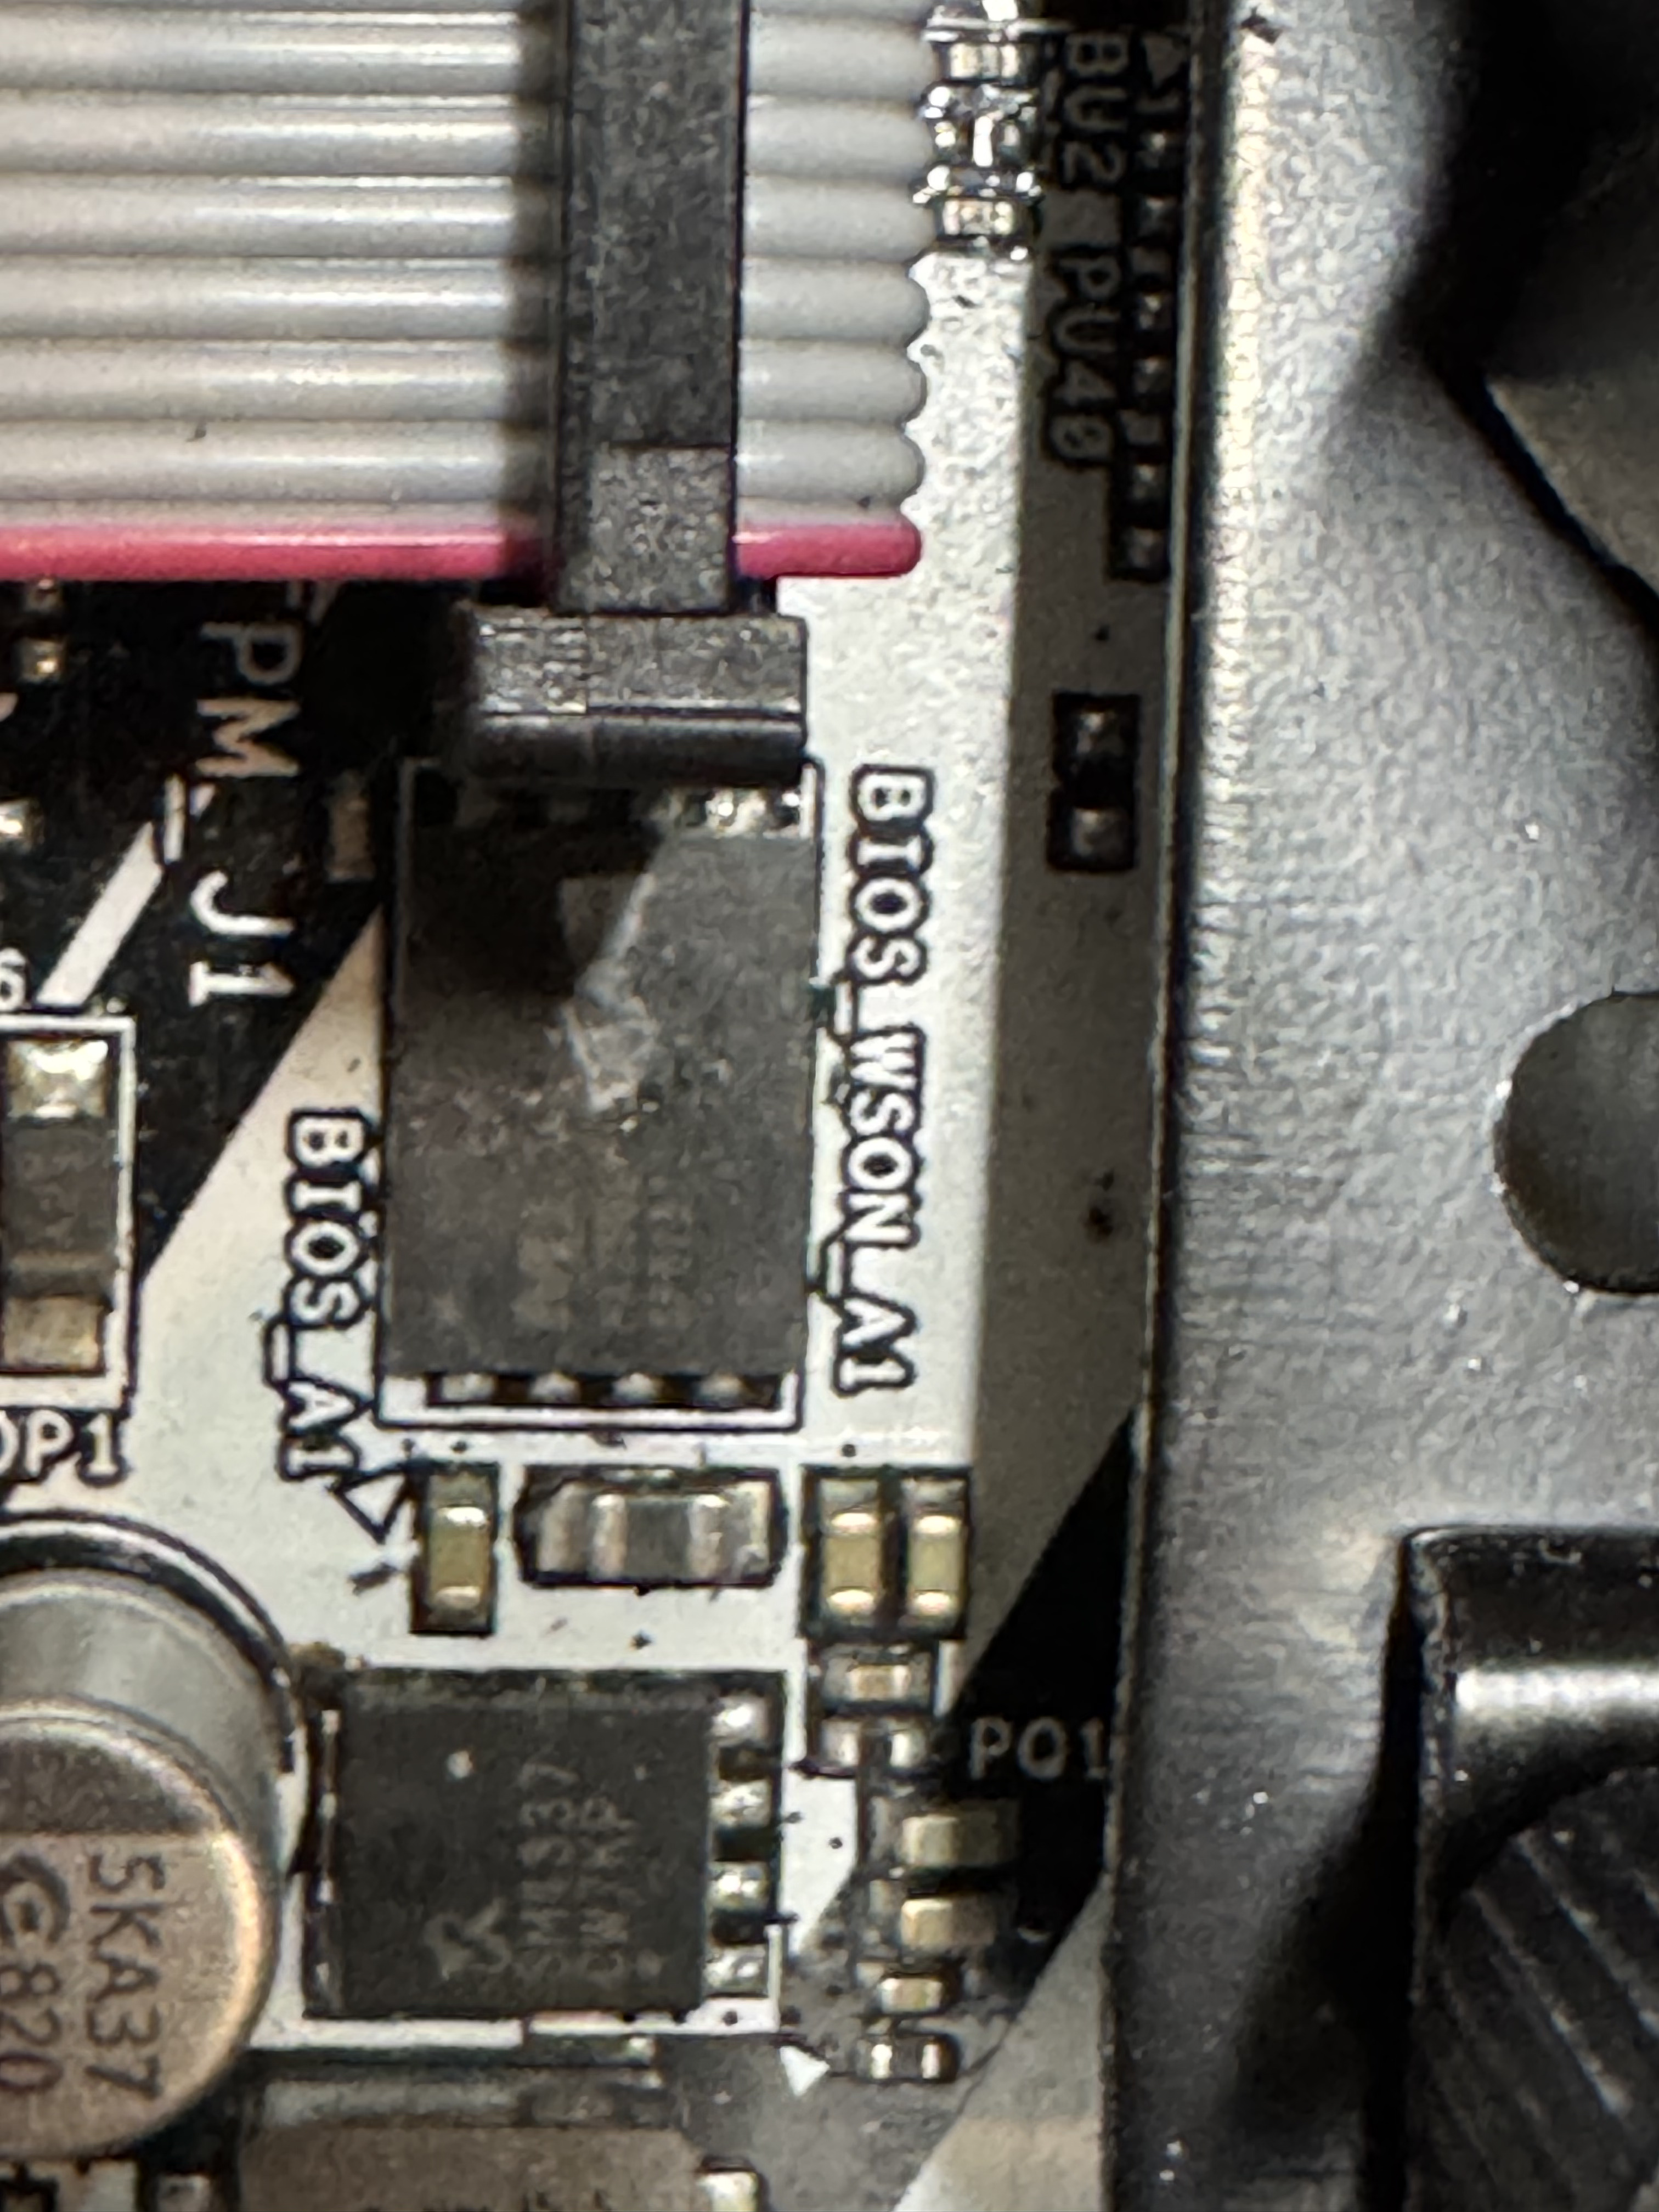
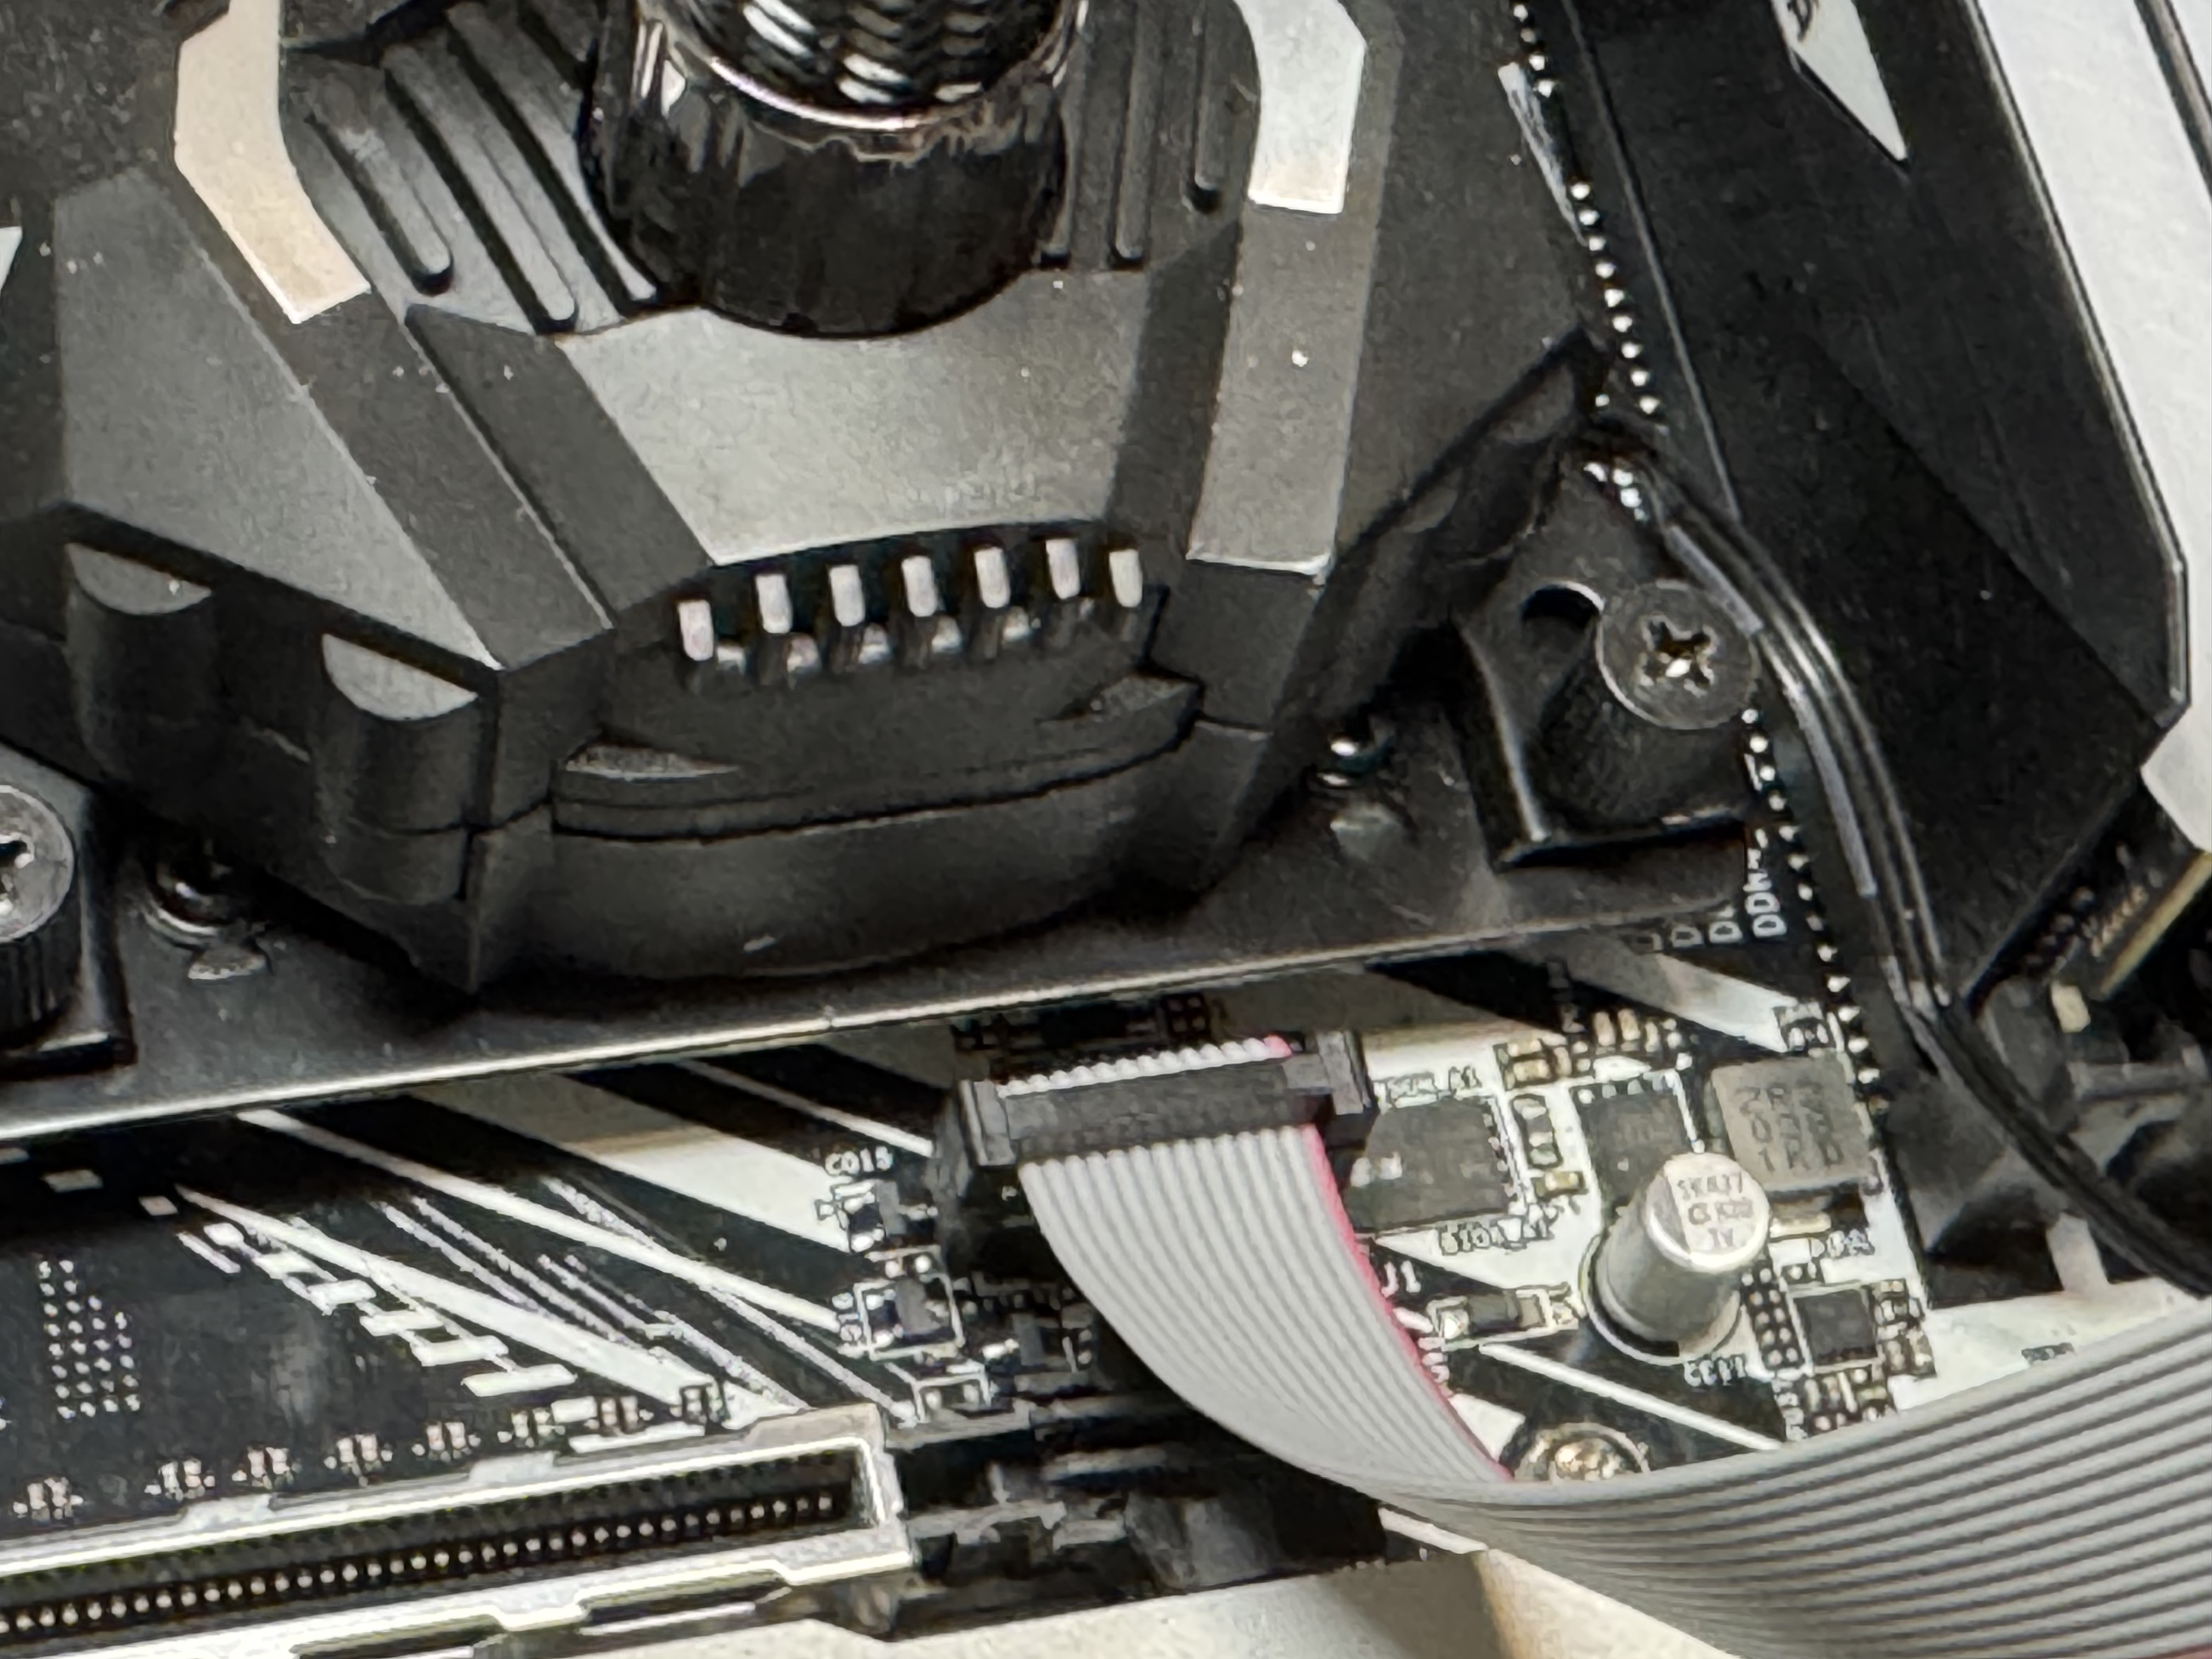
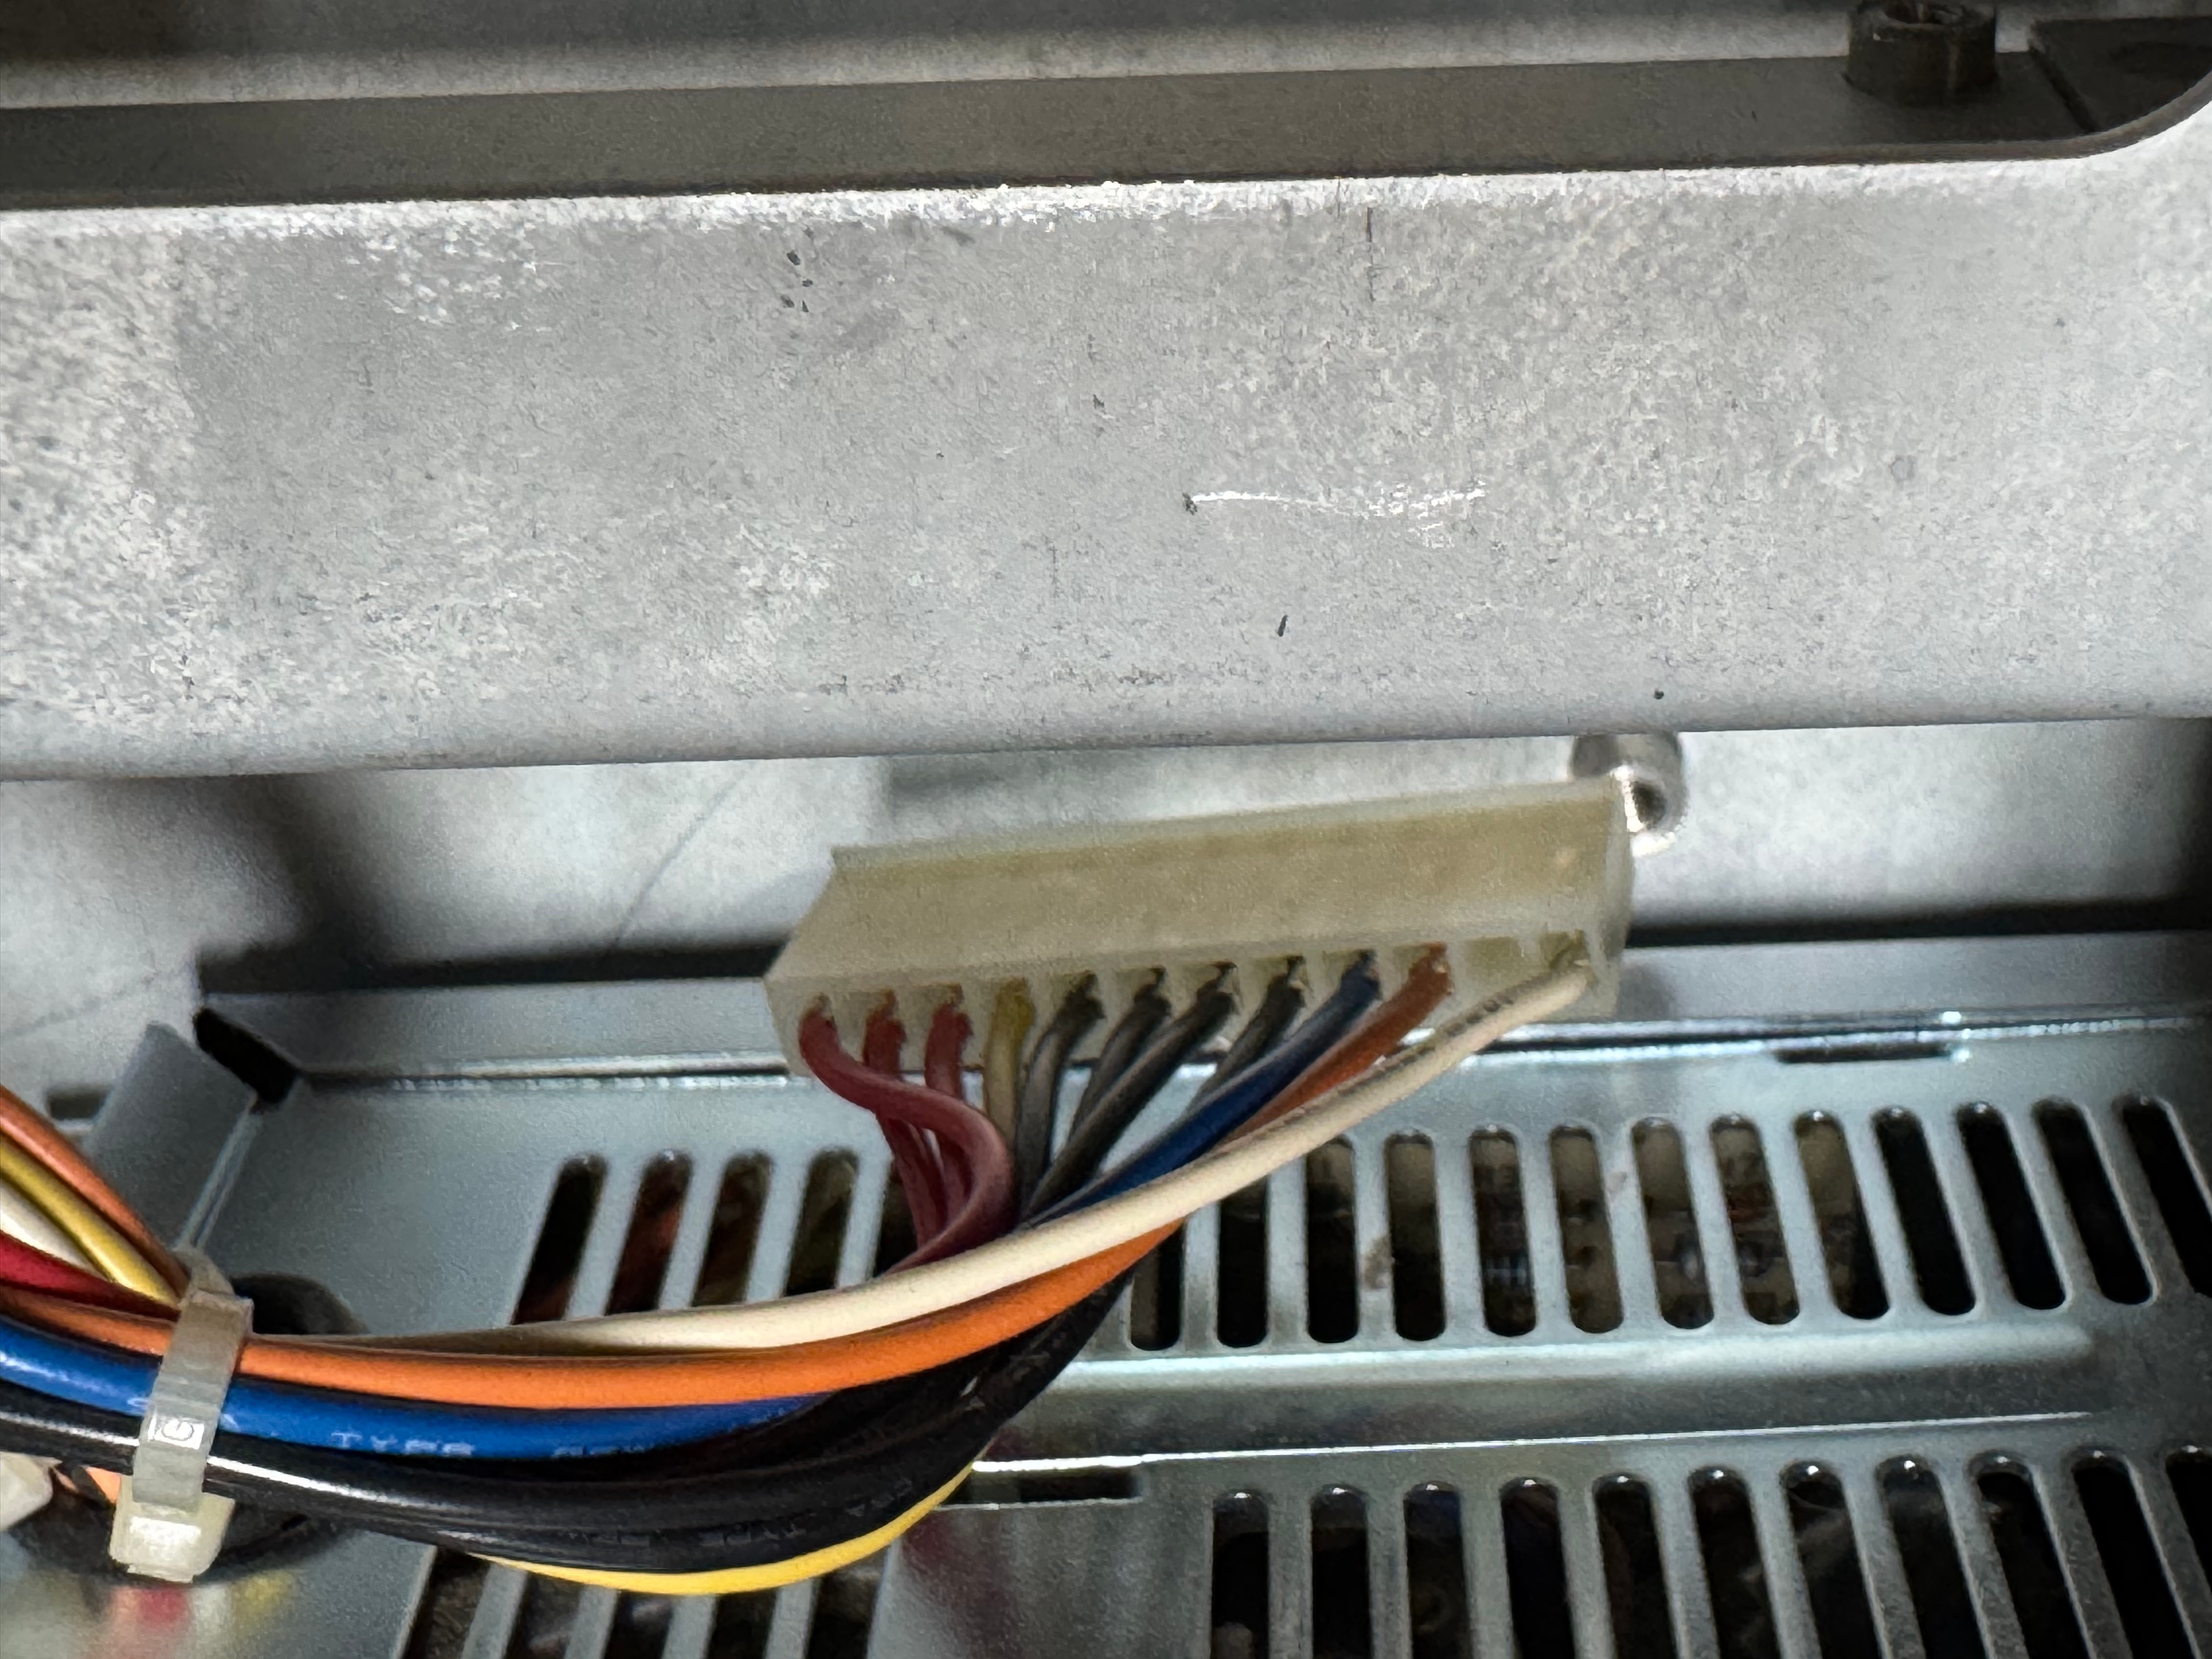
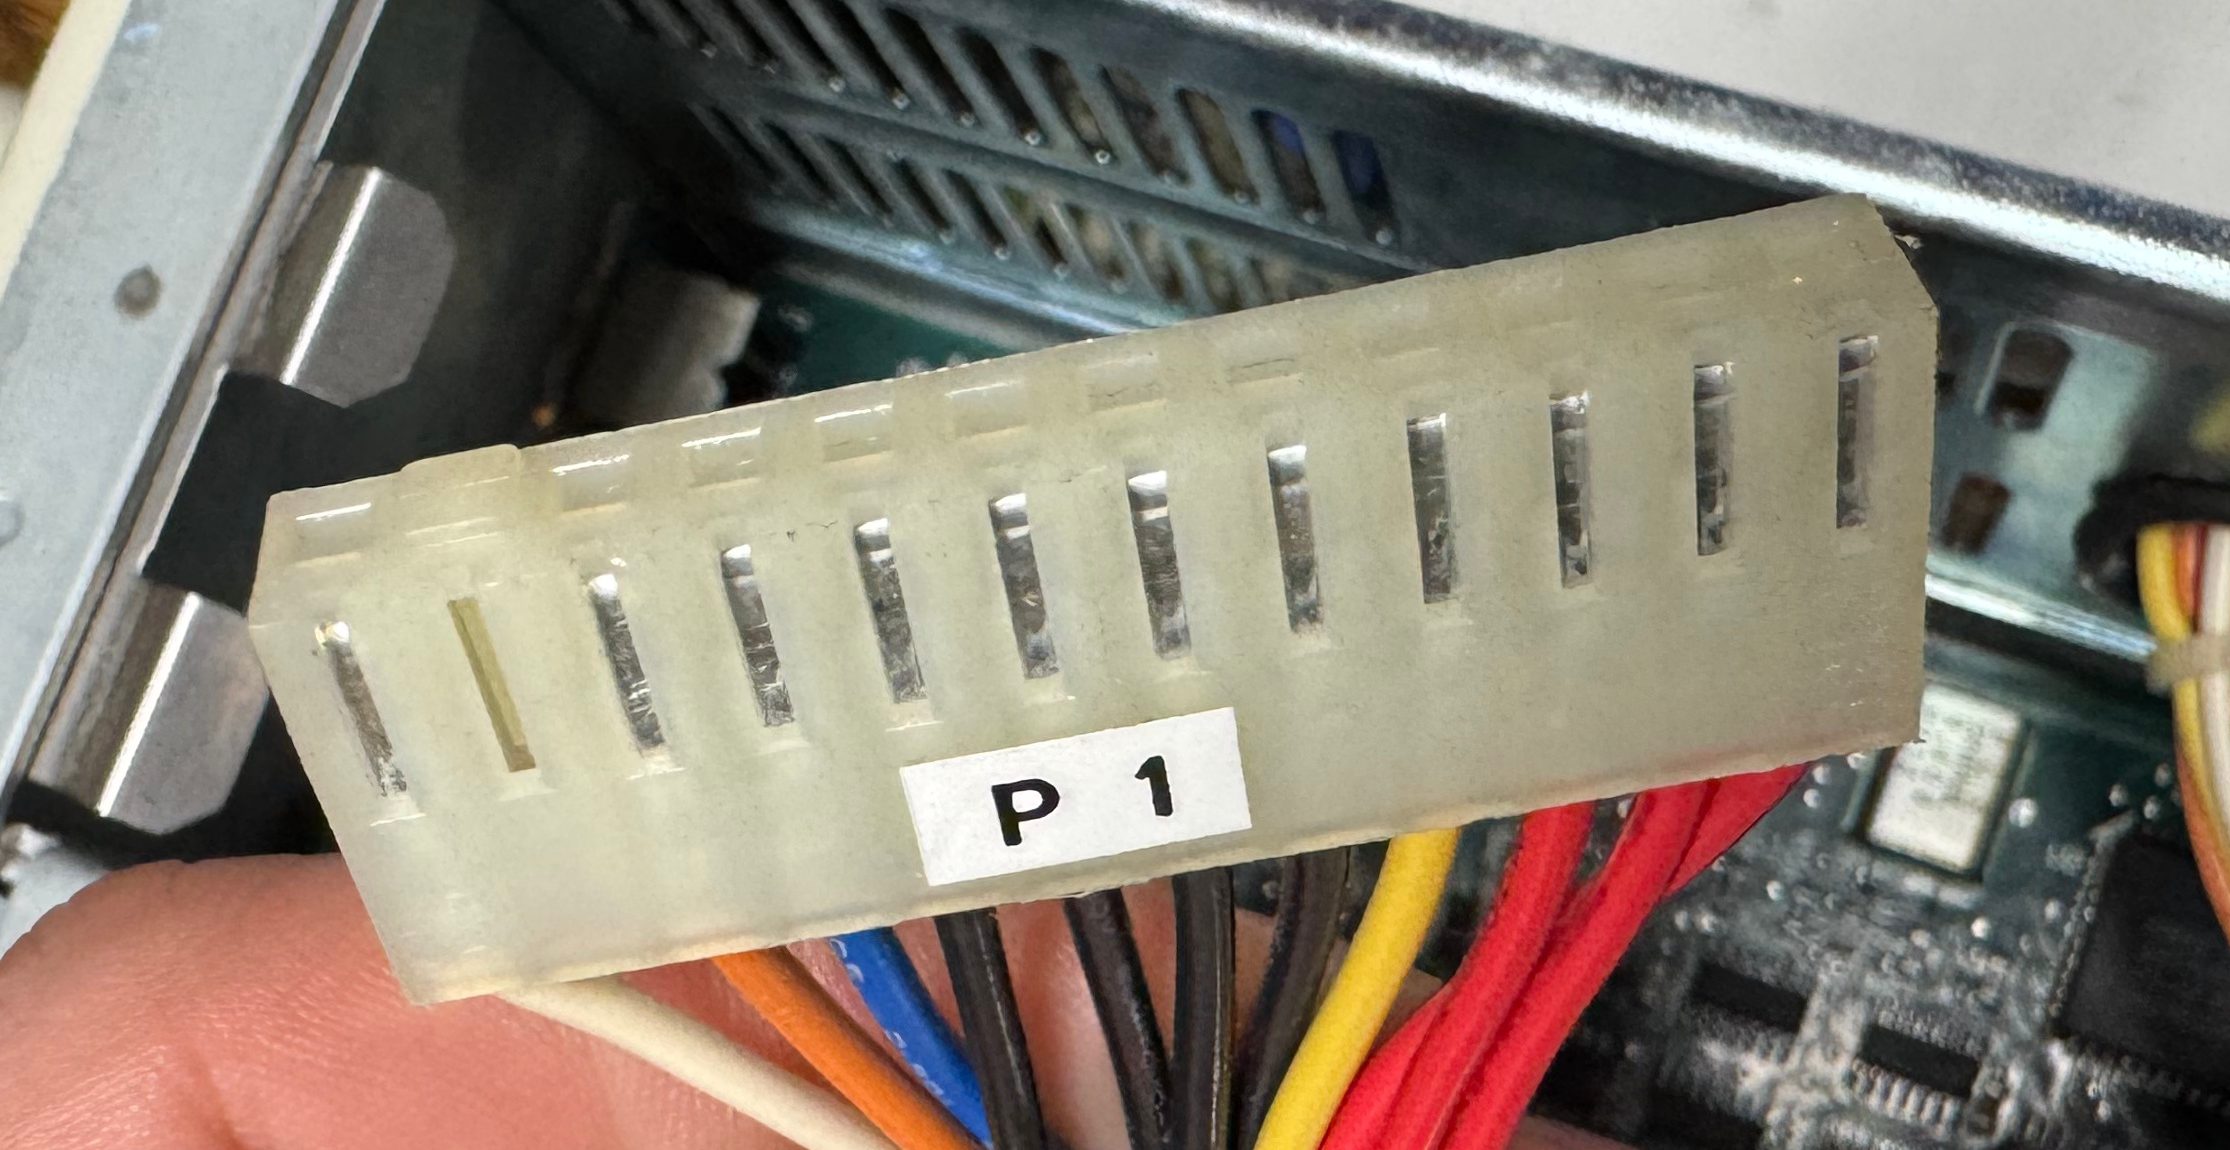
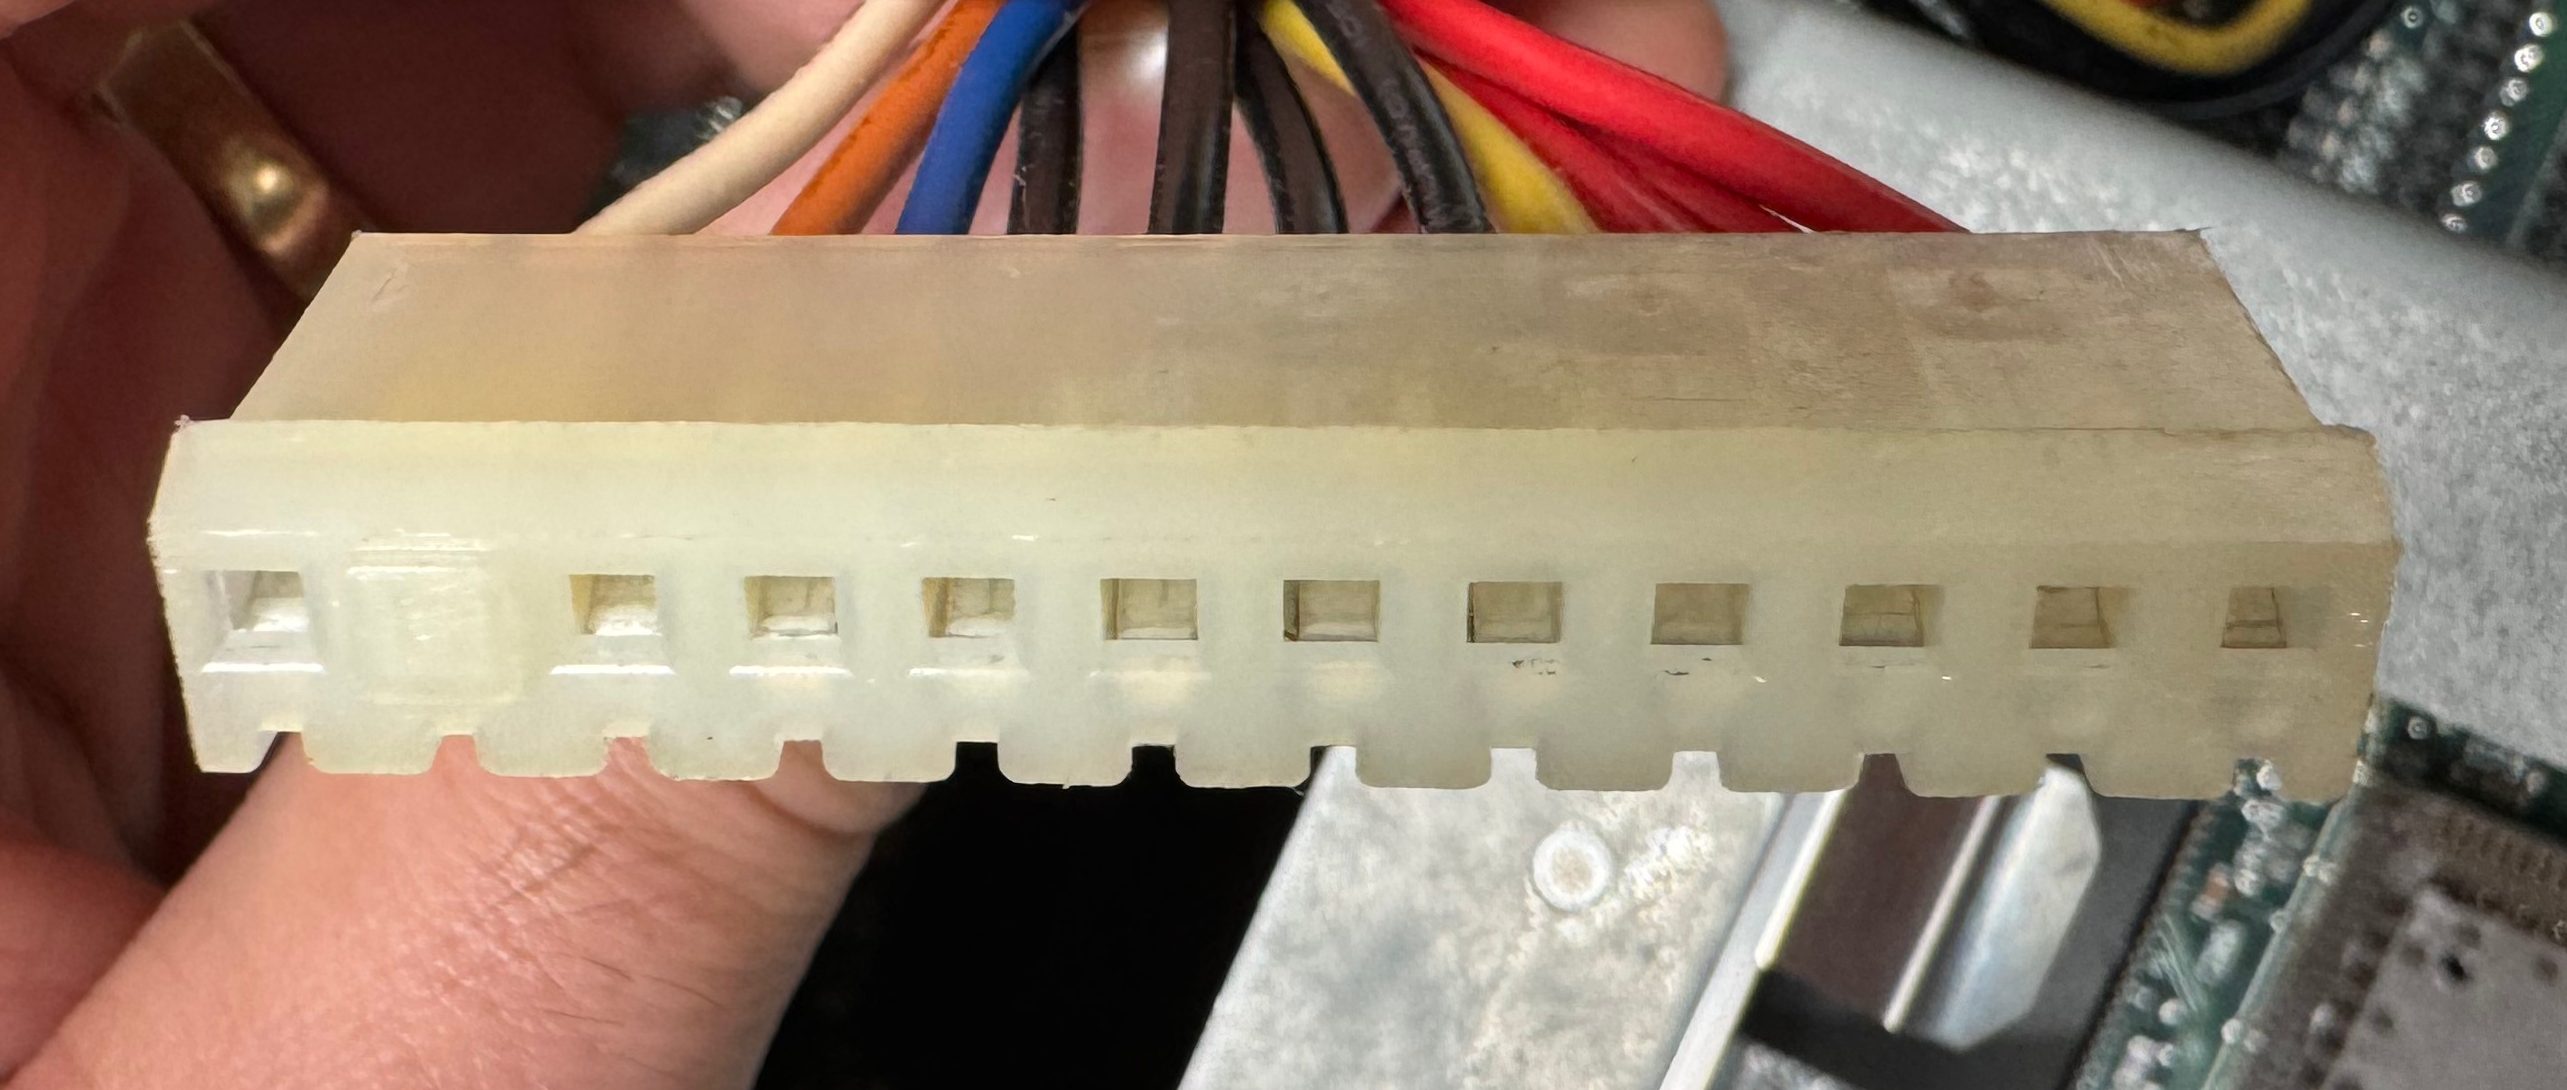
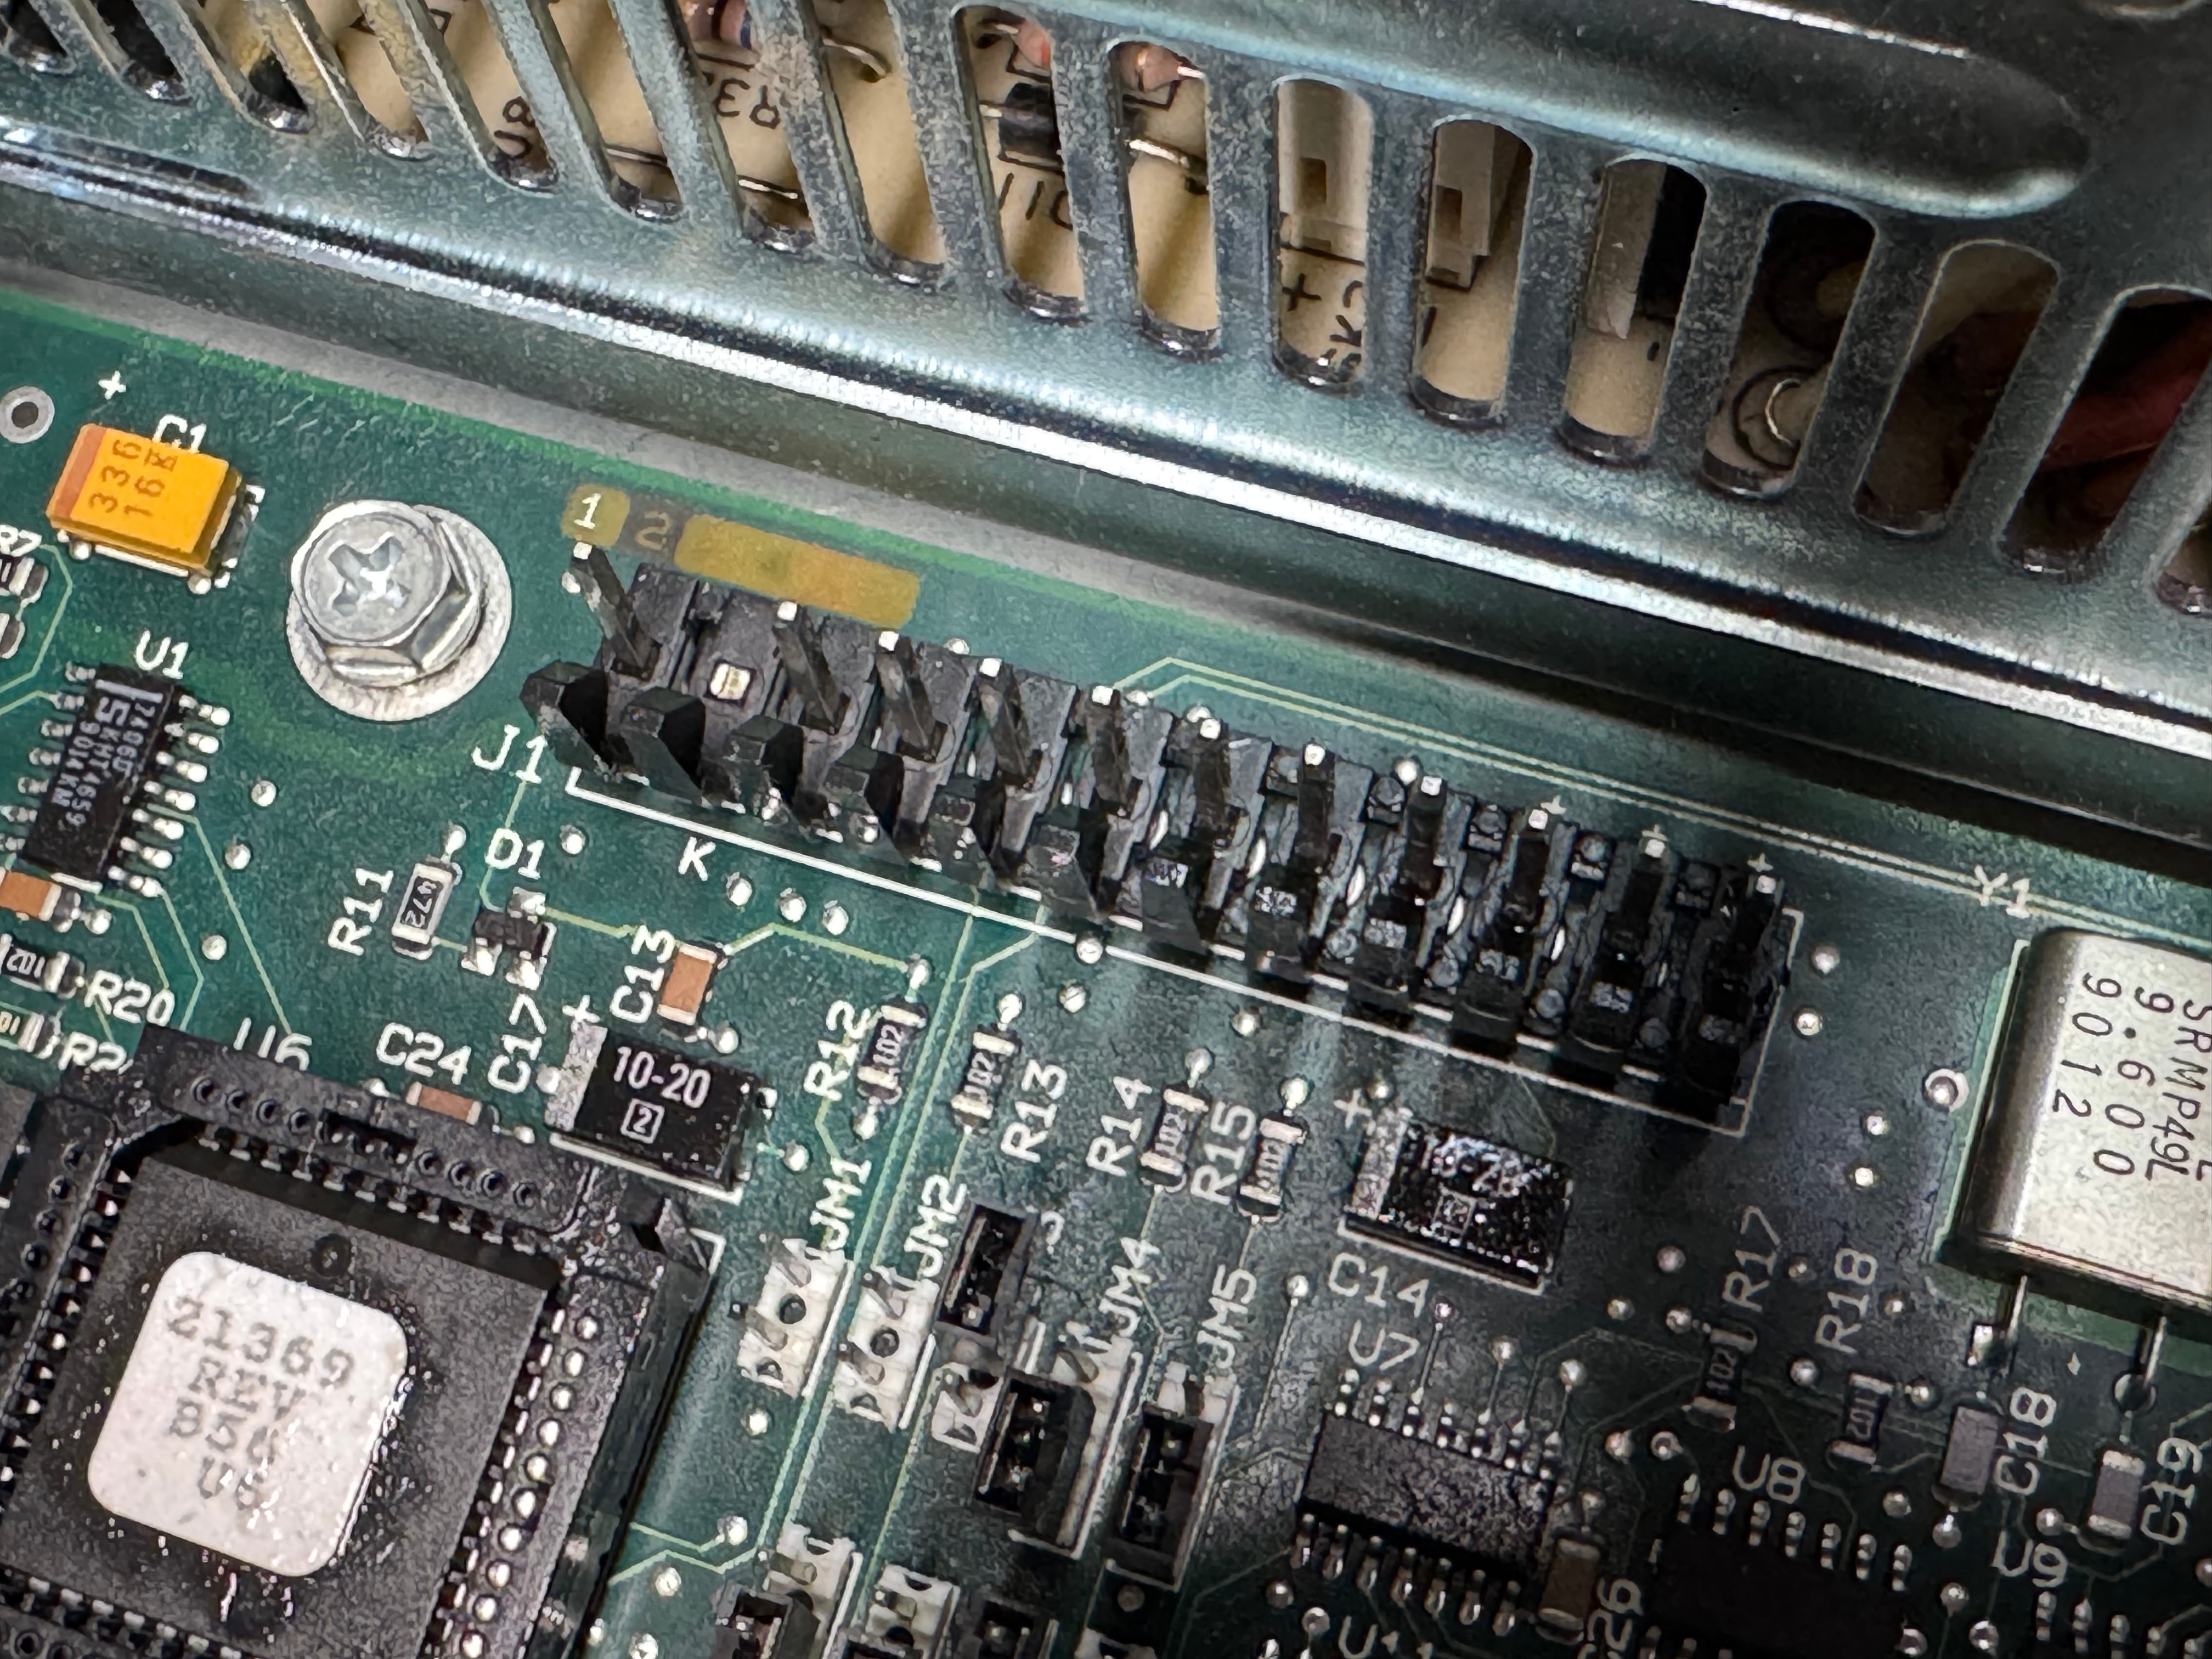
I unplugged everything and took out the BIOS battery. At first, I tried to use some of the tools that came with the flashers to grab the chip on the motherboard. Here was the first hurtle, the chip was a surface mount part that made it very difficult to connect to and every time I tried to read the chip I got an error. Then I found this post, https://www.reddit.com/r/ASRock/comments/1cz1bcz/guide_asrock_spi_tpm_j1_bios_ph_pinout_for_ch341a/, which mentioned the SPI_TPM_J1 header on the motherboard actually hooked directly to all those pins and could be used to flash the chip much easier.
This diagram was the key to getting it working, which pins went to where on the motherboard.
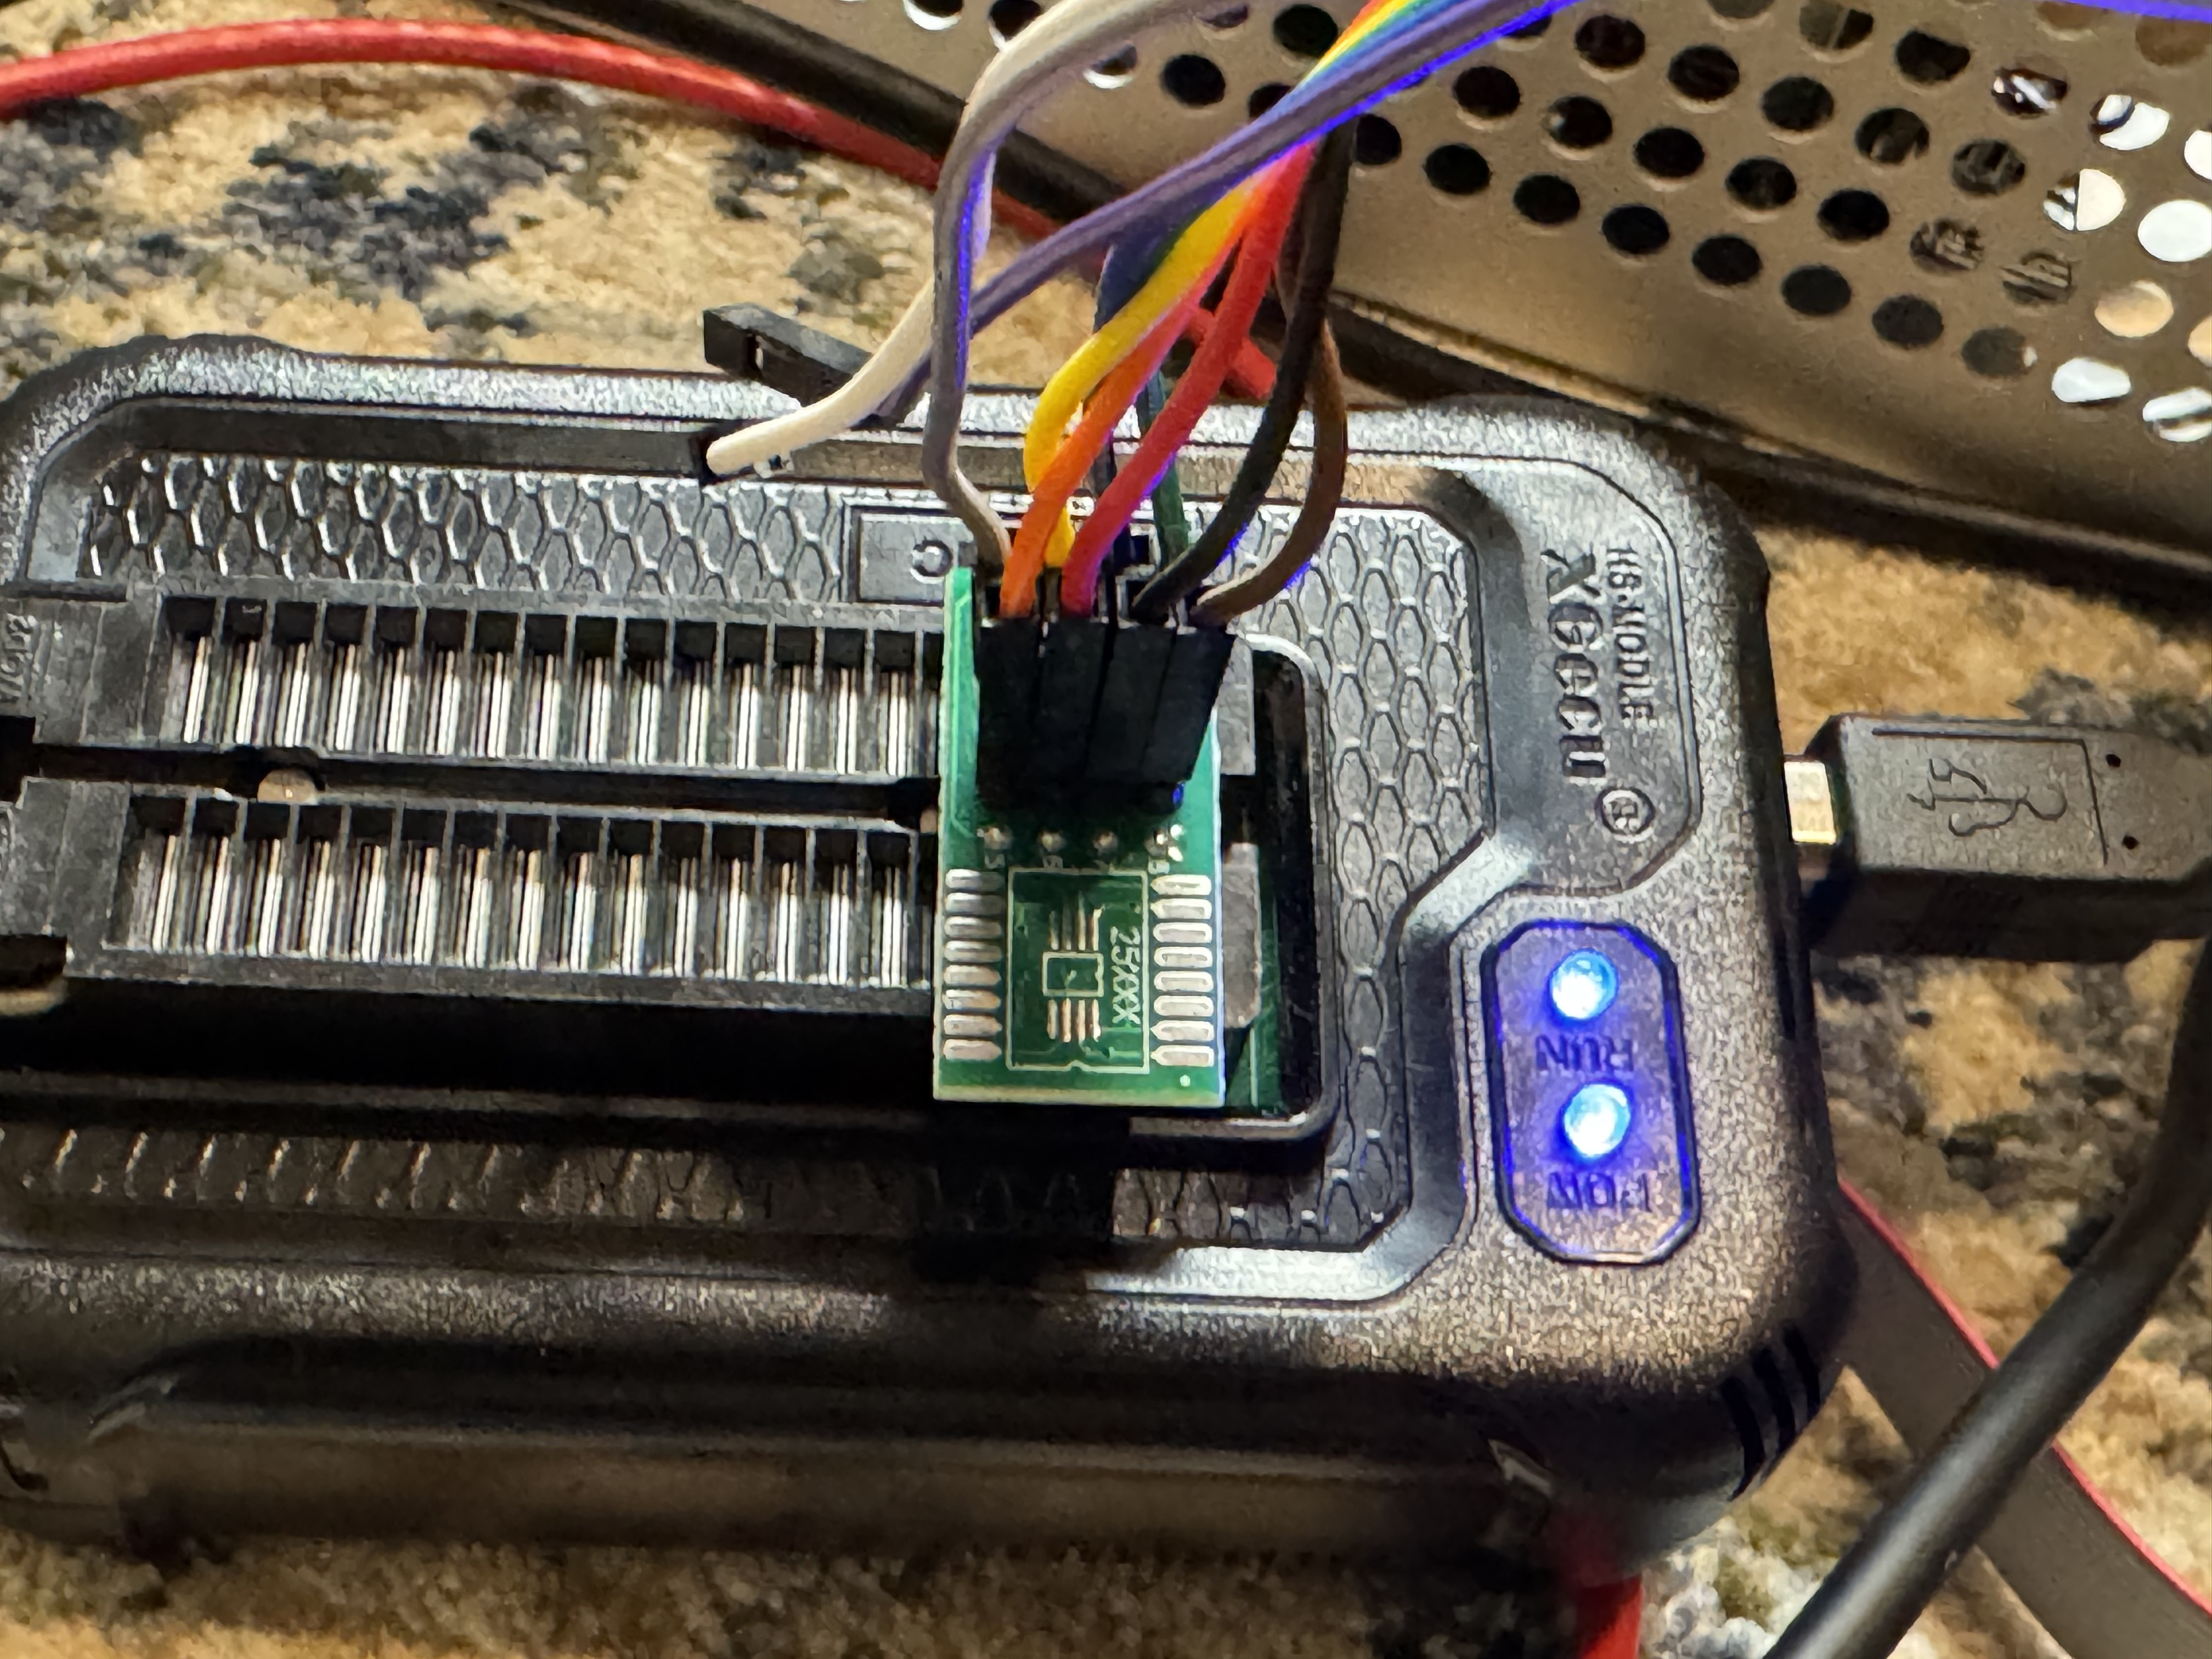
Connecting to the pins proved to be a bit difficult because of how small they were. Turns out they are 2mm pitch instead of 2.54mm (more standard), so I had to order https://www.amazon.com/dp/B07FKLKM7L as one of the commenters suggested to be able to connect easily to the pins. Then I did some janky stuff with jumper wires to get it into the TL866 programmer.
The programmer also uses Windows-only software, and I was on my Linux laptop. I installed a Windows 11 VM and forwarded the USB device to use the software. The Reddit post mentioned that they had a similar motherboard and needing to use the 1.8V adapter for their Winbond W25Q256JW BIOS chip. I assumed the same but when I went to read the bad BIOS back, I was given “ID Check Failed 0xC2 25 39”. Which turns out to be a 3.3V Macronix MX25L256, with Claude assuming it’s a MX25L25673G. I pulled out the 1.8V adapter and hooked right to the chip. I still failed to get an ID with the built in tool, and when I forced the chip type, I was told one pin wasn’t connected right. I adjusted the pin and hit READ again and got a hit, the ID didn’t match the software’s record for that chip type. I ended up disabling ID Check and then doing a read. AND I GOT DATA! This showed my wiring was good enough.
From there I went and got a new BIOS from AsRocks site. Seeing the BIOS file was exactly 32MB, and the BIOS was 256 megabits = 32MB, I felt confident that I could write this whole image and it didn’t have a header or something that would break directly writing this image to the chip.
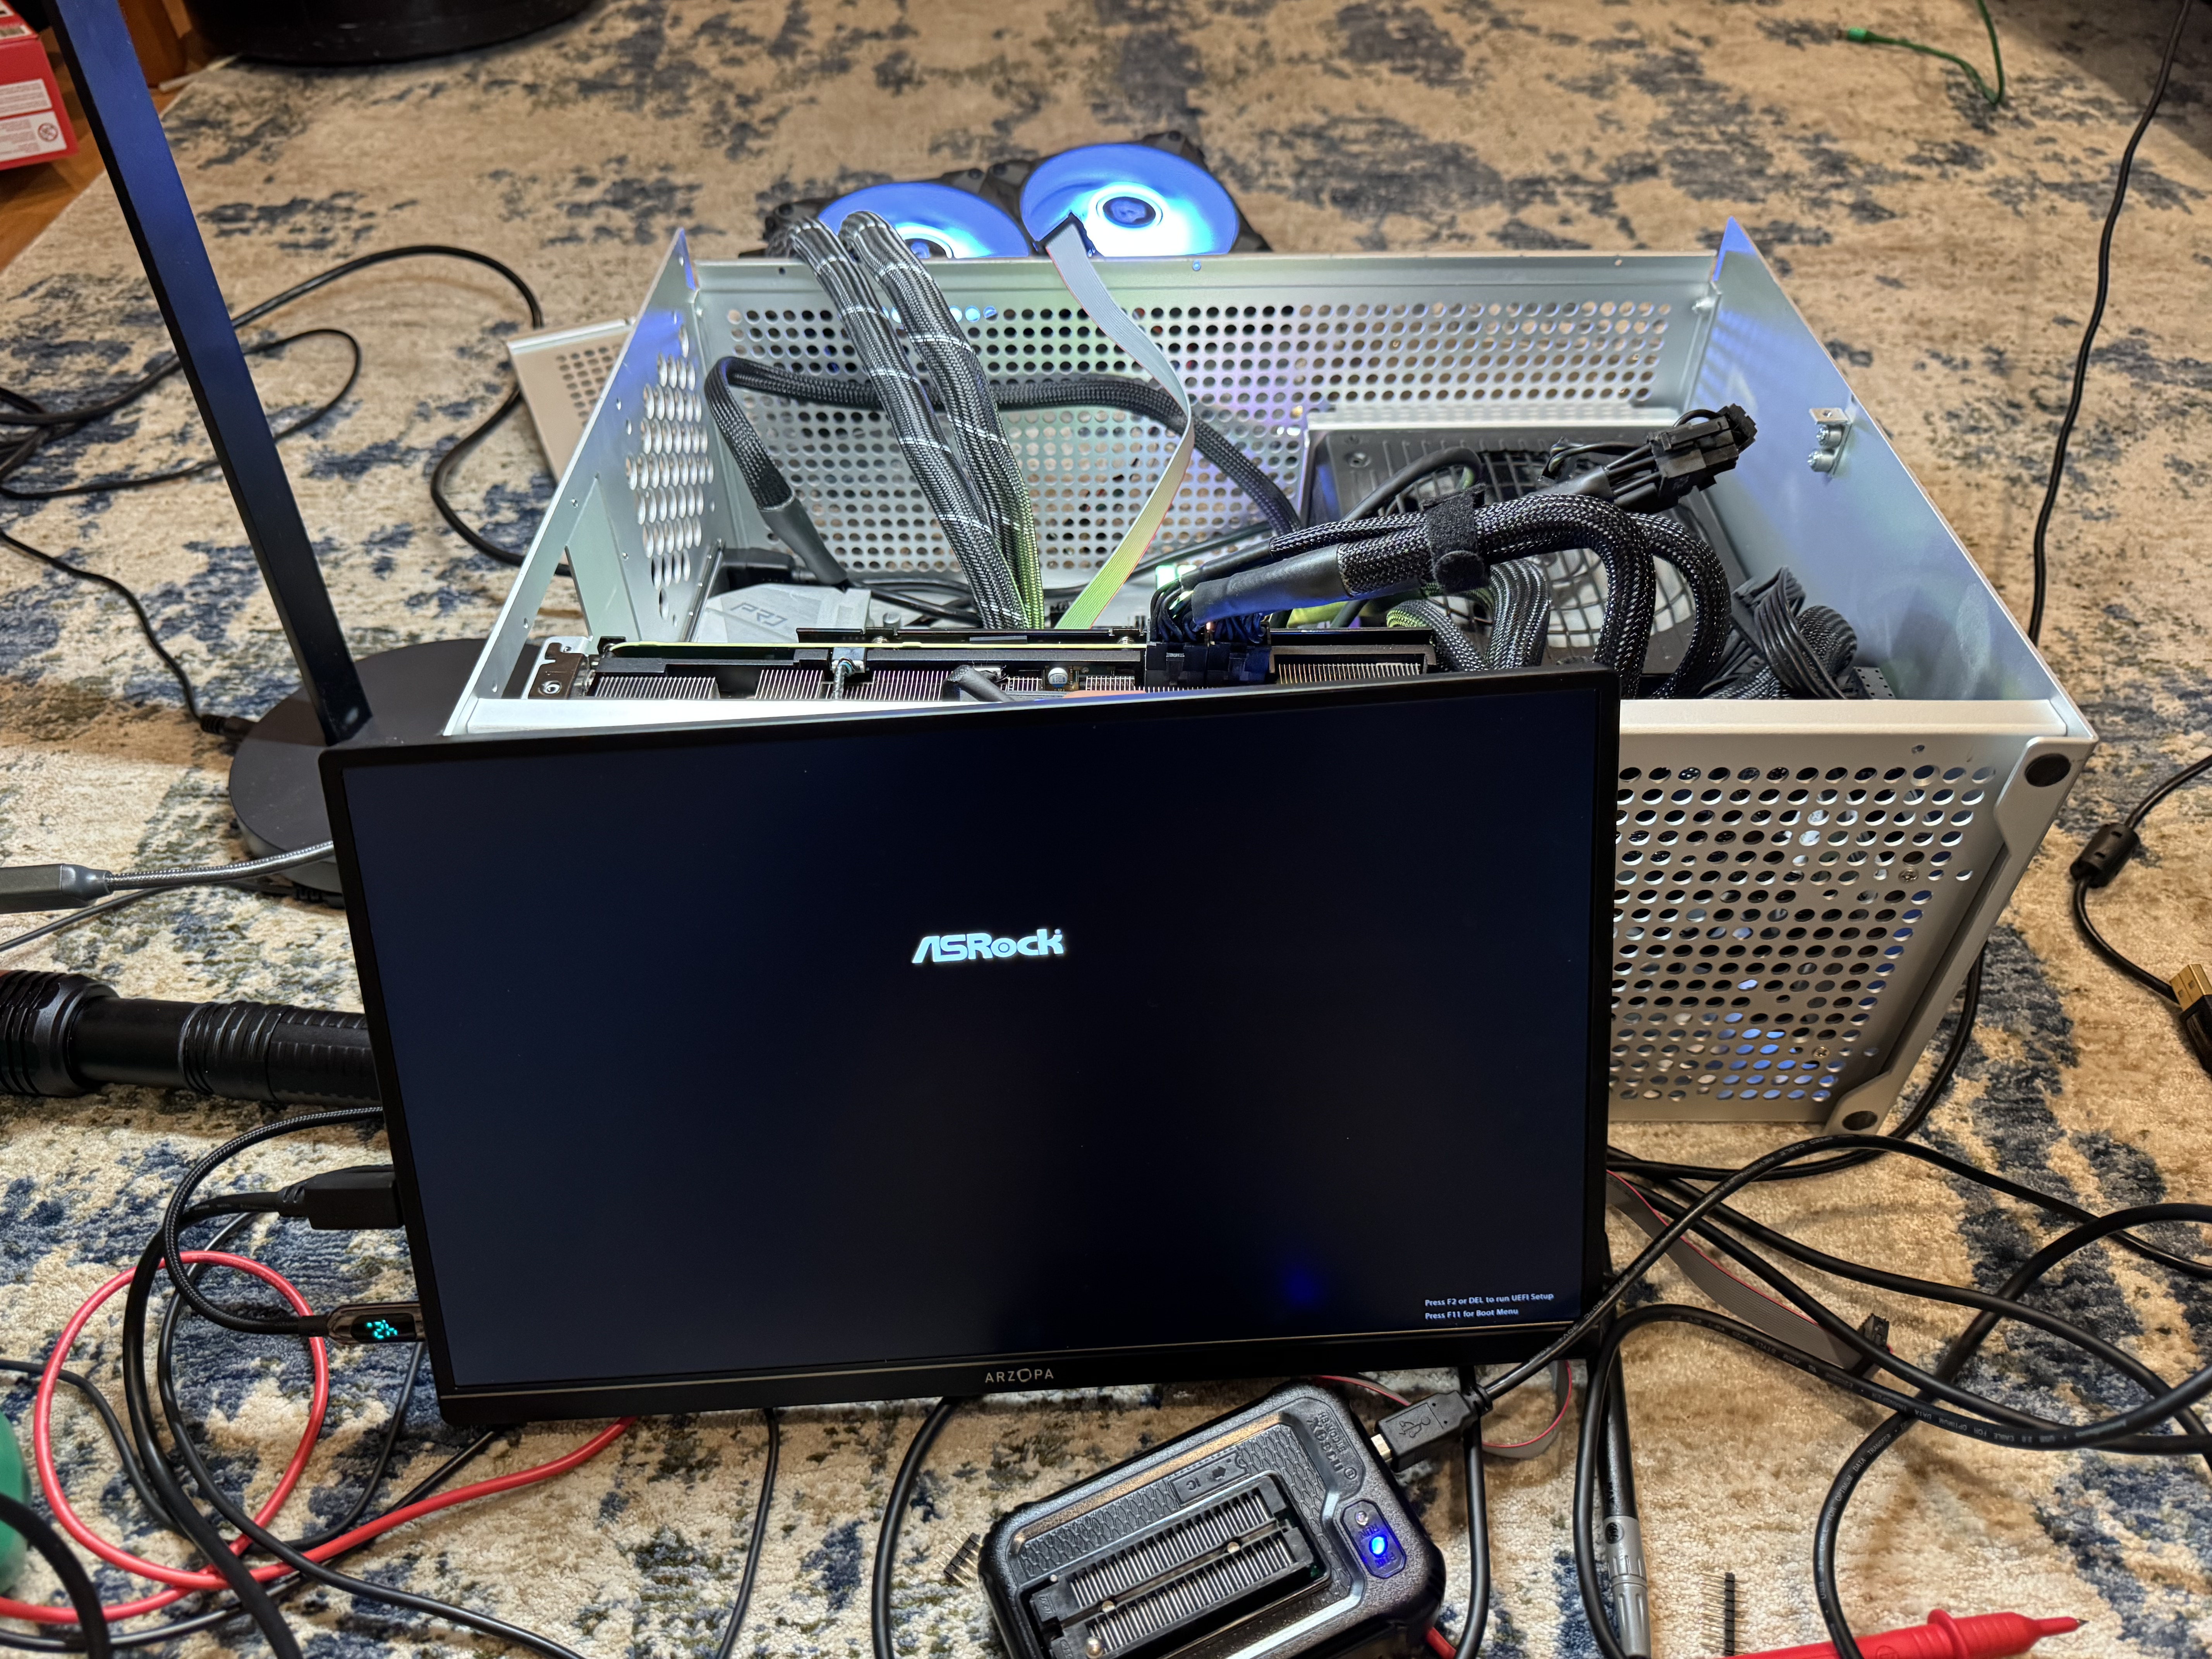
I hit program and crossed my fingers. After a minute of erasing, then a minute of programming and verifying it said it was done. I unplugged my laptop, and plugged power back in. The system came on when I hit power, but again no POST. Then I waited a minute, and it powered off, this time, when I powered it back on the system came to life with the AsRock UEFI screen! I had to re-enter UEFI settings but we are back!
The last and final irony… on the correct BIOS, up to date, the system still fails to restart…
I am going to start with some information for those completely new to OpenShift and Kubernetes (shorthand “K8s”), feel free to jump to “Installation Steps for Single Node OpenShift” for steps if you prefer. I will explain why OpenShift, and will have that blurb after the tutorial for those interested. This guide walks you through doing a Single Node OpenShift installation. This should take about 1-2 hours to have a basic system up and running.
In later posts I will go over networking, storage, and the rest of the parts you need to setup. I spoke to some of their engineers, and they were confused when I said this system is not easy to install, and they need to make an easy installation disc like VMware or Microsoft have.
It is worth noting at this point that OKD exists. OKD is the upstream (well moving upstream), open-source version of OpenShift. You are more bleeding edge, but you get MOST of the stack without any licensing. Almost like CentOS was to Red Hat Enterprise Linux, except more upstream than in line. There are areas where that is not true, and other hurdles to use it; I will make another post about setting up OKD, but the main issues are lack of Operators which you get automatically from OpenShift. Operators like LVM for storage or NMstate for network management are more difficult to configure.
Single Node OpenShift vs High Availability
There are two main ways to run OpenShift, the first is SNO; Single Node OpenShift. There is no high availability, everything runs with 1 master node, which is also your worker node. You CAN attach more worker servers to a SNO system, but if that main system goes down, then you lose control of the cluster. The other mode to run in is HA, where you have at least 3 nodes in your control plane. For production you would usually want HA, and I will have an article about that in the future, for now I will just install SNO.
Big Changes to Keep in Mind From VMware
A quick note to all the administrators coming from VMware or other solutions, OpenShift runs on top of CoreOS. An immutable OS based on Red Hat and ostree. The way OpenShift finds out which config to apply to your node is via DHCP and DNS. These are HARD REQUIREMENTS to have setup for your environment. The installation will fail, and you will have endless problems if you do not have DHCP + DNS setup correctly; trust me, I have been there.
K8s Intro 101
For those who haven’t used Kubernetes before (me a few weeks ago), here are some quick things to learn. A cluster has “master” nodes and “worker” nodes, masters orchestrate, workers run pods. Master nodes can also be worker nodes.
OpenShift by default cannot run VMs. We are installing the Virtualization Operator, operators are like plugins, which will give us the bits we need to run virtualization. OpenShift has OpenShift Virtualization Operator, OKD has KubeVirt. OpenShift Virtualization Operator IS KubeVirt with a little polish on it and supported by Red Hat.
Homelab SNO Installation
OpenShift is built to have a minimum of 2 disks. One will be the core OS and the containers that you want to run. The other will be storage for VMs and container data. By default the installer does not support partitioning the disk, forcing you to have 2 disks. I wrote a script that injects partitioning data into the SNO configuration. The current SNO configuration does not seem to have another easy way to add this. The script: Openshift-Scripts/add_parition_rule.sh at main · daberkow/Openshift-Scripts, needs to be run right after “openshift-install”, Step 18. It is run with “$ ./add_parition_rule.sh ./ocp/bootstrap-in-place-for-live-iso.ign ./ocp/bootstrap-in-place-for-live-iso-edited.ign”, then “./ocp/bootstrap-in-place-for-live-iso-edited.ign” is used for Step 20.
I am running on a Hp ProDesk 600 G5 Mini with an Intel 9500T, 64GB of RAM, and a 1TB NVMe drive. You need any computer you can install an OS onto with at least 100GB of storage and probably 32GB of RAM. Red Hat CoreOS is a lot more accepting of random hardware than VMware ESXi is.
Installation Steps for Single Node OpenShift
OpenShift has several ways to do an installation, you can use their website and do the Assisted installer or create an ISO with all the details baked in, this time we will go over how to do it with creating a custom ISO with an embedded ignition file.
The following steps will be for a Mac or Linux computer. The main commands you will use interact with your cluster are `kubectl` and `oc`; `oc` is the openshift client, and a superset of the features in the standard `kubectl` command. Those tools work on Windows and have builds. The `openshift-installer` does not, so we can’t install with just Windows. You can try to use WSL to do the install, but it always gave me issues. The Linux system needs to be Rhel 8+/Fedora/Rocky 8+ or Ubuntu 20.10+ because of the requirement for Podman.
As mentioned, DHCP + DNS are very important for OpenShift. We need to plan what our cluster DOMAIN and CLUSTER NAME will be. For this I will use “cluster1” as the cluster, and “example.com” as the domain. Our example IP will be 192.168.2.10 for our node. When I put a $ at the start of a line, that is a terminal command.
First, we will setup DNS, that is a big requirement for OpenShift, to do that you need a static IP address. Give the system a reservation or static IP address for your environment.
Now go and make the following addresses point to that IP, because we are on a single node, these can all point to one IP. Note this is for SNO, for larger clusters you need different hosts and VIPs for these IPs.
api.cluster1.example.com -> 192.168.2.10
api-int.cluster1.example.com -> 192.168.2.10
*.apps.cluster1.example.com -> 192.168.2.10
The two api addresses are used for K8s API calls, *.apps is a wildcard where all the sub apps within the cluster will be accessed. These applications use the referrer url of the web request to figure out where the traffic should go, thus everything has to be done via DNS name and not IP.
Note: The wildcard for the last entry is needed for some services to work, you can individually add them, but it becomes a lot of work. Wildcards cannot be used in hosts file, which means you do need proper DNS. There is a footnote for below, for all the DNS entries you may if you want to run out of a hosts file.
$ alias coreos-installer=’podman run –privileged –pull always –rm -v /dev:/dev -v /run/udev:/run/udev -v $PWD:/data -w /data quay.io/coreos/coreos-installer:release’
$ coreos-installer iso ignition embed -fi ocp/bootstrap-in-place-for-live-iso.ign rhcos-live.iso
Boot rhcos-live.iso on your computer, it will take 20 or more minutes, then the system should reboot
If everything works, the system will reboot, then after 10 or so minutes of the system loading pods, https://console-openshift-console.apps.cluster1.example.com/ should load from your client computer. The login will be stored on your sno/ocp/auth folder.
Many caveats here: if your install fails to progress, you can ssh in with the SSH key you set in the install-config.yaml file. That is the only way to get in. Check journalctl to see if there are issues. It’s probably DNS. You can put the host names above into the hosts file of the installer and then after reboot the host itself to boot without needing DNS.
You CAN build an x86_64 image using an ARM Mac. You can also create an ARM OpenShift installer to run on a VM on a Mac. The steps are very similar for an ARM Mac except they have aarch64 binaries at: mirror.openshift.com/pub/openshift-v4/aarch64/clients/ocp/latest-4.18/, and you use “export ARCH=aarch64”. Be careful on an ARM Mac about using the x86_64 installer for targeting an x86_64 server, and a aarch64 installer for ARM VMs. Or you will get “ERROR: release image arch amd64 does not match host arch arm64” and have to go to ERROR: release image arch amd64 does not match host arch arm64 – Simon Krenger to find out why.
Hopefully this helps someone, I think OpenShift and OKD could be helpful for a lot of people looking for a hypervisor, but the docs and getting started materials are hard to wrap your head around. I plan to make a series of posts to help people get going. Feel free to drop a comment if this helps, or something isn’t clear.
This section is optional, and for those who would like to run without external DNS for a stack. It can lead to the stack being odd, if you dont need this, you may not want to do it. All this was tested on 4.19.17.
The issue you run into here, is the fact that the way DNS works in OpenShift is pods are given CoreDNS entries, and they are given a copy of your hosts resolv.conf. In the event you want to start an OpenShift system completely air-gapped, with no external DNS, you need the entries we stated in other articles, mainly: api.<cluster>.<domain>, api-int.<cluster>.<domain>, *.apps.<cluster>.<domain>, master0.<cluster>.<domain>. Wildcard lookups cannot be in a hosts file. Luckily, because of this, OpenShift ships with dnsmasq installed on all the hosts.
Our flow for DNS will be: the host itself runs dnsmasq, and points to itself for DNS. It has to point to itself on its public IP because that resolv.conf file will be baked into pods; if you put 127.0.0.1 then pods will get that and fail to hit DNS. Then dnsmasq points to your external DNS servers. That way, all lookups hit dnsmasq first, then can be filtered to the outside.
When installing OpenShift: there is the install environment itself, then the OS after reboot, we need these entries to be in both environments.
I have created a script, it is used like the partition script I used in the SNO post. To use it, create your ignition files with openshift-install, then $ ./add_dns_settings.sh ./ocp/bootstrap-in-place-for-live-iso.ign ./ocp/bootstrap-in-place-for-live-iso-edited.ign and install with that edited ignition file.
This allows you to set all the settings you need, and a static IP setting for the host that will run single node. When installing this way, you will need to add some hosts file entries to your client because outside the cluster the DNS entries dont exist. The new SNO system is not in external DNS and that is how OpenShift routes traffic internally. Adding the below line to your clients hosts file with cluster and domain changed should be enough to connect:
After all the recent price hikes by Broadcom for VMware, my work – like many – have been looking for alternatives. Not only do high hypervisor costs make it expensive for your existing clusters, it makes it hard to grow clusters with that high cost. We already run a lot of Kubernetes and wanted a new system that we could slot in, allowing for K8s and VMs to run side by side (without paying thousands and thousands per node that Broadcom wants). I was tasked with looking at alternatives out there, we were already planning on going with OpenShift as our dev team had started using it, but it doesn’t hurt to see what else is out there. The requirements were: had to be on-prem, be able to segment data by vlan, run VMs with no outside connectivity (more on that later), and have shared storage. There were more but those were the general guidelines. For testing the first thing I installed was Single Node OpenShift (SNO), and that’s what I will start going over here. It does do the job decently well enough, but the ramp up is rough. Gone are the VMware nice installers, and welcome to writing YAML files.
The big other players were systems like Hyper-V, Nutanix, Proxmox, Xen Orchestra, KVM. We are not a big Microsoft shop and a lot of our devs had a bad experience with Hyper-V, so we scratched that one. Also, Hyper-V doesn’t seem all that loved by Microsoft for on-prem, so that turned us away. I investigated Nutanix but they have a specific group of hardware they want to work with, and a very specific disk configuration where each server needs 3 + SSDs to run the base install. I did not want to deal with that, so we moved on before even piloting it. Proxmox is a community favorite, but we didn’t want to use that for production networks, and thought getting it passed security teams at our customers would be difficult. Xen Orchestra is getting better but in testing had some rough spots and getting the cluster manager going gave some difficulty. This left raw KVM, and that was a non-starter because we want users to easily be able to manage the cluster.
Without finding a great alternative, and the company already wanting to push forward on Red Hat OpenShift, I started diving into what it would take to get VMs to where we needed them to be. What I generally found is there is a working solution here, that Red Hat is quickly iterating on. It is NOT 1:1 with VMware. You are running VMs within Pods in a K8s cluster. That means you get the flexibility of K8s and the ability to set things up how you want; along with the troubles and difficulties of it. Like Linux, the great thing about K8s is there are 1000 ways to do anything, that also is its greatest weakness.
Recently I have spent more hours than I want to talk about fixing a server that had a Mellanox ConnectX6-lx card, where I could not get OpenShift to get traffic to VMs. I would create Linux bridges just like I normally do, and traffic was working to the main interface, except all the traffic was being sent to the primary Linux interface, and not the sub interfaces on specific VLANs that I needed it to. Other systems, with other network cards were not having this issue. After some trial and error, finding specific kernel messages, and solving it, I wanted to make a quick post in case anyone runs into this.
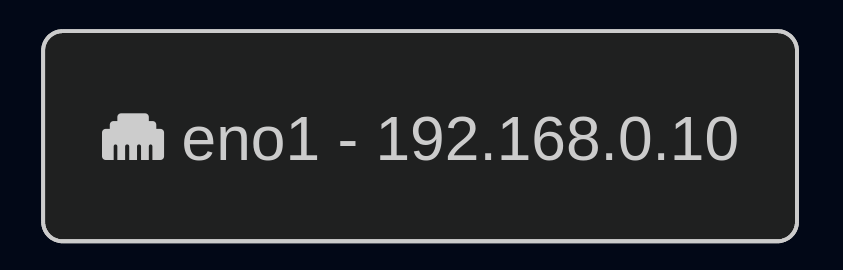
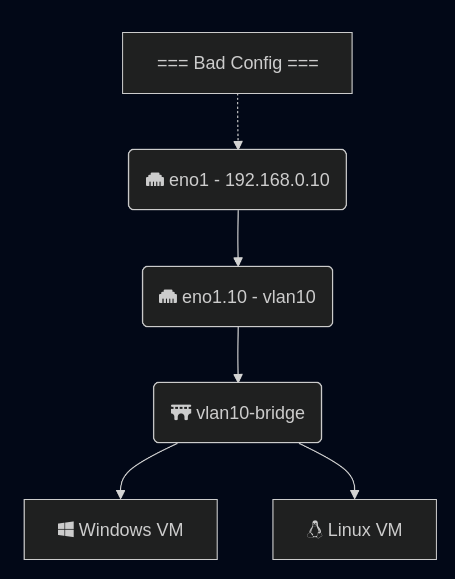
All of this analysis and guide will assume a trunk port to an interface on Linux (or a bonded interface). If you have an interface in Linux on the native VLAN, and that is a standard interface (example eno1). Then you add a sub interface for tagged traffic, eno1.10, the Mellanox mlx5 driver will – in hardware – ignore your VLAN tag and just send traffic to the main interface.
The smoking gun that helped me find the answer was looking at the dmesg kernel logs; search dmesg for “mlx5”: dmesg | grep mlx5, you may see the following:
mlx5_core 0000:0b:00.1: mlx5e_fs_set_rx_mode_work:843:(pid 156): S-tagged traffic will be dropped while C-tag vlan stripping is enabled
The Mellanox card thinks there are double tagged VLAN frames and will drop tags on data coming in. The Mellanox card does this in hardware. You can check the settings for 802.1Q kernel module being loaded, and VLAN filtering is disabled in the kernel, but this won’t matter. If you change settings like ethtool -K <interface> rx-vlan-offload off it will say the setting is off, that is correct because the Mellanox firmware is doing the filtering, not the Linux kernel. When you tcpdump the interface, you will see weird results, because you are capturing traffic AFTER the firmware has dropped the header.
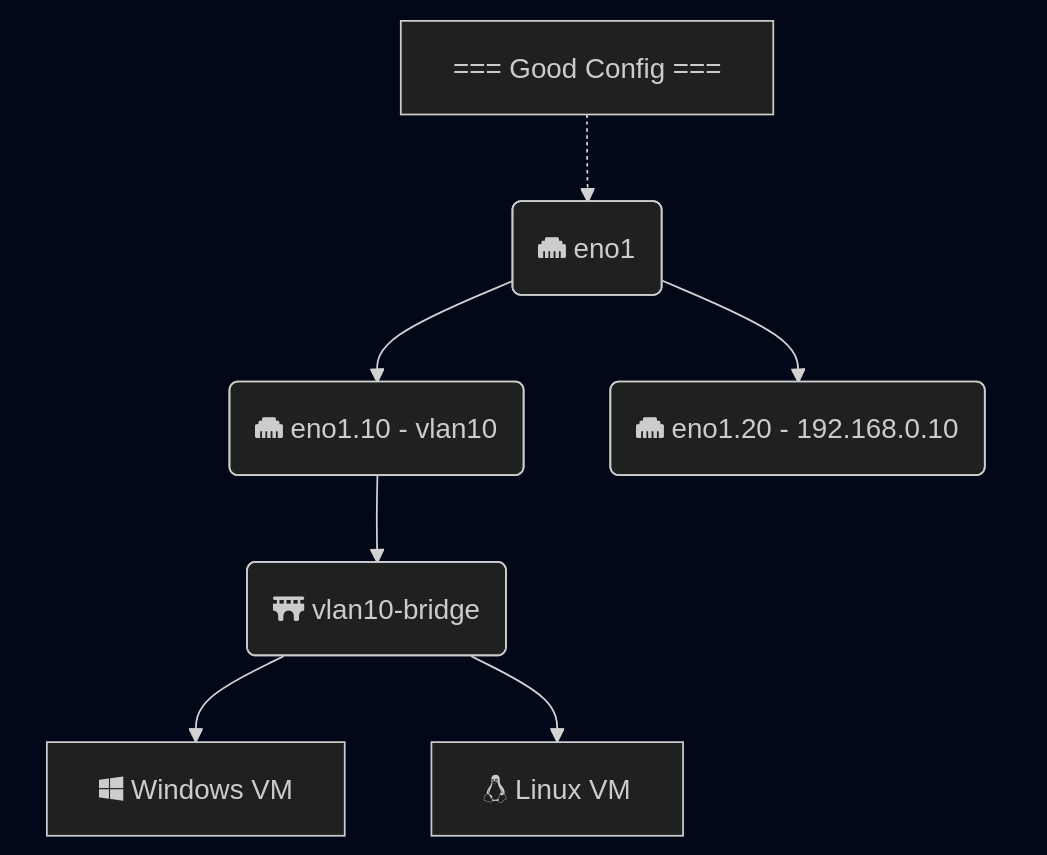
The only way I found to fix it is to move all the IPed interfaces off the main interface. Do not use the native VLAN to carry traffic. (Probably a good idea anyway, but this system got into this state by a port being migrated FROM access TO trunk and originally trying to do this with minimal interruption.)
Once you move the IPed interface under its own sub interface and reboot, data will start flowing to your VMs. The kernel module will reload and not attempt to remove the “outer” VLAN tag from the “double tagged” packets. This was a harder issue to solve because of the fact it only triggers on load, which means you have to reboot to find the correct fix. I saw a handful of other people mention this issue in bug reports, and that set me on the correct track.
Another part of the challenge was the system I was using was a blade server with an internal “dumb switch”, and I was never sure what that switch was doing with the tagged packets. In the end, not much, but added a complexity to the problem.
I started mentioning about my LAN Before Time project before. The idea is to have a rack of the most diverse CPU, OS, and Networking technologies I can find. Each computer and piece of equipment bringing something new and unique to the collection. One part of this collection was the network. Coming from a networking background, I also wanted to have the most diverse set of networking technologies that I could. To do this I would need to find a core router that could talk all the different protocols I wanted. Having worked at Cisco in the past, I knew they had gear that went back in time, and could add in some additional fun like AppleTalk. That is where I started my search.
Why the Cisco 3825
I knew I needed a Router and not a switch, because we would be going between several protocols. I could time box the router a bit because I wanted to support AppleTalk and IPX. Support from these no longer exists, and thus would give a cutoff for devices I could get.
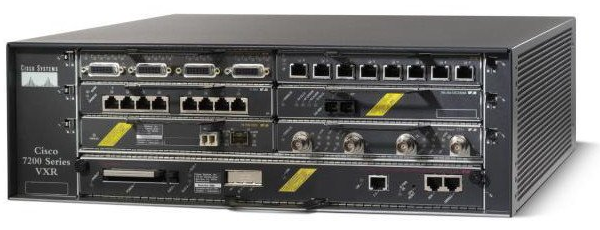
Years ago, I was the Cisco 7200 VXR guy at work. They were great routers, that could go up to gigabit and go in and out of a ton of different connections, including some voice ones. The issue was they could do lines like T1, but they couldn’t host an analog modem, and that was one thing I very much wanted.
Now we are getting down to a select group of Cisco devices. I started making a table of the pros and cons of each. I also was hoping for something slightly newer to have 1gb/s links available, and hoping that it wouldn’t use a 1000 watts at idle.
This is a table I made of all the different options for routers and the features they supported:
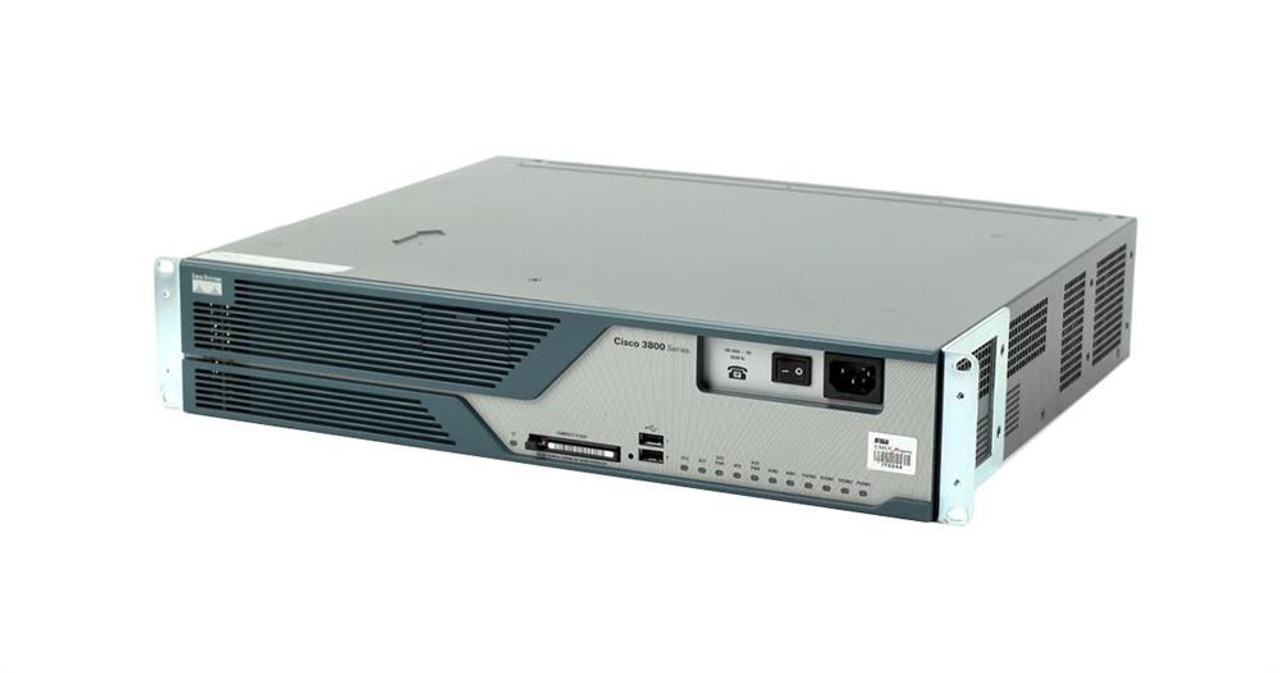
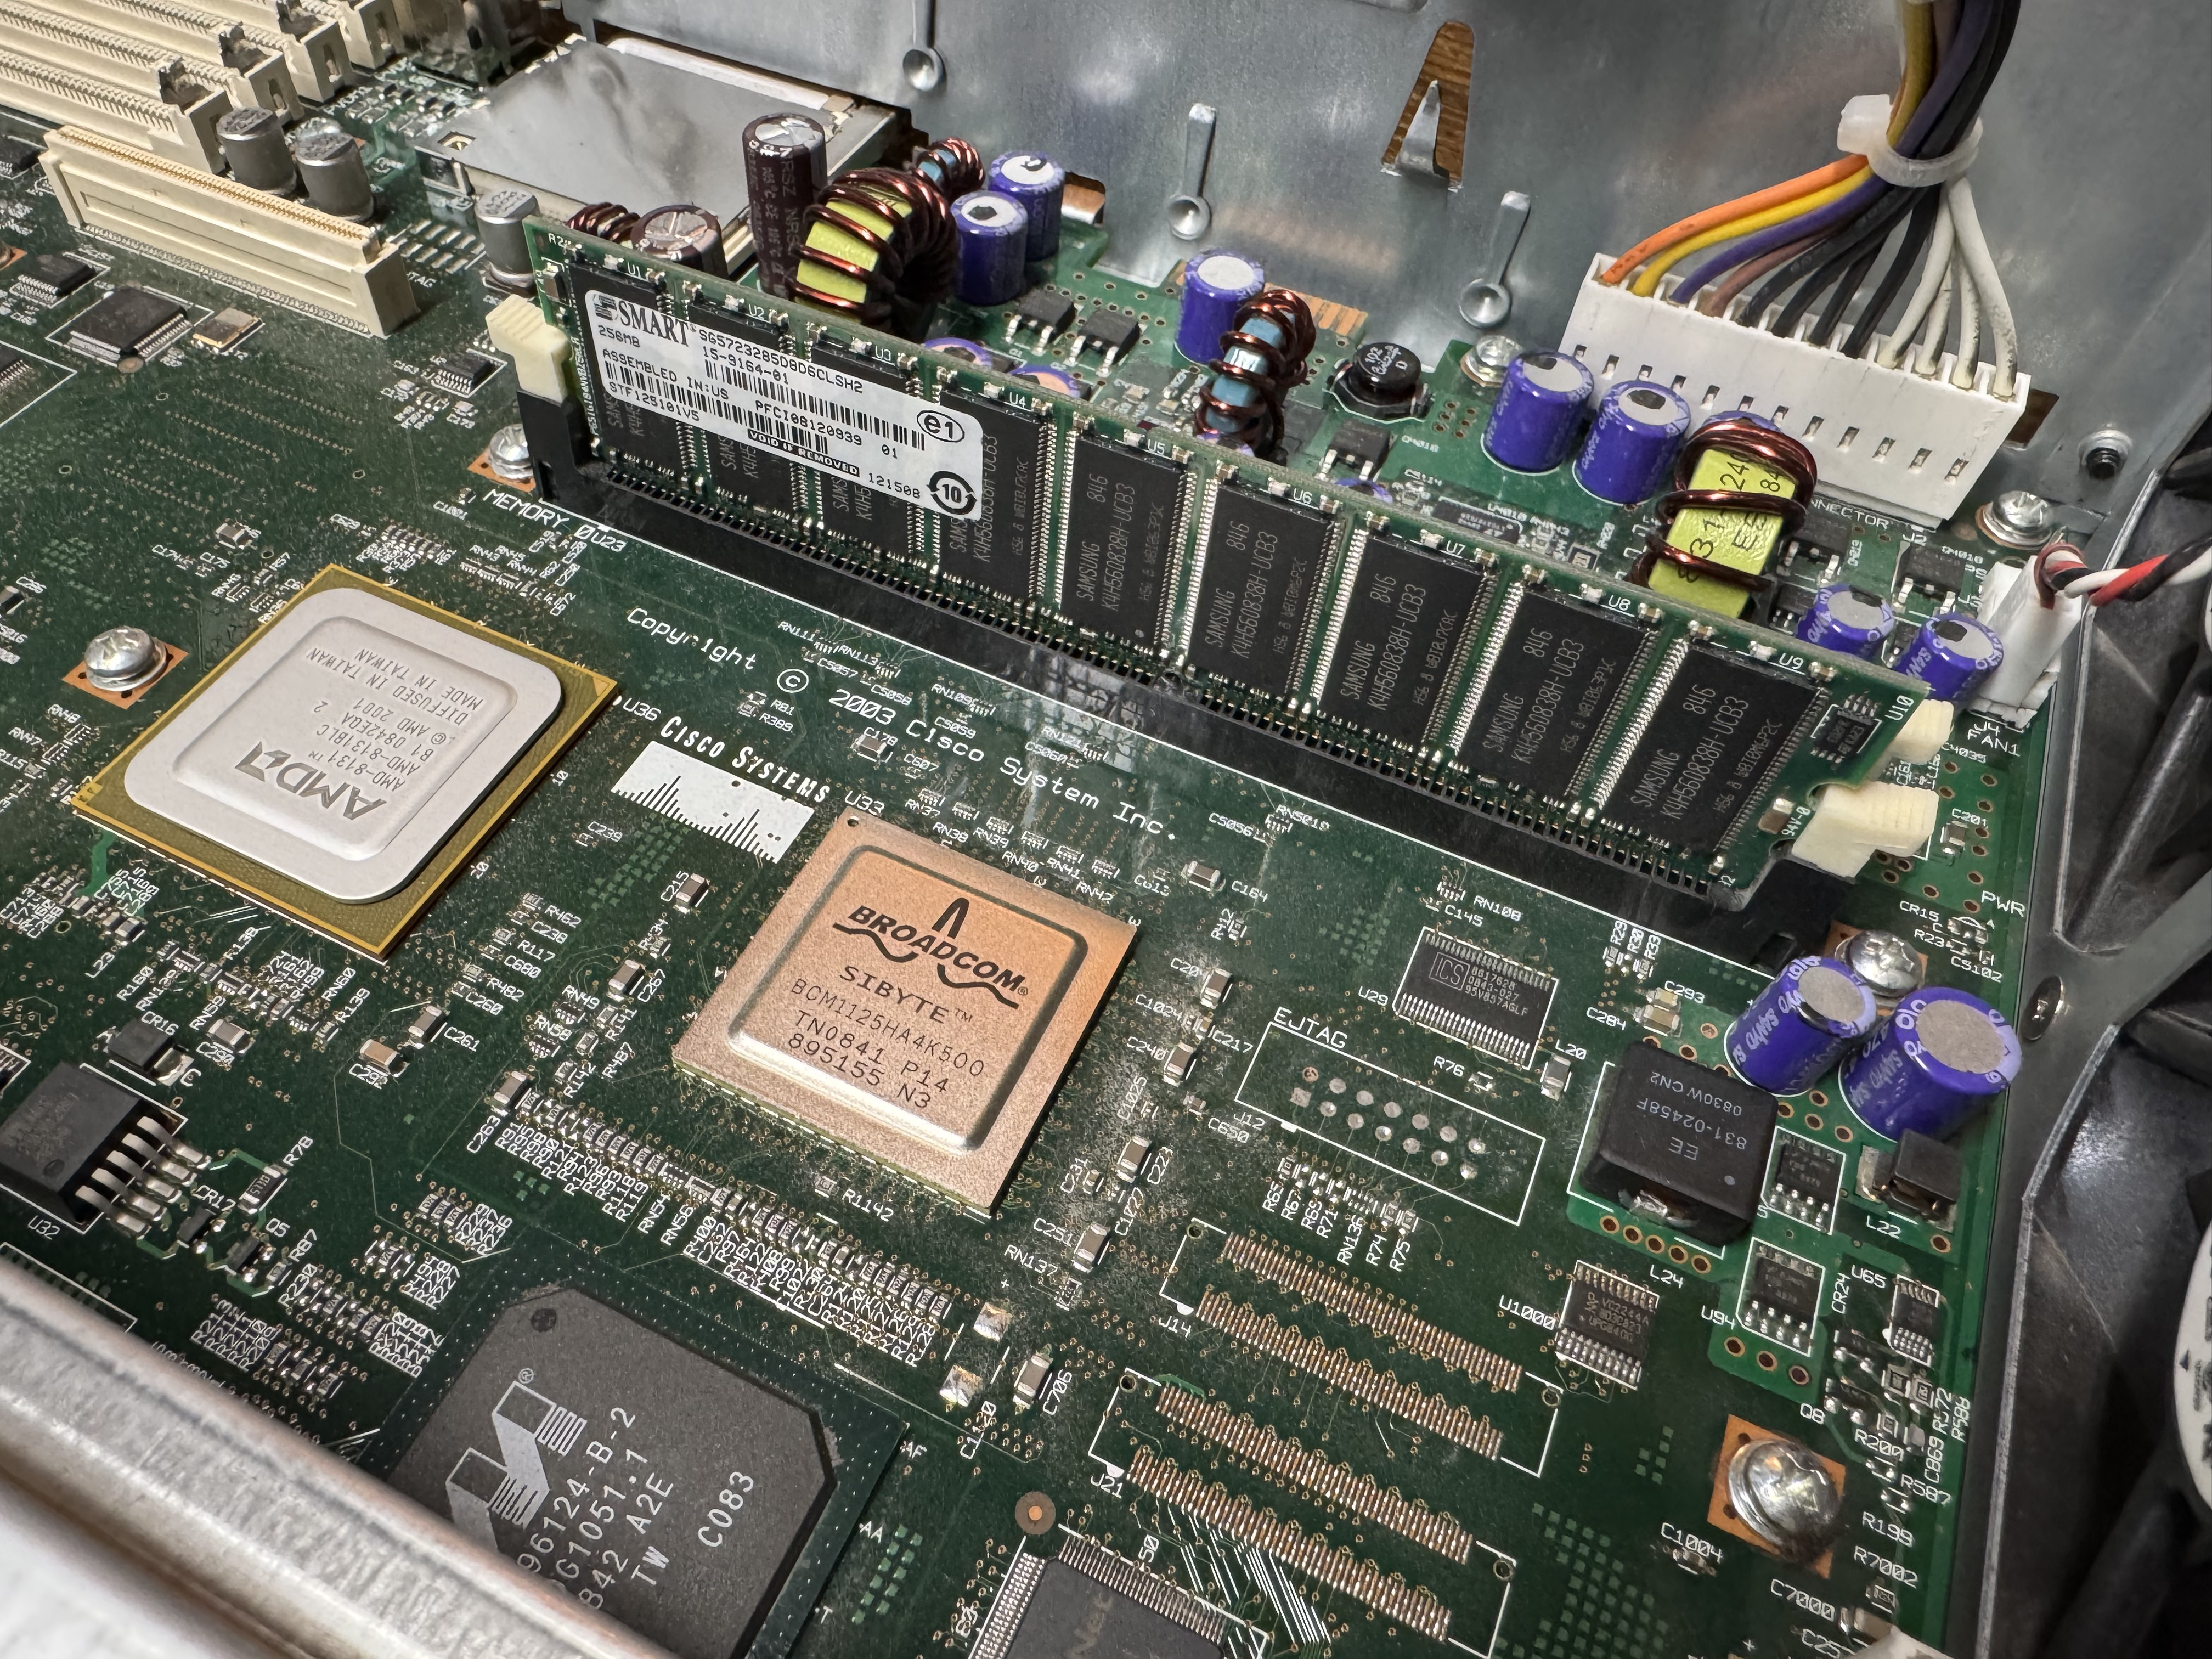
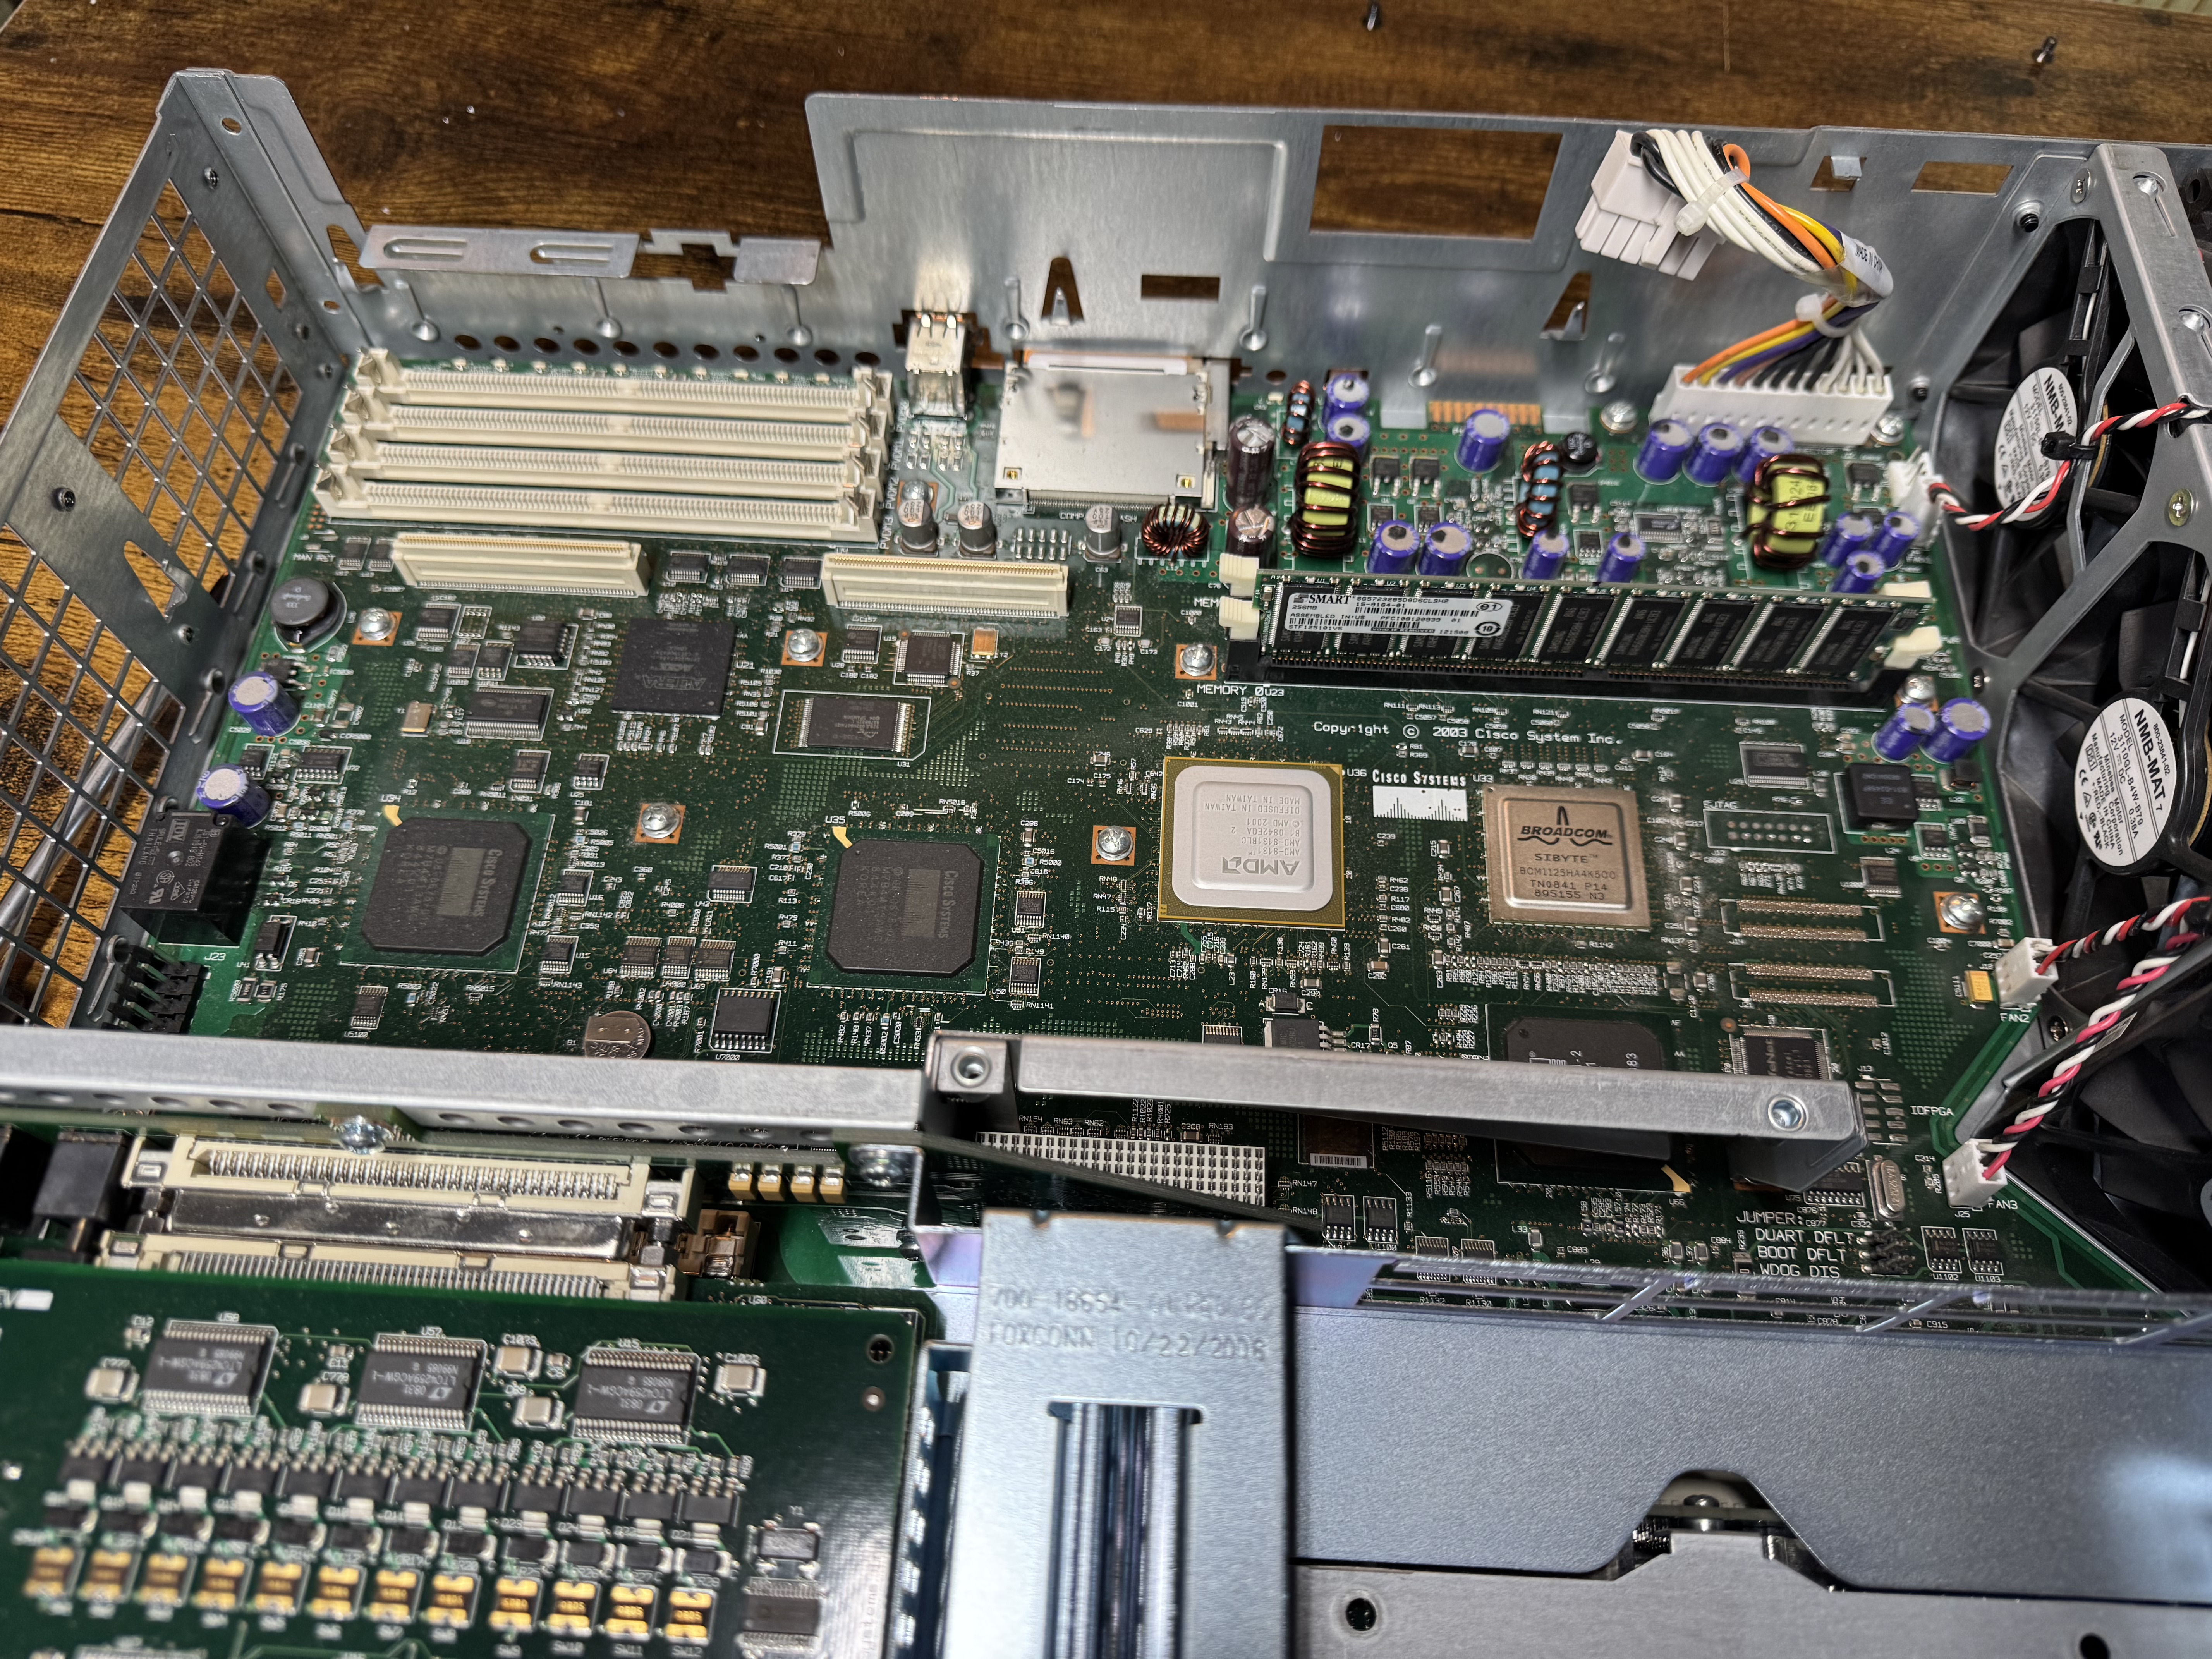
The Cisco 1800/2800/3800 line all came out around the same time, they were considered the G1 generation routers. Things before them were legacy, and the systems after them like the 3945 were the G2 devices. G2 was a step to get rid of legacy, this means dropping AppleTalk, IPX and some of the things I was interested in. By this point I had realistically narrowed down to a Cisco 3725 or 3825. The 3825 had gigabit on the main controller, allowing my to get a little closer to modern systems; that put me over the edge for it. I also was not interested in its giant cousin, the 3845; the 3825 had enough bays and should be quiet enough for me to run routinely.
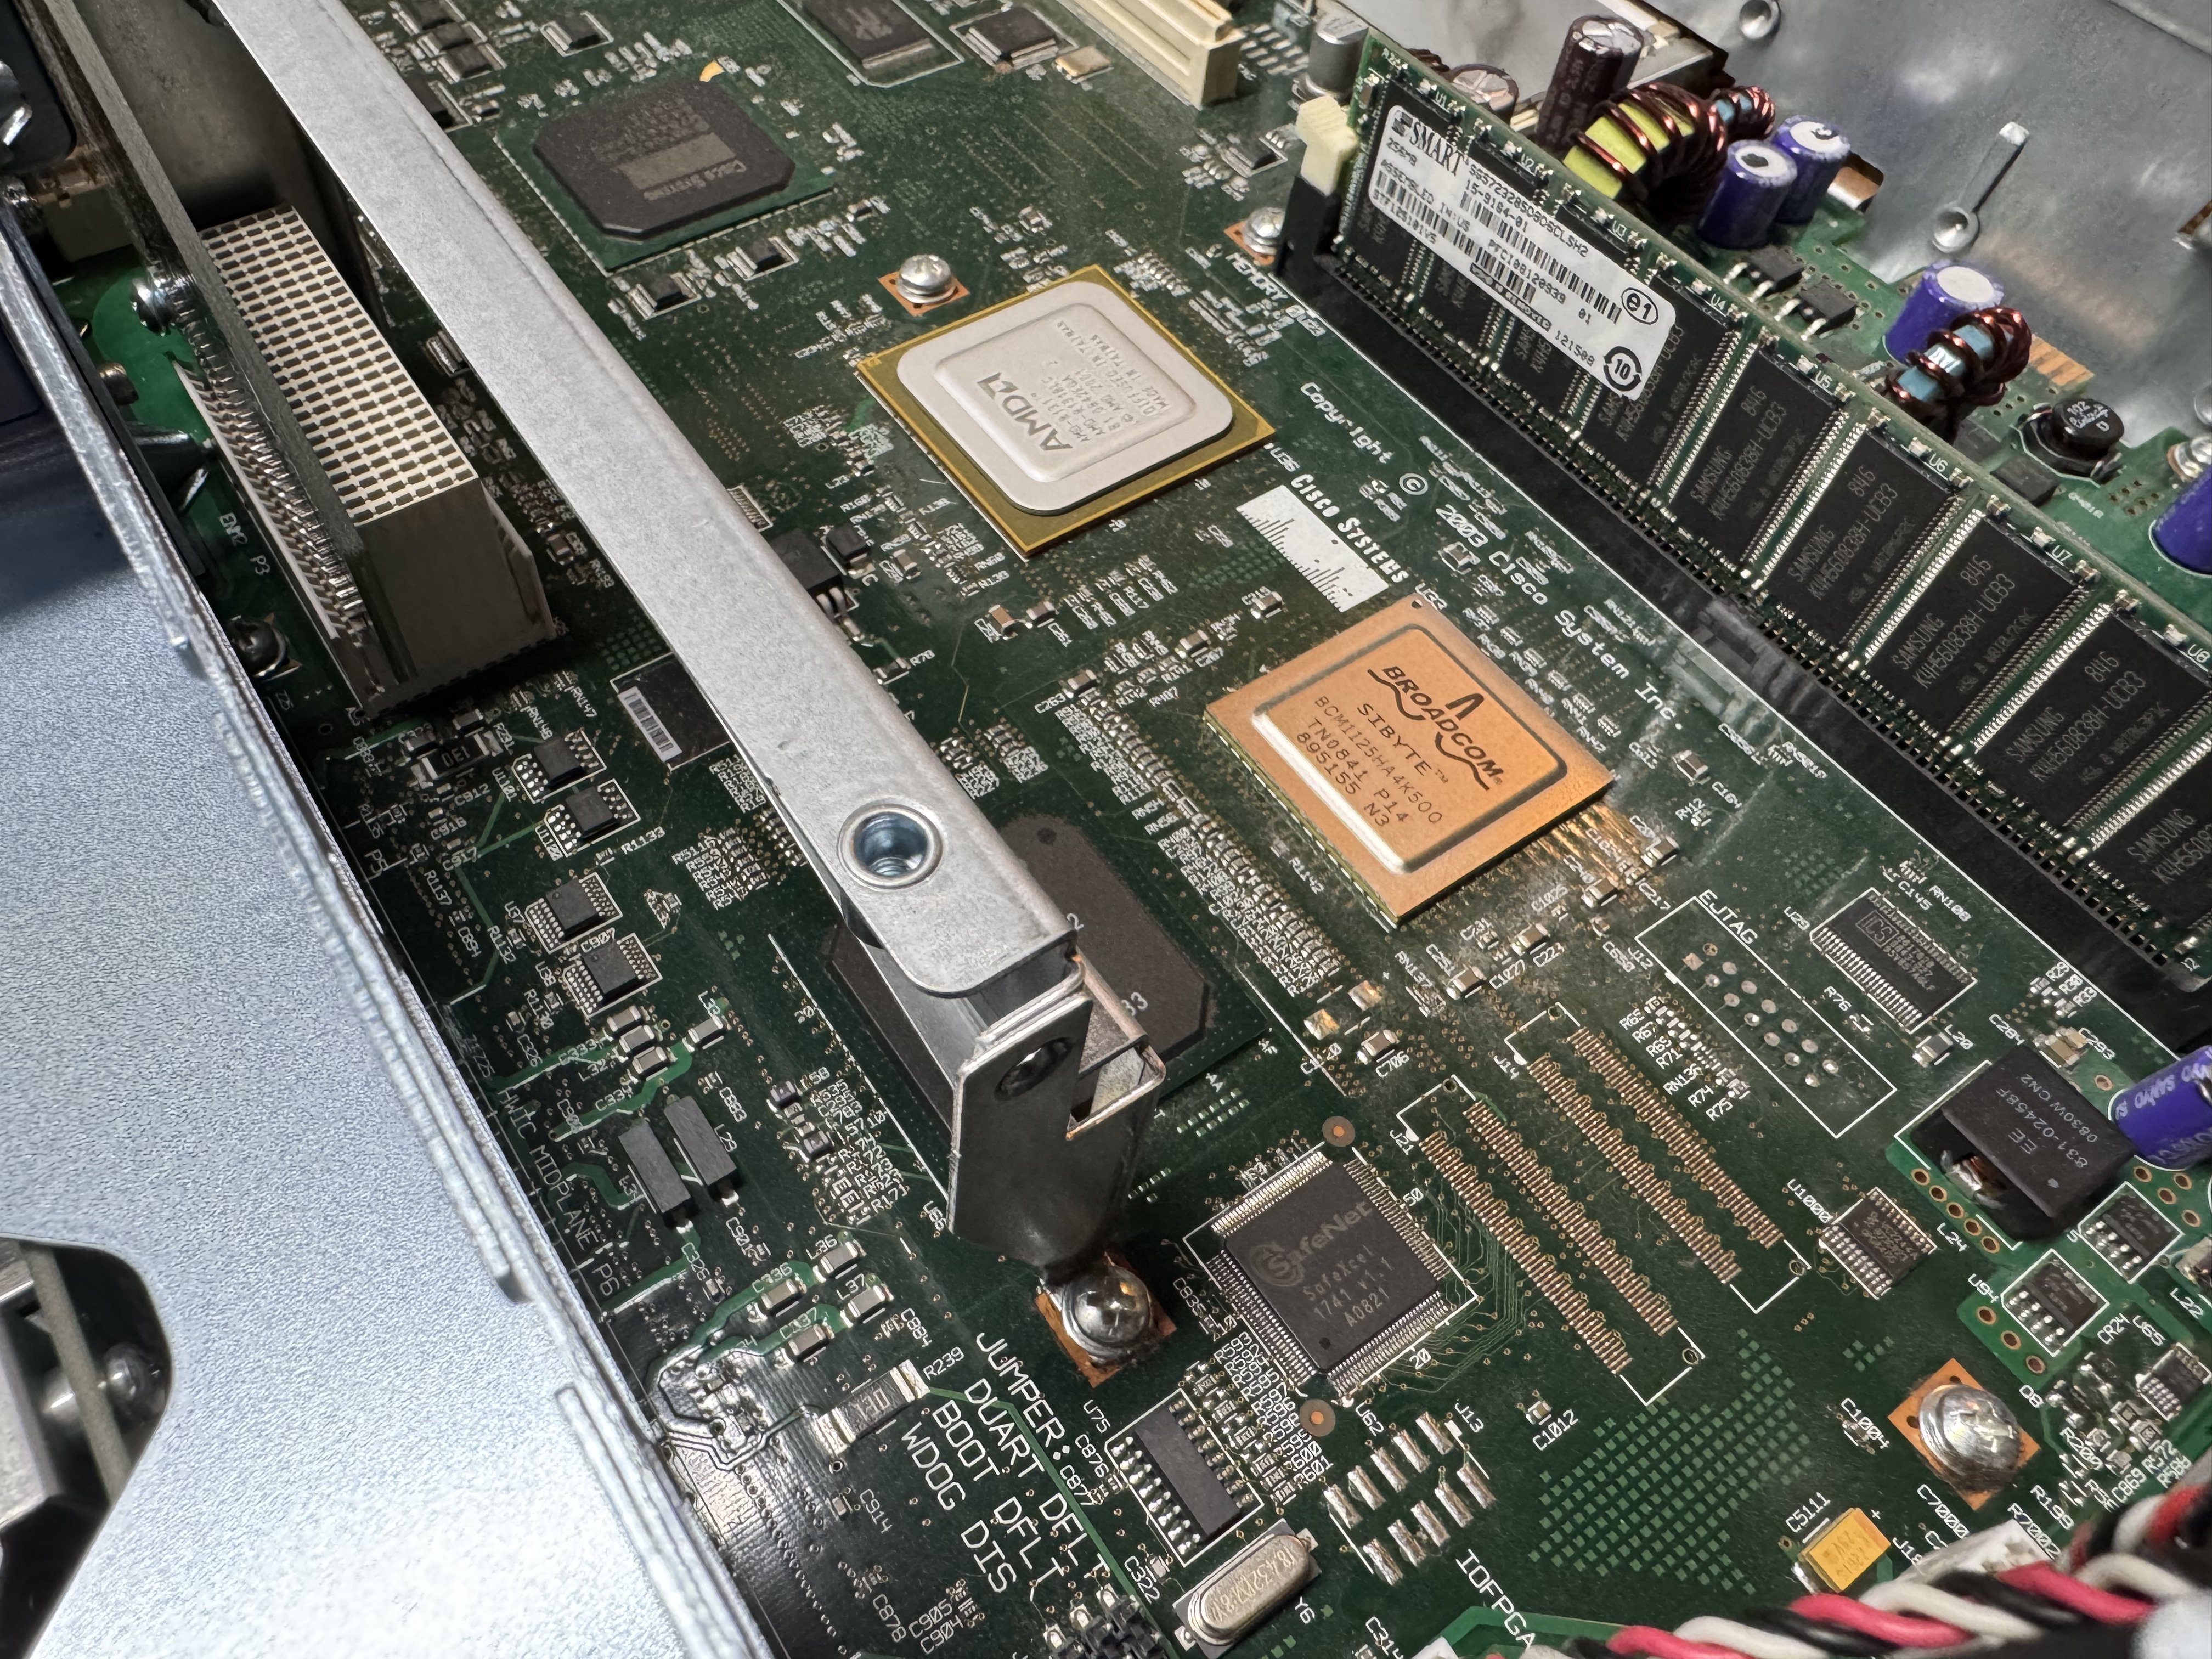
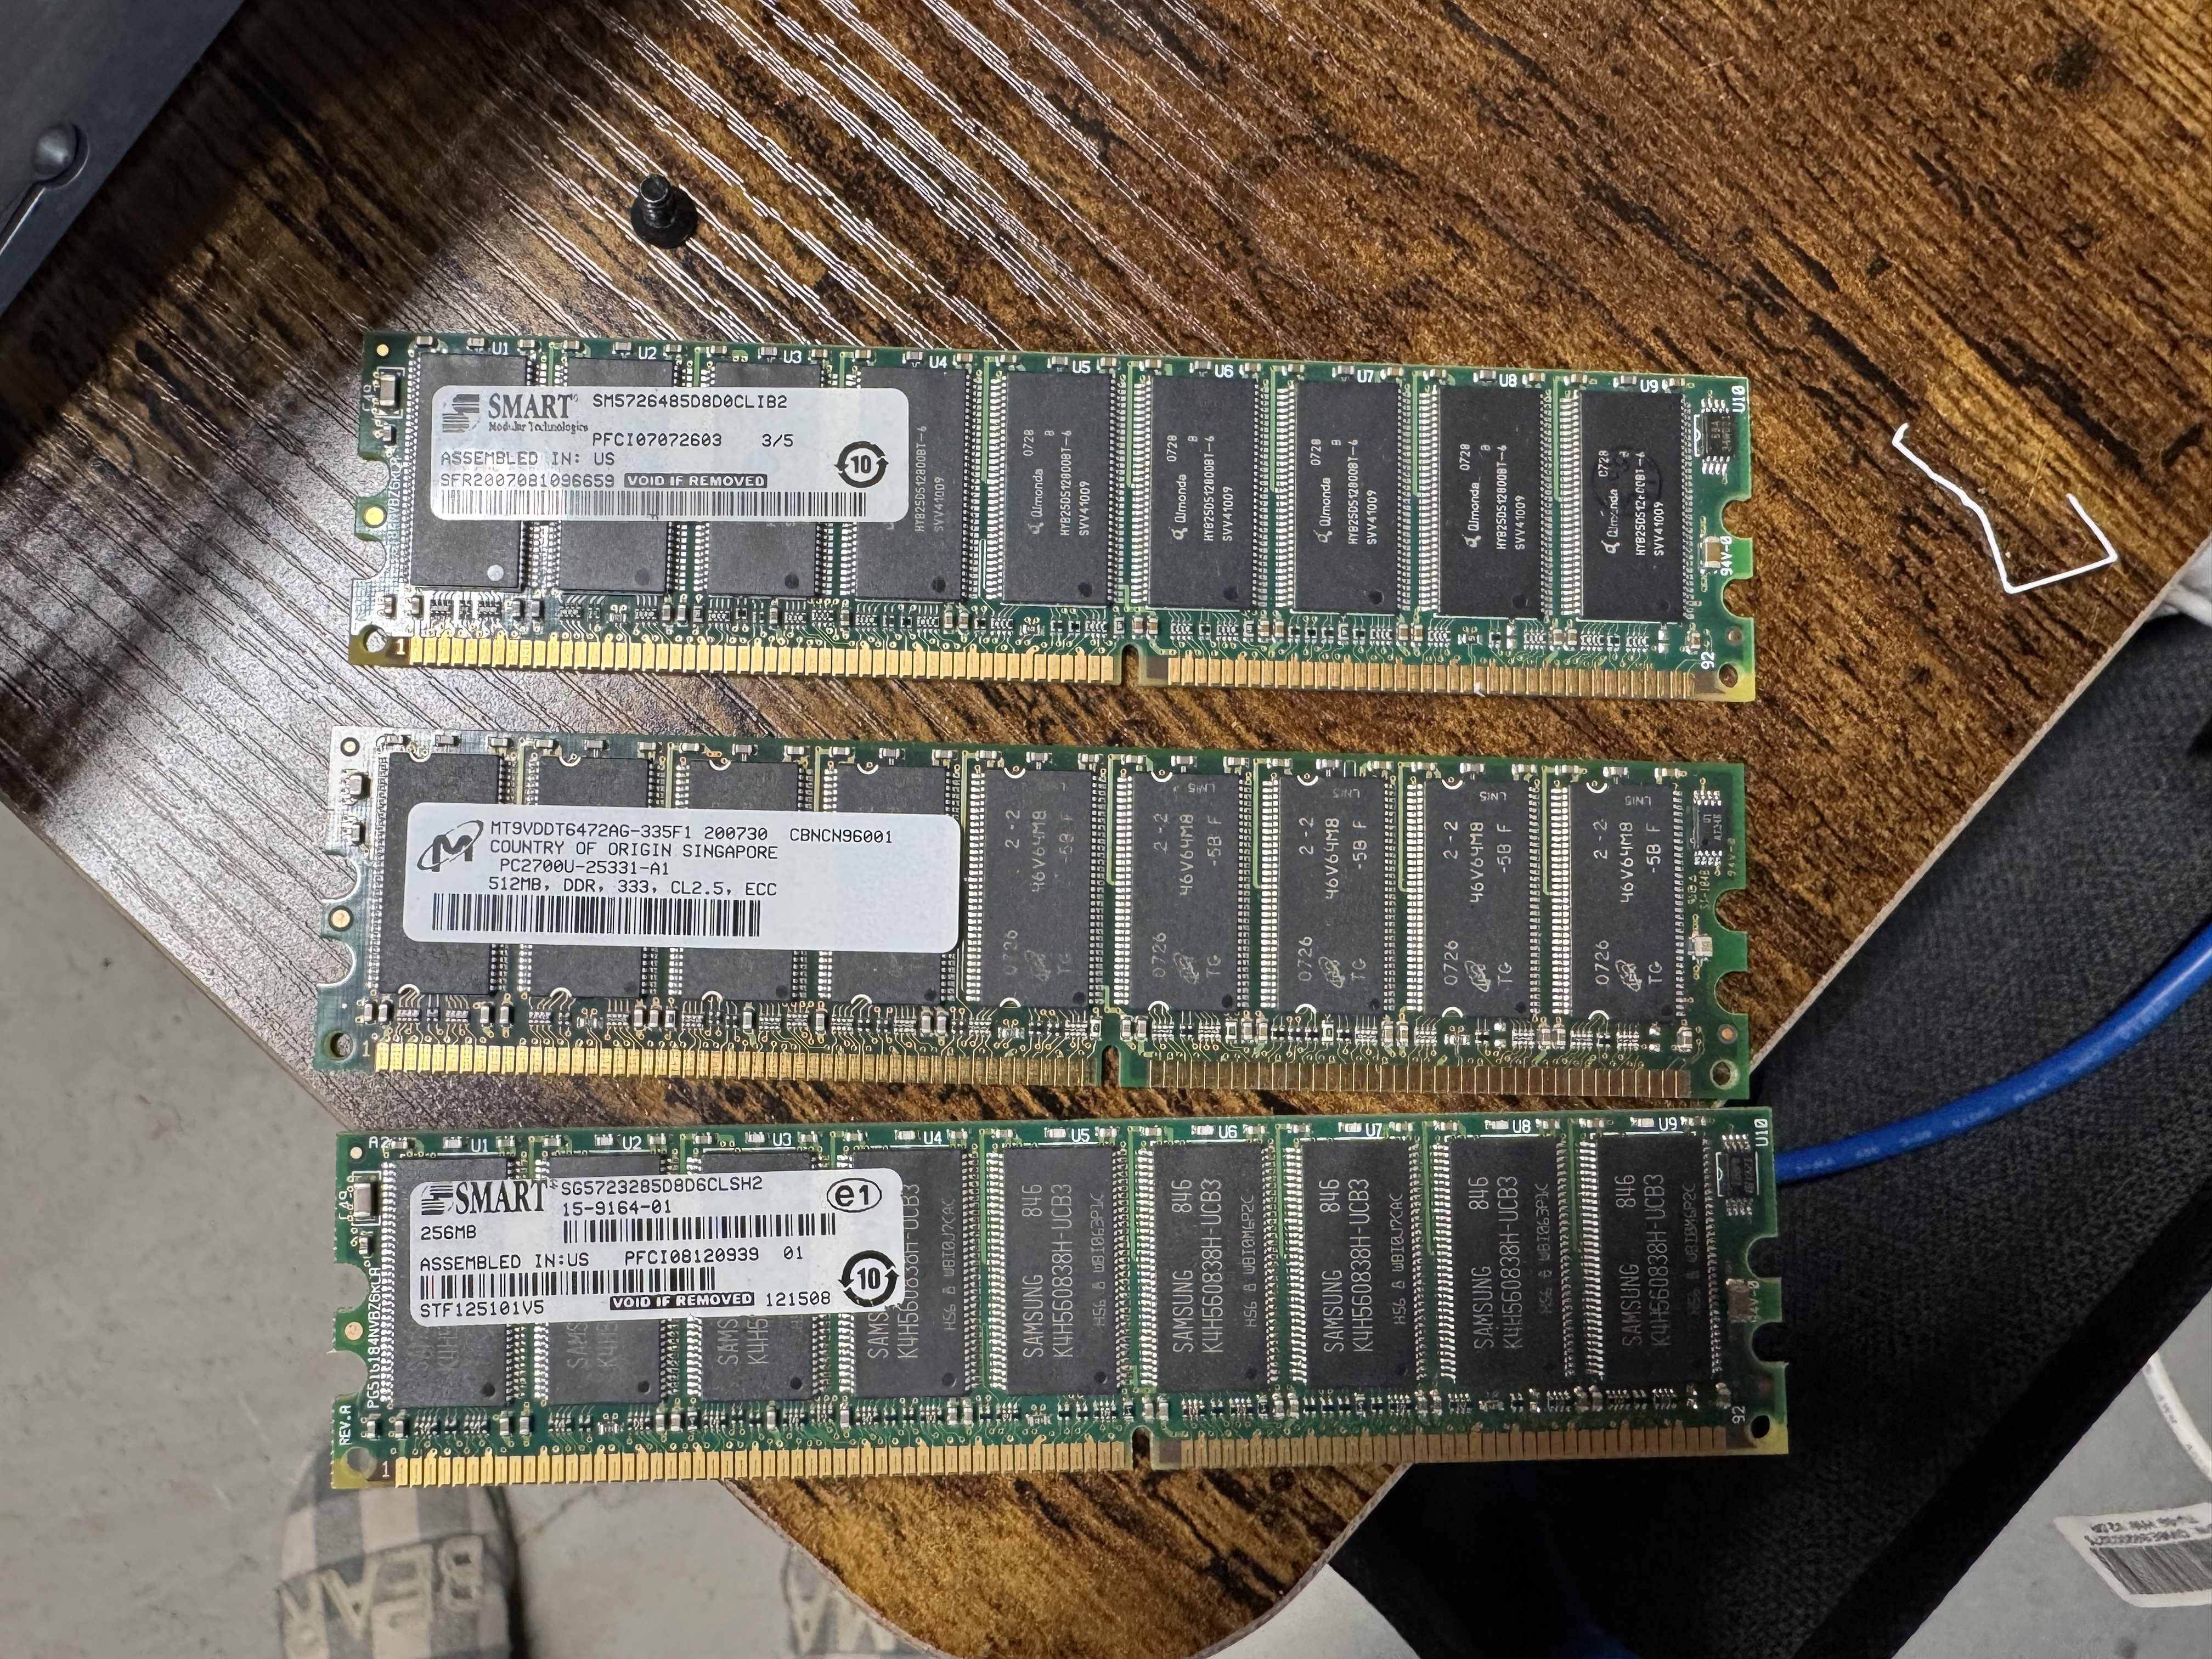
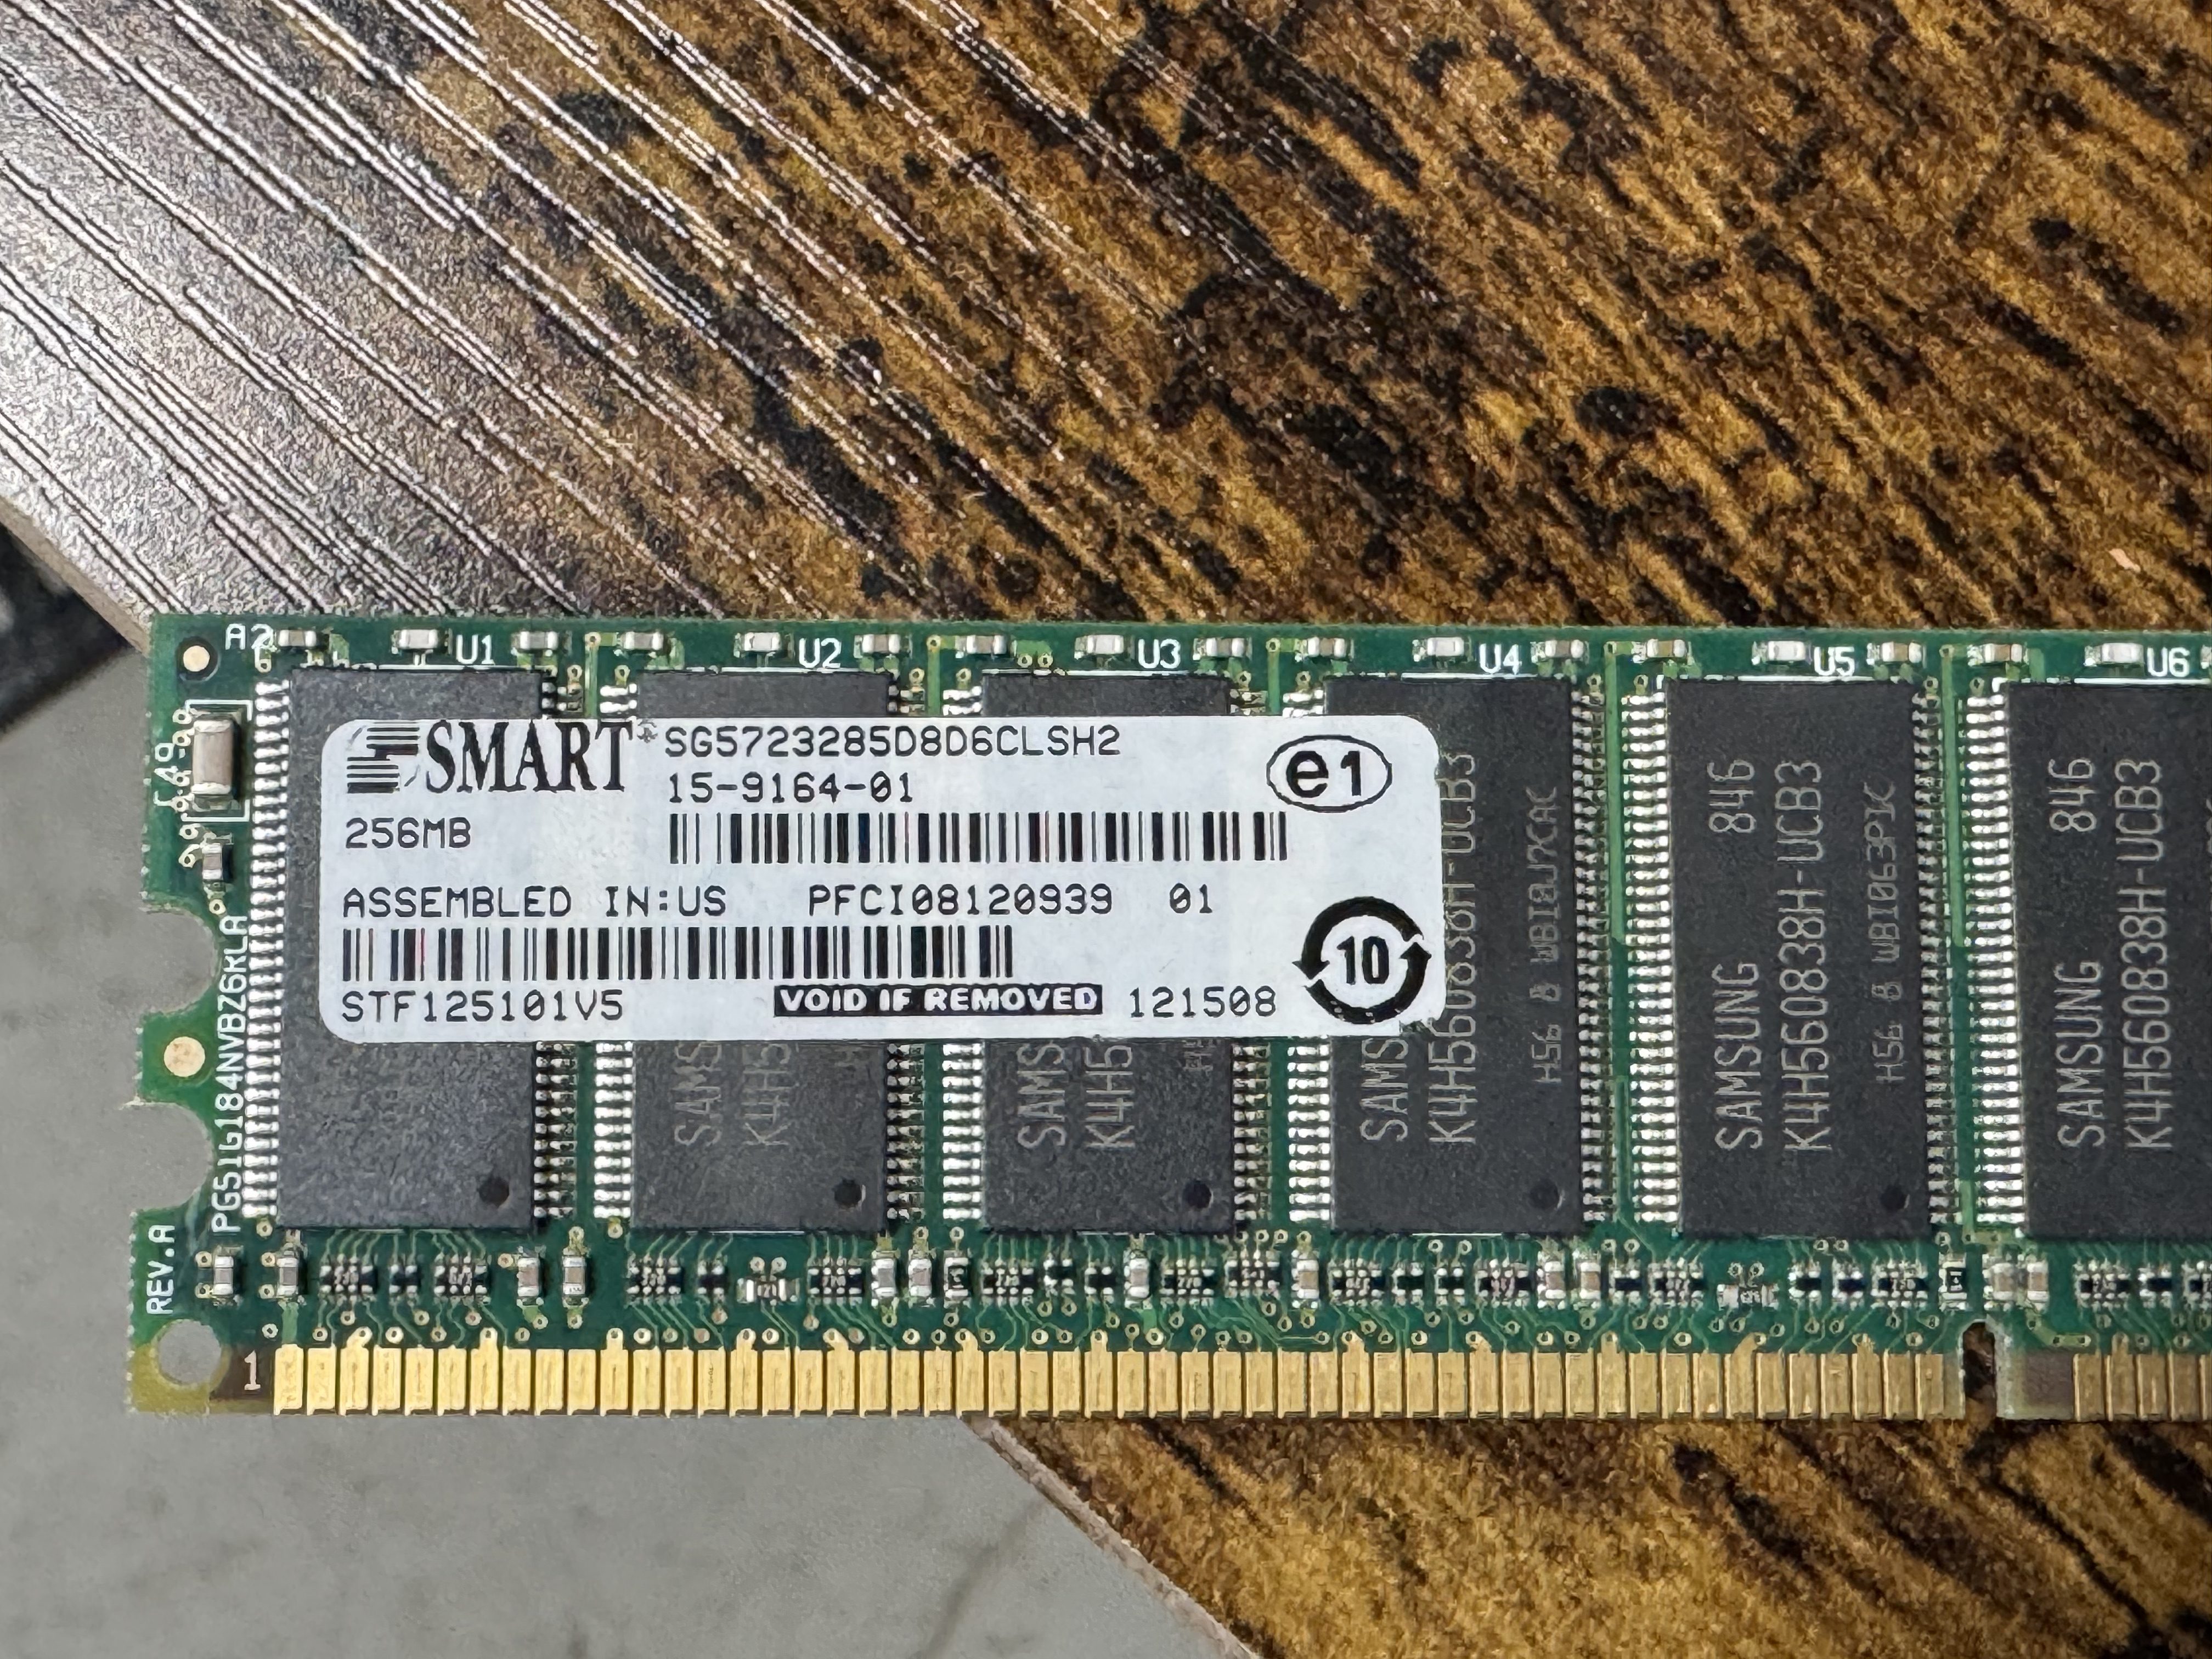
In searching for the voice features I wanted, I found I would need the Advanced Services image loaded, and that required a minimum of 512MB of memory. I ordered a system with Advanced Services and 1GB of memory, the max! When it came it had 256MB! I emailed the seller and he mailed me the proper 1GB of RAM. Once I installed it, the system would boot loop, I found one of the 2 sticks was bad. I ended up putting in one of the 512MB sticks he sent, and the 256MB one it came with for a total of 768MB of RAM.
Upgrading the Cisco 3825
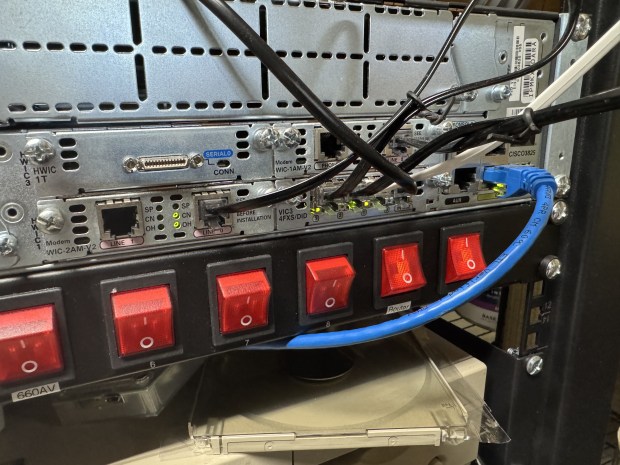
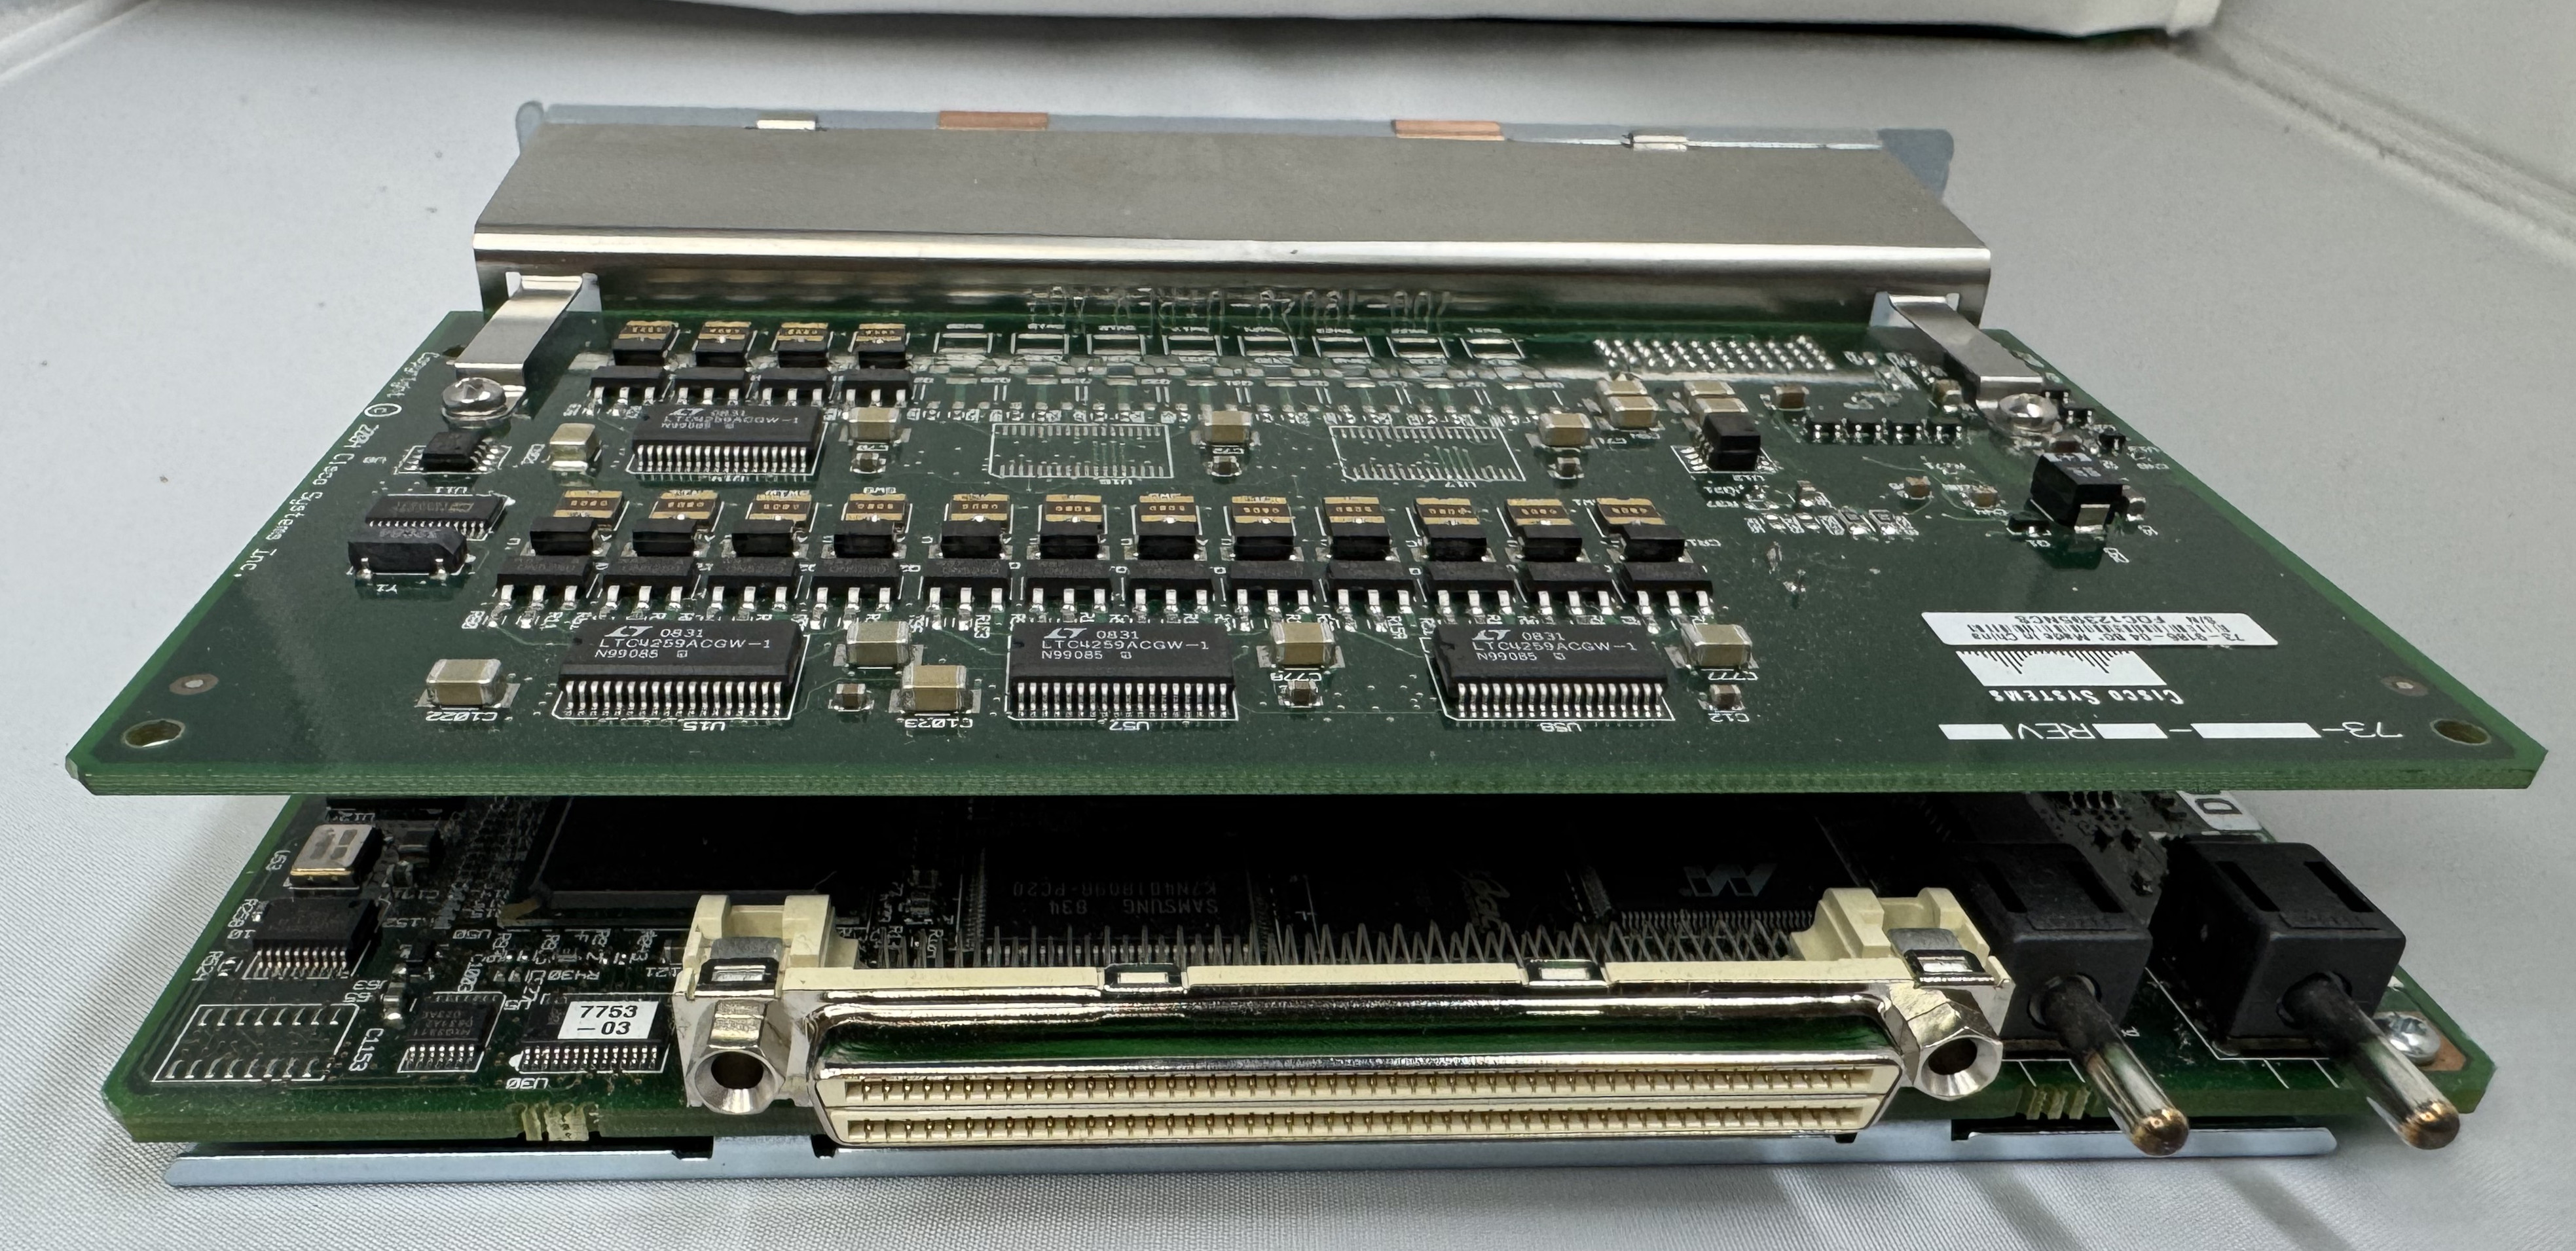
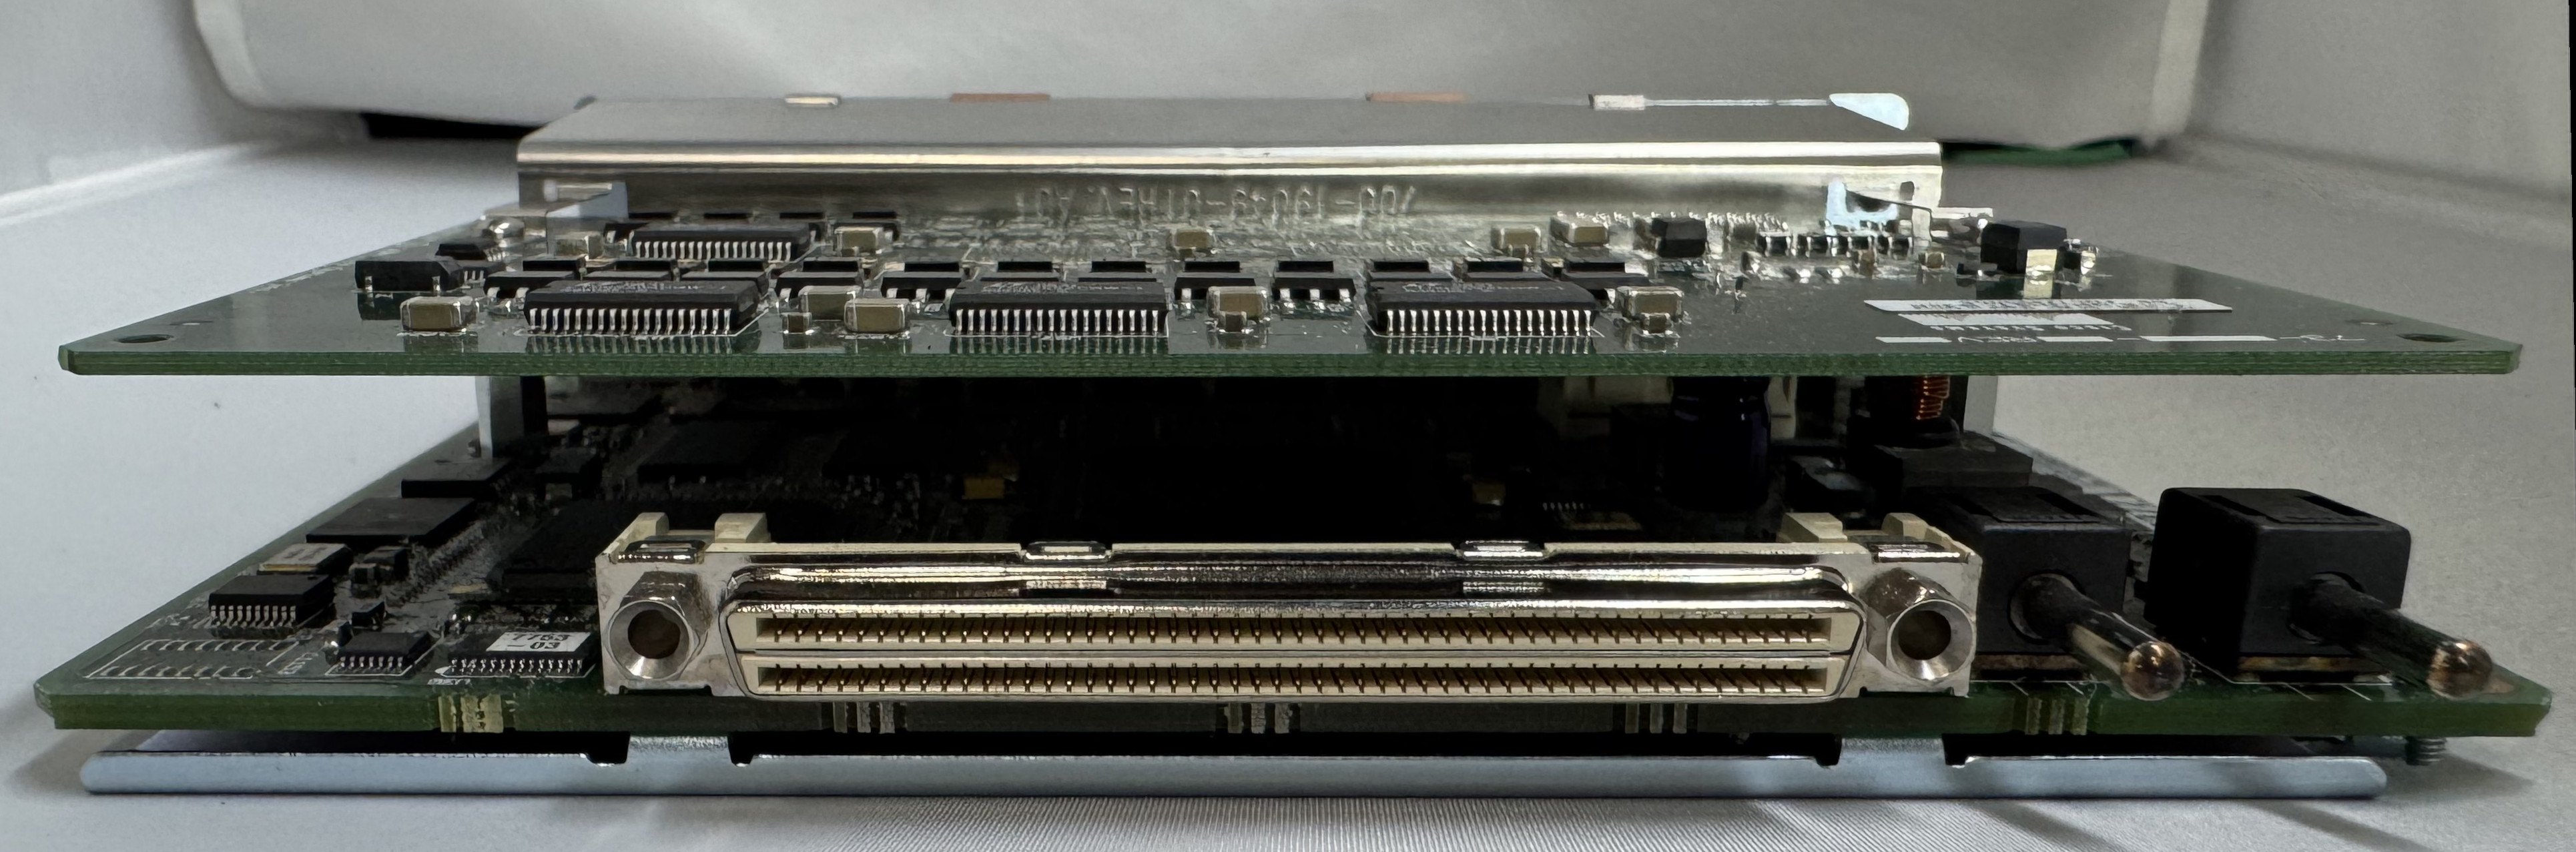
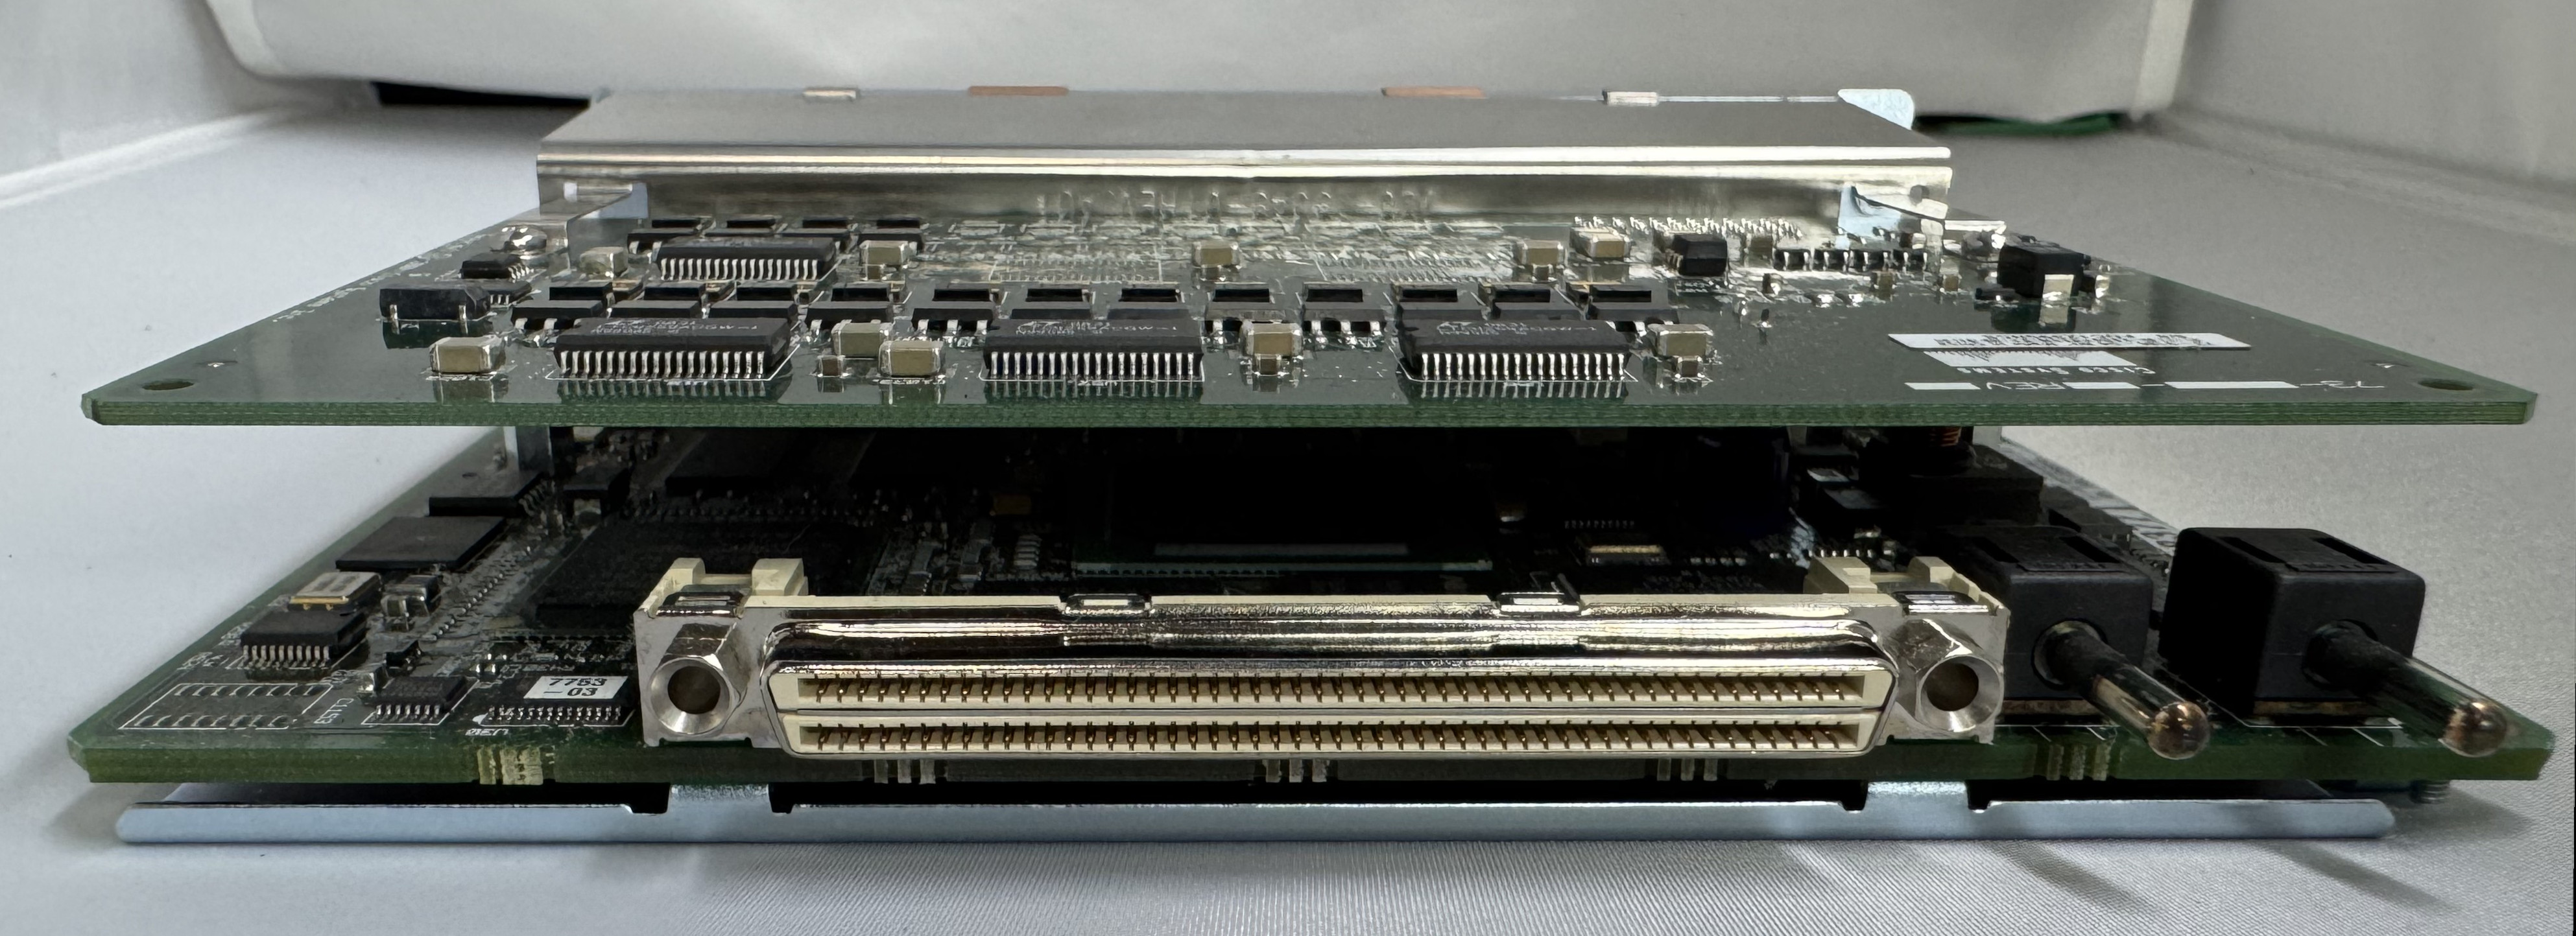
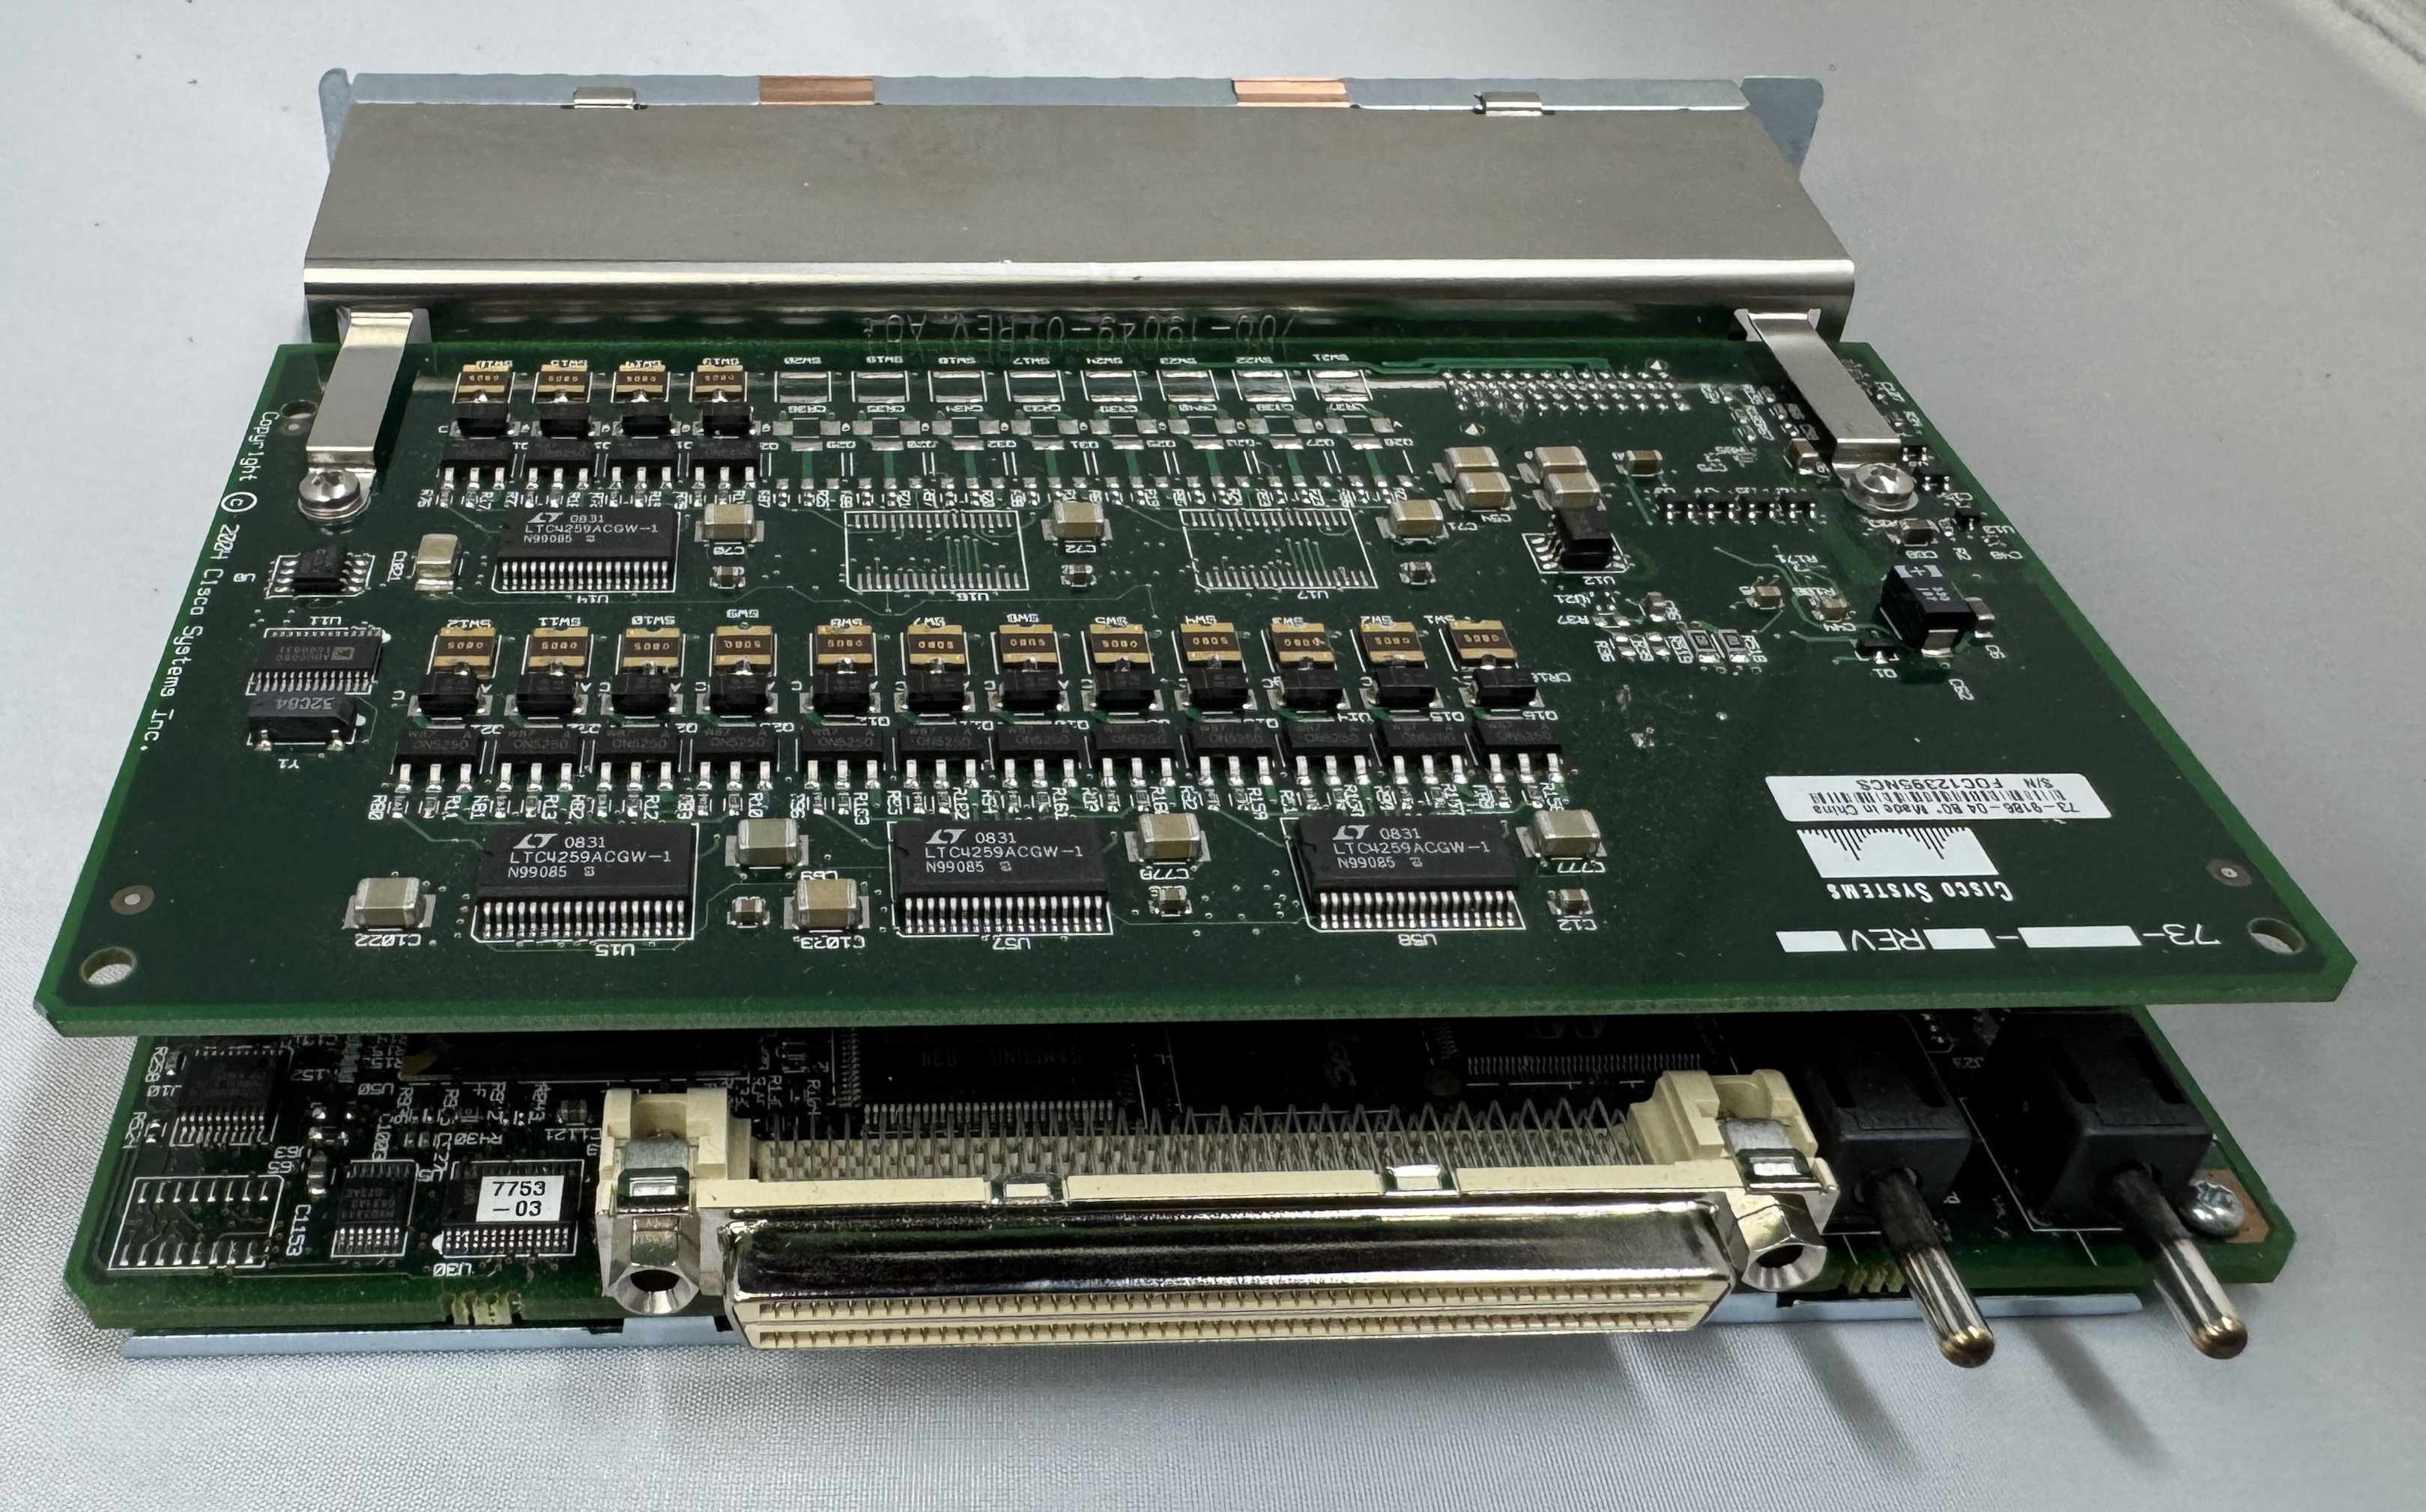
Once I had the device on order, I started learning about the world of voice. I had not done much with voice before, there was a lot to learn. First, I needed to know which cards I would need. The 3825 can run older WIC cards, and the newer high speed HWIC cards. I needed analog modems, and to host those, I needed FX-S/FX-O cards. In learning about them: FX-S Foreign Exchange Station, FX-O Office. The office is for a branch office dialing OUT. You usually want FX-S because it provides a dial tone to dial into. S is to get a dial tone and you can call INTO. O is it receives a dial tone.
I got 4 FX-S Ports. One port is used to dial into, another to route the call out. I need more ports than you would think because of this. I got a CISCO VIC3-4FXS/DID, this gives 4 ports in/out. 2 CISCO WIC-1AM-V2, giving 2 modems I can dial into. There are cards that are 2 modems in one card, but they are rare and expensive. (I would get one later)
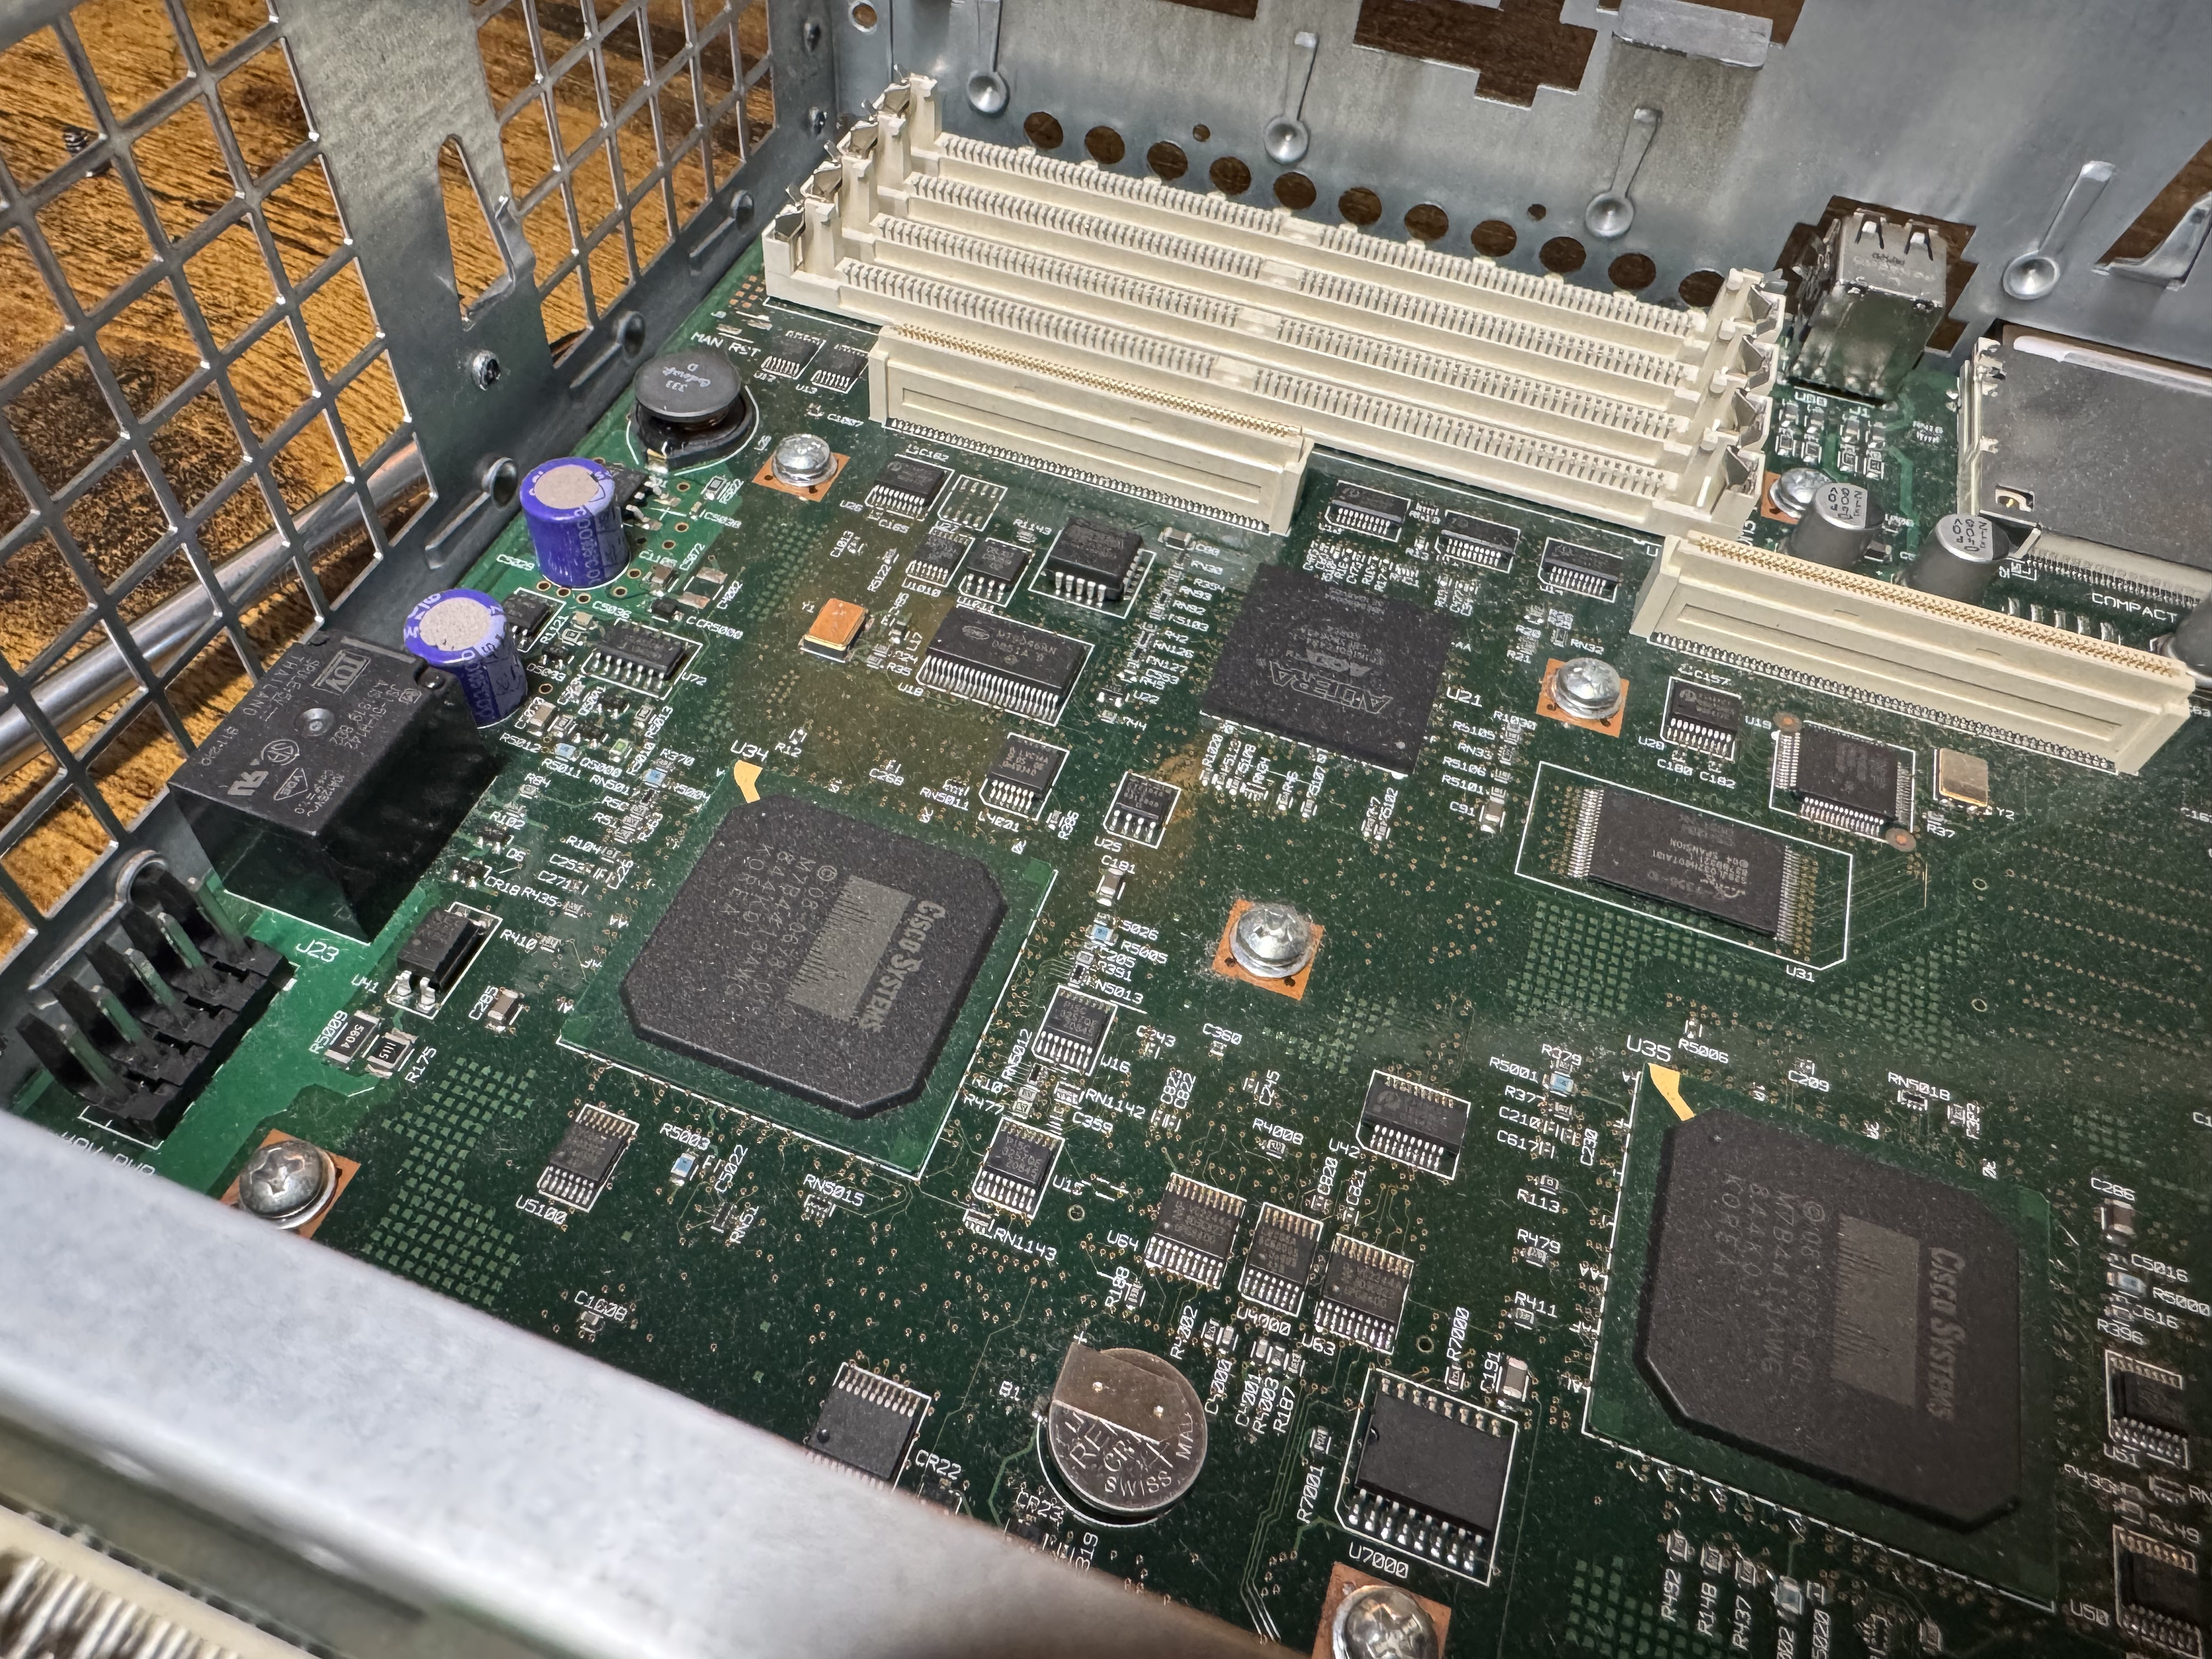
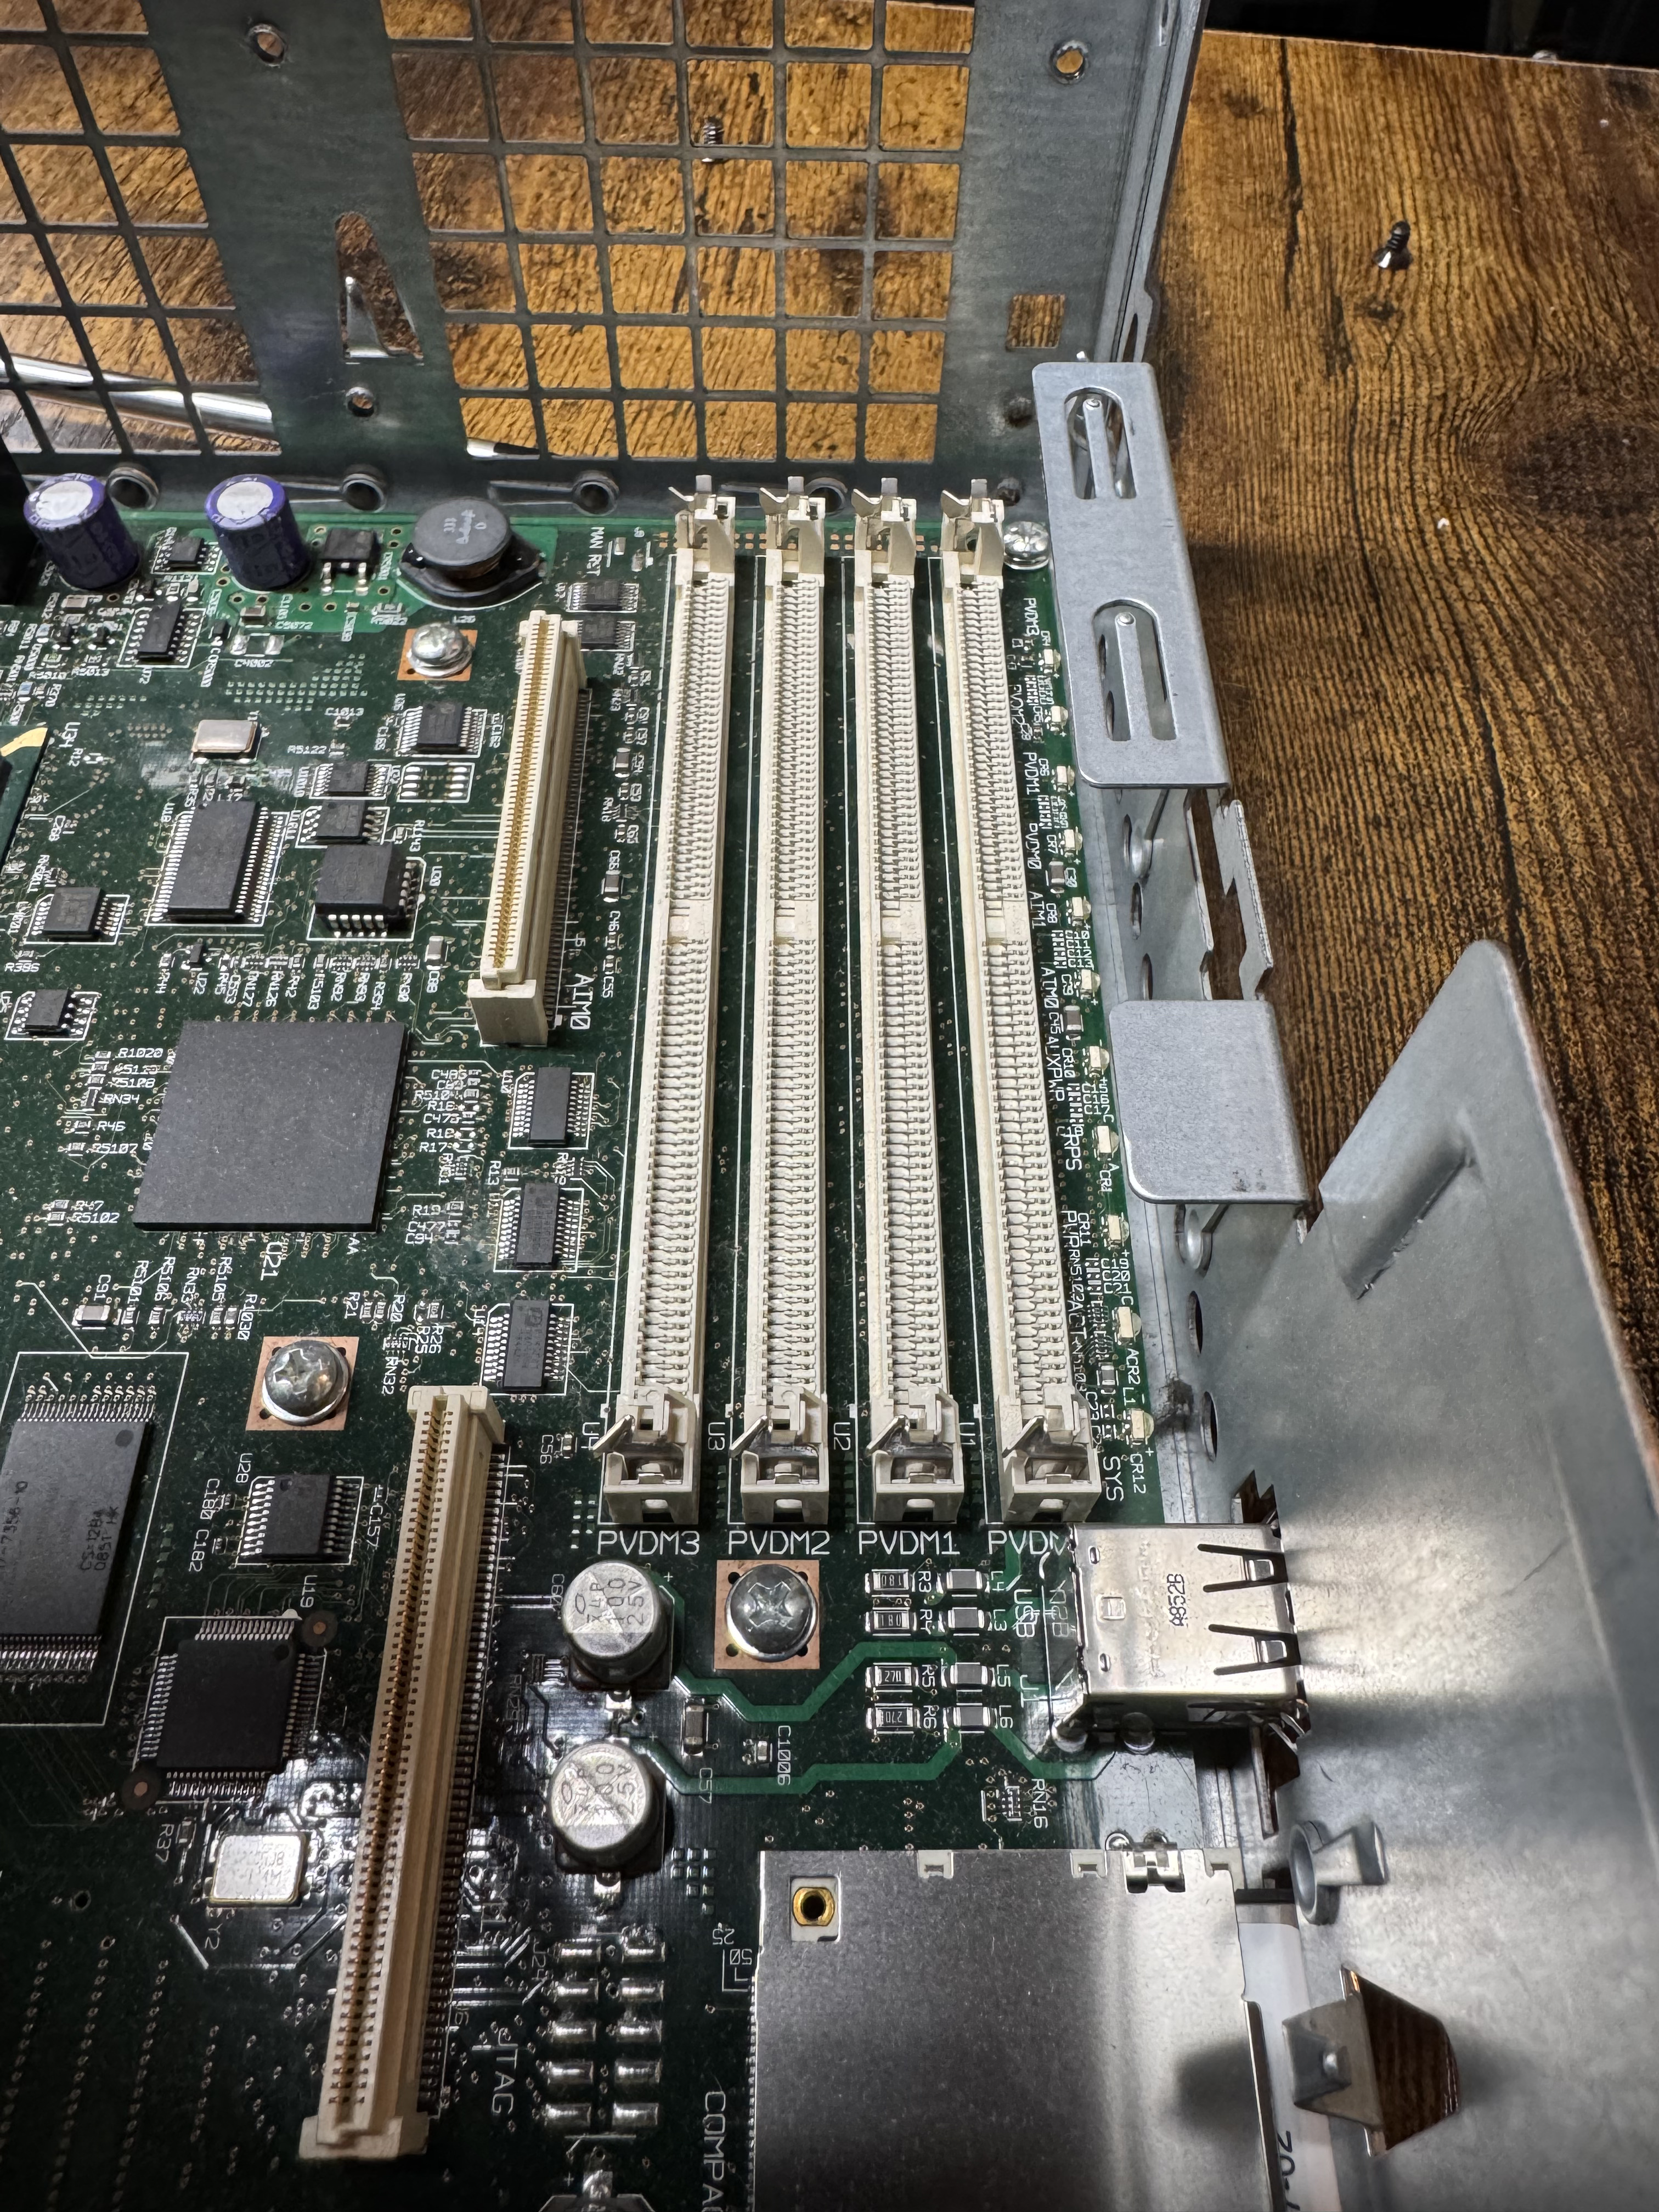
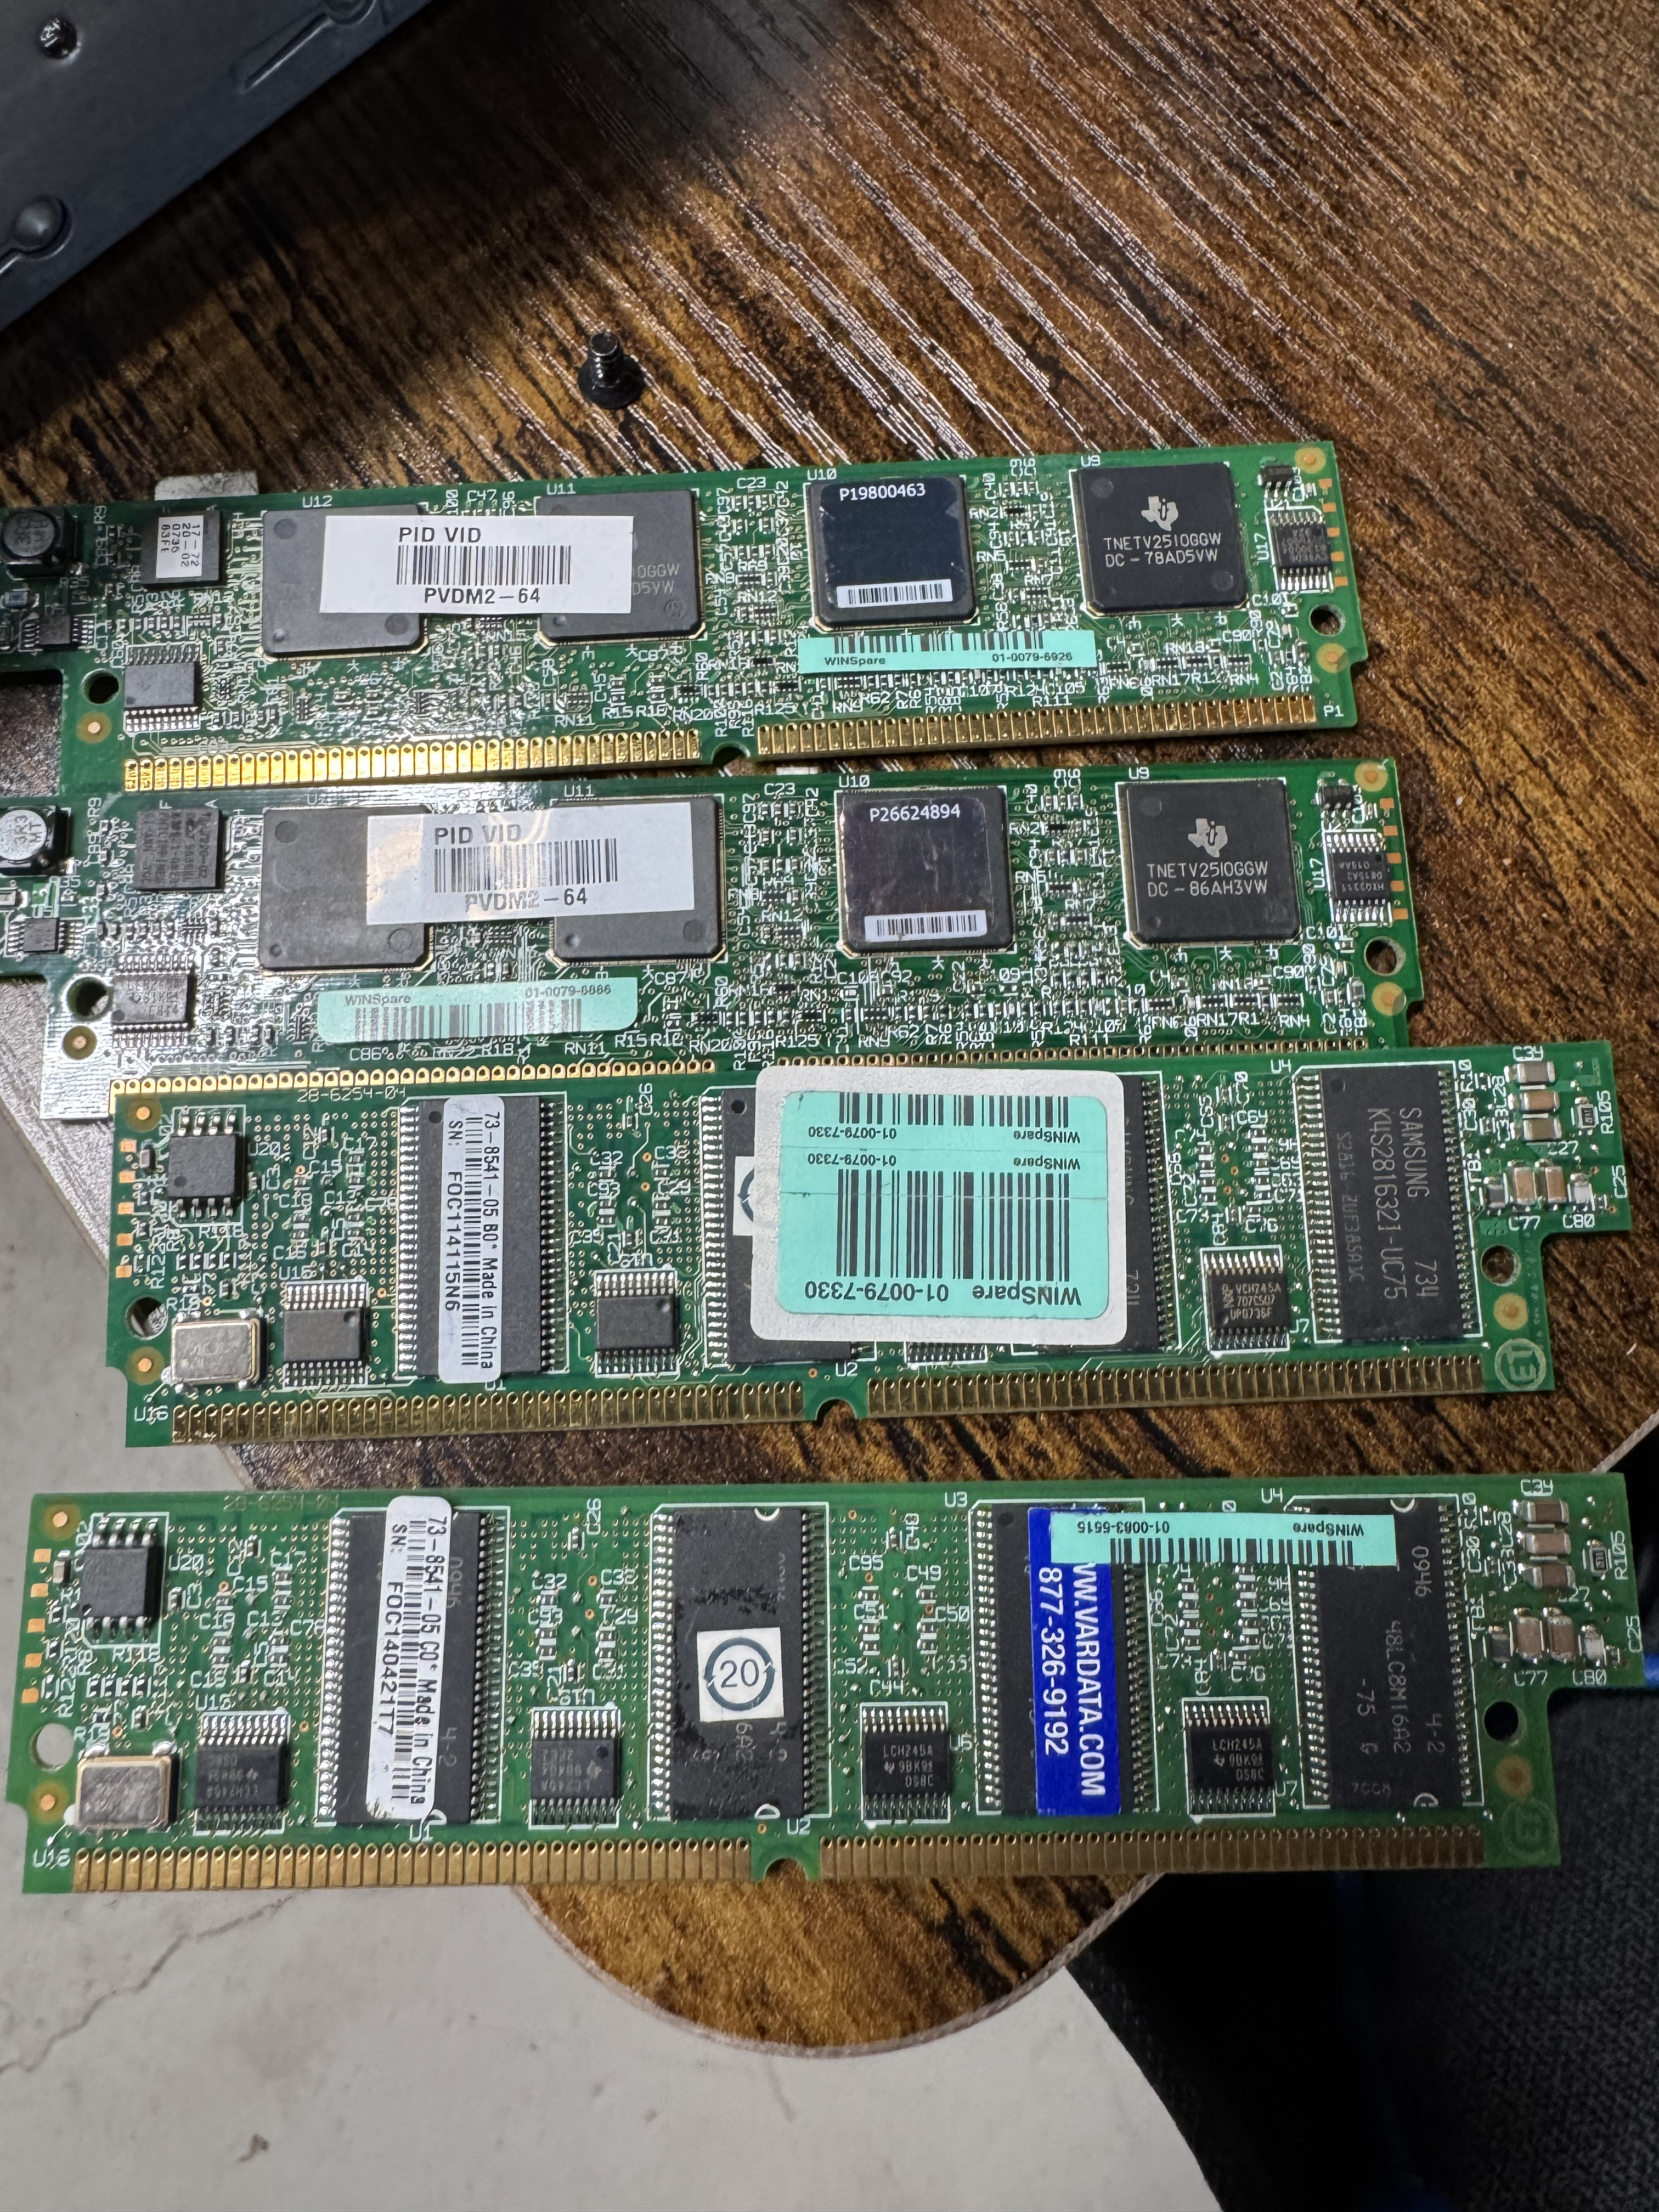
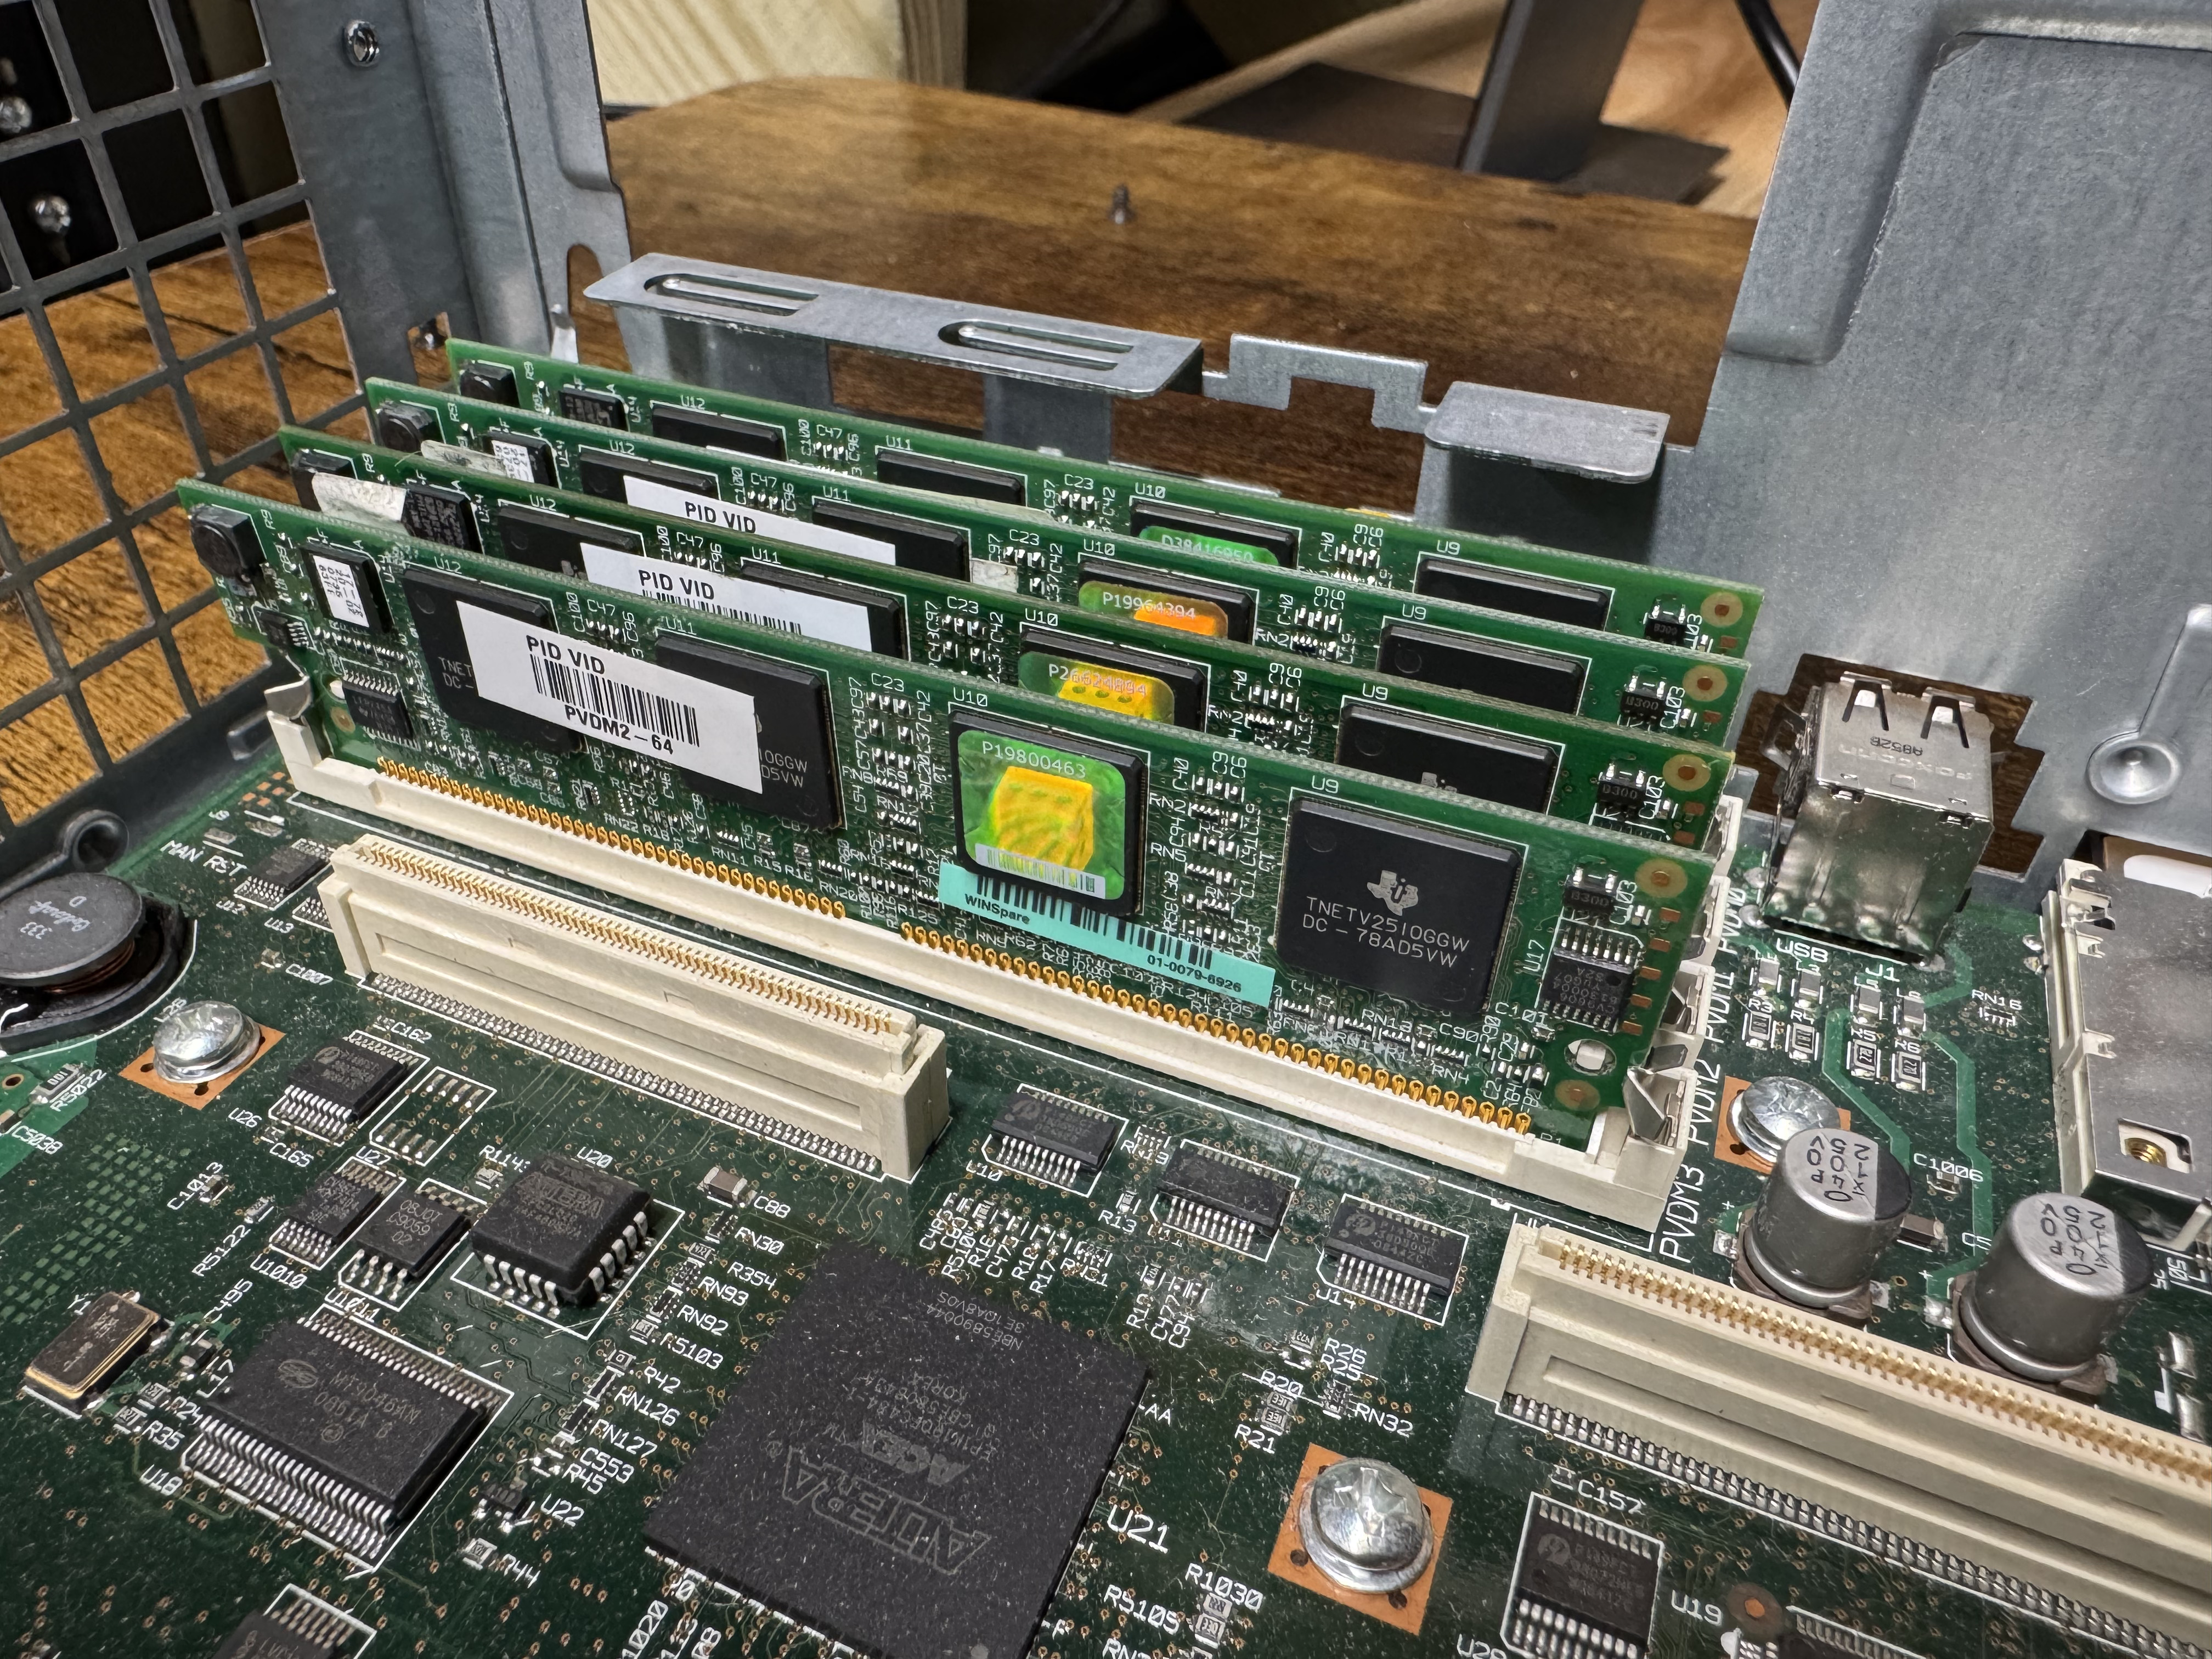
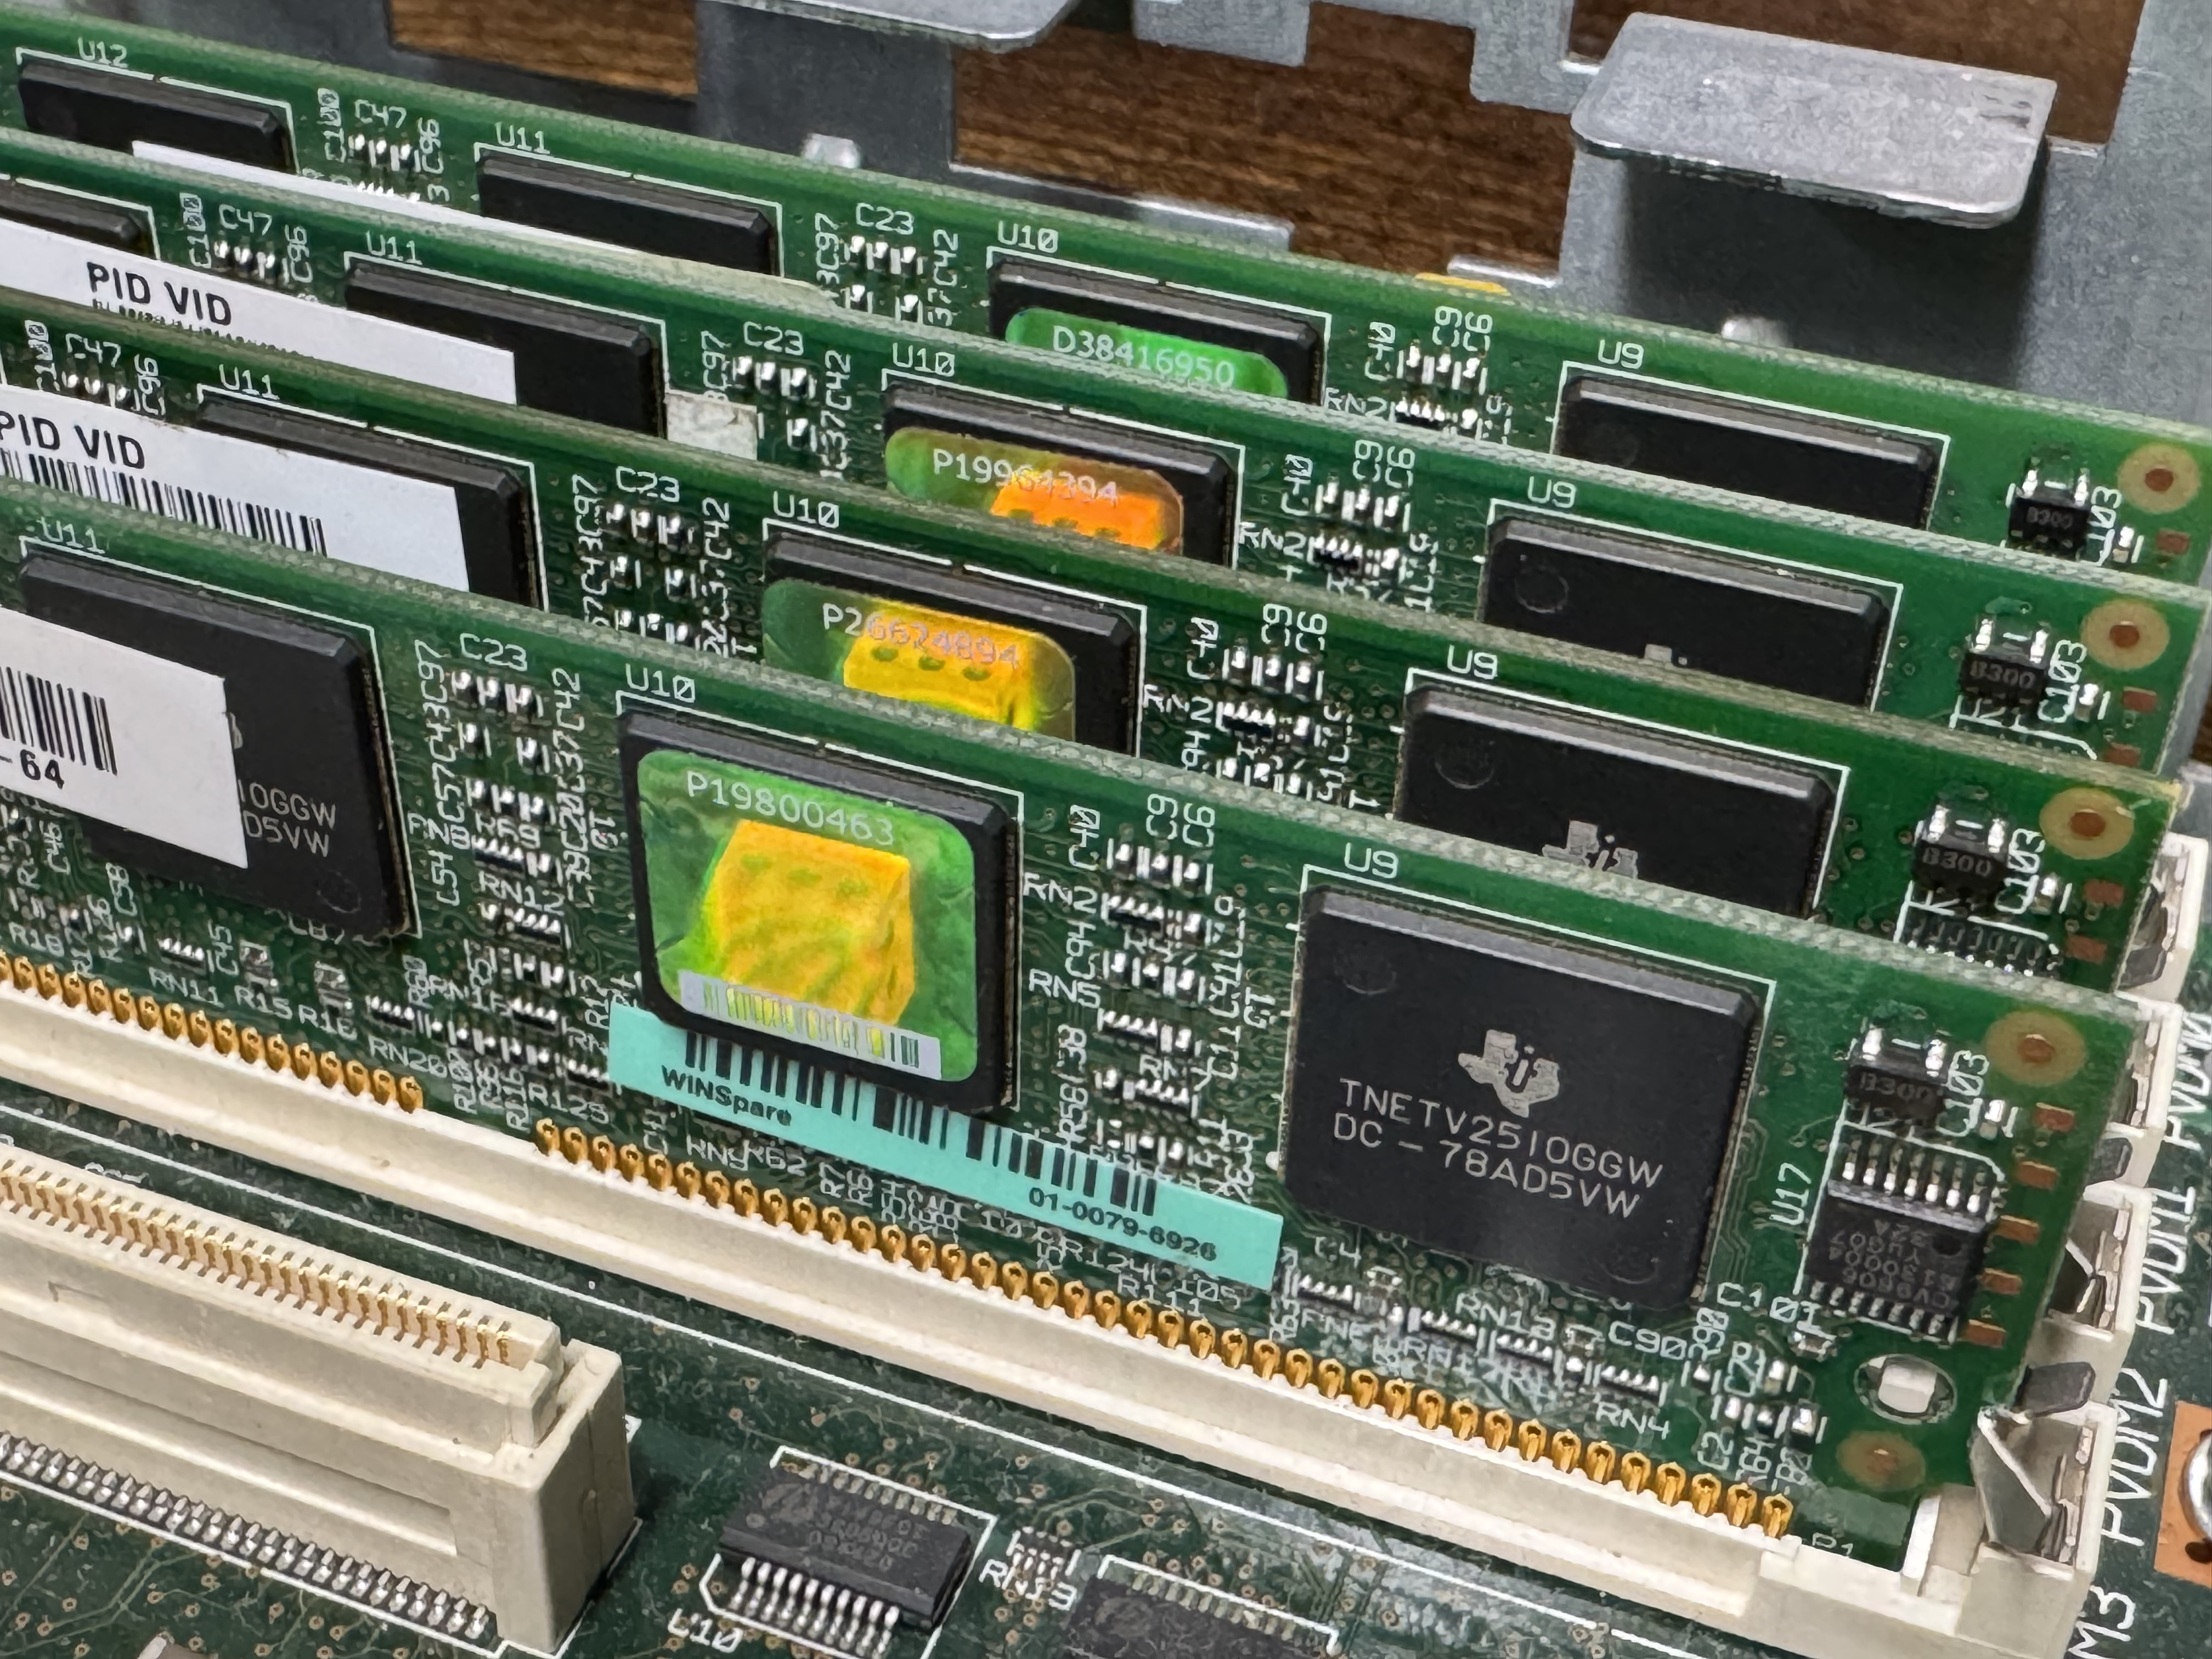
The system now has 768MB of memory, but I would also need PVDMs; Packet Voice Digital Signal Processor (DSP) Module (PVDM2). I had not worked with these before. They are ASICs that come process voice channels. They come in different numbers of channels, PVDM2-8, PVDM2-16, PVDM2-32, PVDM2-48, PVDM2-64. They were cheap, obviously I got 4 PVDM2-64 to go to 256 voice channels for $20 USD. The math is odd here, there are different complexity channels and some knock you down to 1/2 or less of the listed available channels. A “high complexity codec” can make an 8-channel card only handle 4 or less channels. Like I said, these were cheap, so I got 4 256-Channel cards. The cards go into slots that look like DIMMs.
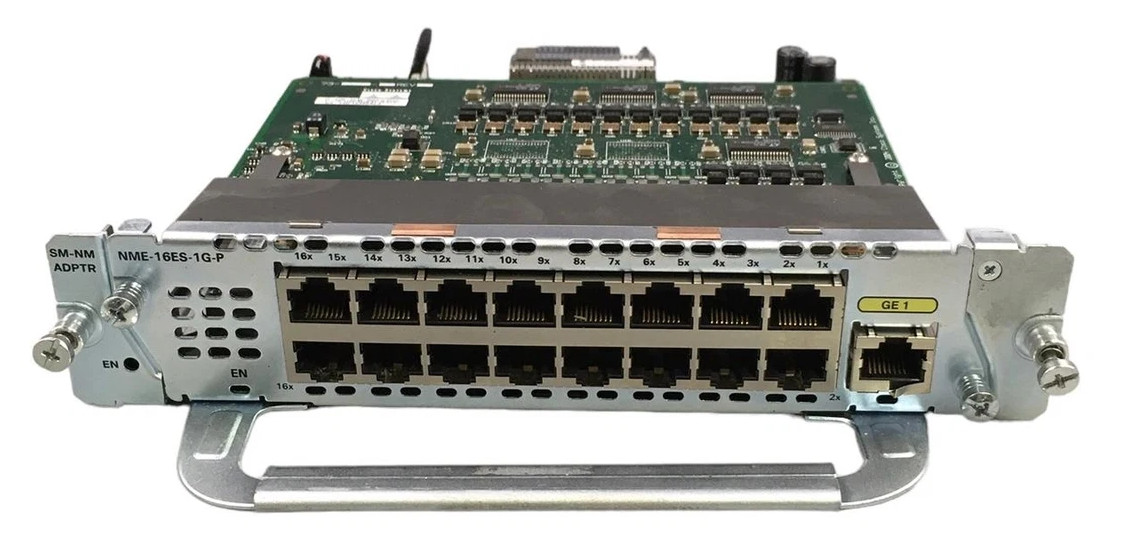
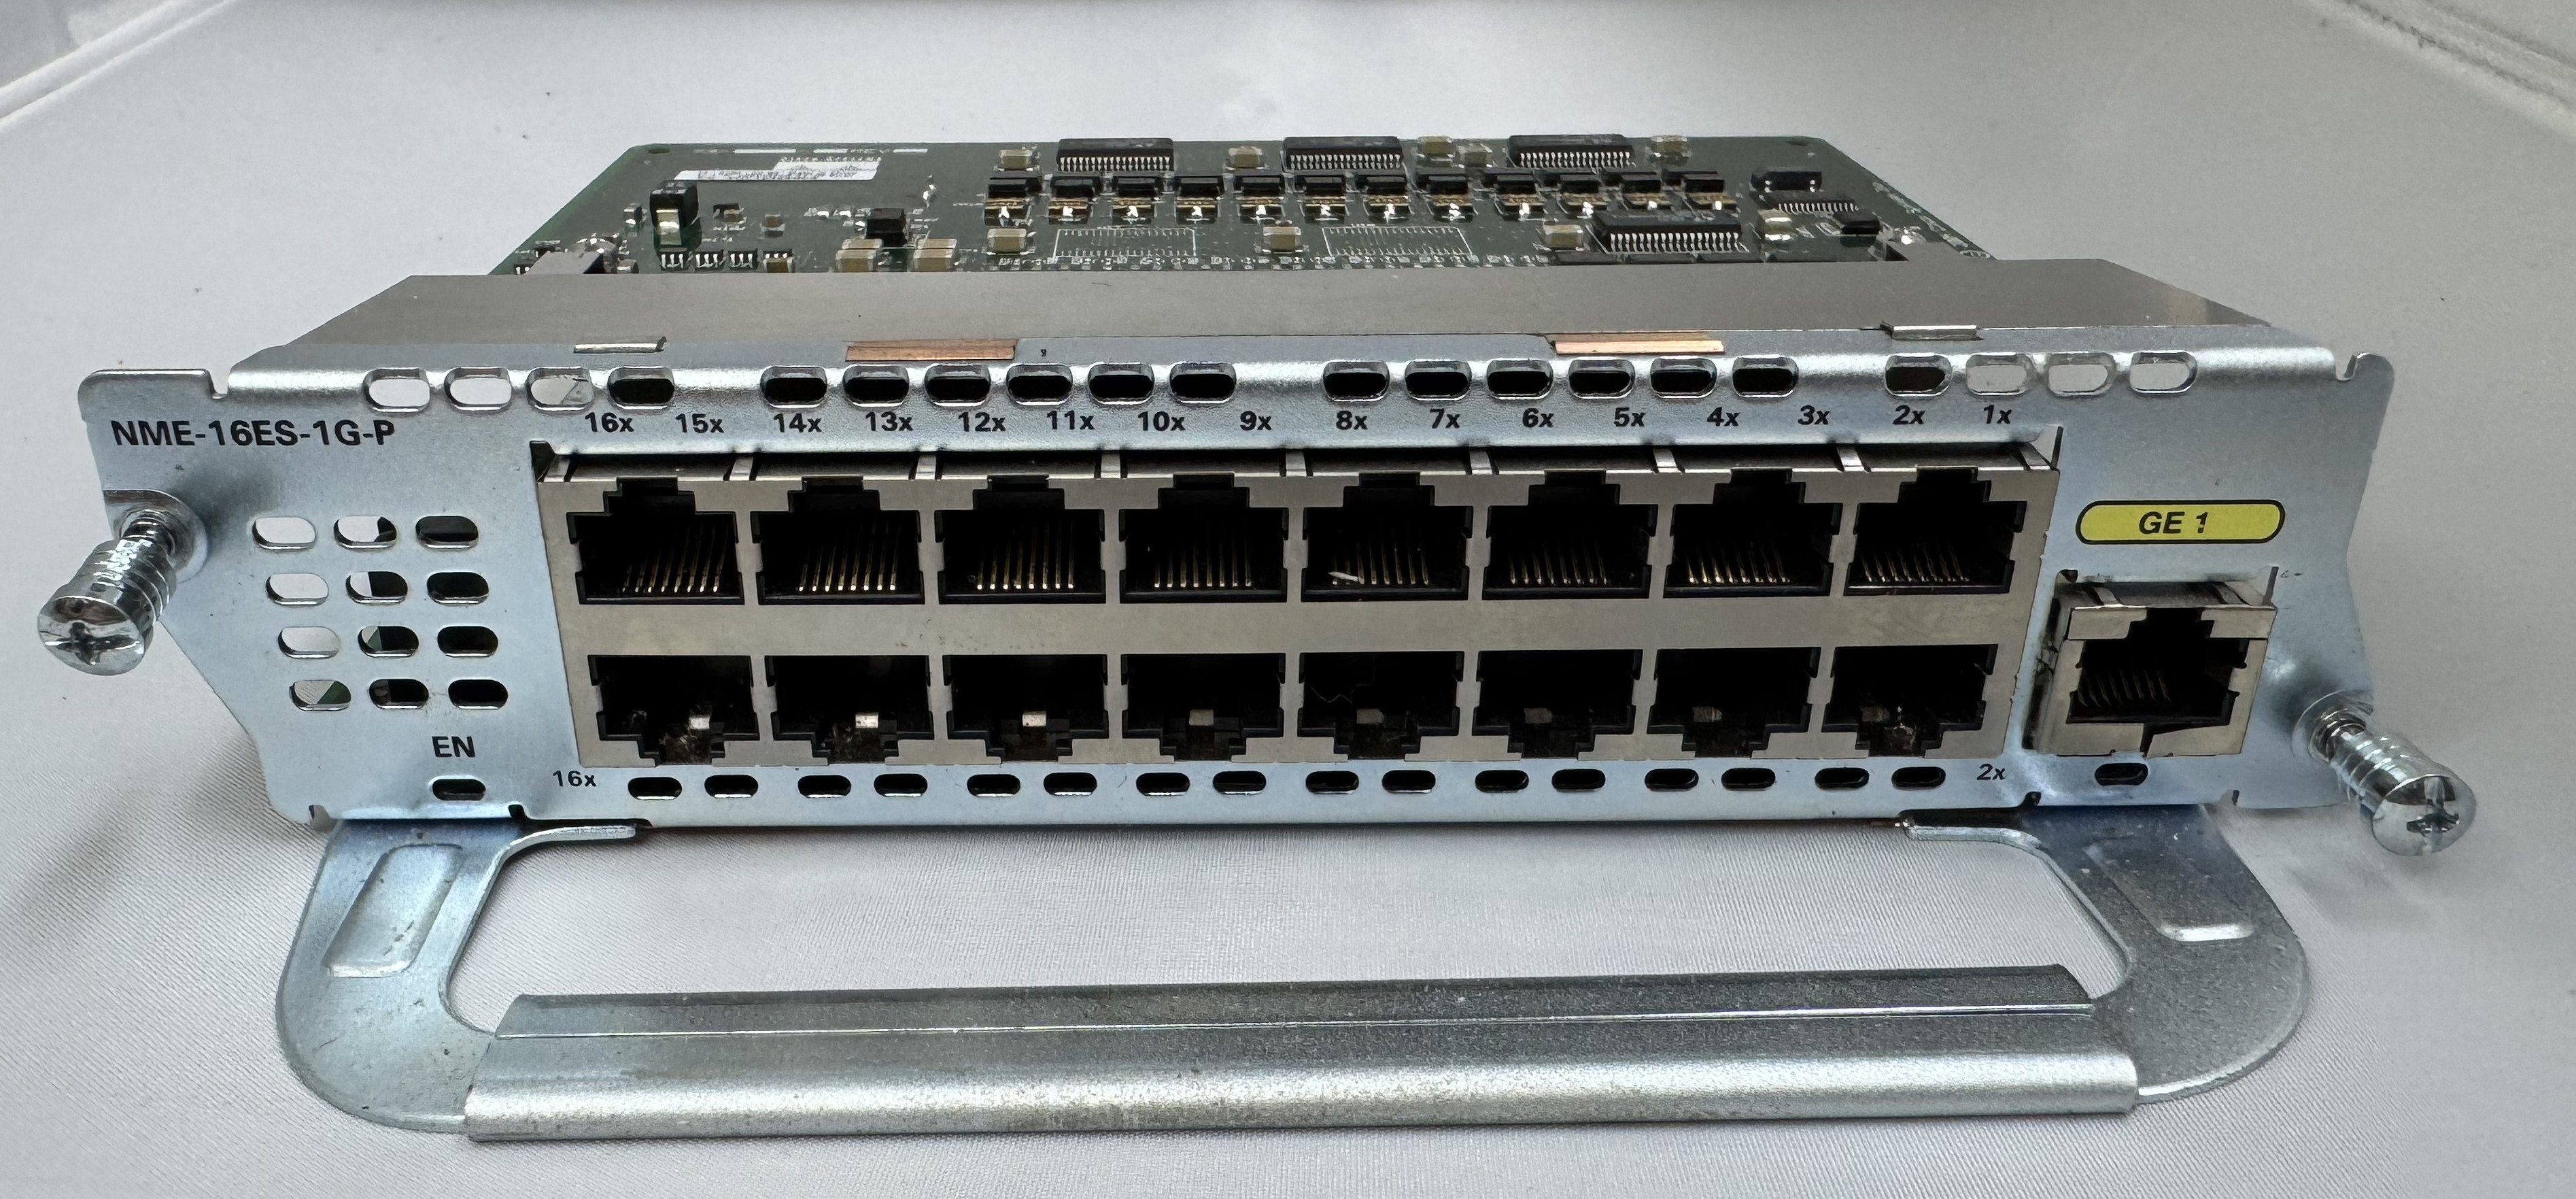
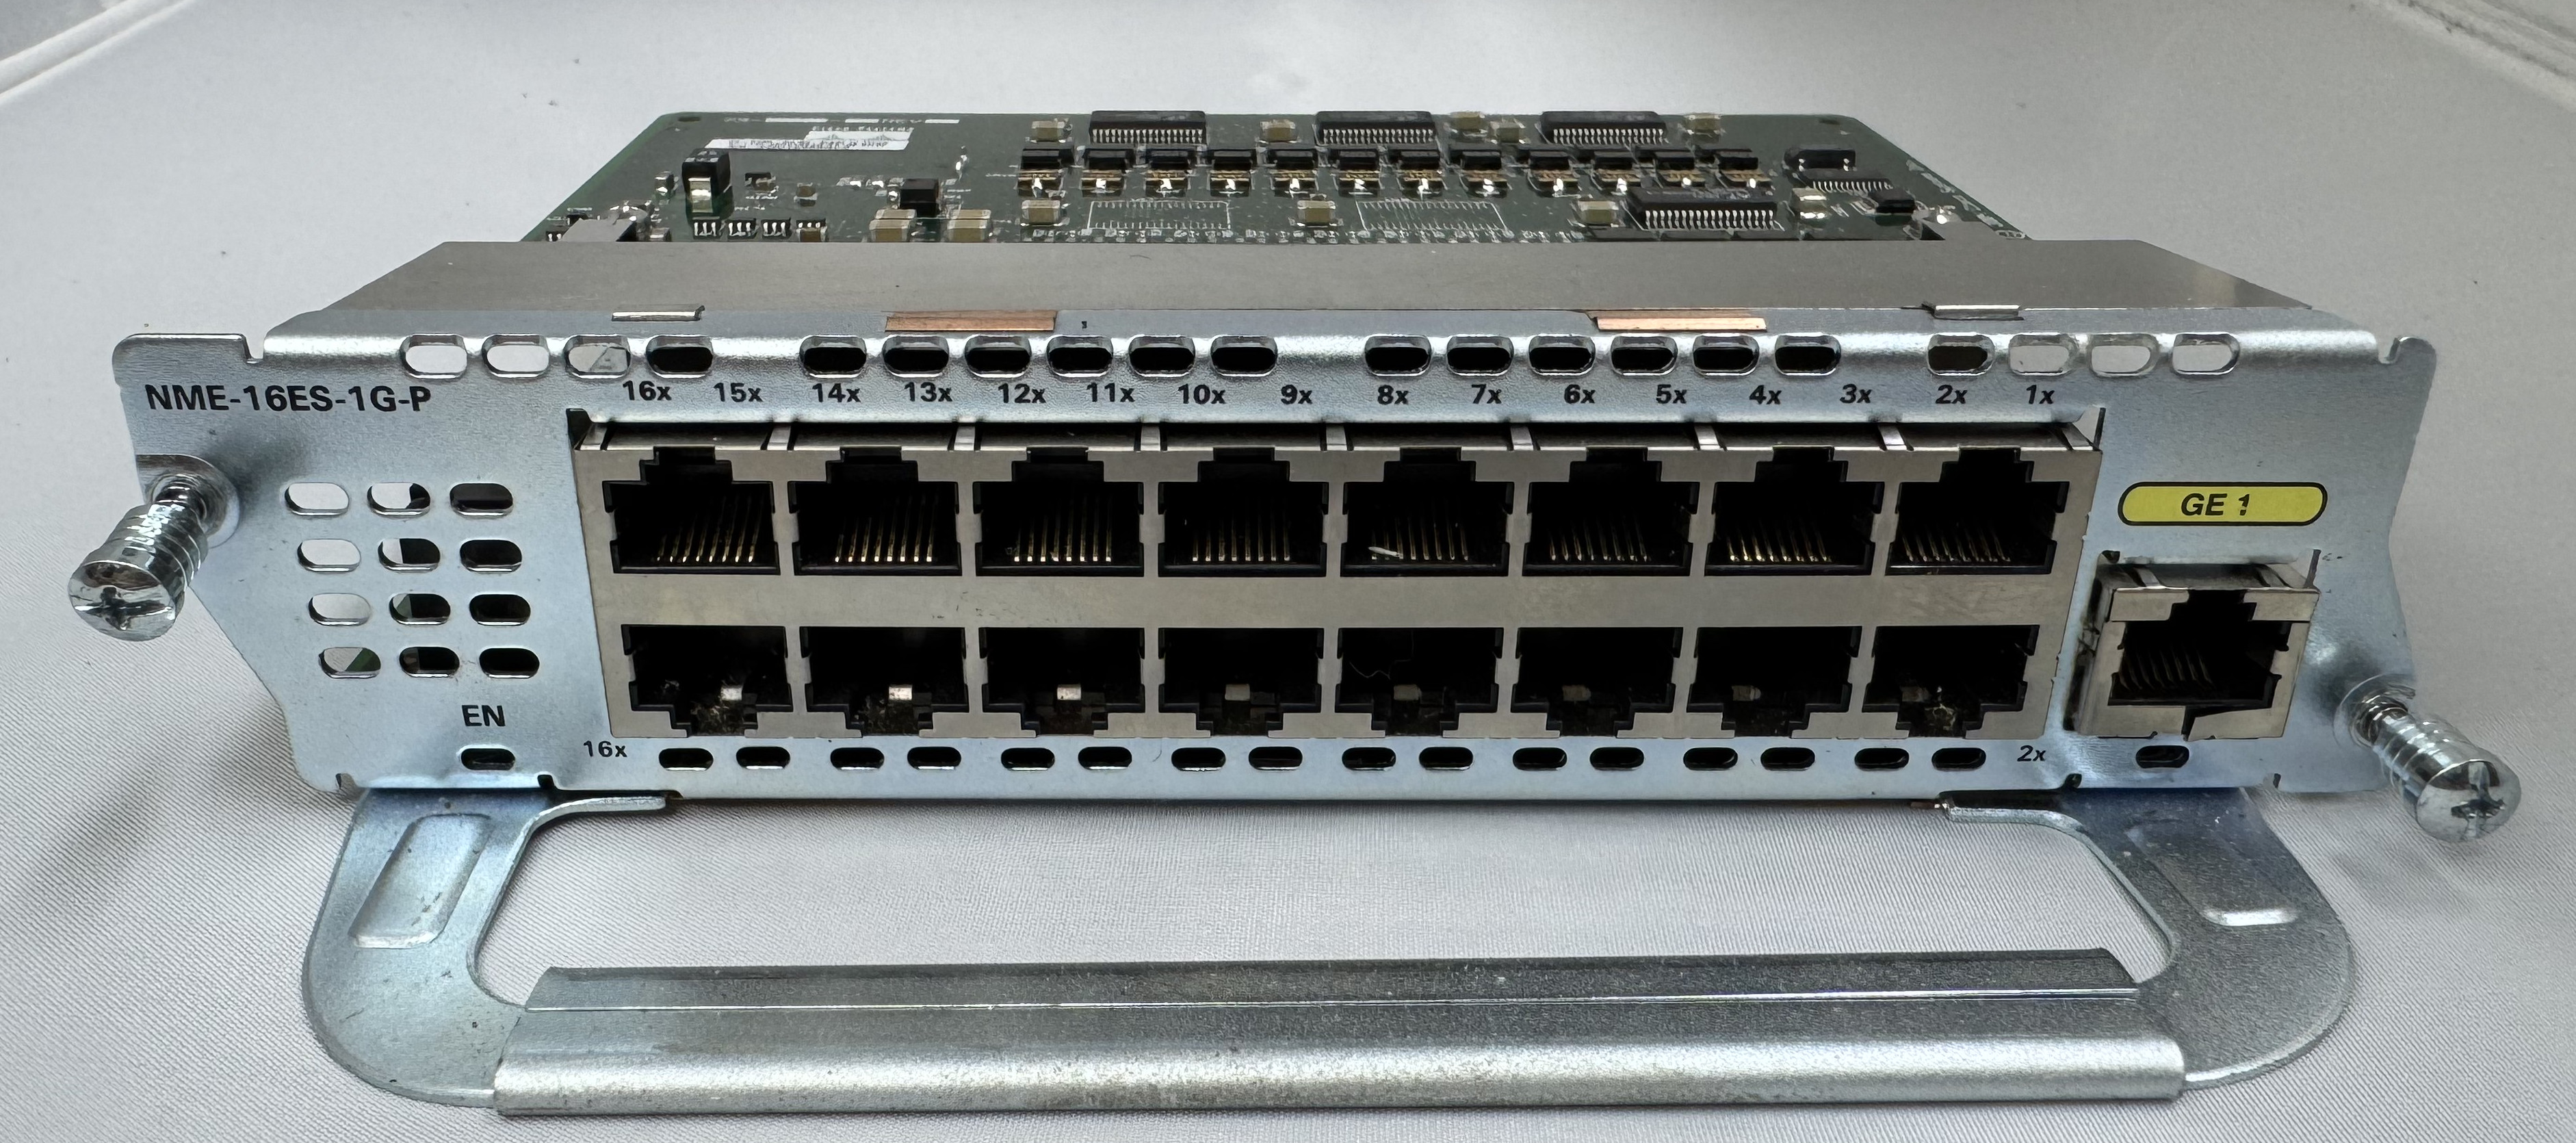
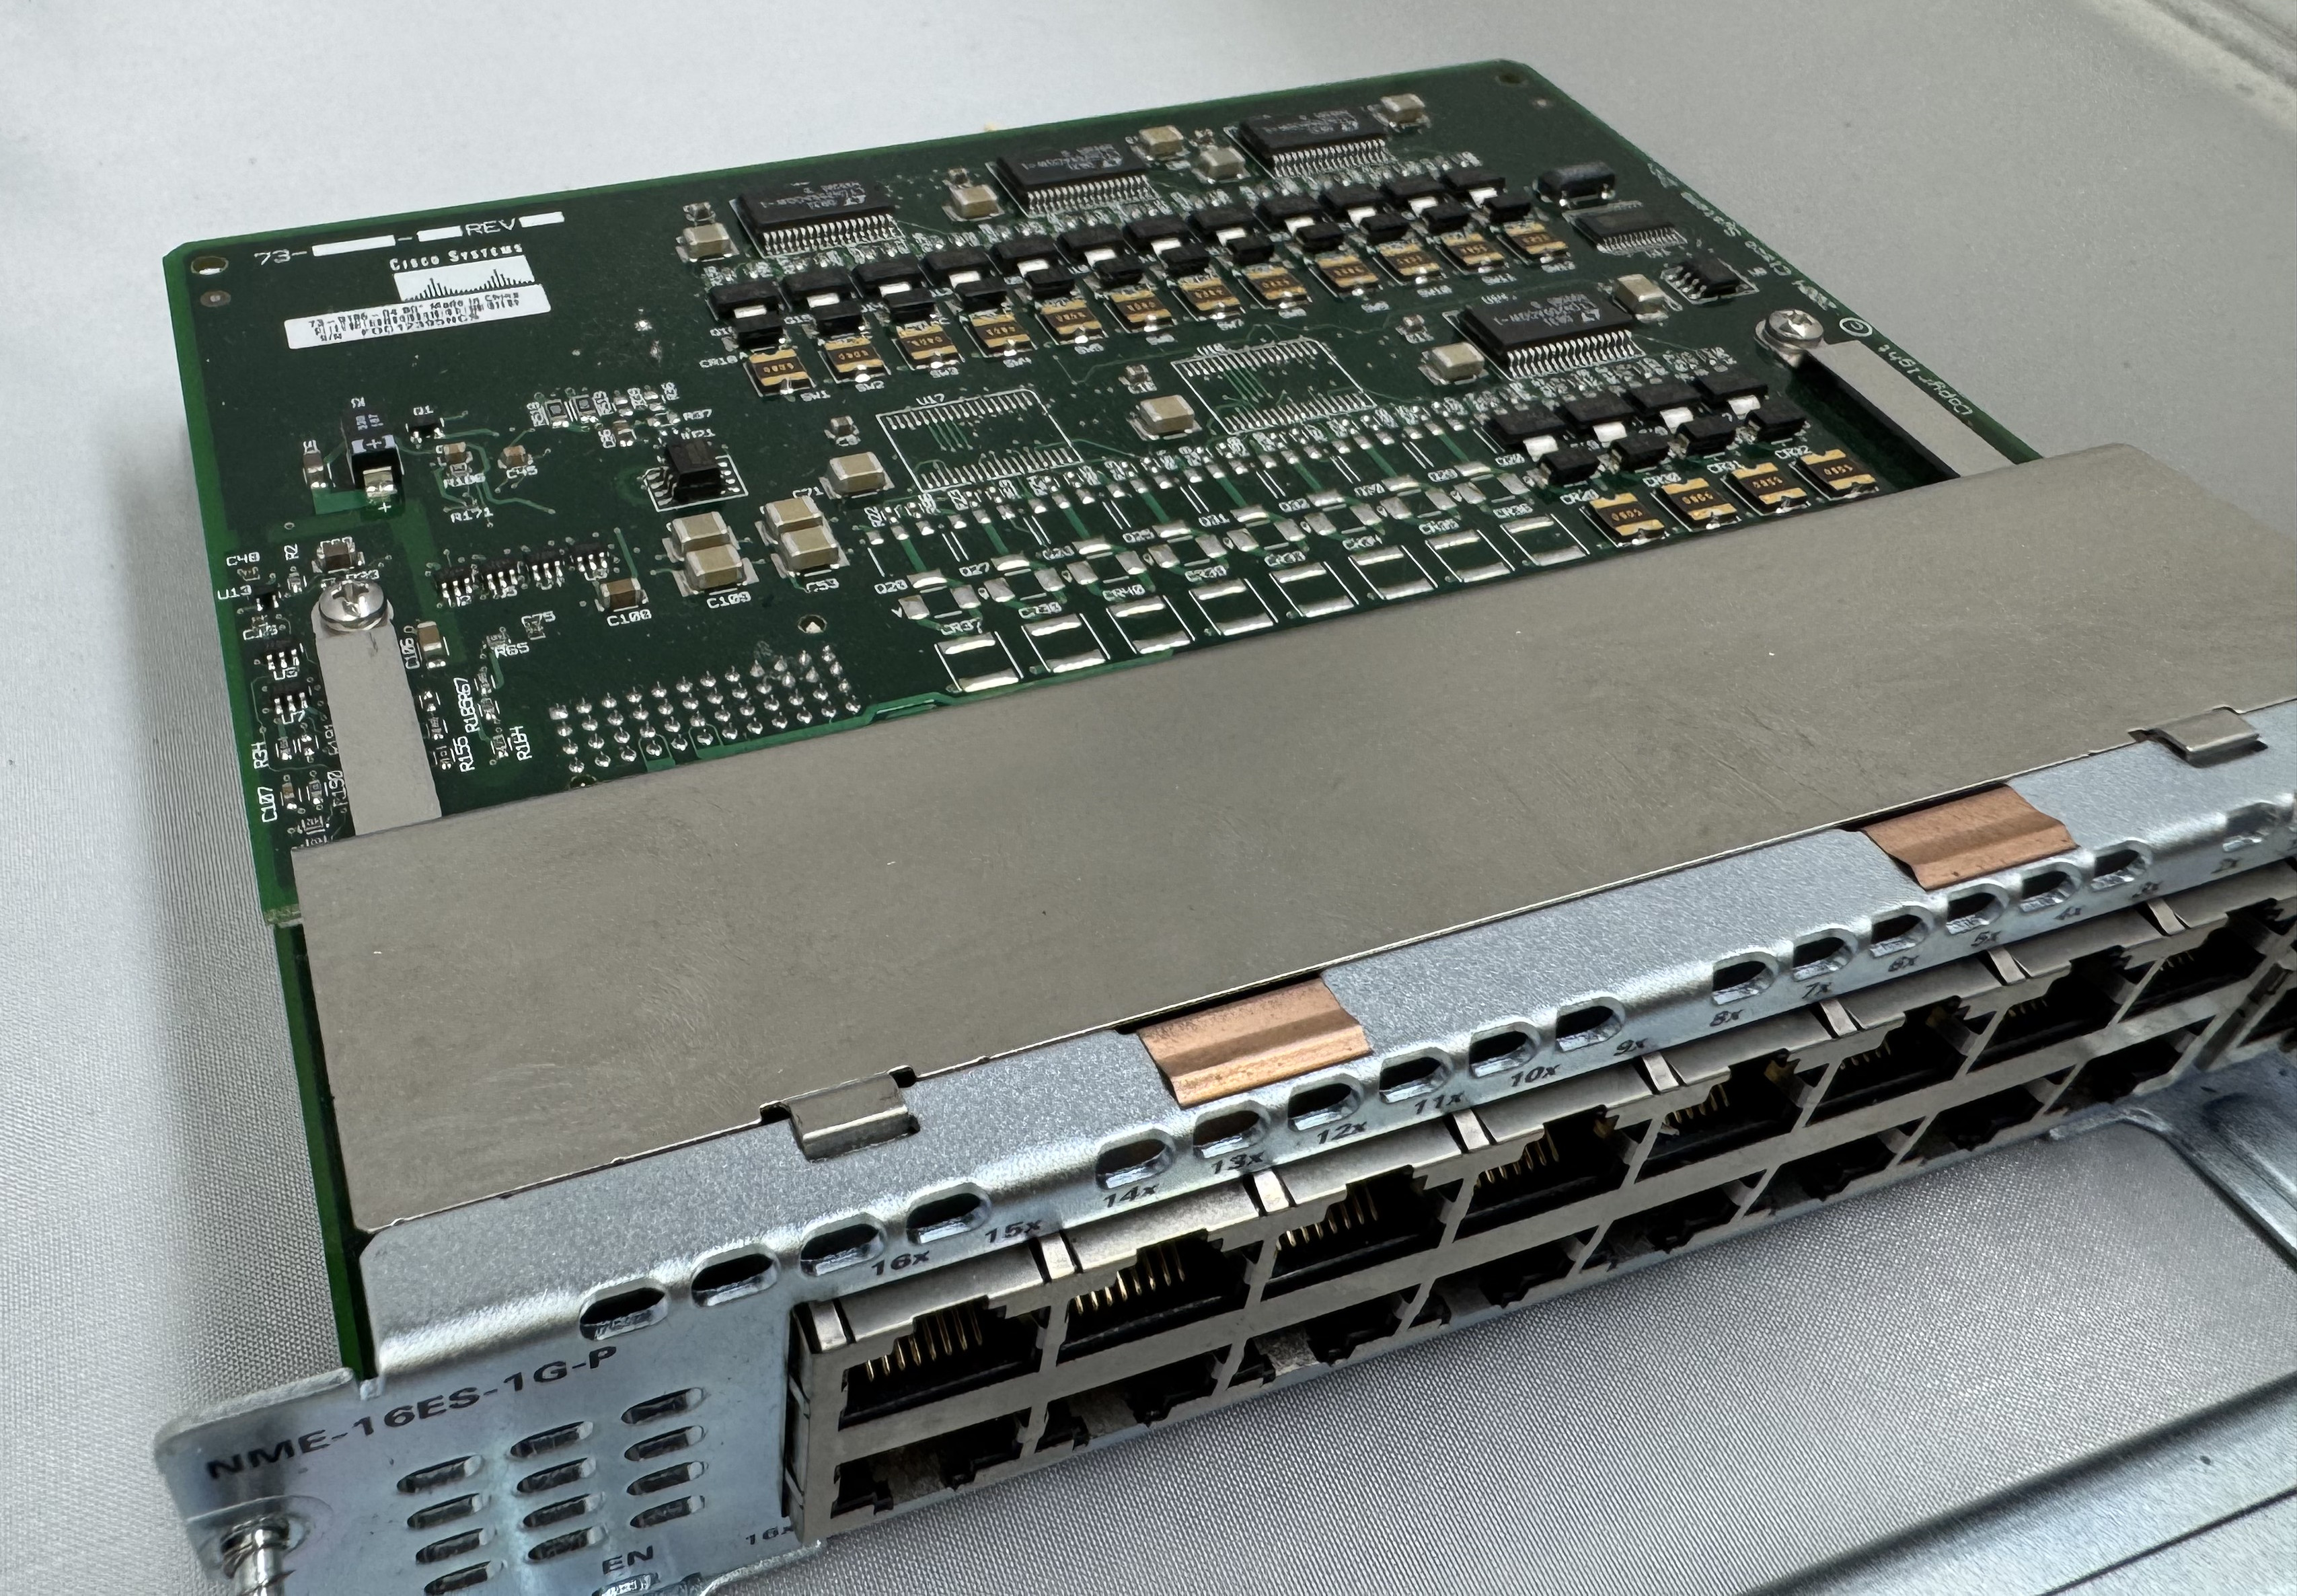
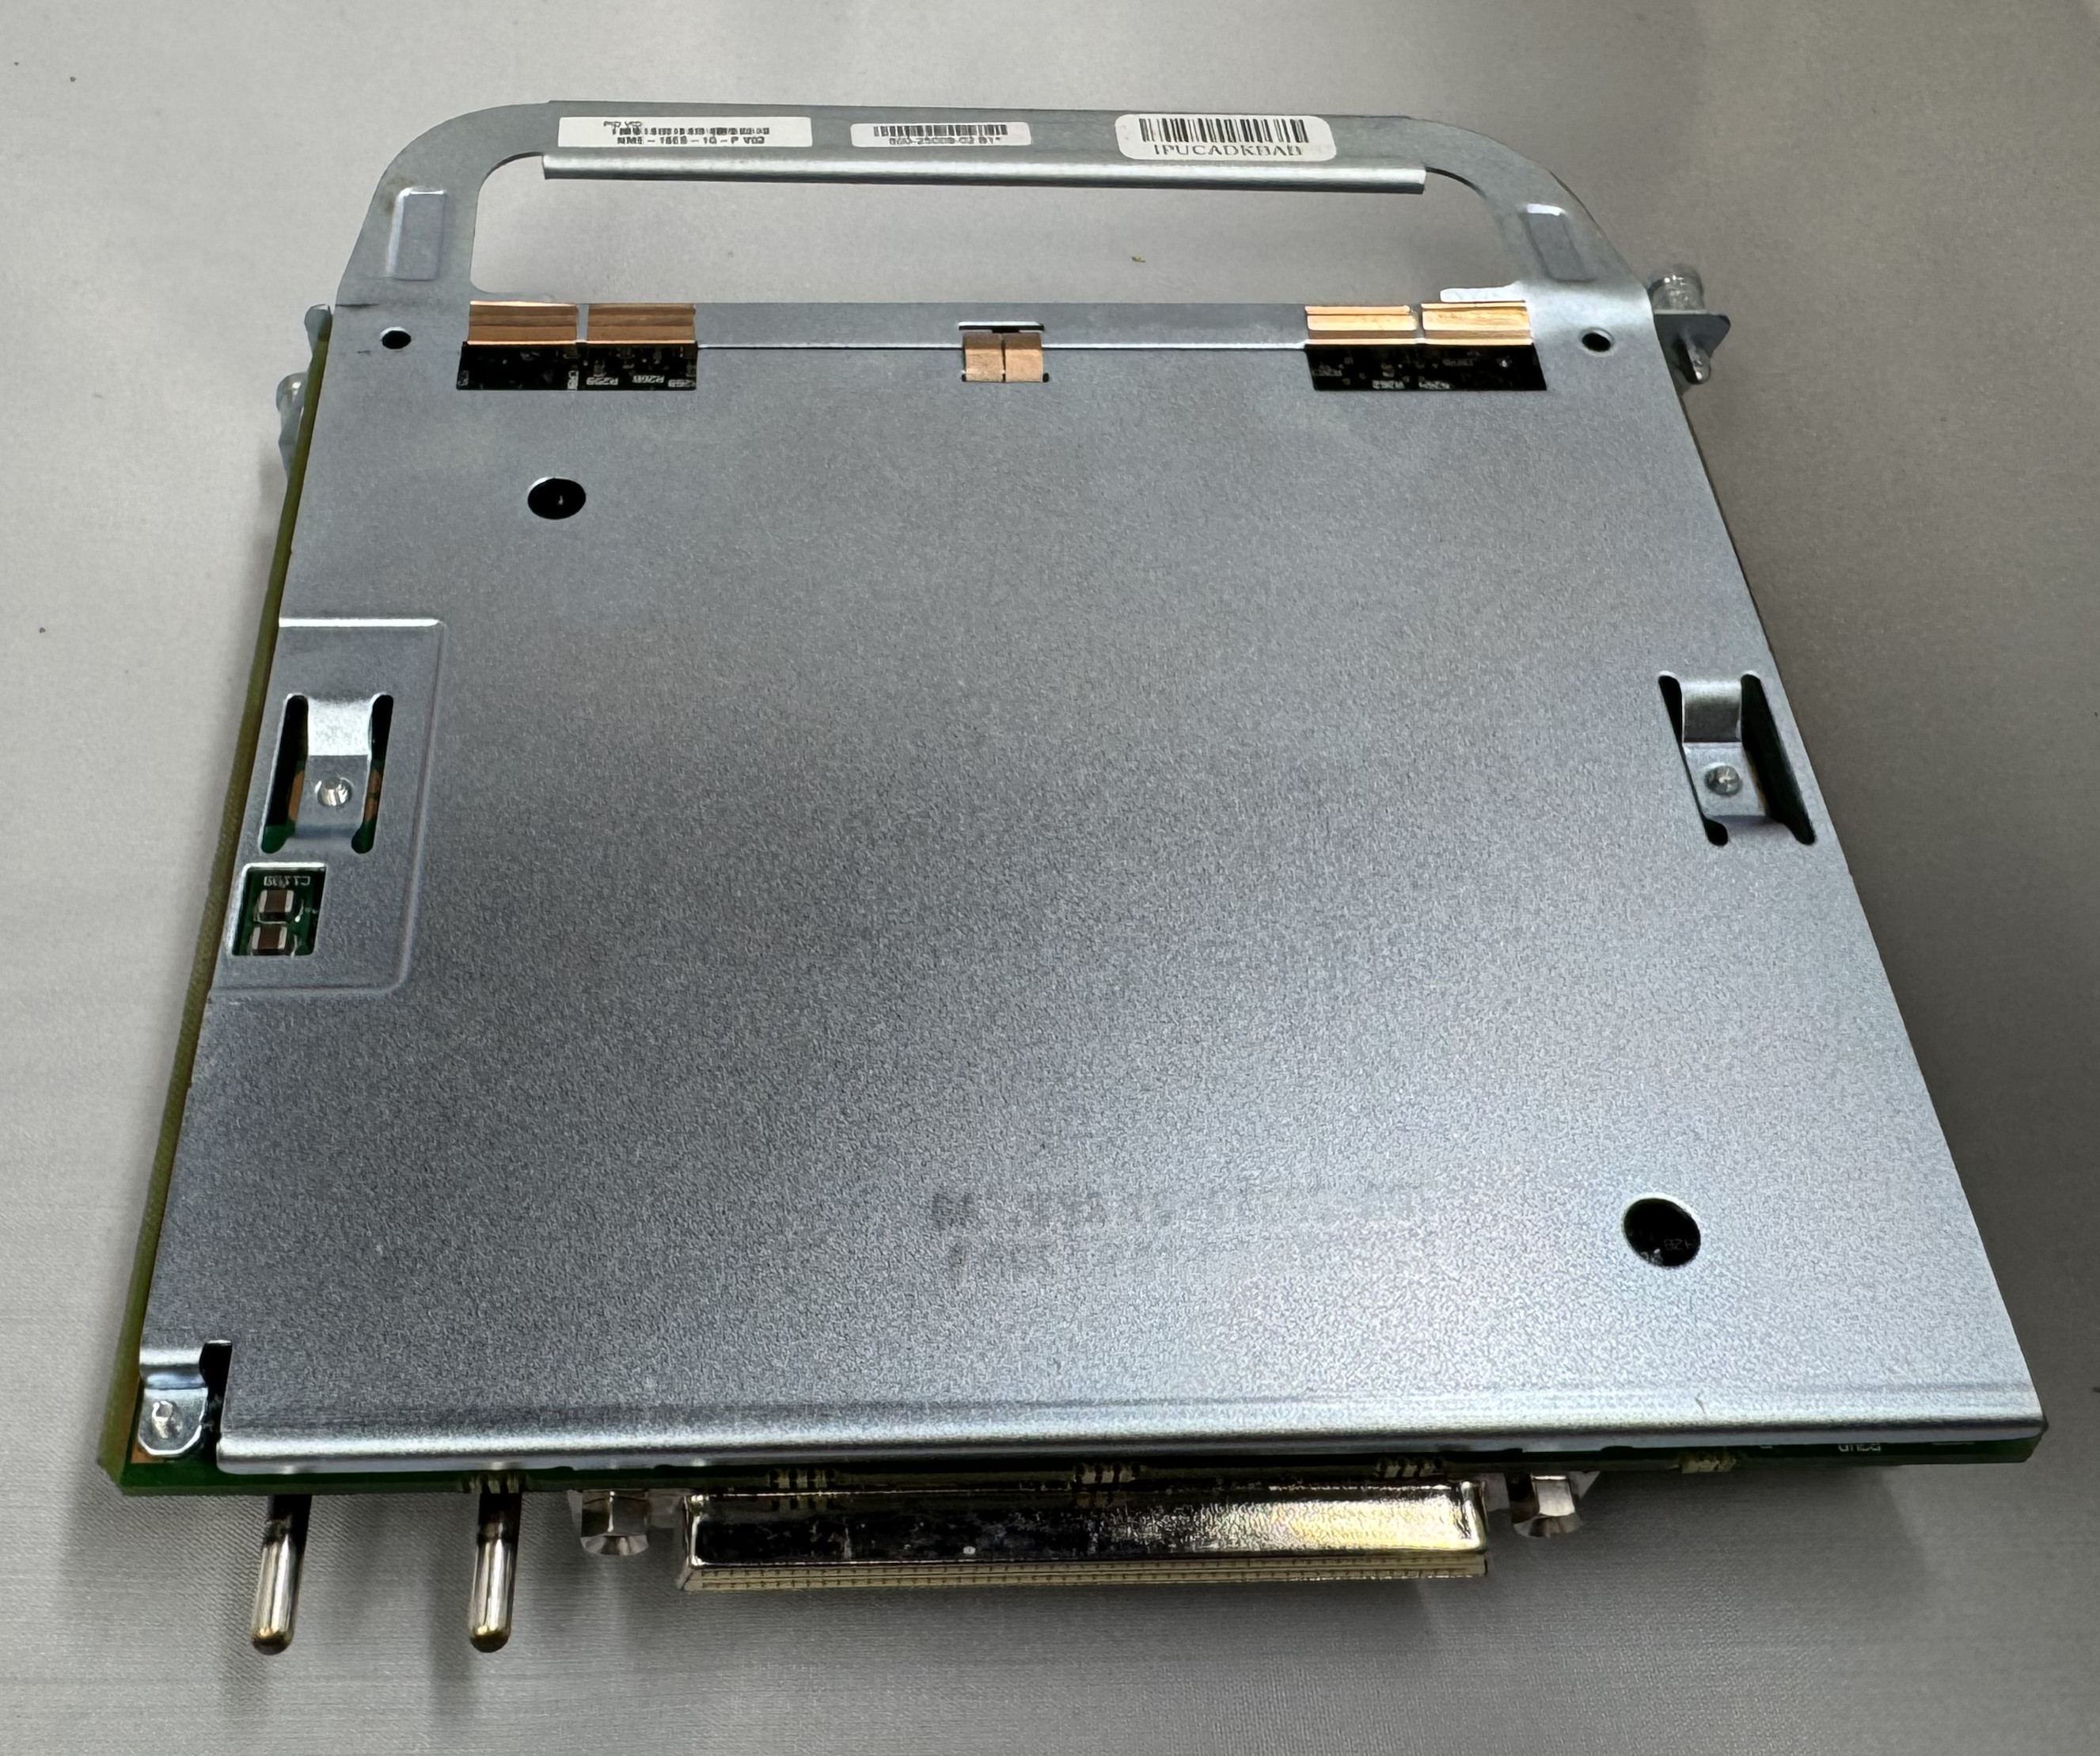
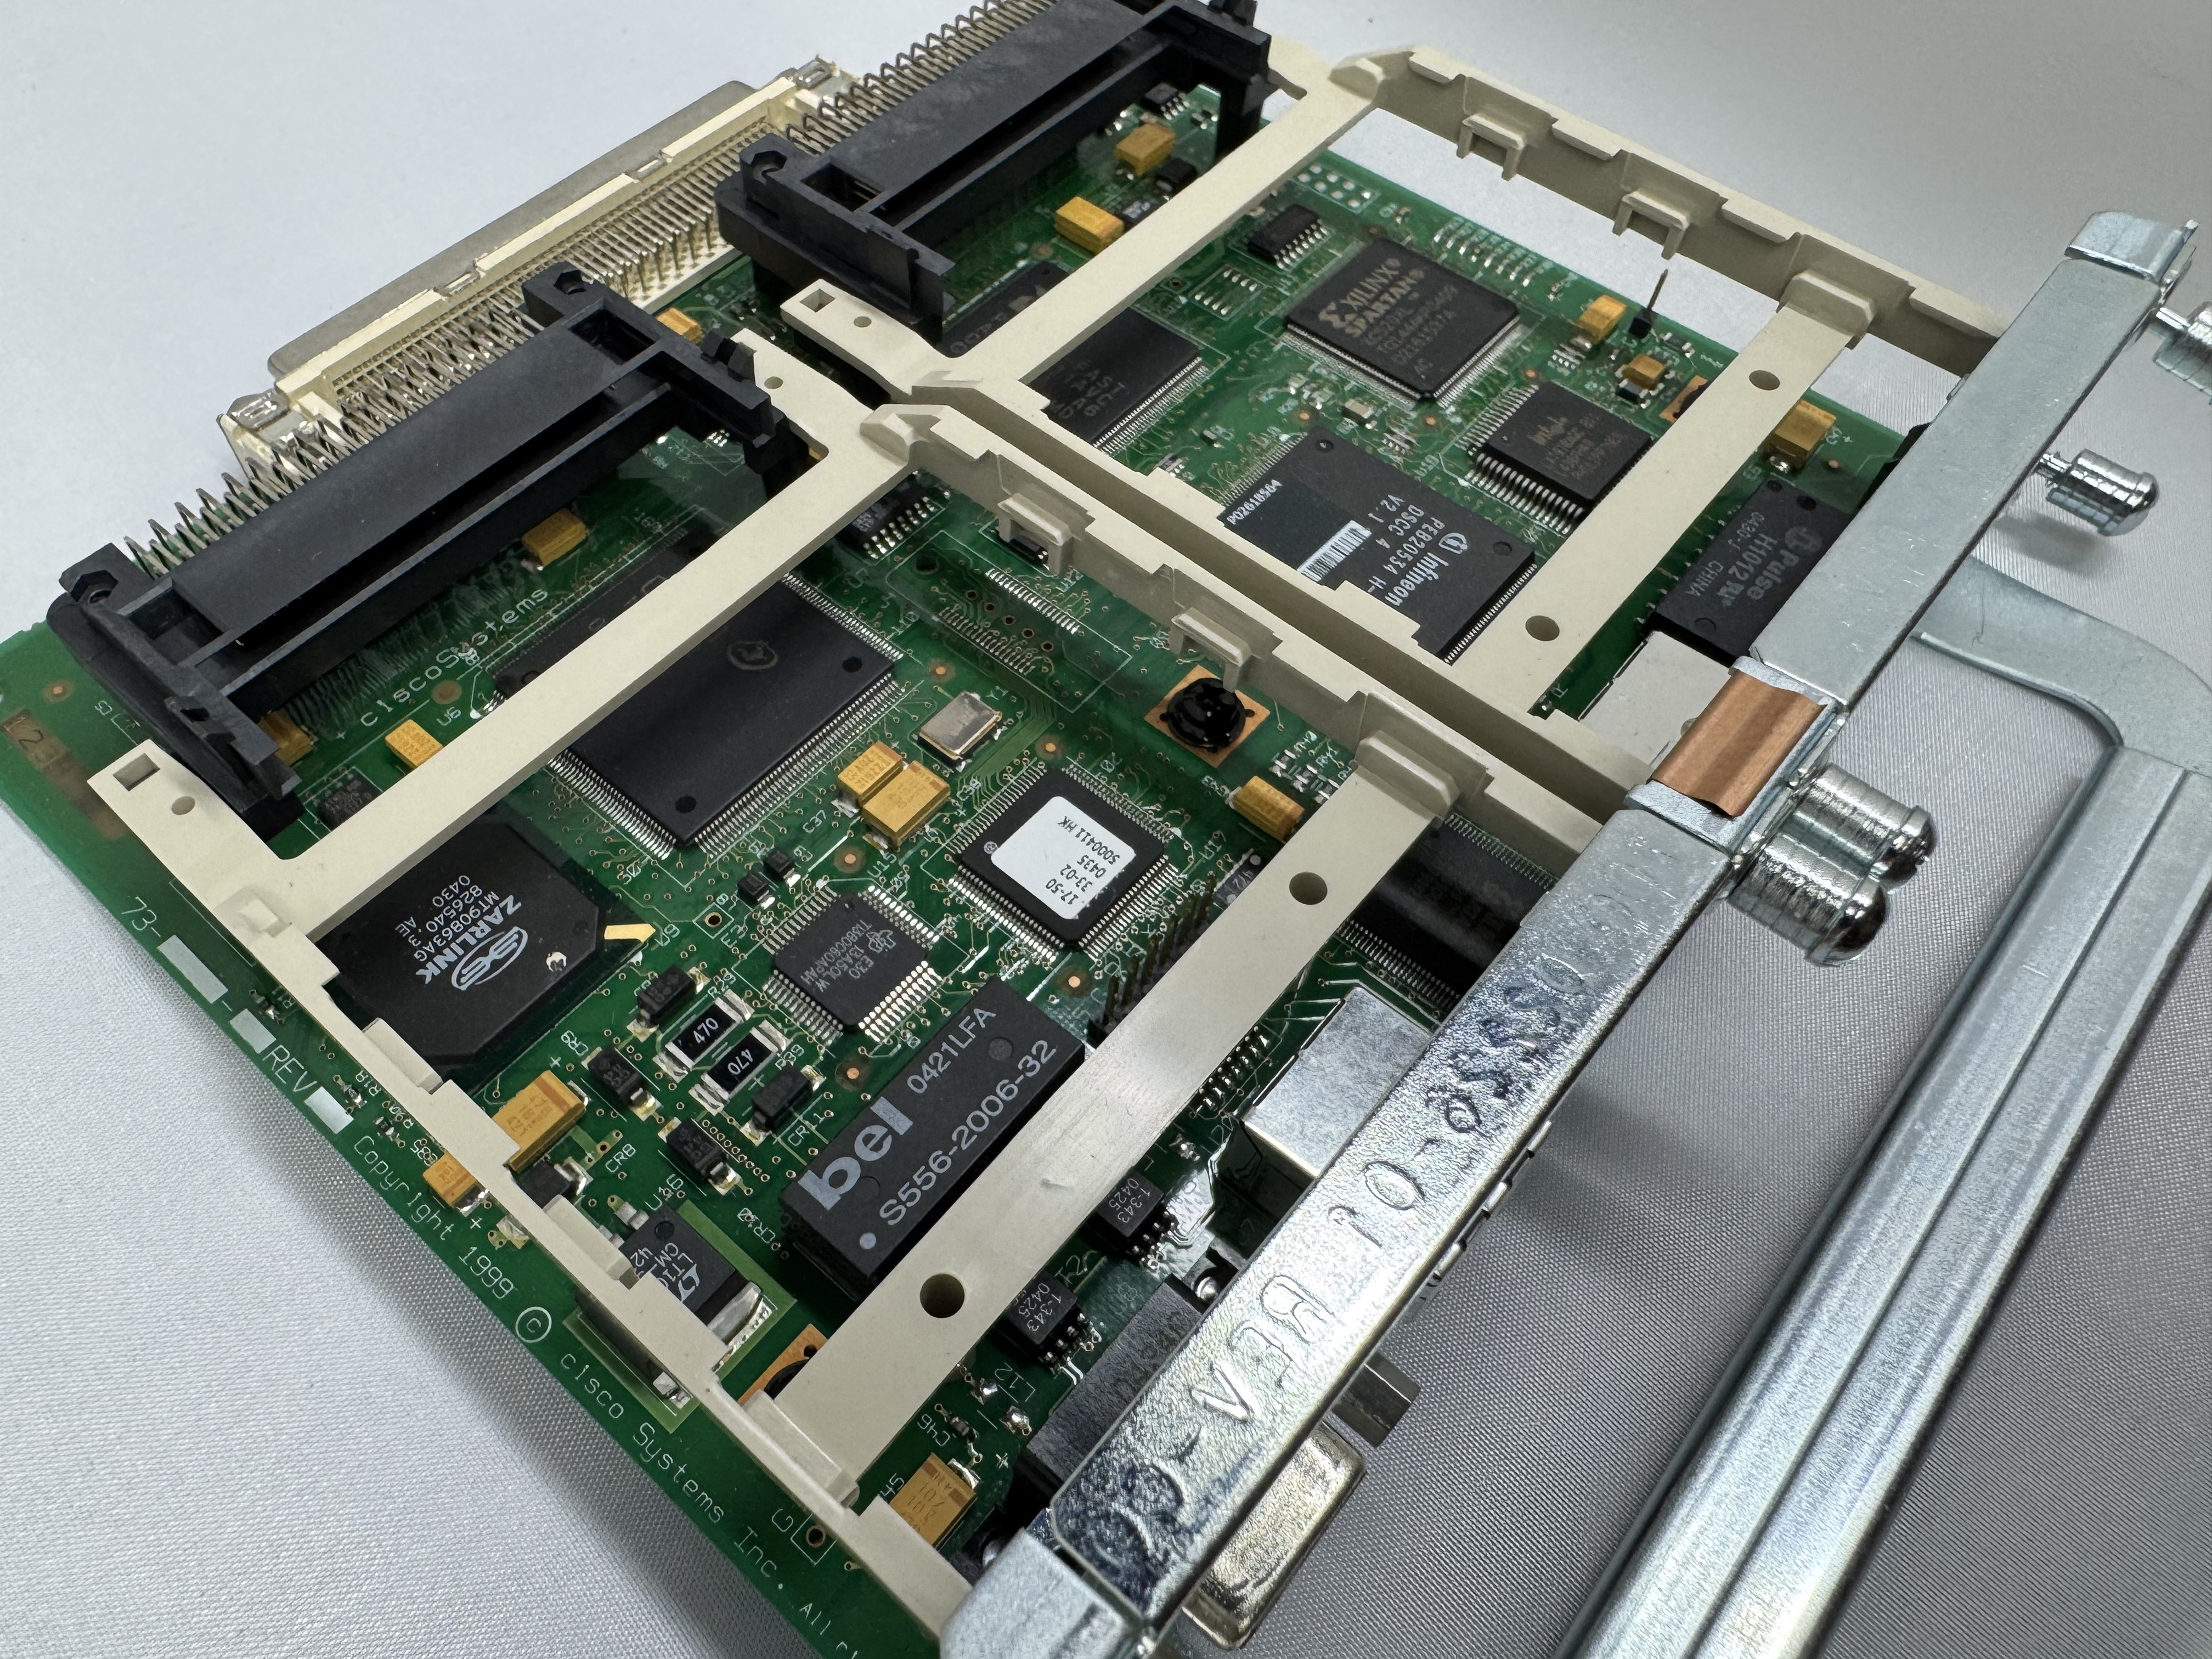
I bought a T1 card because I thought it would be fun to eventually play with. Then I bought a CISCO NME-16ES-1G-P. This is a Cisco Switch as a card module. They are odd. It runs its own OS. It has an internal port to the main system, then to configure any of the 16 x 10/100mb/s or 1 x 1gb/s ports you run ‘service-module gigabitEthernet 2/0 session’ and it opens a serial connection into the controller of this switch. It has a separate login, configuration, and IOS version. At first, I had to password bypass it because someone had left a password on it. I have used it some, but not much. It needs a firmware update. This is my main source of ethernet ports for devices.
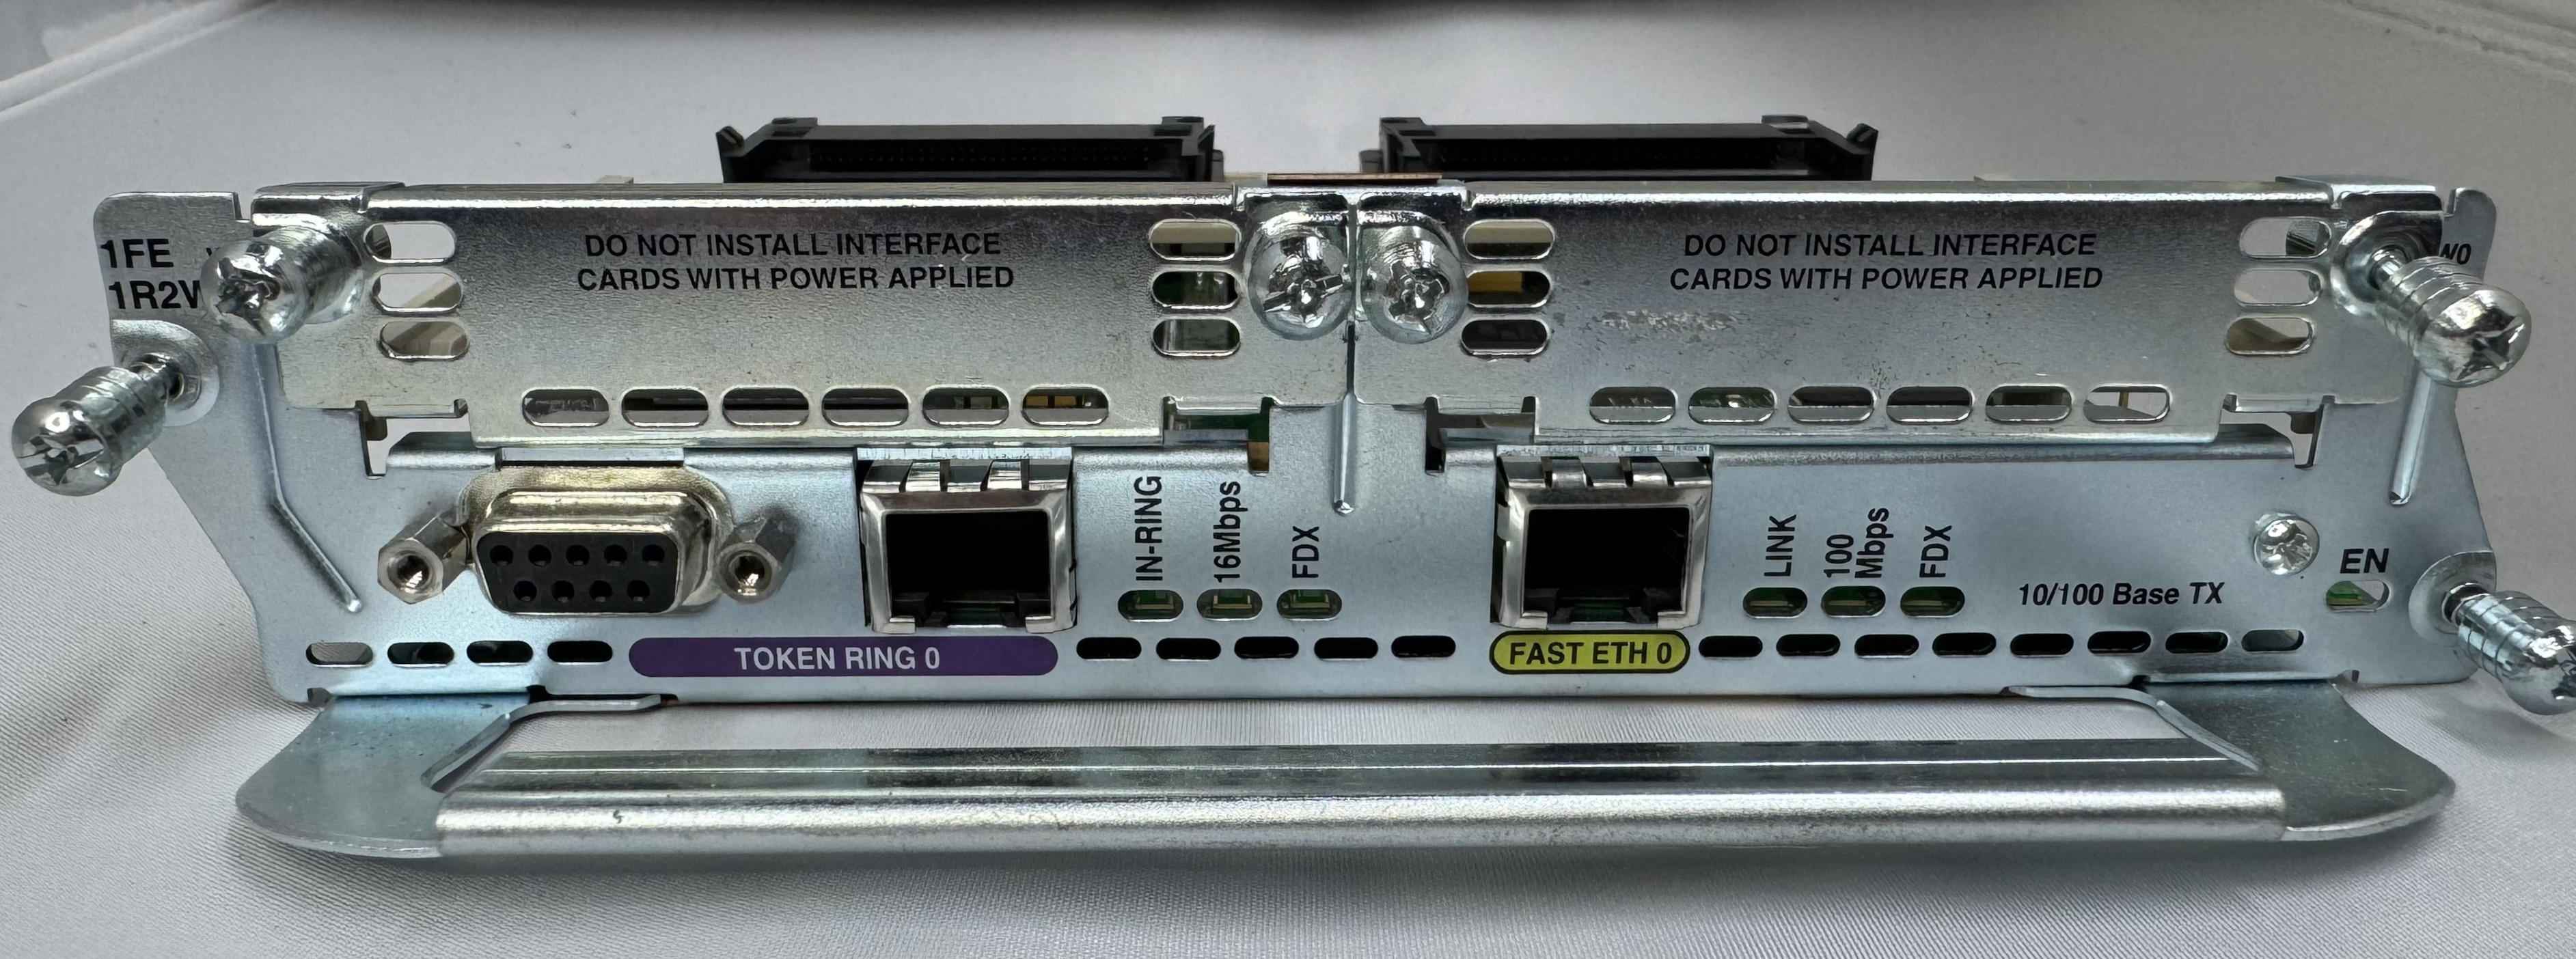
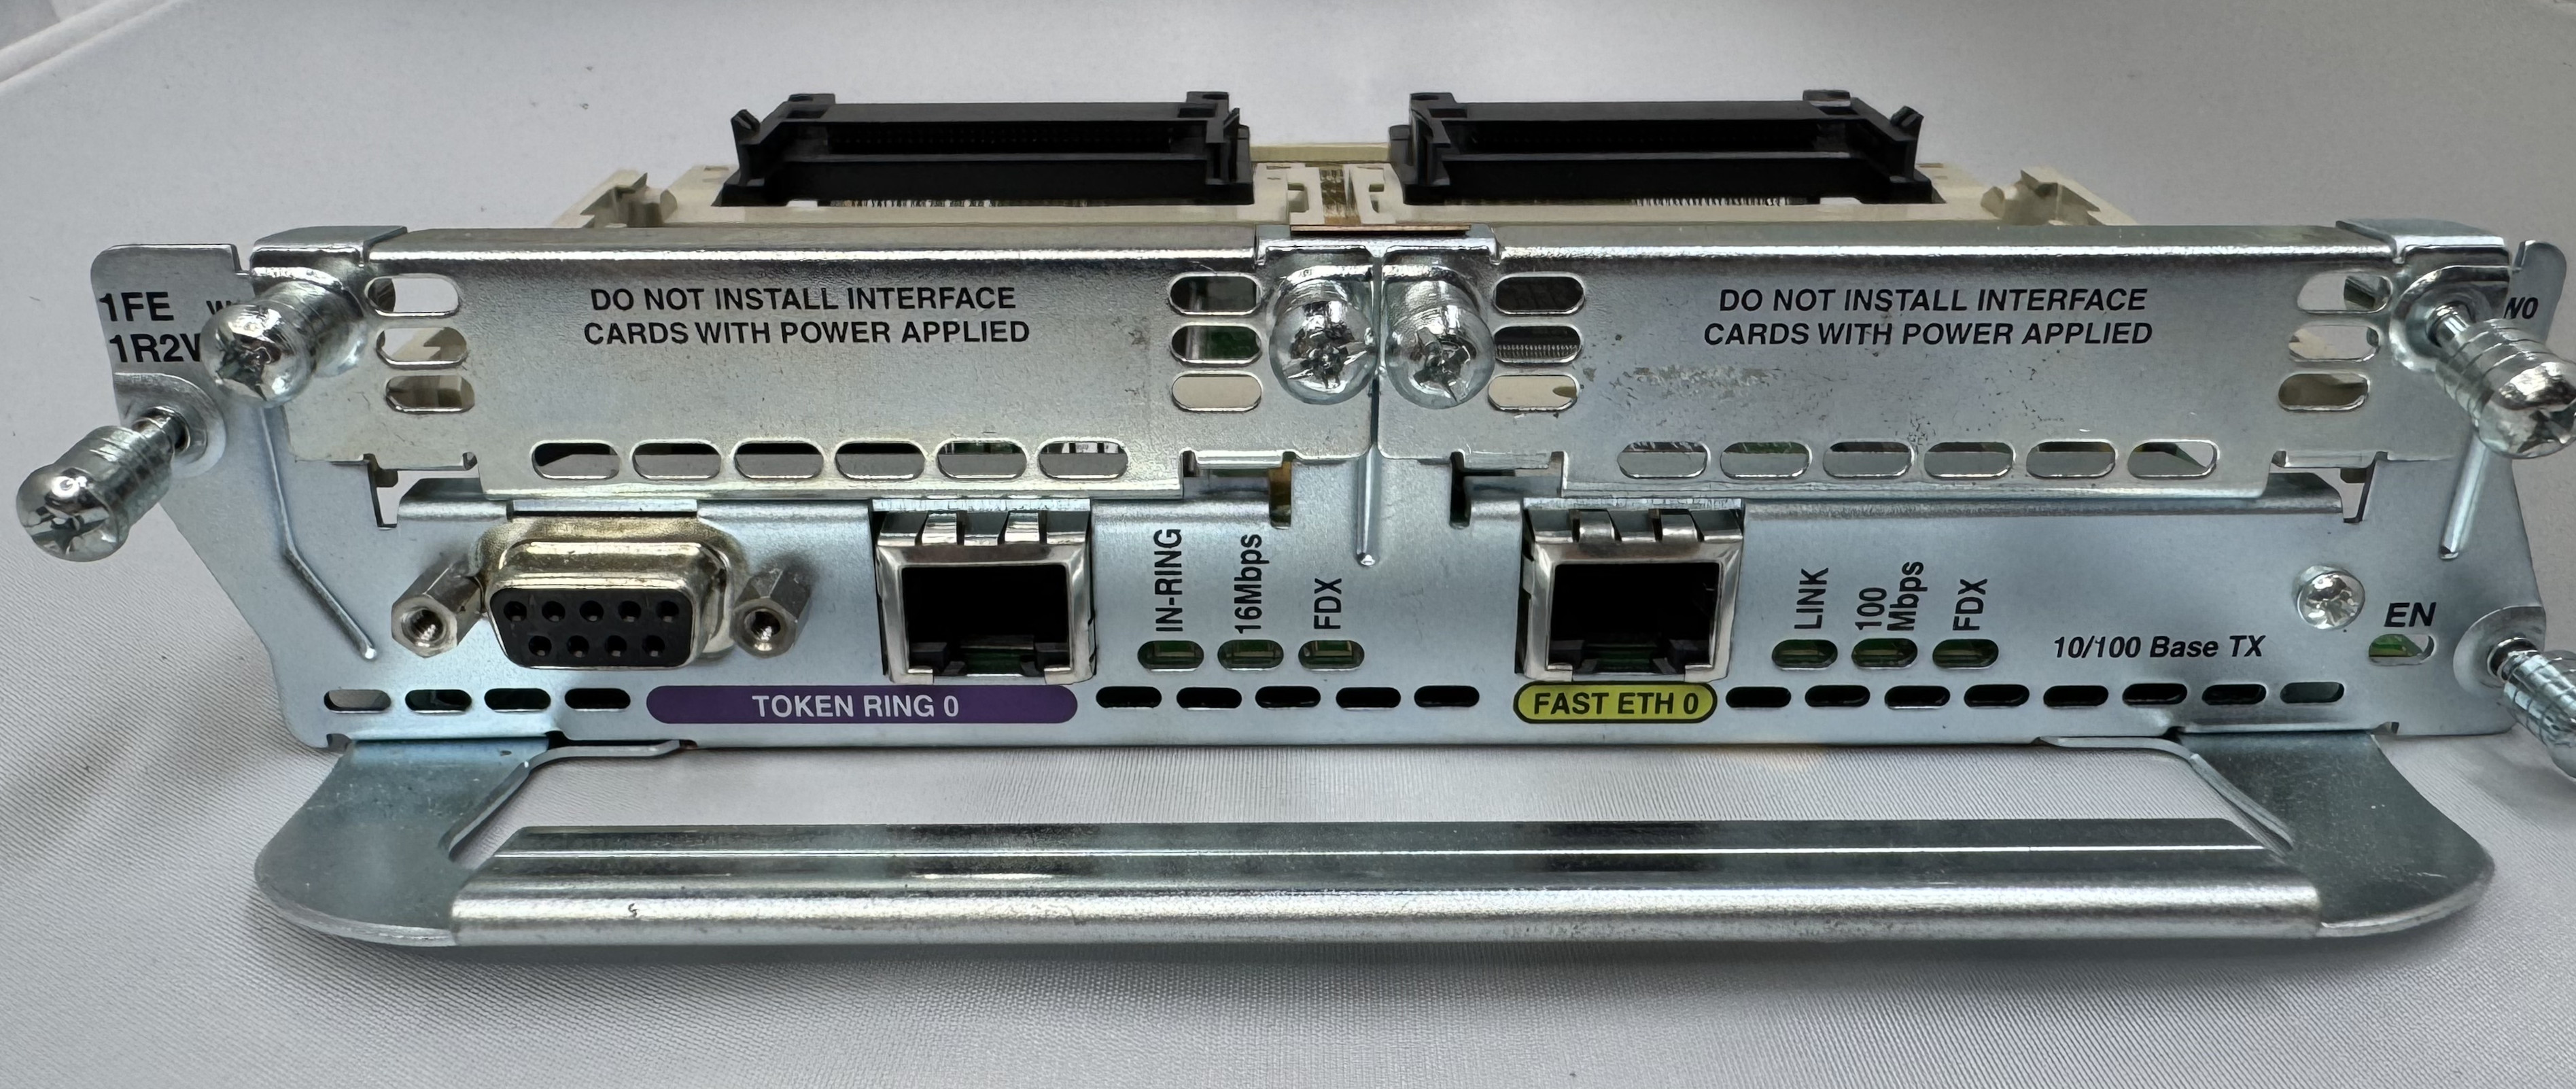
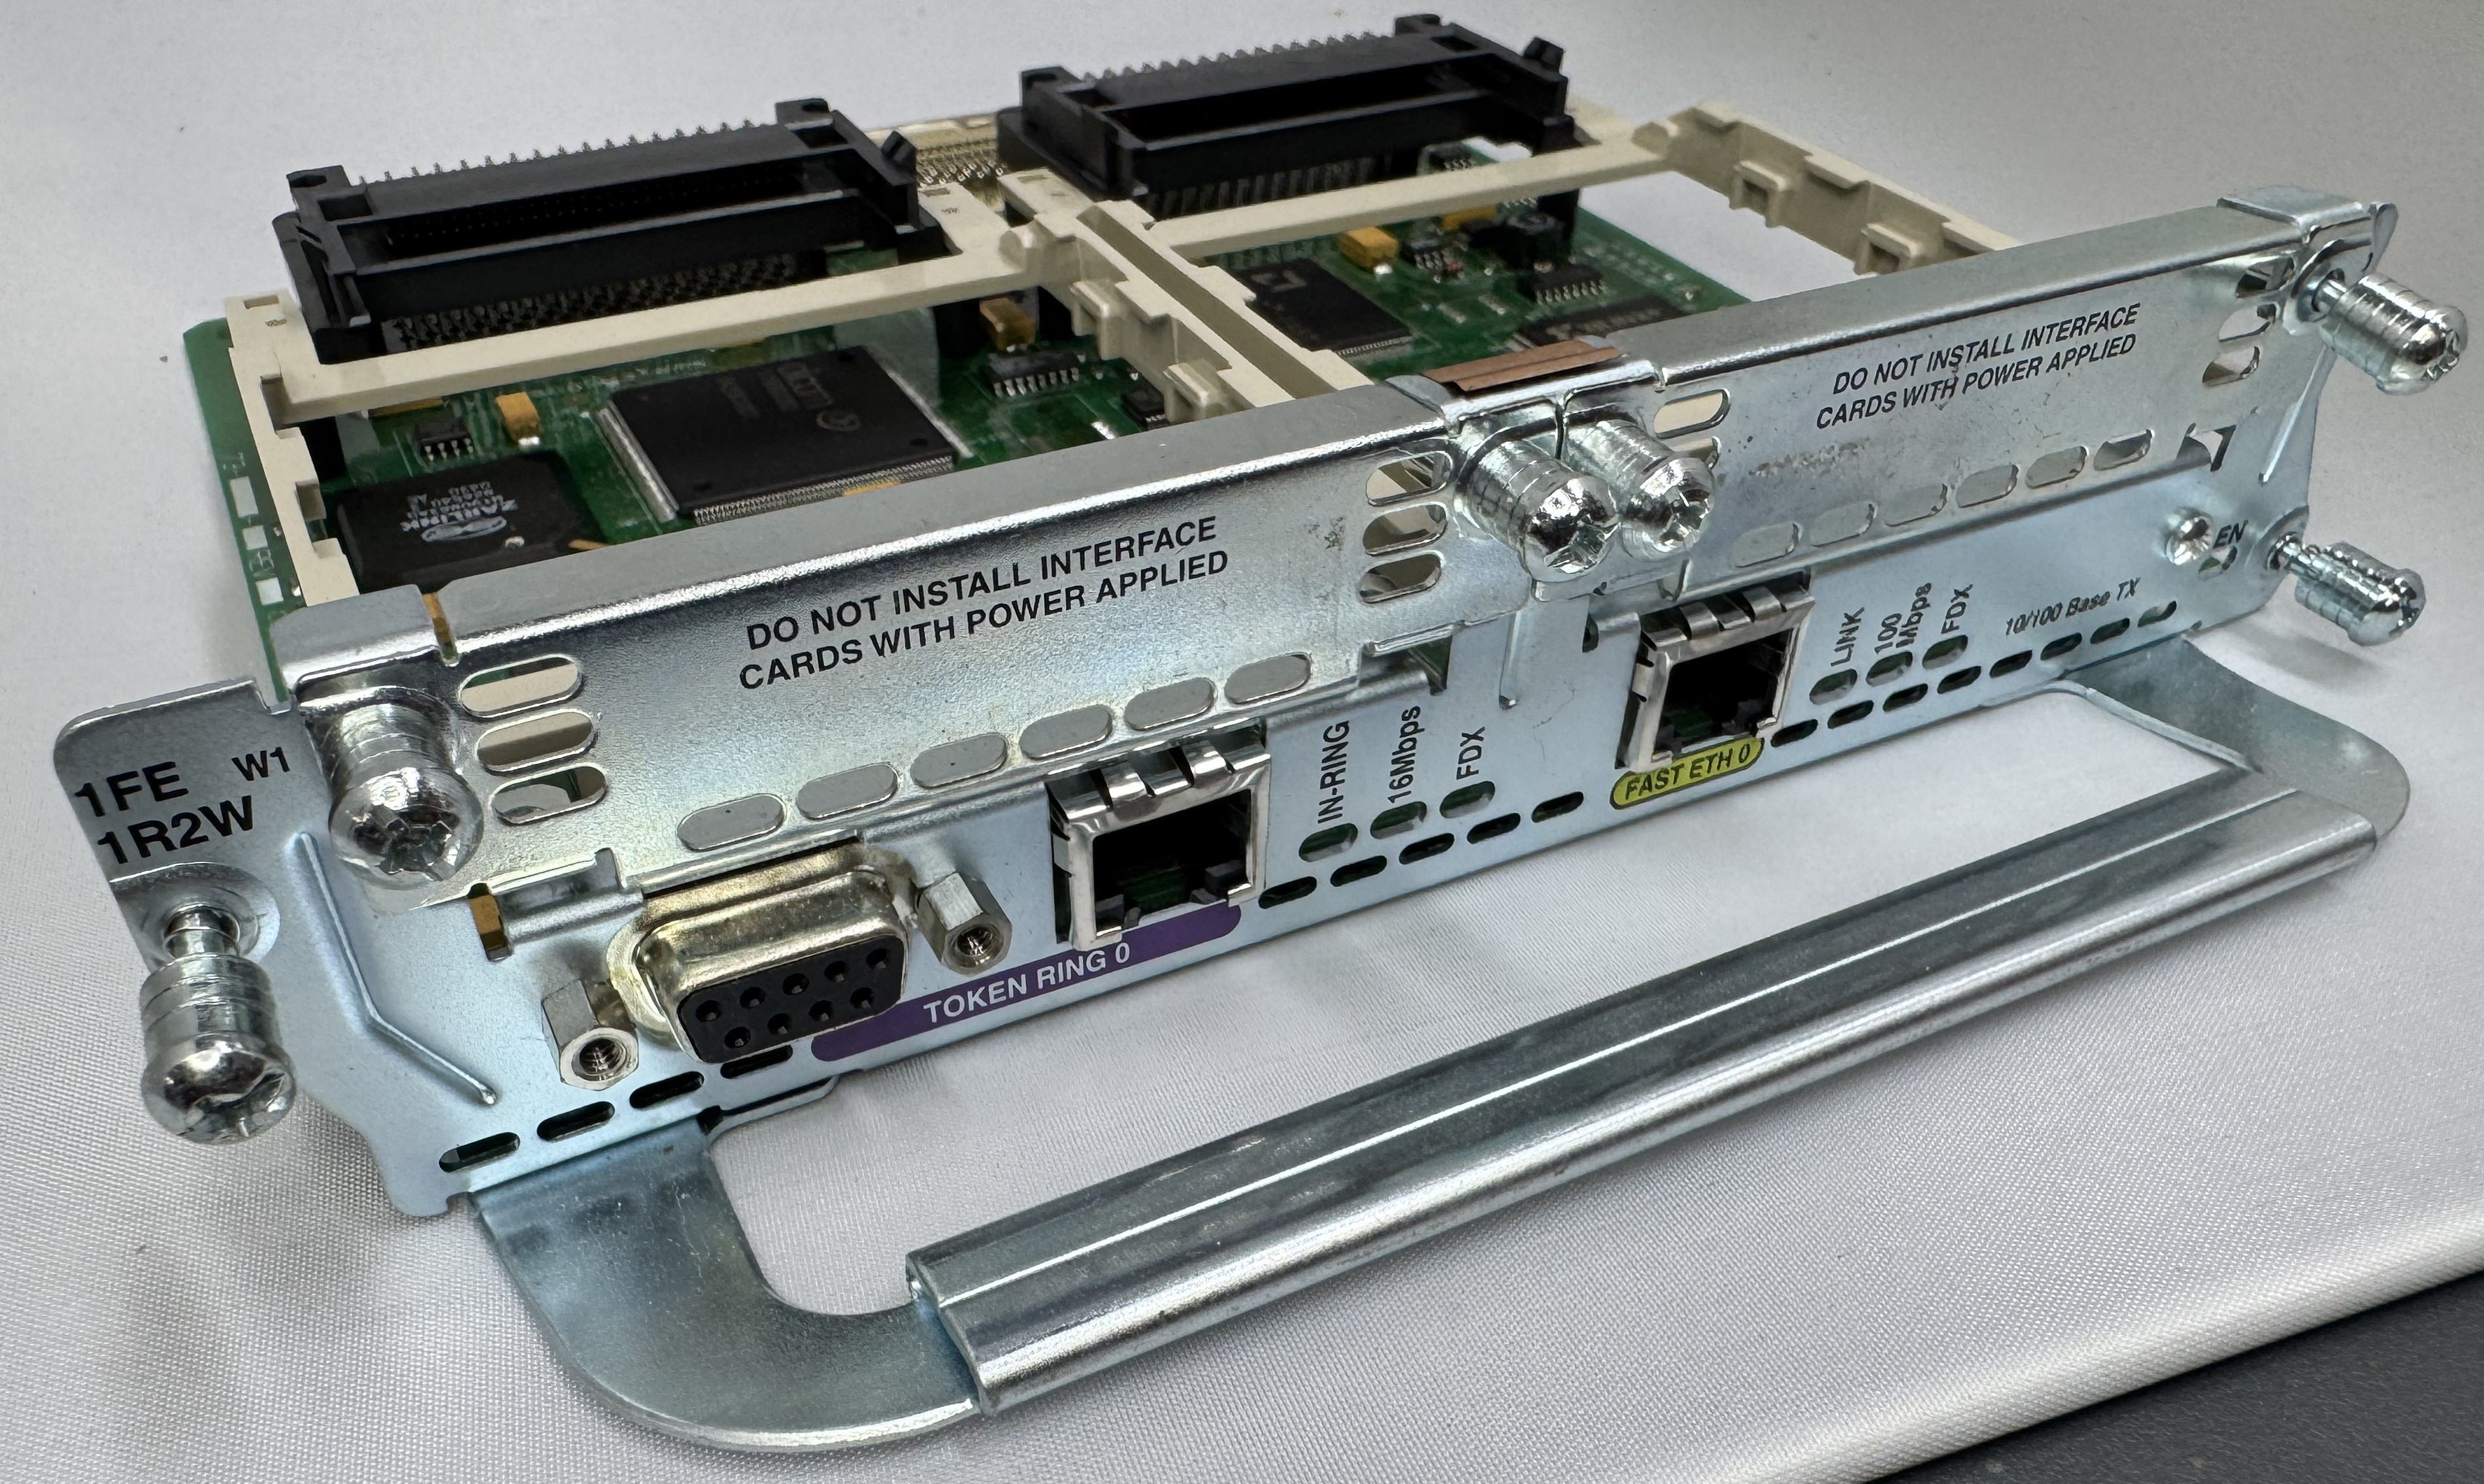
The last card I got is one of the main ones I wanted, a CISCO NM-1FE-1R-2W. This is a 1 FastEthernet (10/100), 1 Token Ring (DB9 or RJ45), and 2 WIC slots. I will do another post on Token Ring later.
Its worth mentioning, for the configuration and tests below, ports 0/0/0 – 3 are our 4FXS ports in HWIC slot 0. In HWIC1 slot (0/1/0 – 1) we have our dual modem card now, a WIC-2AM-v2.
Configuration
As mentioned, you do need a router with the Advanced Services image on it to do voice related features. Once that is loaded, and our hardware was in place, we started configuring the router to move voice data.
We need a pool of IPs that will be given out to clients as they dial in. To do this enter configuration mode and use:
ip local pool dialin-pool 192.168.9.10 192.168.9.20 recycle delay 3600
You can tell from reading this blog that I have a way too complicated home network. I have the router itself on 192.168.7.0/24, then I made 192.168.9.0/24 for dial in addresses. To be able to send data to them and have them route on my core network, I have RIP running between my home firewall and this Cisco router. When I turn the router on, the routes pop up; when I stop using it for a while, the routes go away. You can set the start and stop of your pool to whatever you like.
Next we have to declare when you dial a certain number, where that routes. This is created by declaring a route, saying its a POTS line, and then saying which “Dial pattern” (phone number) goes to which port on the router. The dial-peer name can be anything, I use the number to make it easy. Port 0/0/3 is the 4th port on the FXS that I am CONNECTING OUT OF to the modem. The data flow is 0/0/0 where my Windows 95 client is, through the FXS to 0/0/3, to a 6 inch RJ11 cable to 0/1/0 modem slot. Some parts like FXS routing happen within the cards, then there are times you need to have tiny patch cables to route the stream.
dial-peer voice 3 pots
 destination-pattern 3
 port 0/0/3
We need to say how the connection is handled once it comes in the modem. These connections are handled as “line” interfaces from there. We need to tell it this is a dial in line, what its max supported speed is (I just do the max, it will communicate less to the end modem), how flow control will work, and how auth will work.
The line configuration says it beeds ppp, since I do not specify the the auth system, any user is currently allowed… which is great!
line 0/1/0
 modem Dialin
 modem autoconfigure discovery
 transport input all
 autoselect ppp
 stopbits 1
 speed 115200
 flowcontrol hardware
Last, we need to configure the IP interface of this line, we do that by configuring the async line assigned to the modem port. This also is where we set which pool will be used for dial in users. I added the ppp timeout command because some of the older systems I have were taking a while to respond.
interface Async0/1/0
 ip address 192.168.9.1 255.255.255.0
 encapsulation ppp
 peer default ip address pool dialin-pool
 async mode interactive
 no keepalive
 ppp timeout authentication 30
That is the key configuration needed to get dial up working! Below I will put my full config (minus password) in case any of it helps someone. Leave a comment if this helps you, or you need extra help!
Full Configuration
hostname router
!
boot-start-marker
boot system flash:c3825-adventerprisek9-mz.151-4.M10.bin
boot-end-marker
!
enable secret 0 test
!
aaa new-model
aaa authentication login default local line
!
aaa session-id common
no network-clock-participate slot 1
dot11 syslog
ip source-route
ip cef
!
ip dhcp pool TOKEN
 network 192.168.8.0 255.255.255.0
 default-router 192.168.8.1
 dns-server 192.168.7.1
!
ip domain name lbt.home.ntbl.co
no ipv6 cef
!
multilink bundle-name authenticated
voice-card 0
crypto pki token default removal timeout 0
username admin privilege 15 secret 0 admin
username test privilege 0 password 0 test
!
redundancy
!
ip ssh version 2
!
interface GigabitEthernet0/0
 ip address 192.168.7.10 255.255.255.0
 duplex auto
 speed auto
 media-type rj45
!
interface GigabitEthernet0/1
 no ip address
 shutdown
 duplex auto
 speed auto
 media-type rj45
!
interface Serial0/3/0
 no ip address
 shutdown
 clock rate 2000000
!
interface FastEthernet1/0
 no ip address
 shutdown
 duplex auto
 speed auto
!
interface TokenRing1/0
 ip address 192.168.8.1 255.255.255.0
 ring-speed 4
!
interface GigabitEthernet2/0
 ip address 100.64.0.1 255.255.255.0
!
interface Async0/1/0
 ip address 192.168.9.1 255.255.255.0
 encapsulation ppp
 peer default ip address pool dialin-pool
 async mode interactive
 no keepalive
 ppp timeout authentication 30
!
interface Async0/1/1
 no ip address
 encapsulation slip
!
interface Async0/2/0
 no ip address
 encapsulation slip
!
interface Async1/0/0
 no ip address
 encapsulation slip
!
router rip
 network 100.0.0.0
 network 192.168.7.0
 network 192.168.9.0
 neighbor 100.64.0.2
 neighbor 192.168.7.1
!
ip local pool dialin-pool 192.168.9.10 192.168.9.20 recycle delay 3600
ip forward-protocol nd
no ip http server
no ip http secure-server
!
ip route 0.0.0.0 0.0.0.0 192.168.7.1
!
control-plane
!
voice-port 0/0/0
!
voice-port 0/0/1
!
voice-port 0/0/2
!
voice-port 0/0/3
!
mgcp profile default
!
dial-peer voice 3 pots
 destination-pattern 3
 port 0/0/3
!
telephony-service
 max-conferences 12 gain -6
 transfer-system full-consult
!
line con 0
line aux 0
line 0/1/0
 modem Dialin
 modem autoconfigure discovery
 transport input all
 autoselect ppp
 stopbits 1
 speed 115200
 flowcontrol hardware
line 0/1/1
 stopbits 1
 speed 115200
 flowcontrol hardware
line 0/2/0
 stopbits 1
 speed 115200
 flowcontrol hardware
line 1/0/0
 stopbits 1
 speed 115200
 flowcontrol hardware
line 130
 no activation-character
 no exec
 transport preferred none
 transport input all
 transport output lat pad telnet rlogin lapb-ta mop udptn v120 ssh
line vty 0 4
 transport input ssh
!
scheduler allocate 20000 1000
end
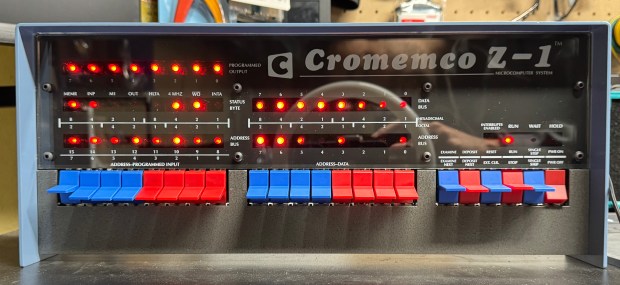
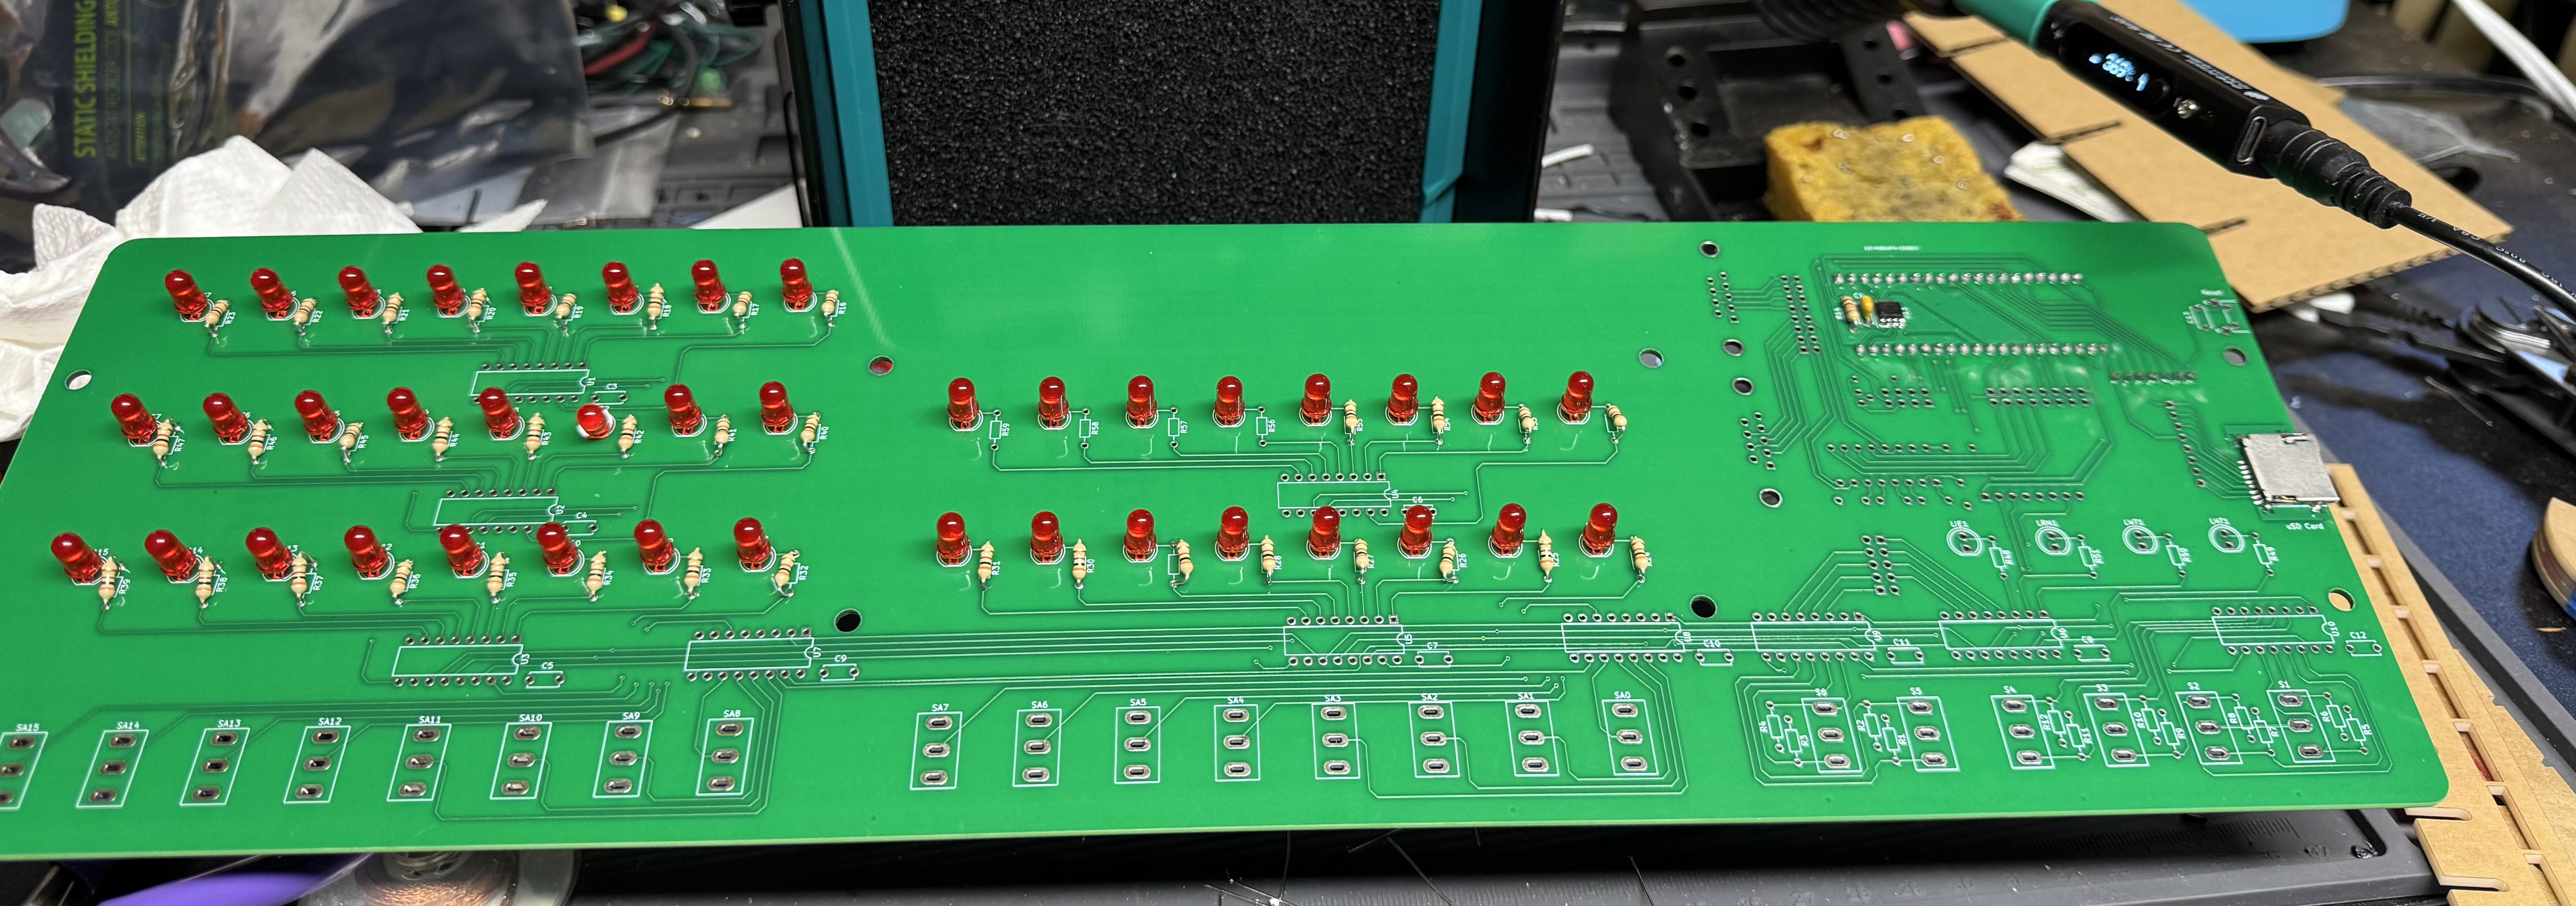
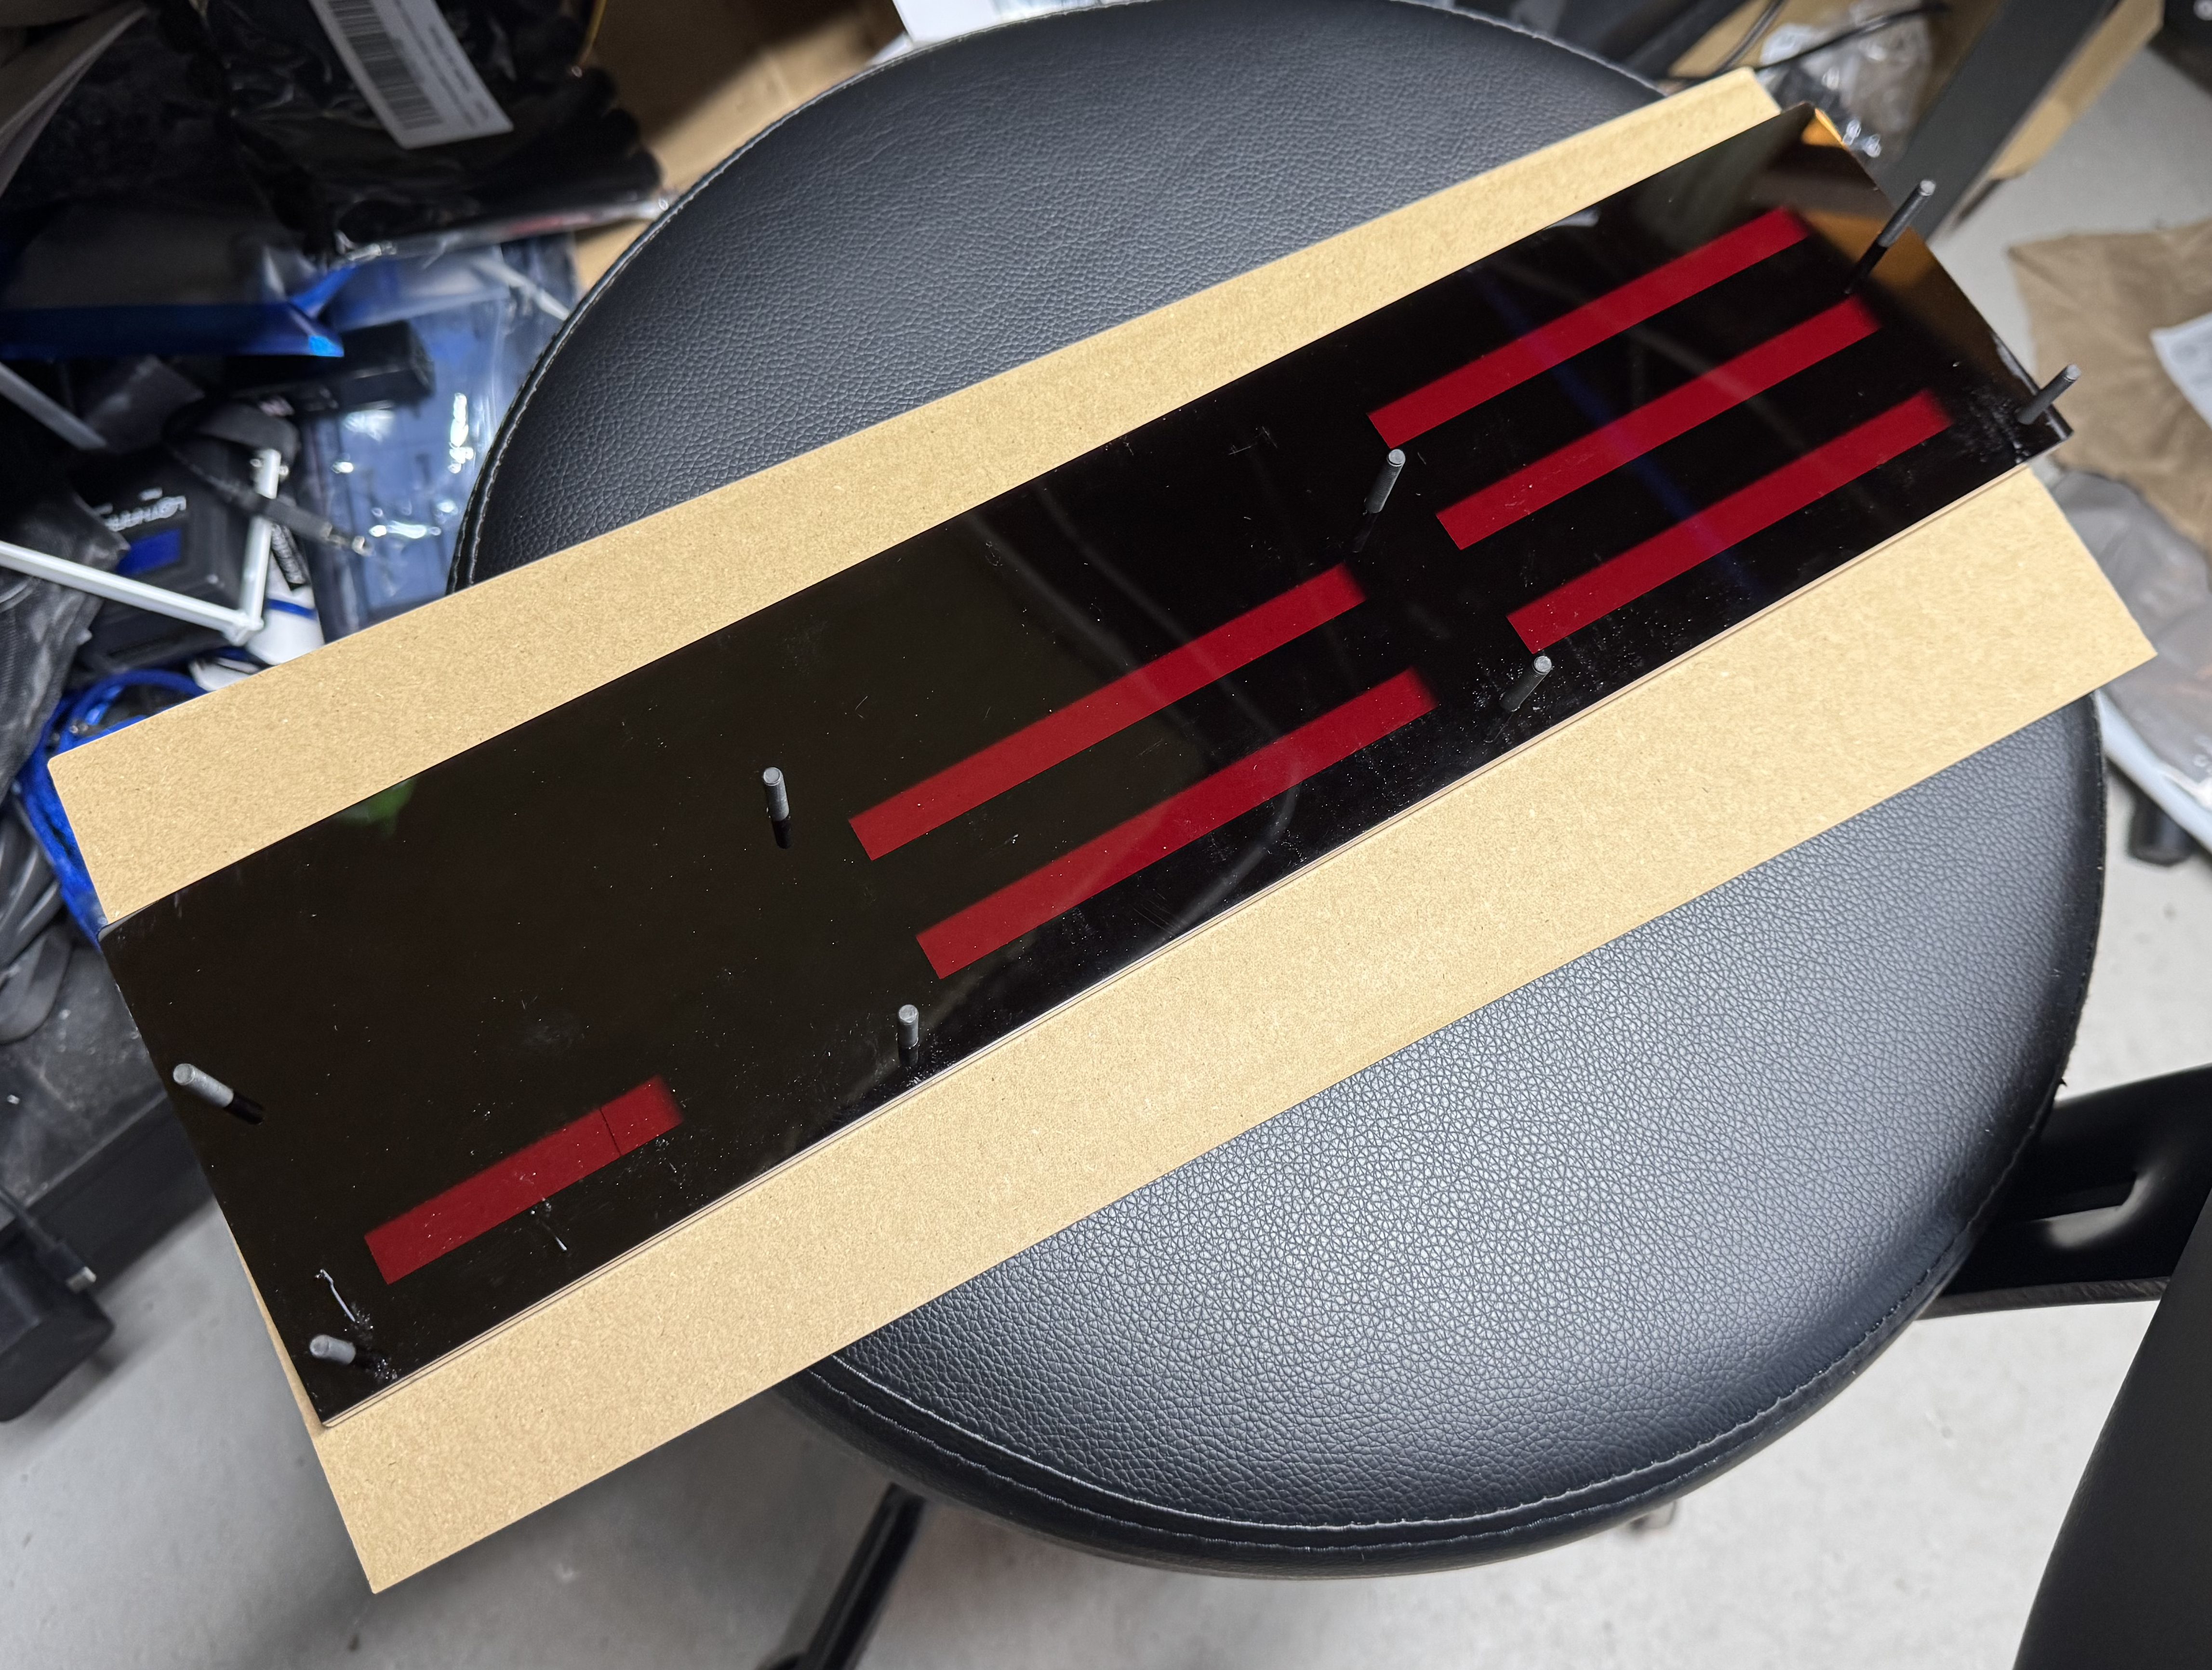
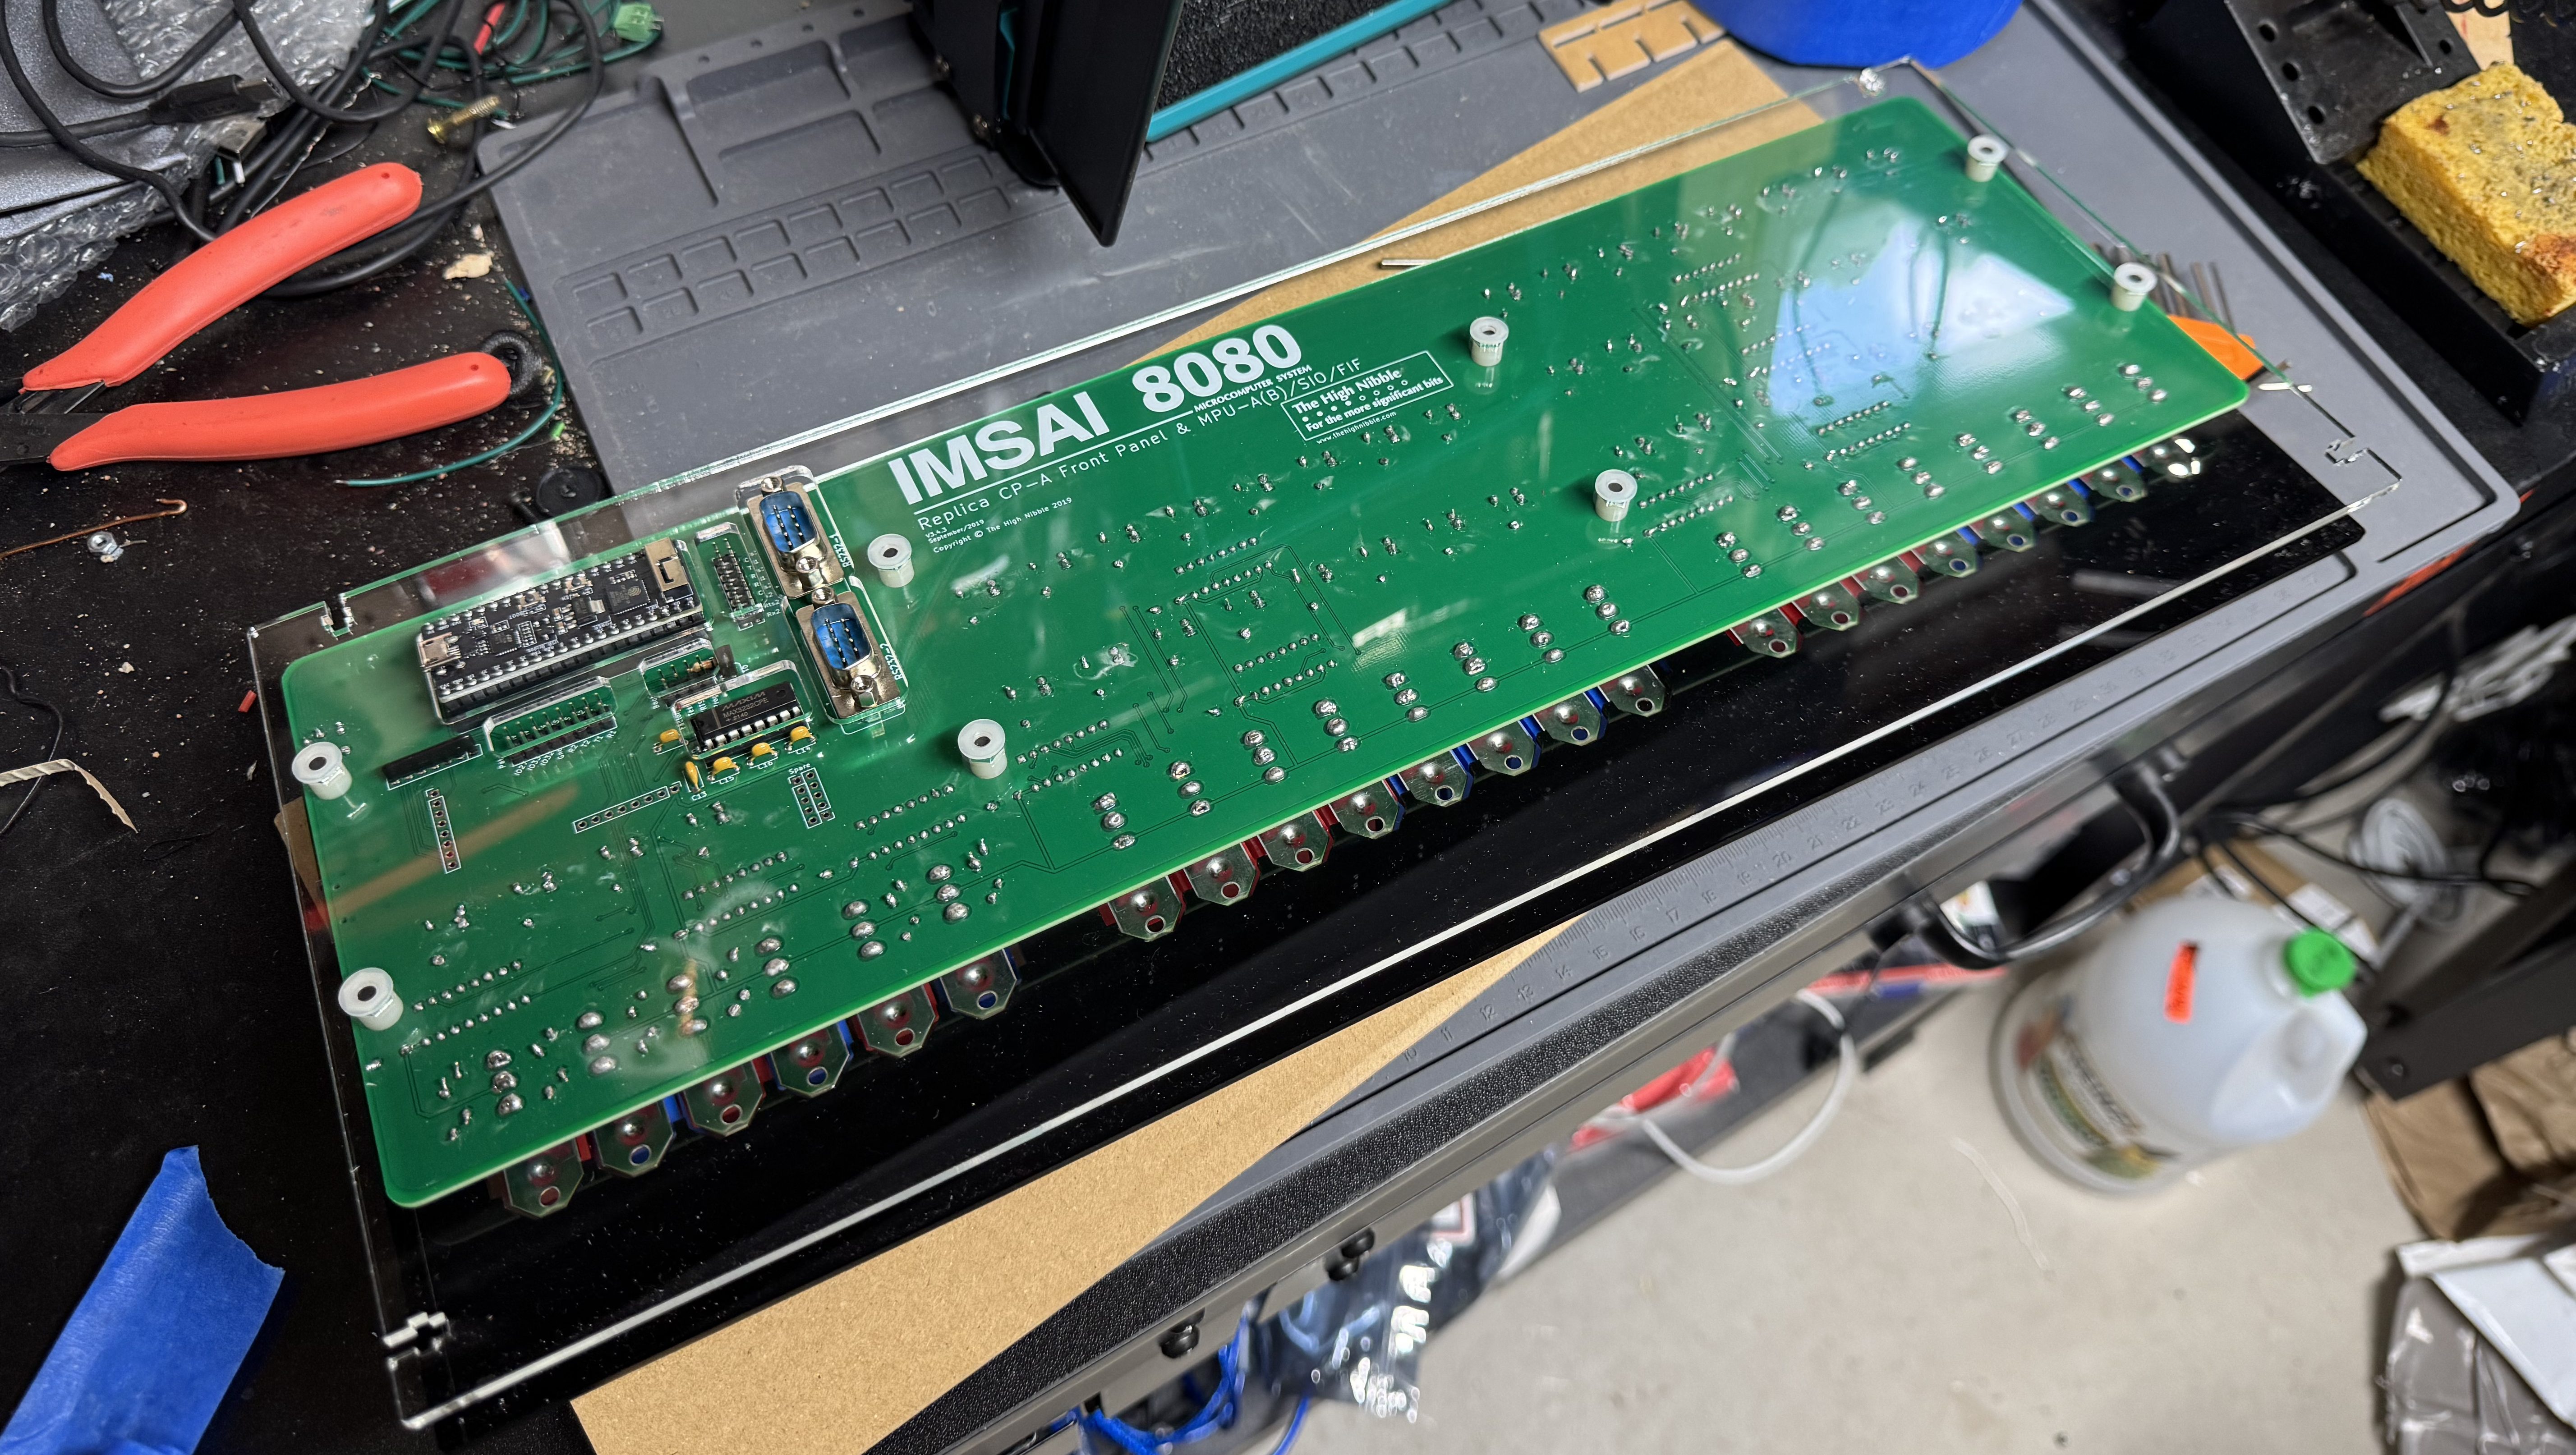
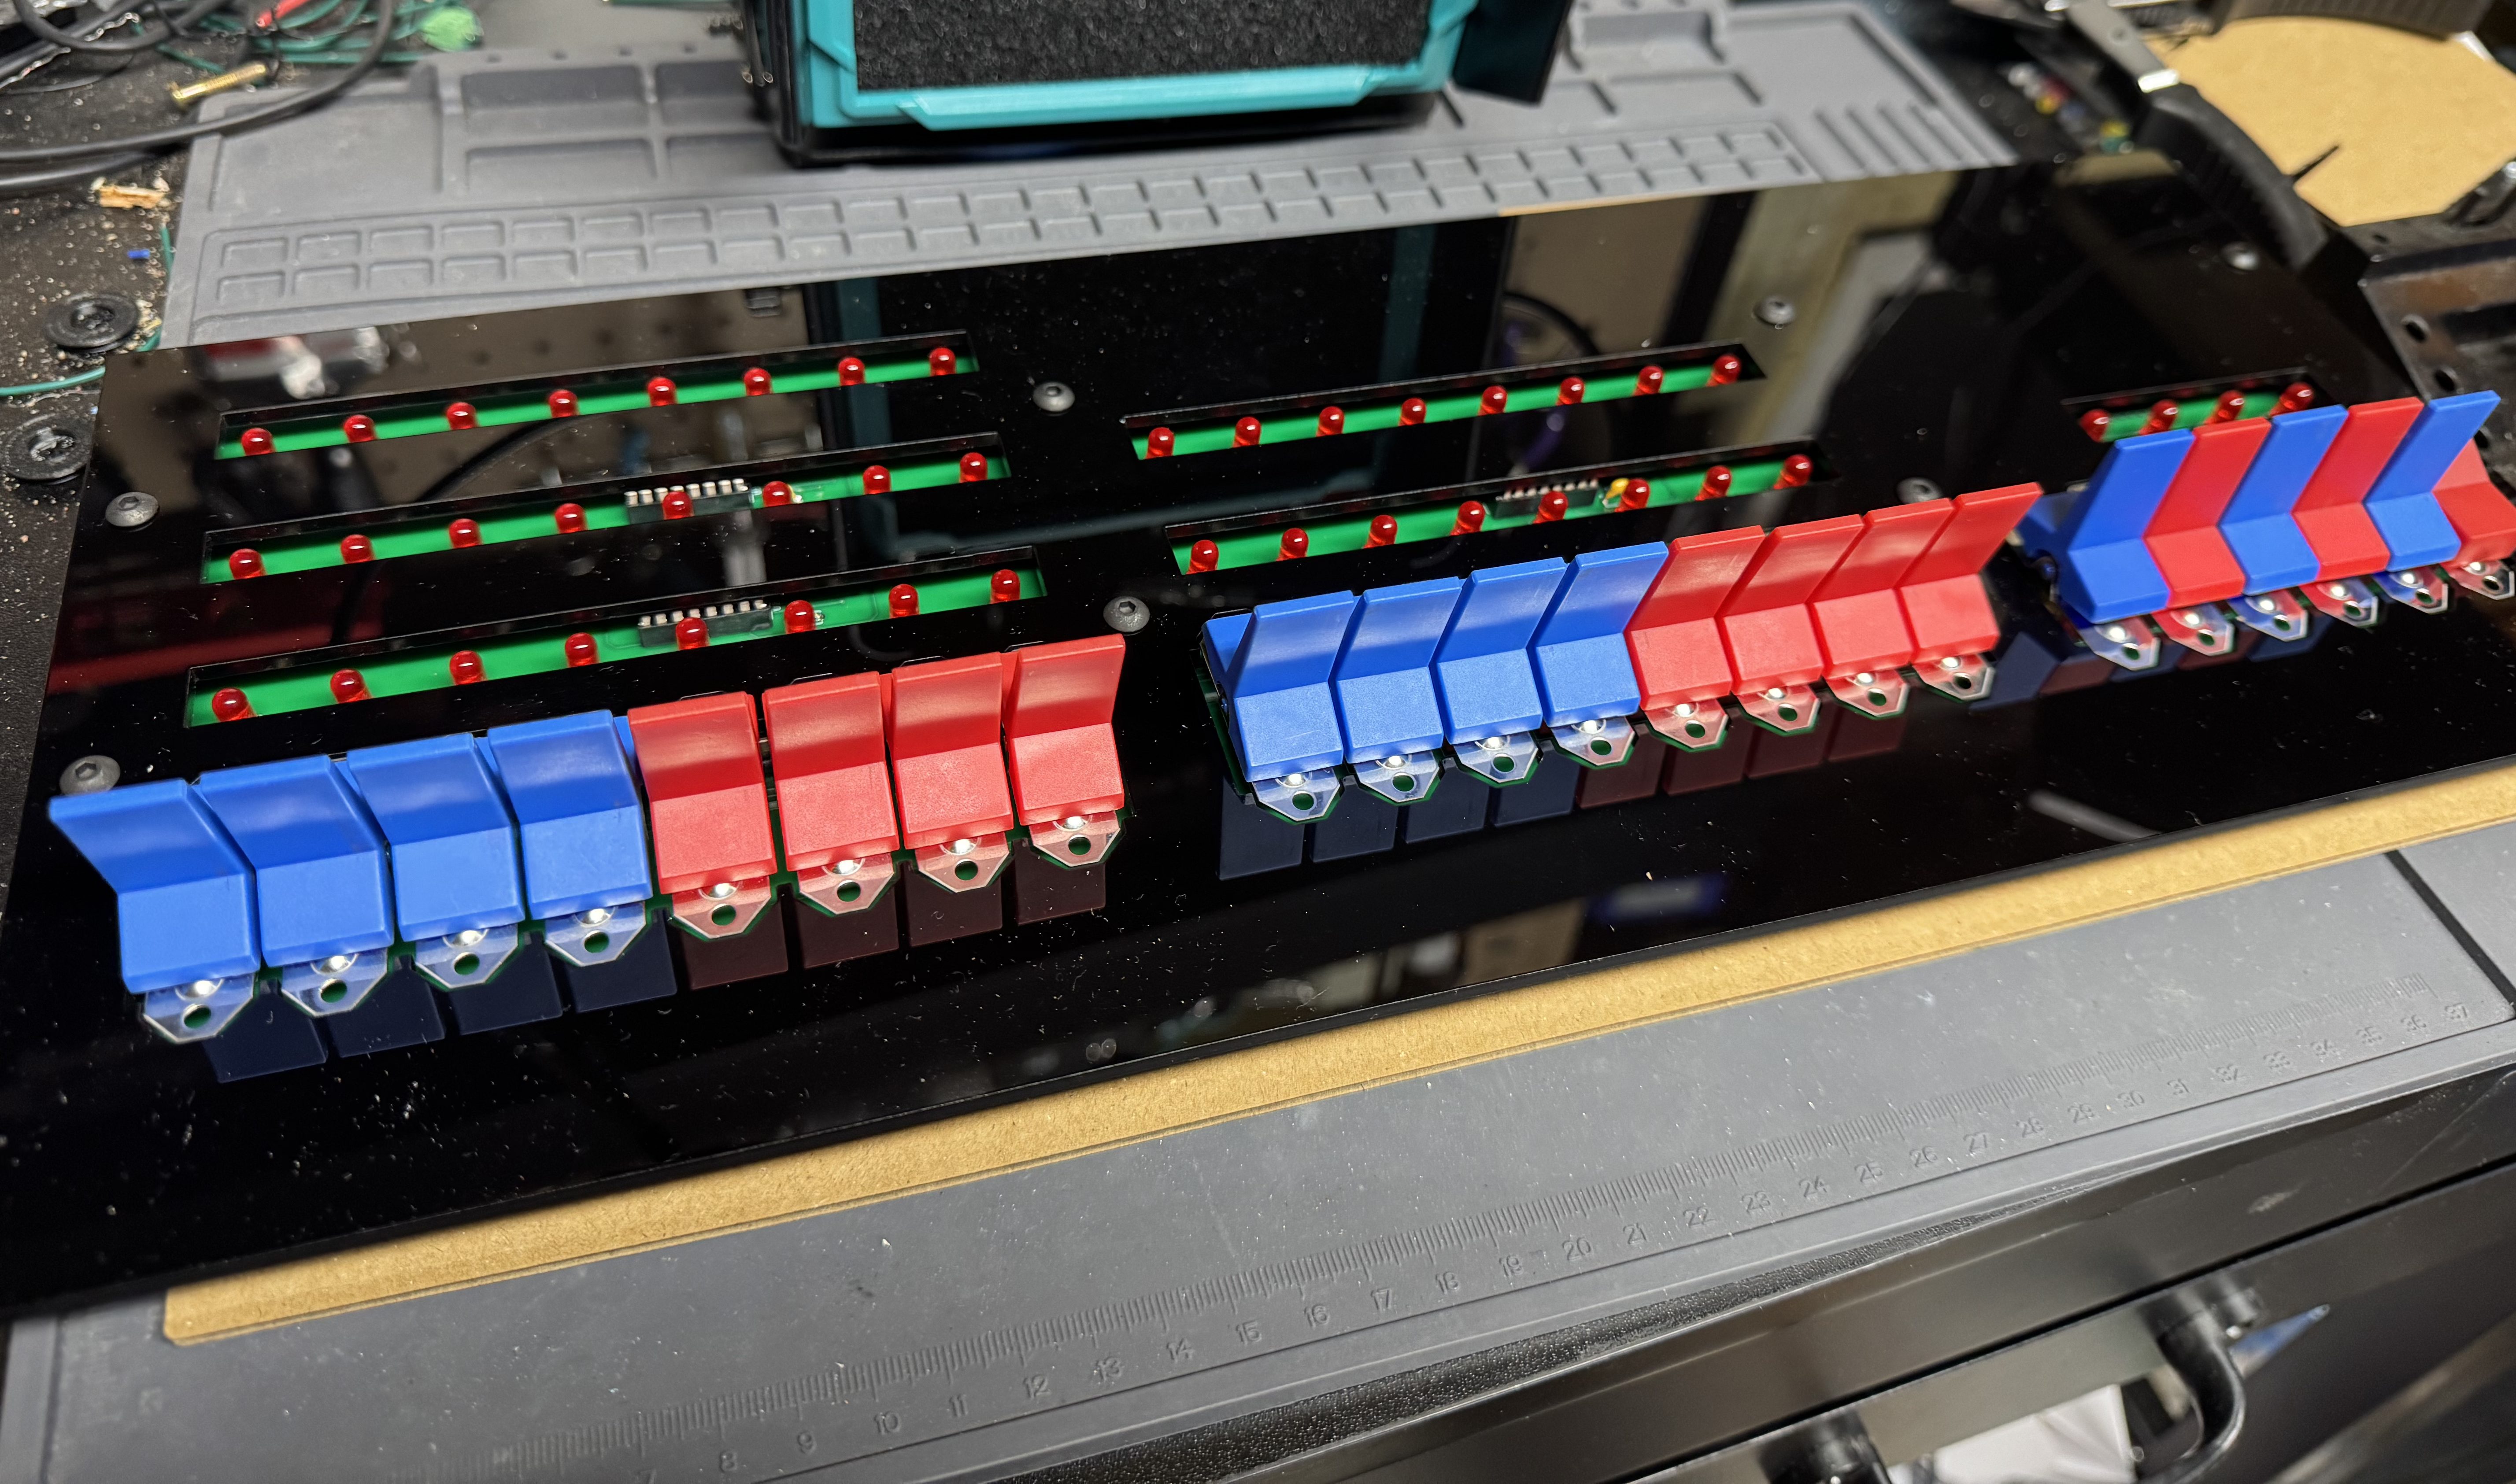
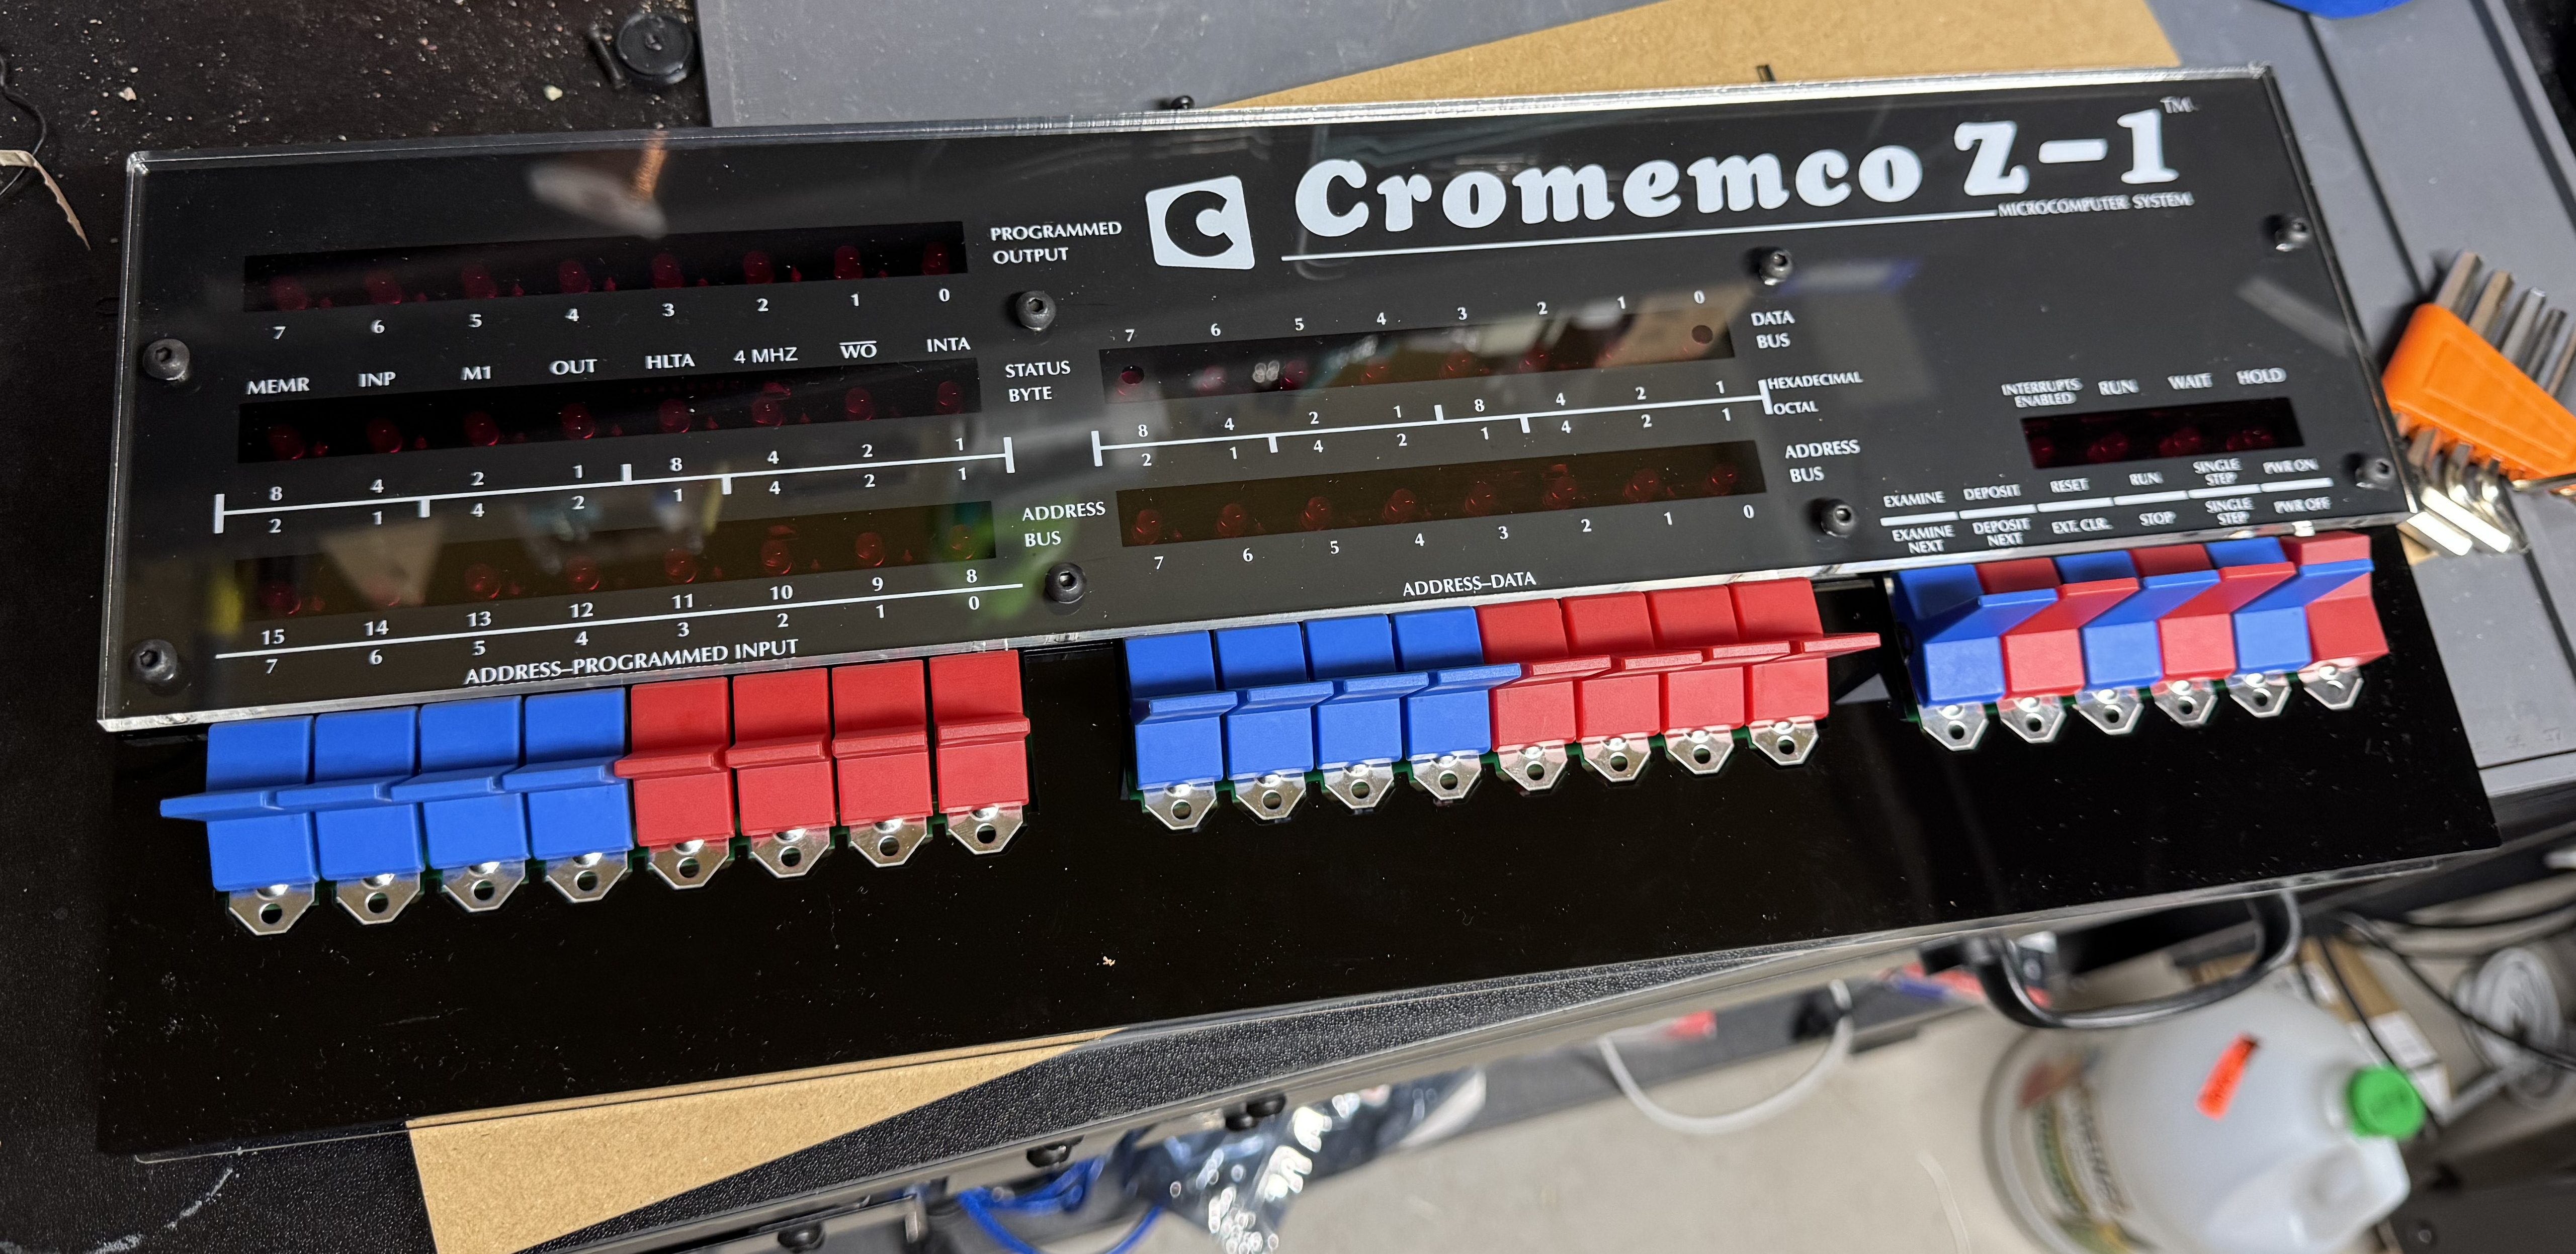
The High Nibble is back with another fun retro computer kit. This one of the Cromemco Z-1. I reached out to the creator of the kit when it first went up, and he asked if I was sure I was interested. The kit is 99% the same as the IMSAI 8080, including most of the components except the acrylic panel and new firmware. The kits are so similar the PCB for the main board is the IMSAI 8080. I enjoyed the last one so much and wanted to support the creator (not to mention a new kit means more blinky lights on the shelf); thus, I ordered the new kit.
The kits are not cheap at $300, but come with everything you need, including a ready to go controller. The packaging is done well with individually slotted spots for each switch and IC in cardboard. The metal case is a nice touch. And just like before, the firmware is fantastic. You get a full web interface, external serial ports, the gorgeous front panel, and the system can update over the air update via Wi-Fi.
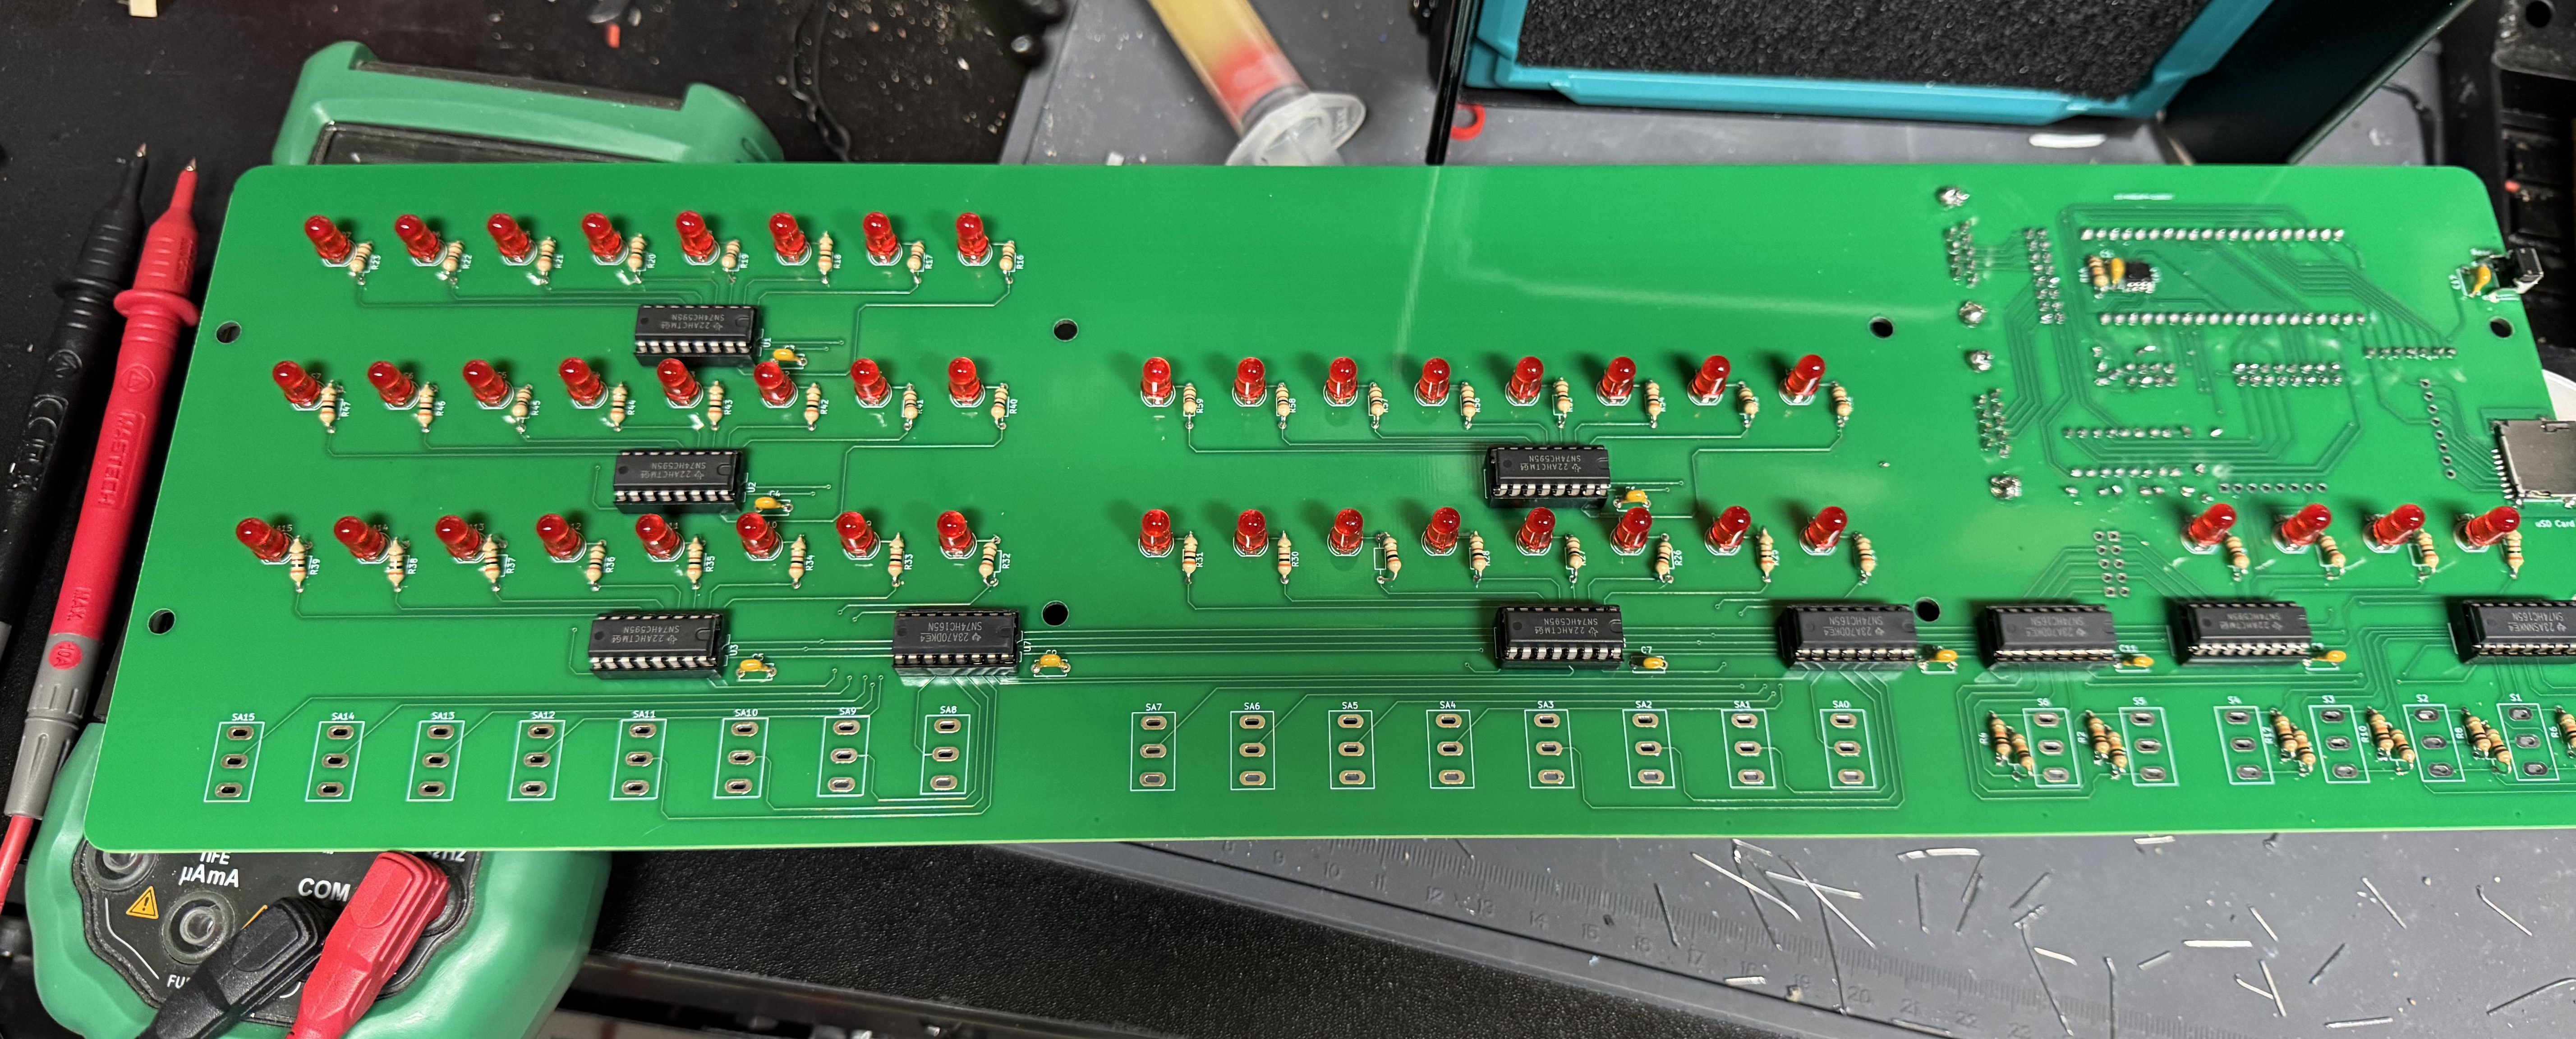
I won’t go too in-depth about the kit because it is so similar to the other one. The soldering is not too bad, the process starts with one small IC that has to be soldered in the front of the pcb, after that things like sockets and LEDs are easy, large, and straight forward.
I got a new soldering iron, the Pinecil from Pine64. This was my first project using it and I found it delightful. It’s smaller than my old iron, making it easier to handle. It’s advertised as a “smart” soldering iron which means when you put it down in a holder it quickly cools when not in use. A very nice safety feature.
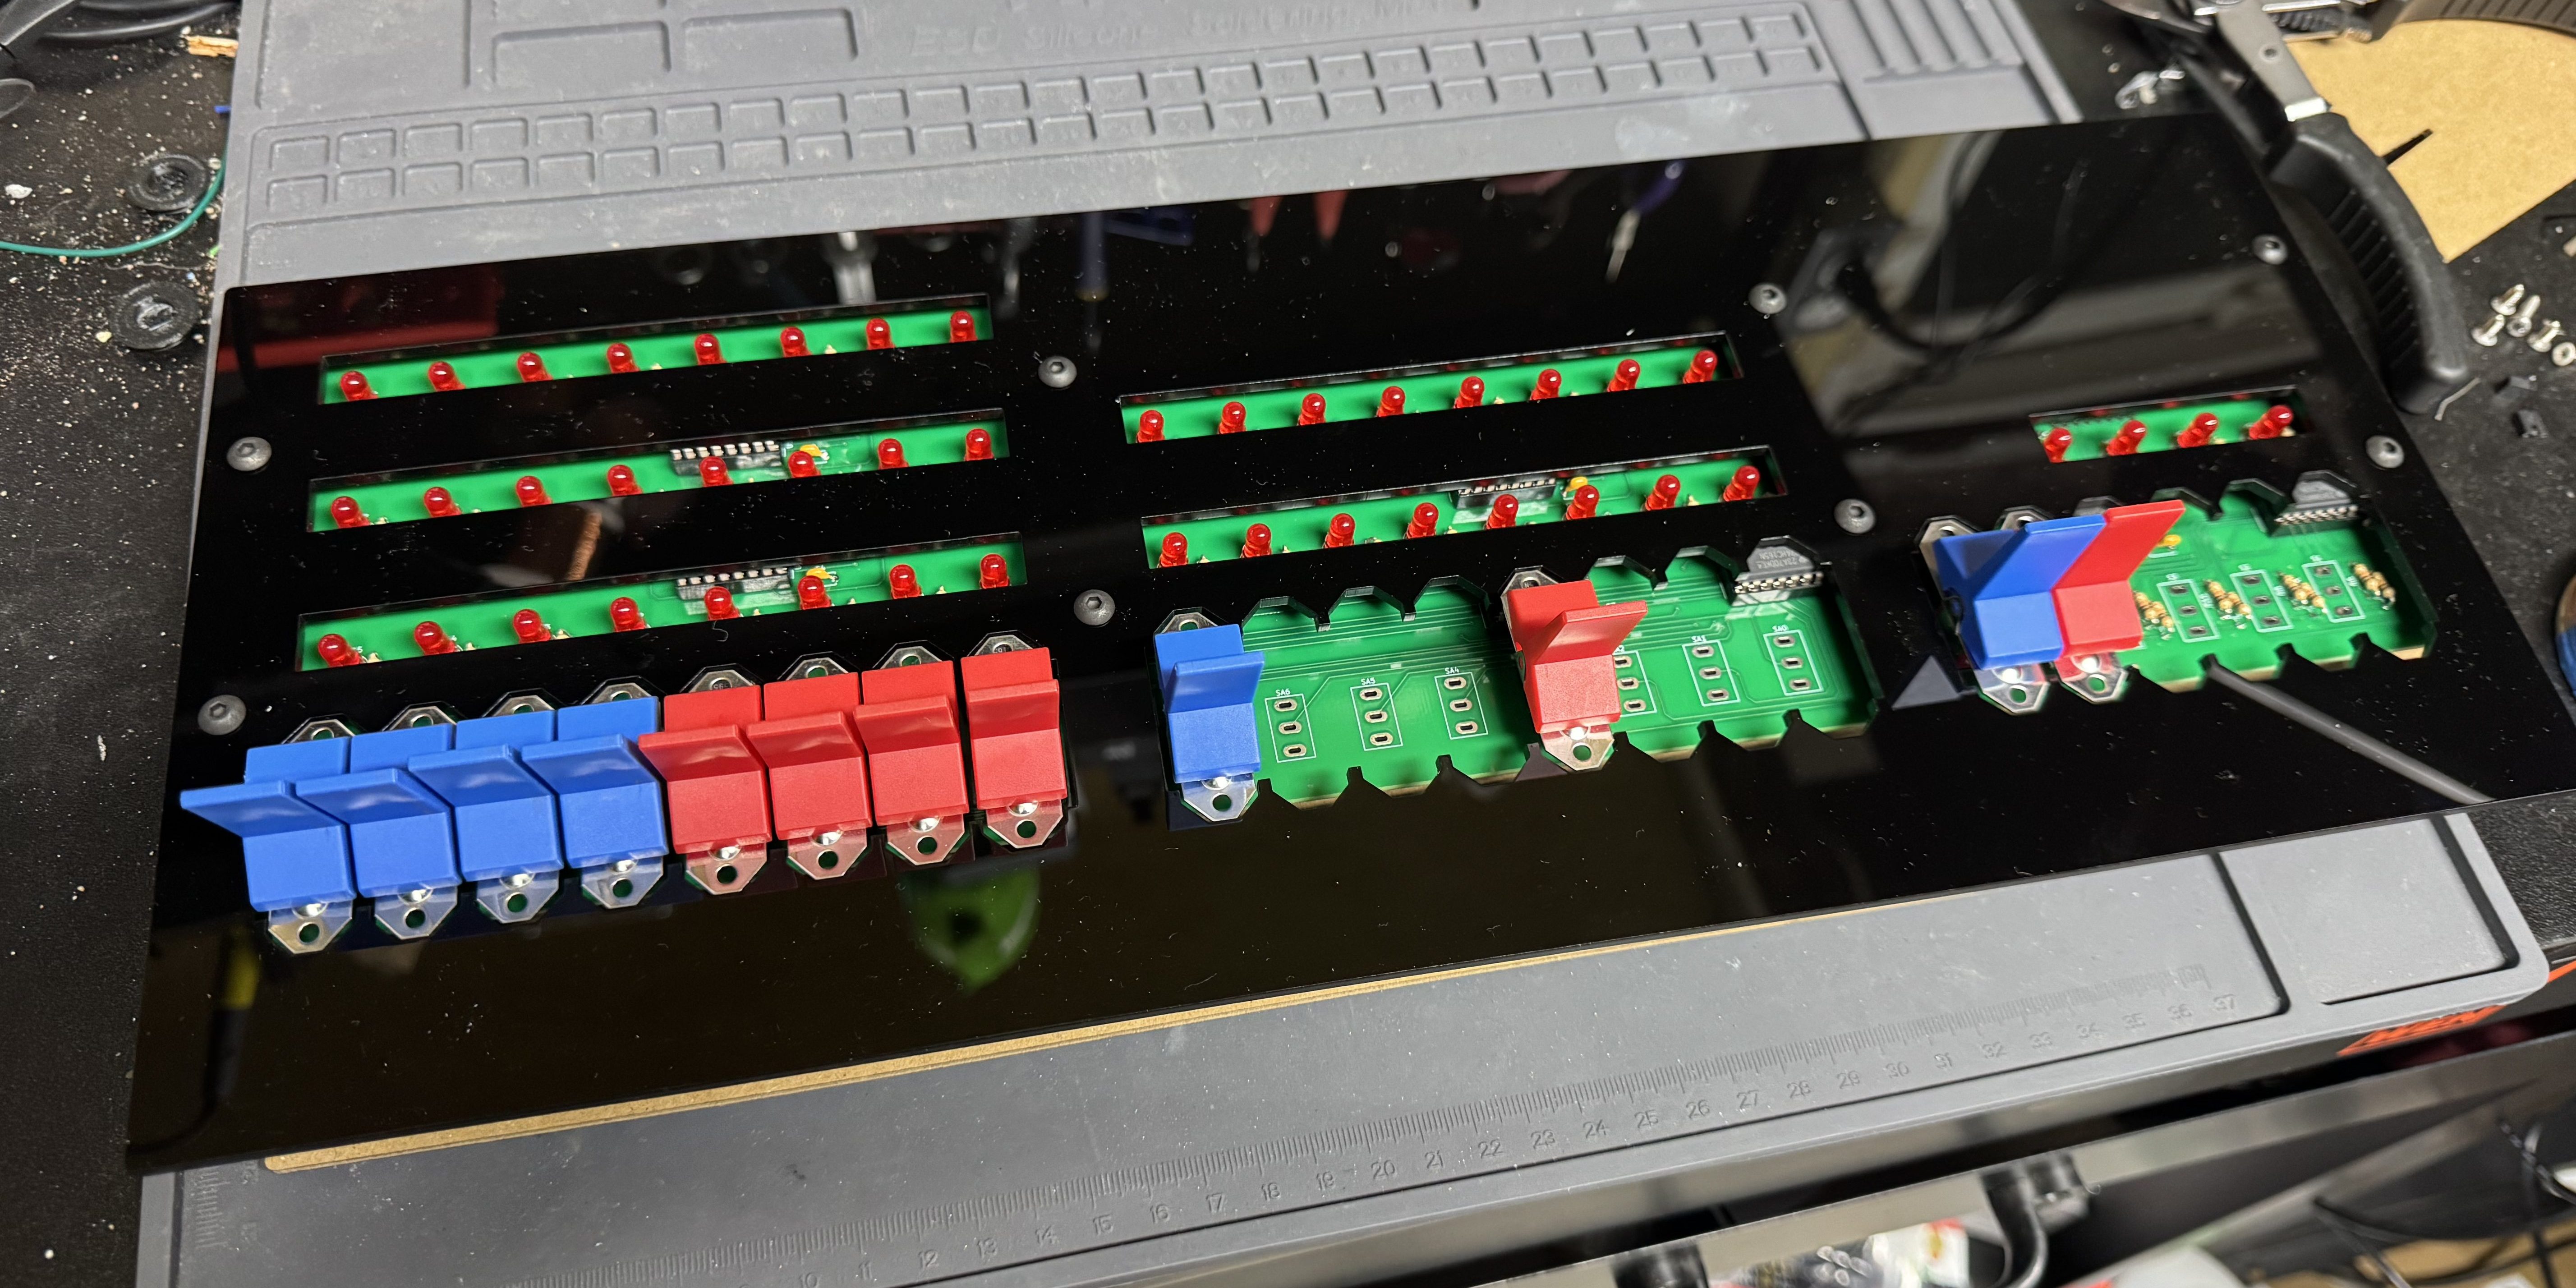
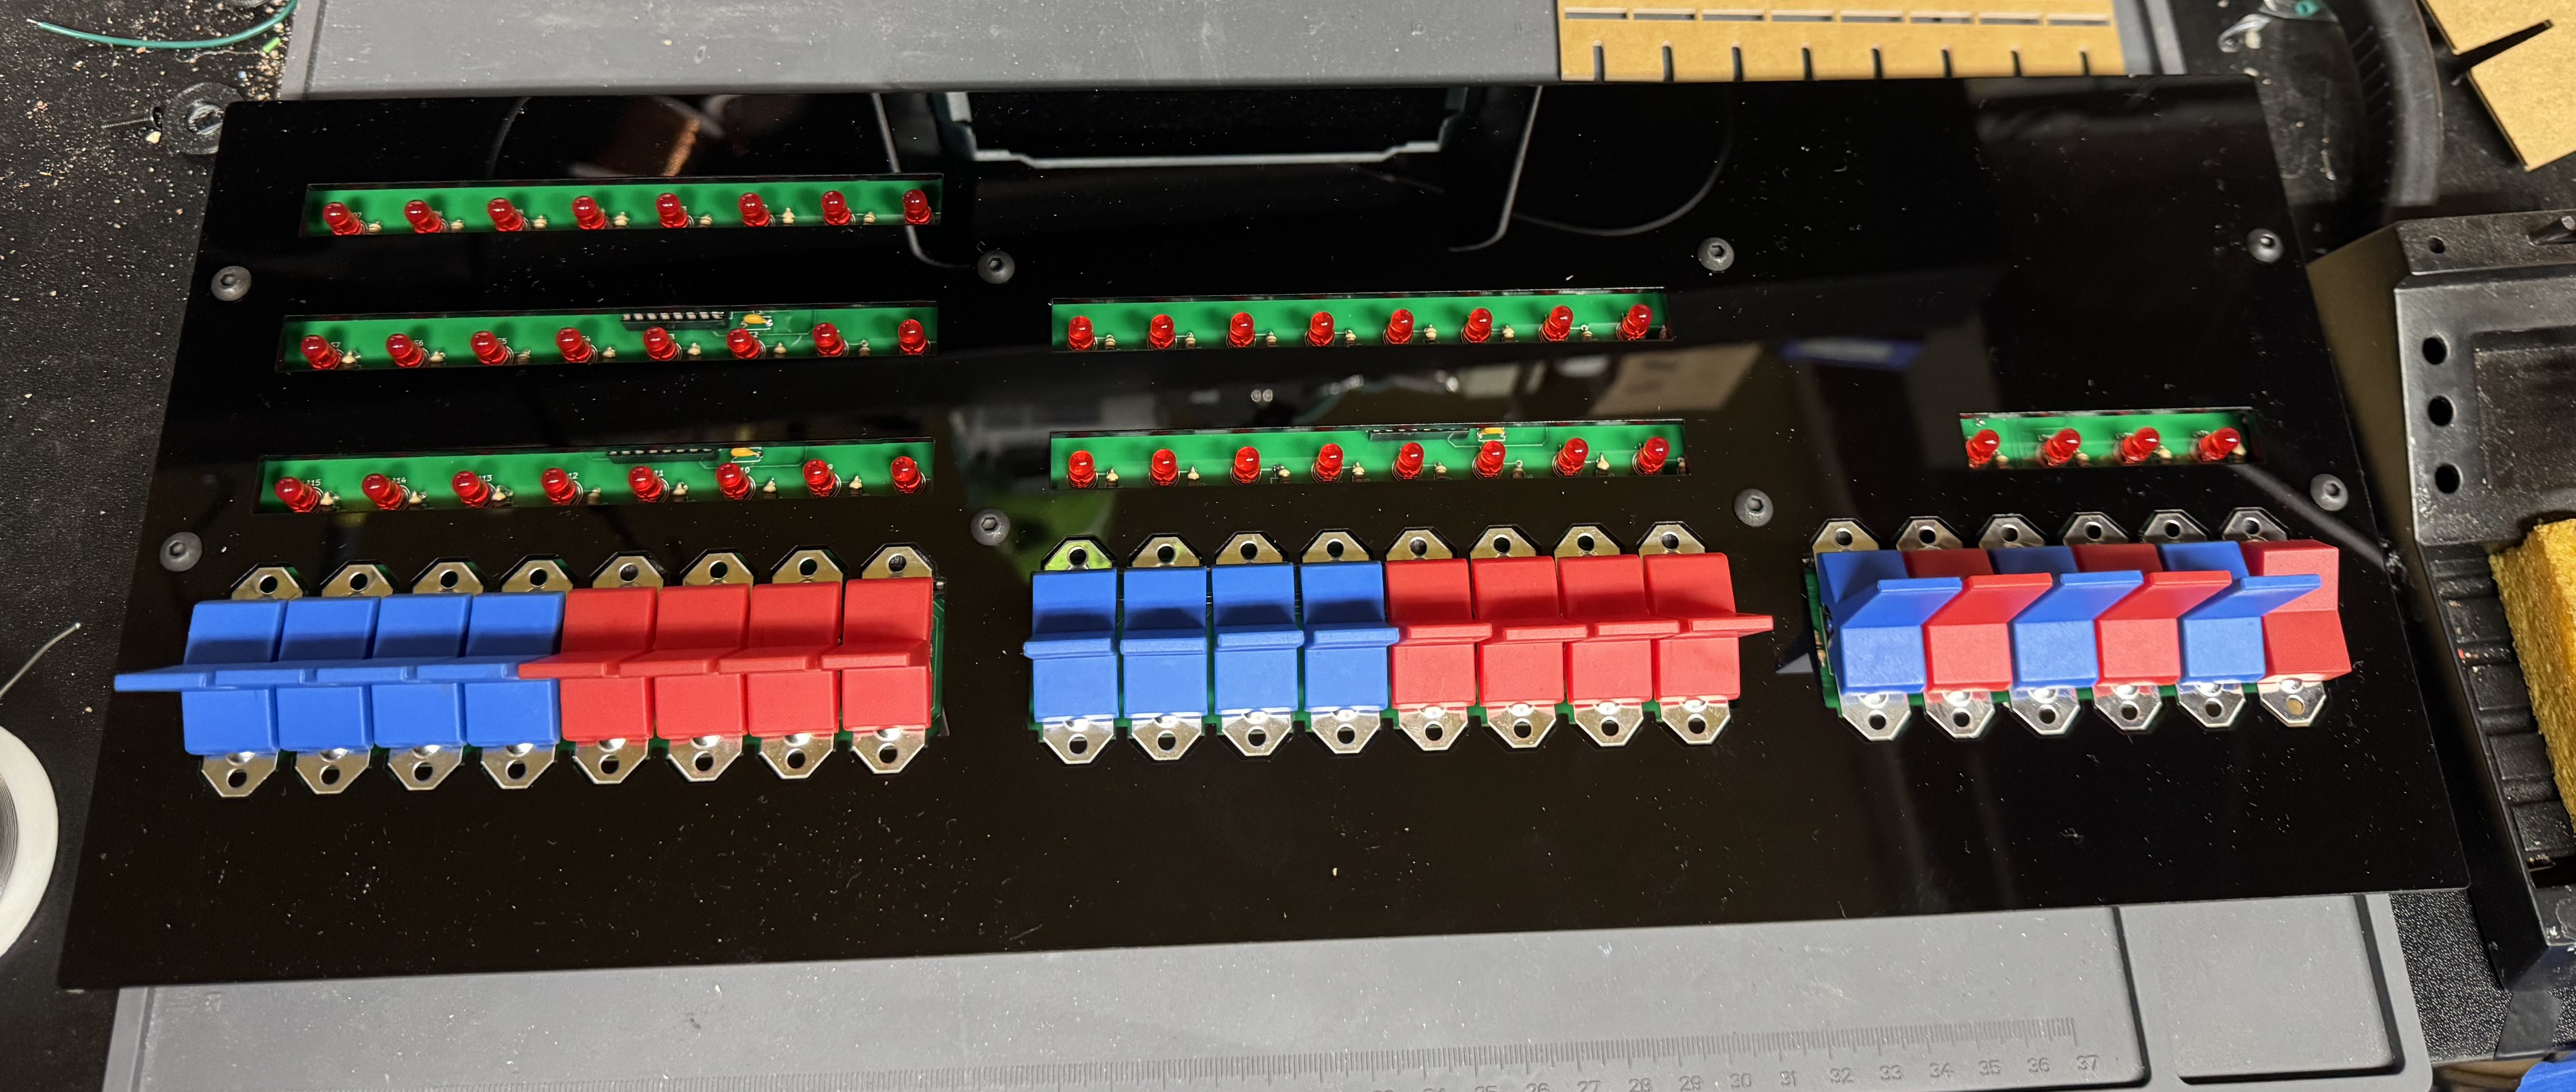
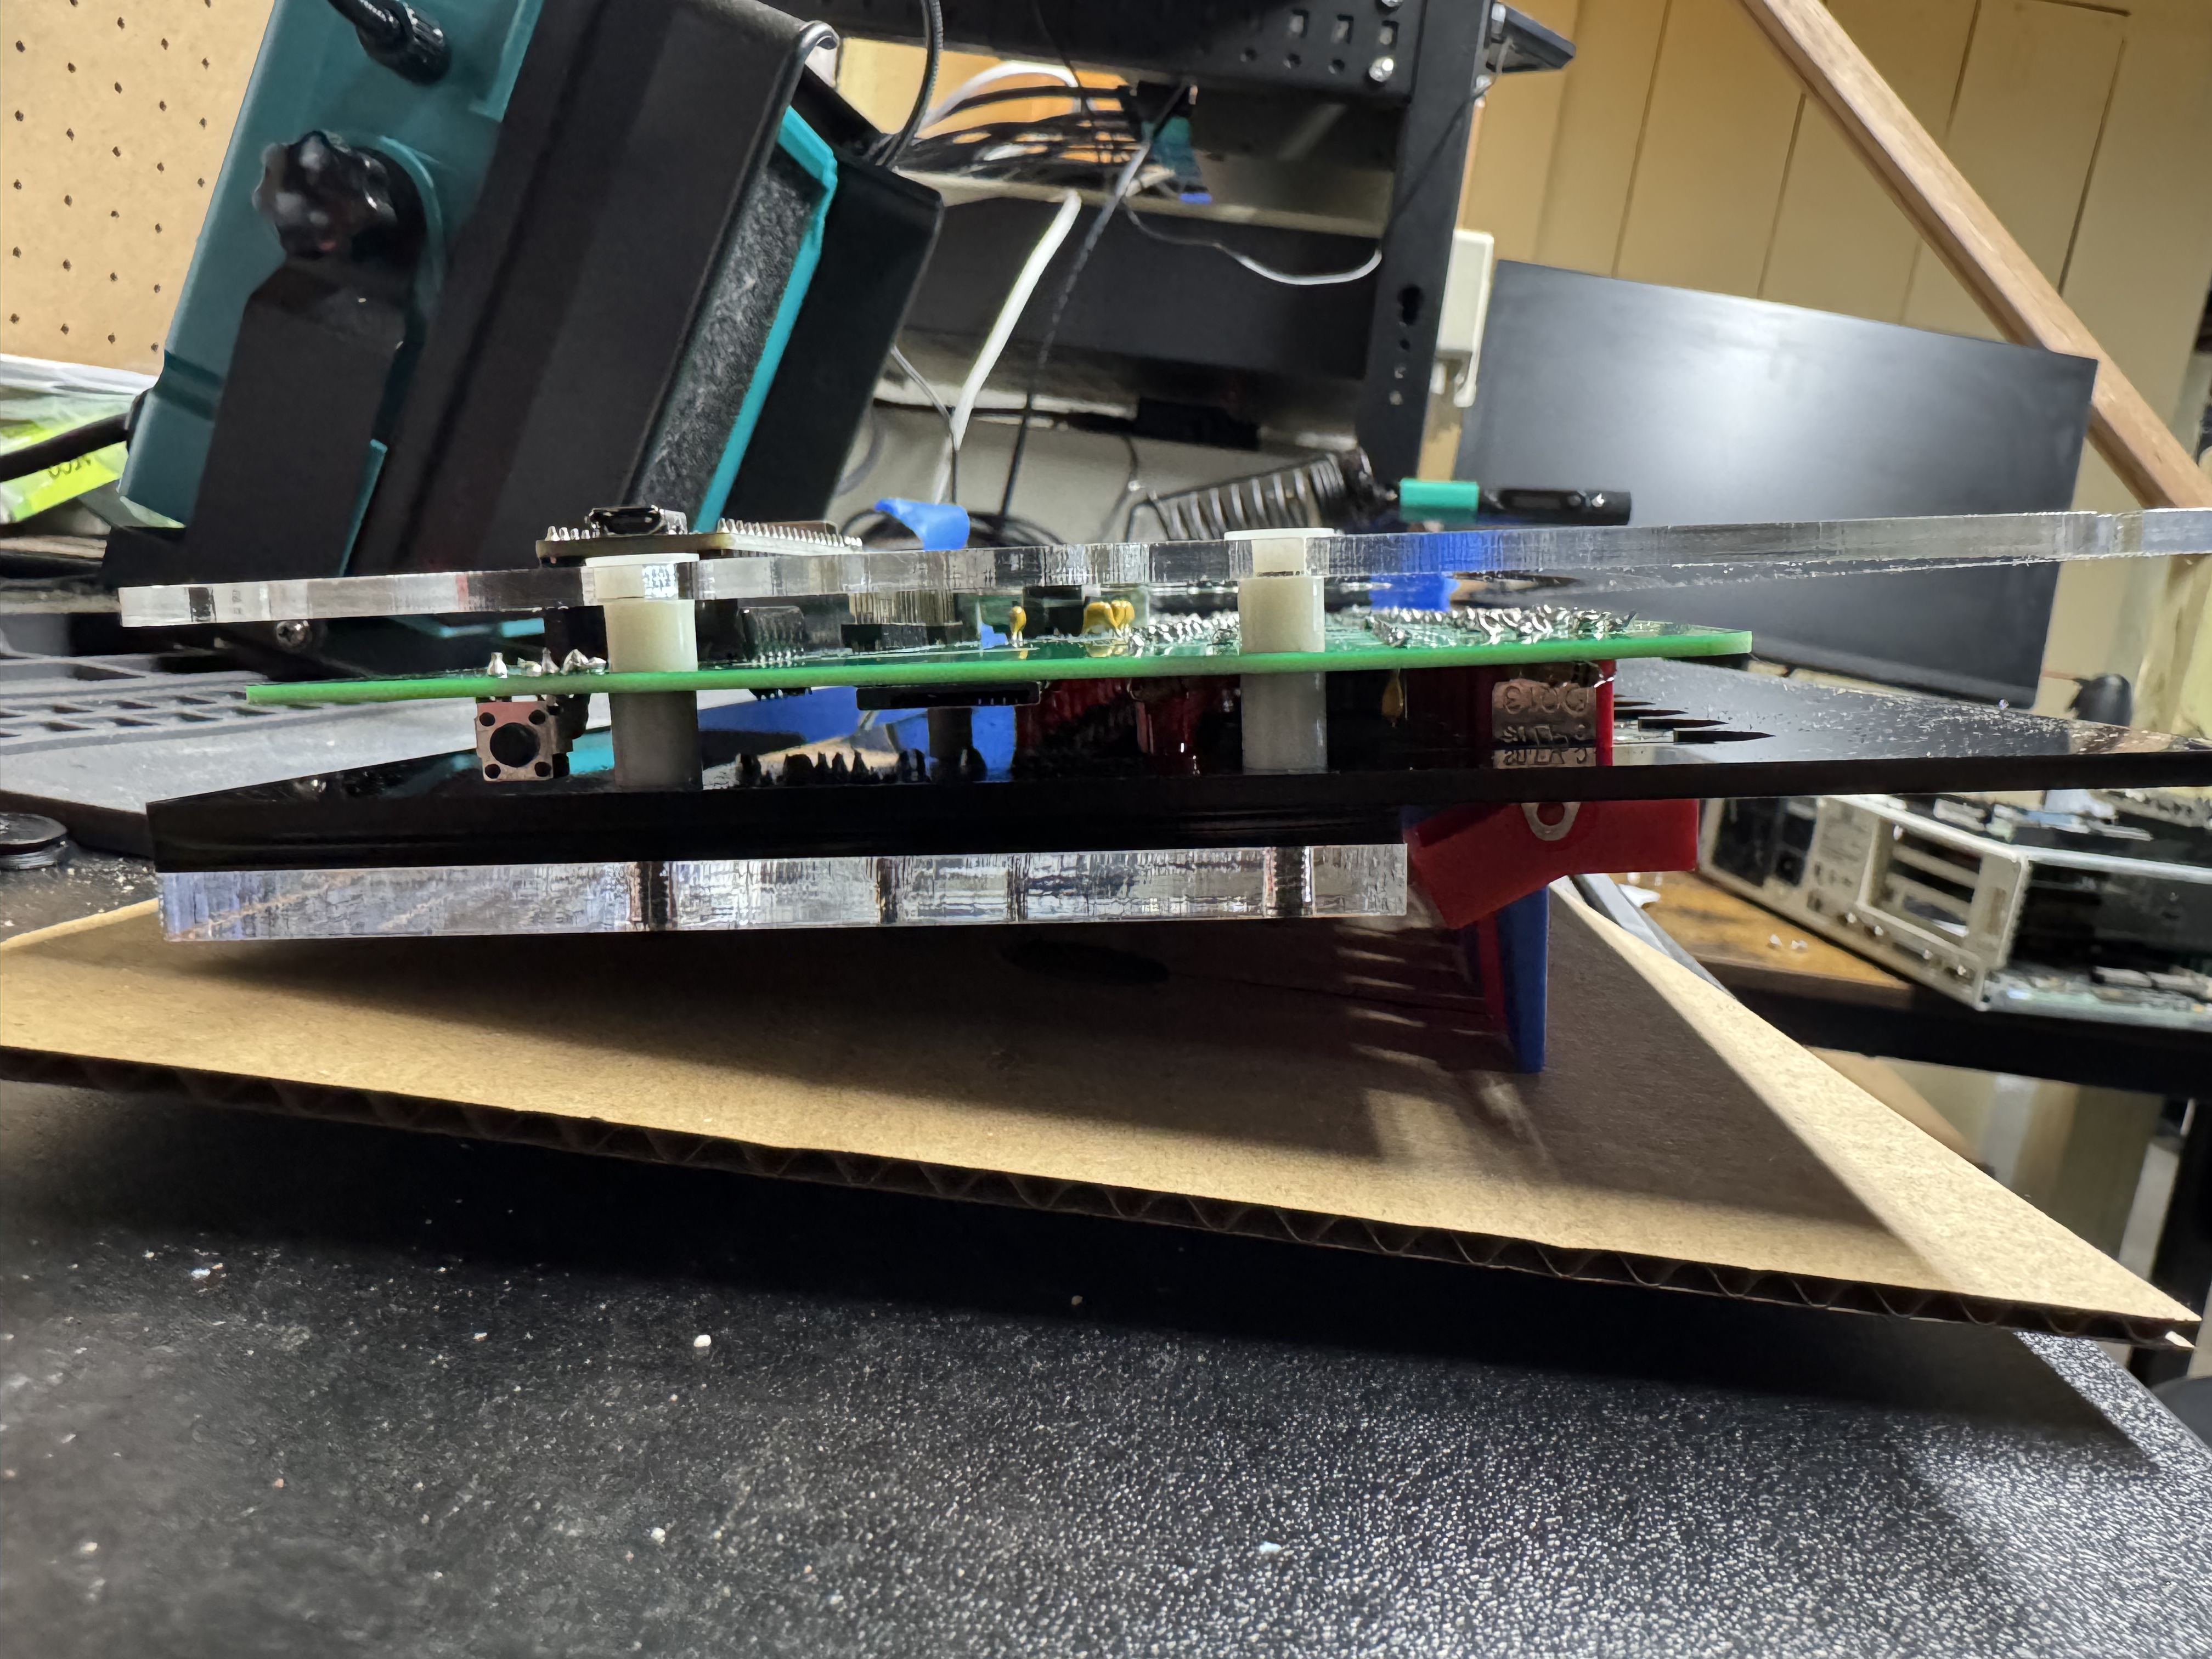
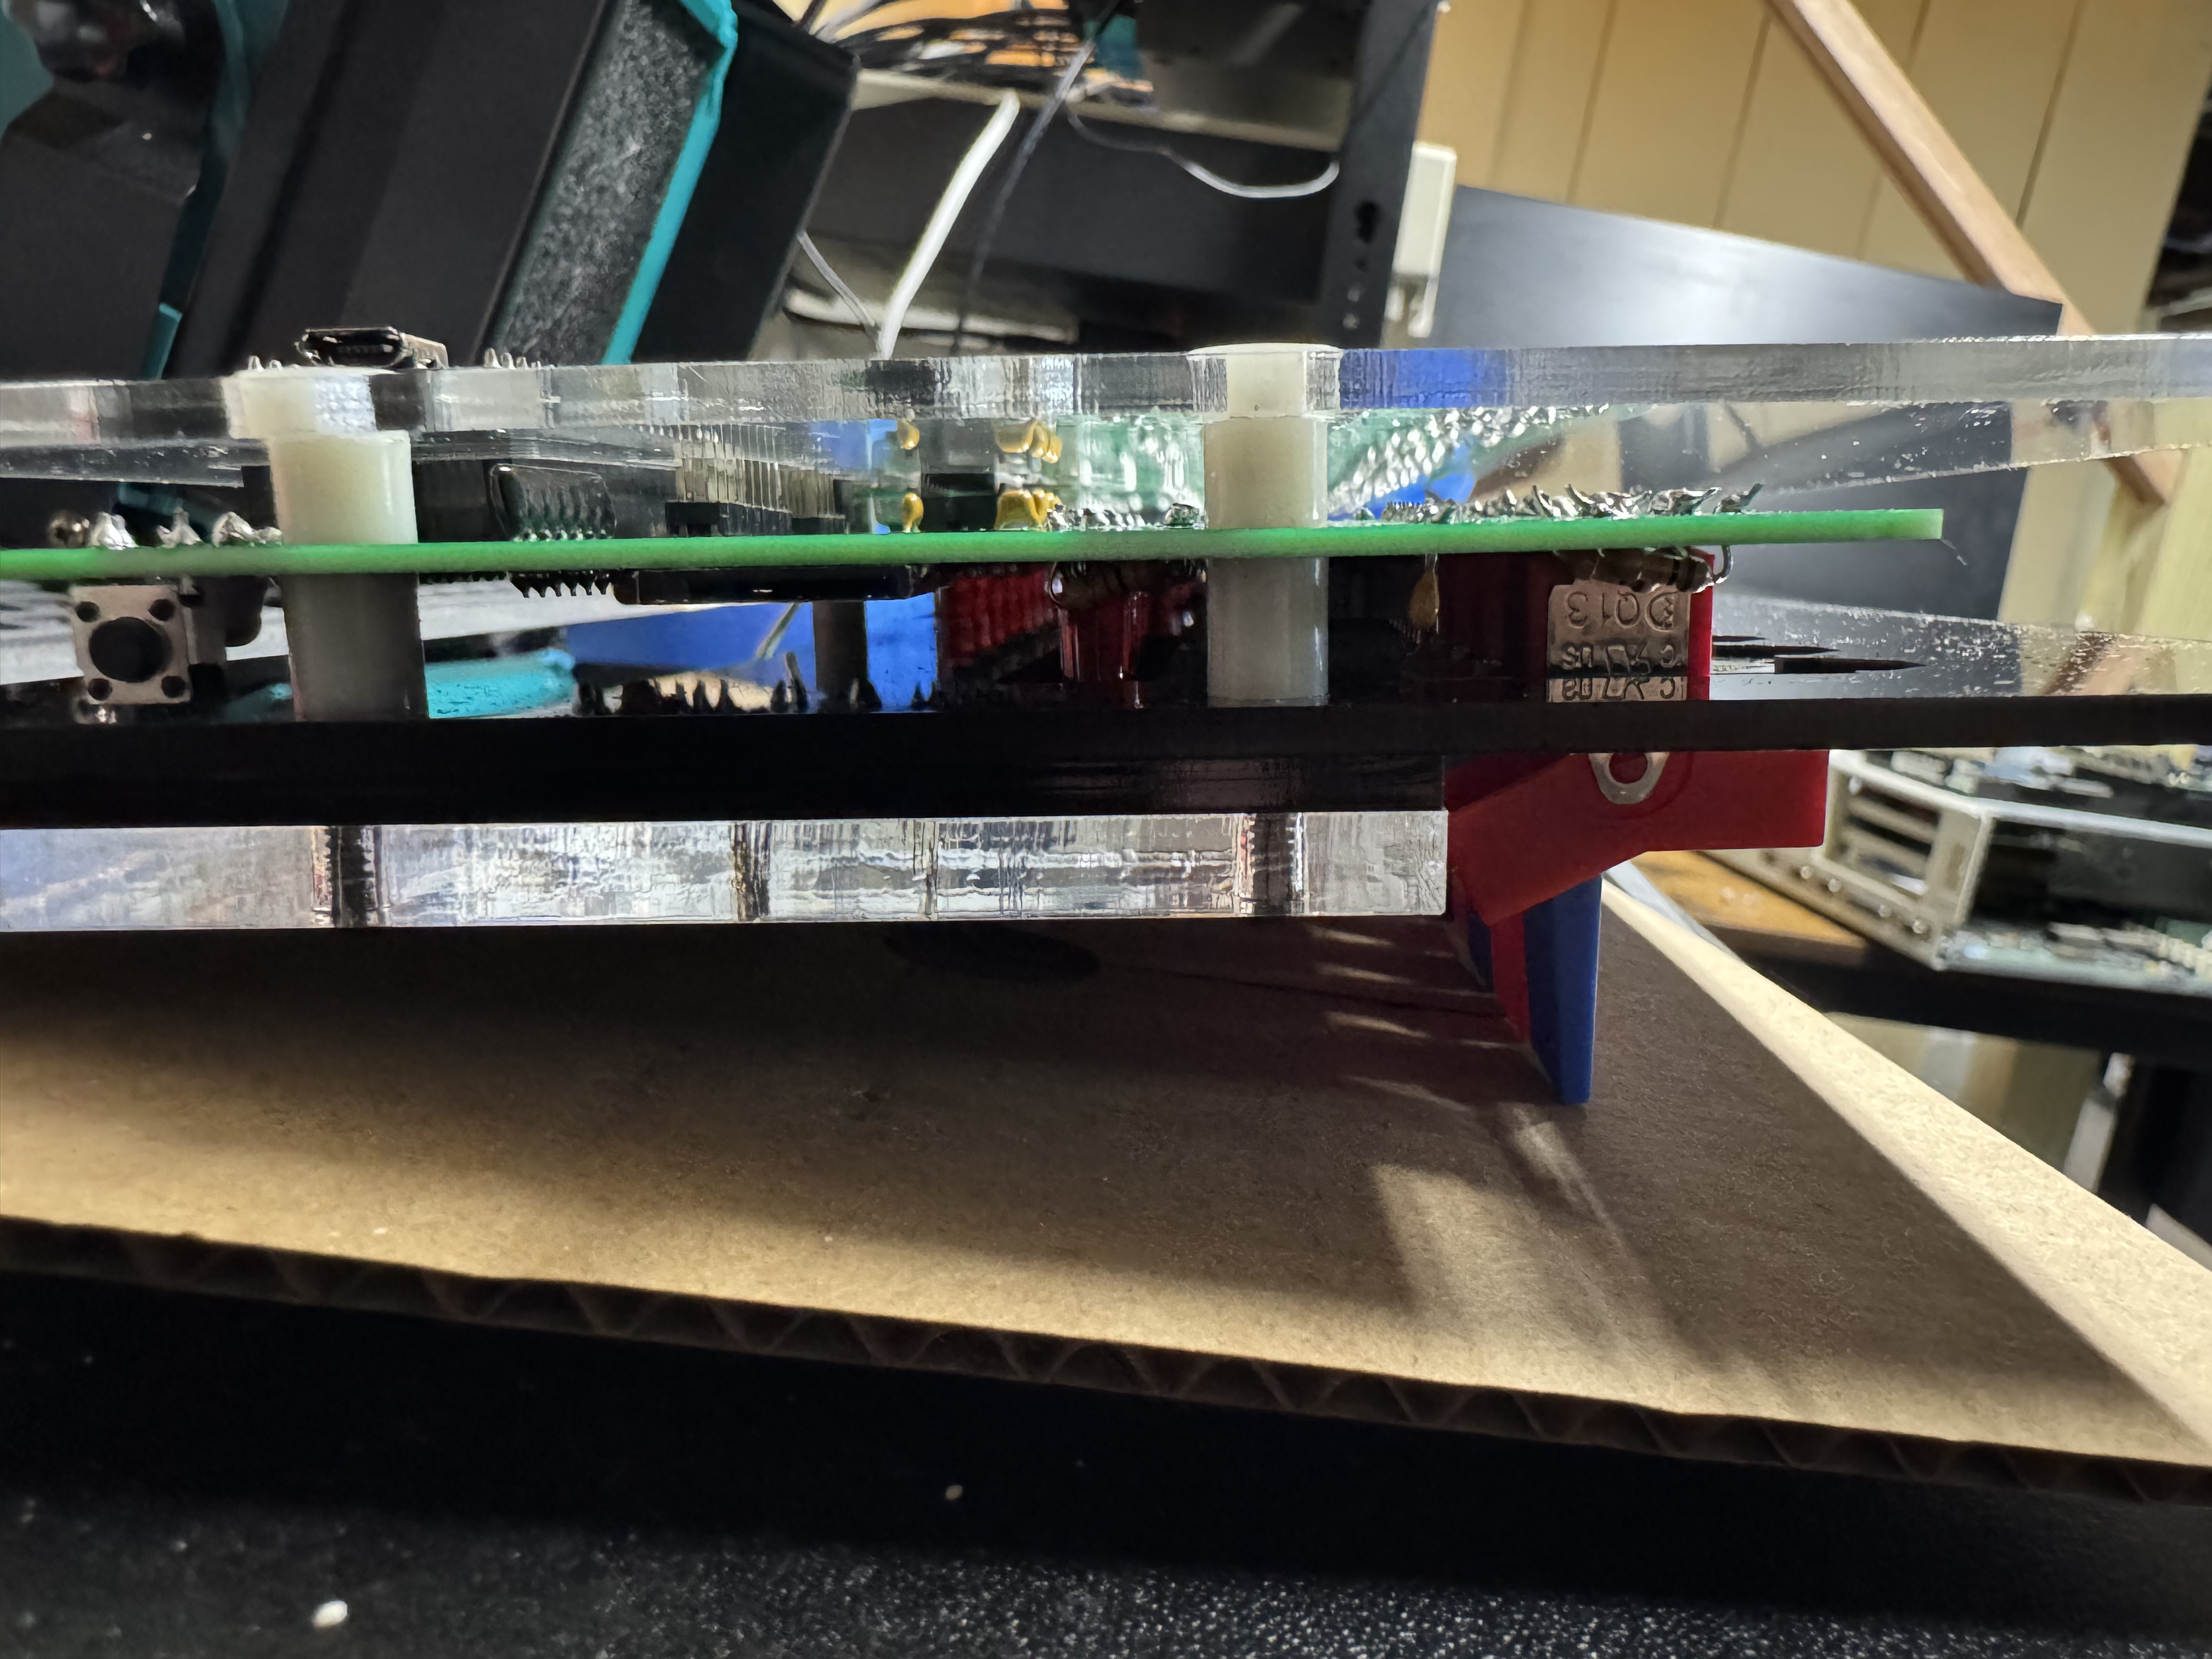
The parts of the last build that were difficult are here too, having to put the system together as a sandwich of acrylic and circuit boards it’s a bit tricky, but once you get it in the right spot tightens up easily. Tape helped keep the build aligned during assembly.
The website for the project has a lot of good information, https://thehighnibble.com/cromemcoZ1/. There’s also a helpful YouTube video, same one as the IMSAI kit, that walks through the construction step-by-step.
The main step that gave me an issue was when you get to Testing, the LS2 light would not come on. After looking in the forums, https://github.com/orgs/thehighnibble/discussions/120, turns out that is a difference in the firmware, and it is not supposed to come on. With the video being for the other kit, it is not mentioned.
Overall, another great kit, and another fun system to add to the collection!
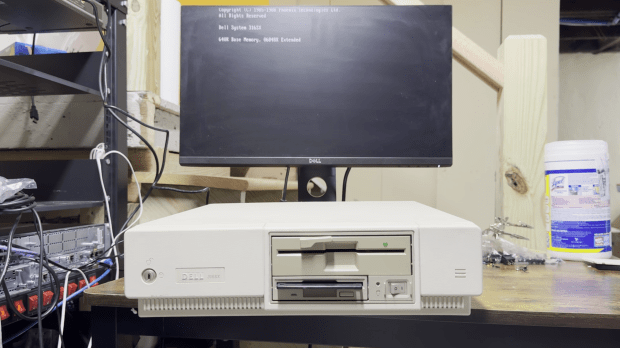
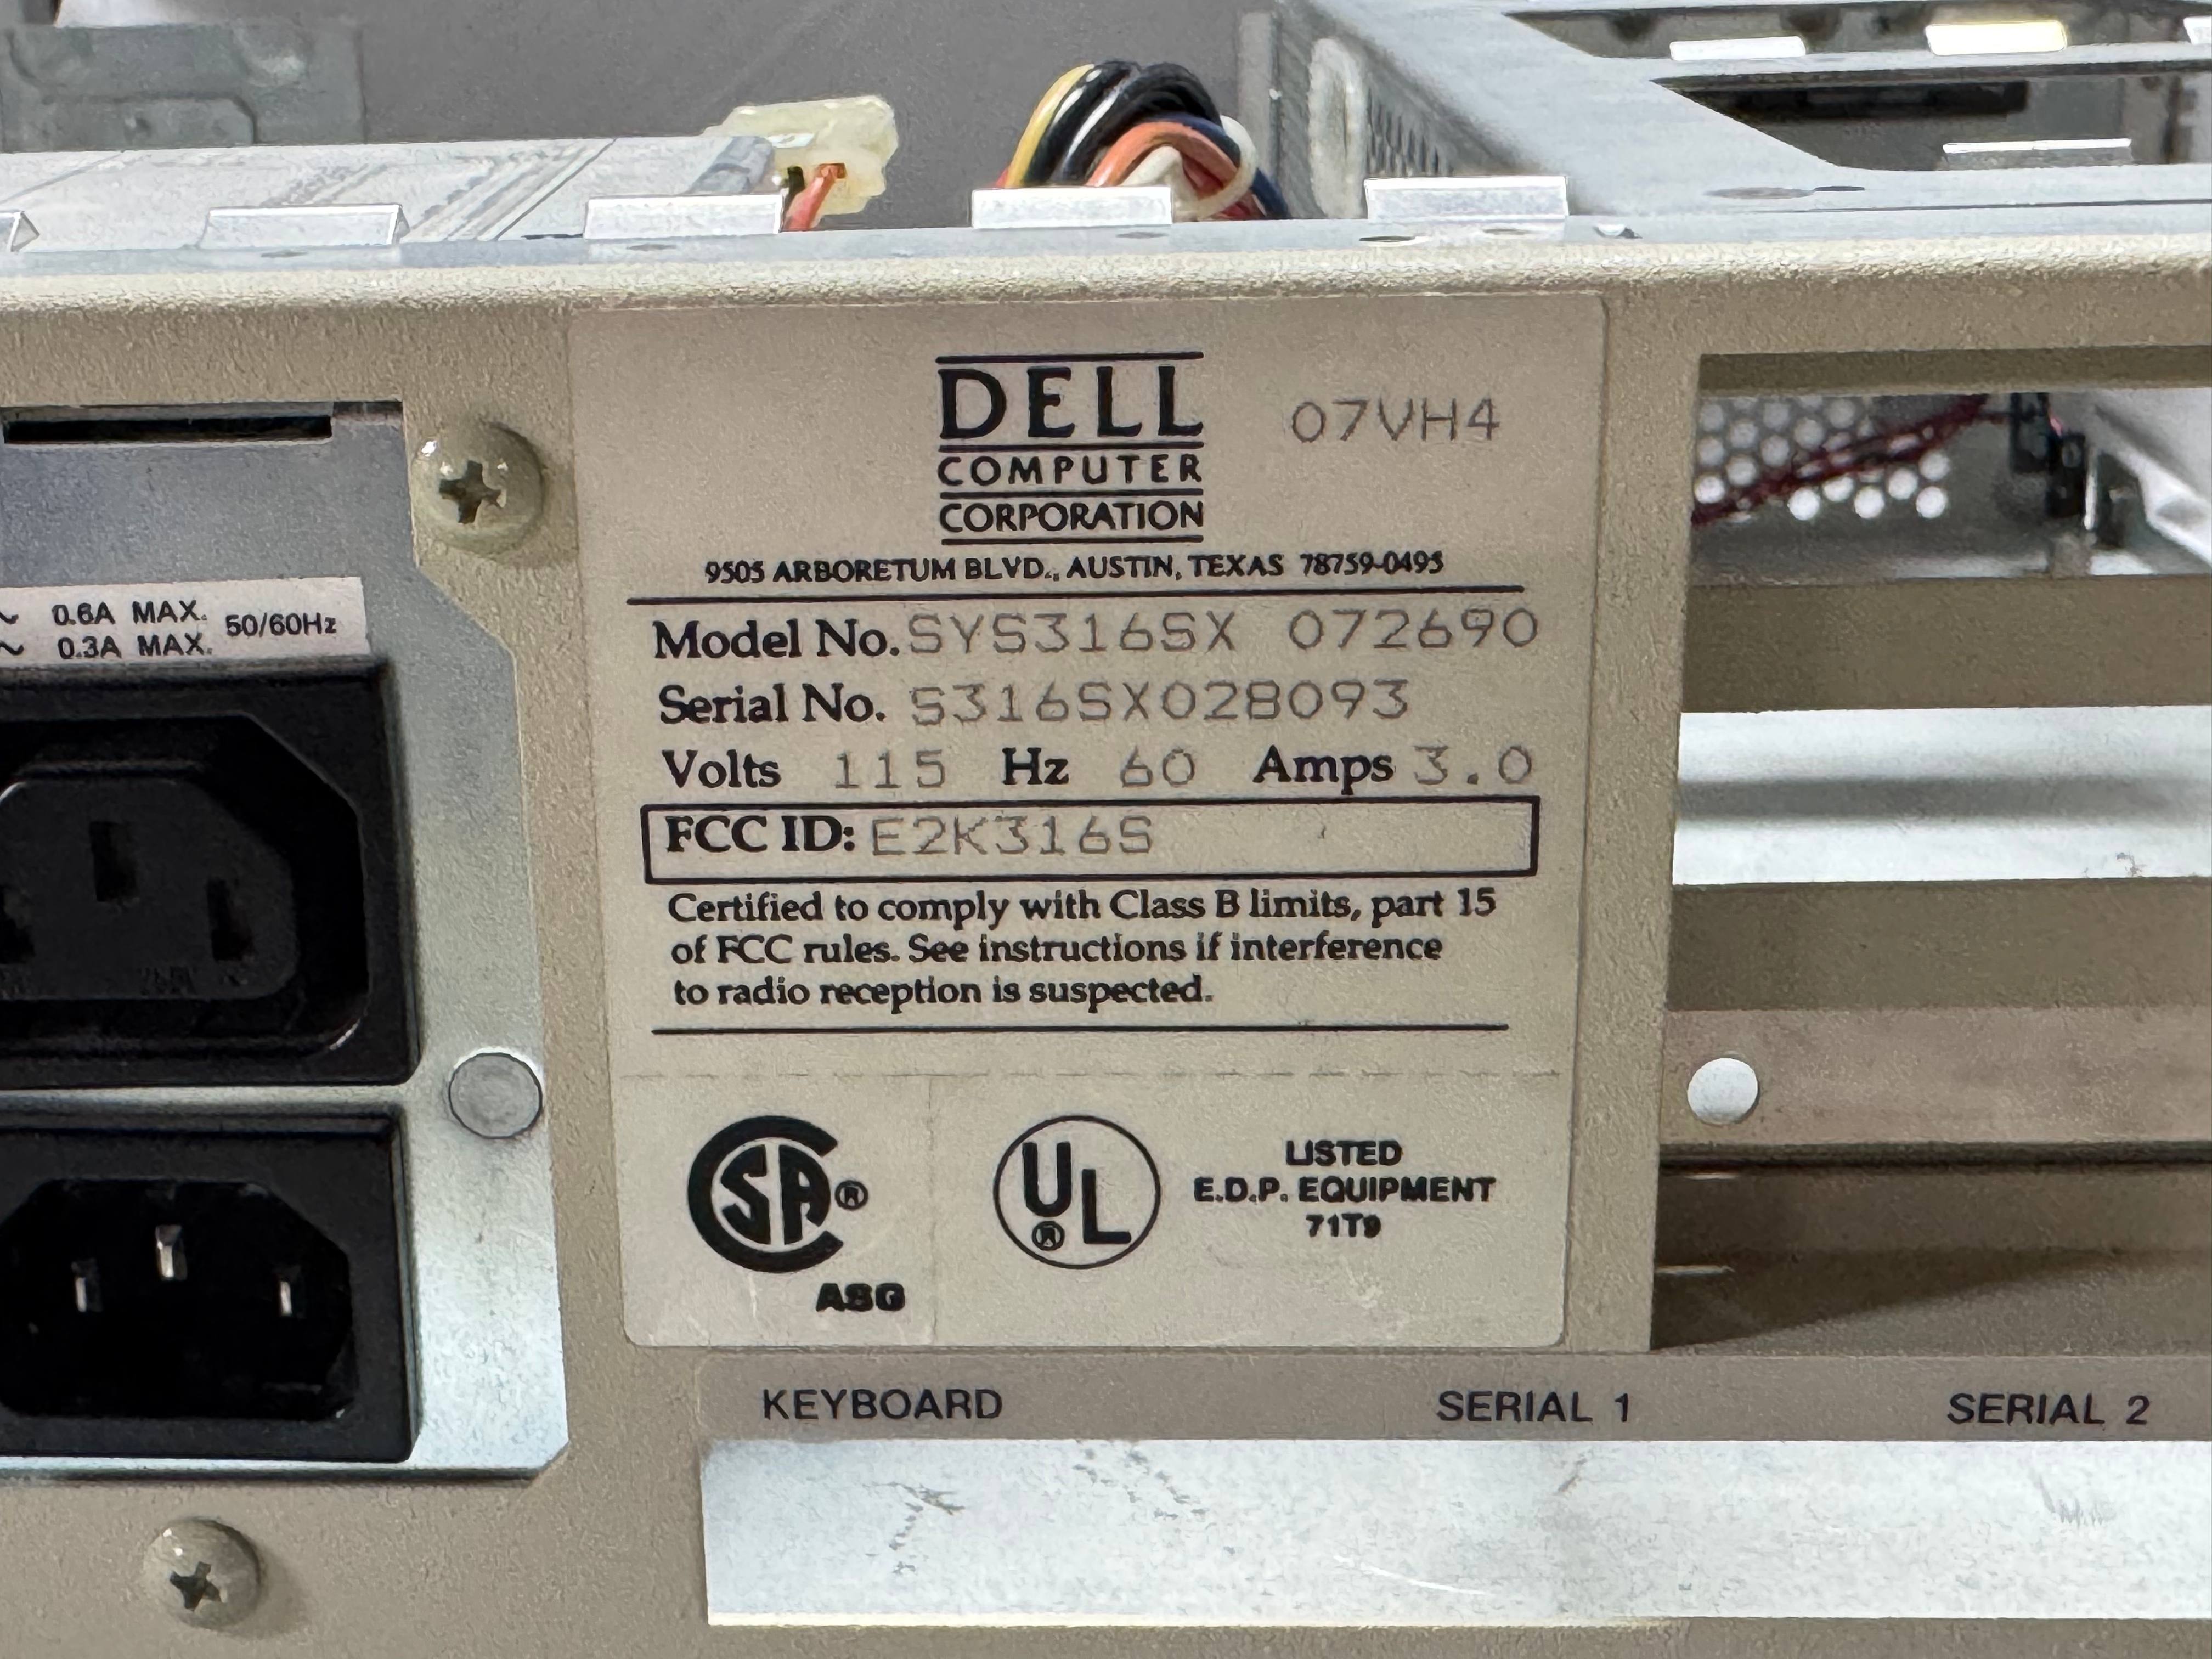
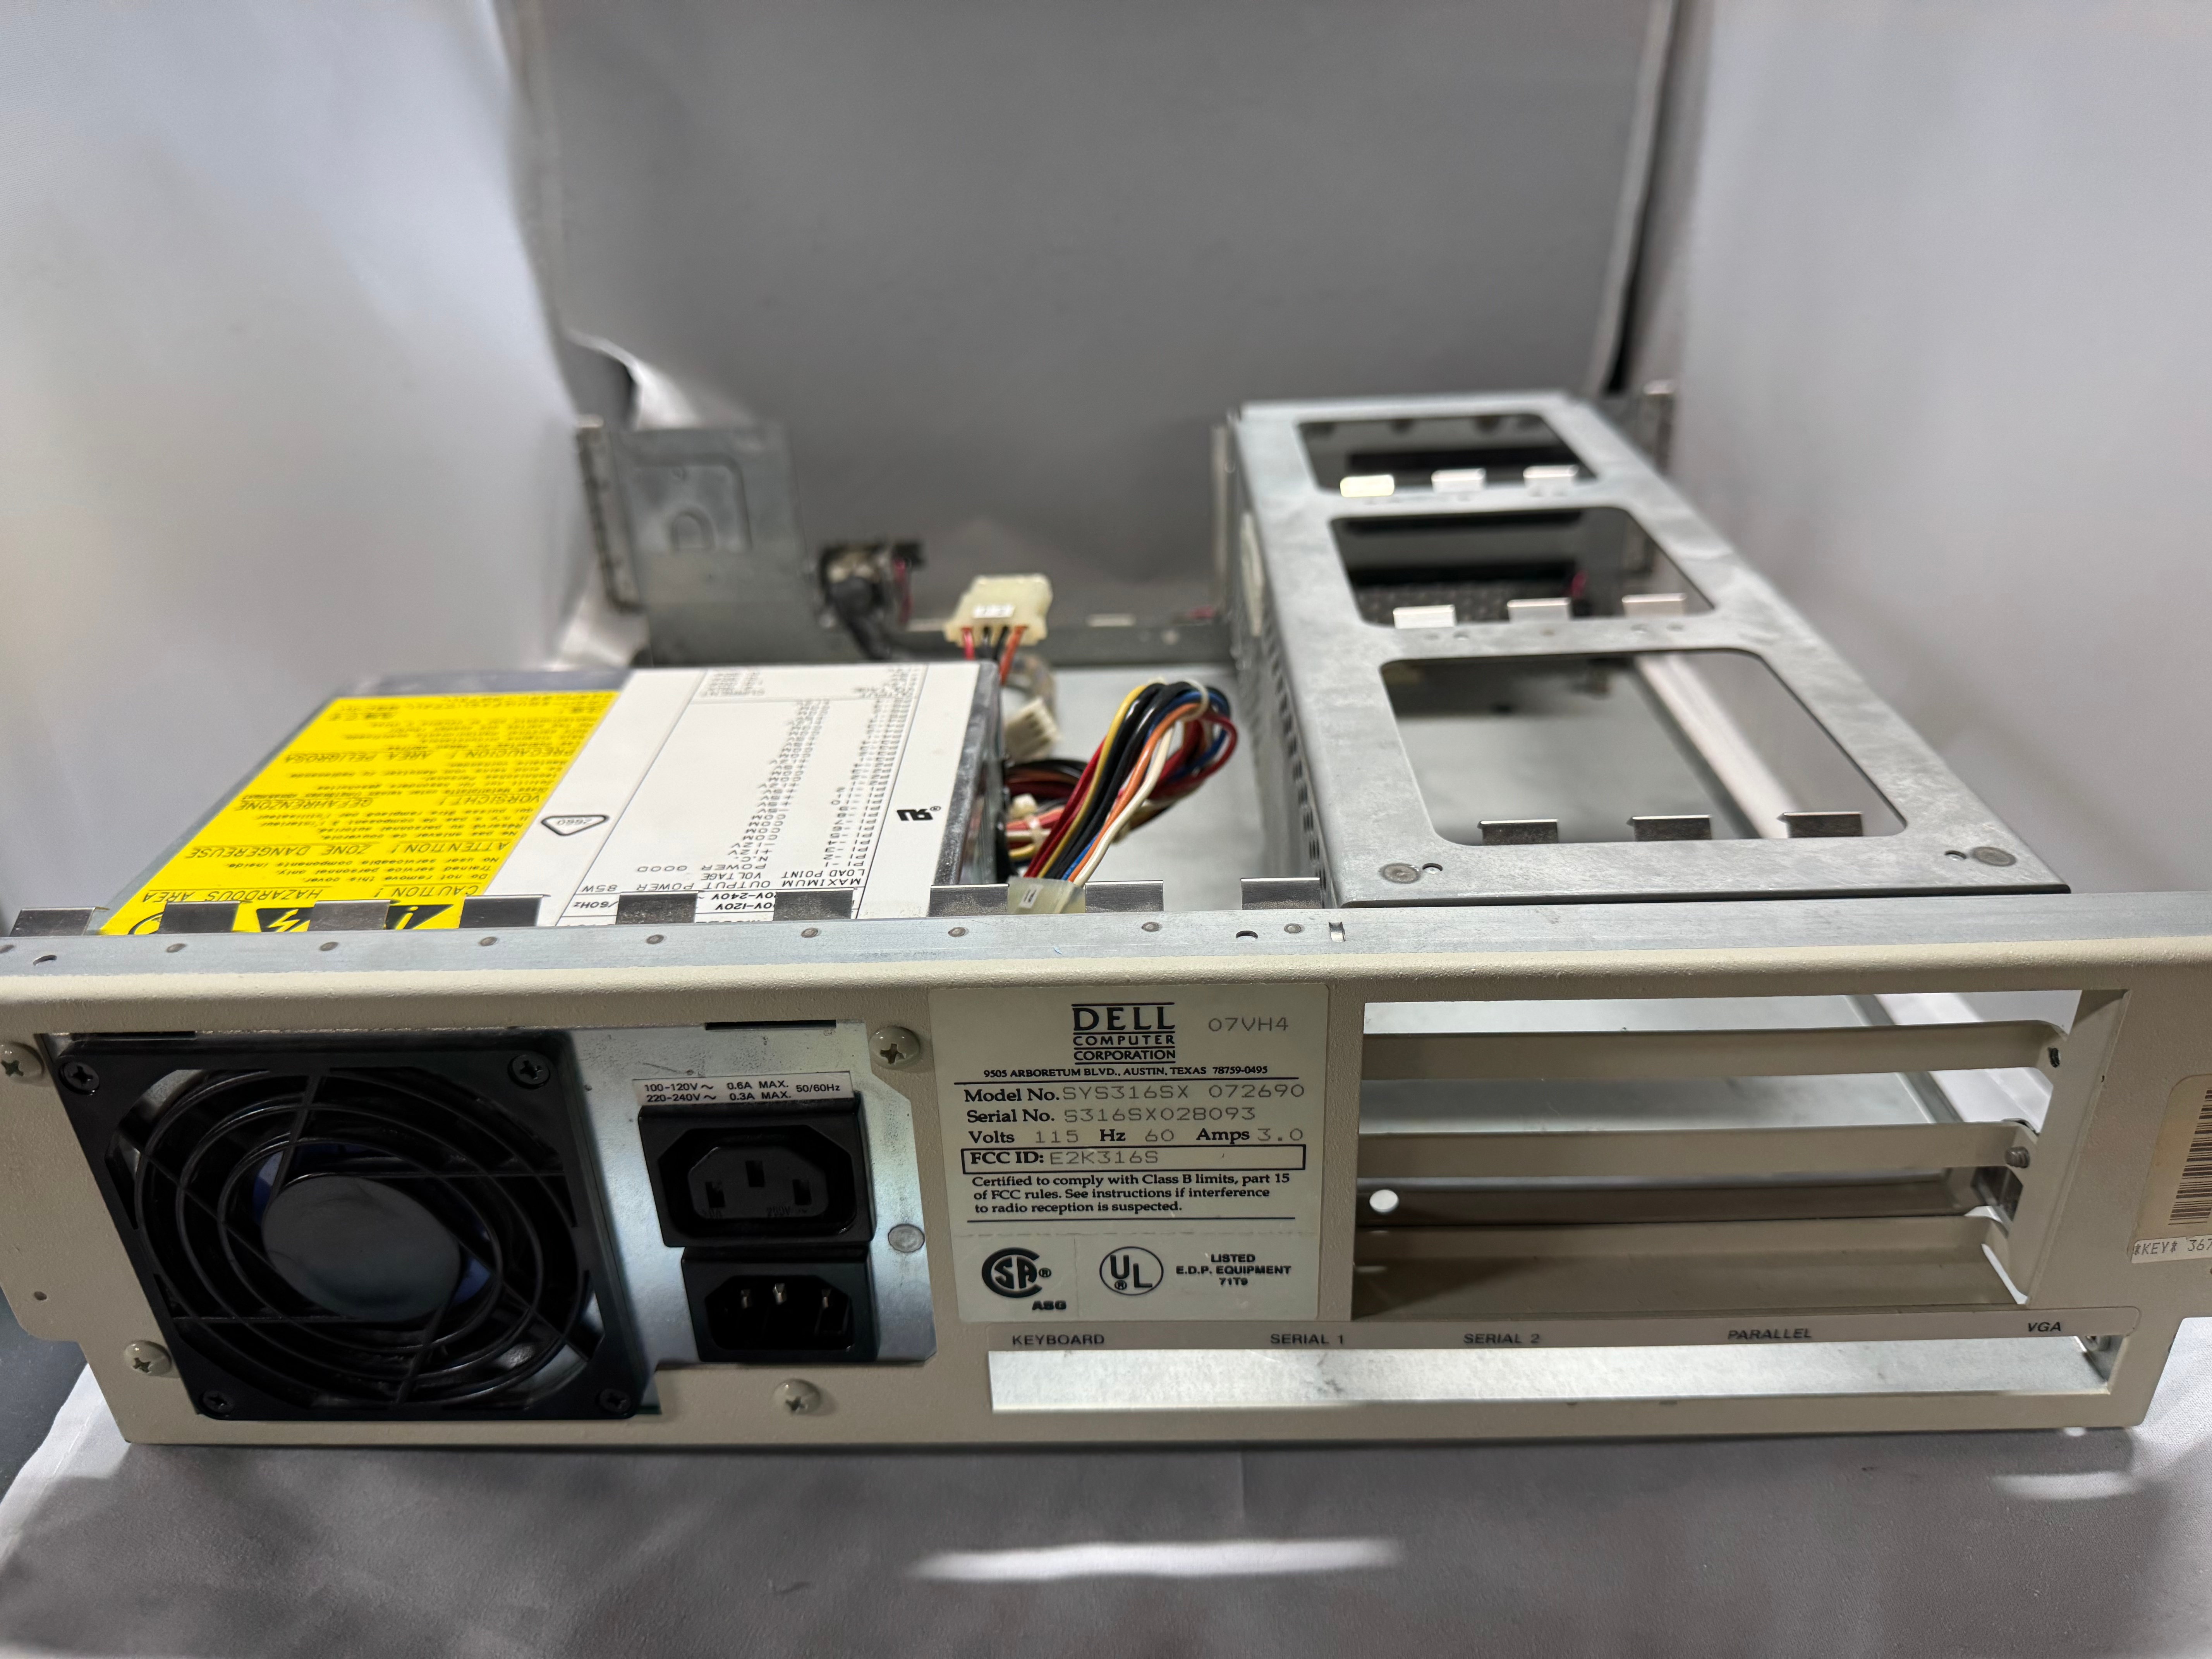
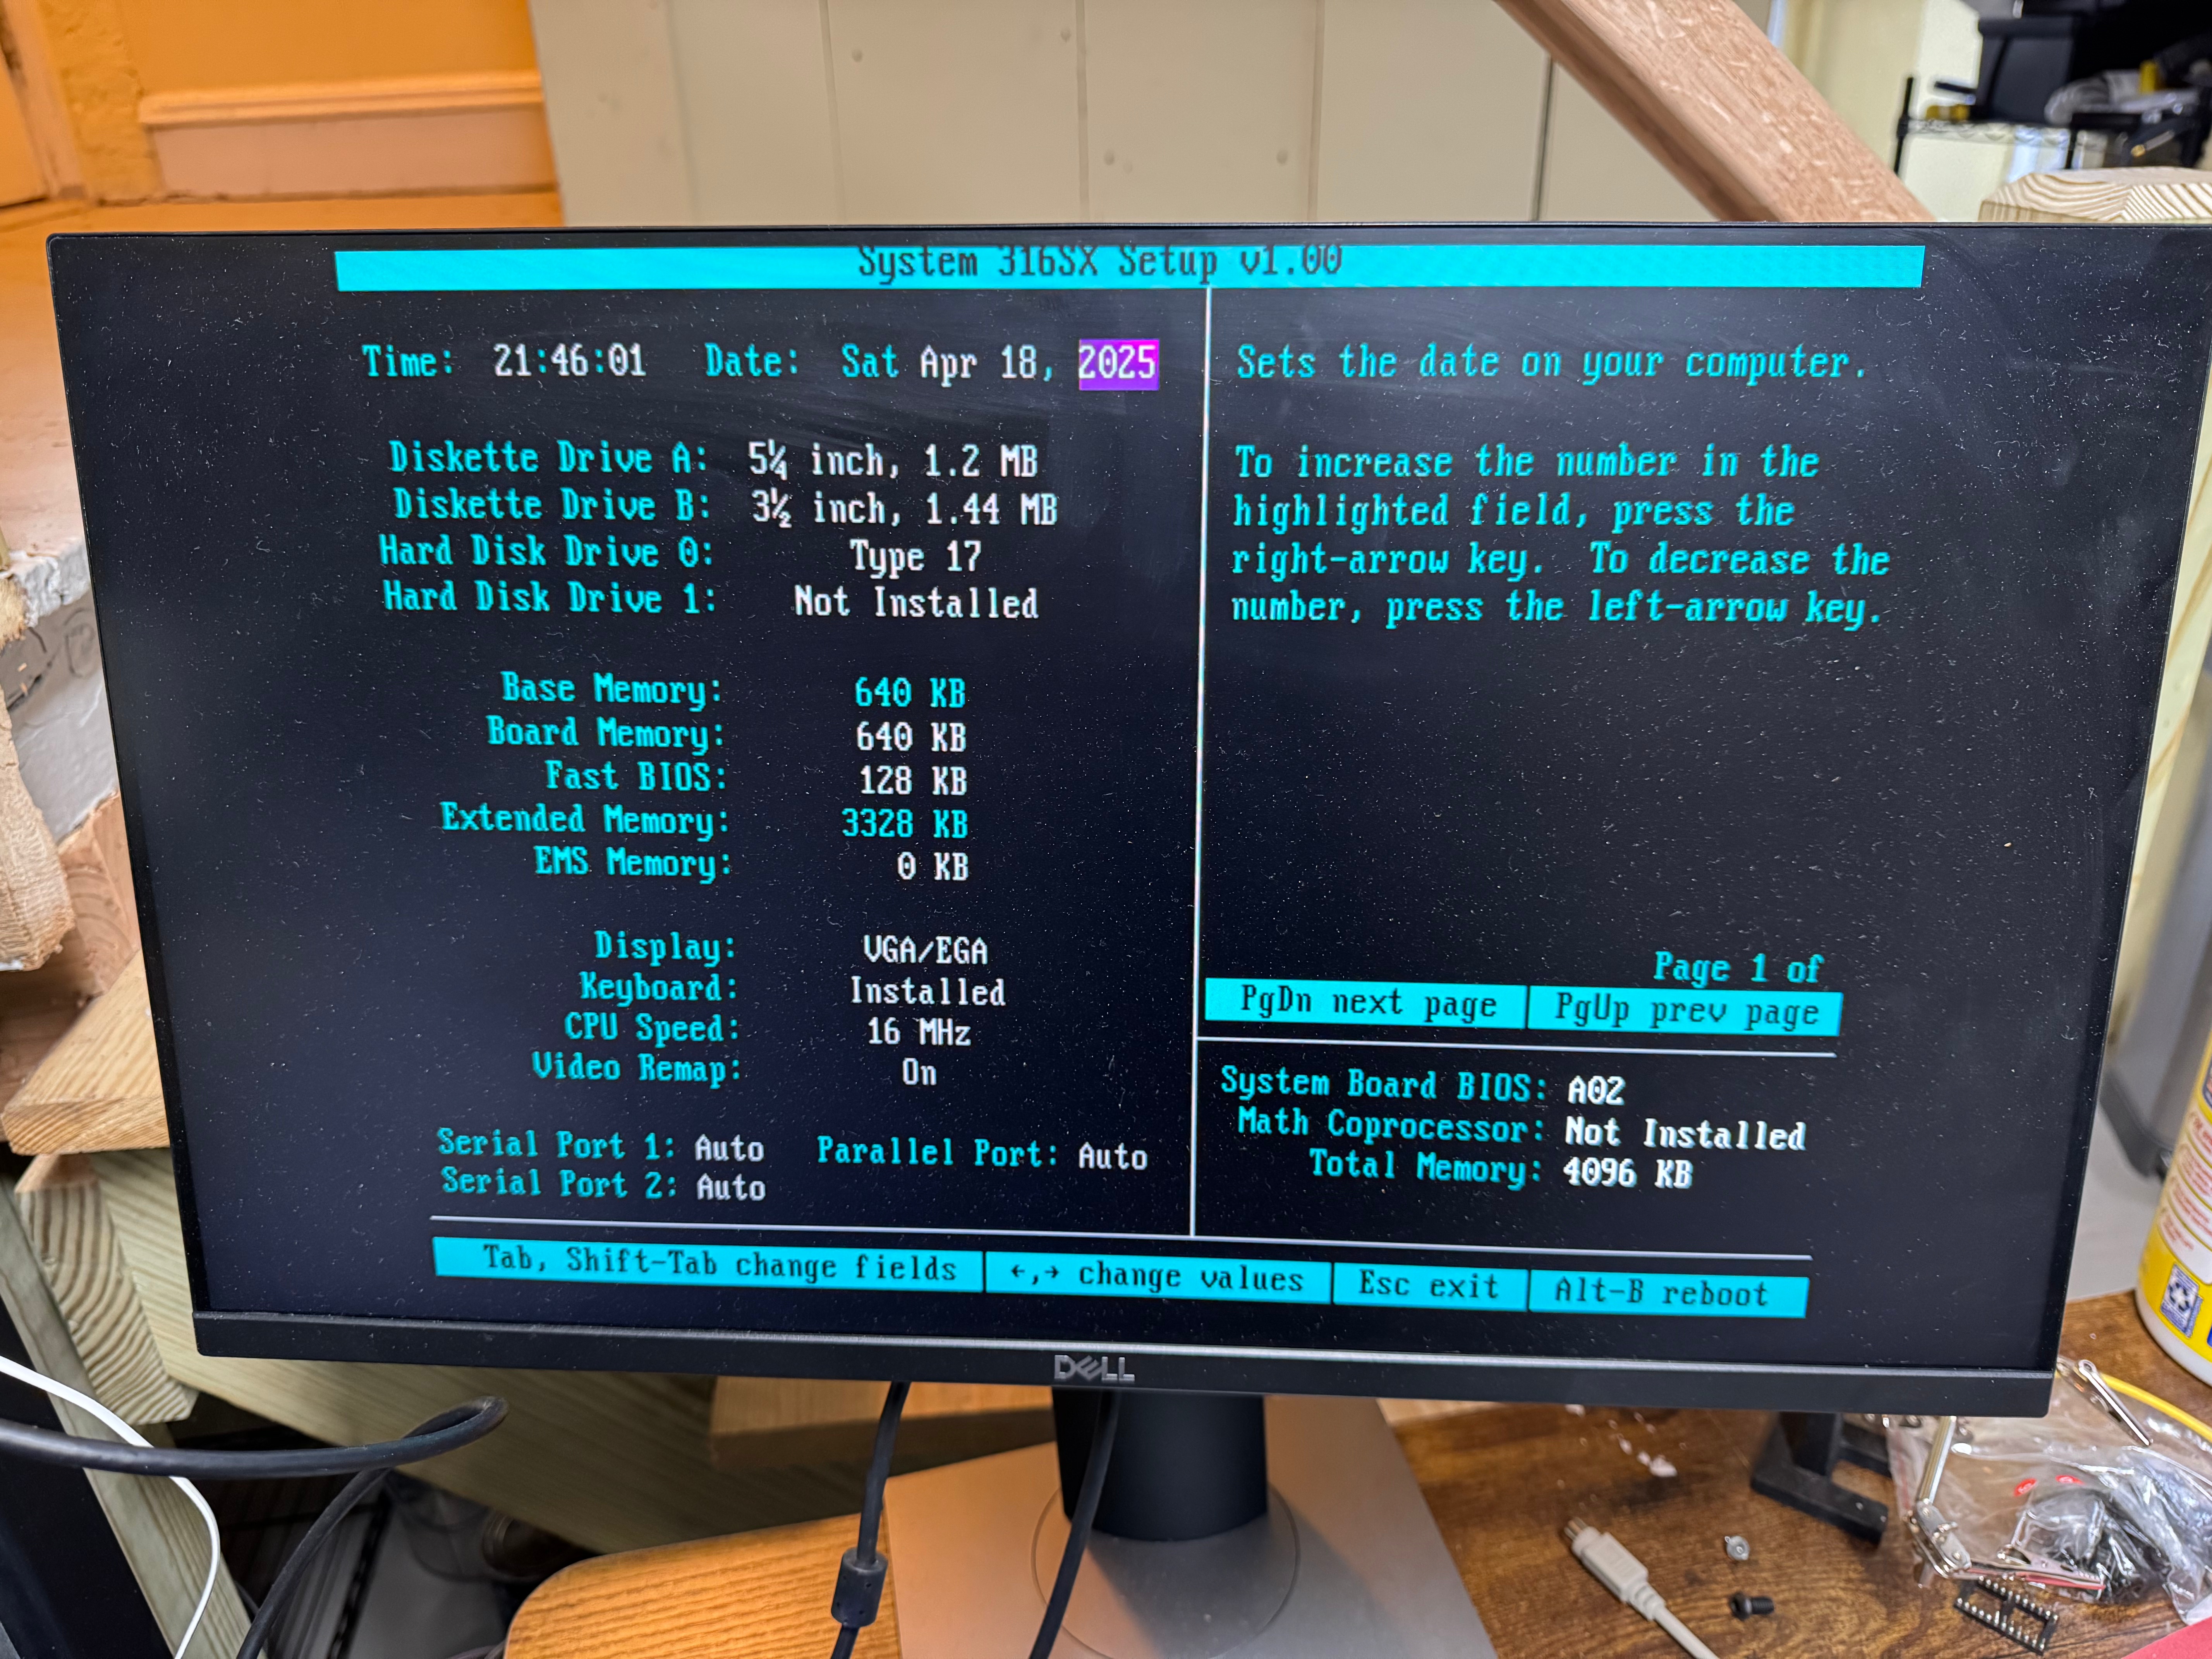
I recently got around to restoring a Dell 316SX—my first childhood computer. It’s a 386SX that lived in my parents’ attic for decades, and reviving it was a journey full of debugging, power supply replacing, and data recovery.
Early Memories
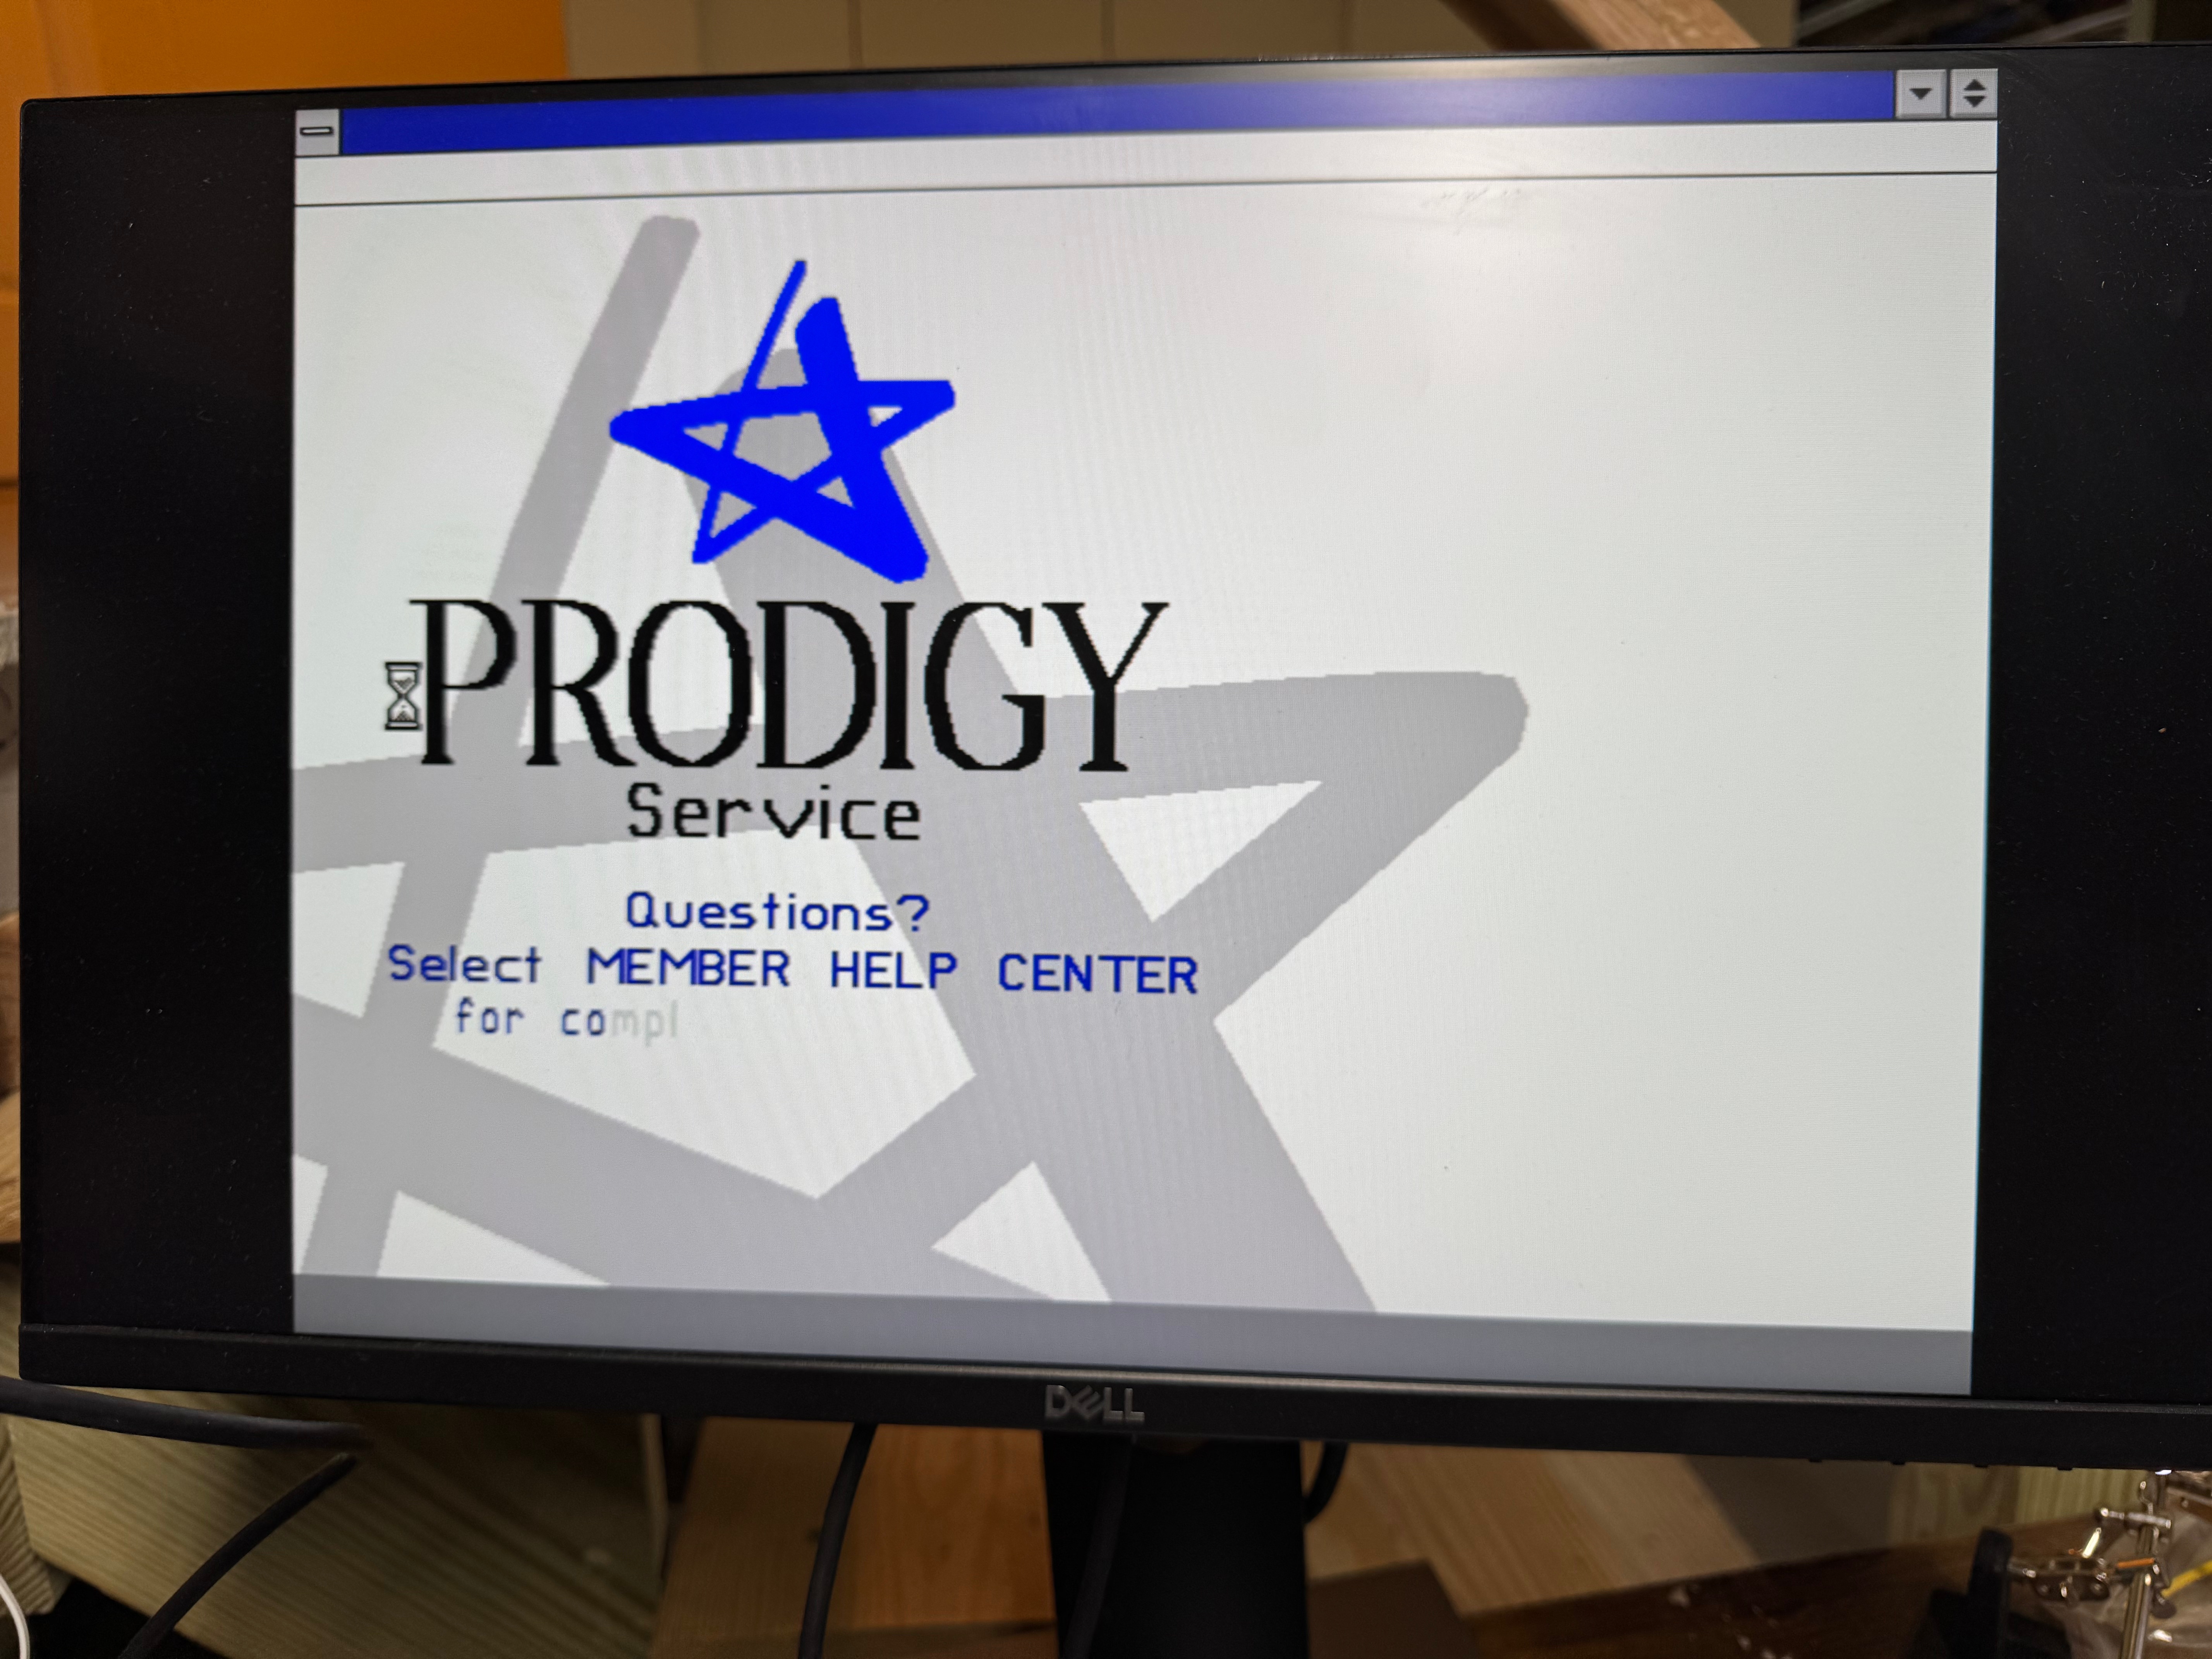
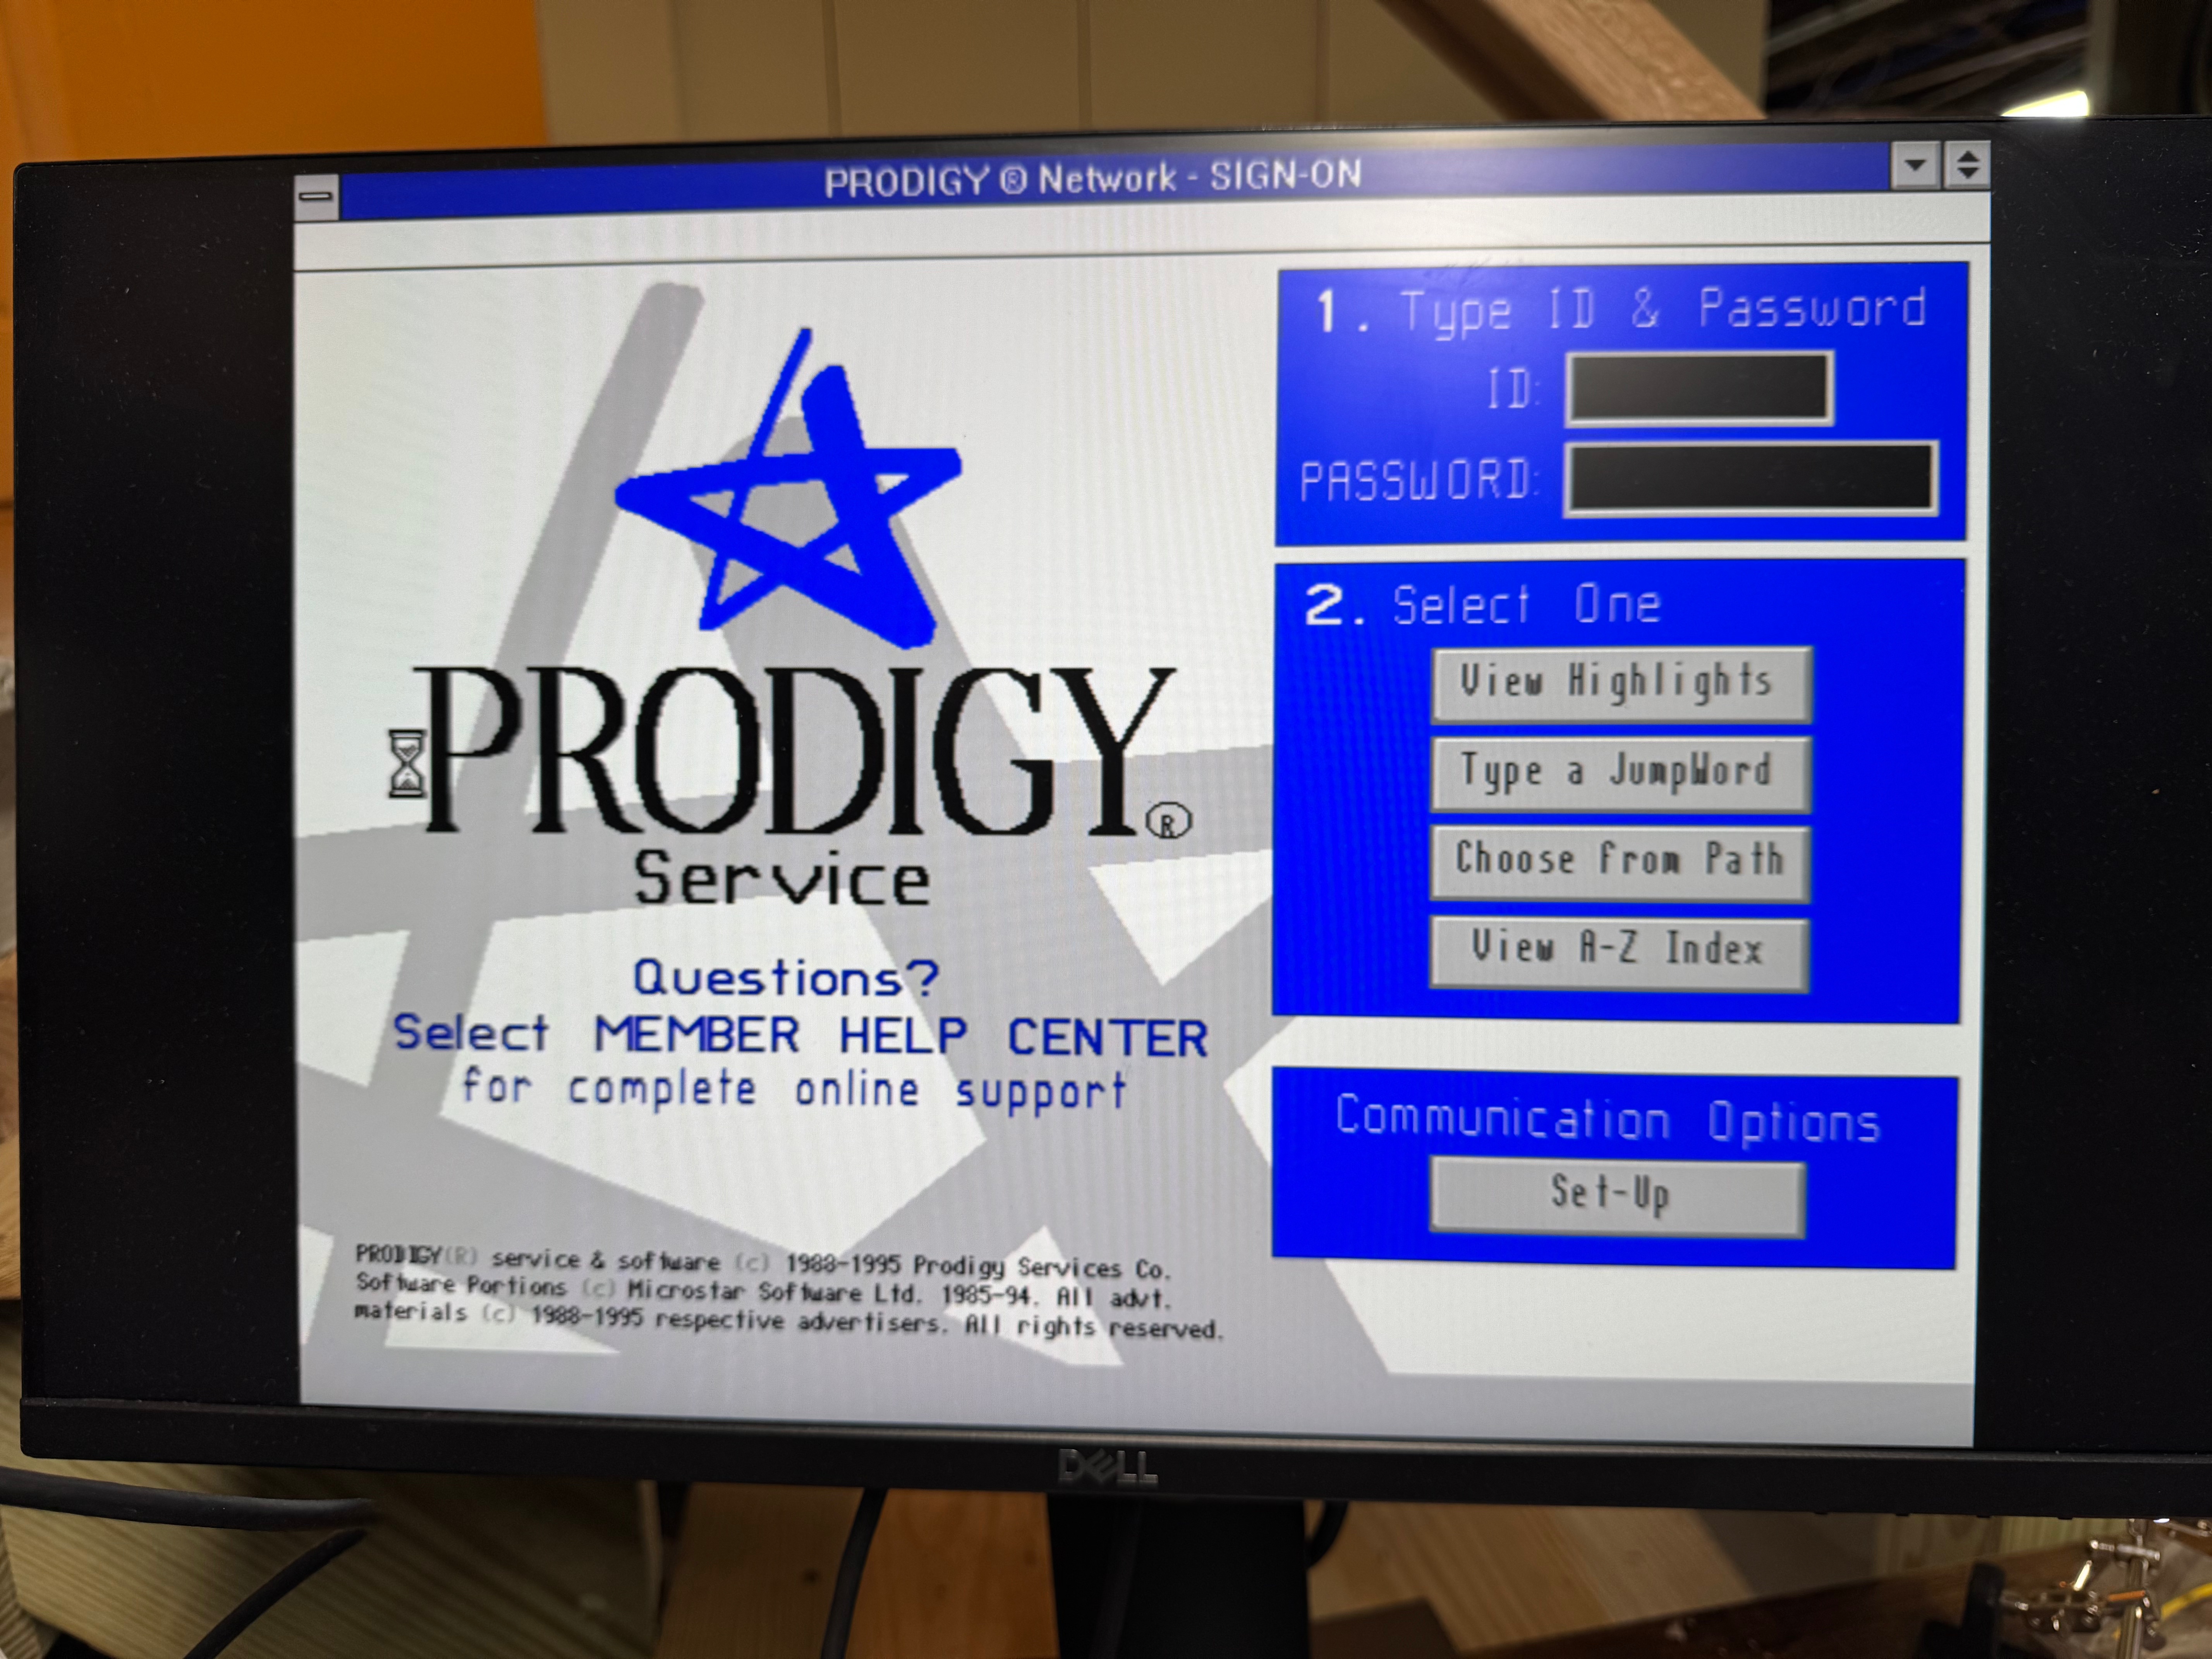
This computer was the first computer I had growing up: a Dell 316SX, with a Intel 386SX. I remember being little and playing Sesame Street games on Prodigy on a parallel port dial up modem (I need to see if I can find that). Shout out to the people trying to bring Prodigy back, https://www.vintagecomputing.com/index.php/archives/1063/bringing-prodigy-back-from-the-dead. There is a photo of my mother pregnant with me, playing the original Sim City on this computer. I always knew I had this computer in my parents attic, and one day I would need to get it out to play with it. Now that I have a bit more space to work on these projects, I got that system (and an old 486DX2 that someone gave me well past its prime) to play with.
More will come of the 486 on here, but that one got going pretty easily and is my go to machine since it has 5.25″ floppy, 3.5″ floppy, a CD-ROM drive, and its hard drive died so I gave it an SD card reader. That makes the 486 very useful; it also has a ton of ISA slots and is easy to work in.
I found a catalog with this computer in it! A PC World from 1990, page 27! I think the monitor is long gone, being a big heavy thing to store. I know my parents got it through a program at one of their work that discounted computers so people could work at home.
I am guessing this was the 40MB VGA Color Plus system. This one also has 4MB of ram, which would have been added on later.
Powering On
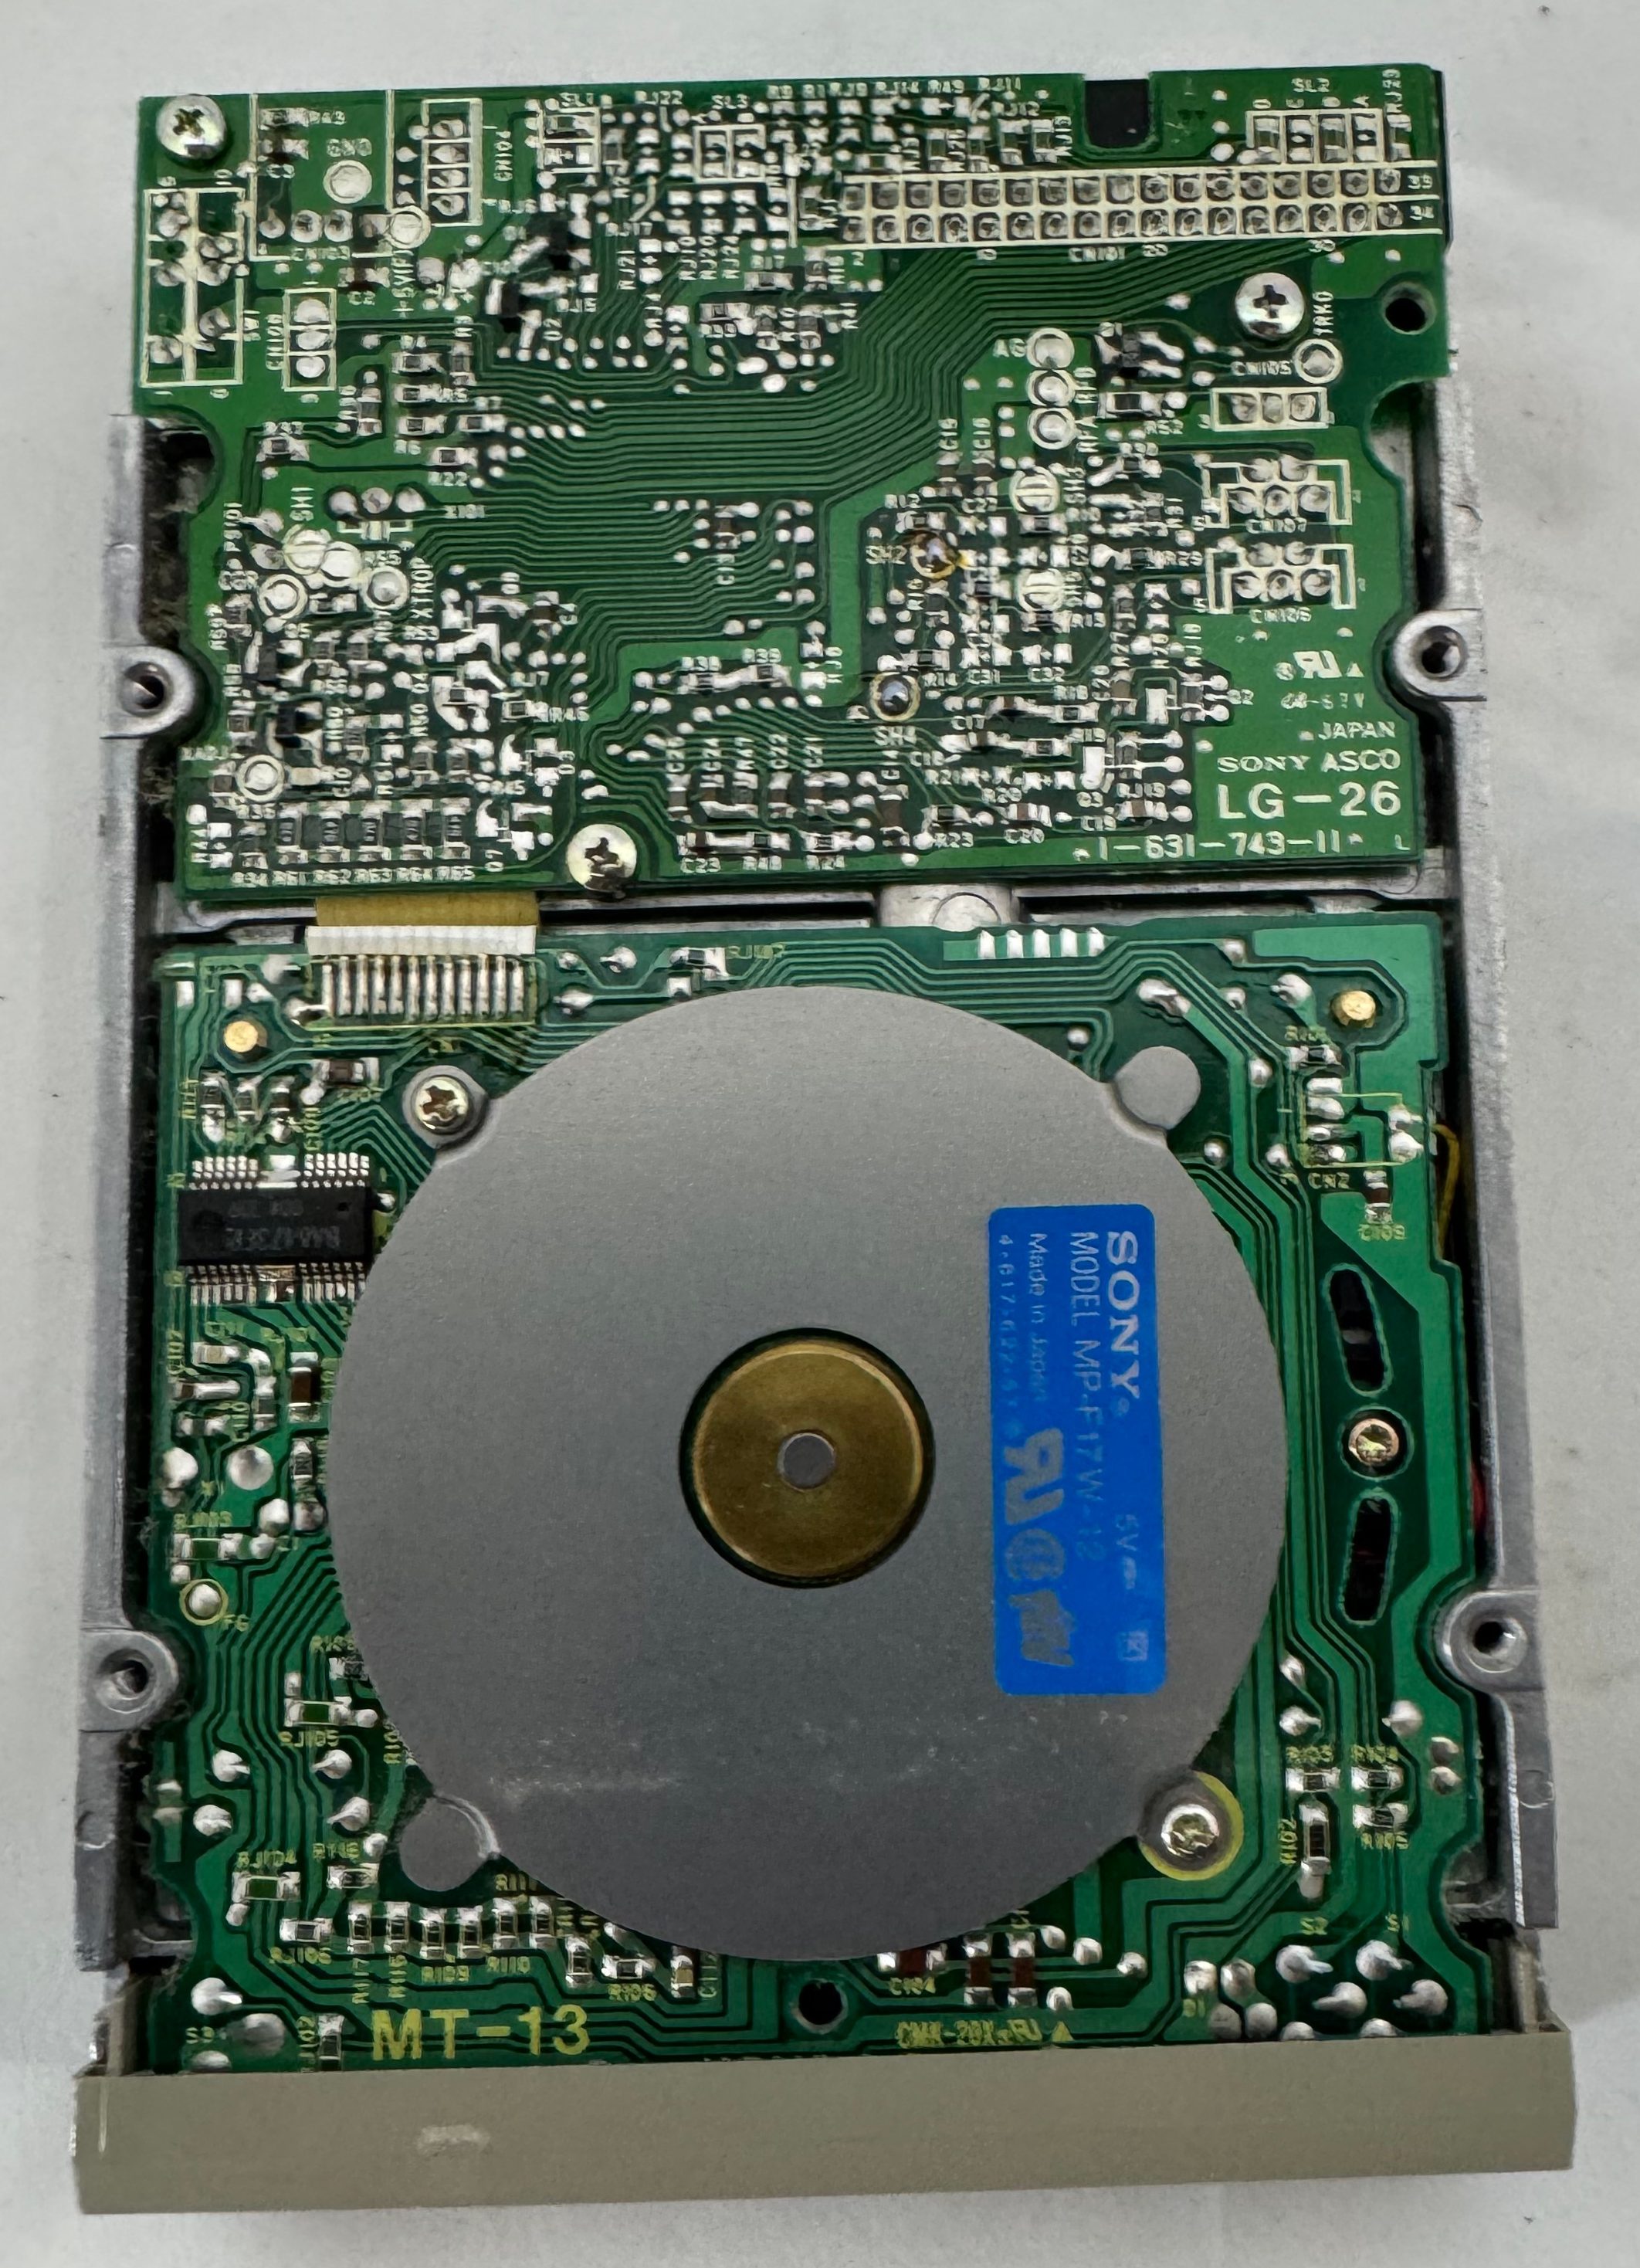
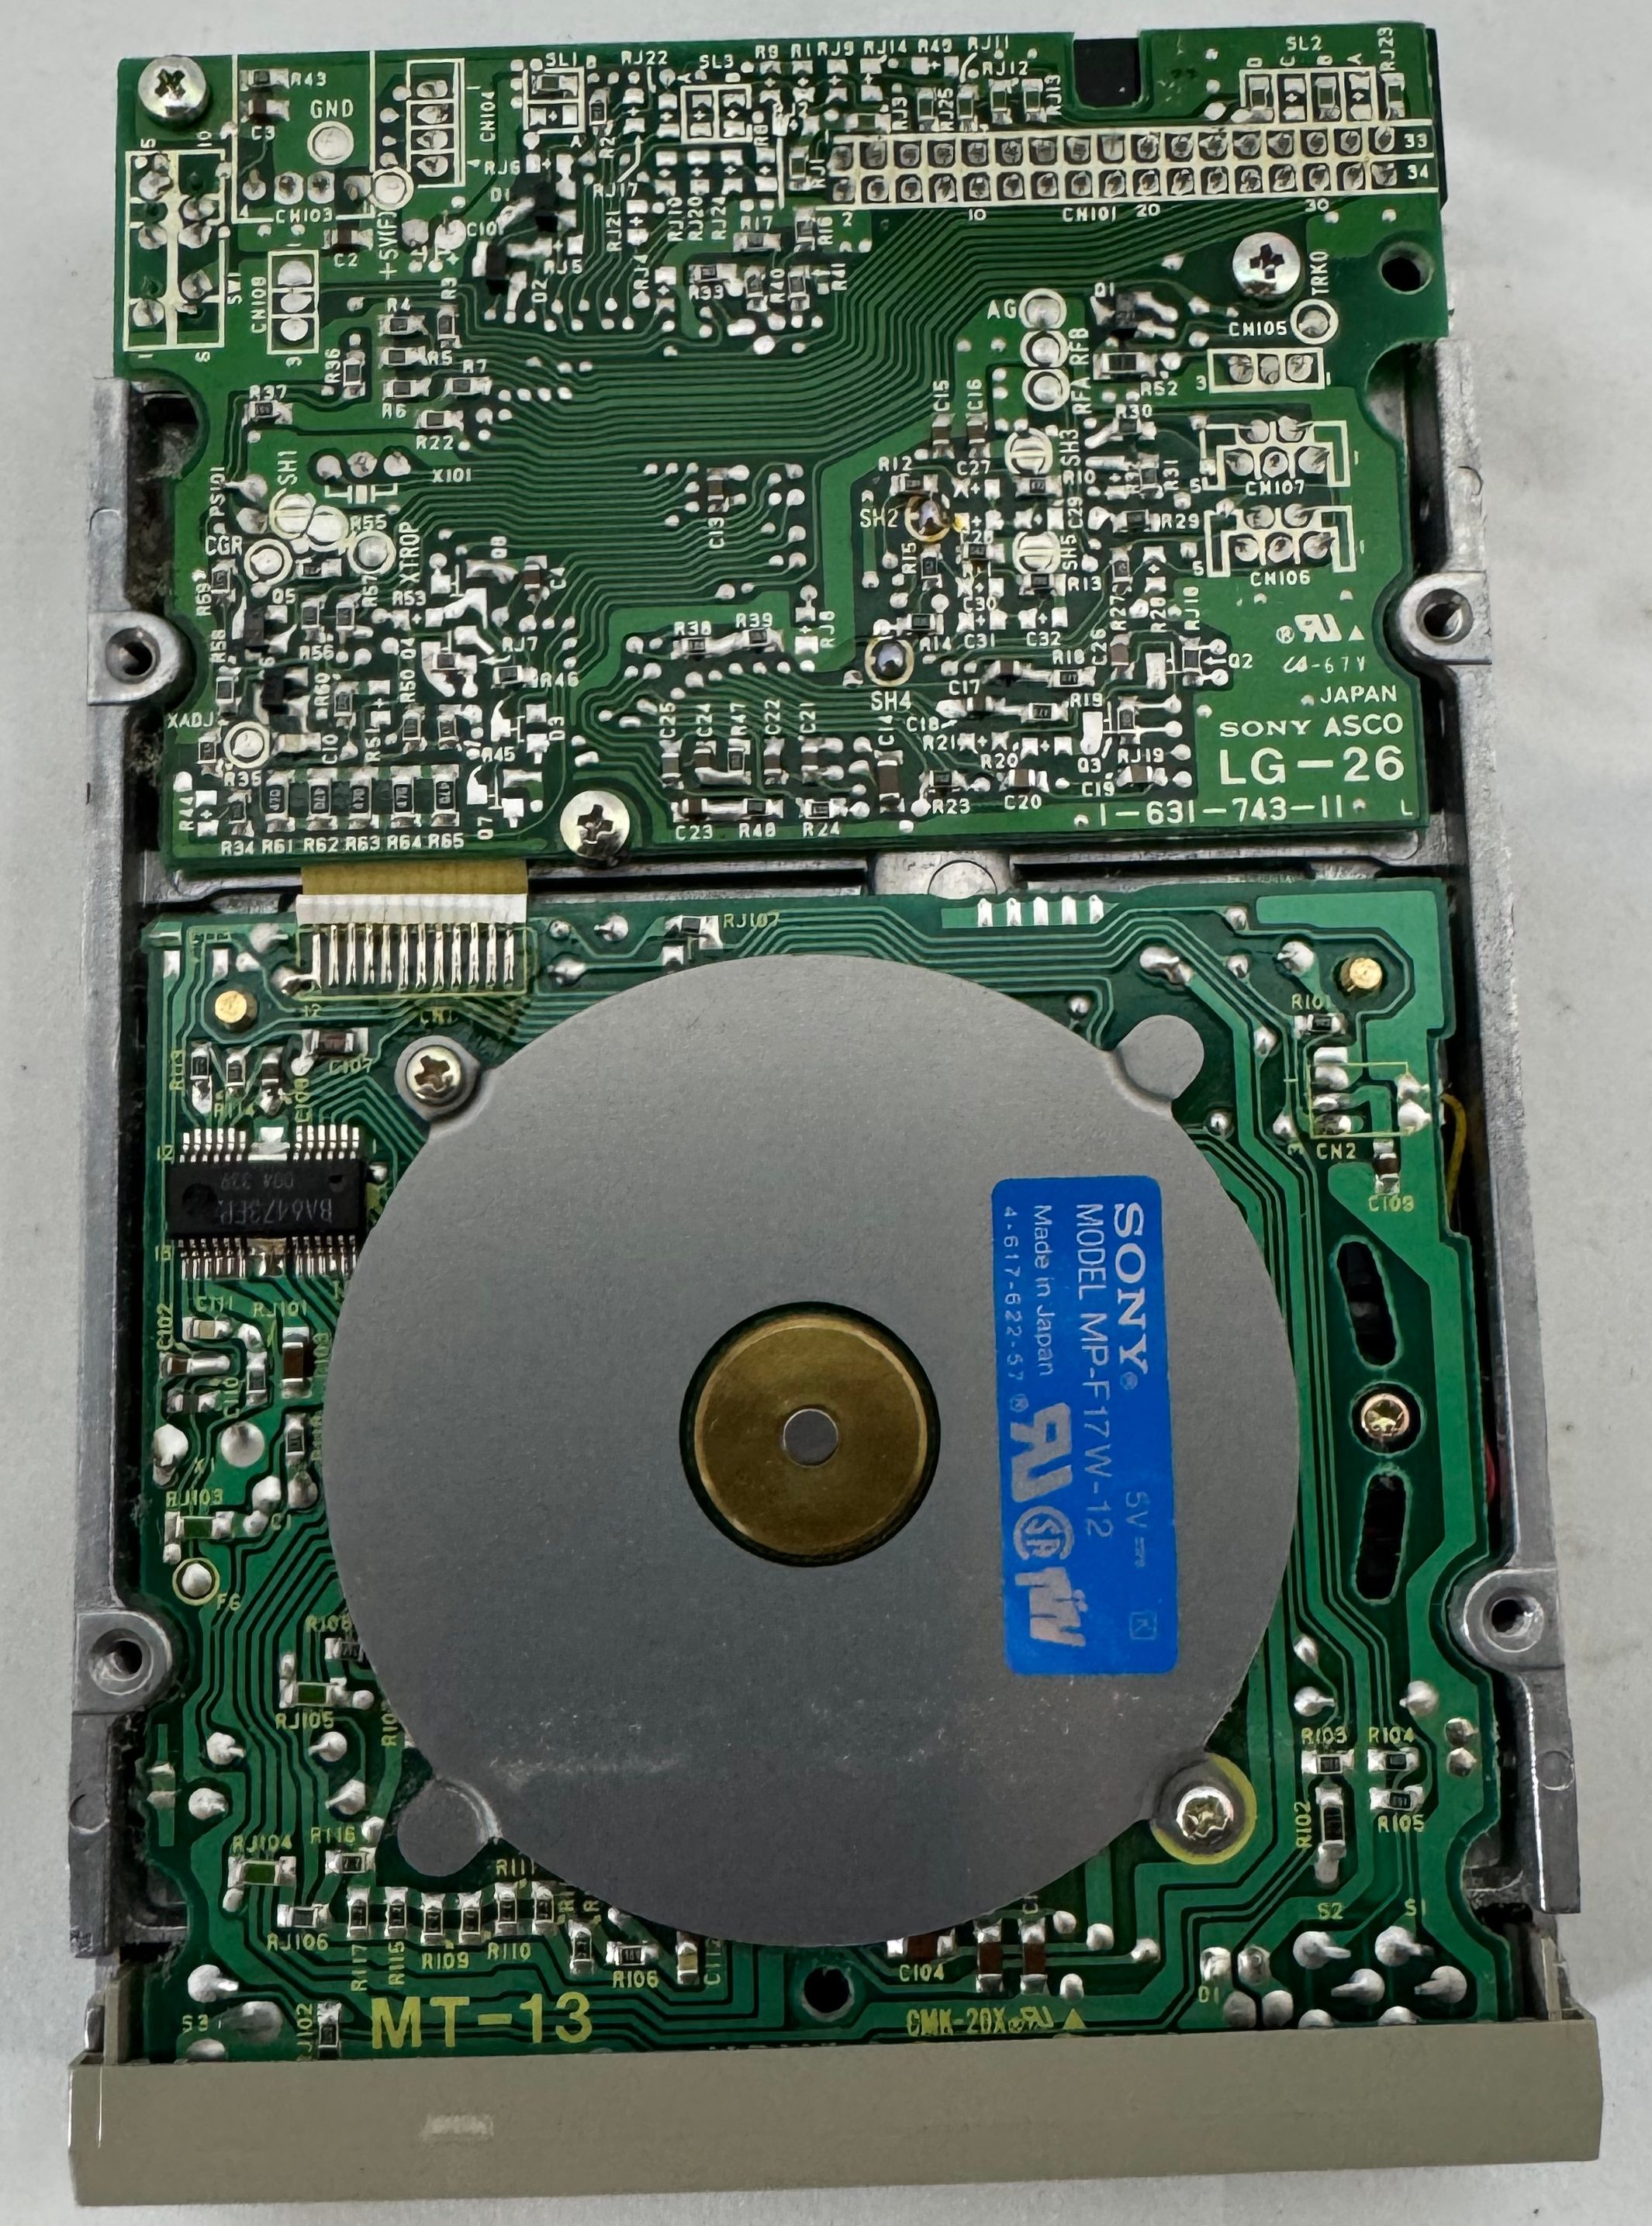
Anyway, back to the Dell 316SX. I could do the right thing and check all the capacitors and everything in the system; that’s what I should have done… So I turn the system on, and I get the familiar fan noise, and the 1990s smell. But no beep, no post, no nothing. The floppy drives don’t even attempt to seek. I left it for some time hoping that the capacitors would reform on their own, and come back. No luck.
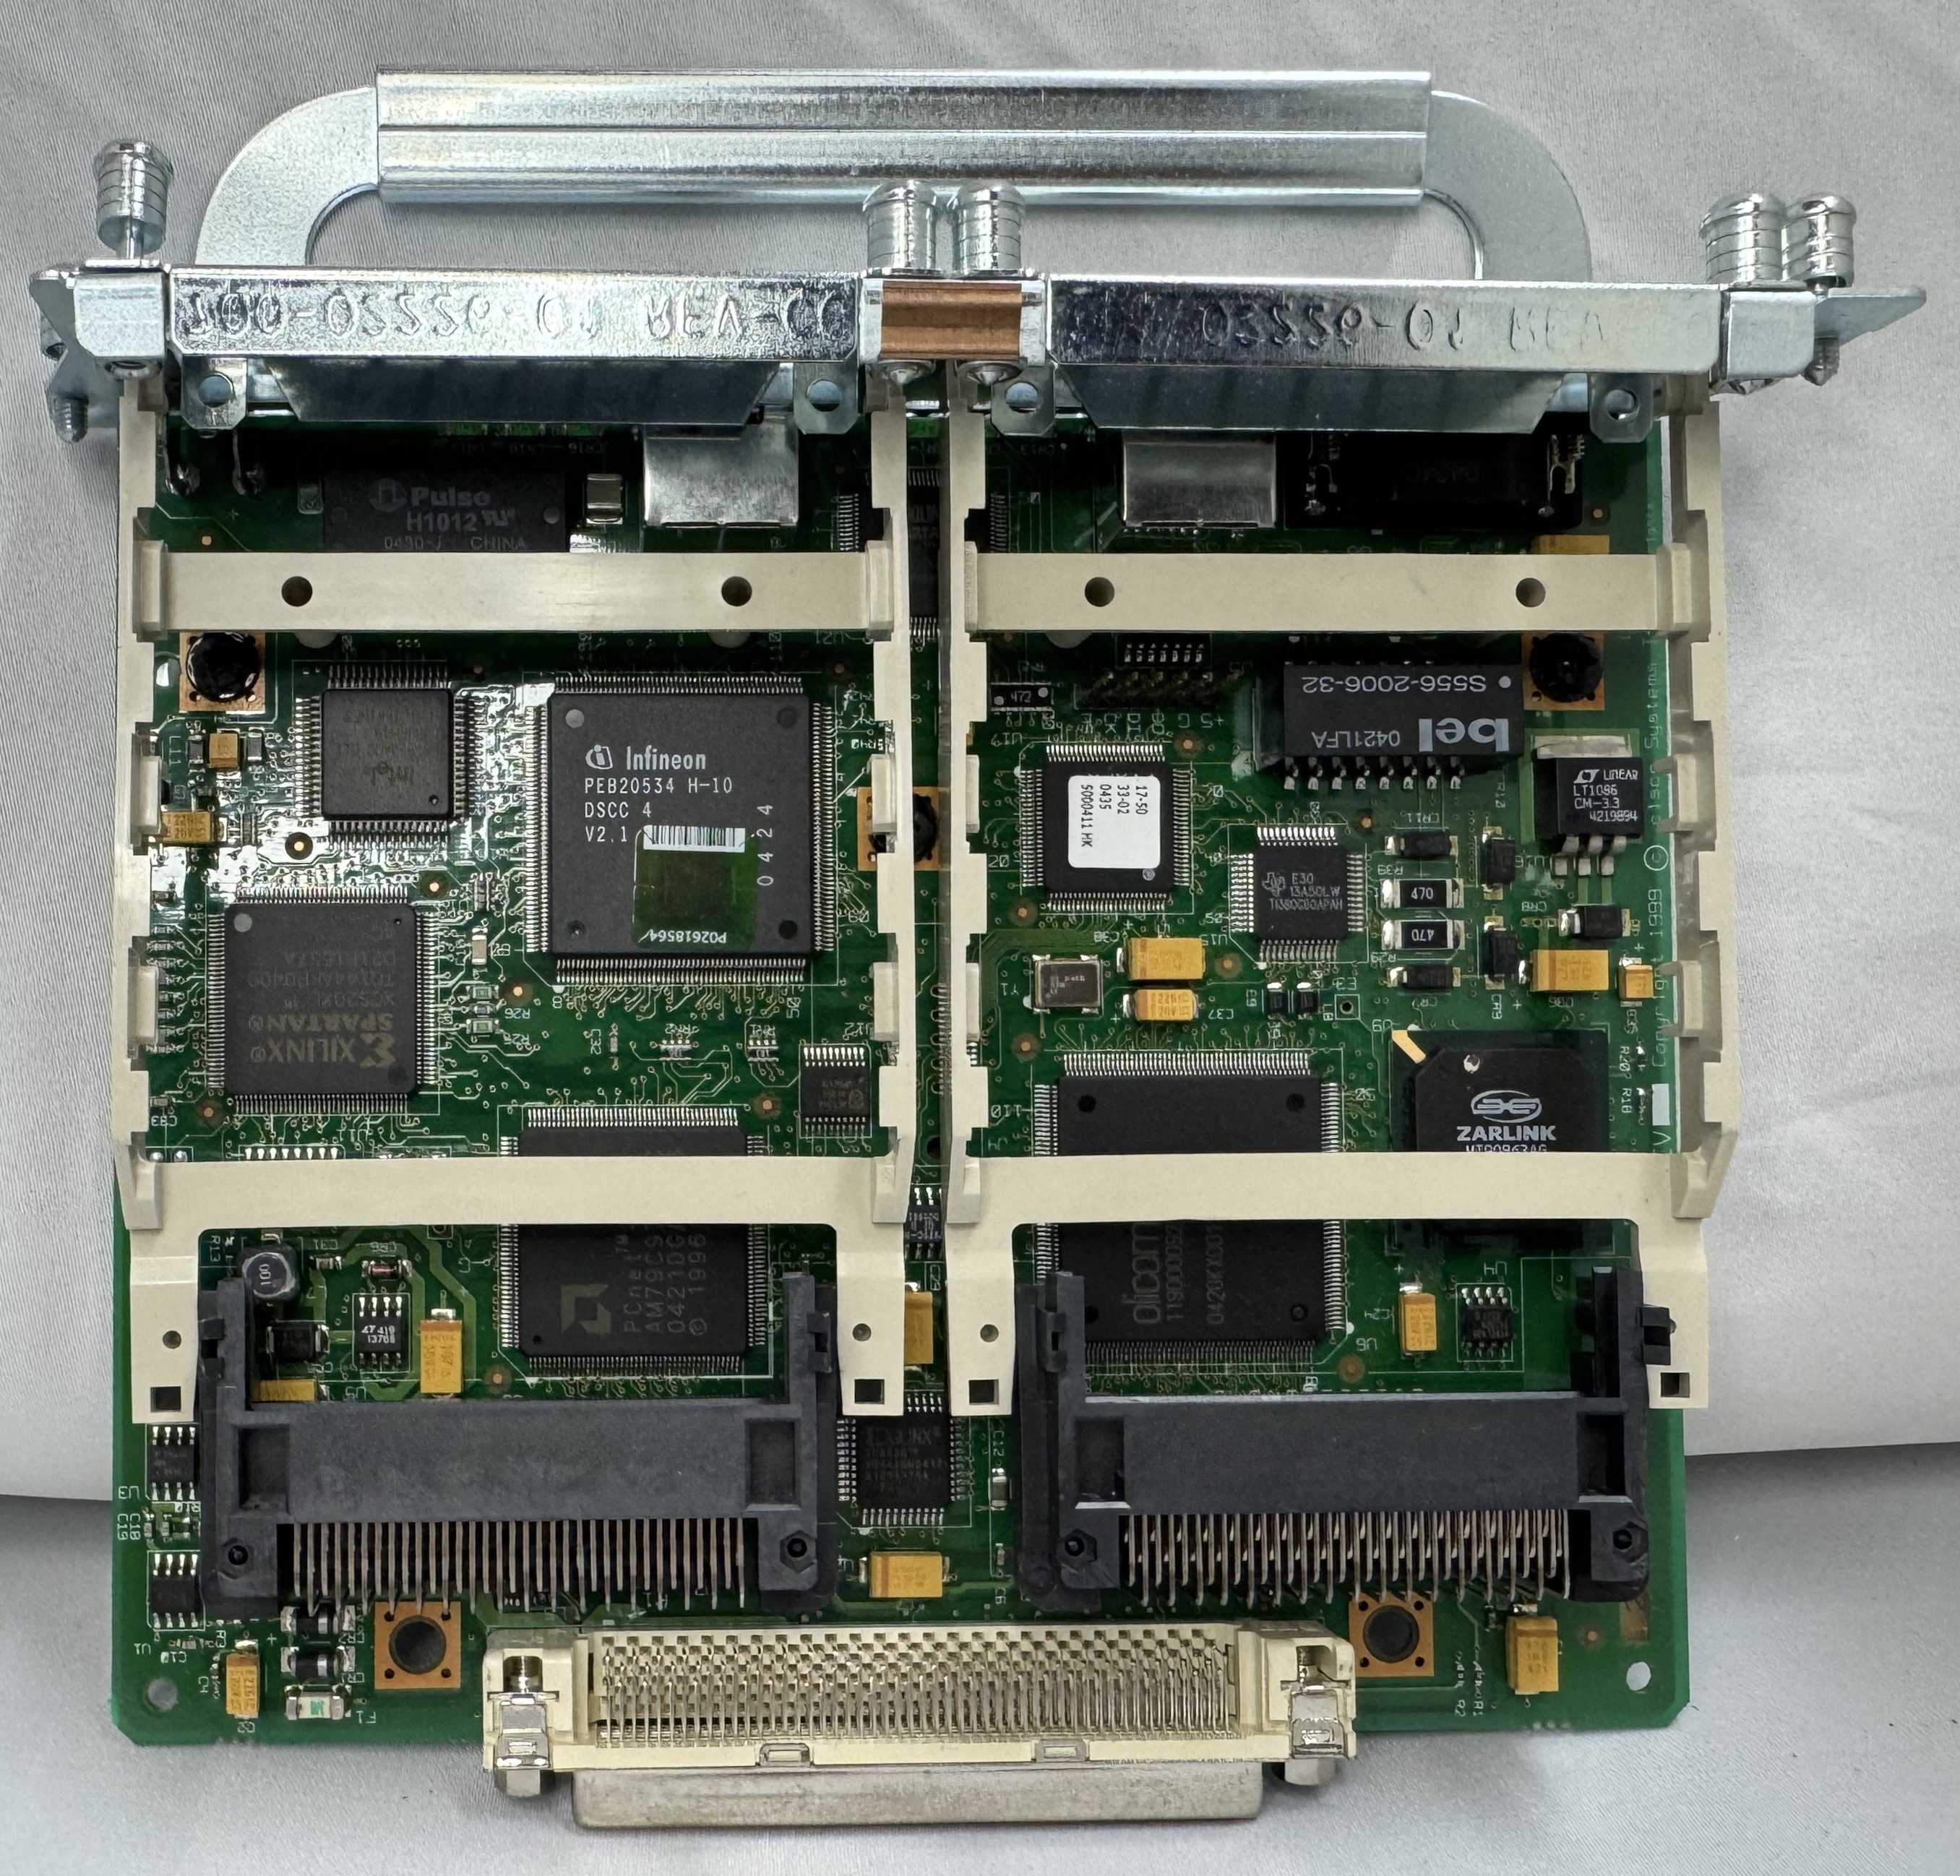
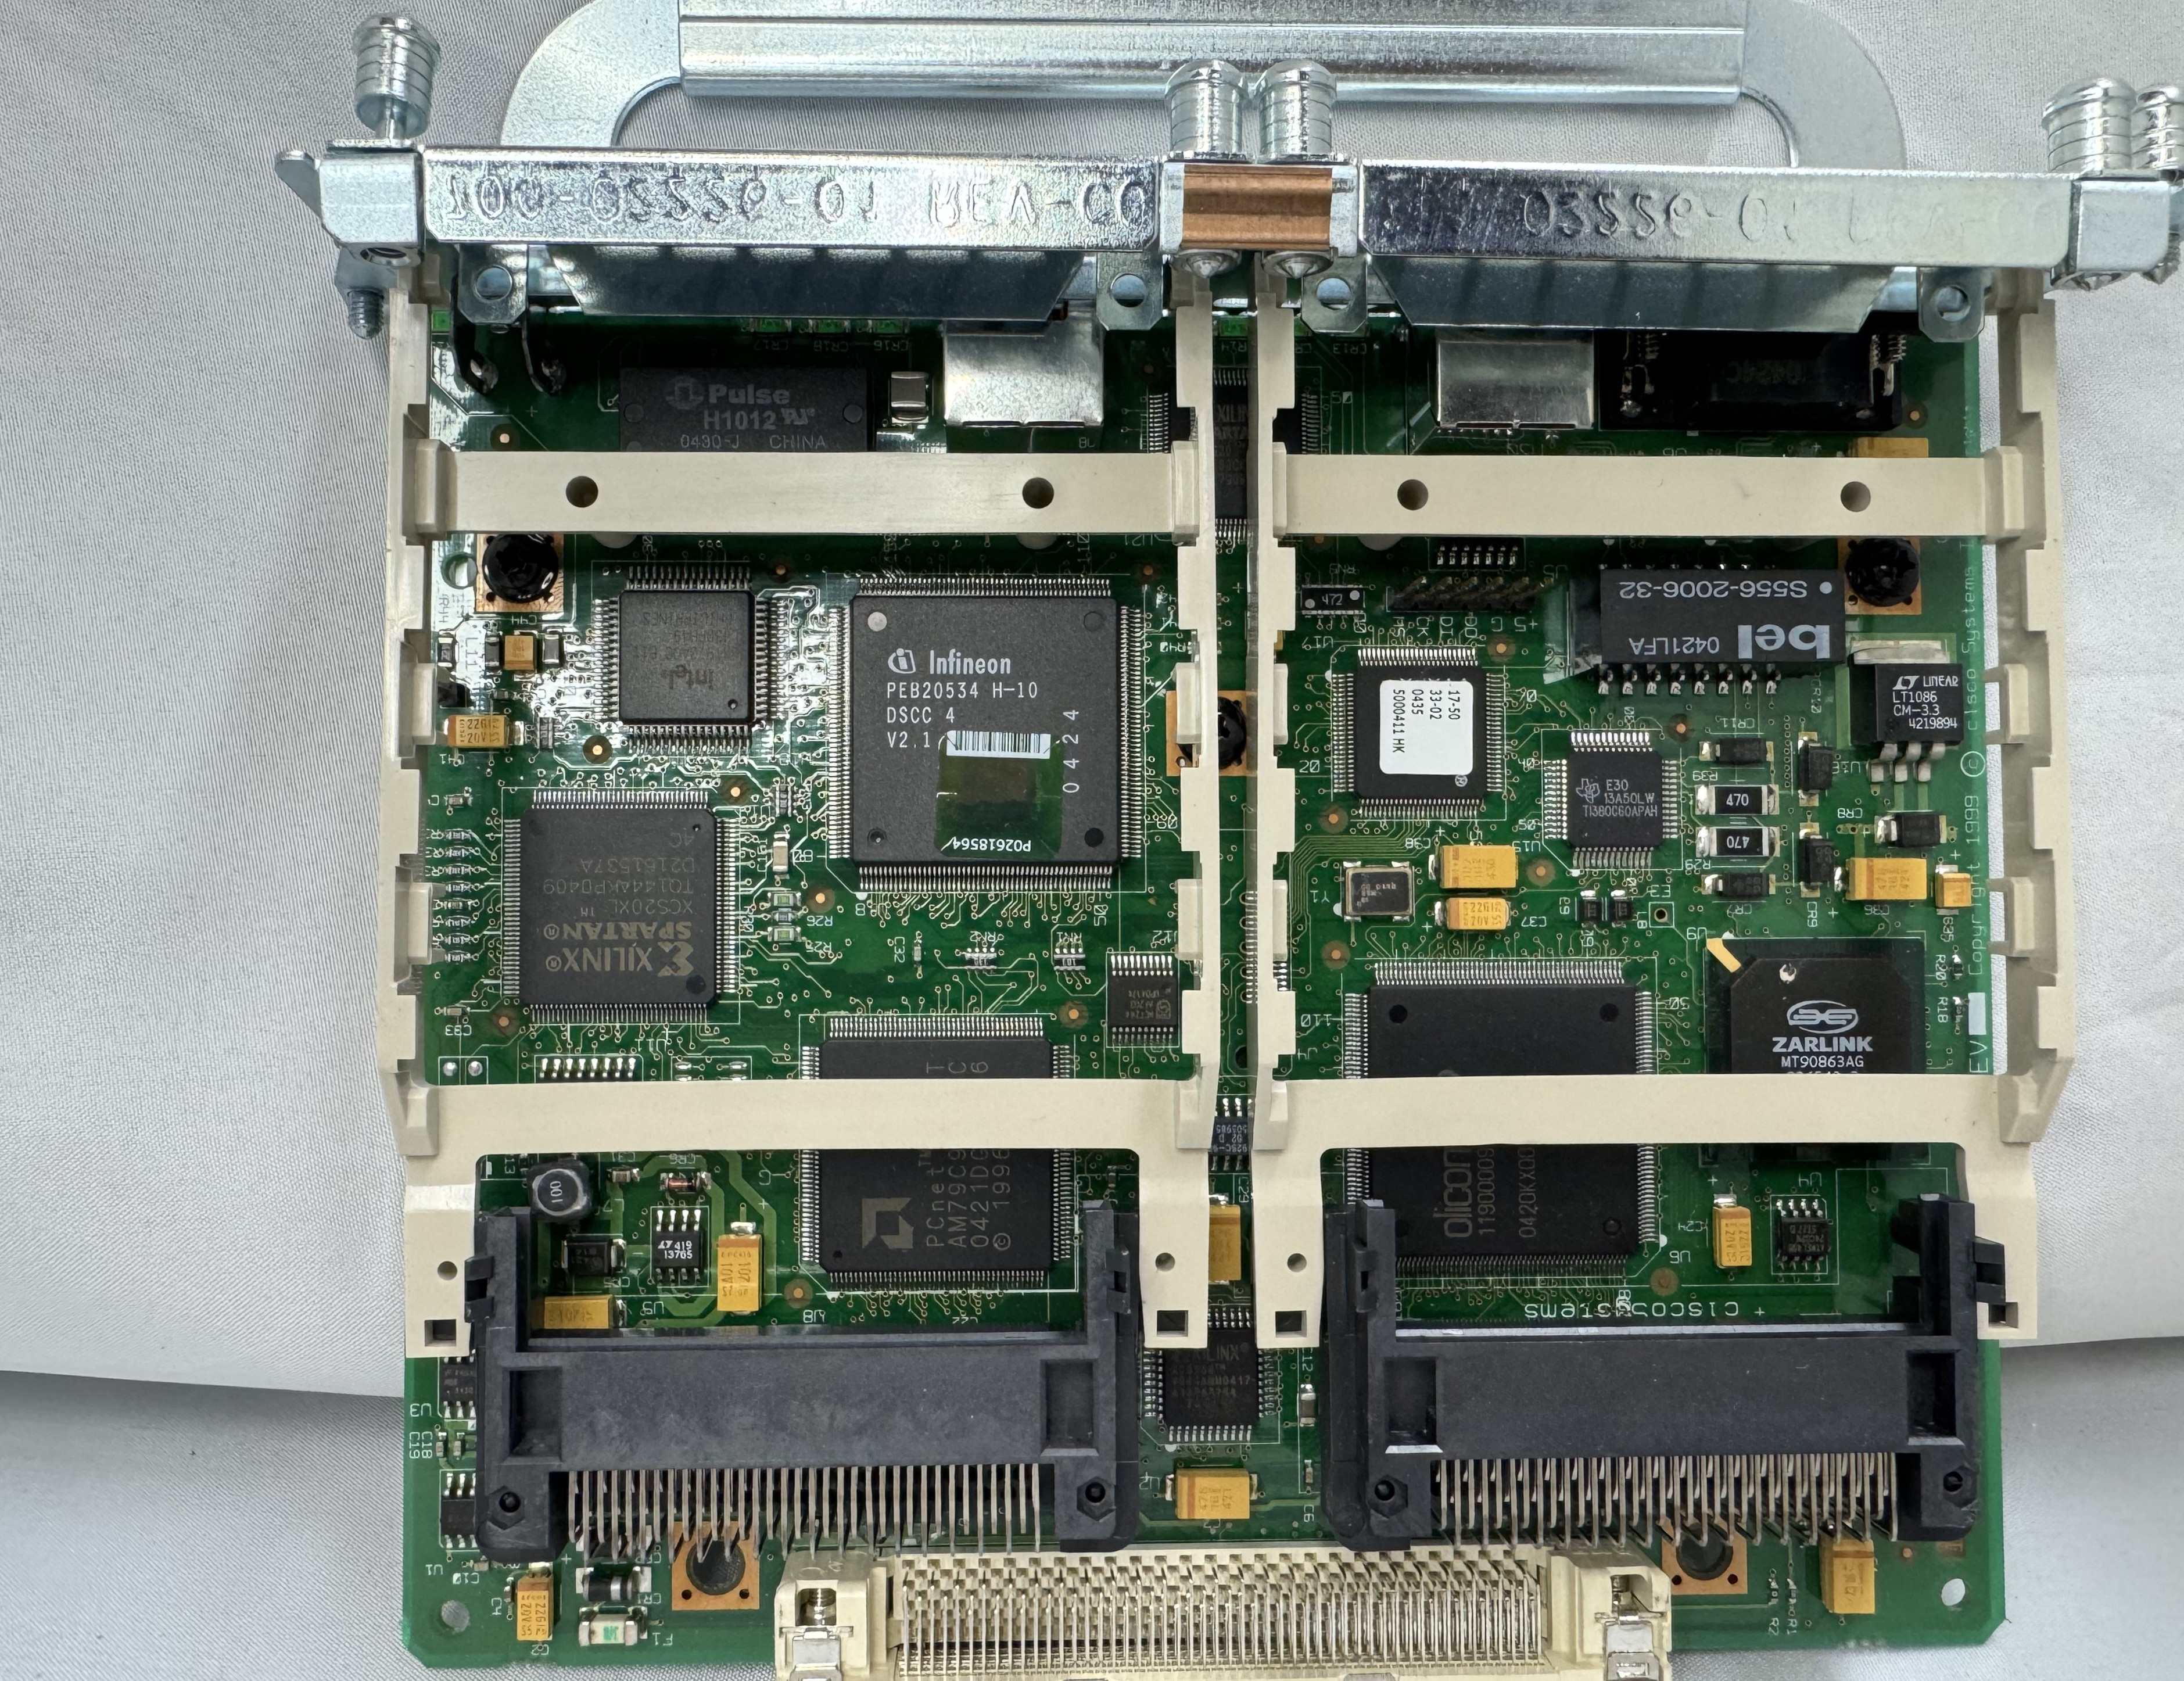
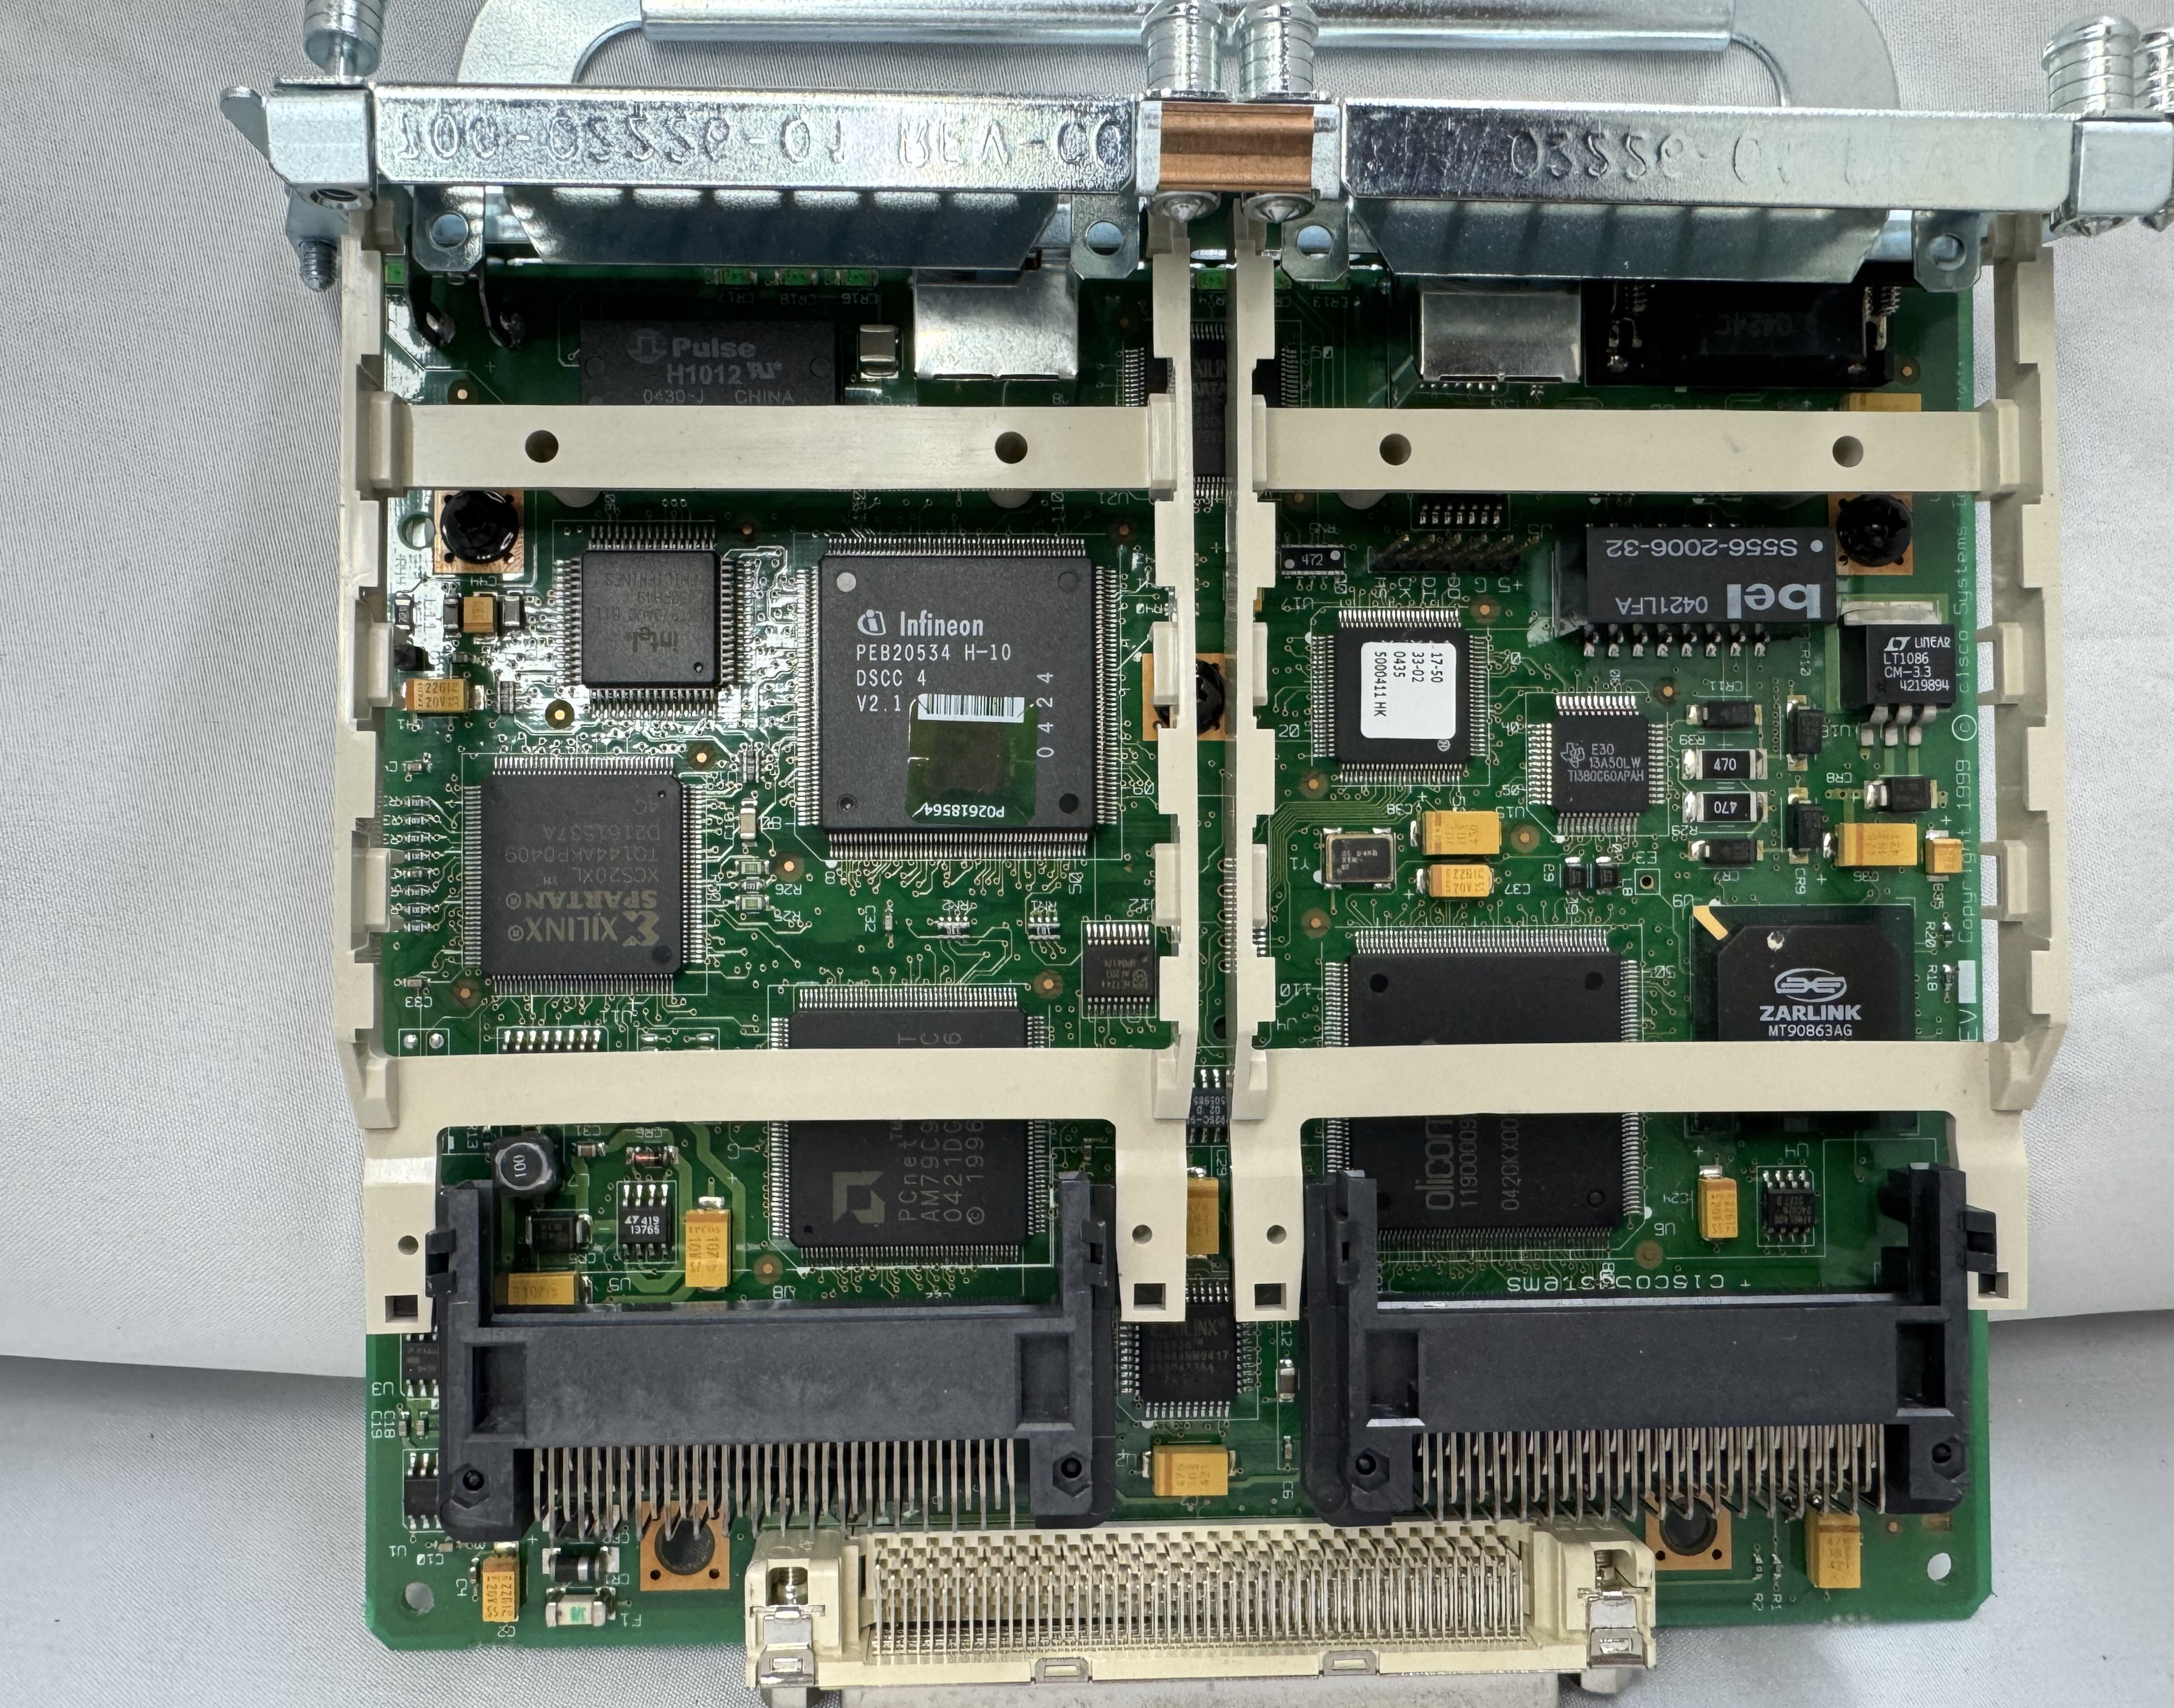
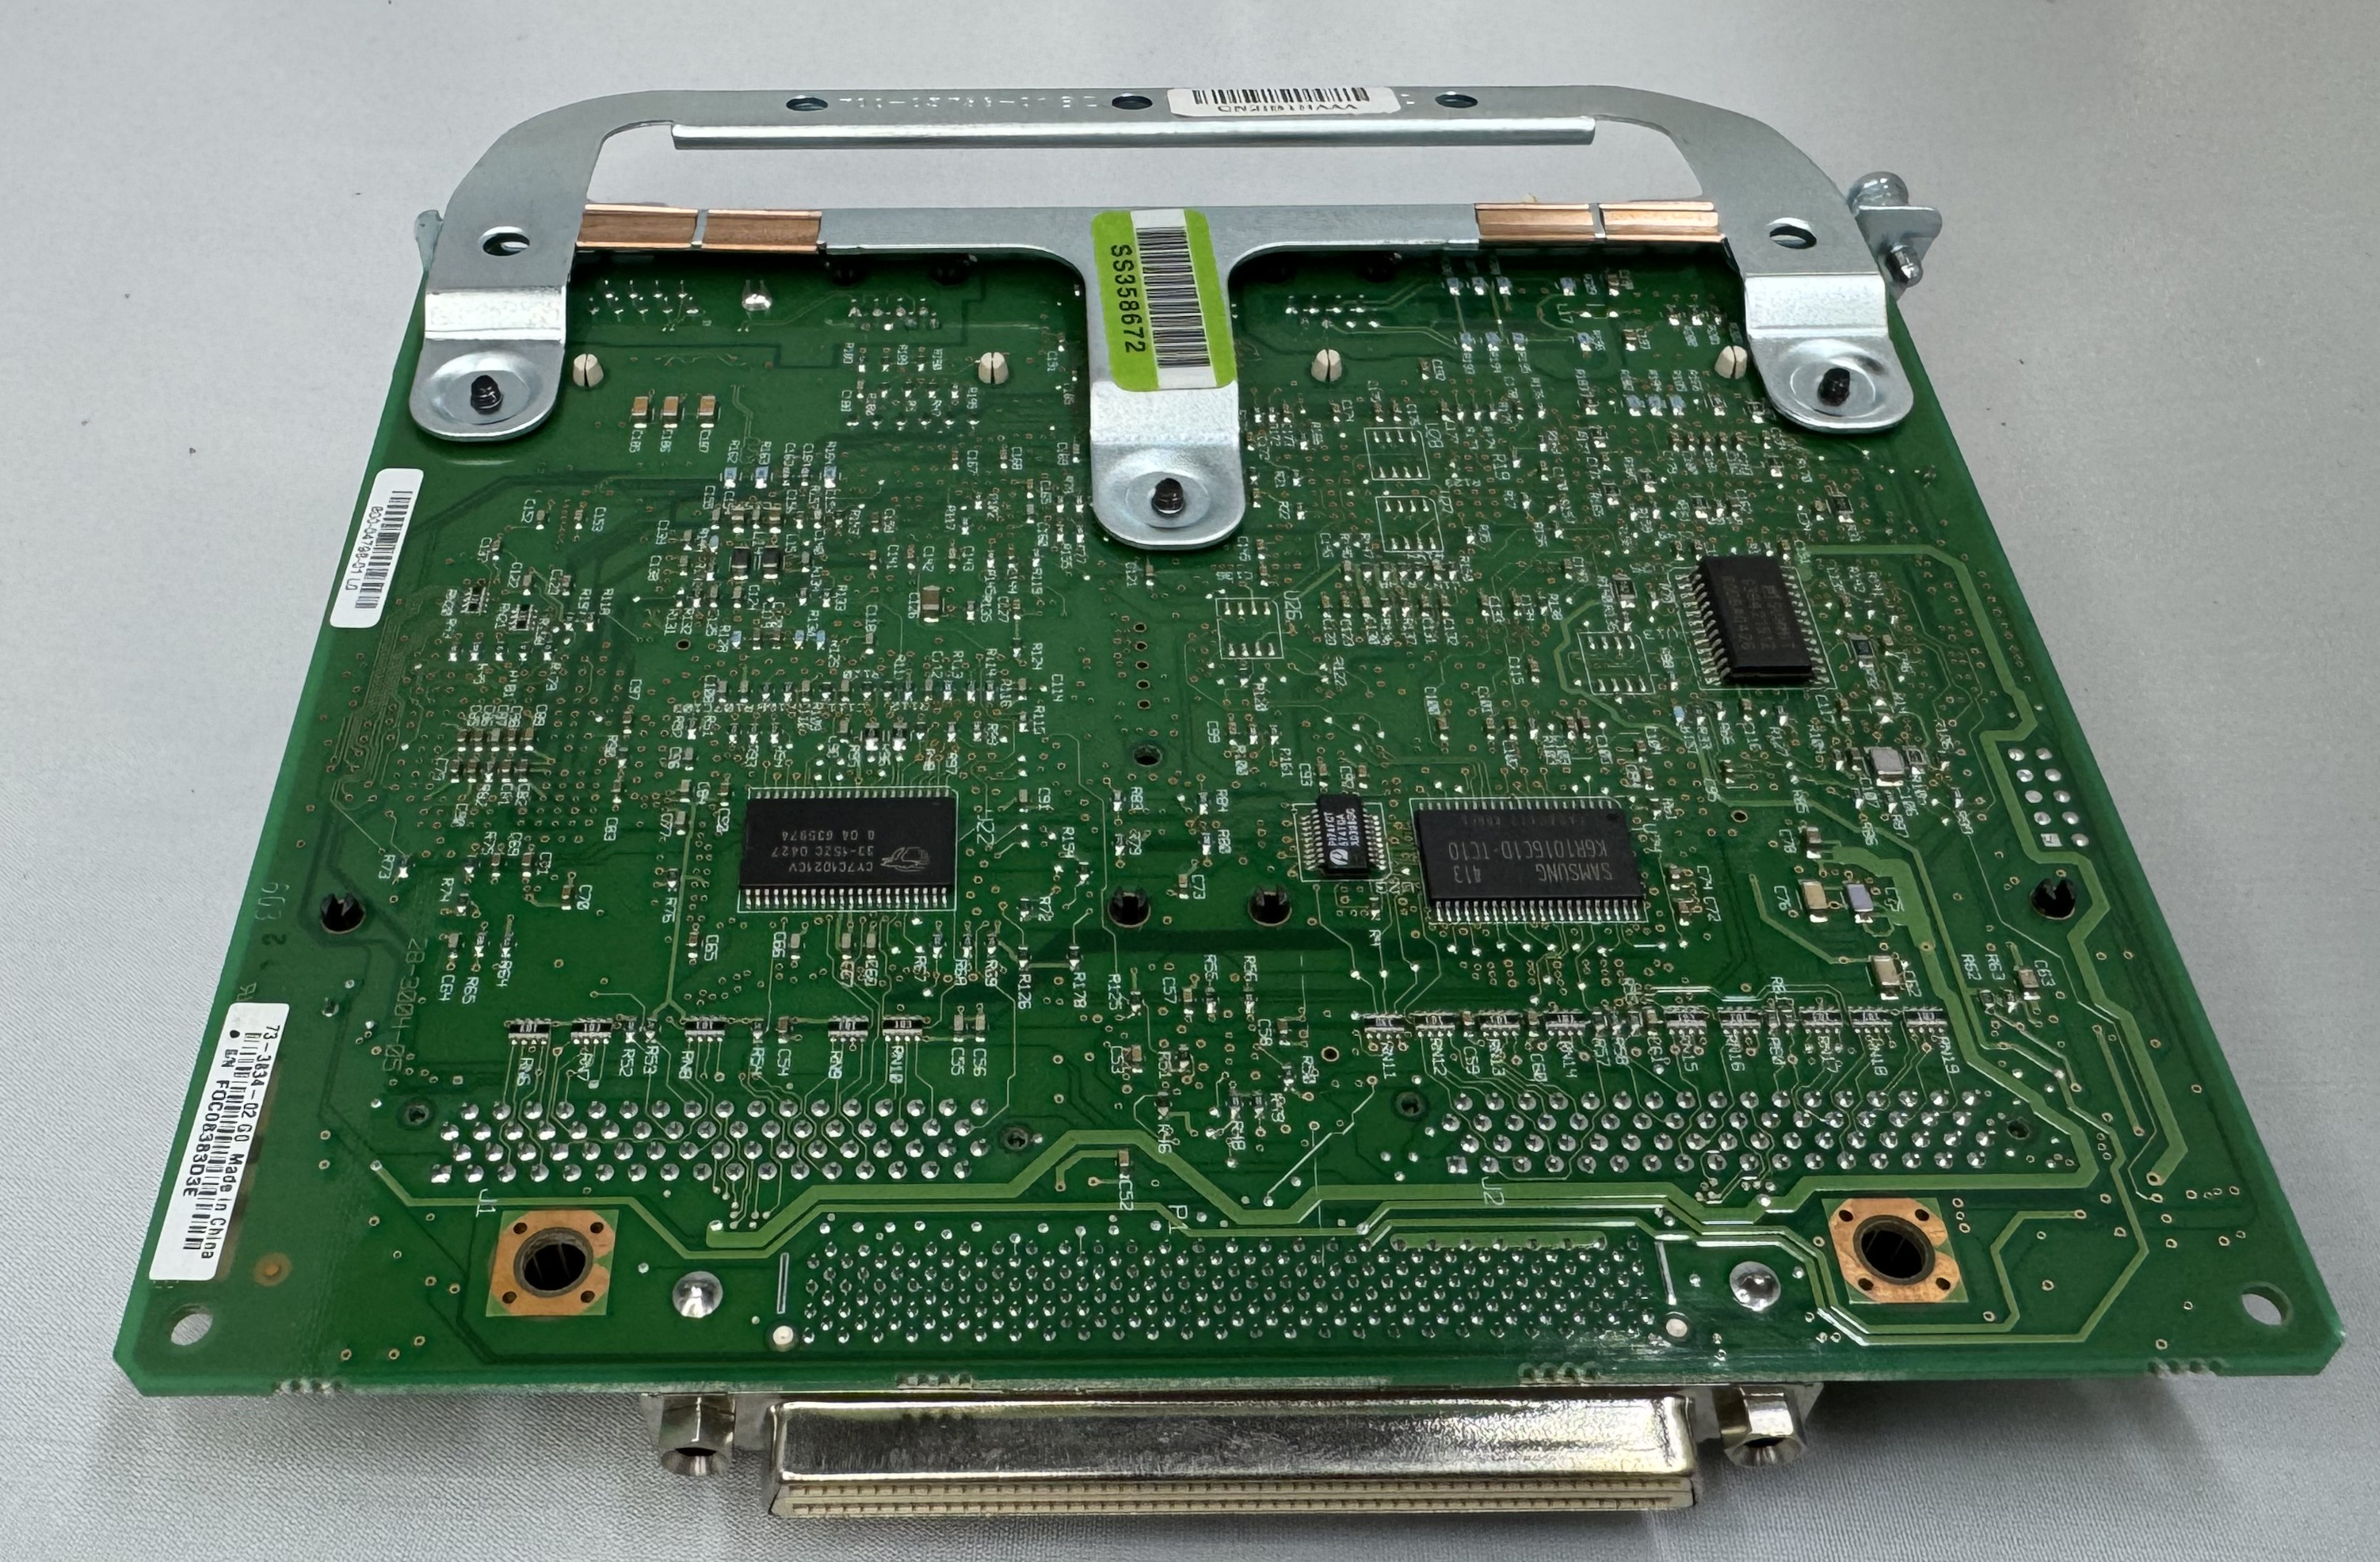
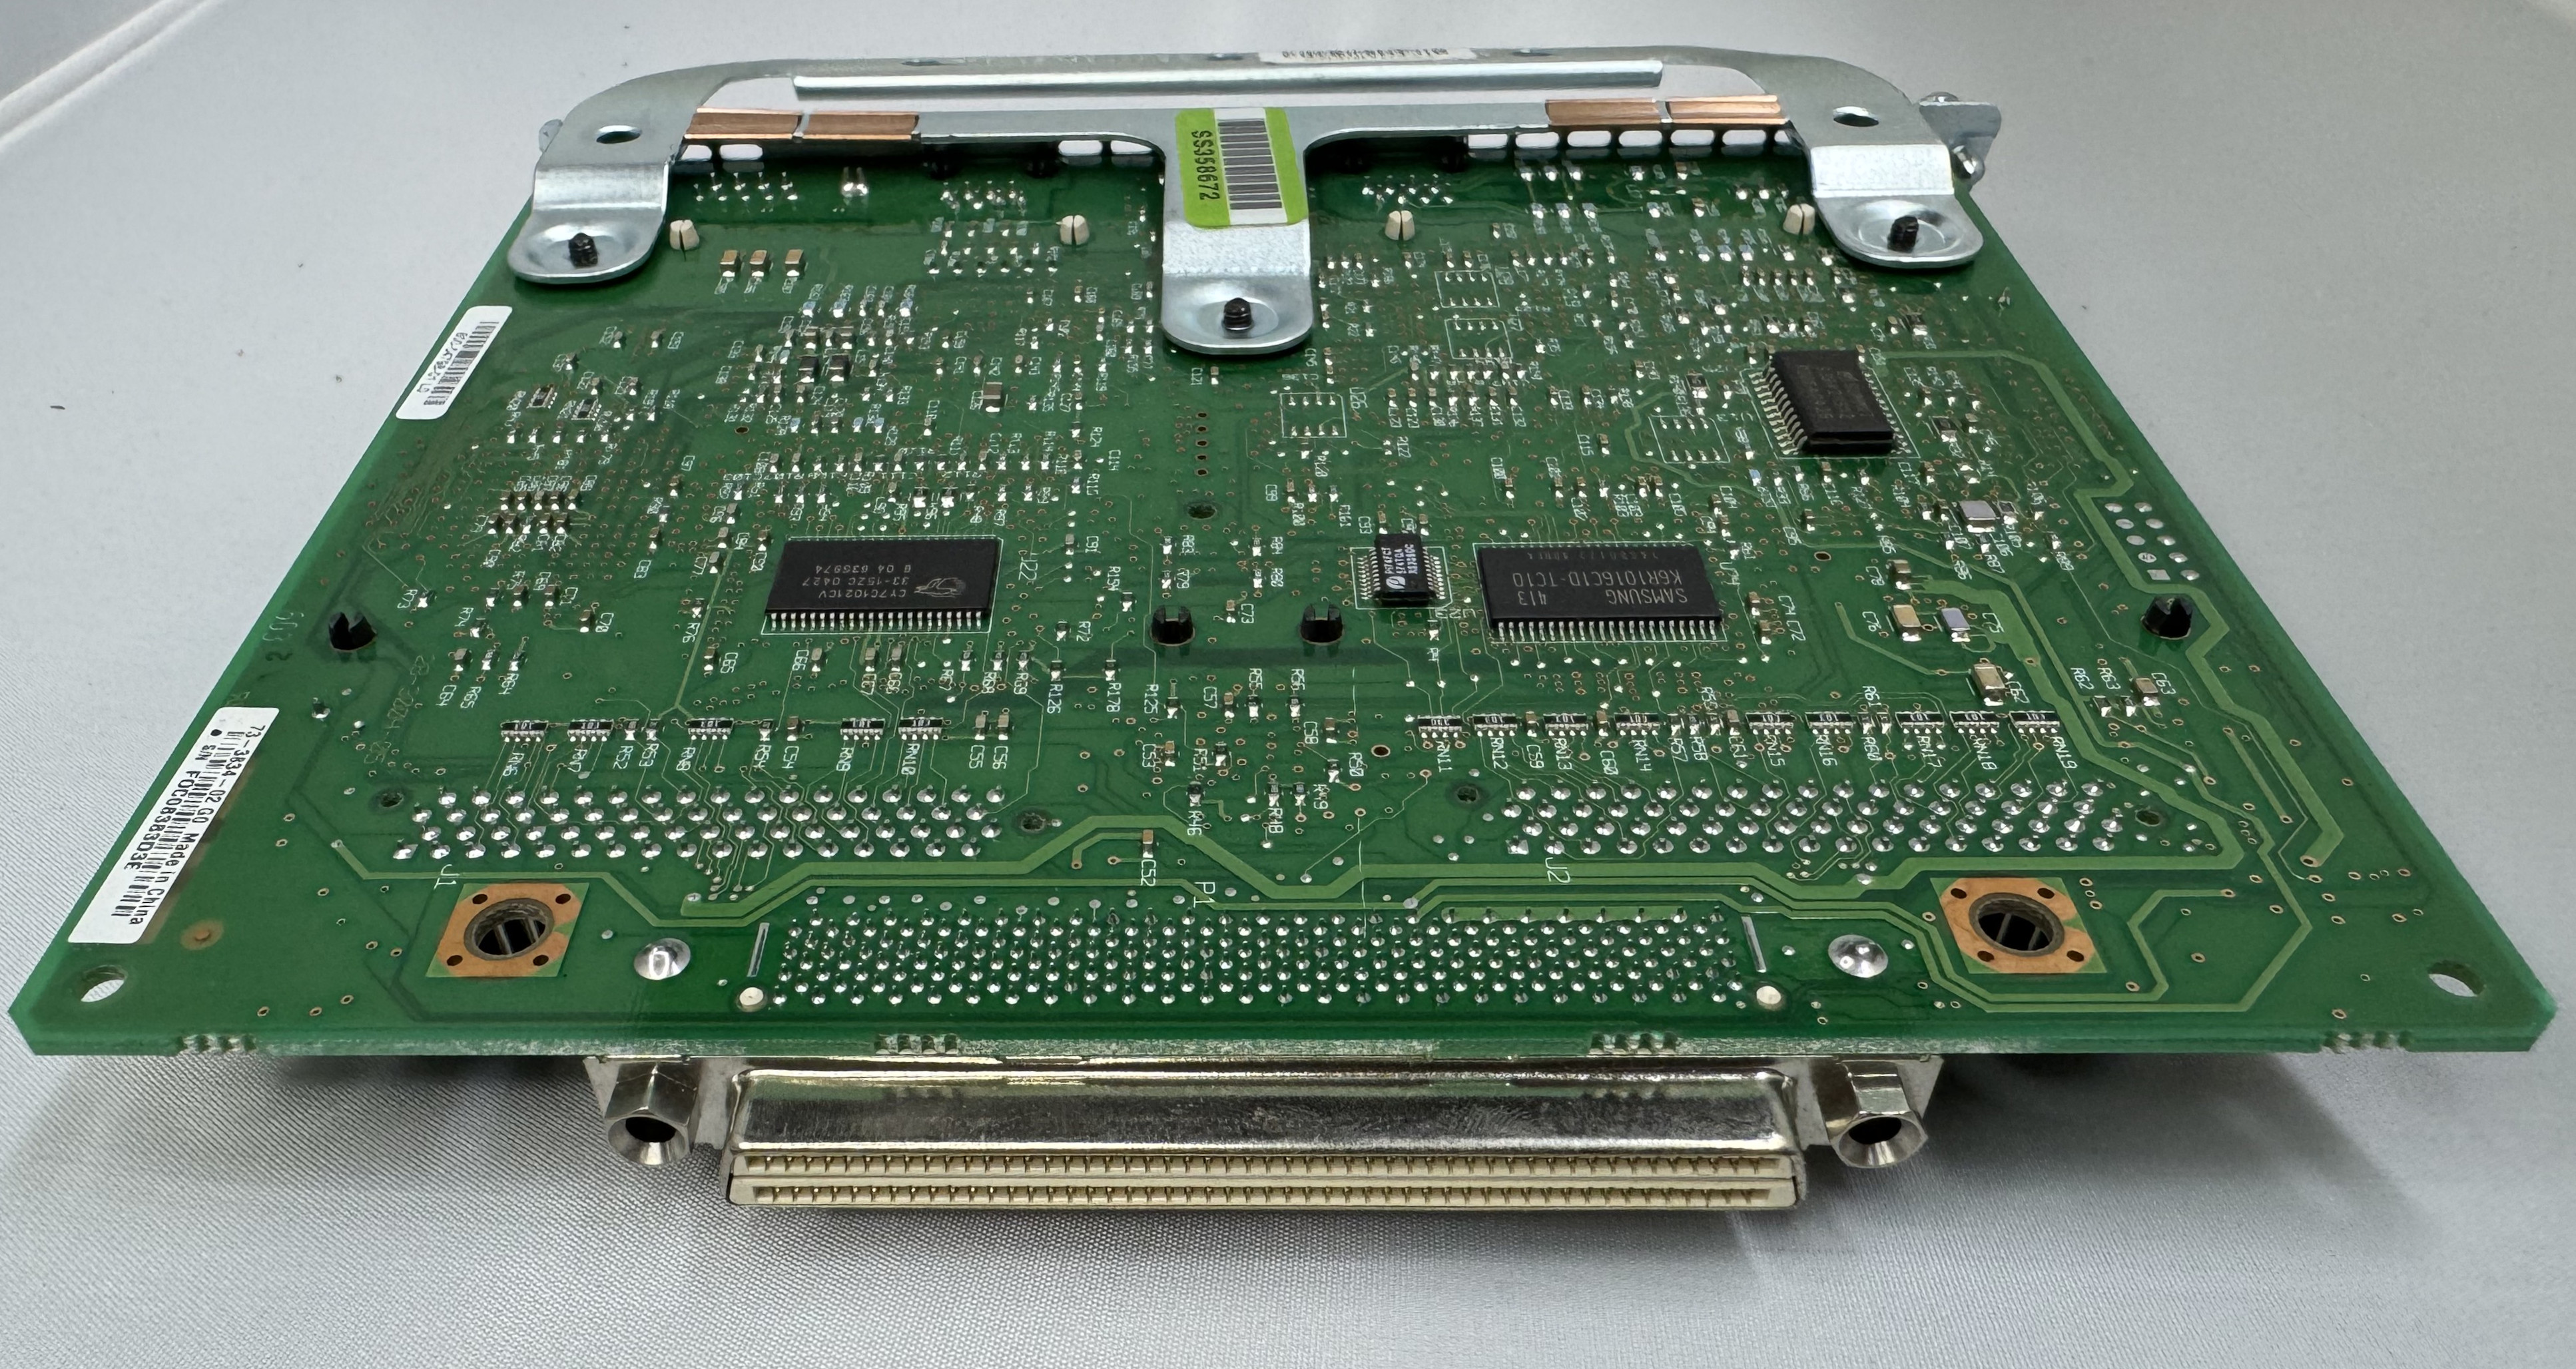
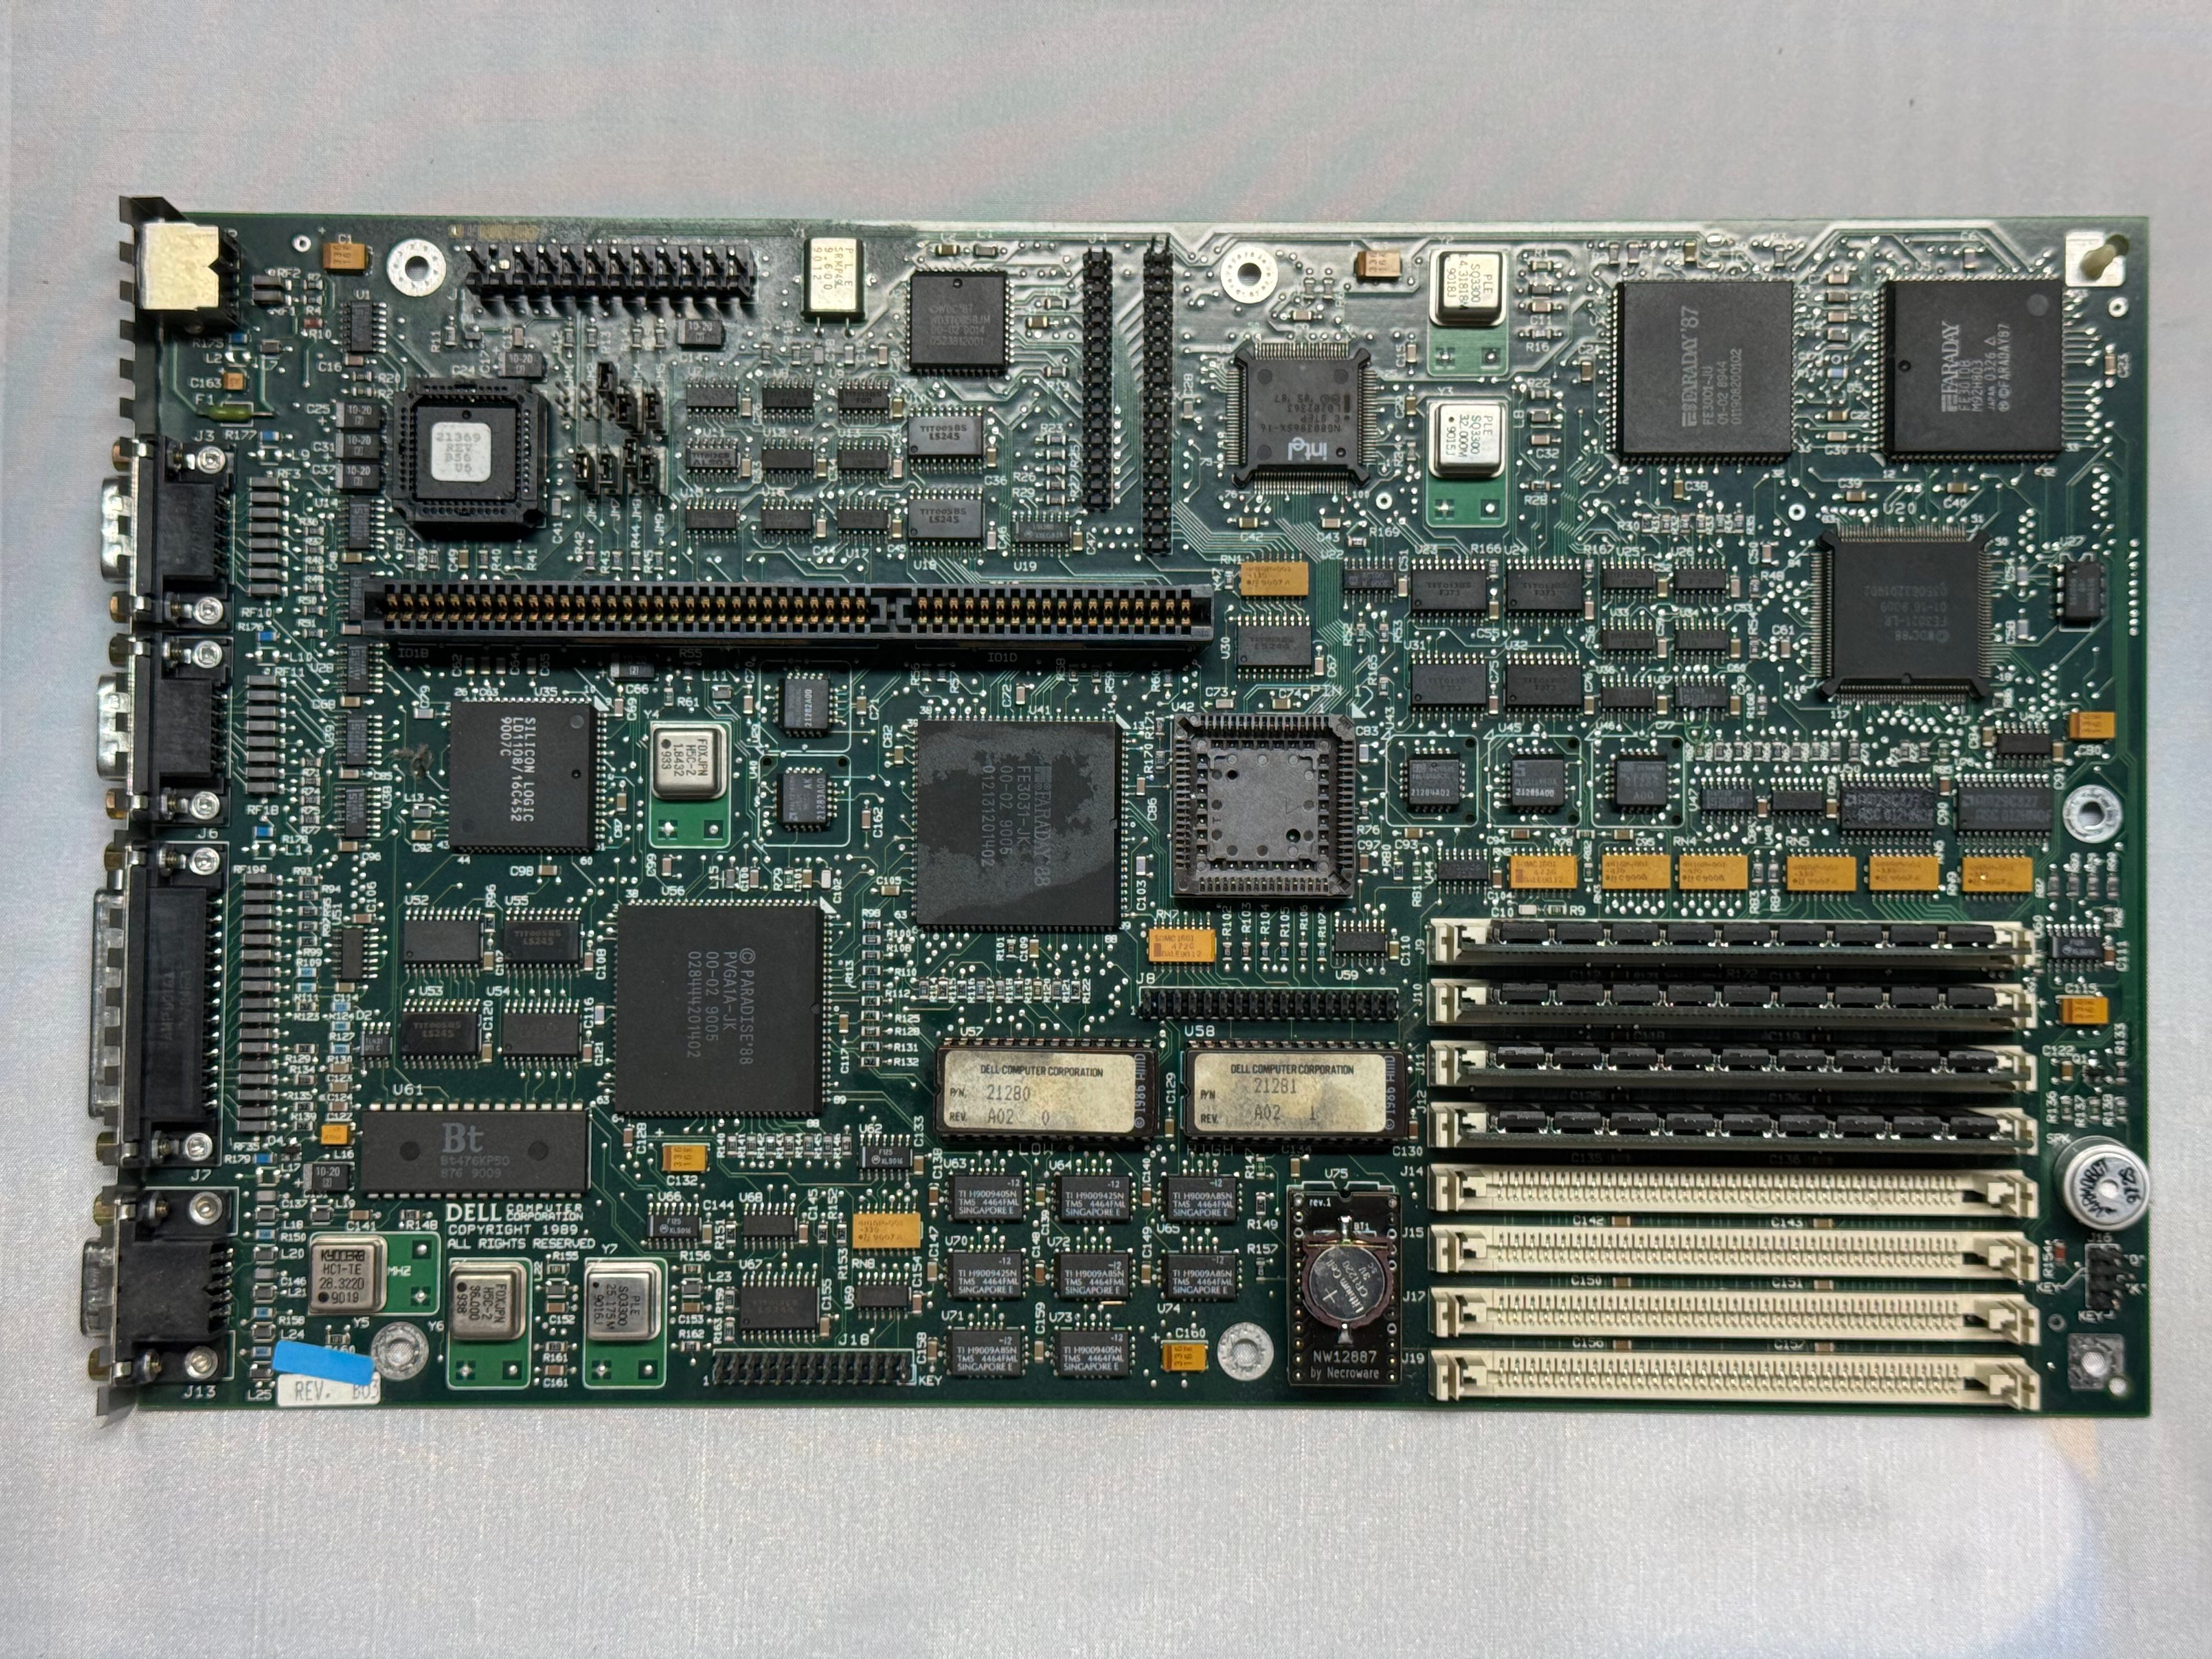
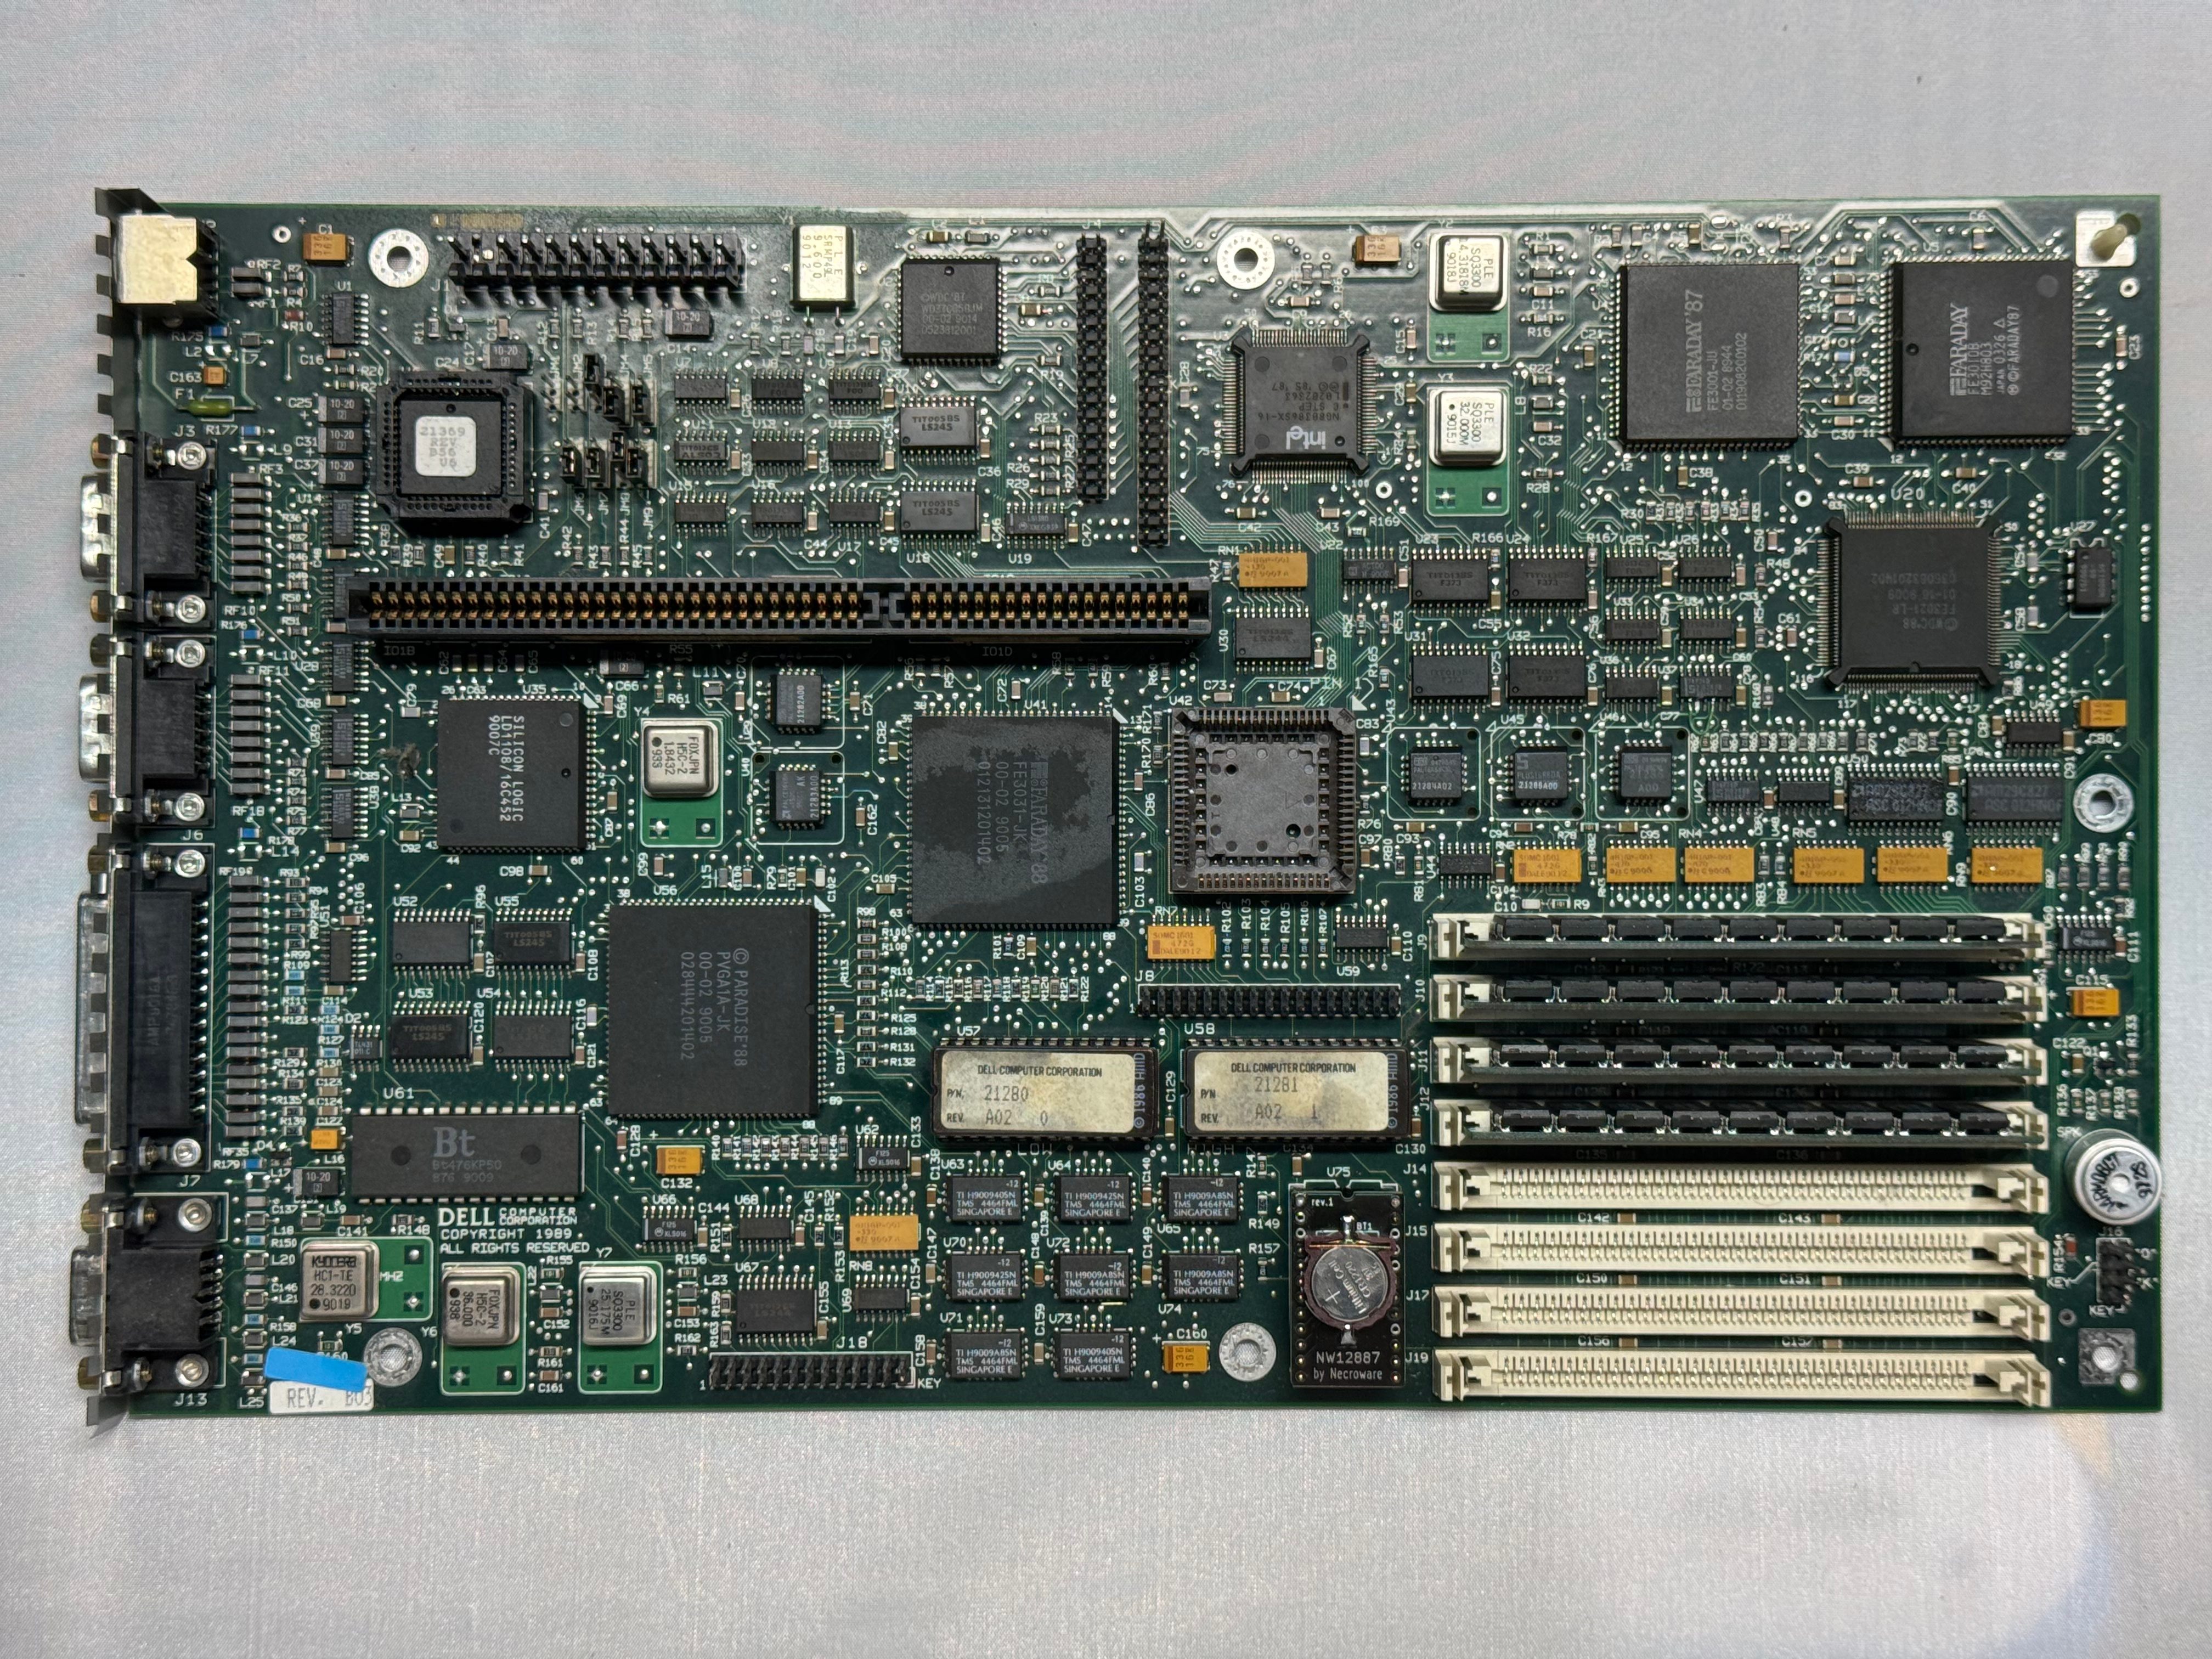
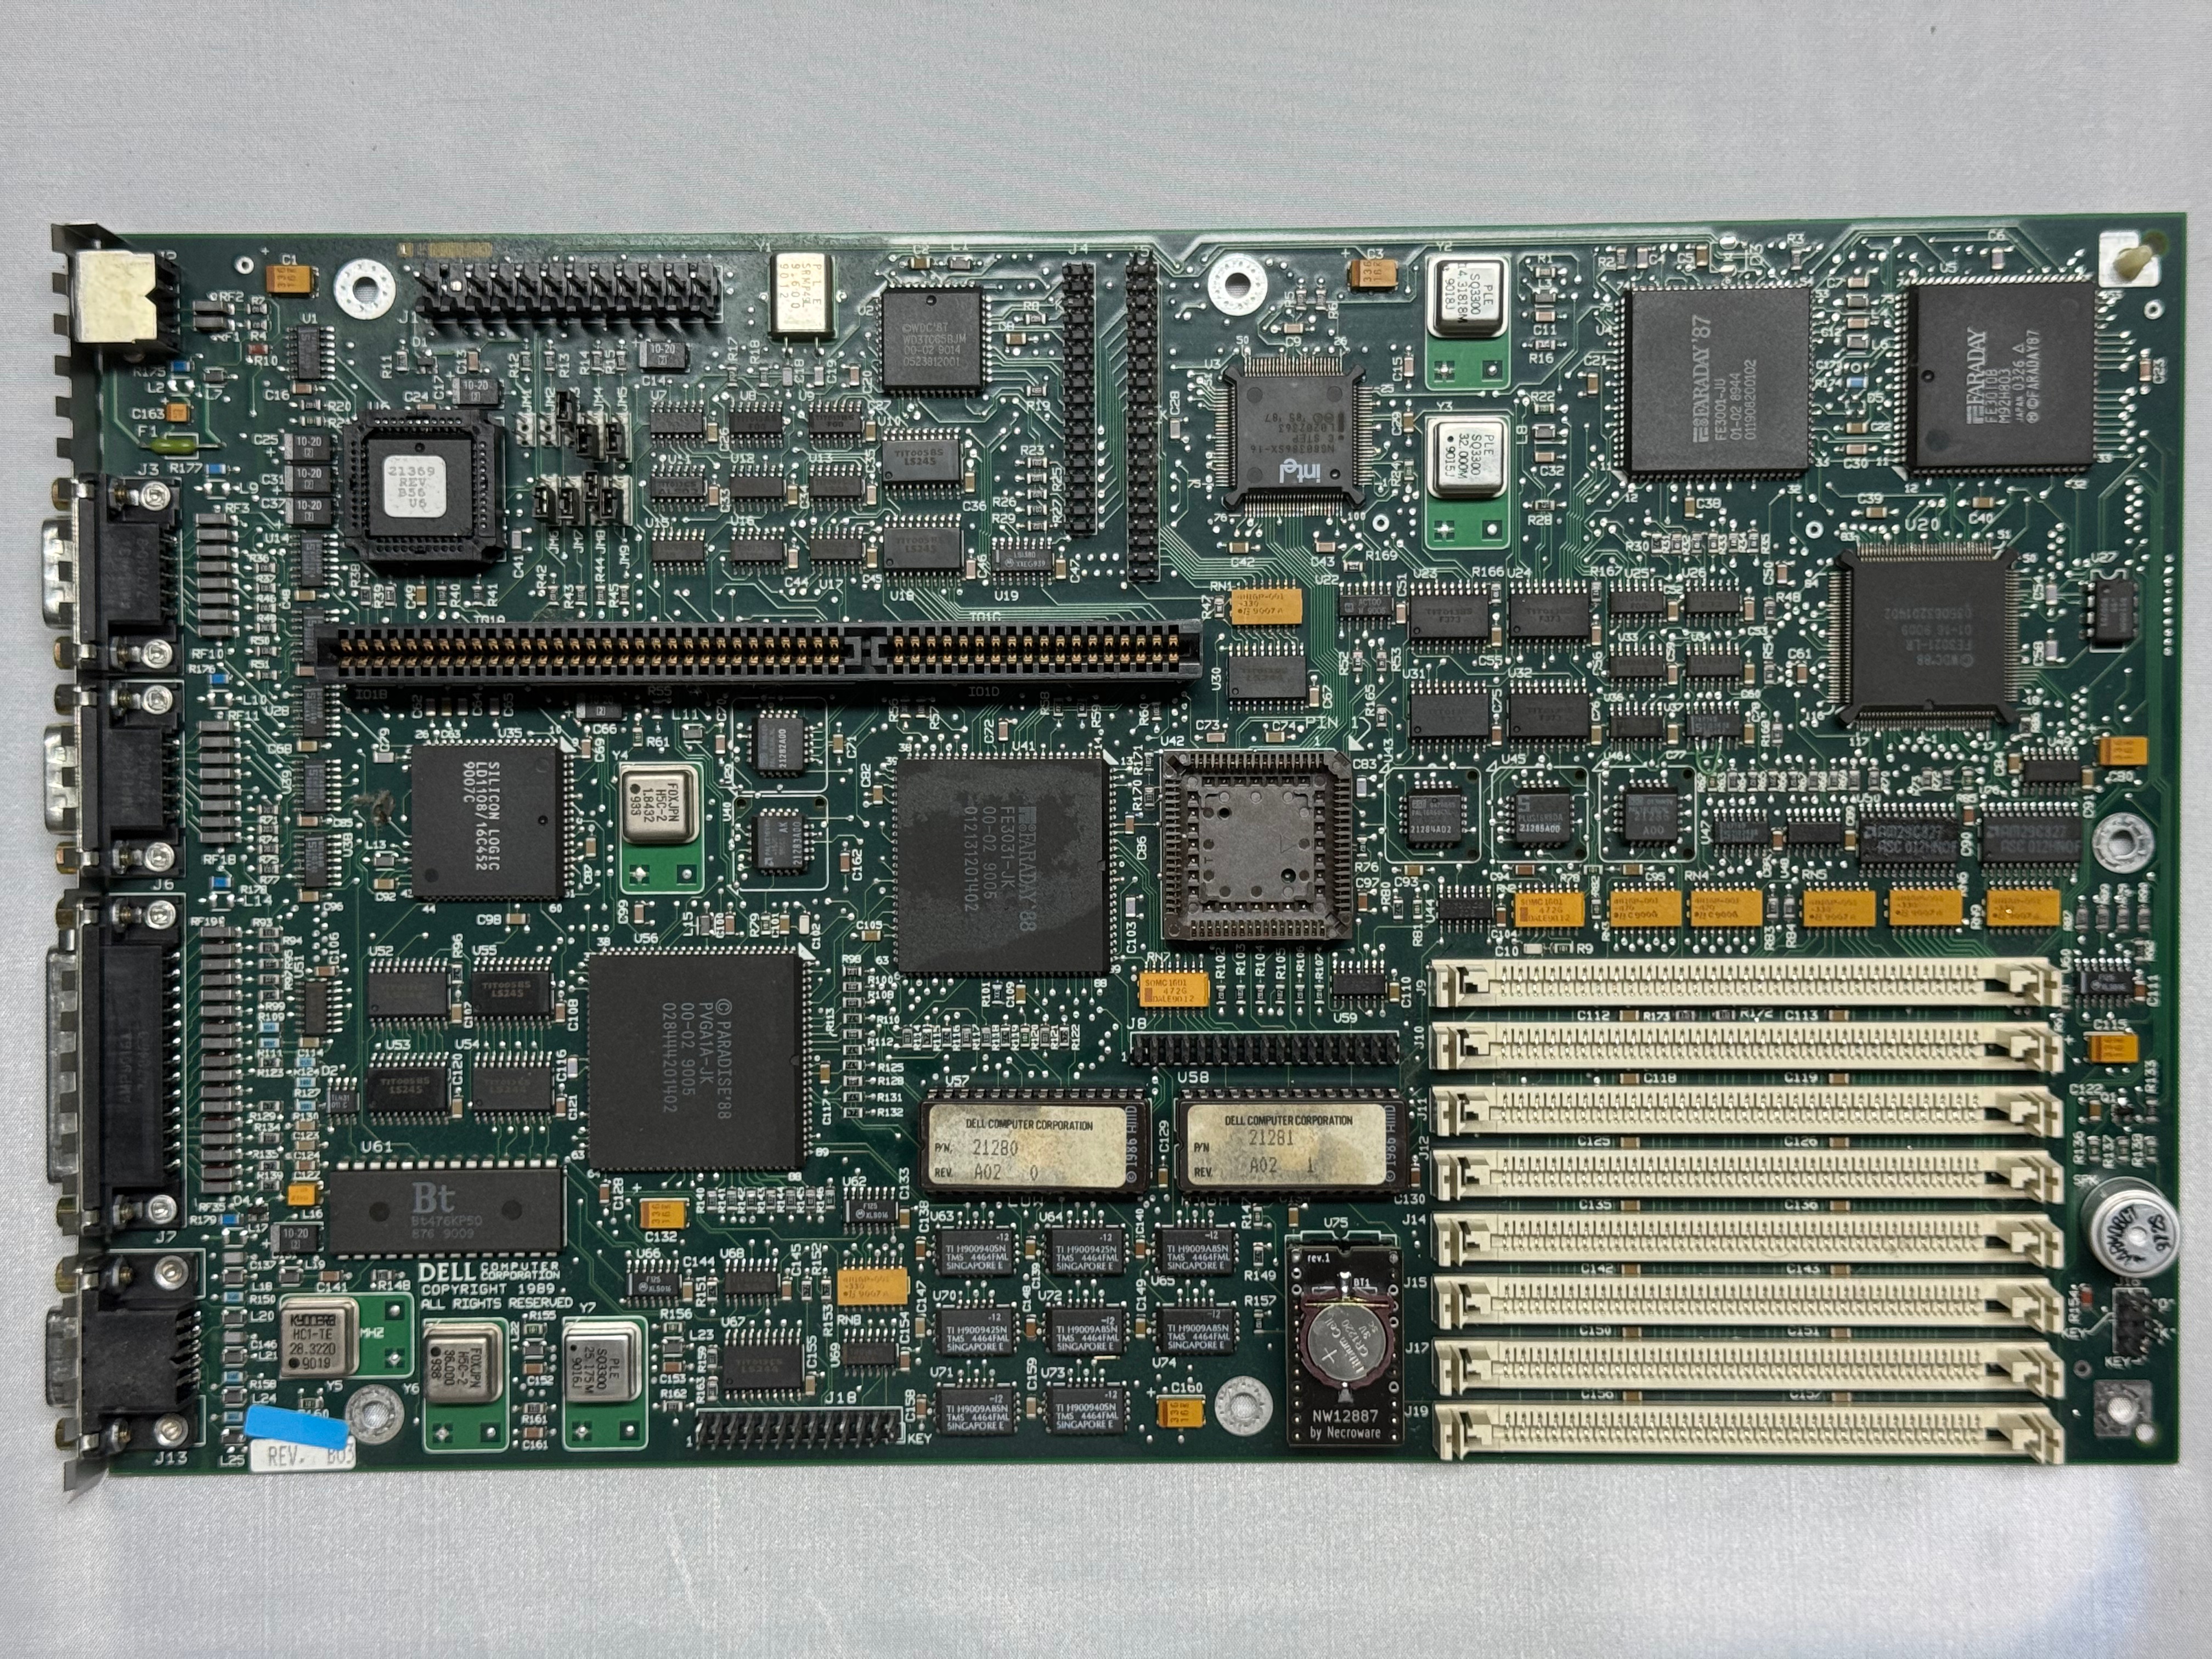
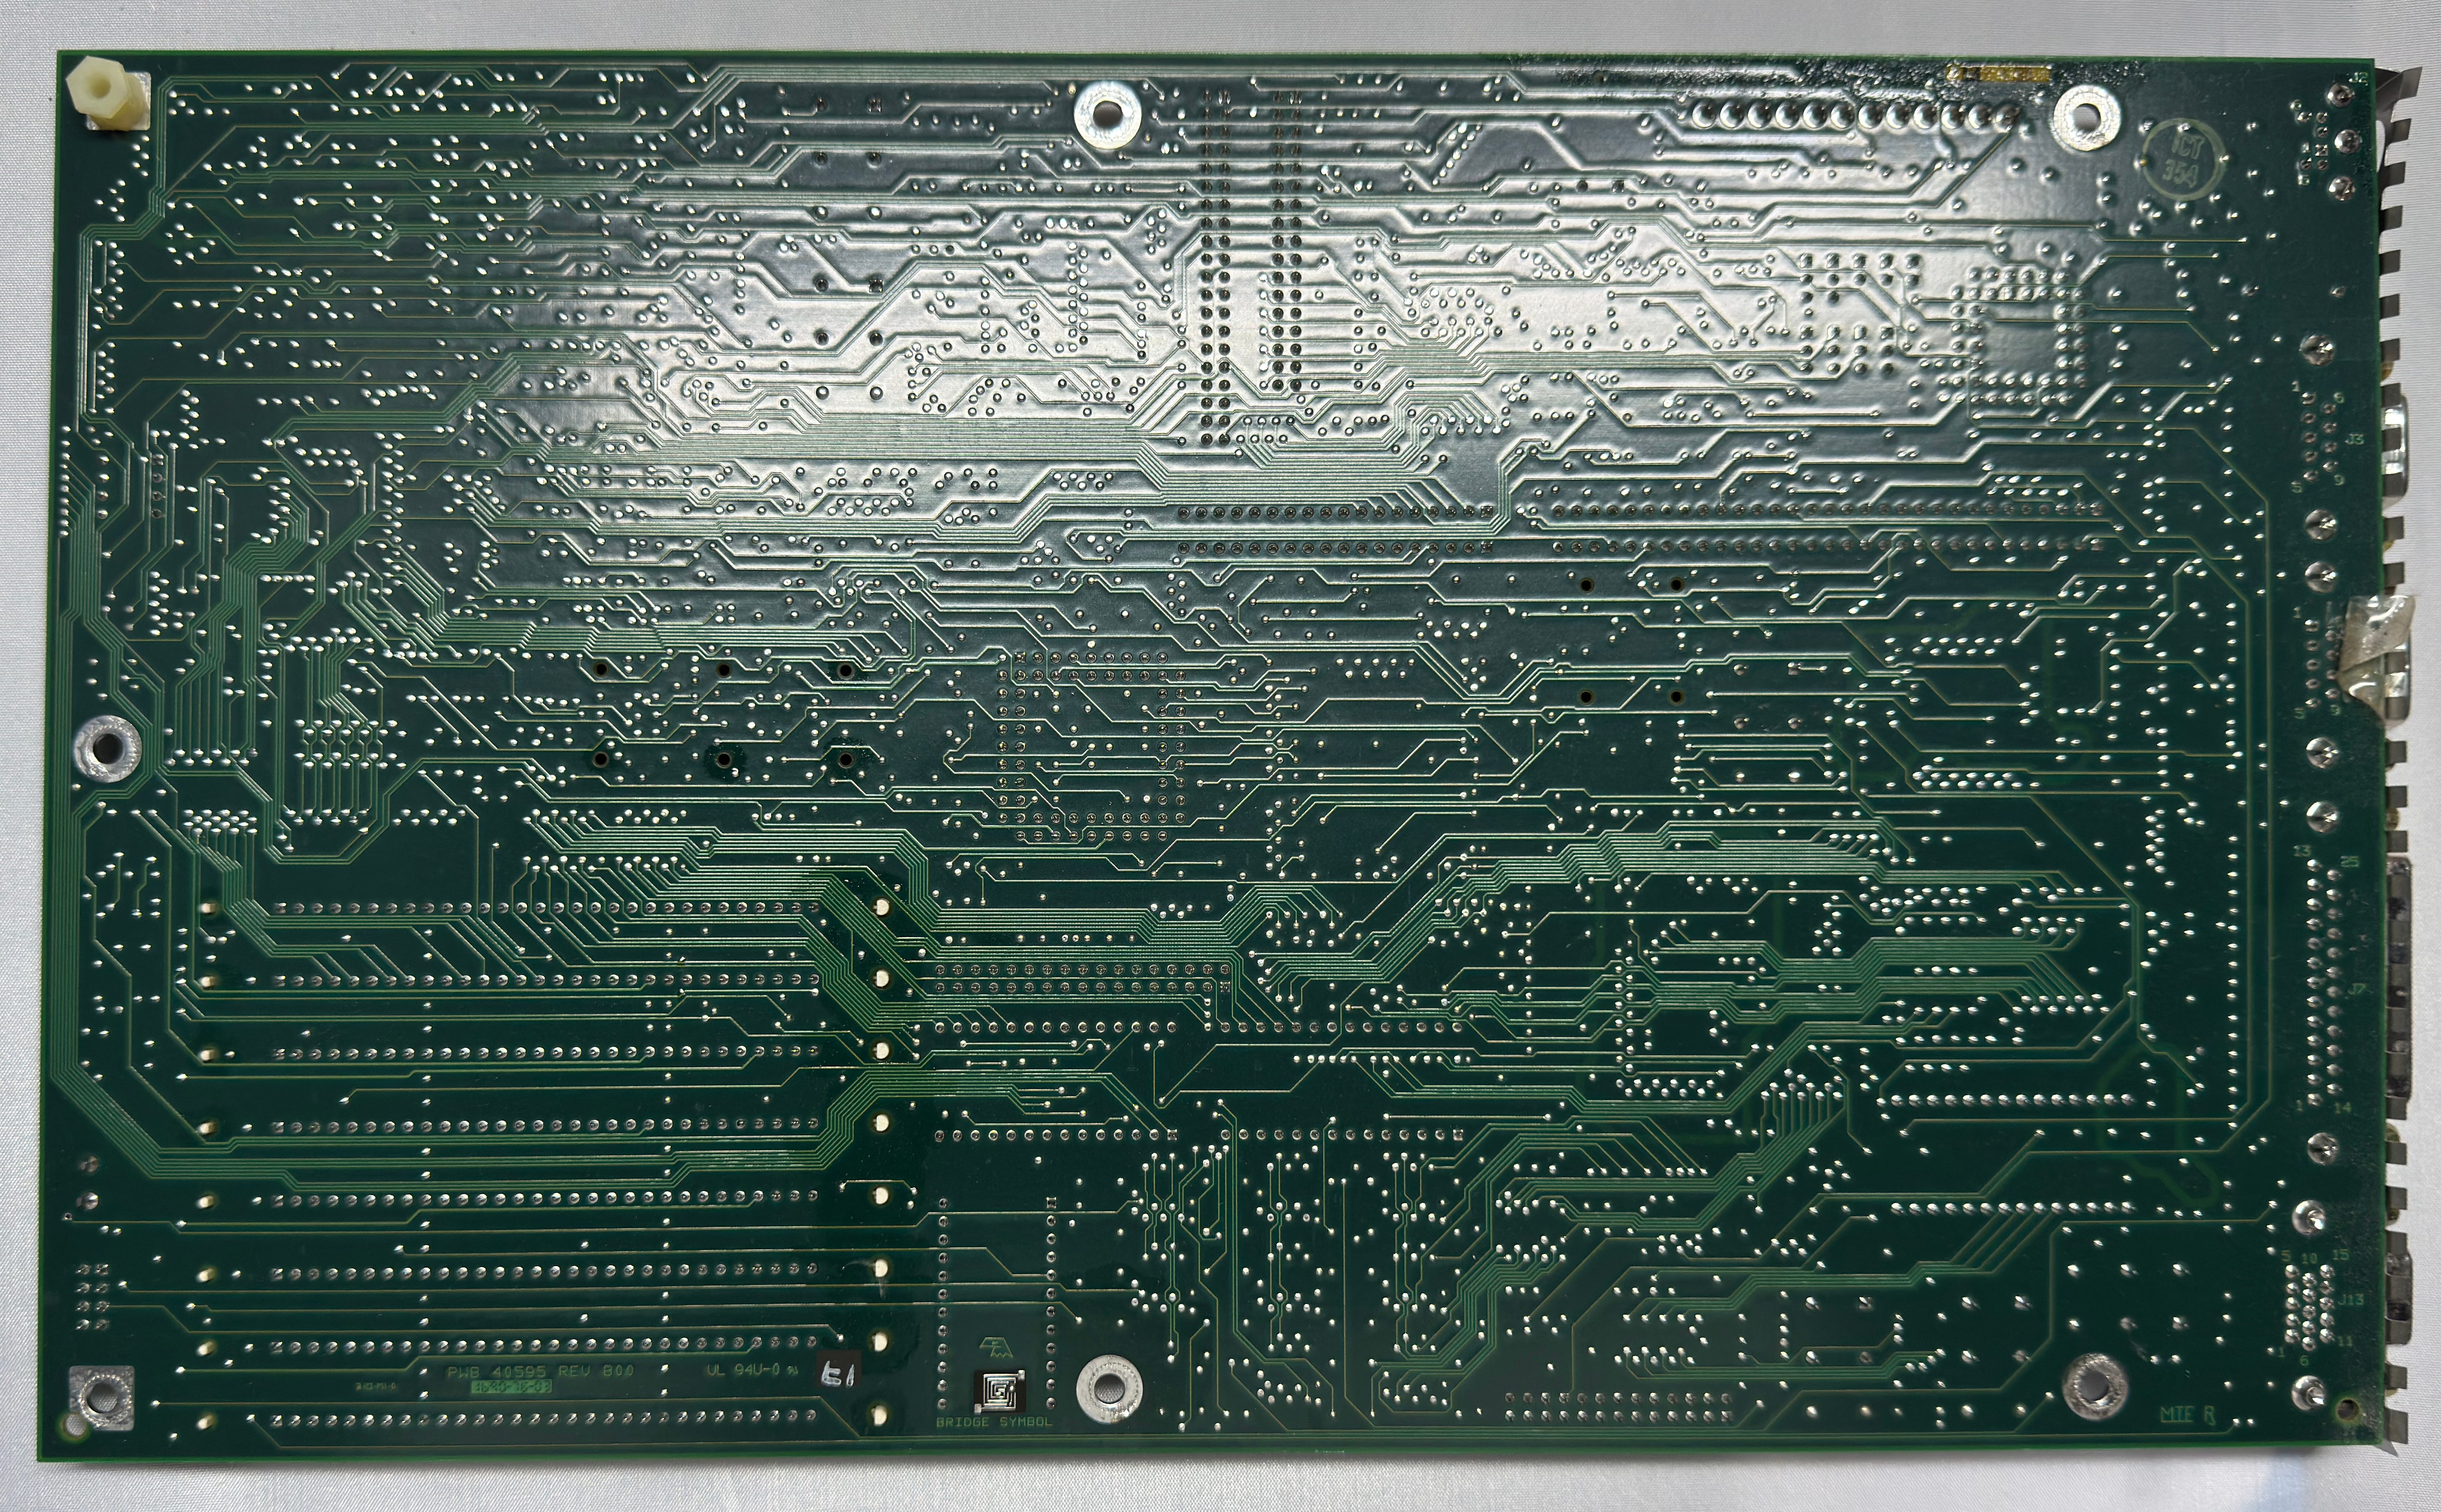
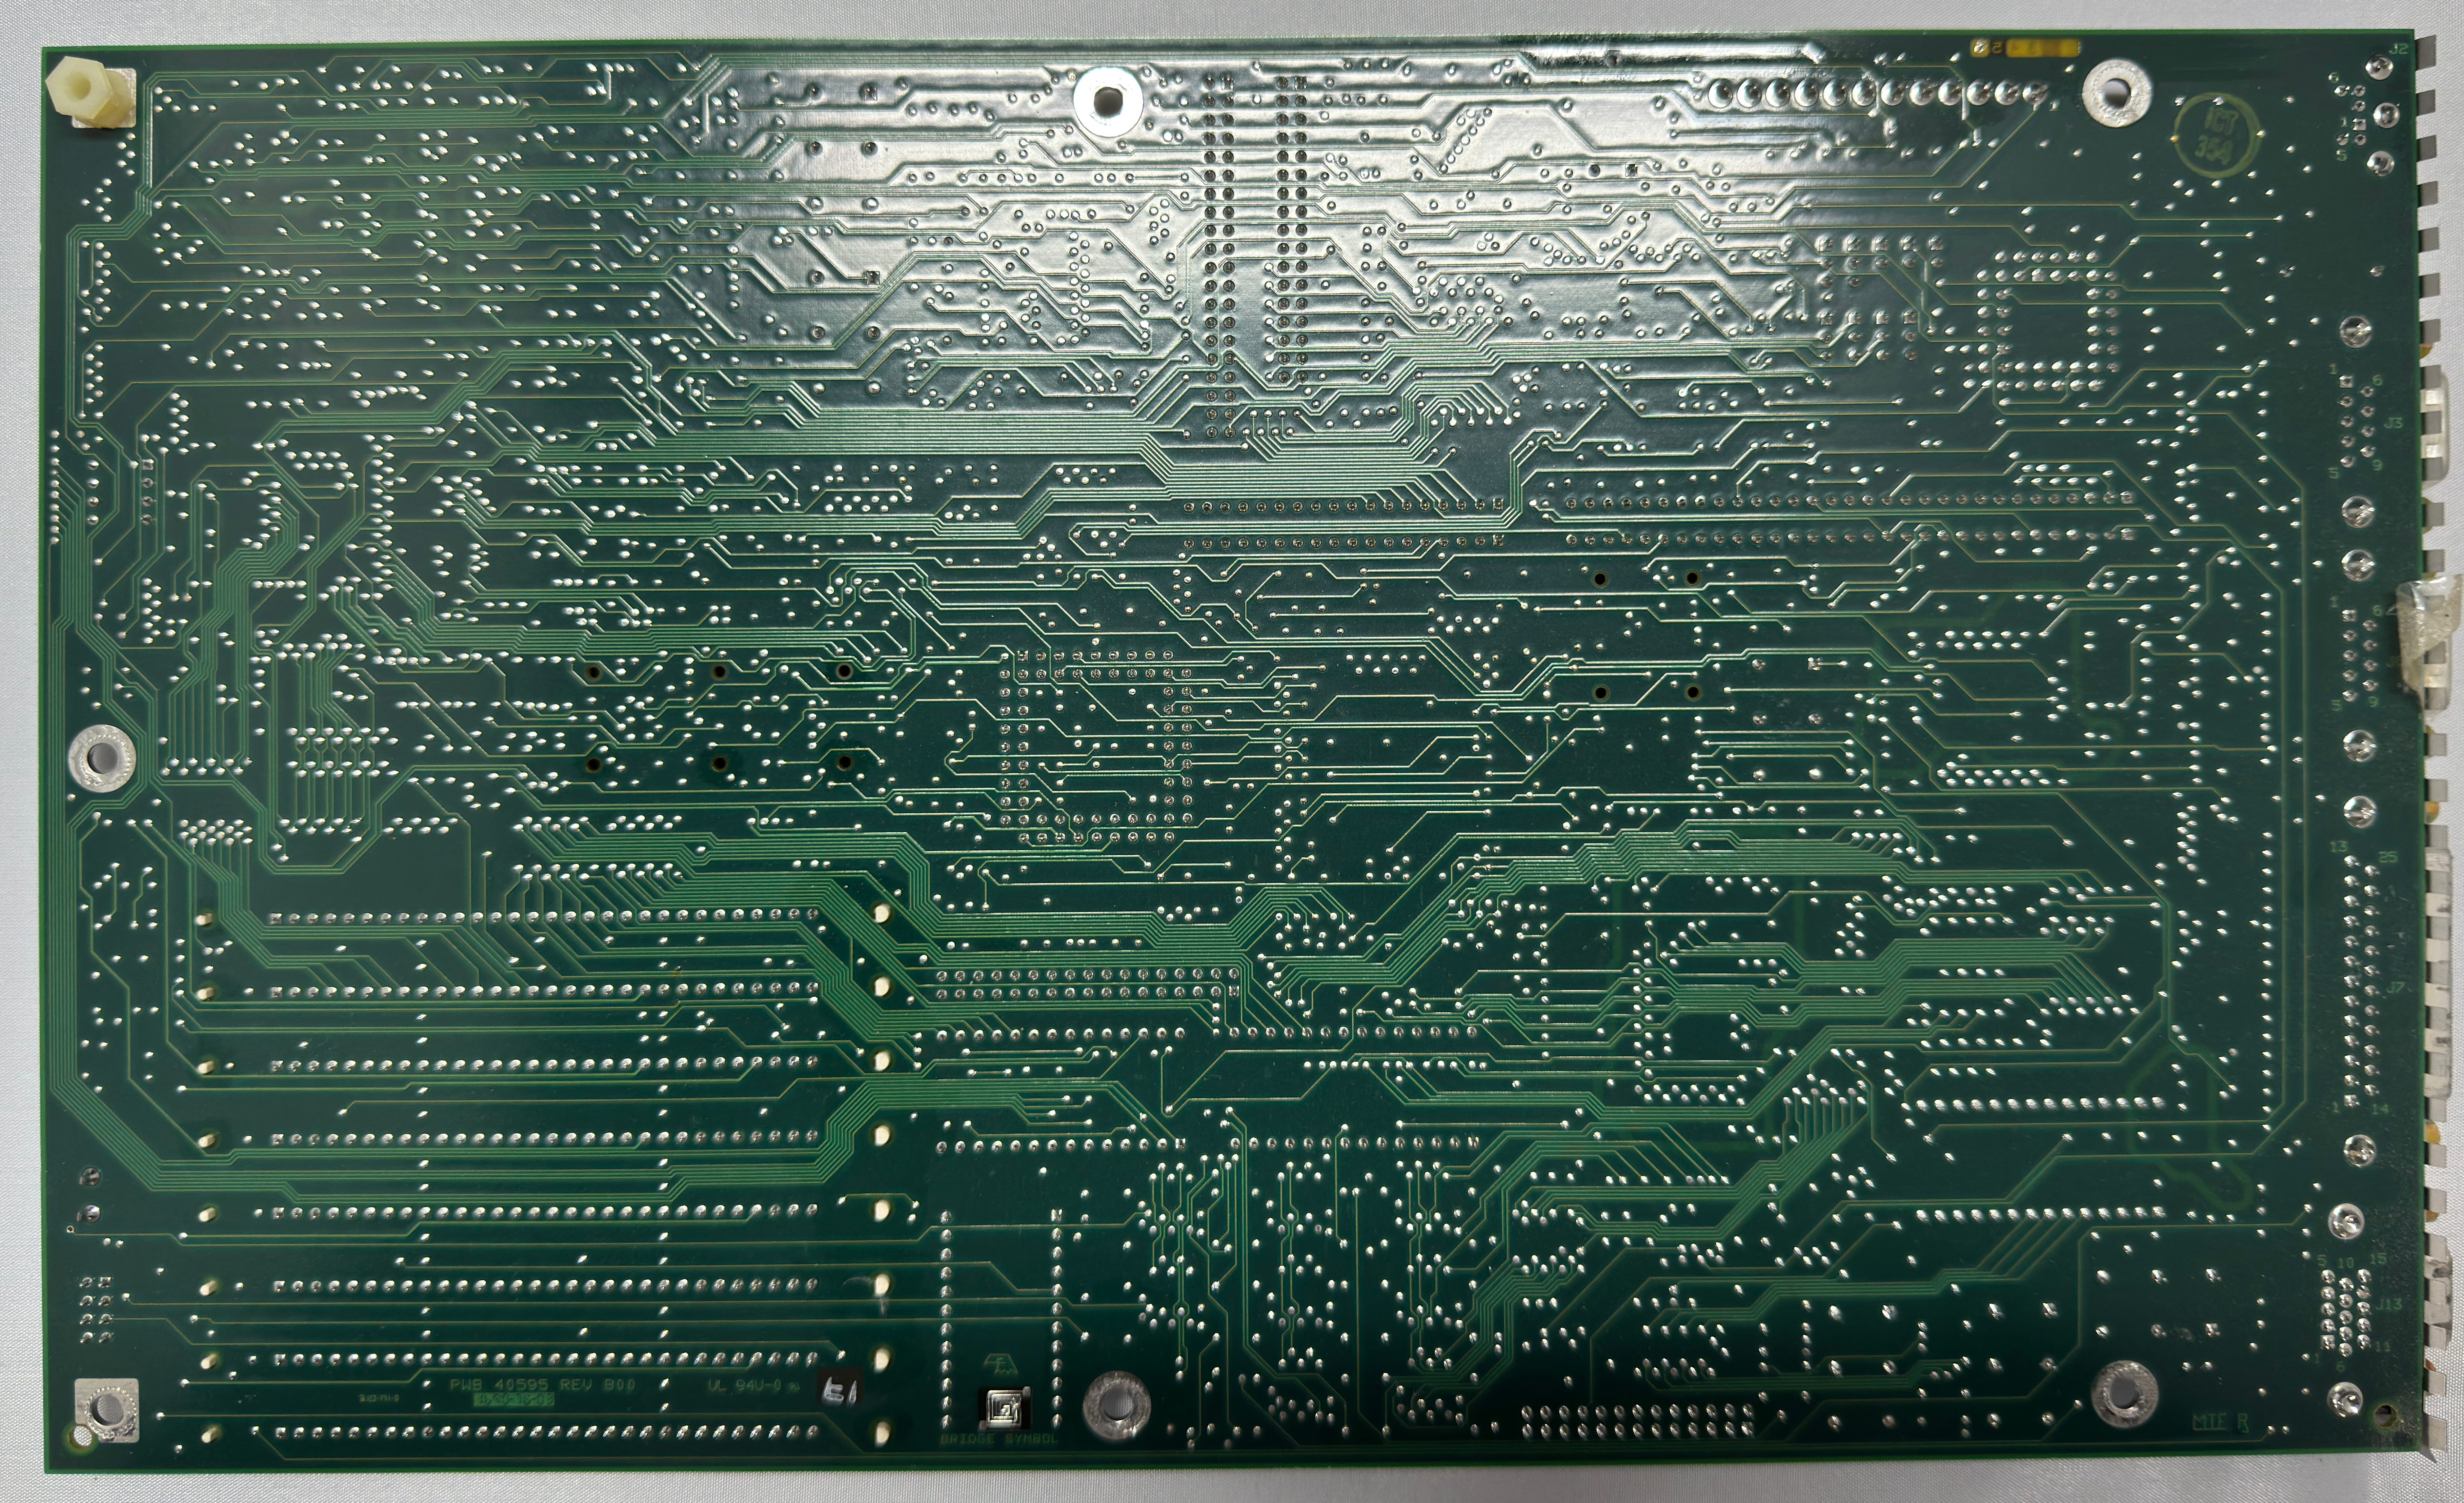
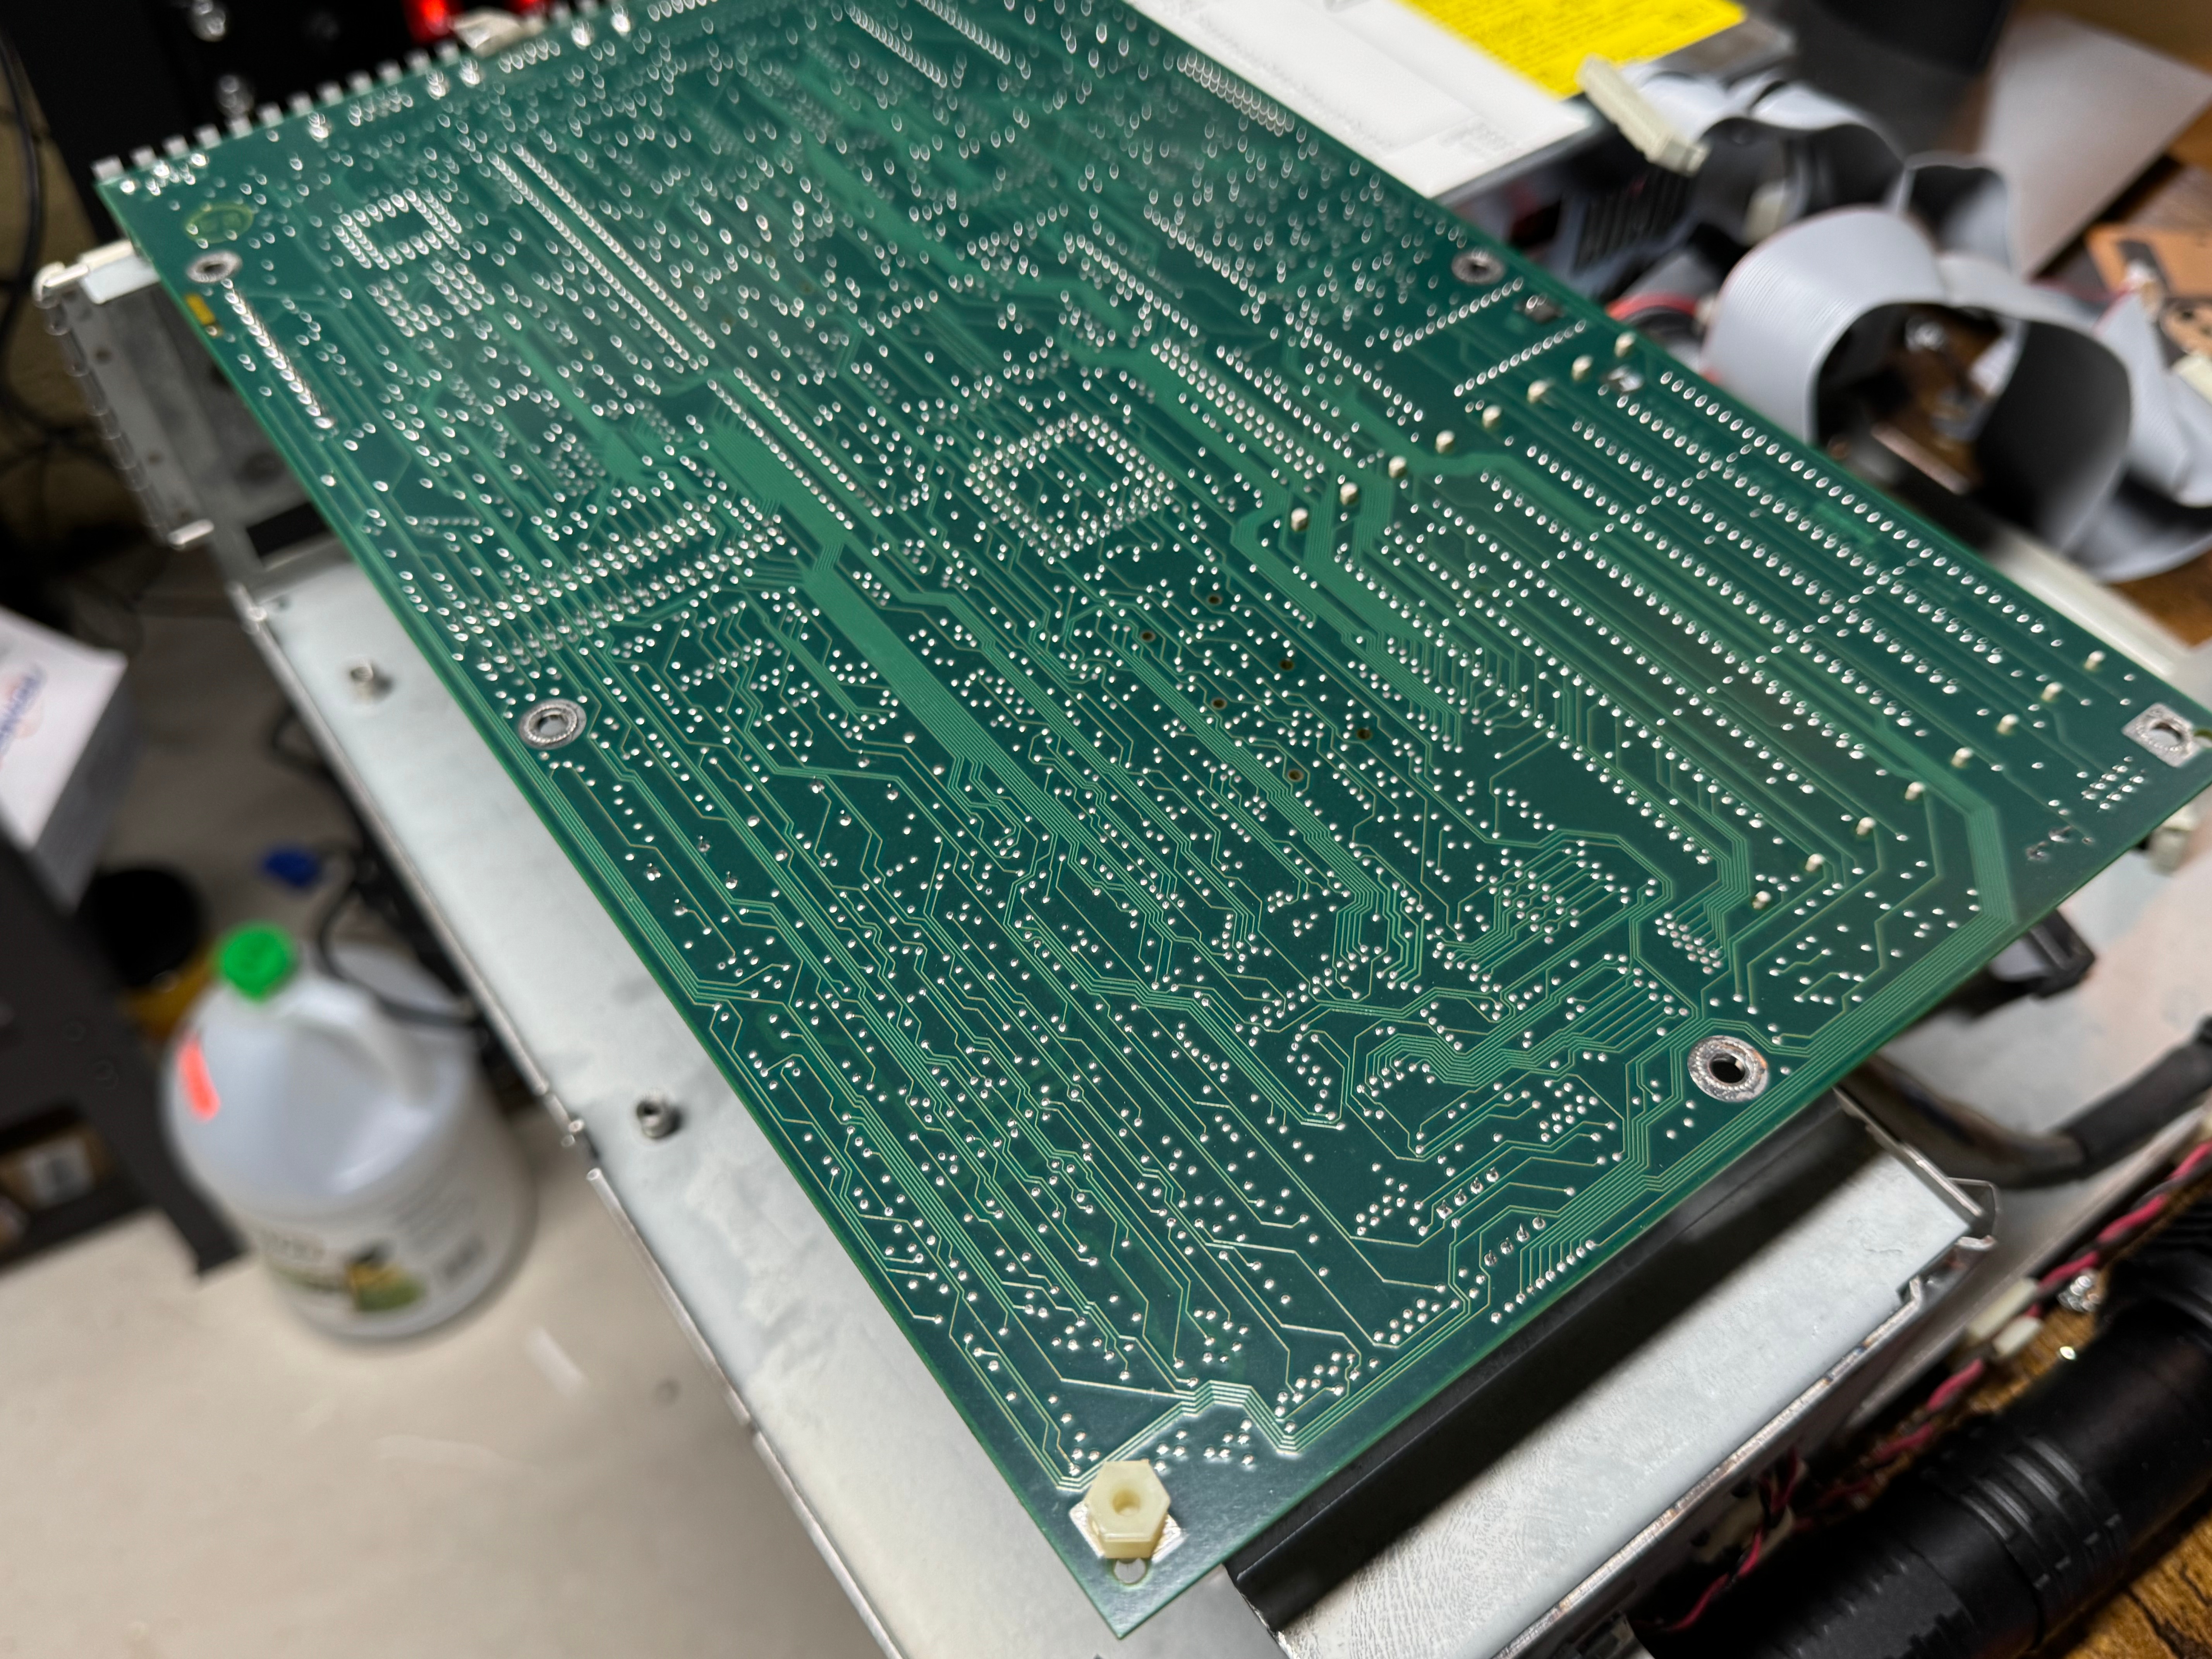
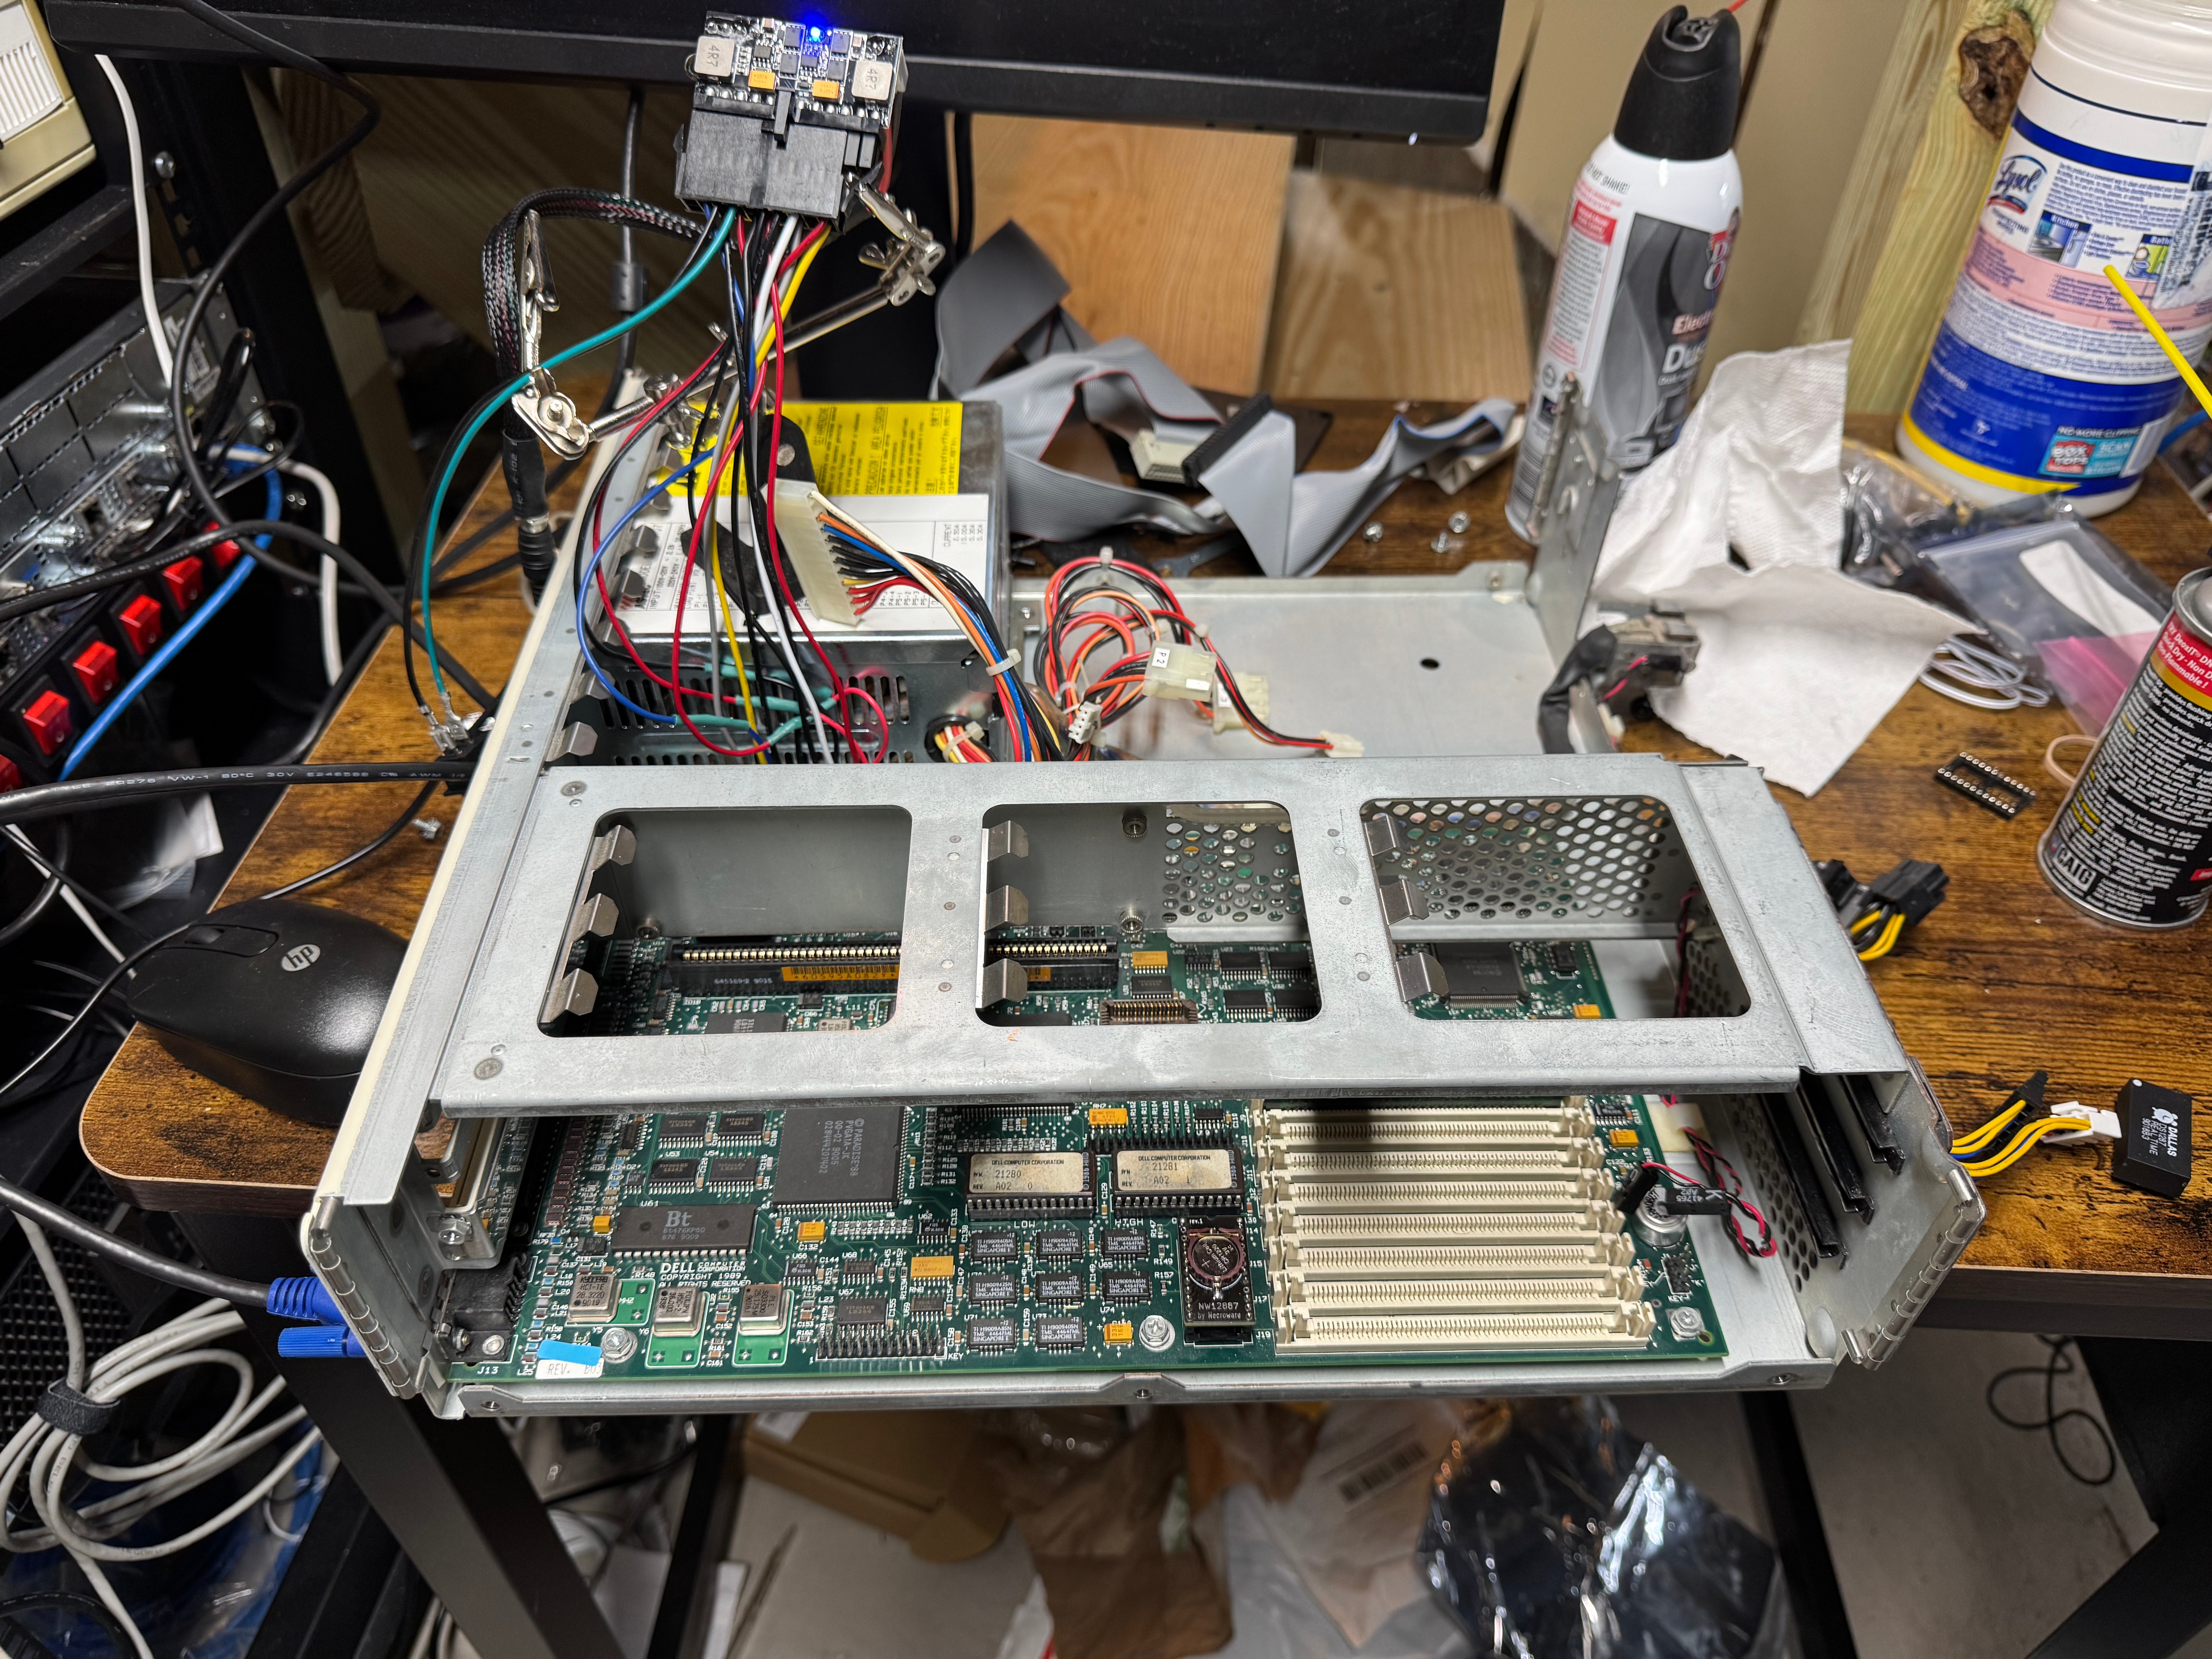
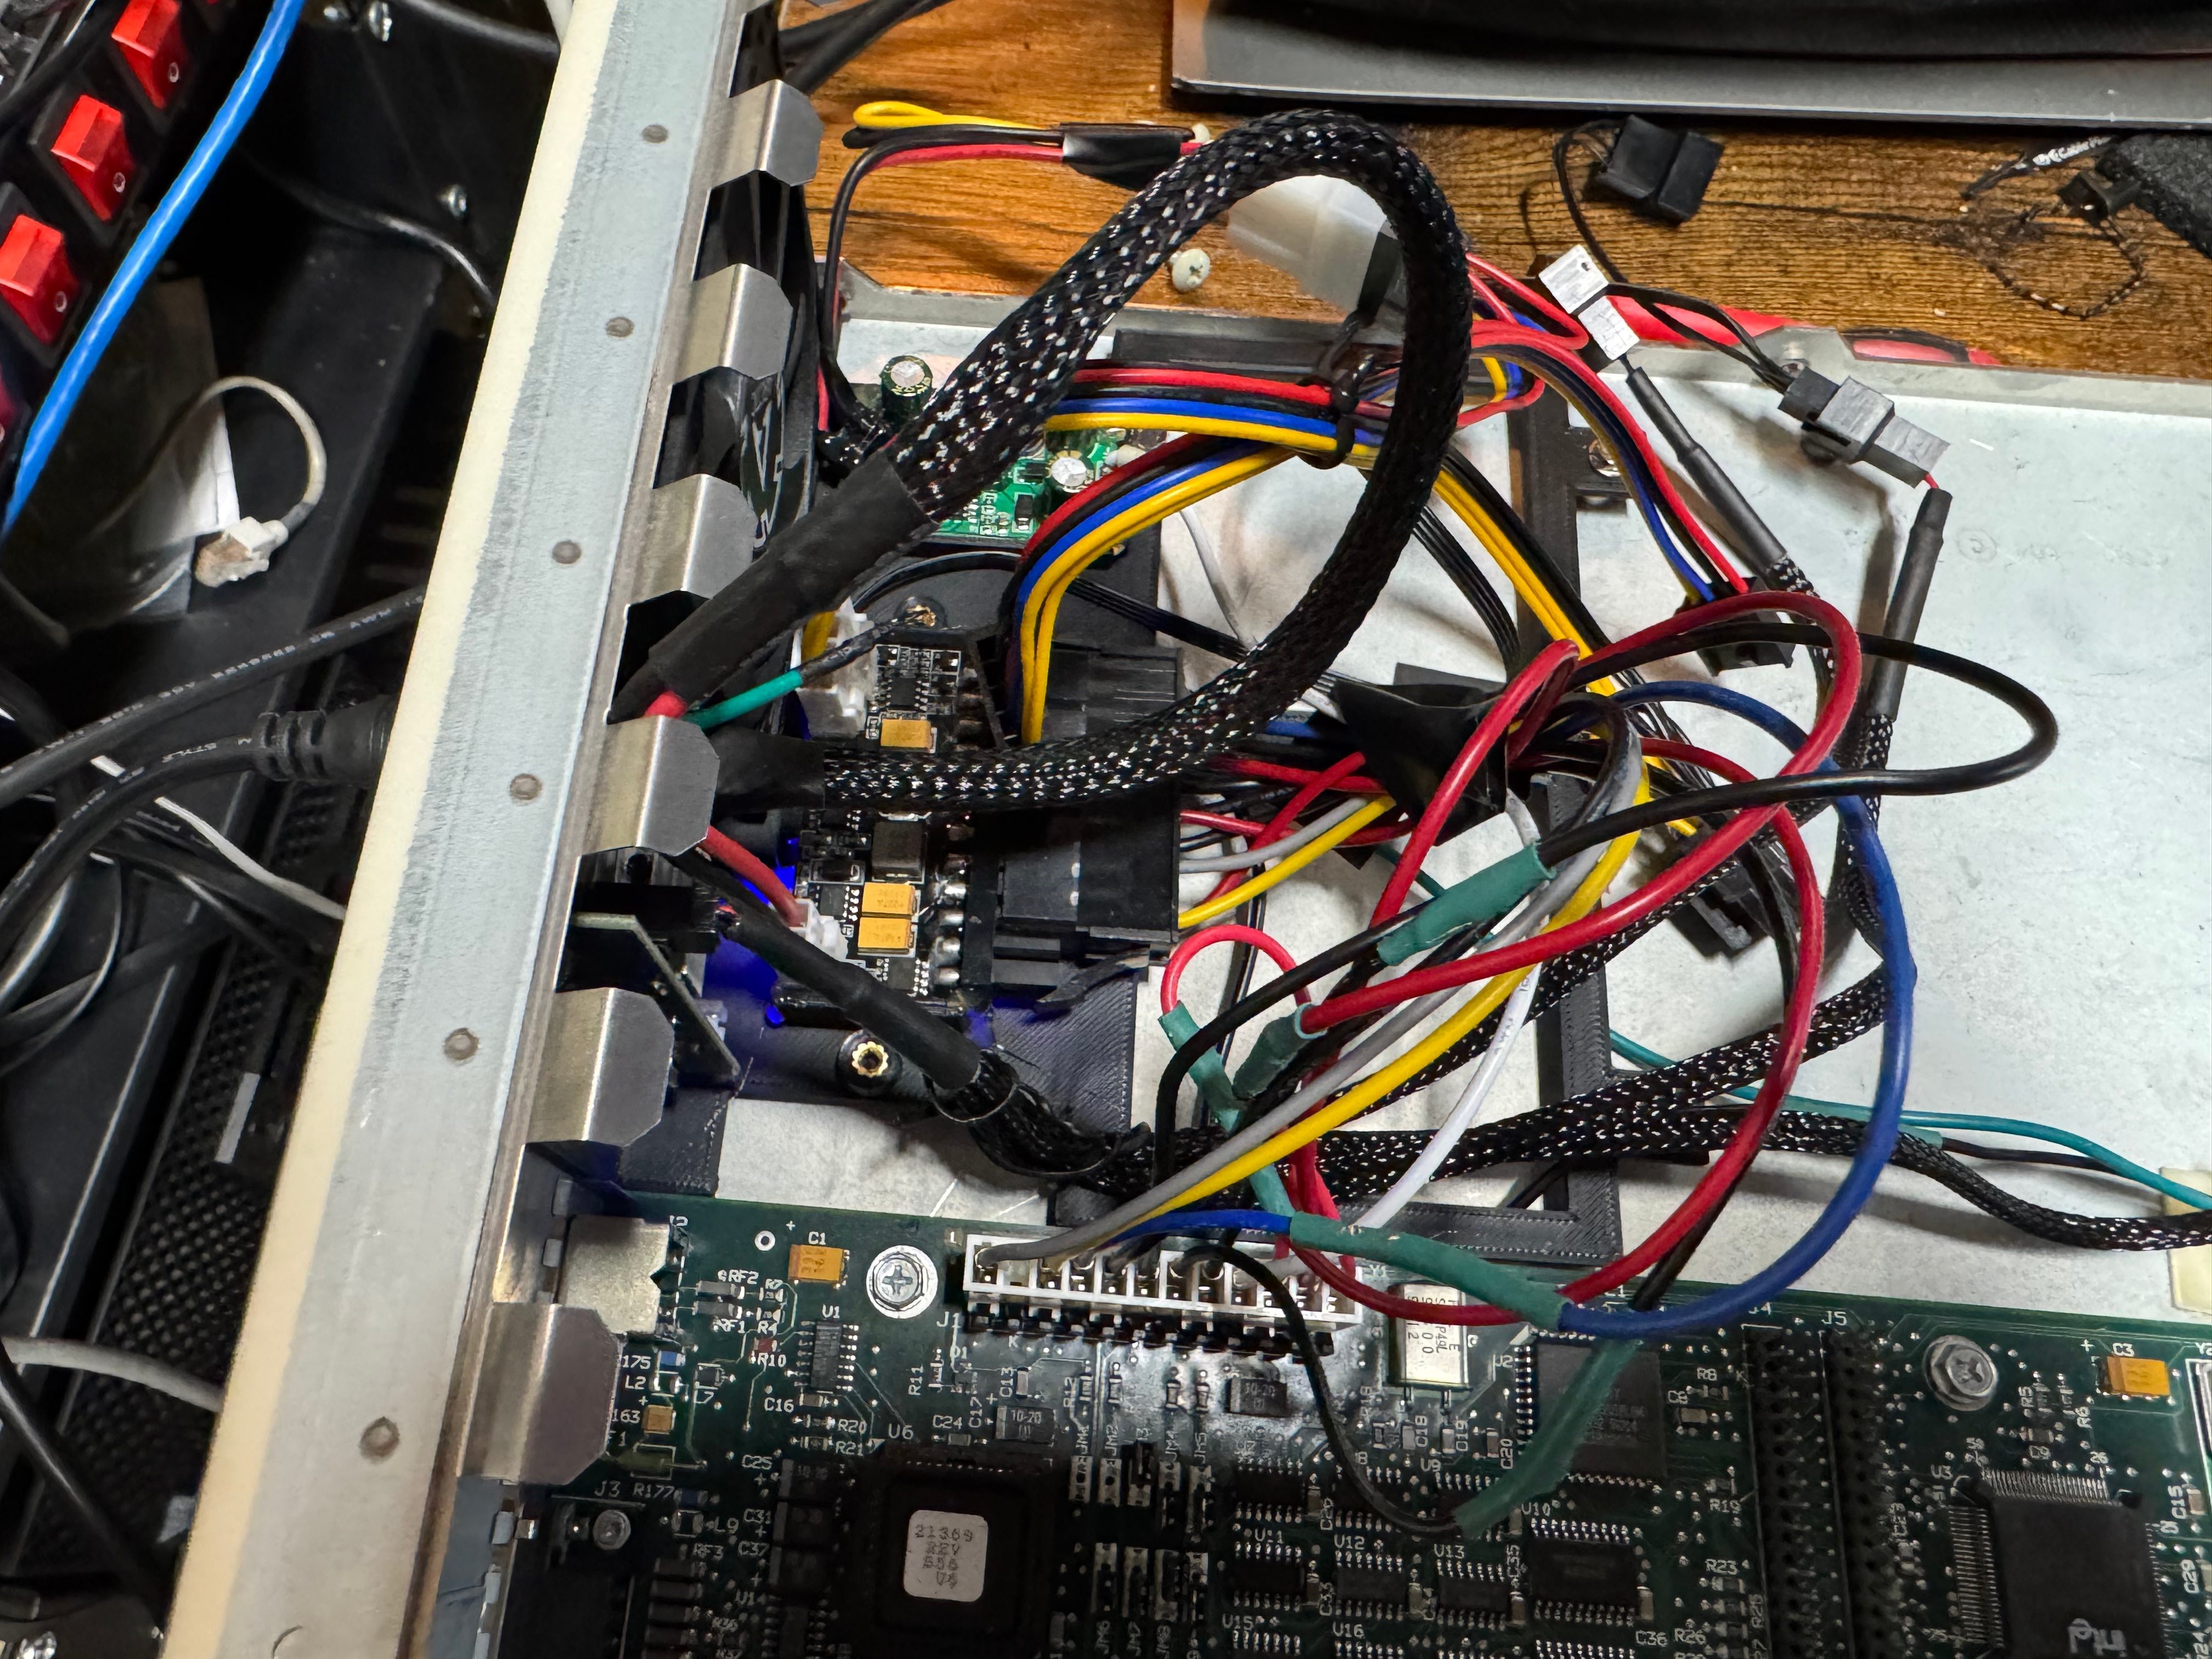
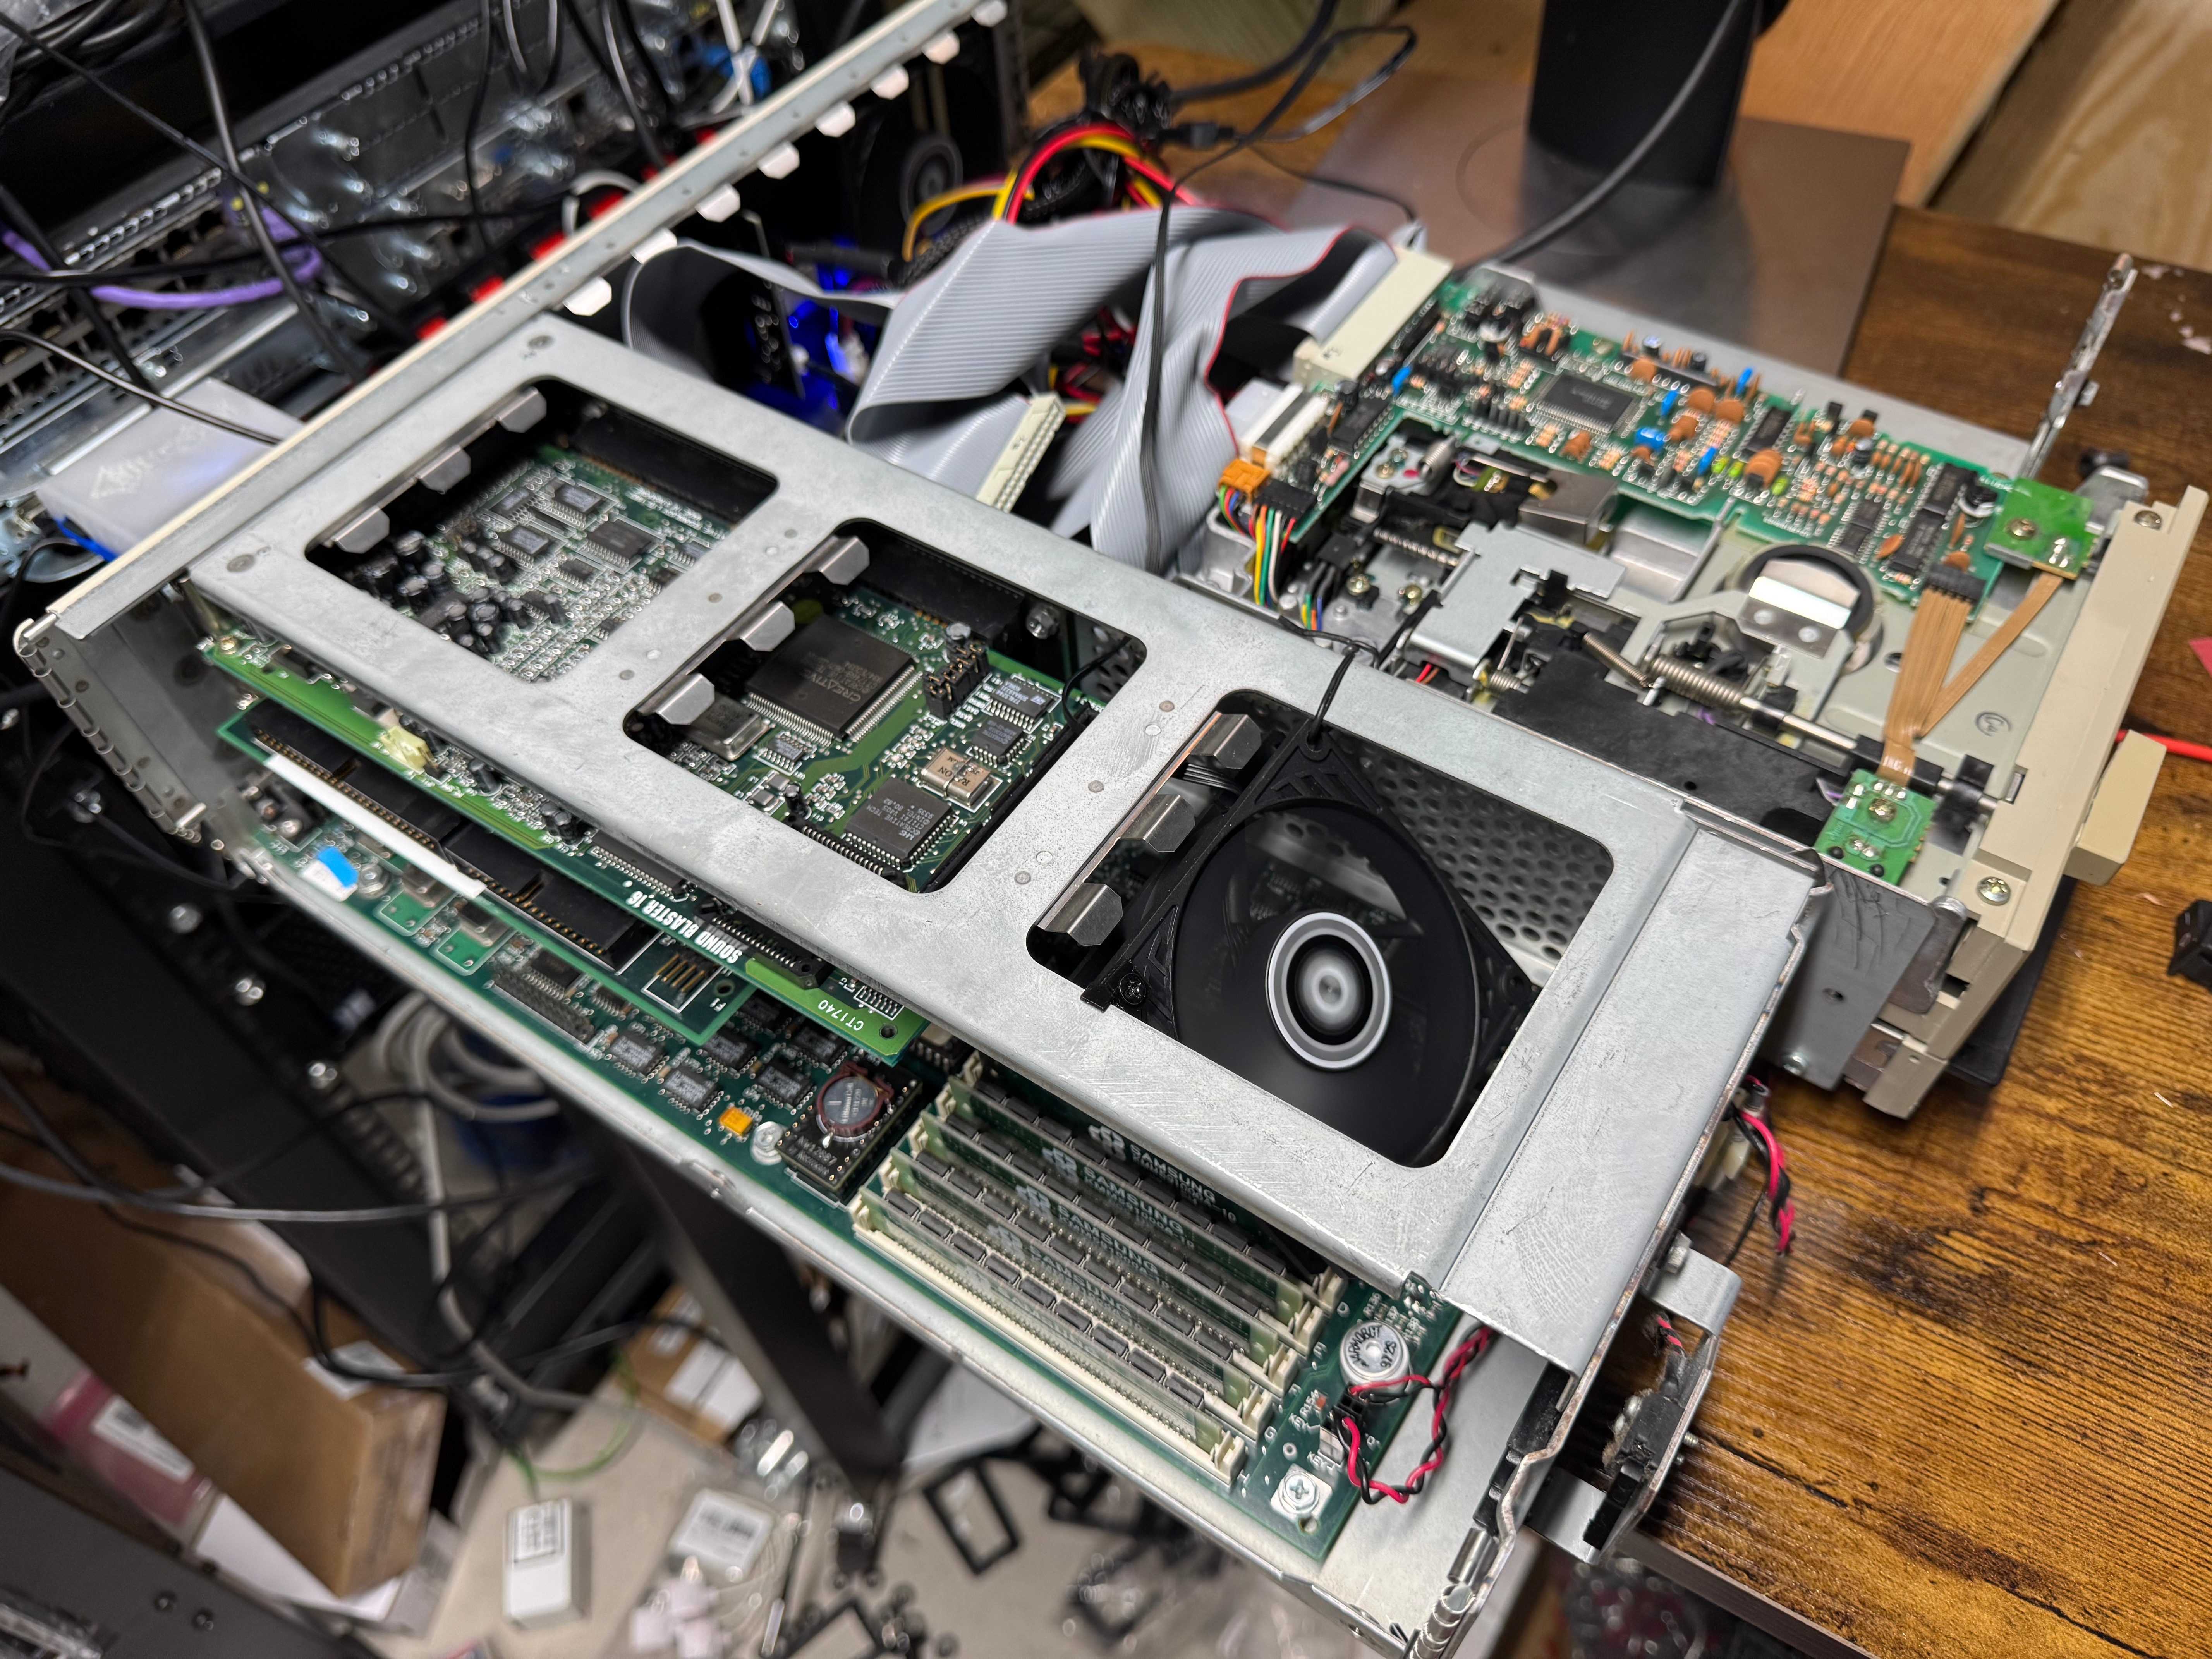
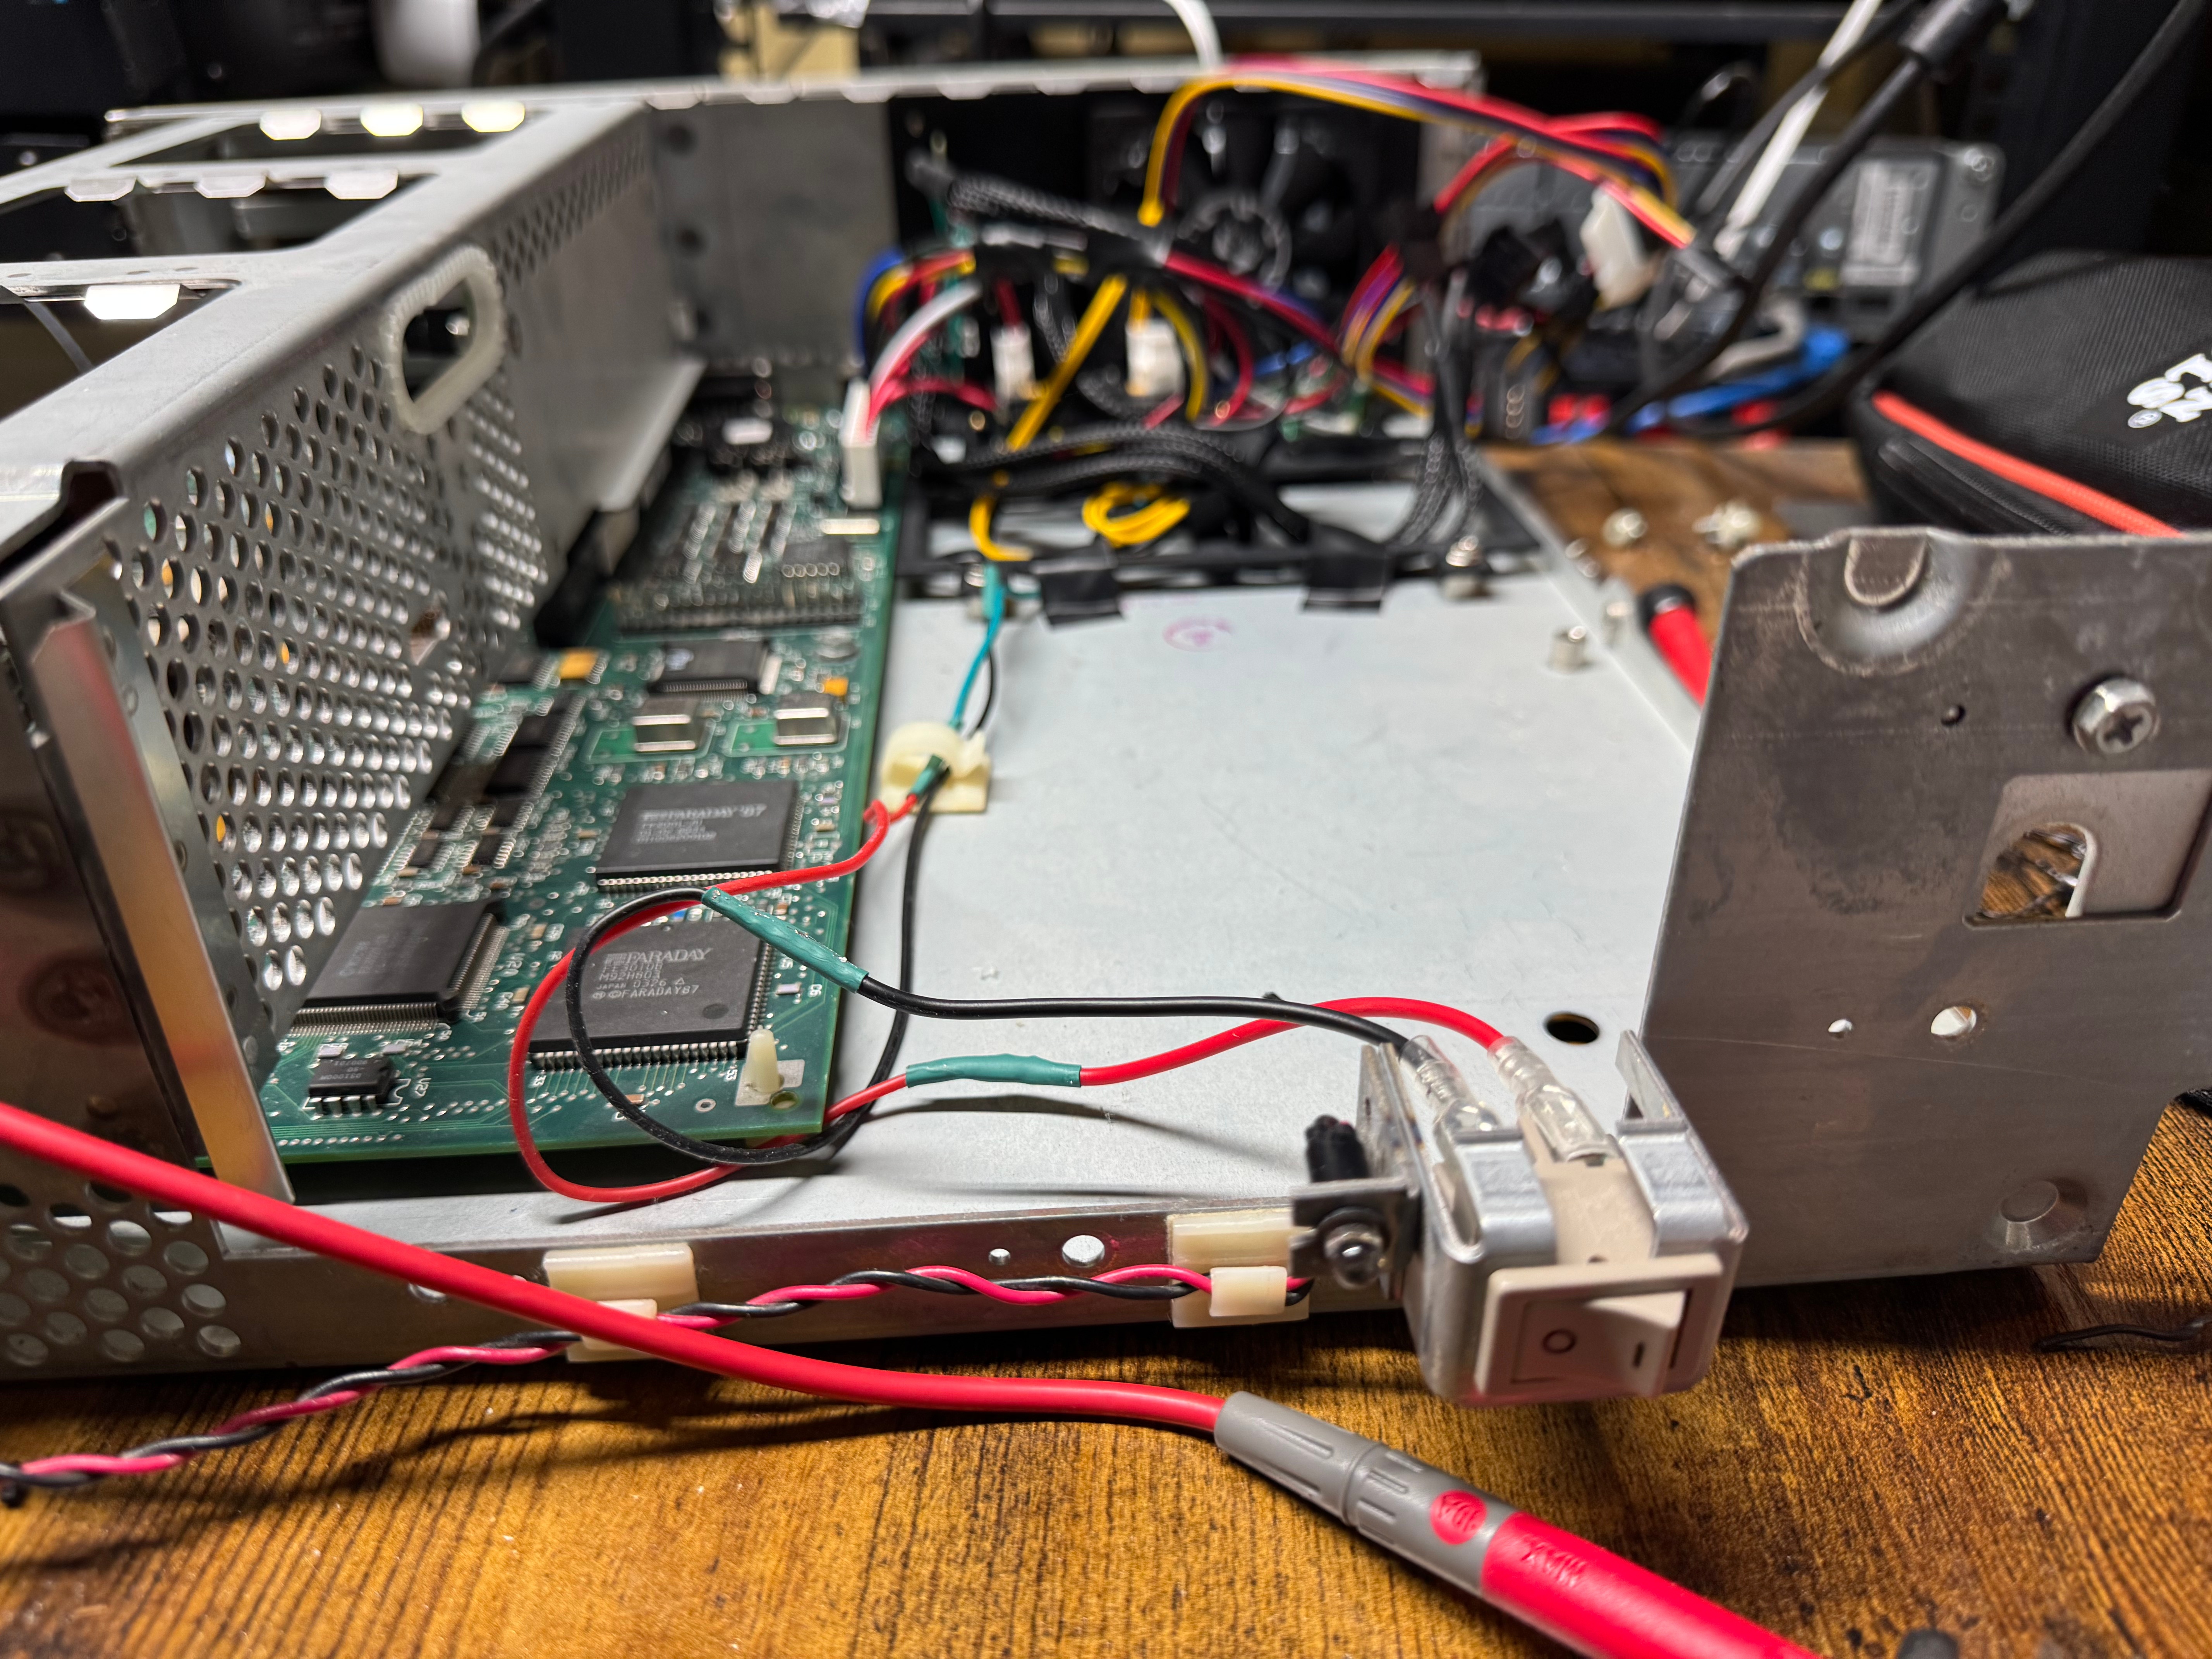
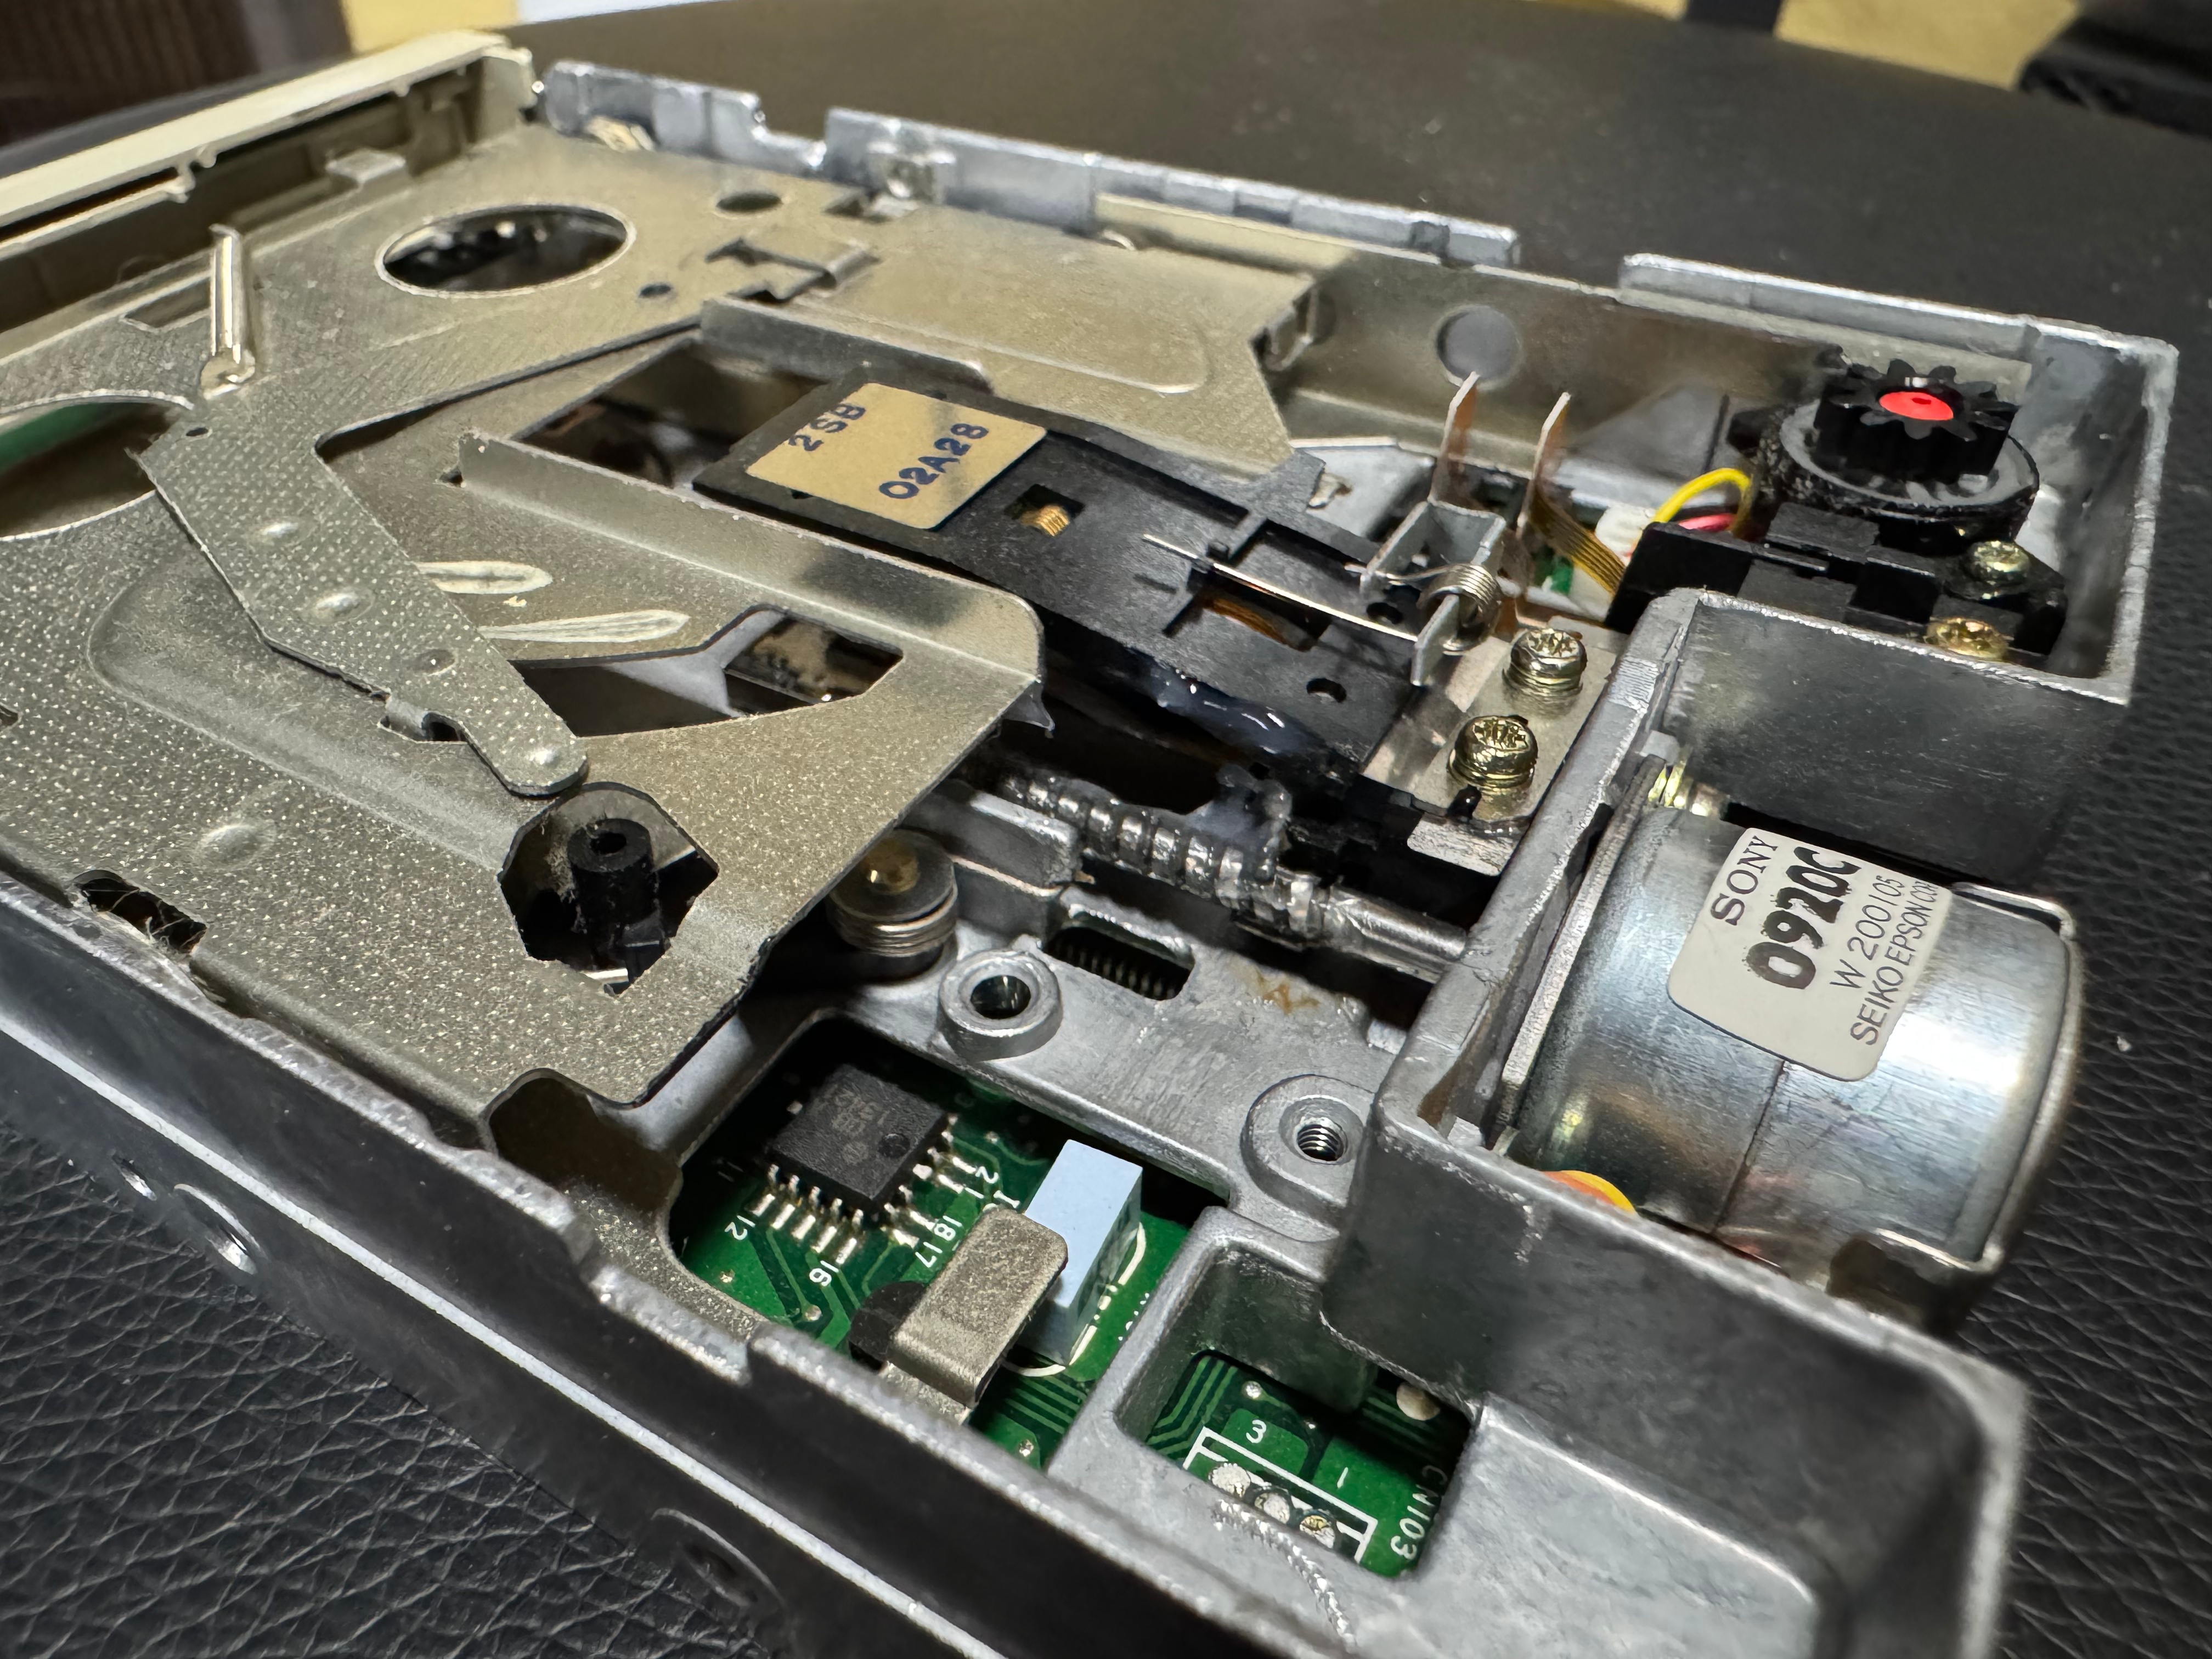
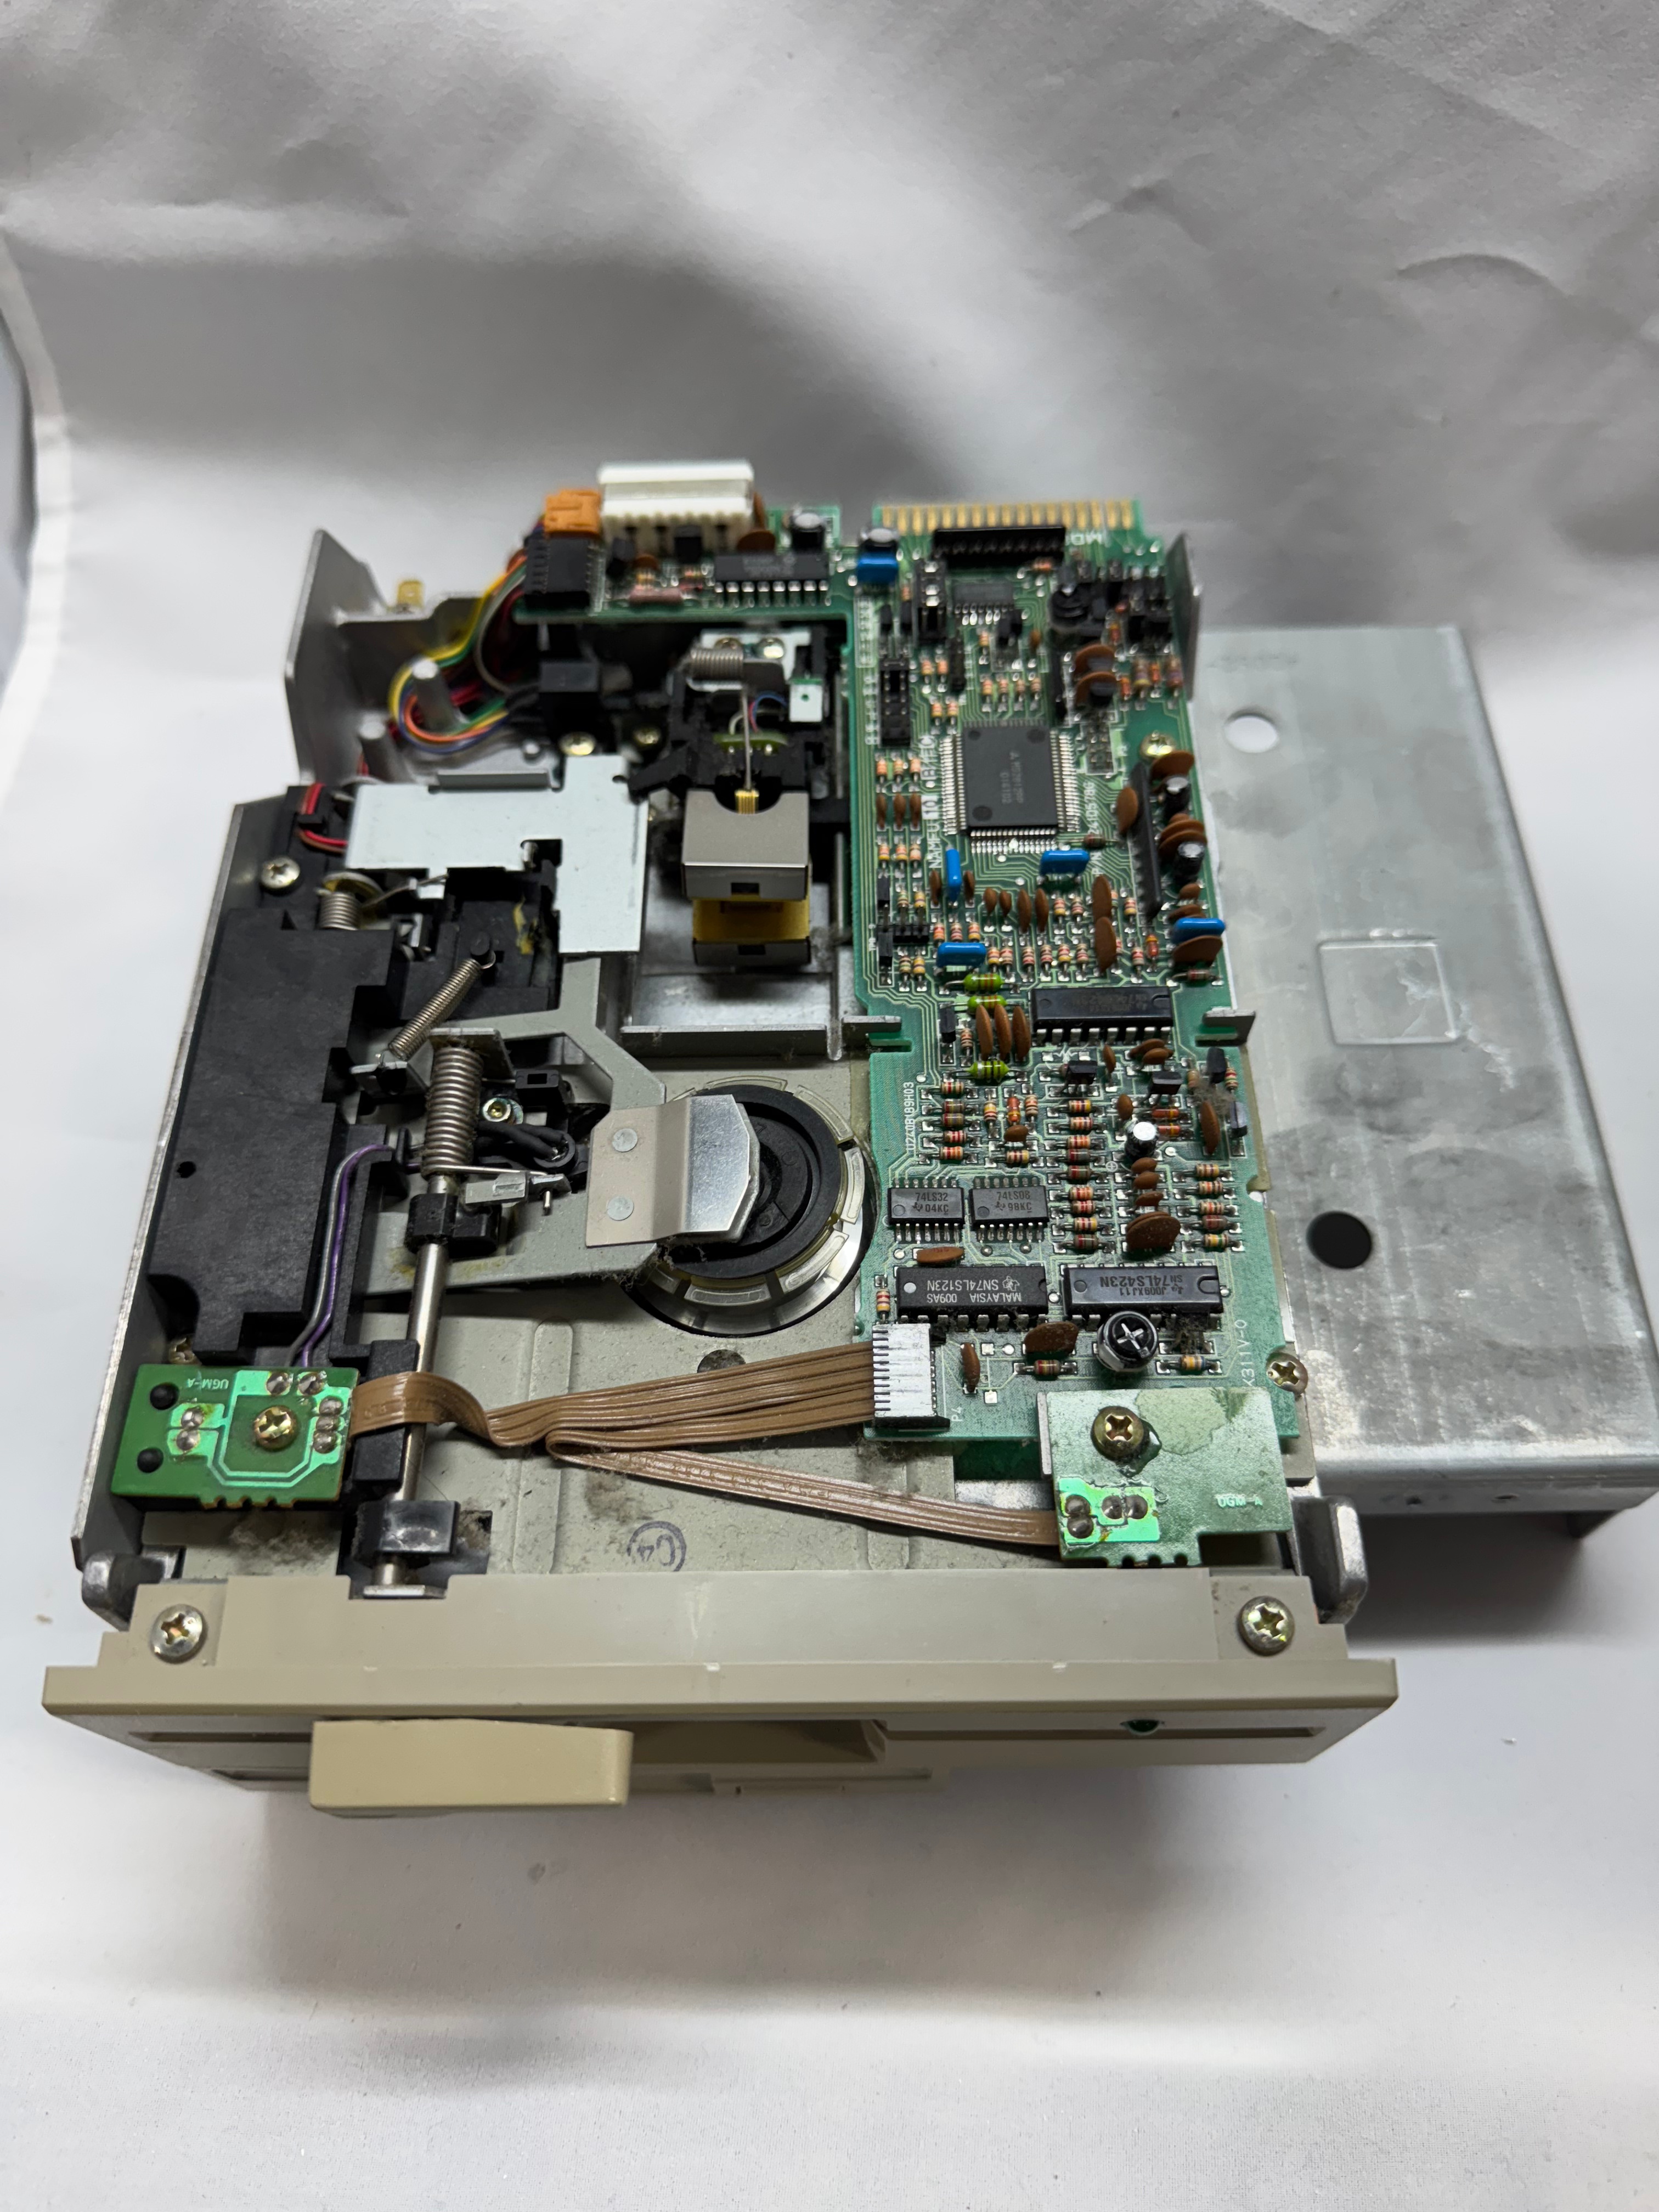
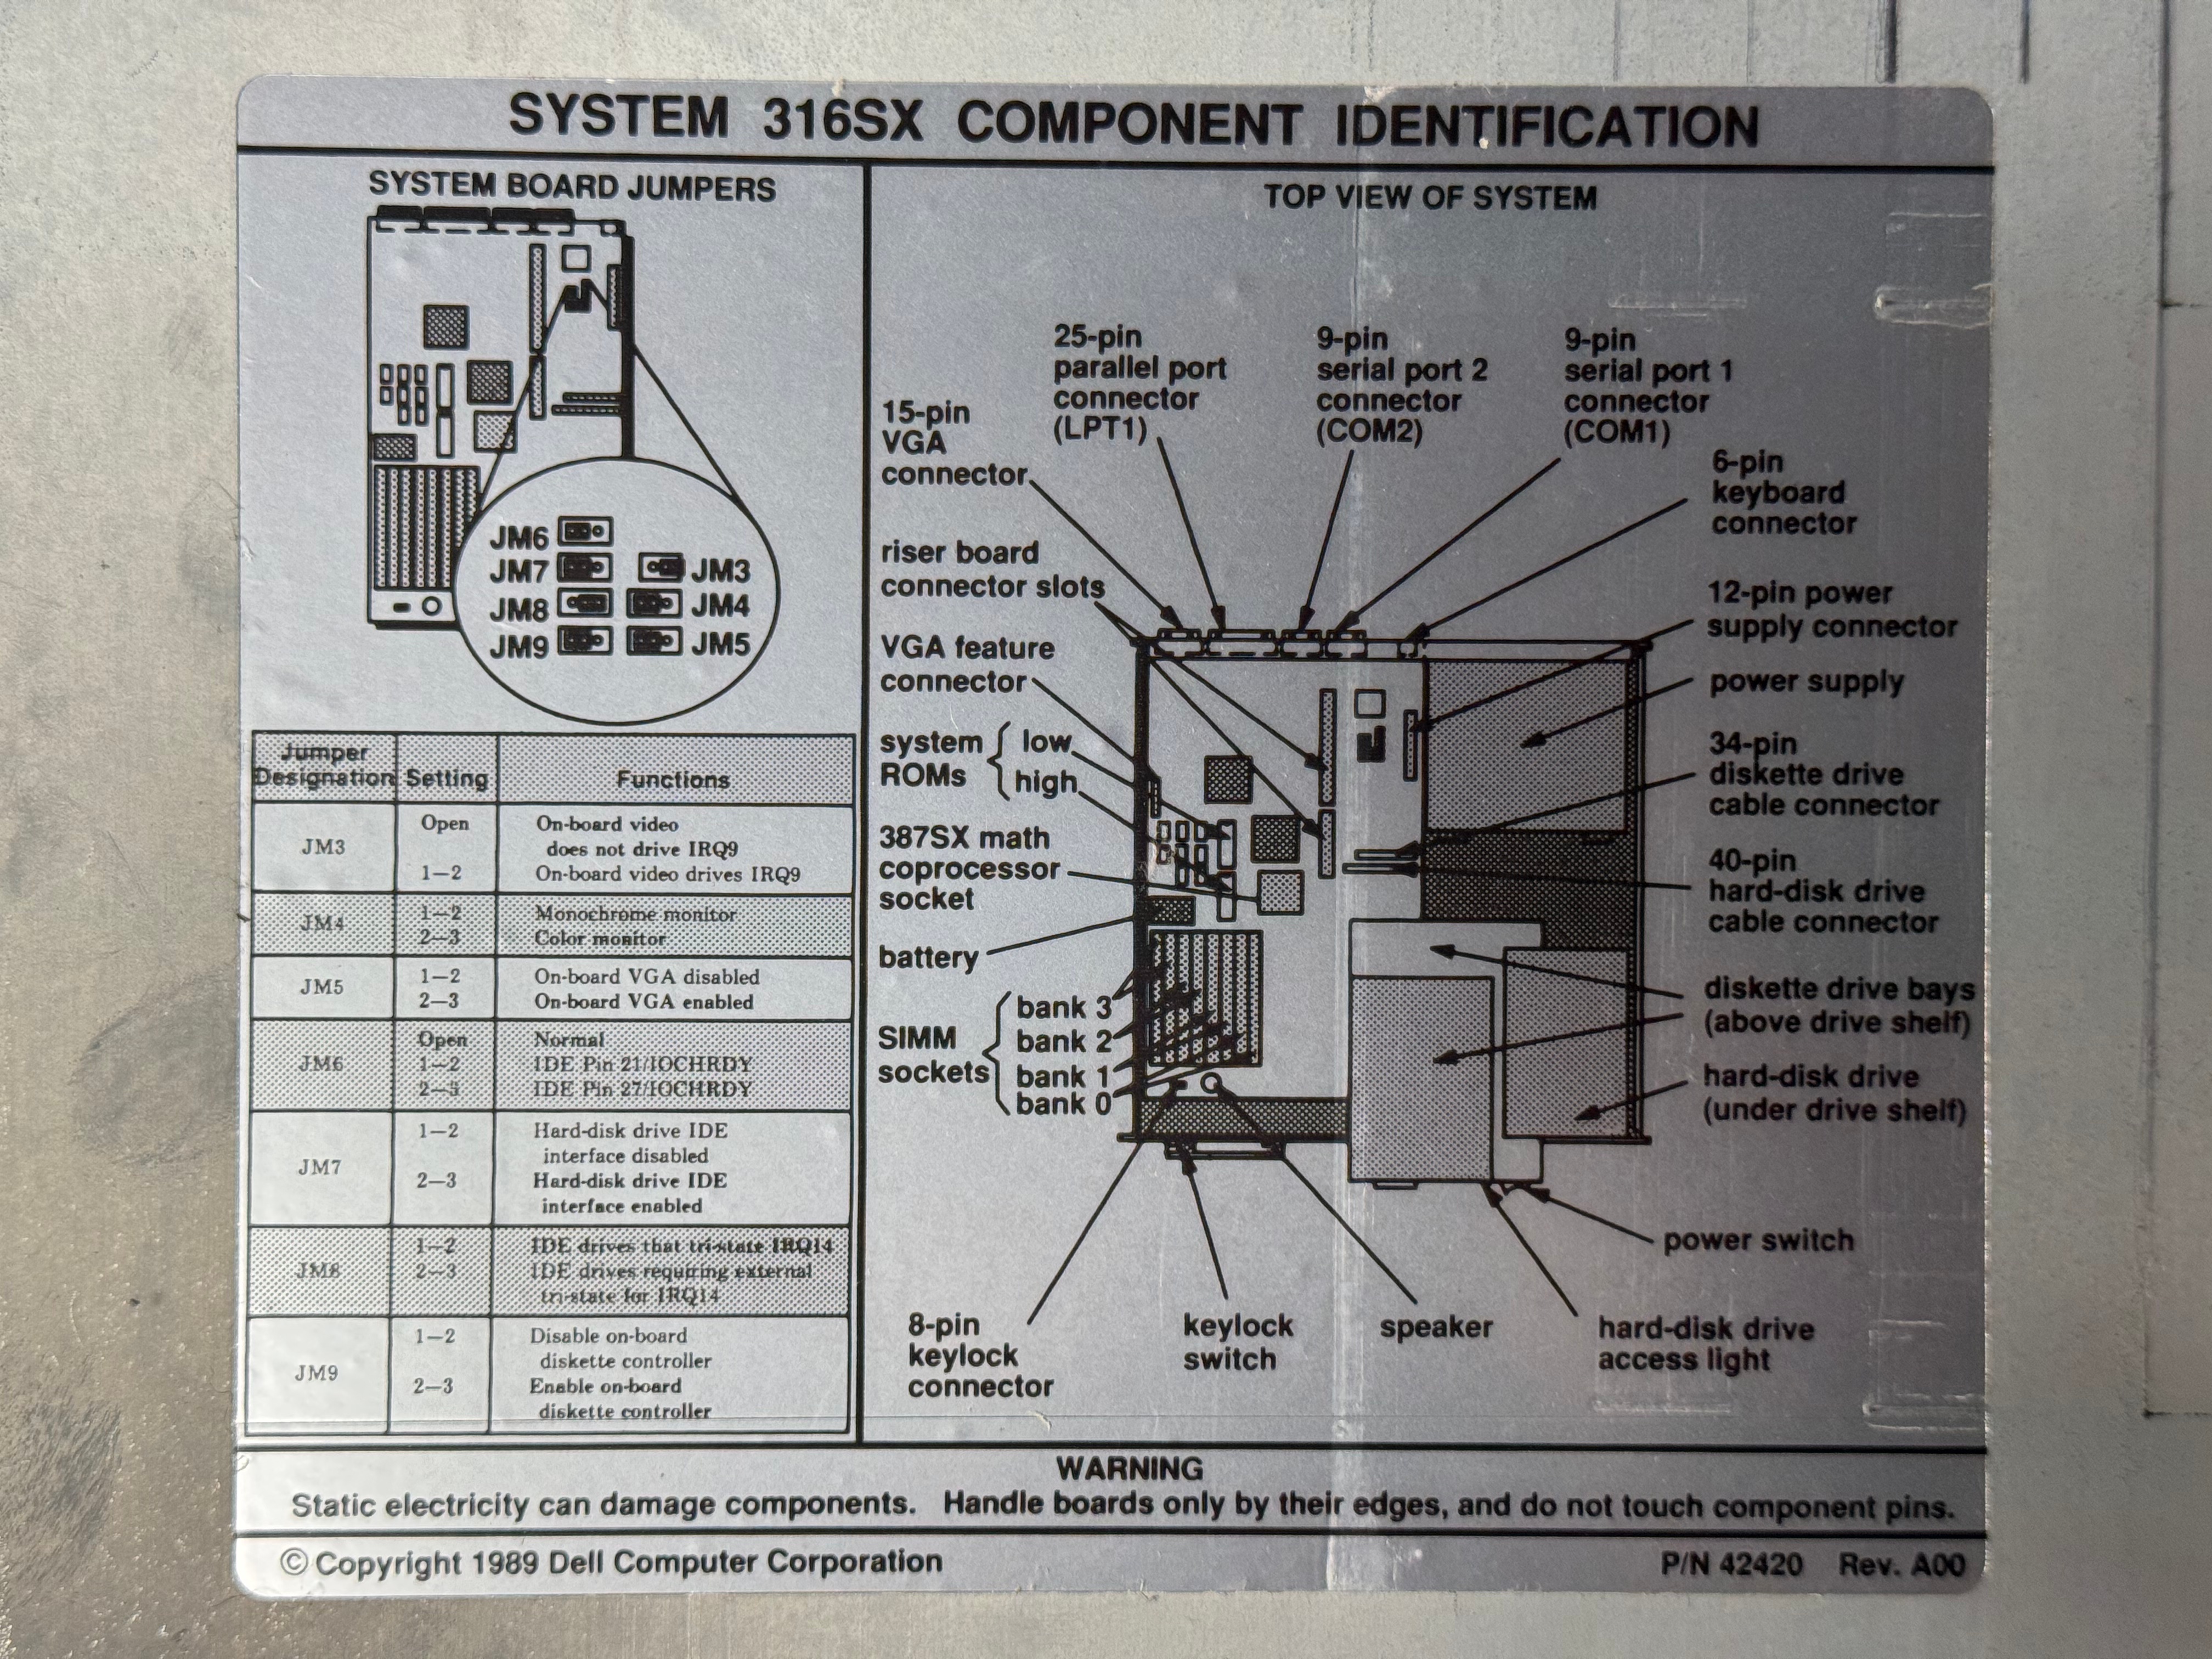
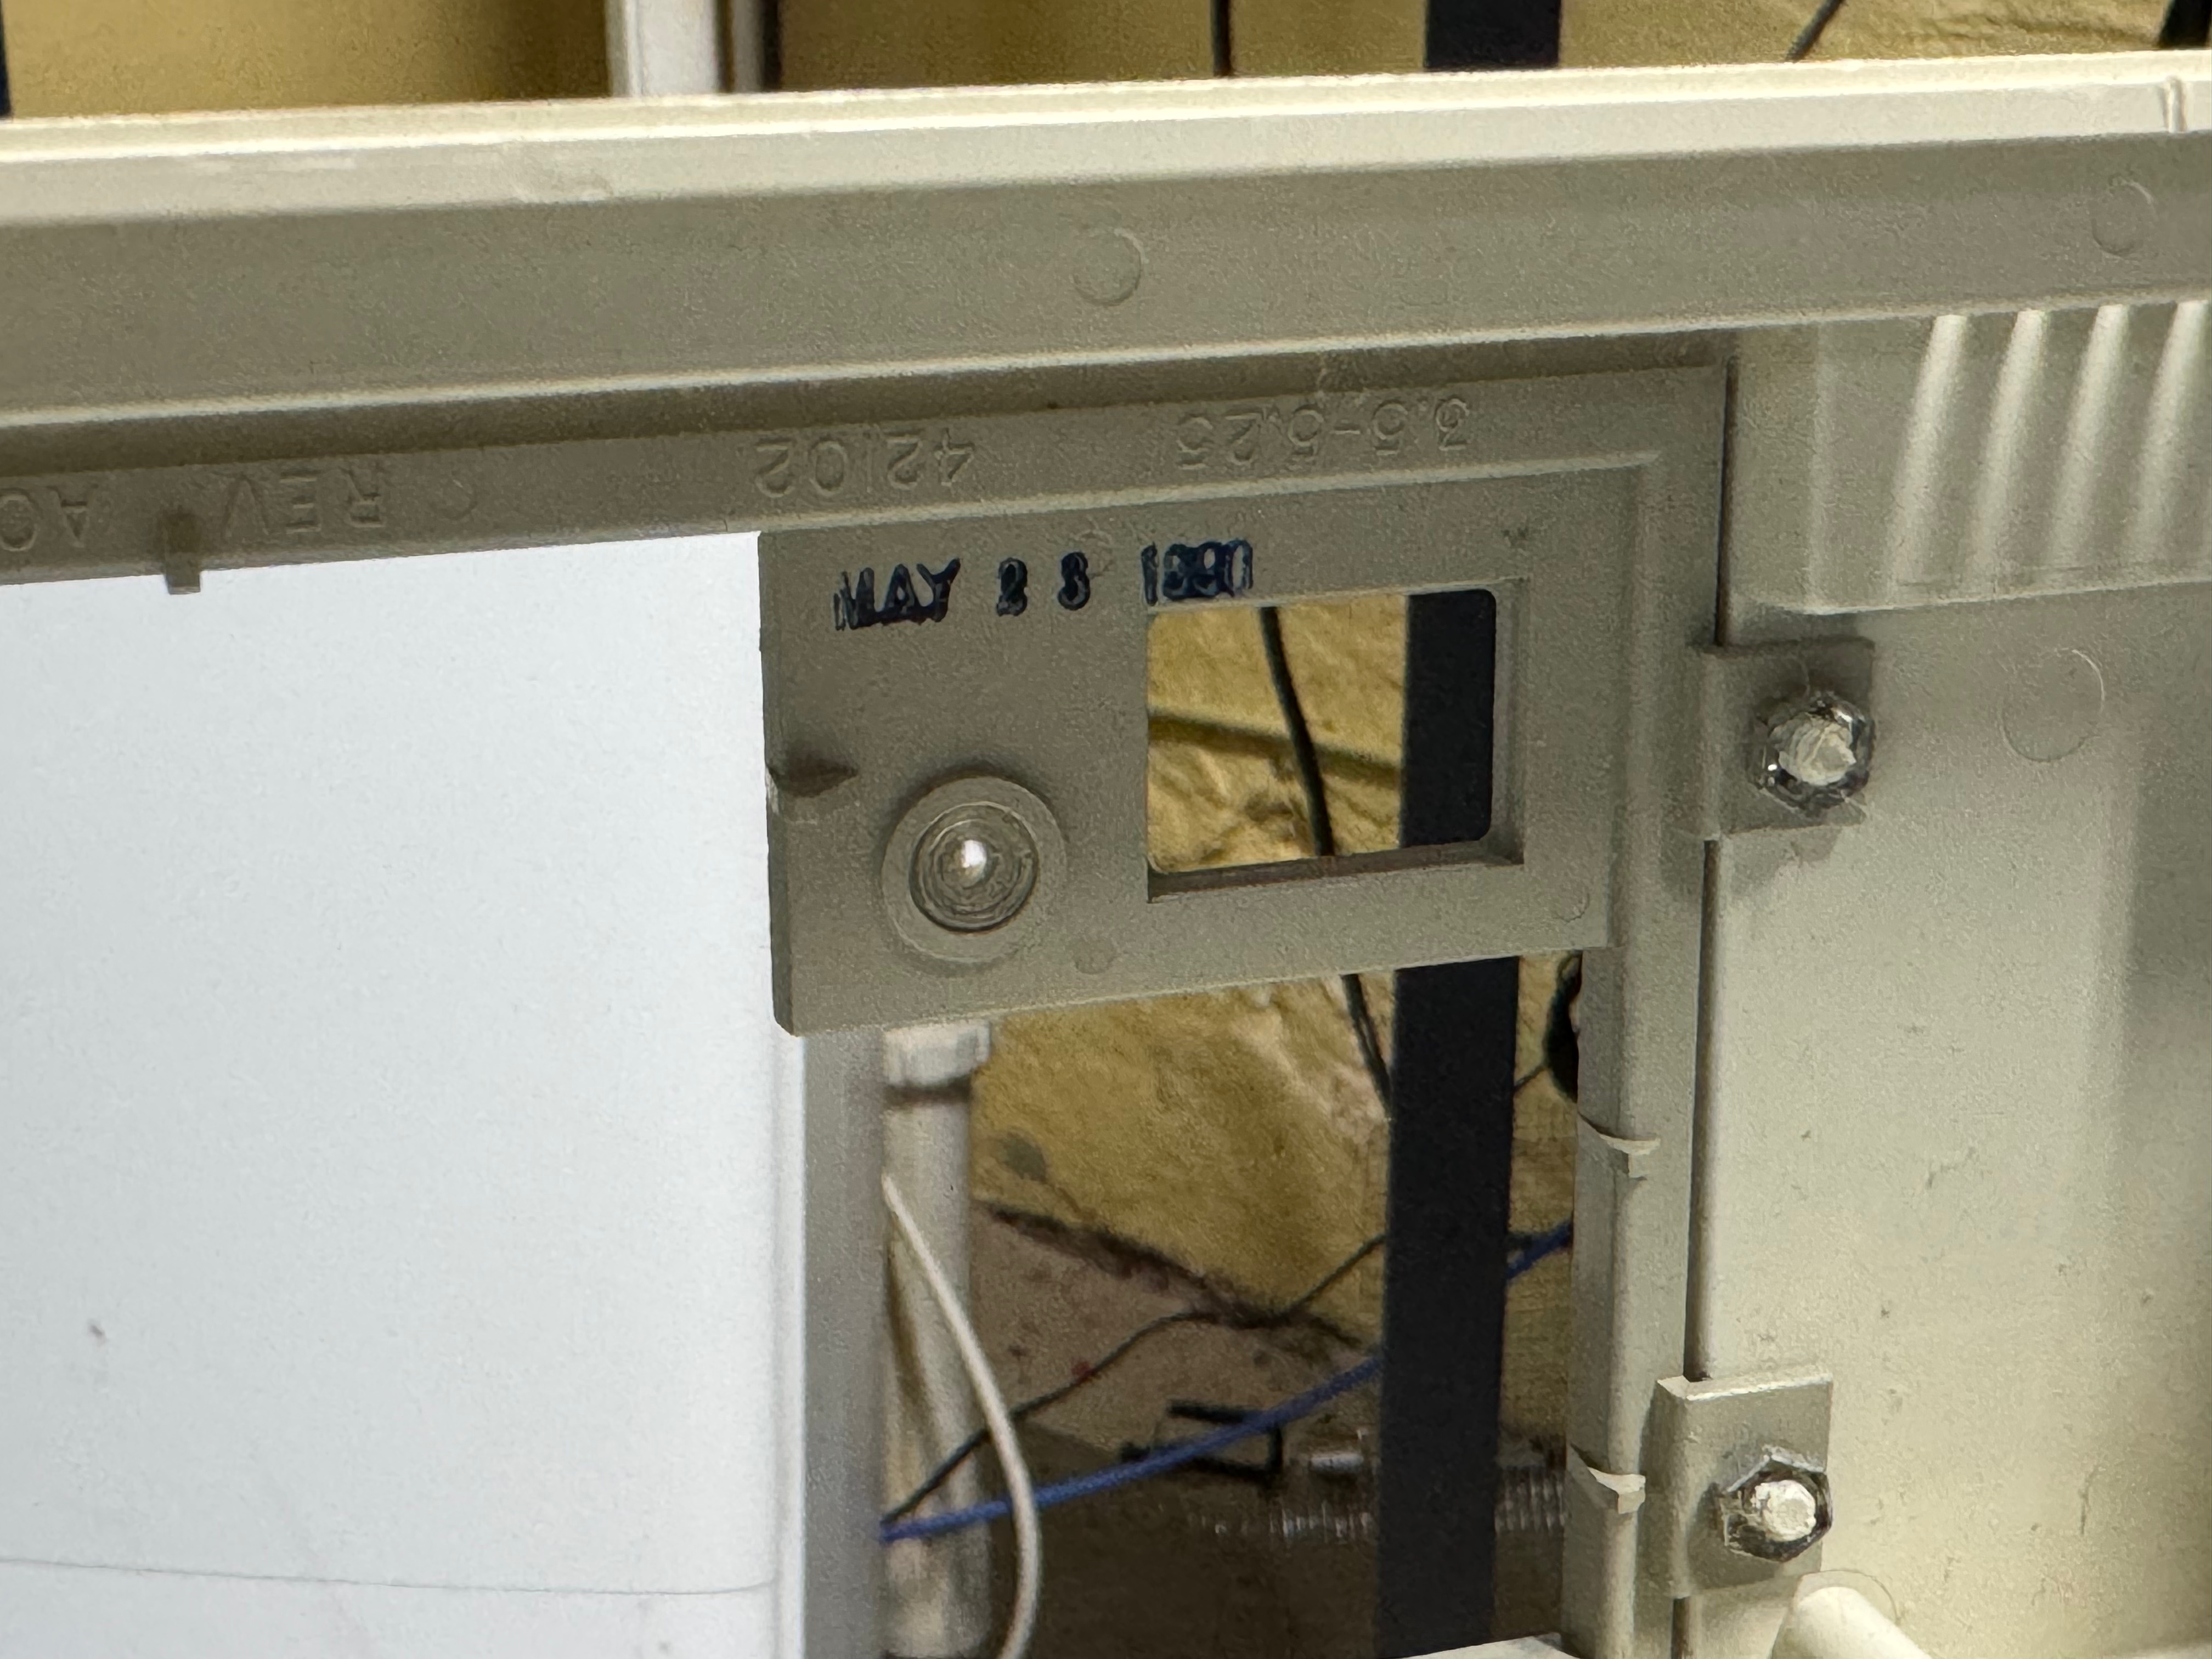
I took the case off for the first time in 30 years or so, and it all looks in good condition. No rust or corrosion from anything leaking. Below are some nice photos of the board and the system. It is a Dell 316SX (no math co-processor) Motherboard revision B03. (I had some glare on the board, so I uploaded several photos)
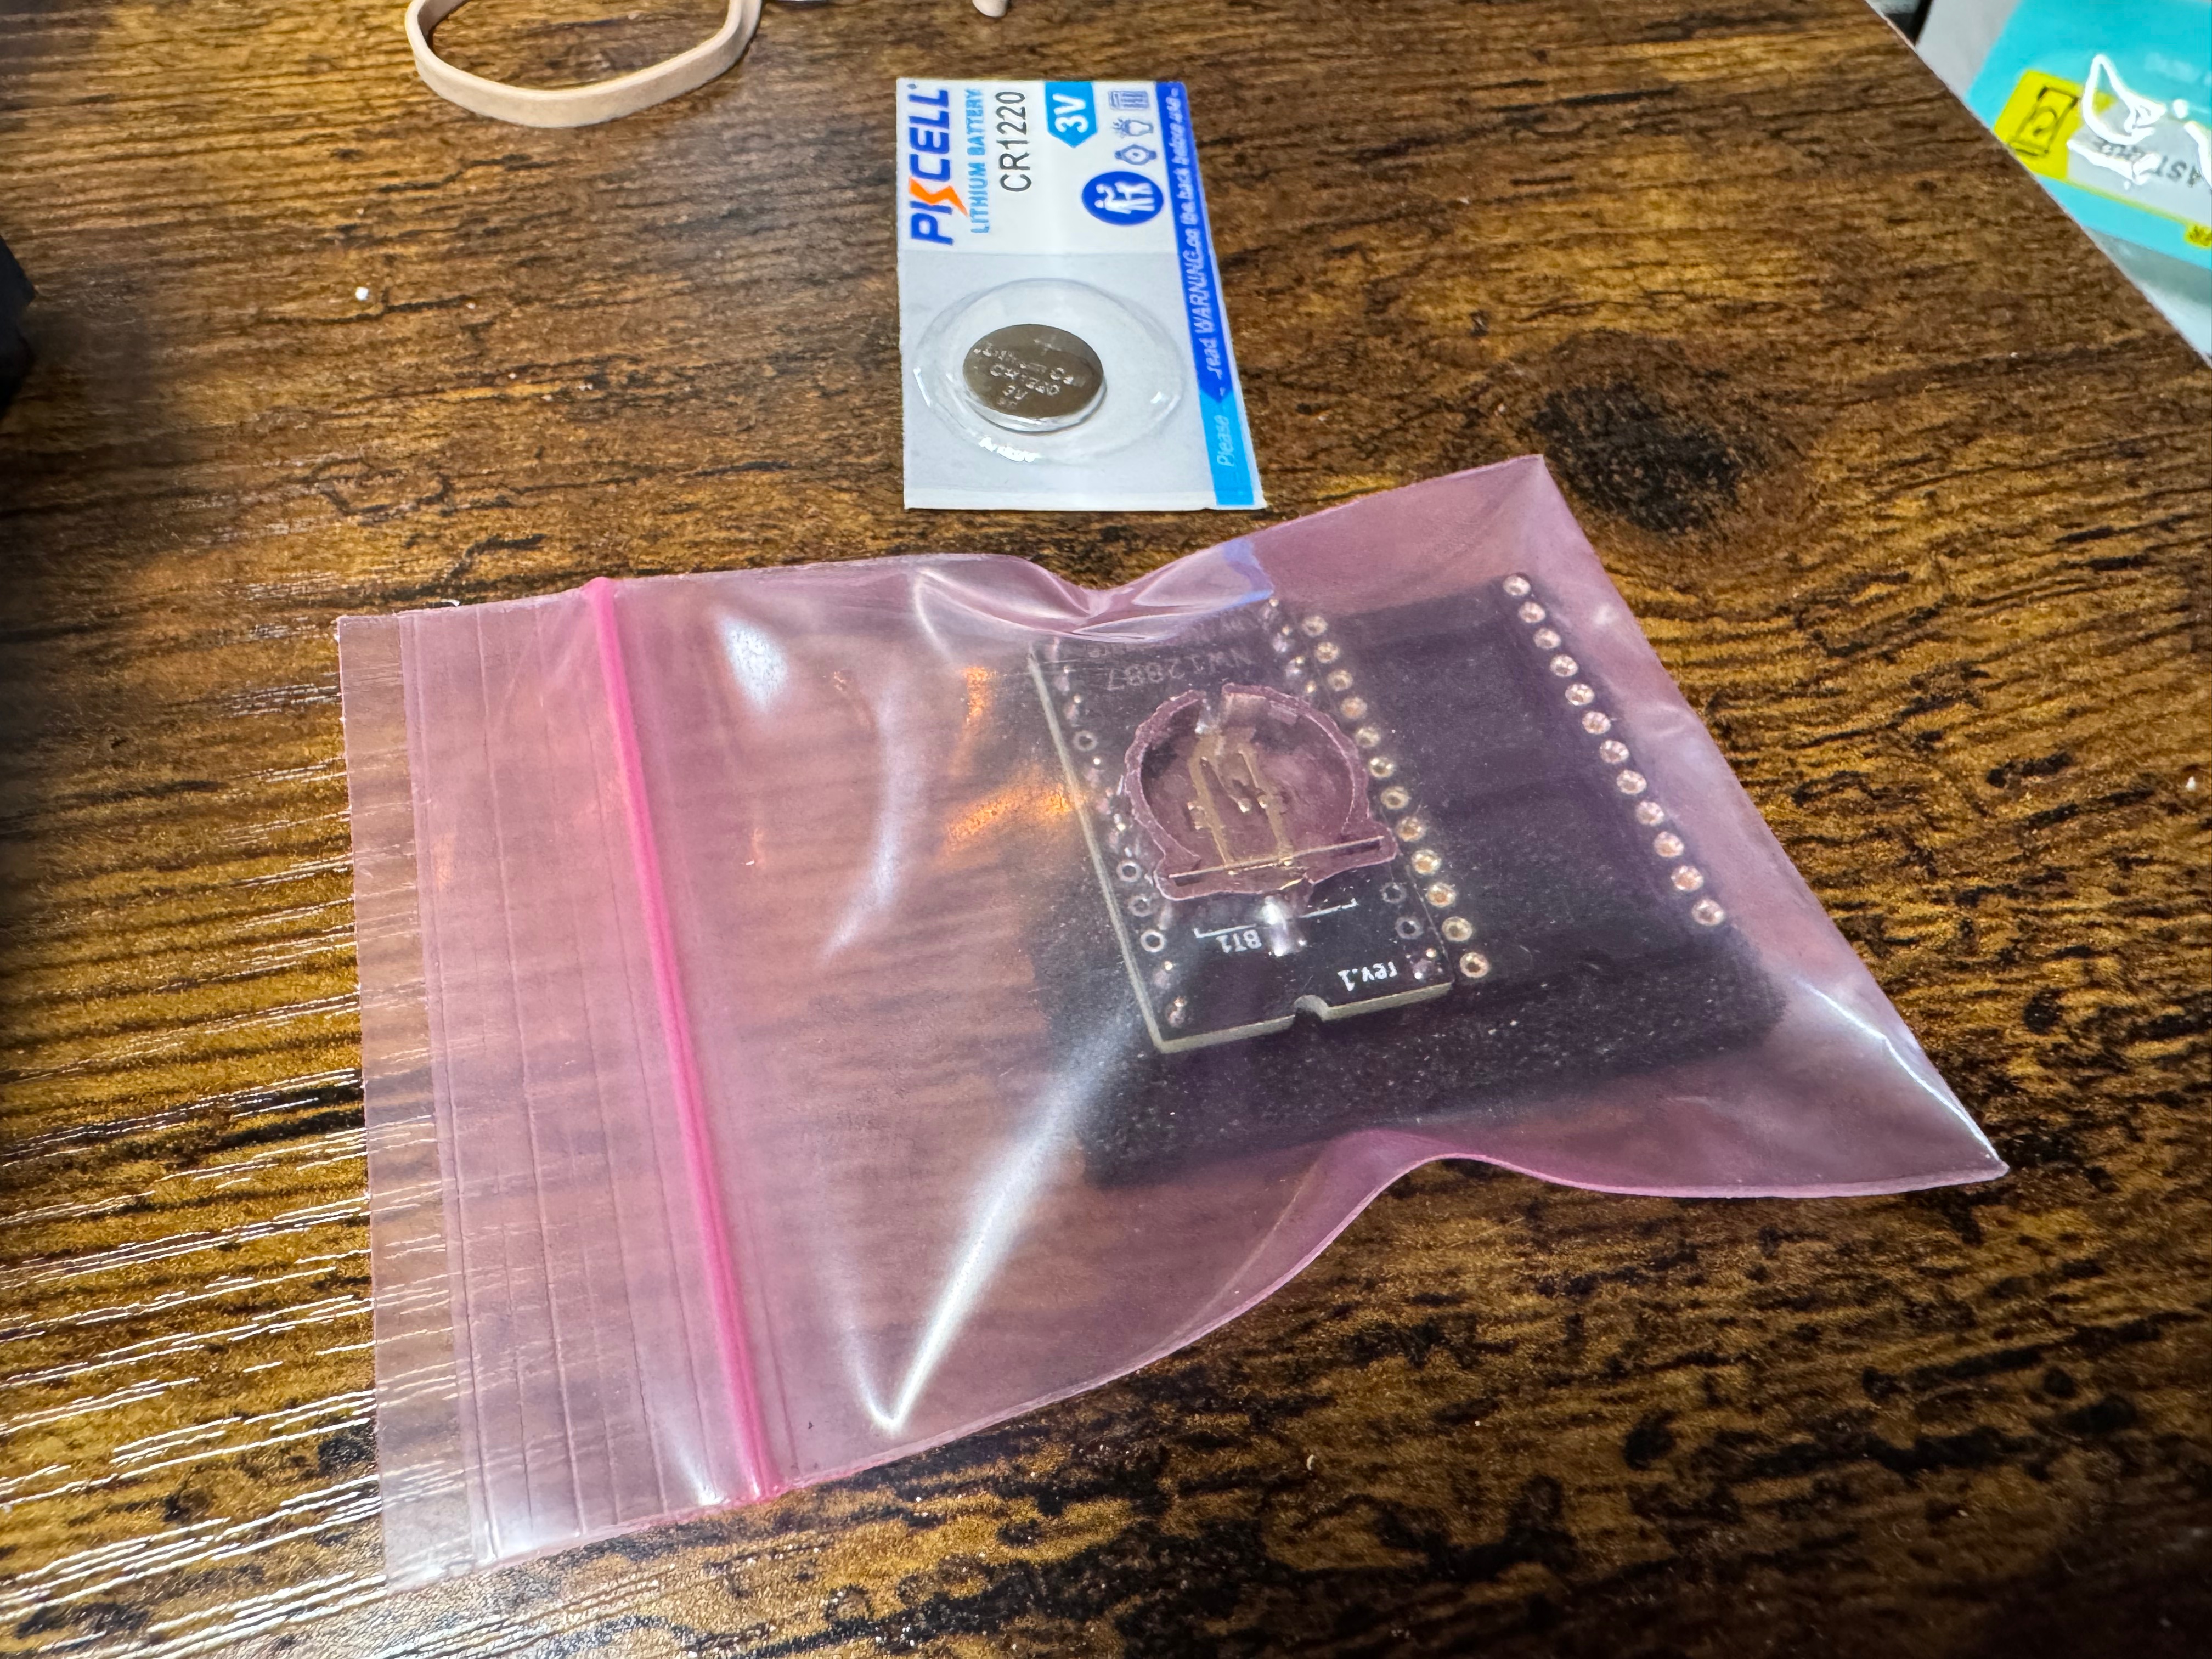
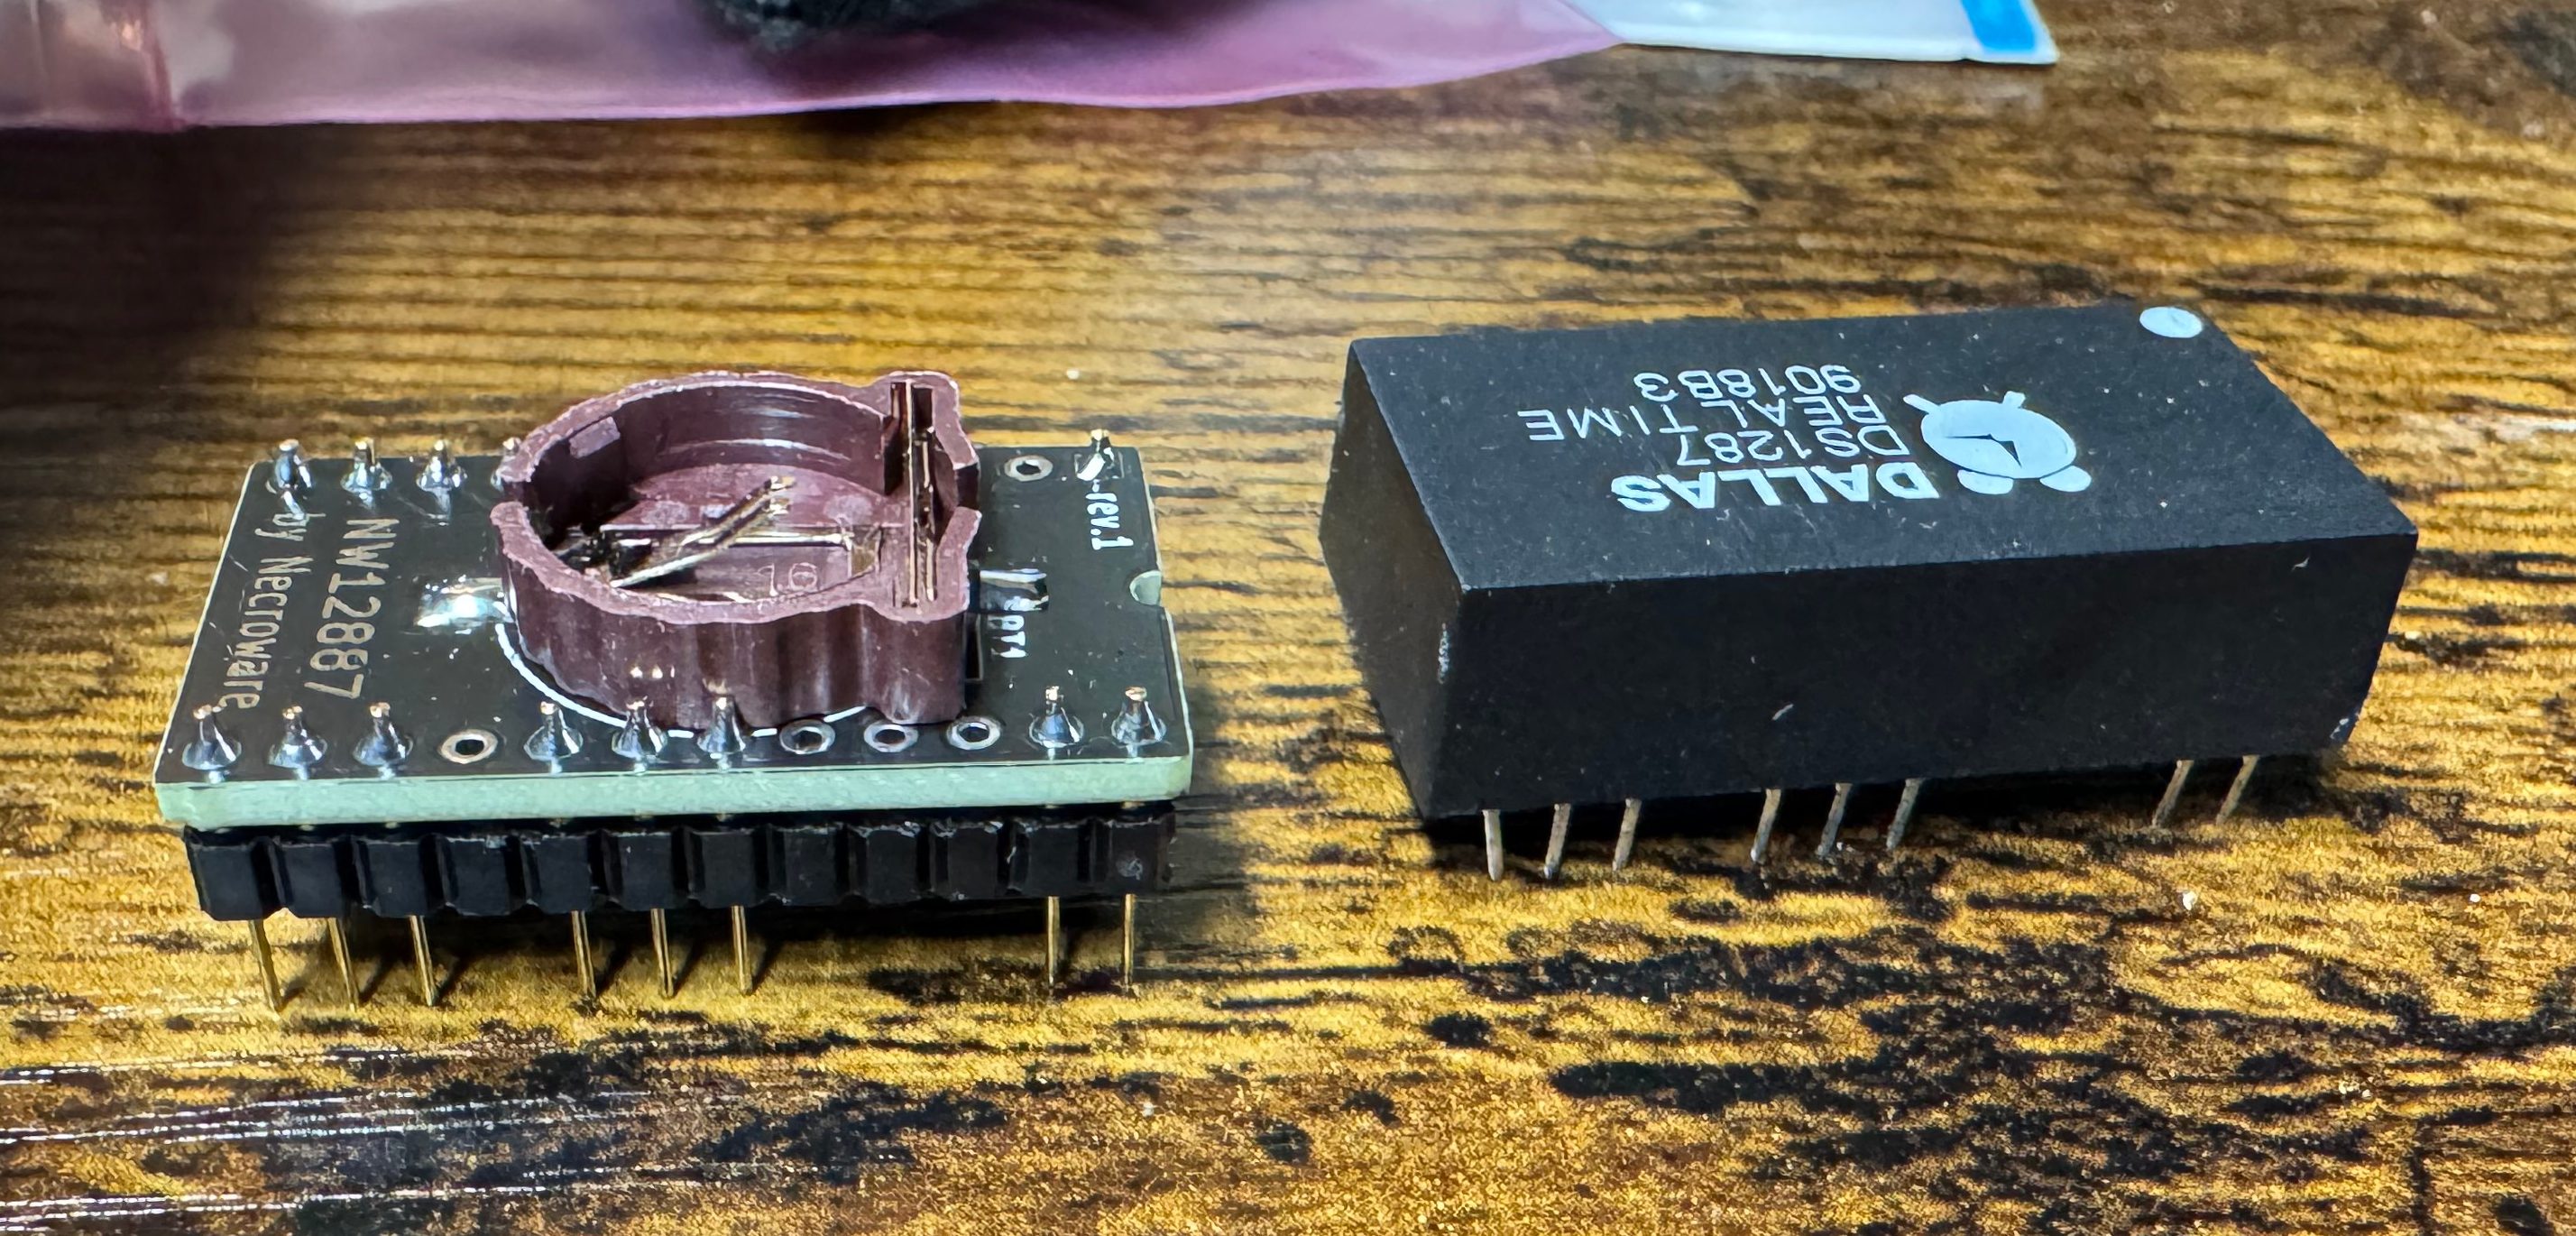
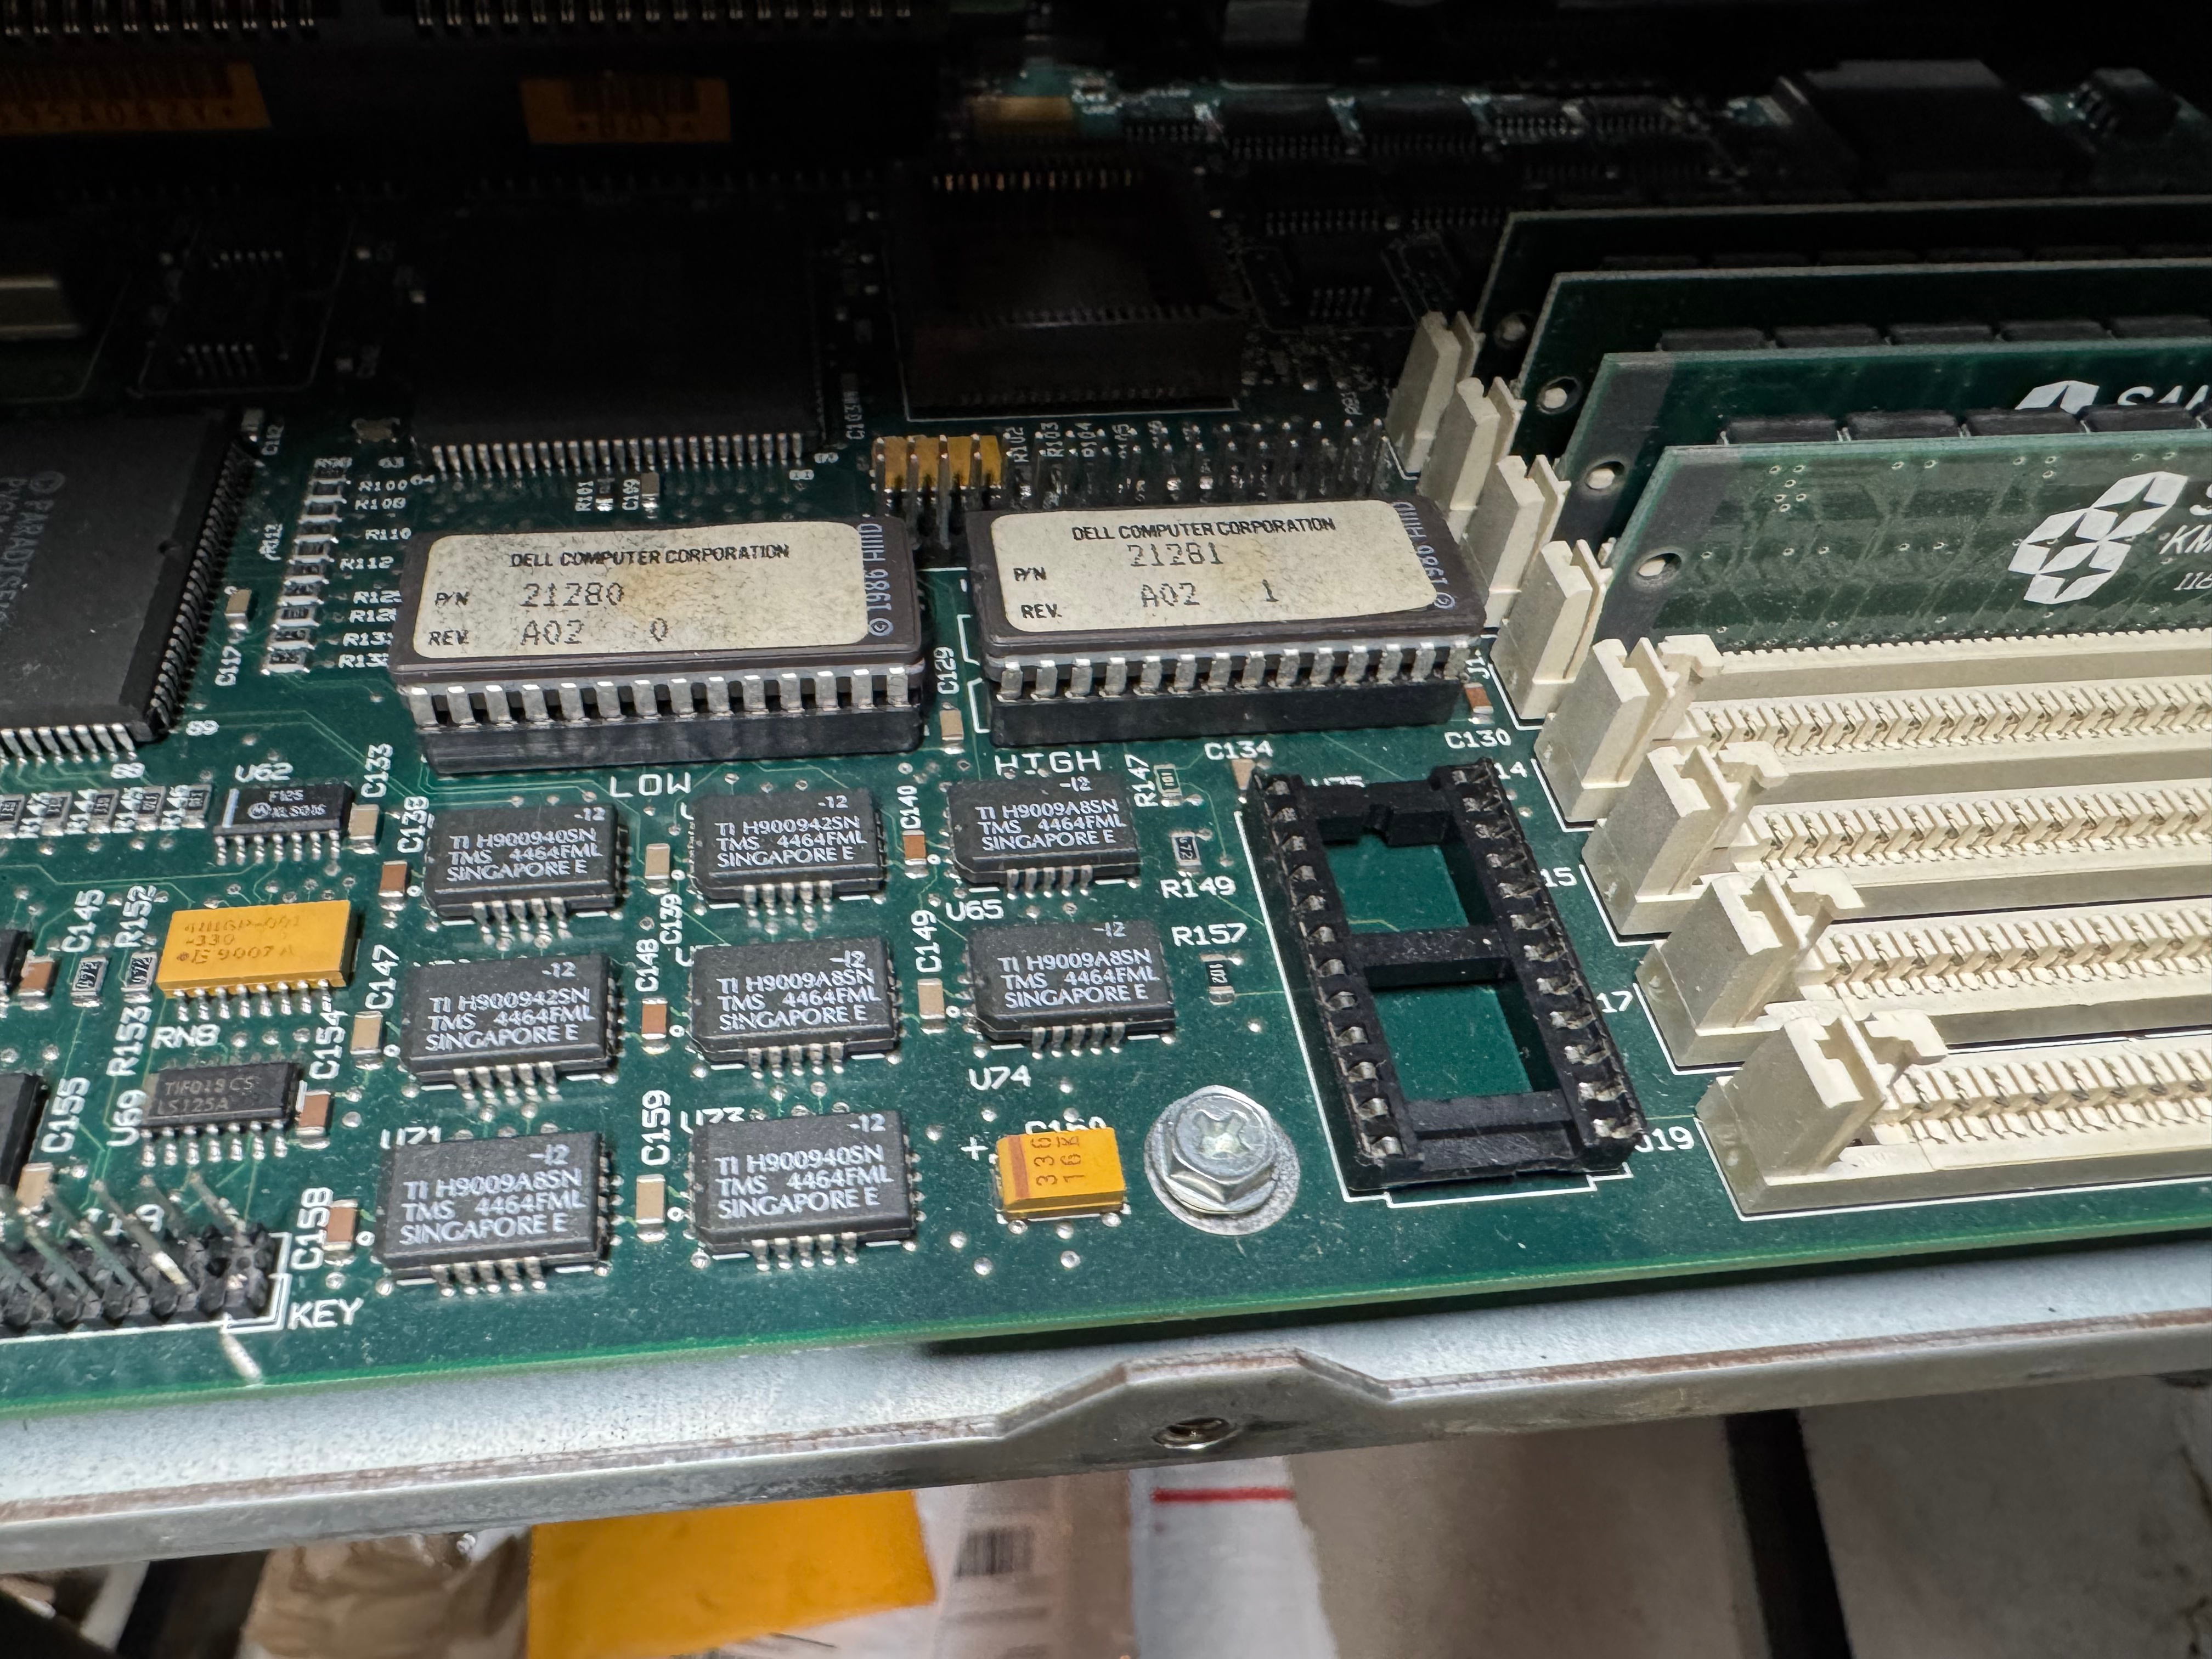
My first thought after chatting with ChatGPT was that this system was old, and had a Dallas clock chip. The Dallas DS1287 is a real-time clock with built-in battery — a common failure point in old PCs because the internal battery can’t be replaced easily. The internet said some 386 systems will fail to post if this chip is completely dead. I order a replacement (https://www.ebay.com/itm/134217827379) from the same vendor I got the PS2 Serial adapter from. Wait a few days, it comes, pop it in AND… nothing…
Old Dallas ChipClock ReplacementClock Replacement and Dallas chip side by sideBIOS Revision and slot for Dallas Chip
At this point I figure we are probably looking at a power problem. This system is 35 or so years old, its big capacitors failing would not be a shock.
Power Supply Restoration
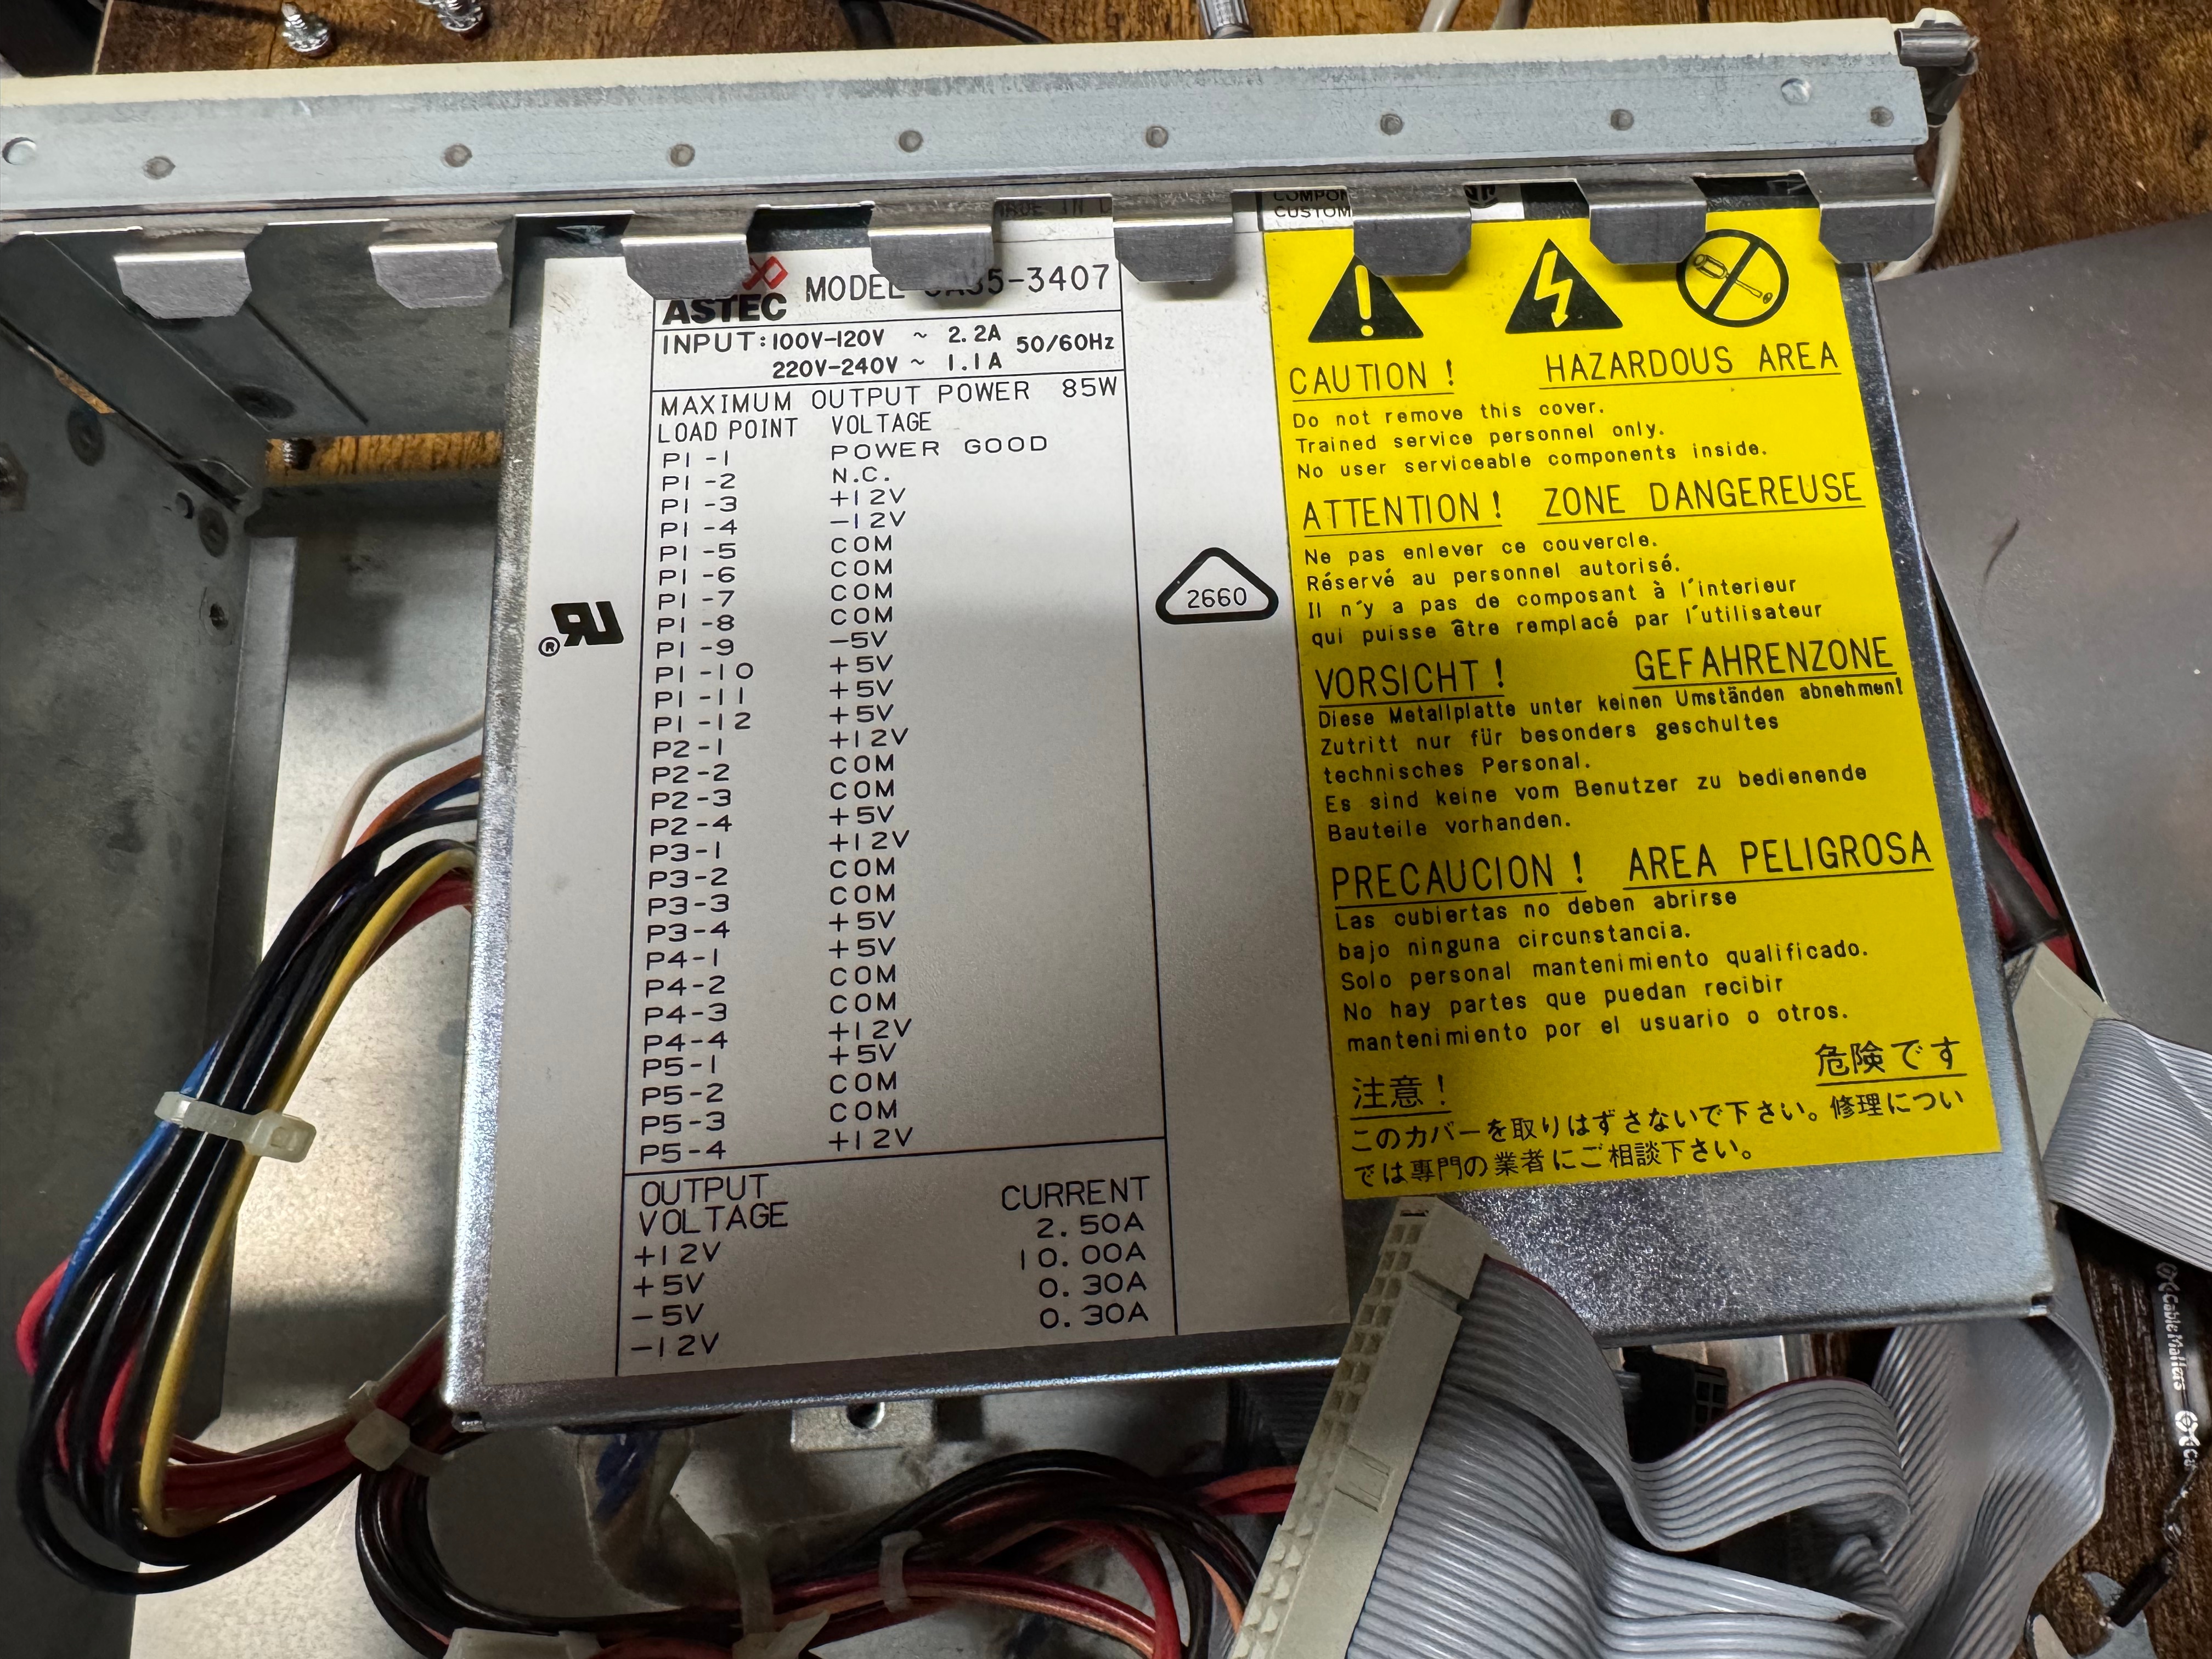
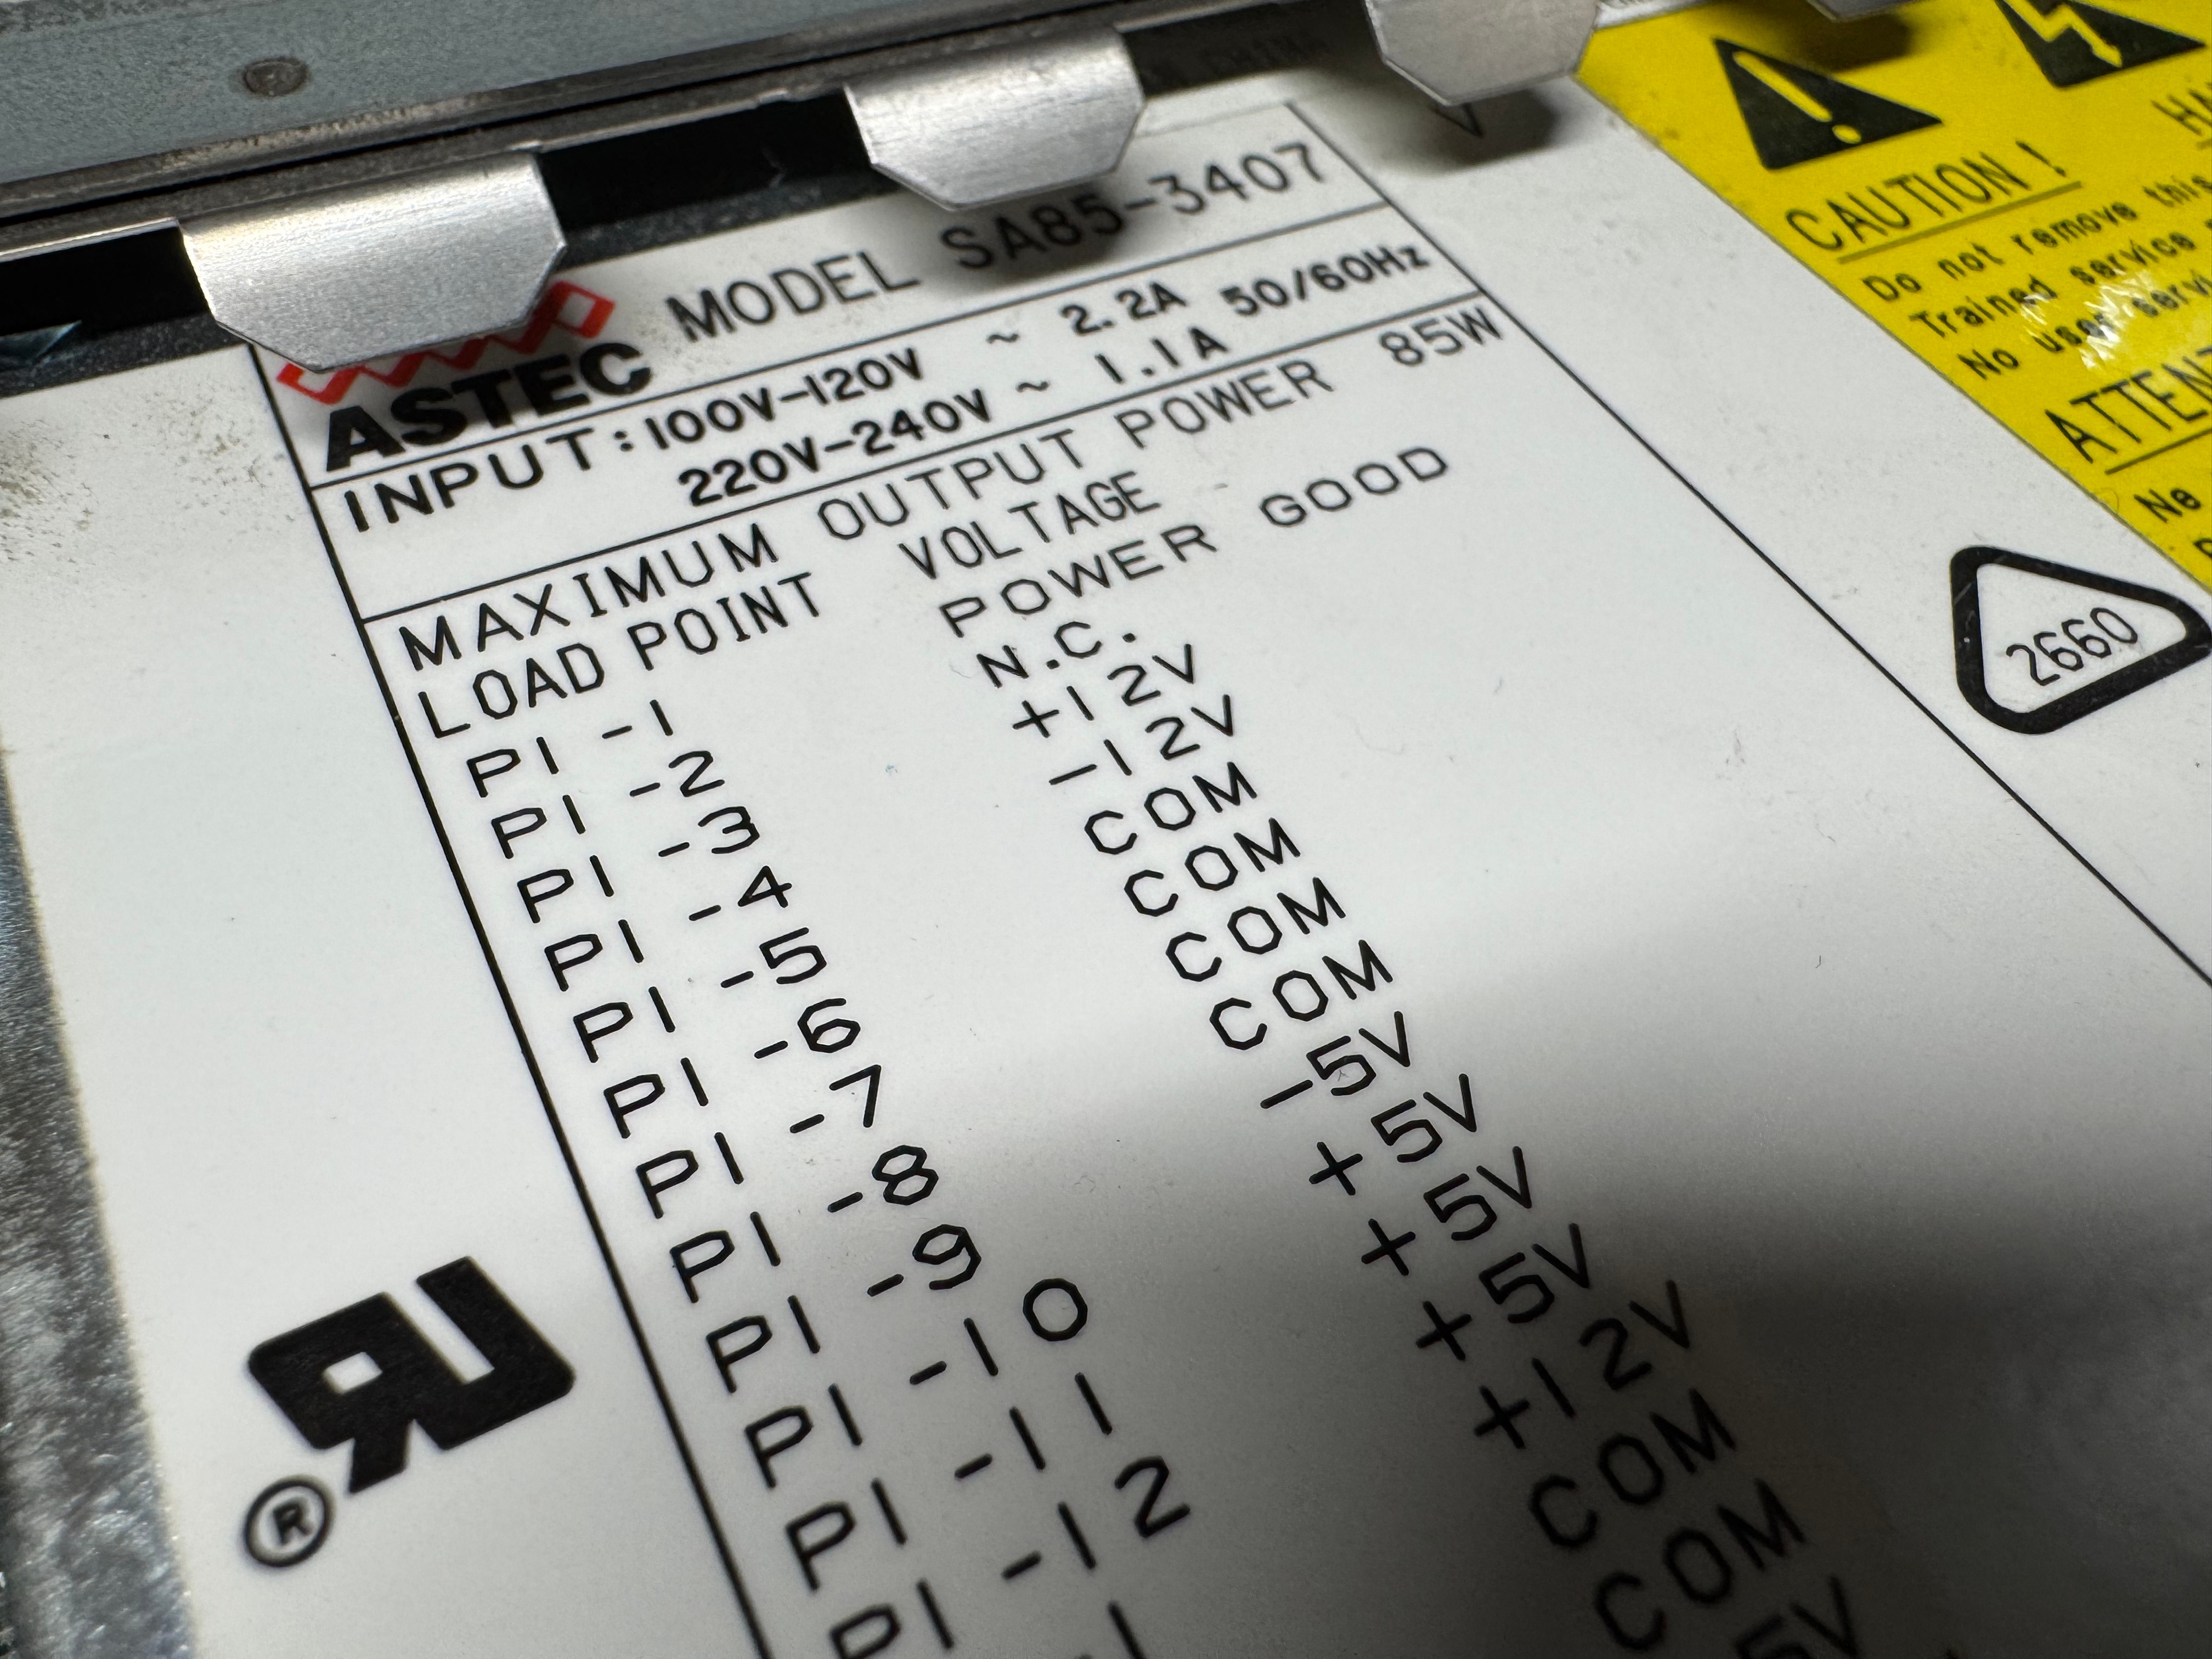
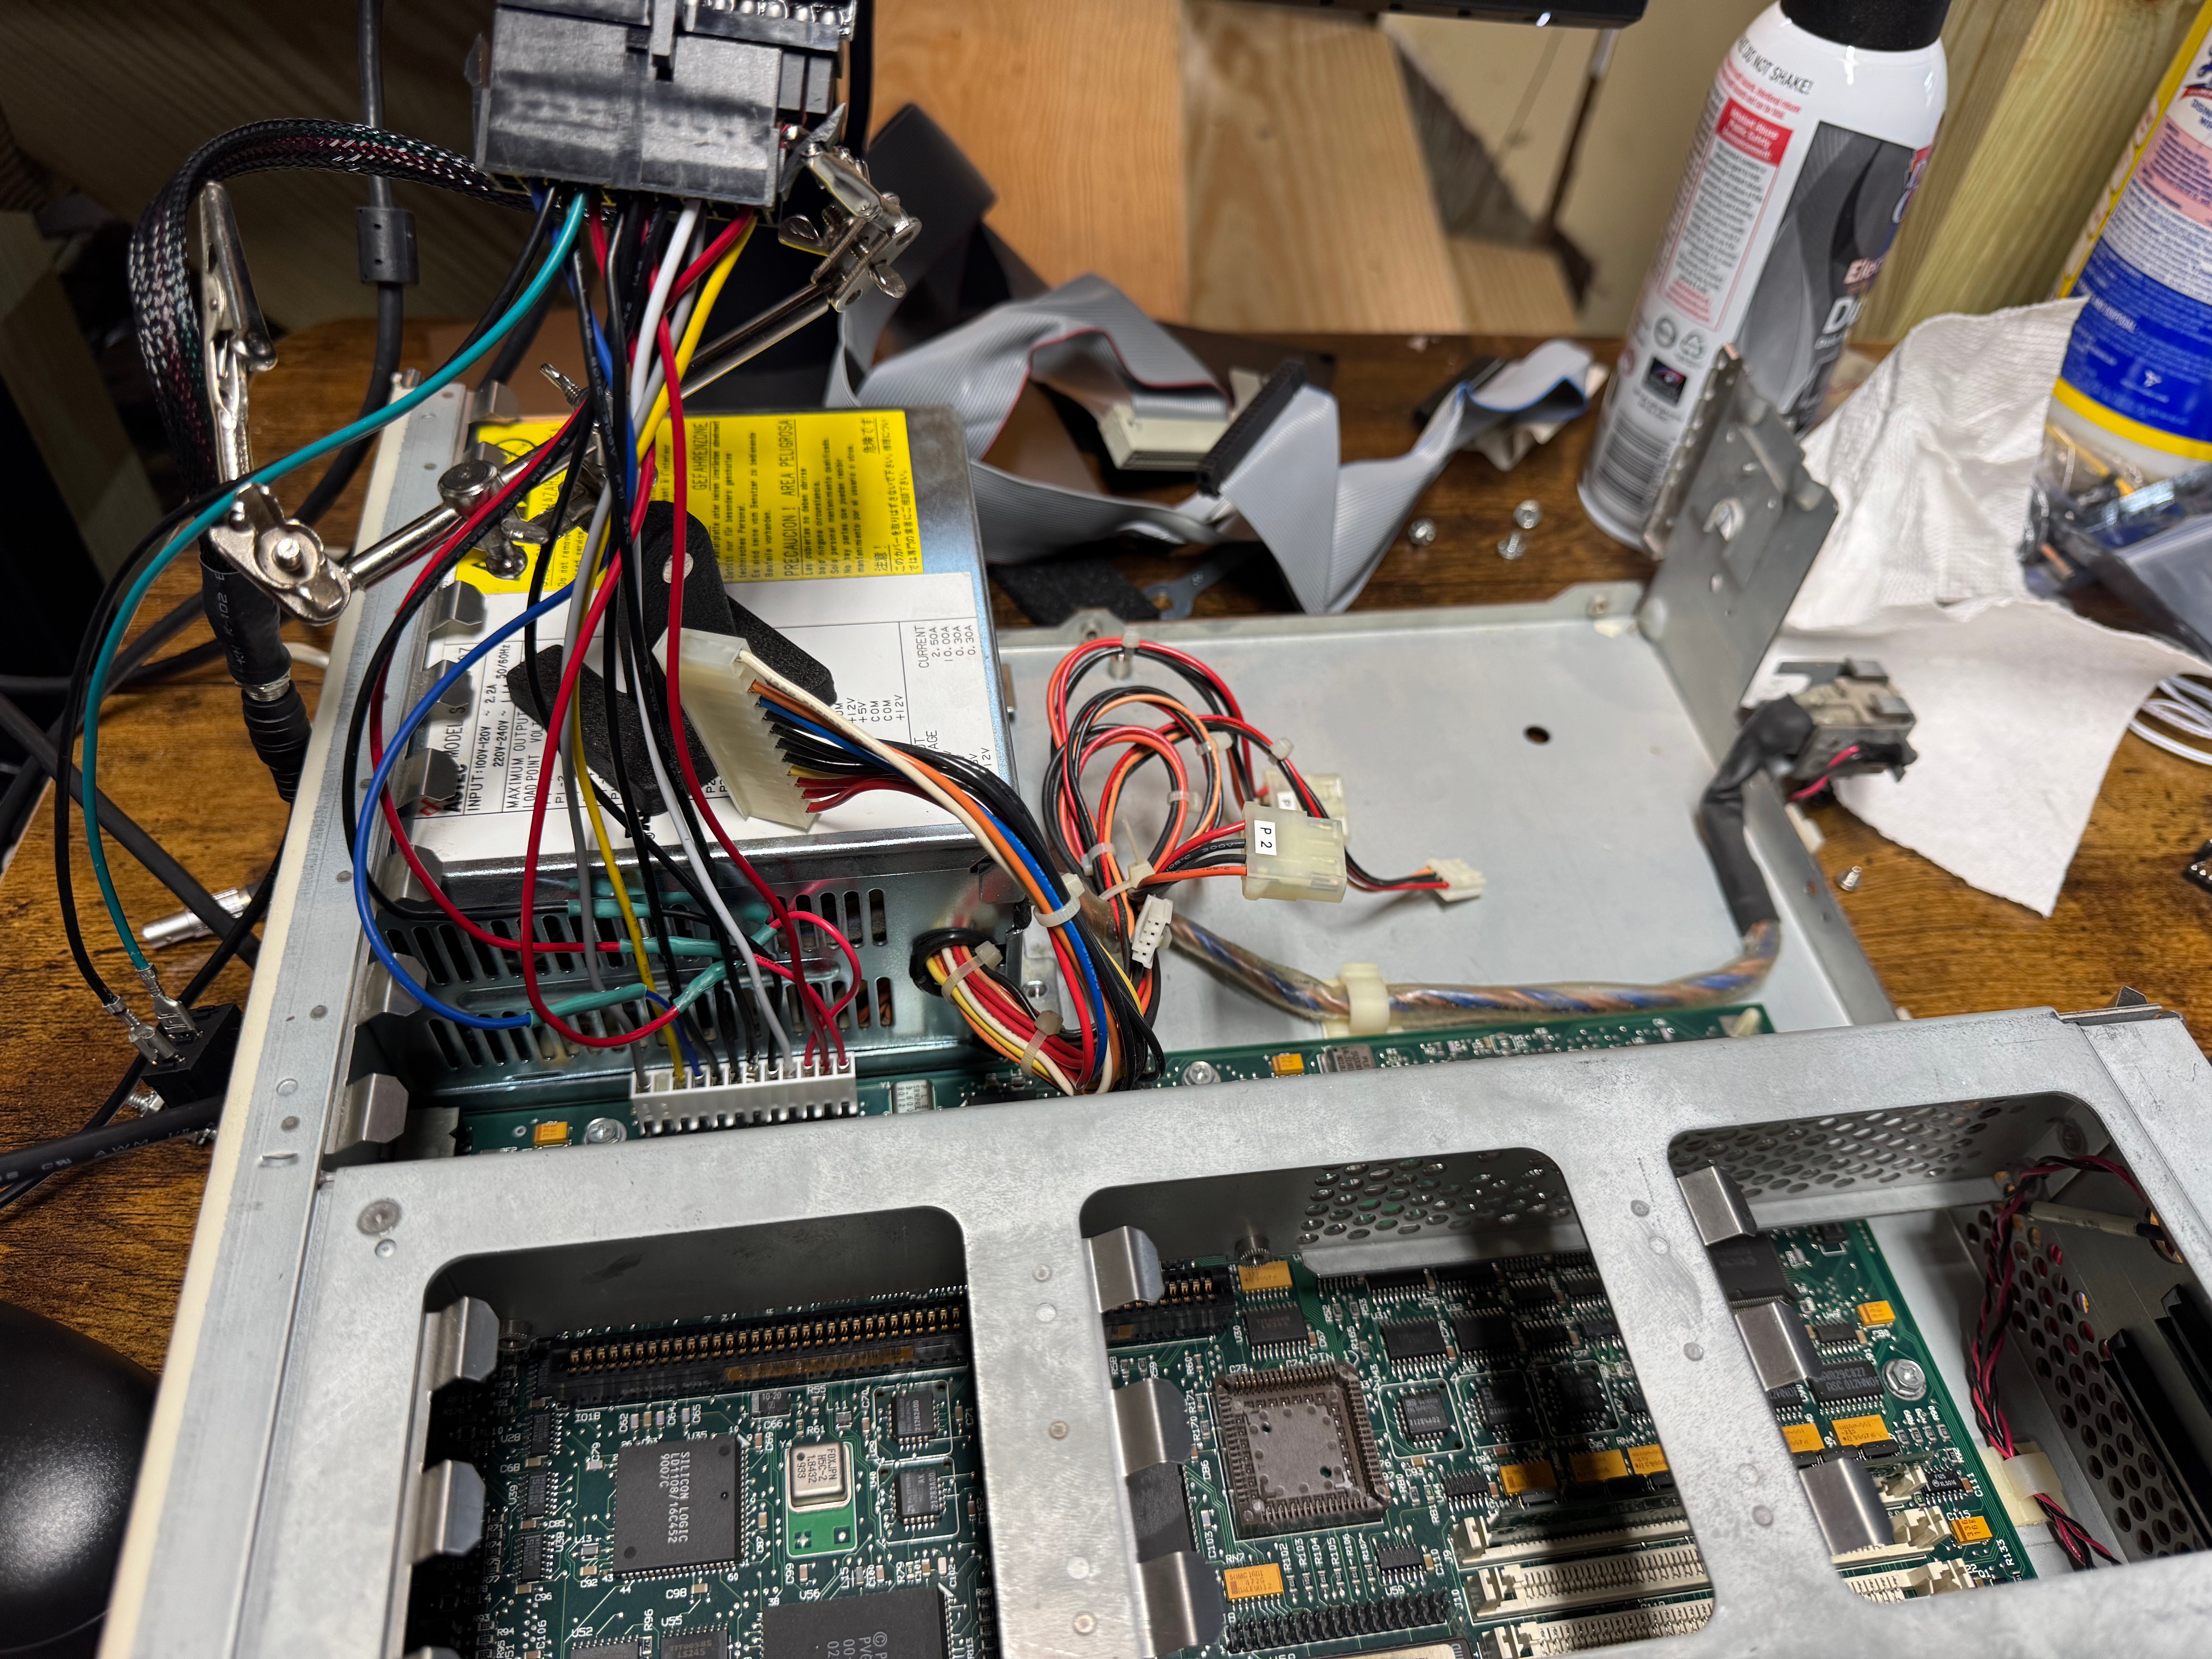
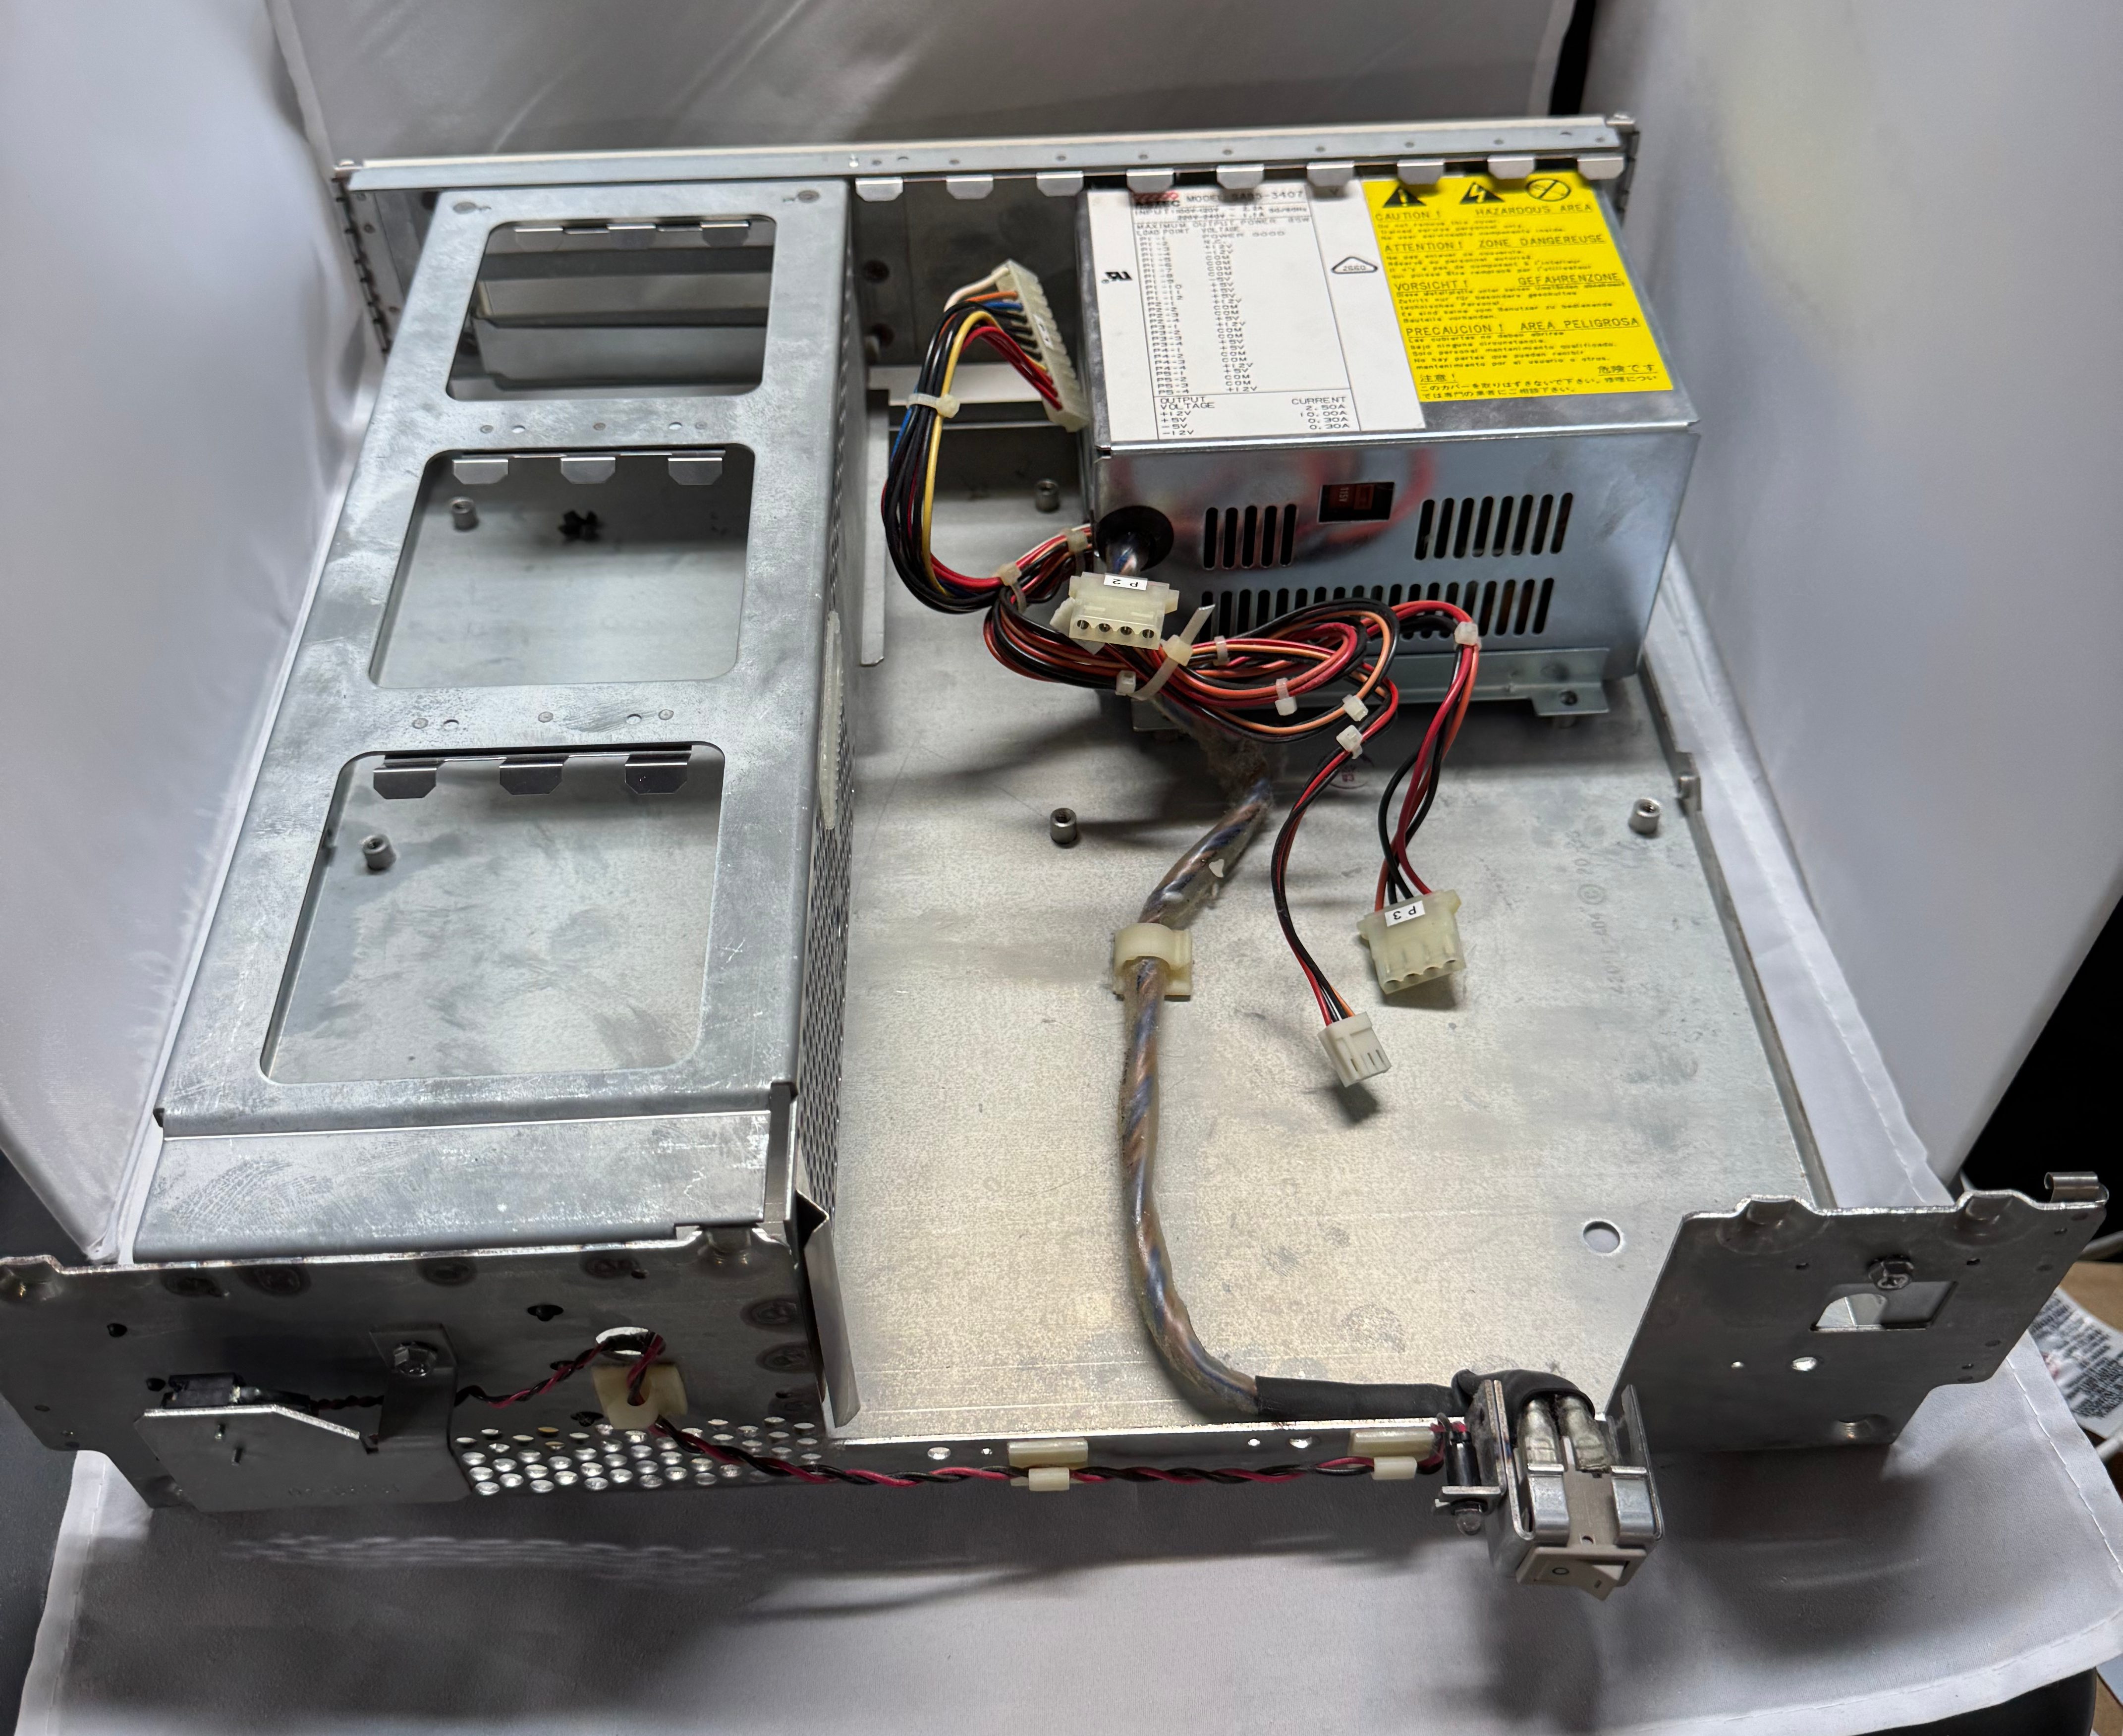
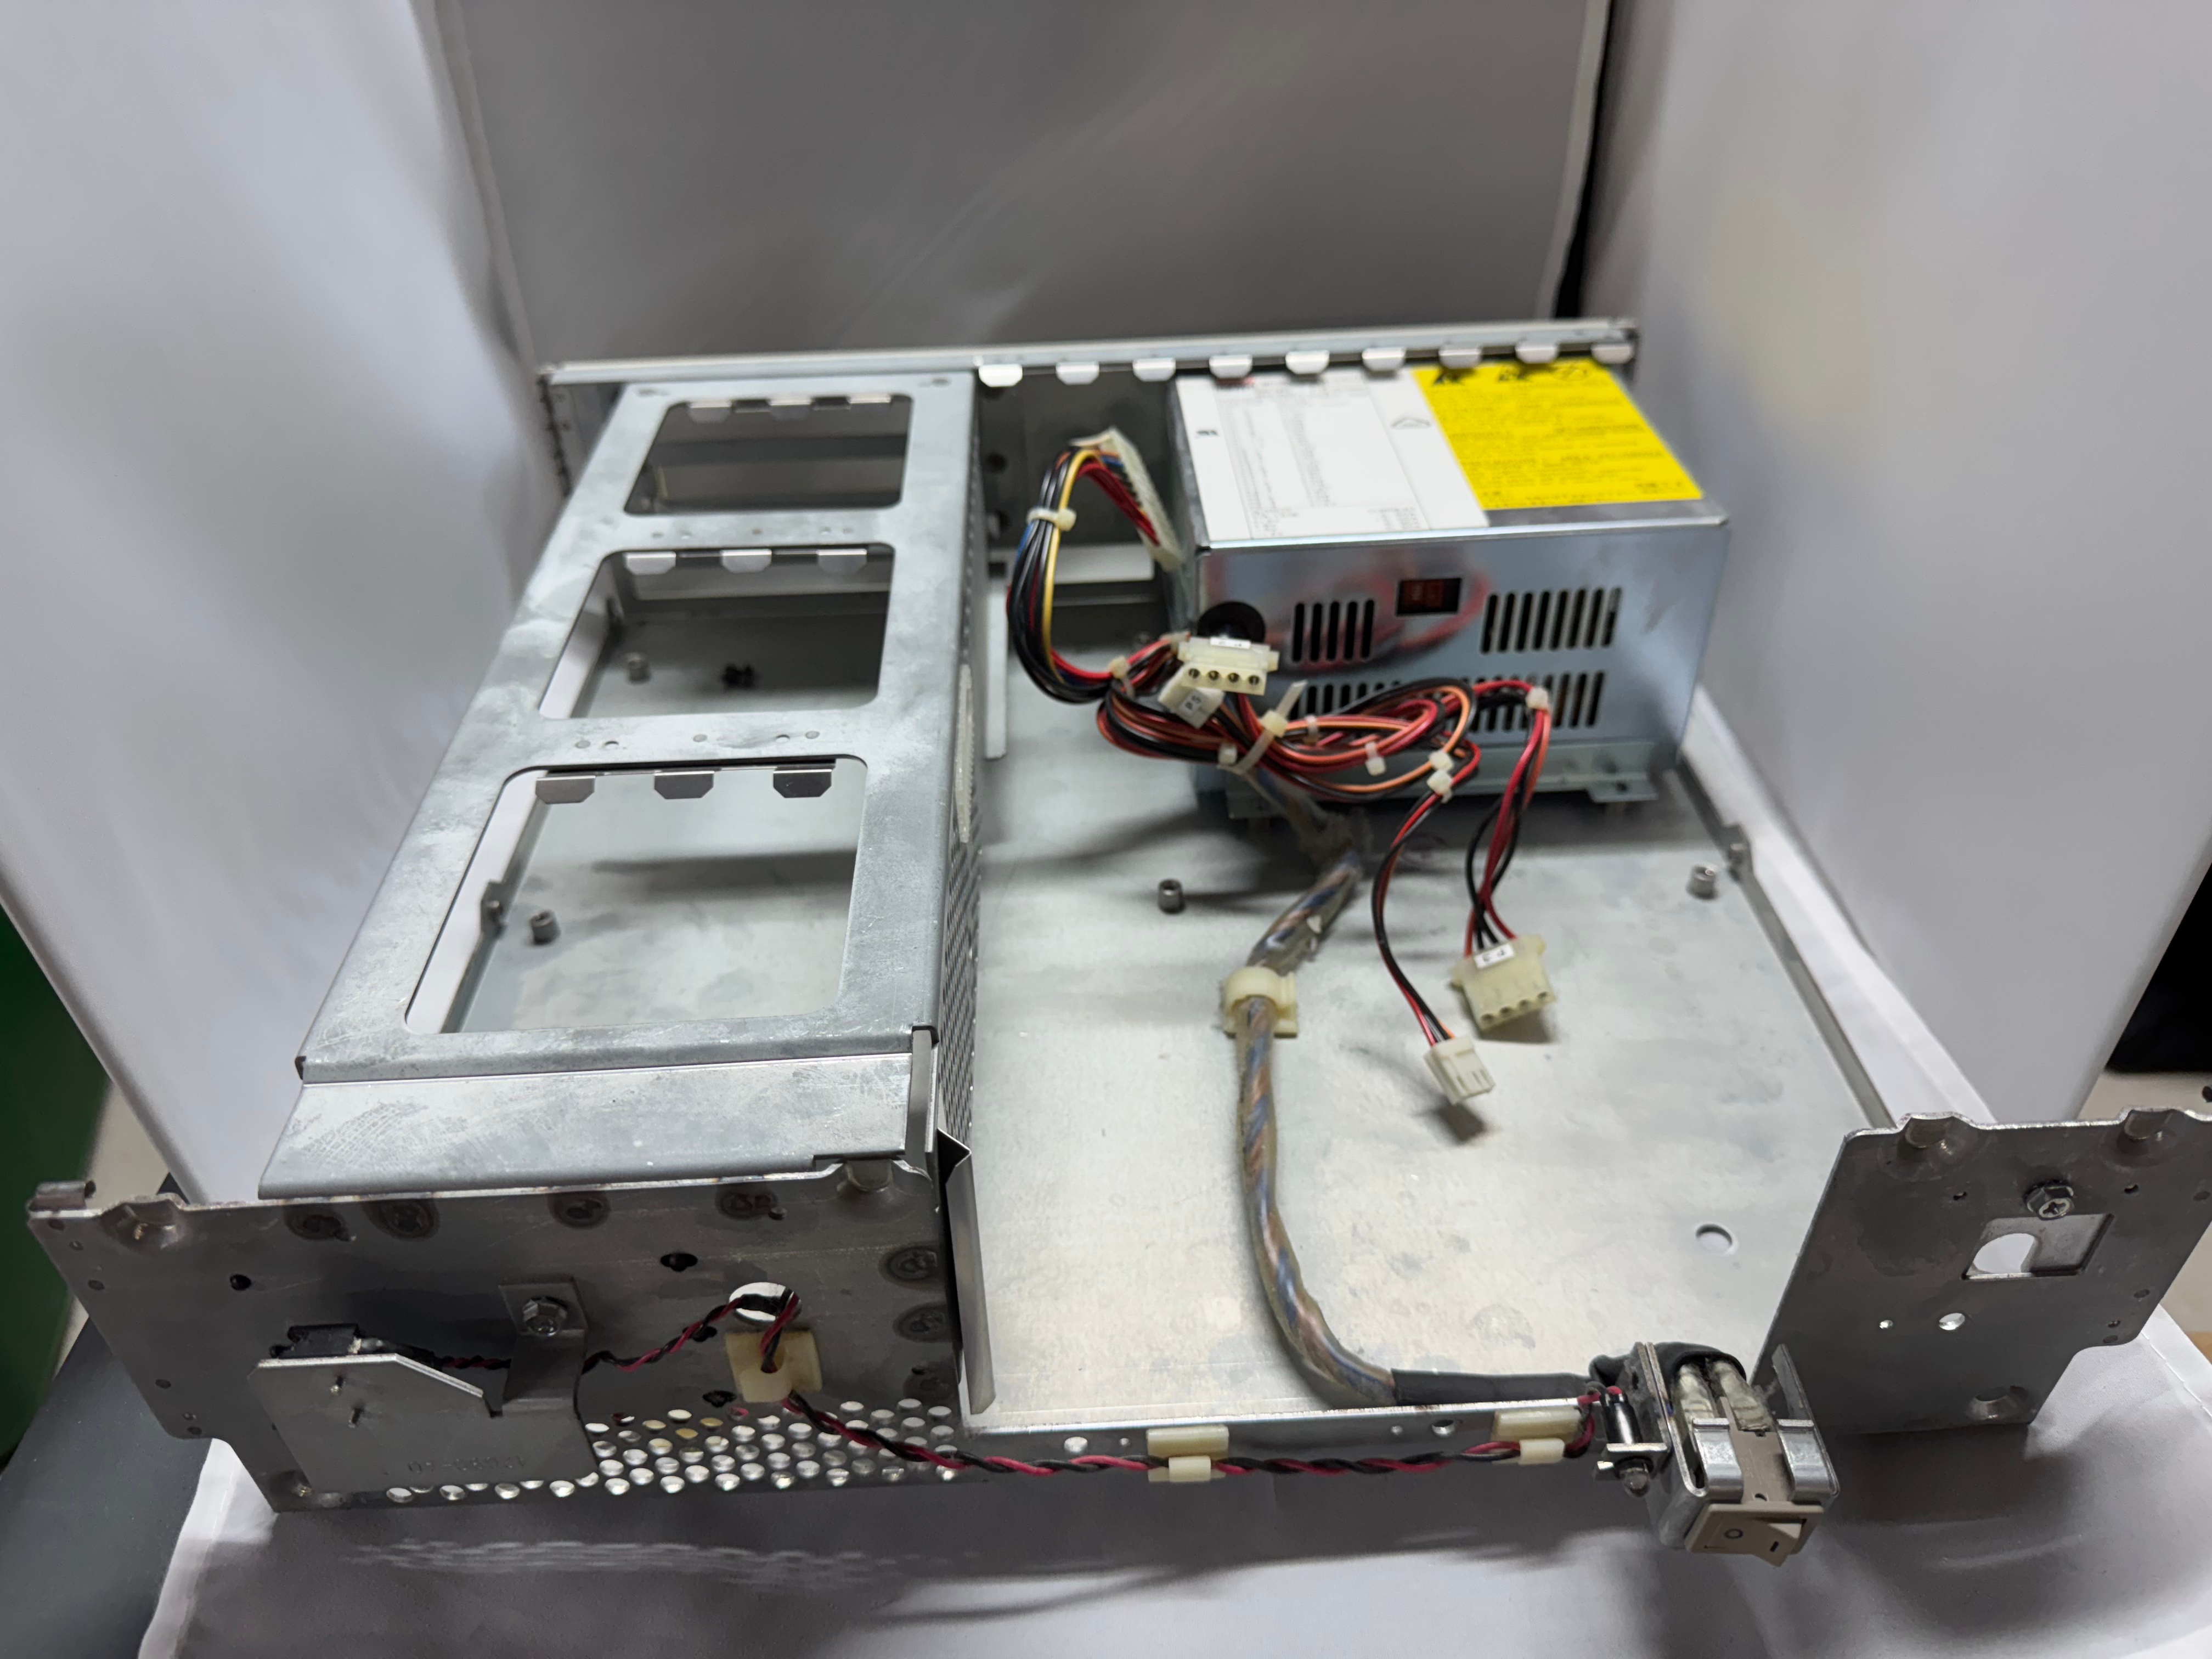
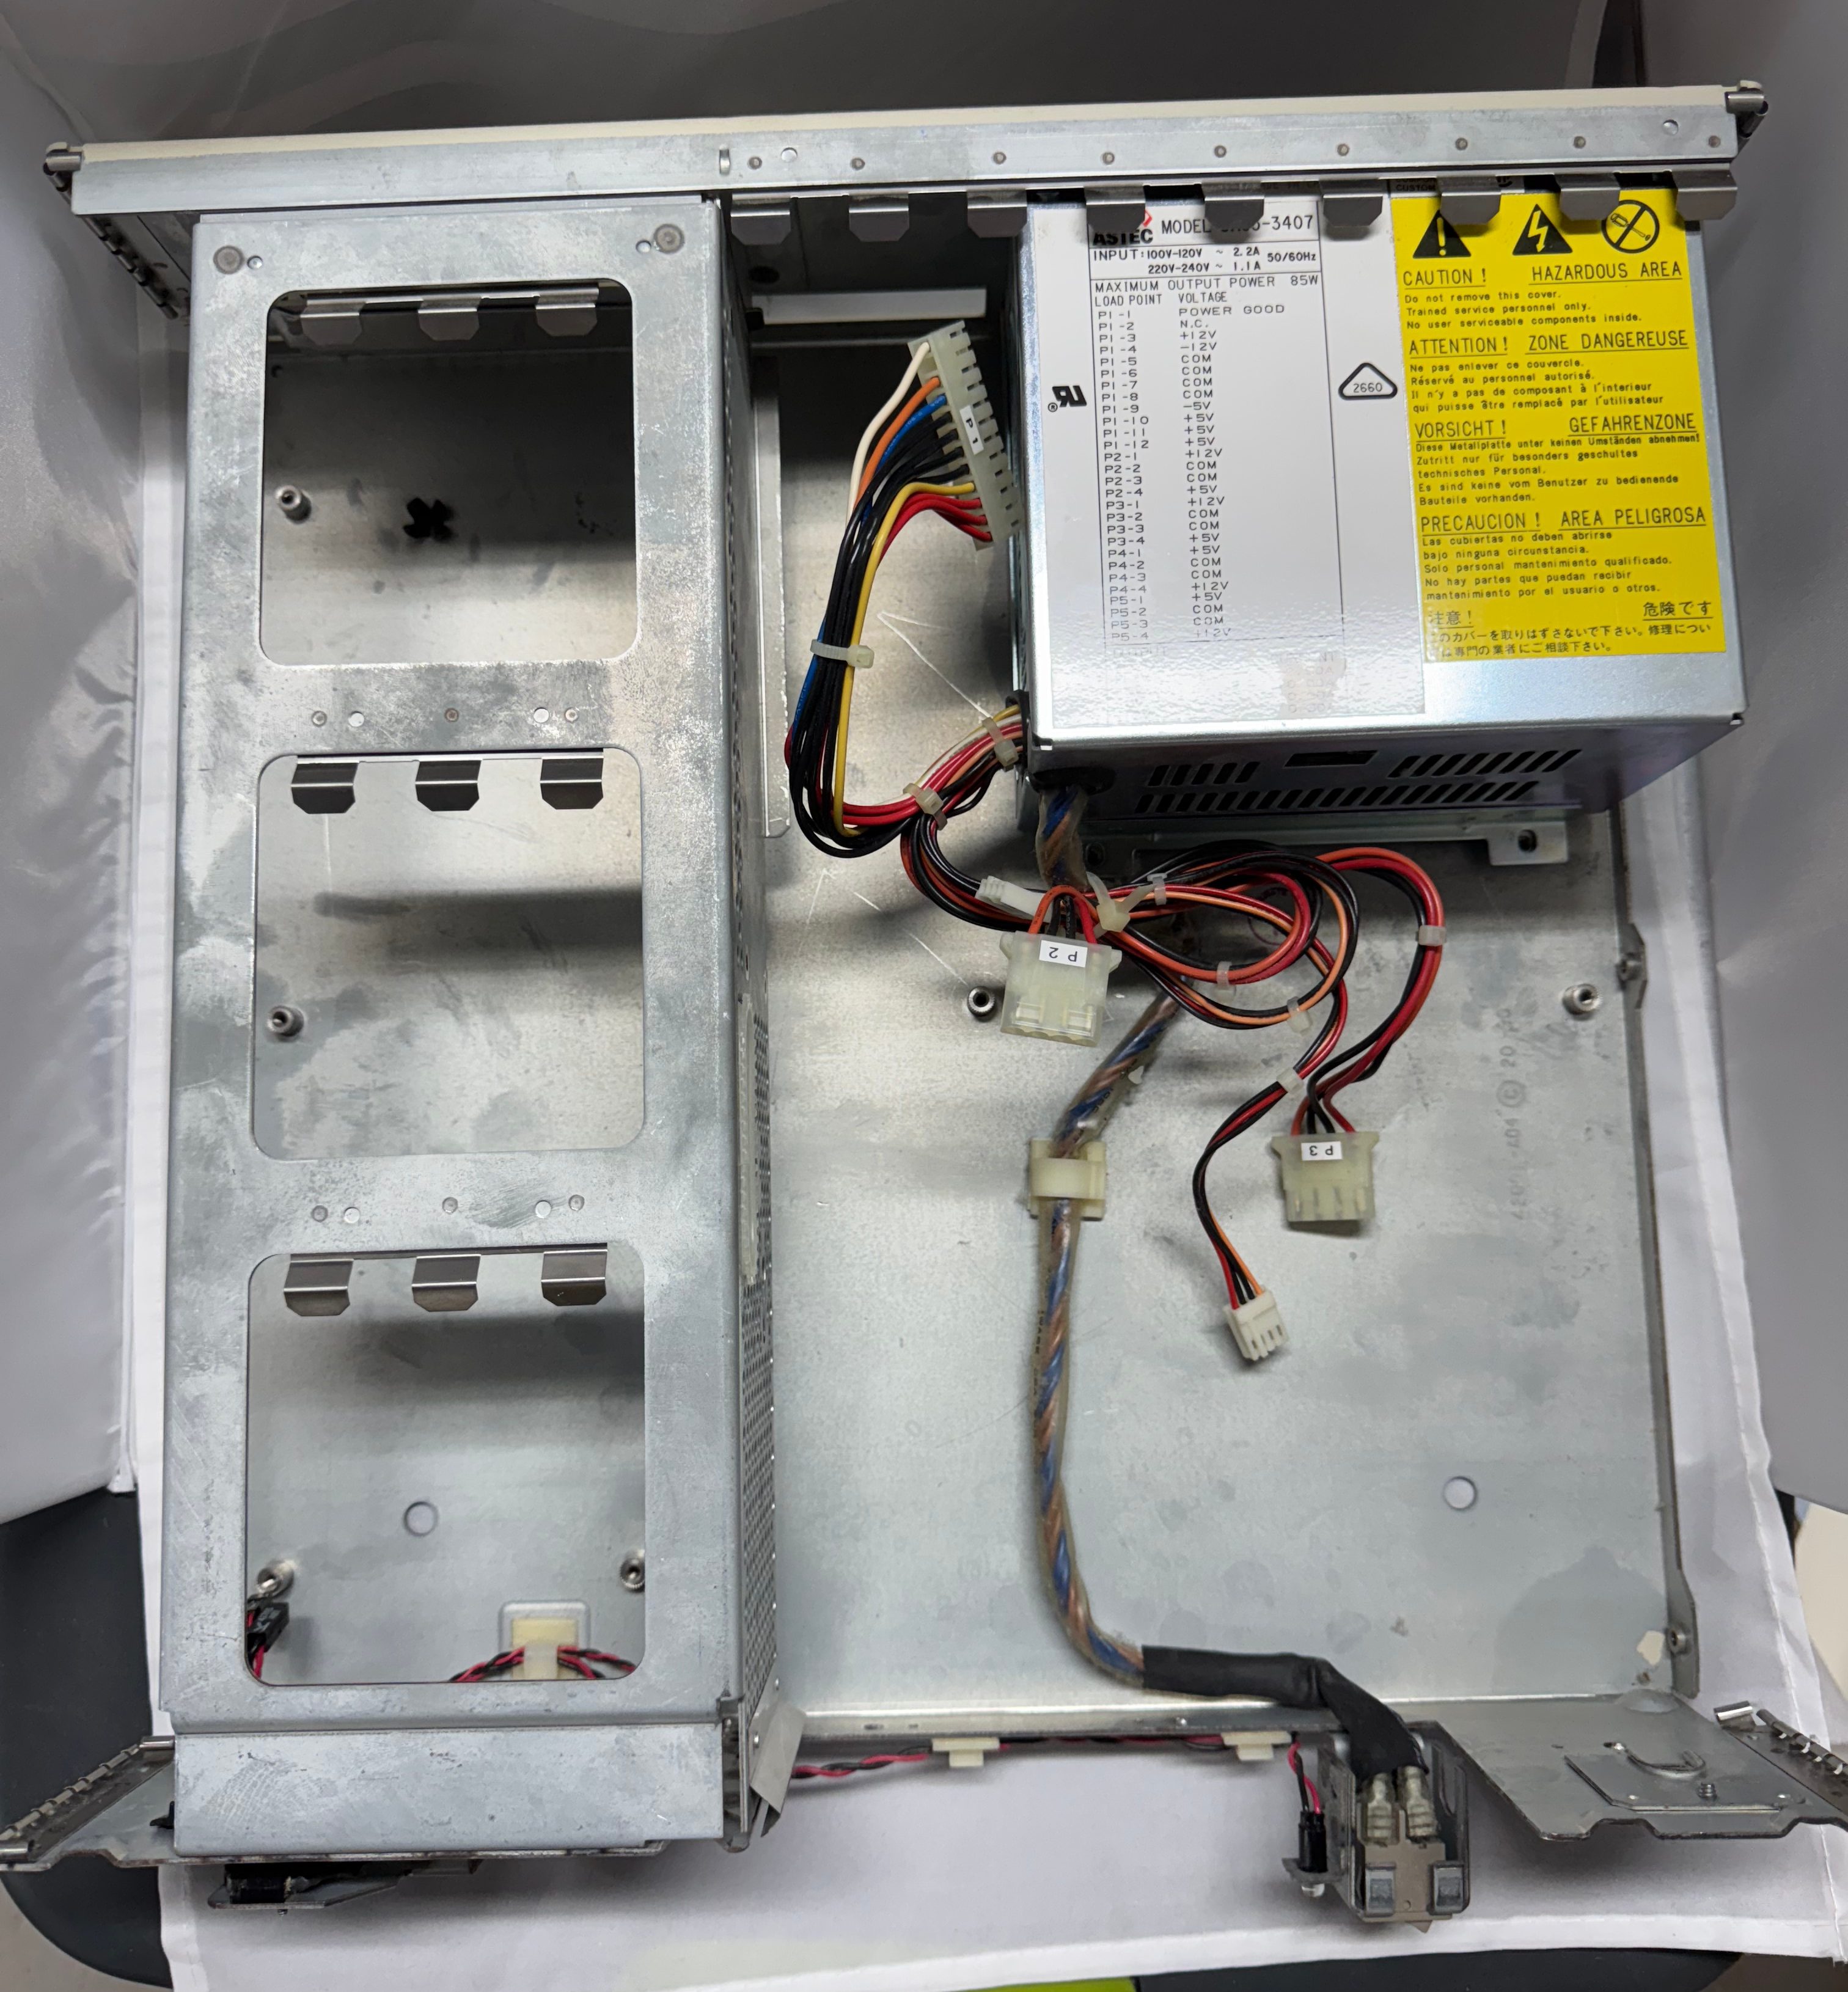
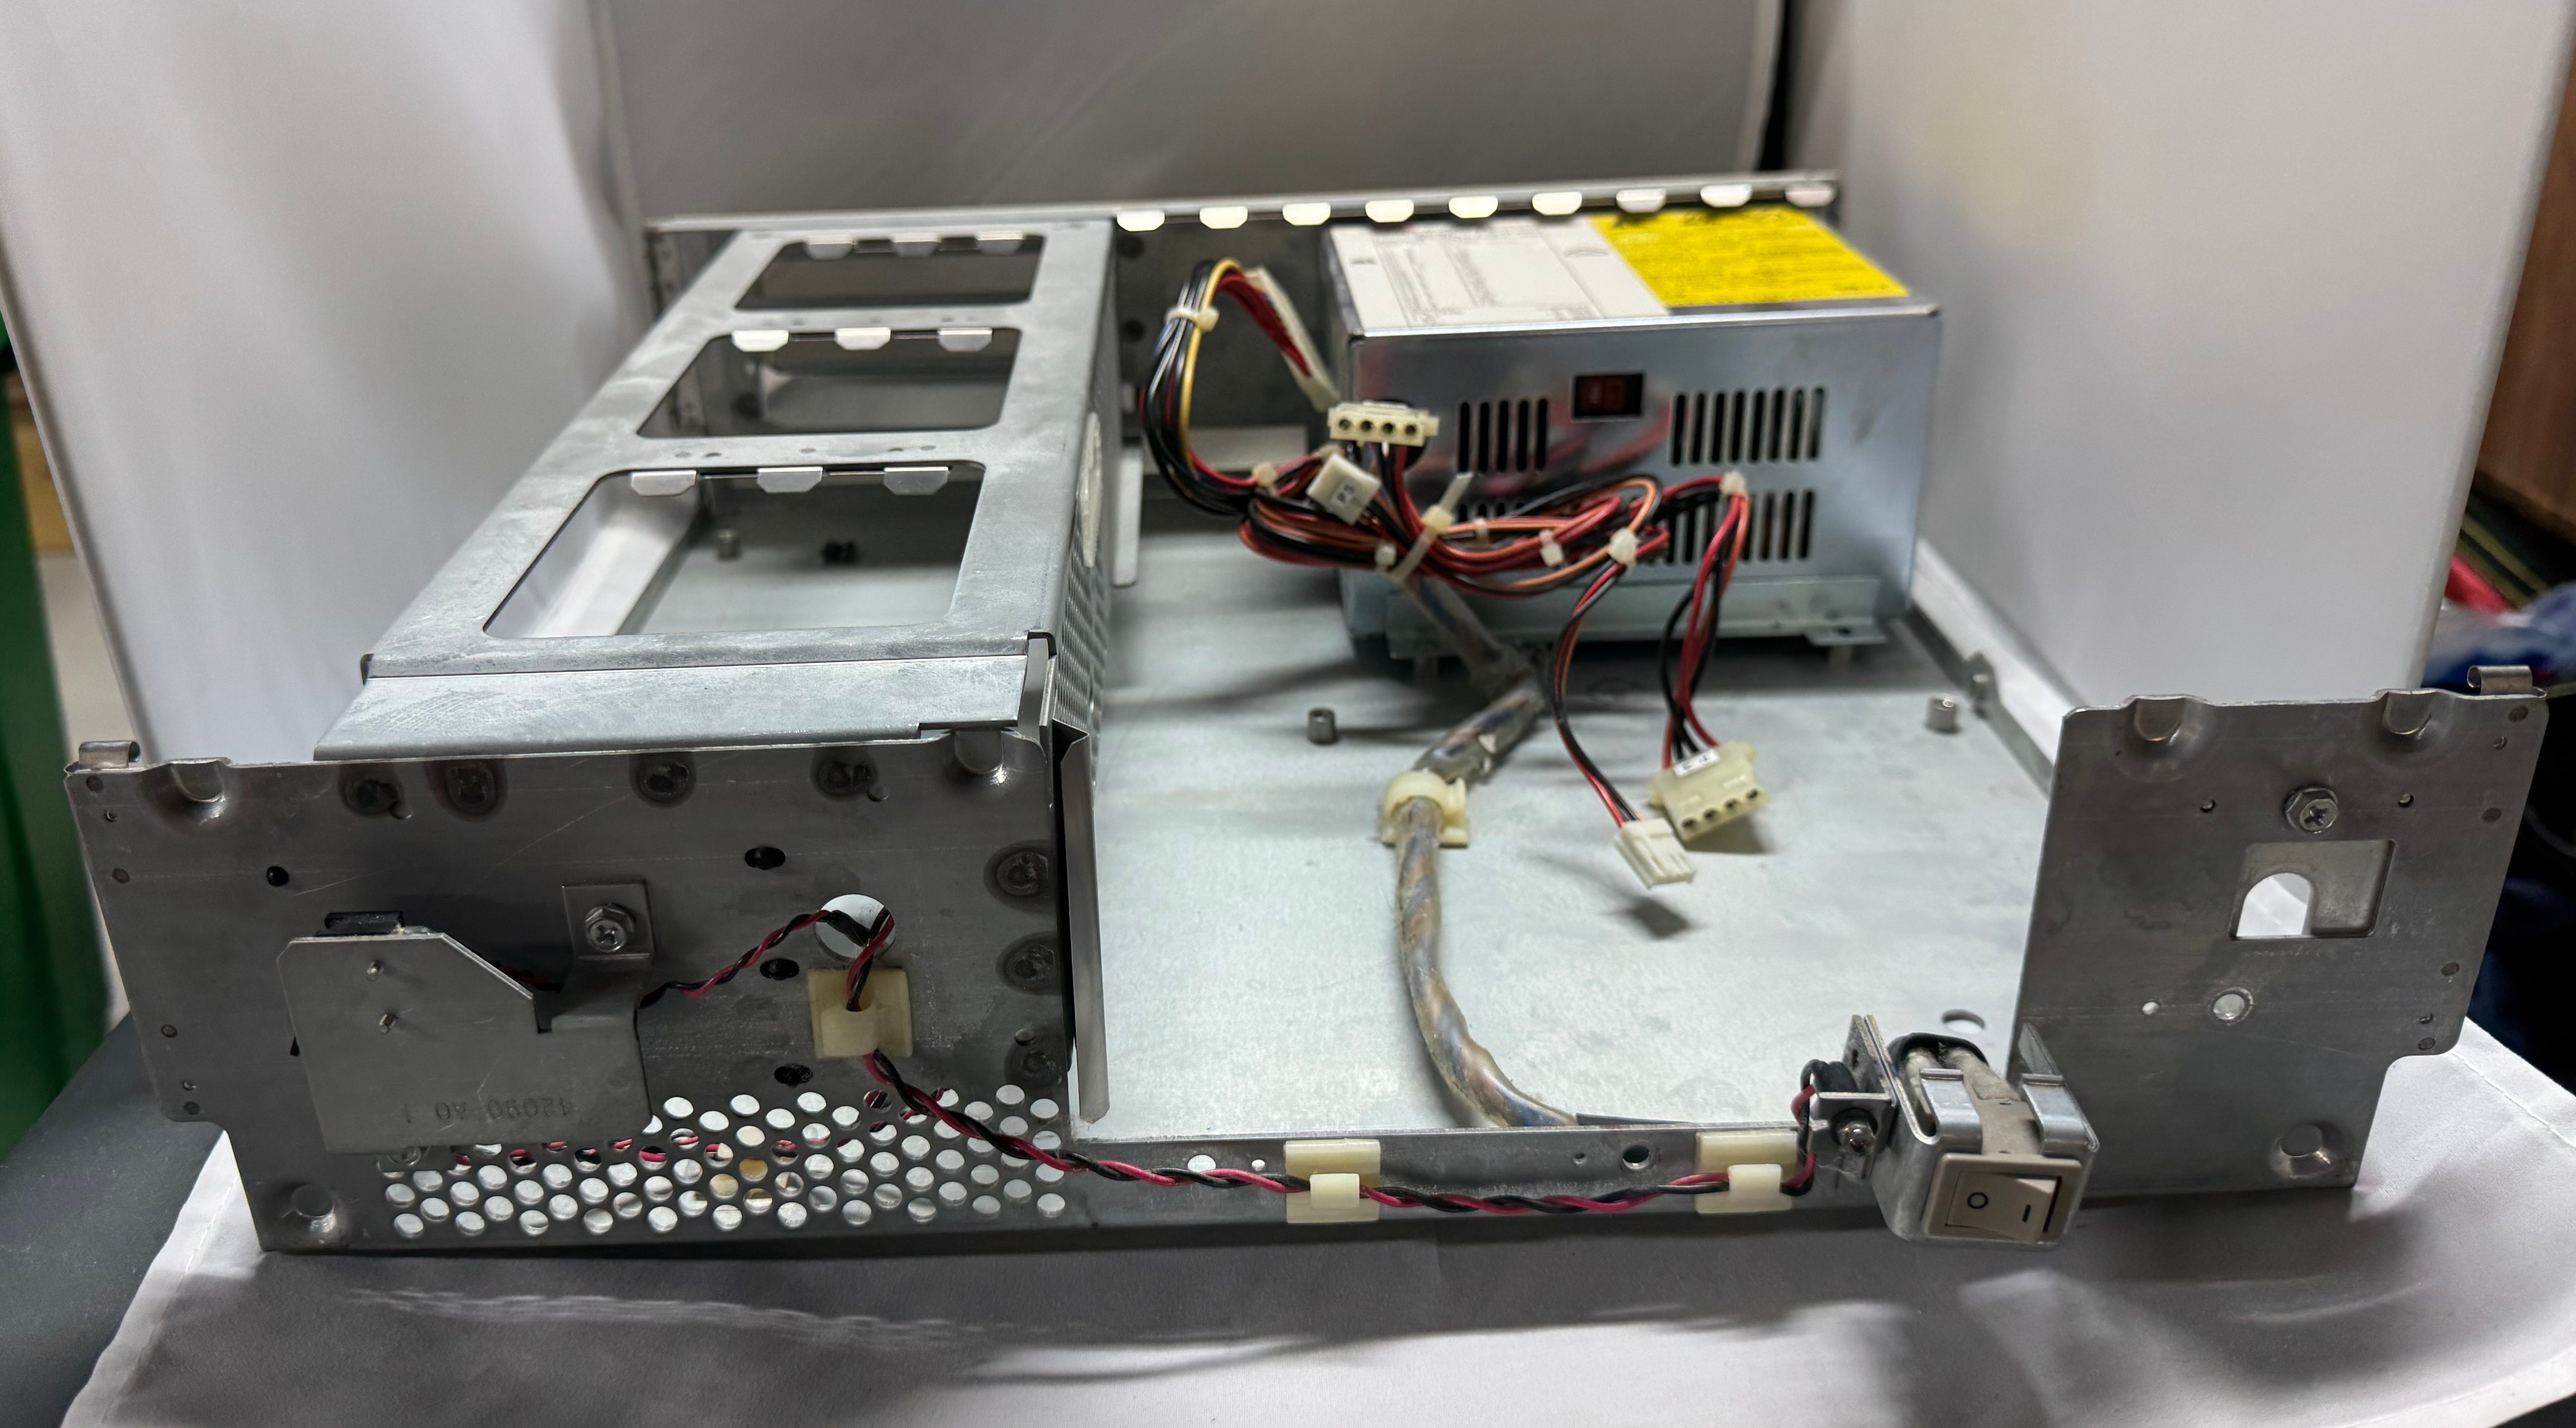
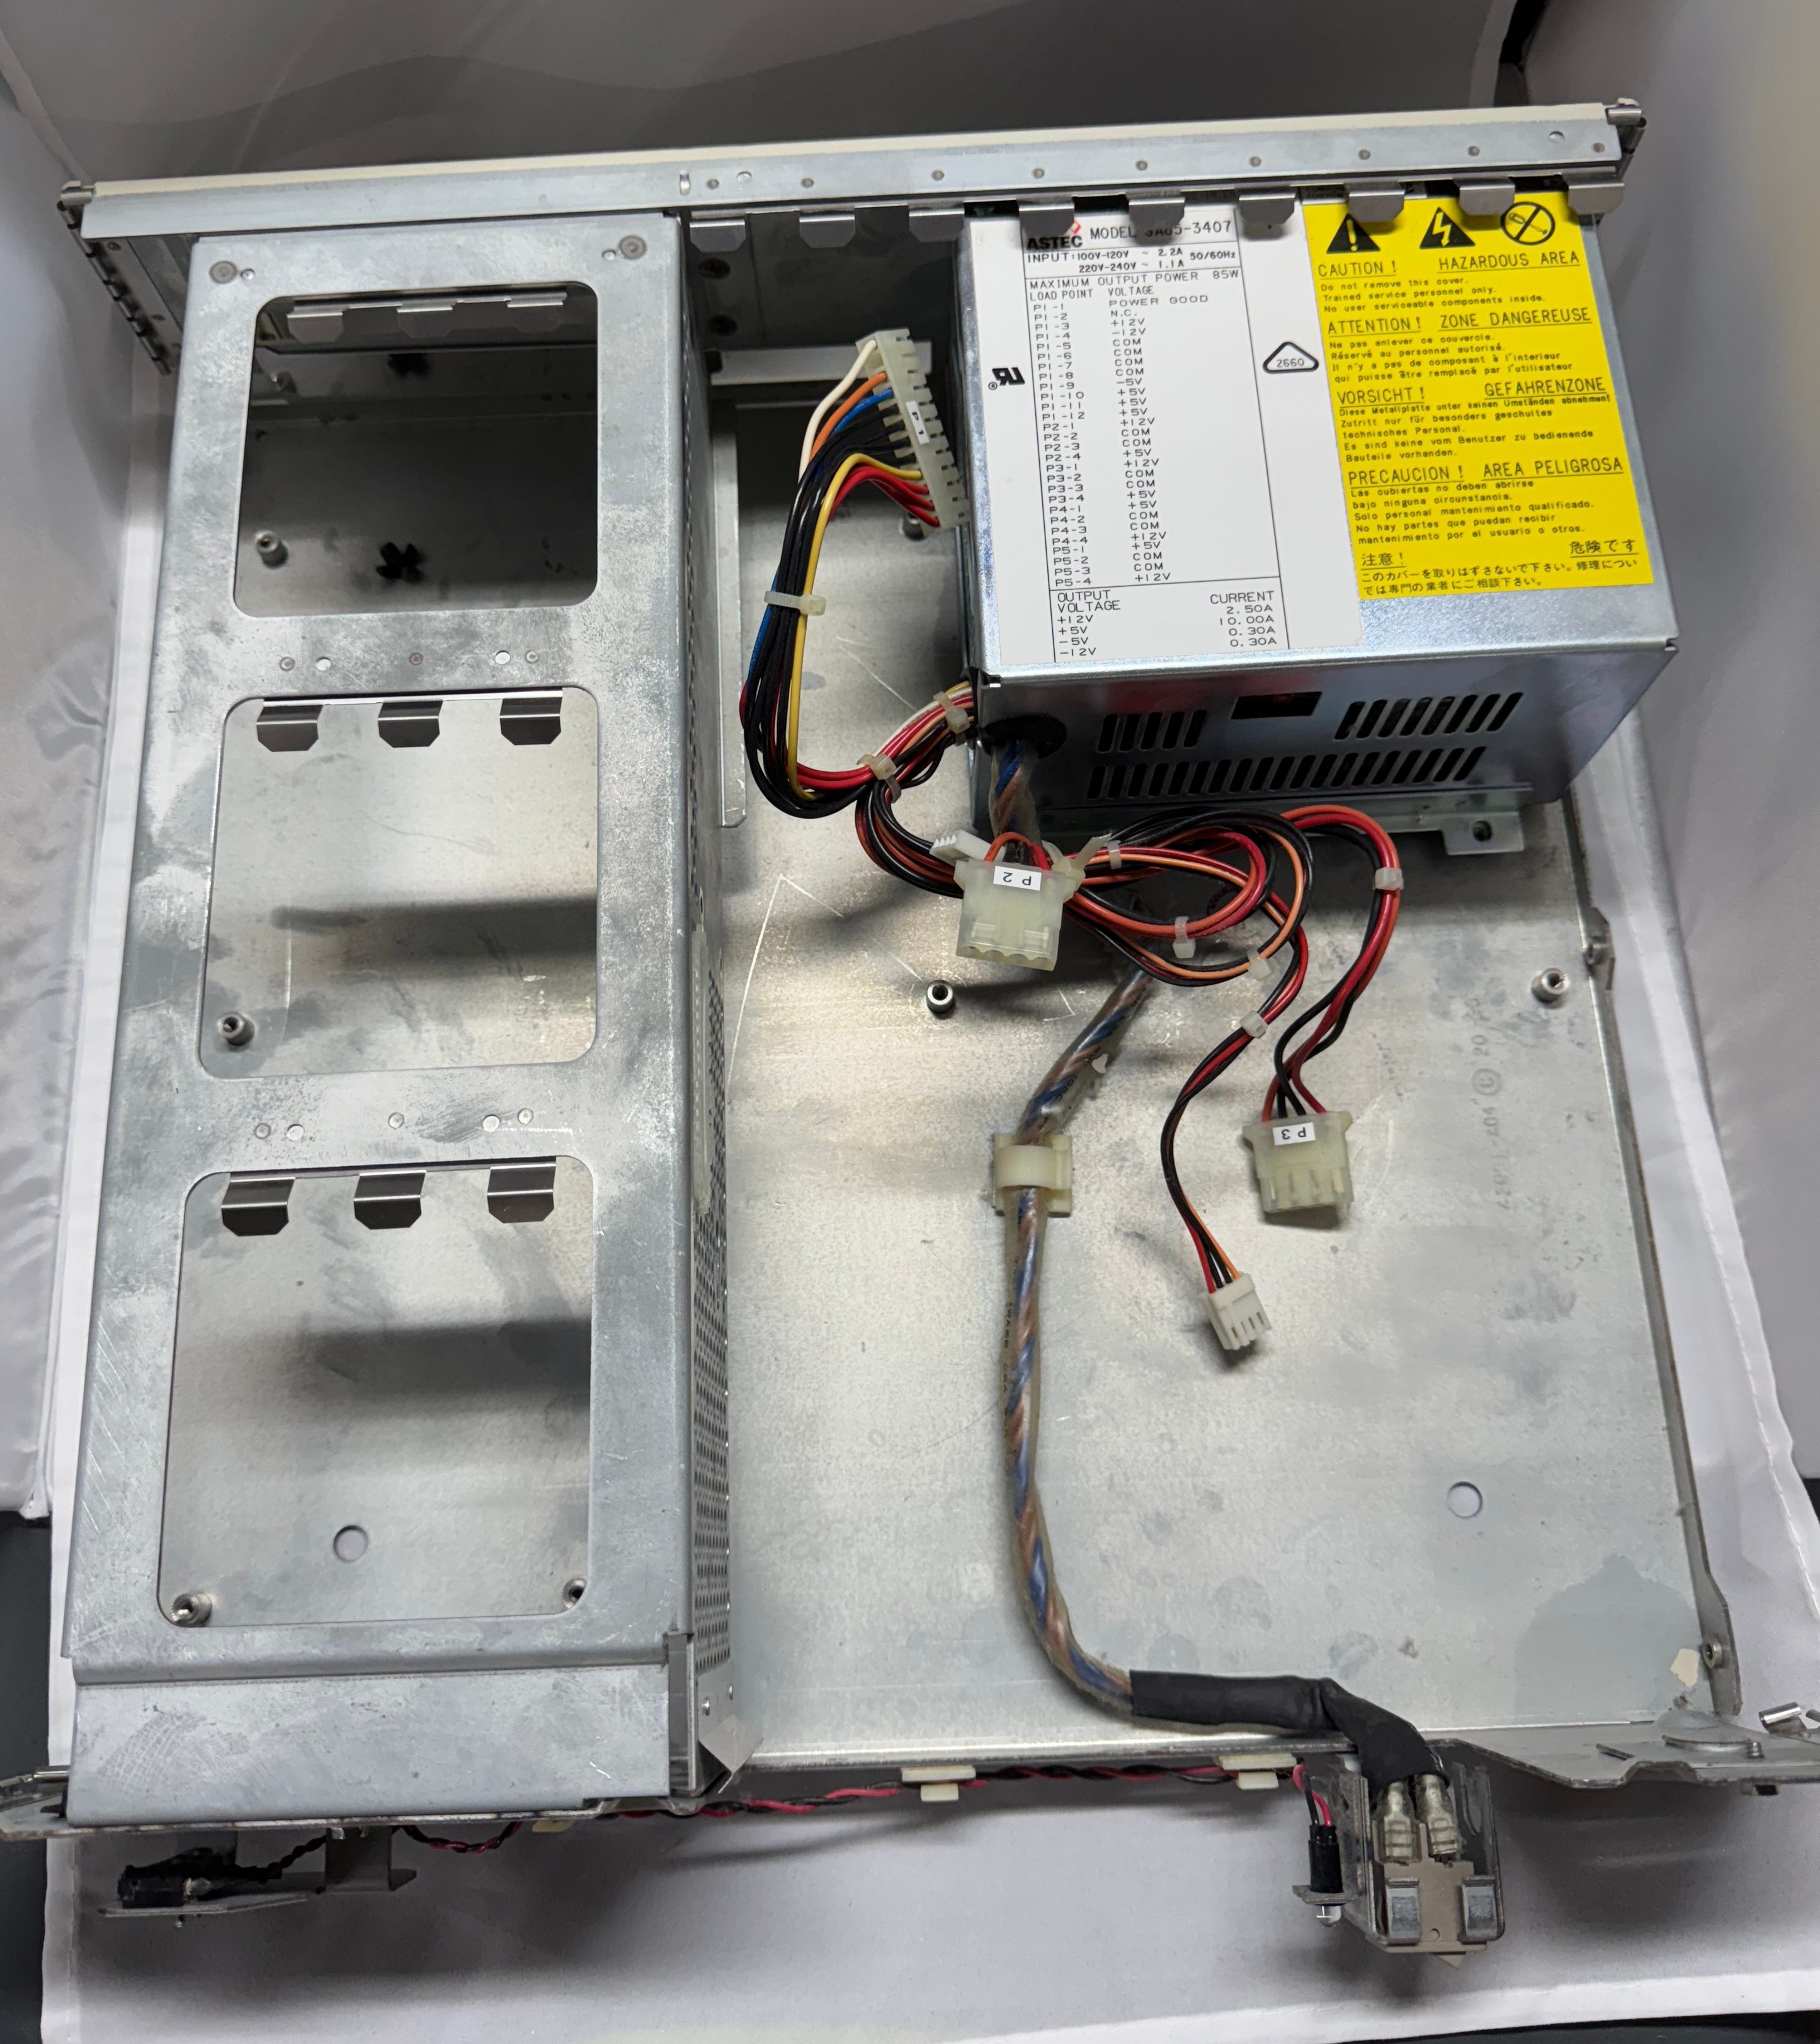
I don’t love dealing with power, but here we are. I got the multimeter out and started probing the connections I could see. This is an older power supply than anyone today is used to, this is following the original IBM AT standard, minus the fact that is a seemingly proprietary Dell header on the motherboard. For anyone with the same system, the connector is a MOLEX 09-50-8121, more on that later.
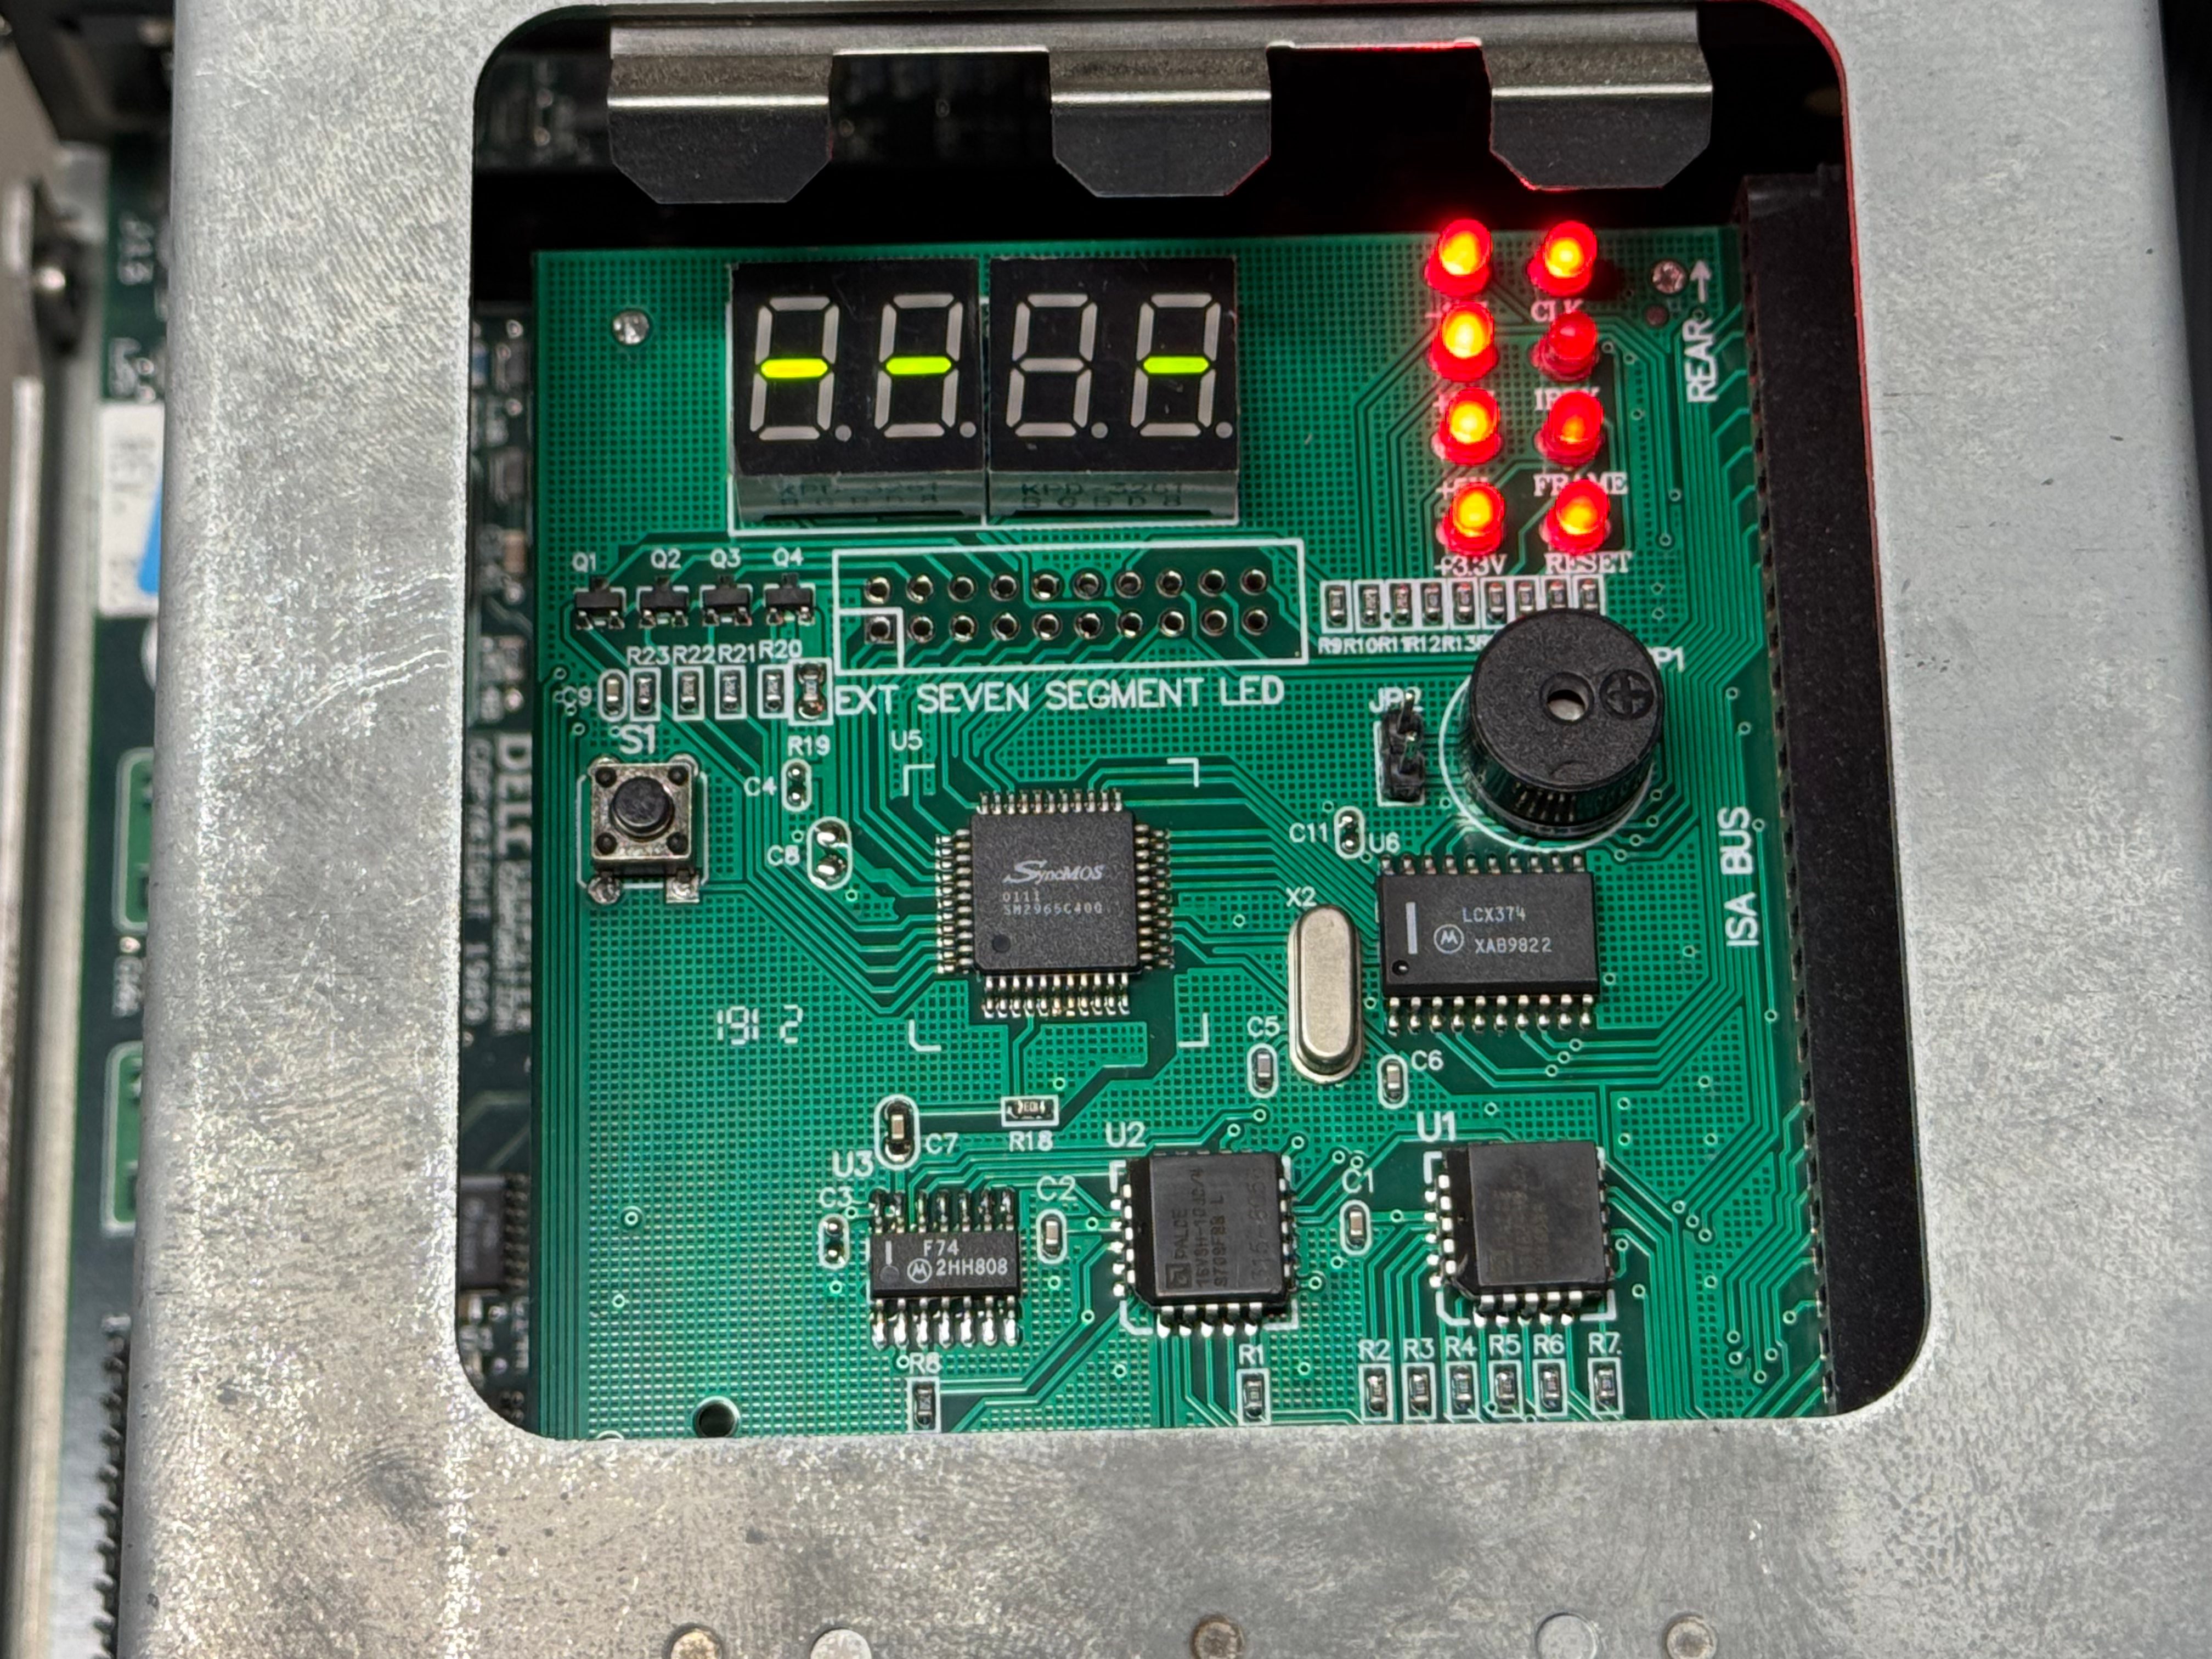
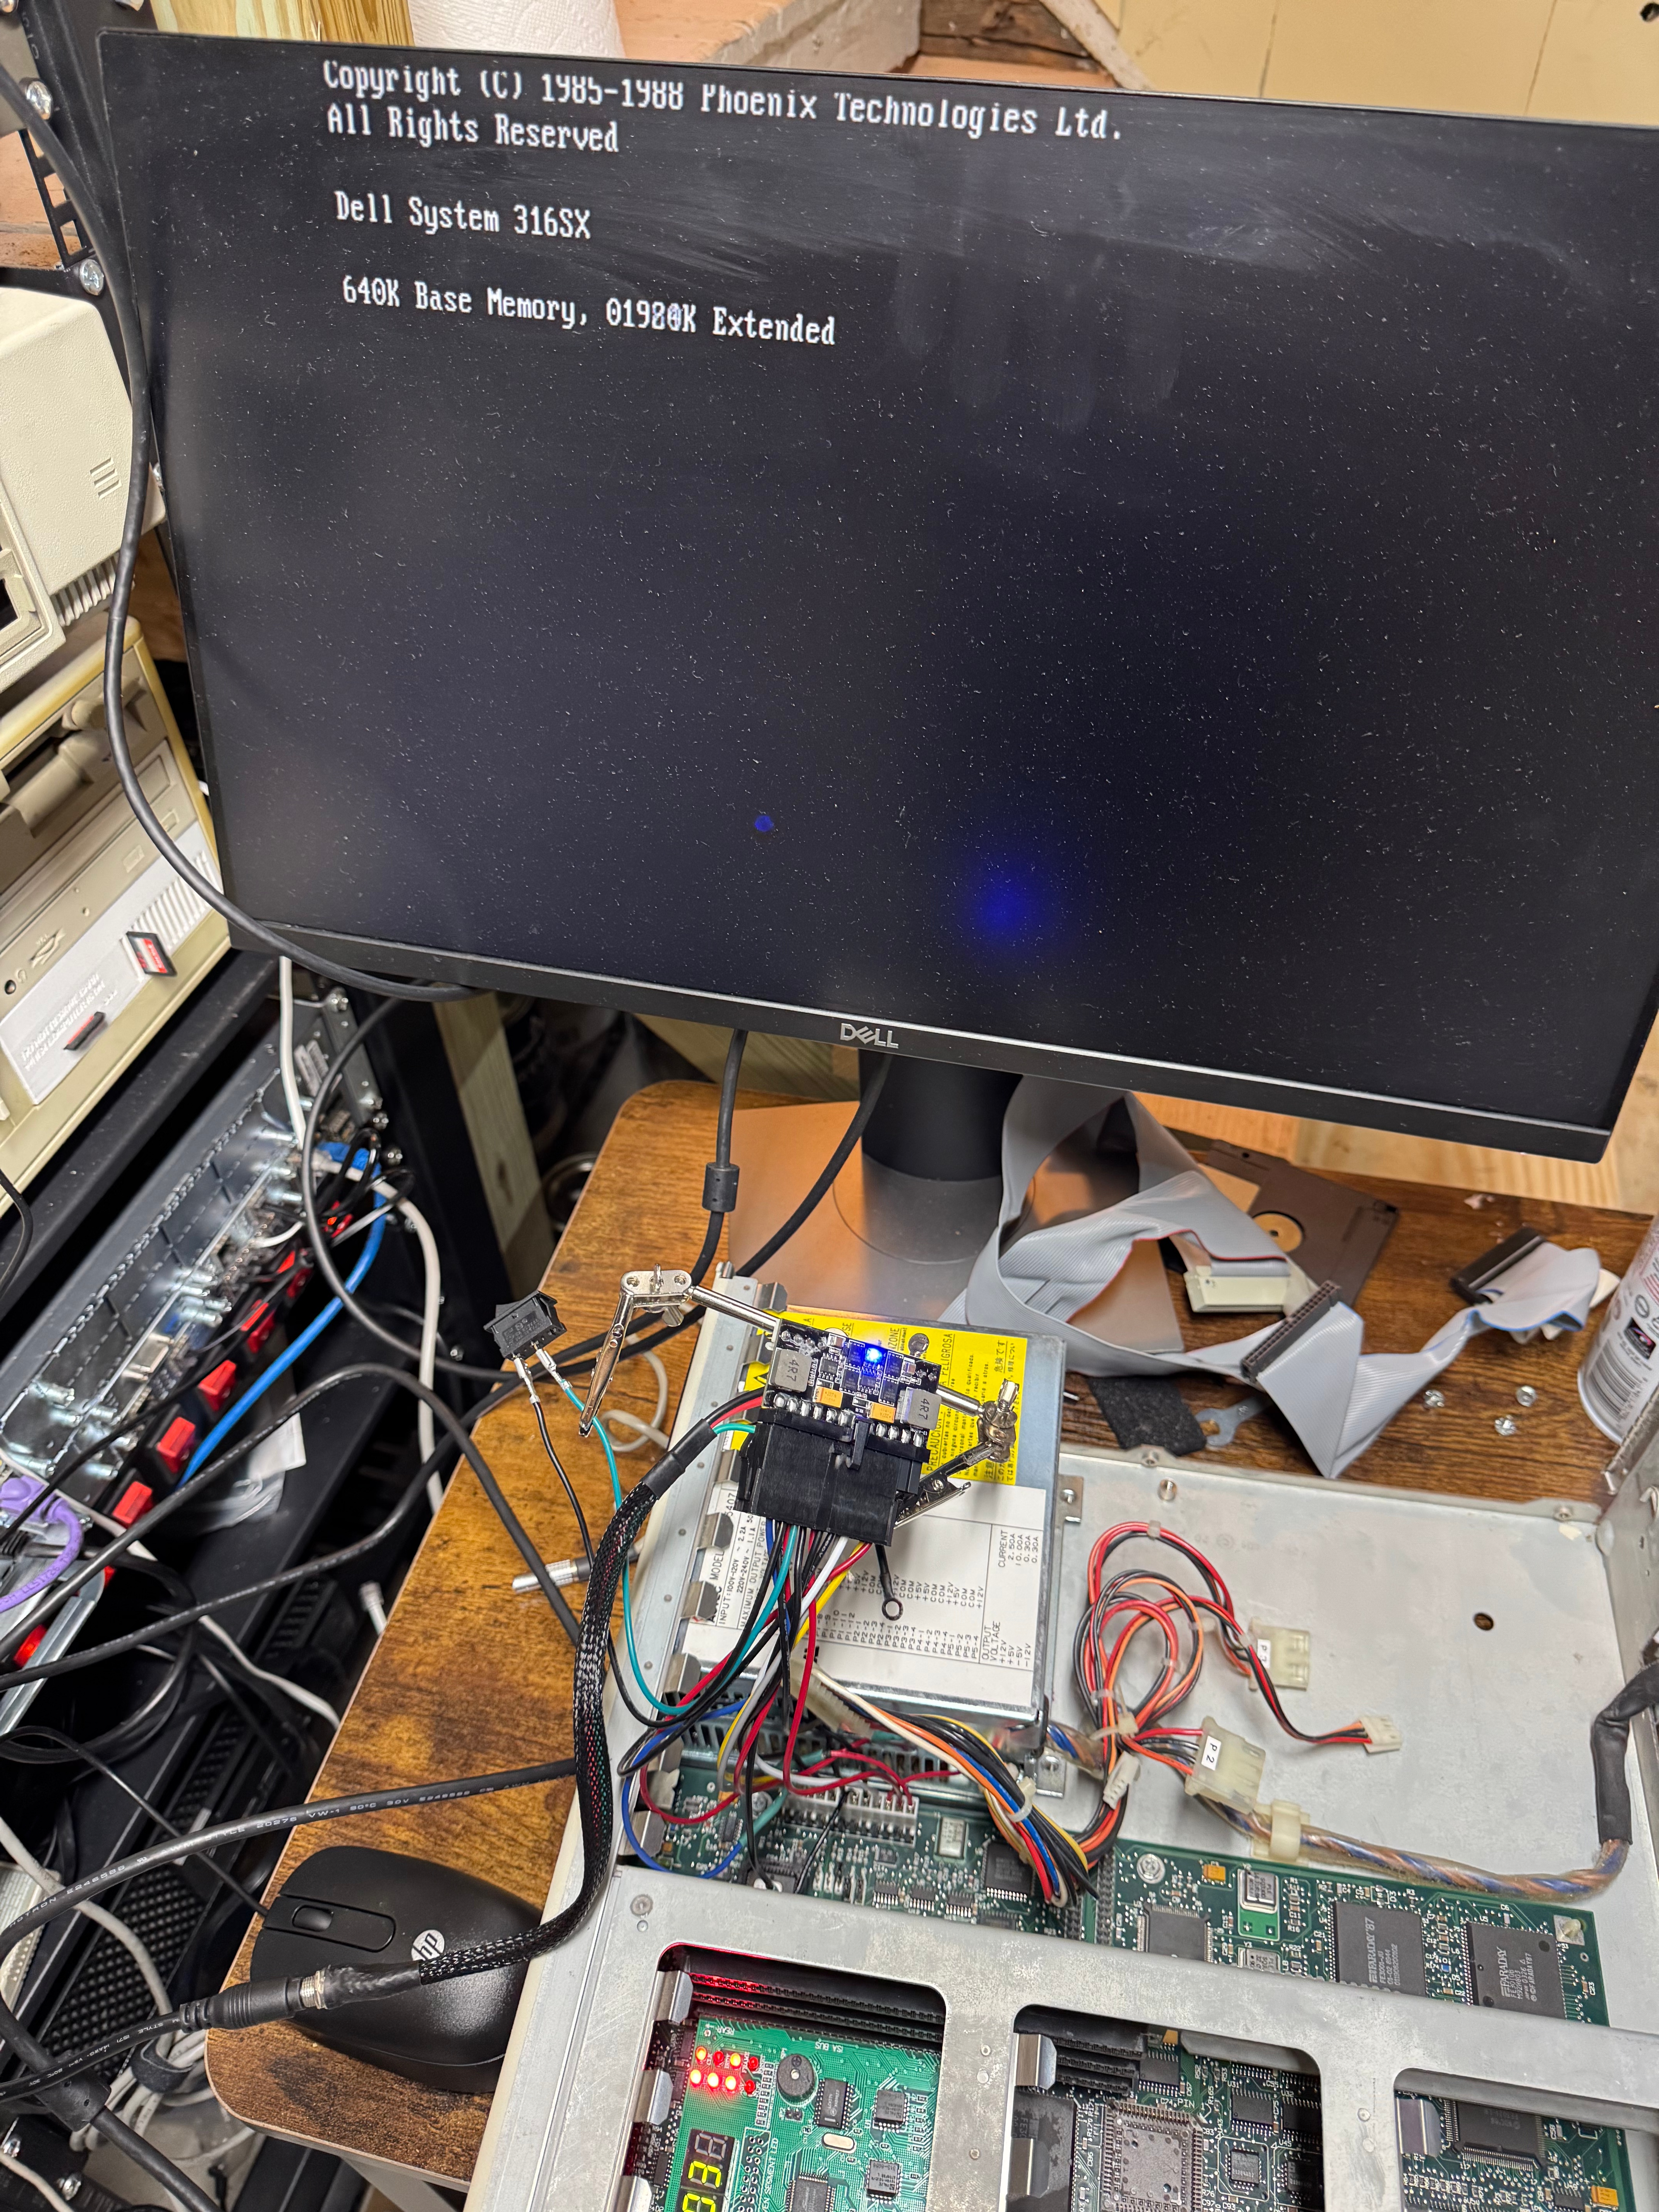
Reading the motherboard pins +12V, +5V looked good, -5V, and -12V looked a tiny bit low, but within tolerance for a system like this. I popped in a ISA/PCI diagnostic card and see that the RESET line is holding high, and the CPU is never being released. Then I probed the last line on the motherboard PSU connector, POWER GOOD; this pin goes high once the power supply has all the lines at a good voltage, releasing the processor to start… processing… That line never came up for me, and thus never released the processor. I opened the power supply and saw it was 2 boards with many wires going in-between them. I may eventually repair this power supply, but I do not feel like tackling that whole thing right now. I put that power supply on the shelf, and started the task at building a new one to meet this computers needs.
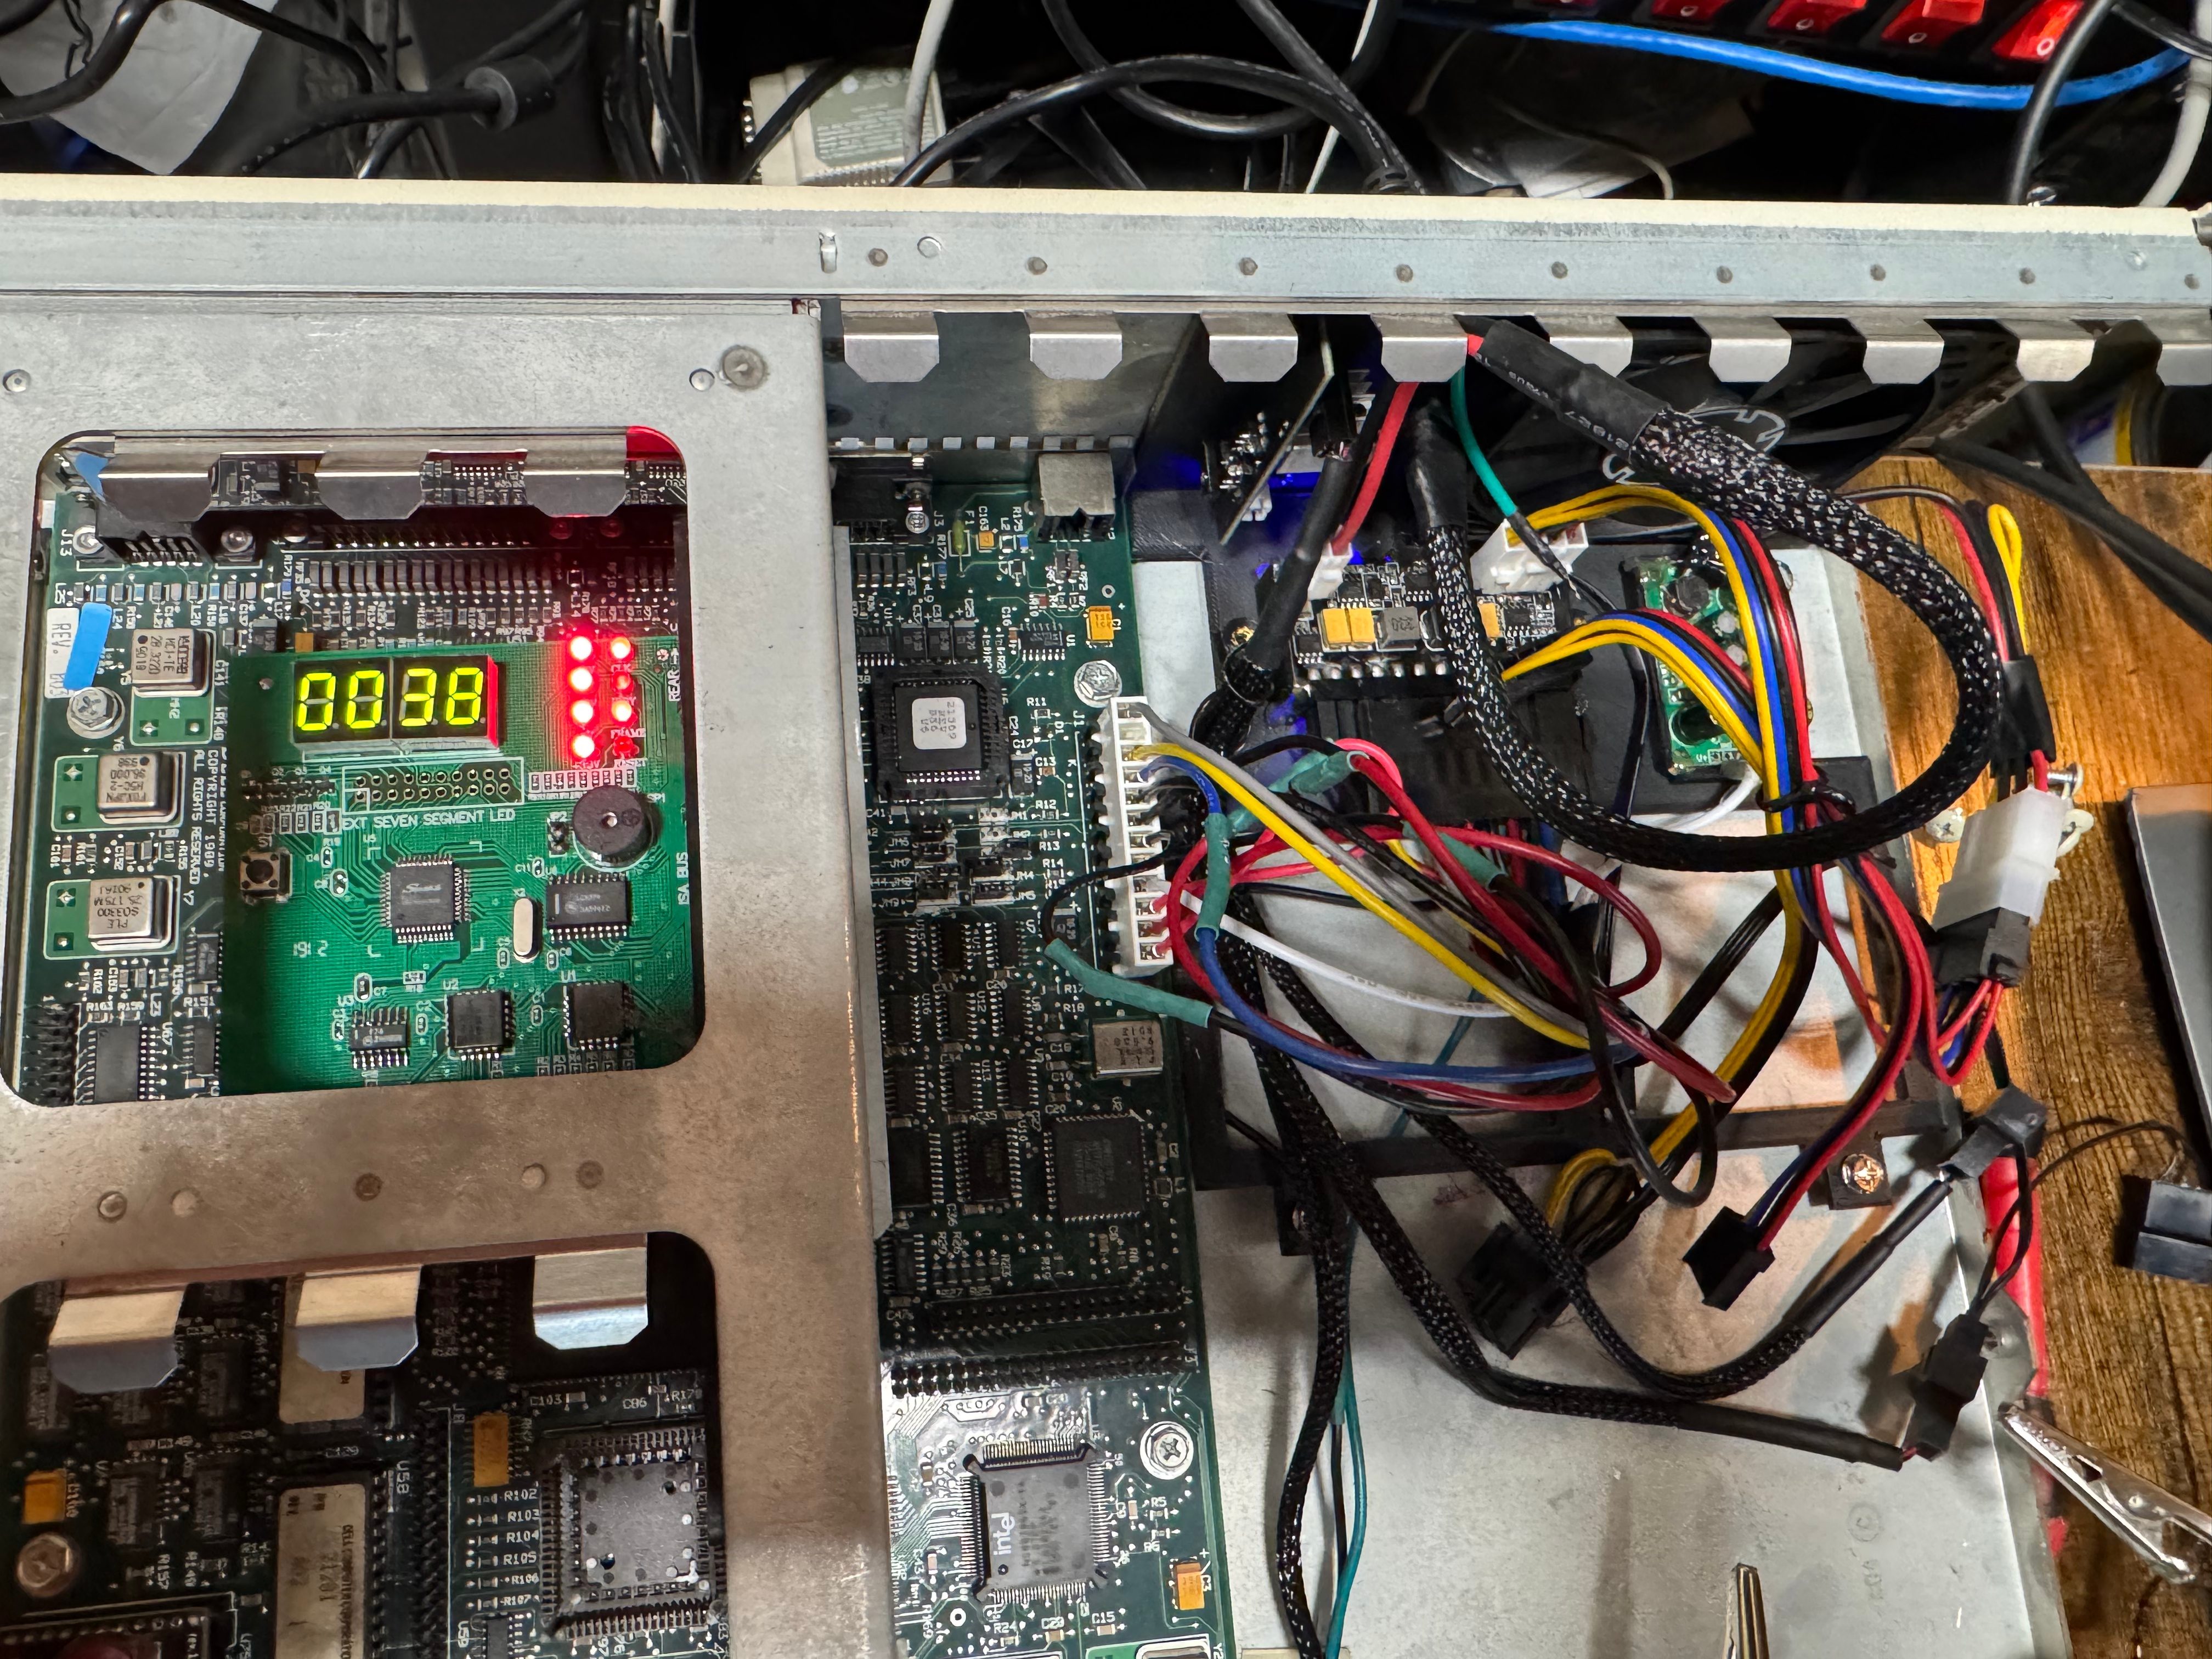
Bad POSTGood POST
A while ago I bookmarked this device, https://www.tindie.com/products/dekunukem/picopsu-adaptor-for-ibm-5155-ibm-pc-compatibles/, an ISA card that can replace a power supply in these old machines. Looking at that I thought it would be a good place to start. I didn’t want to use this exact thing here, because the Dell 316SX only has 3 ISA slots, and I didn’t want to lose one to power. That brought me to 3D printing a bracket to hold whatever parts I needed for this power supply. The original power supply was a 85 watt, Astec SA85-3407.
The low wattage supply was neat because there are tiny modern supplies that can do 200ish watts. They are a bit scary because they are an exposed power supply delivering 200 watts. They also deliver ATX power, not the AT power I need. These days there are cables to convert between the two standards. Yet, again, the Dell used a specific MOLEX 09-50-8121 header, which I found on Mouser for $0.92. I gathered up my adapter cable, and the new header, and a cable kit from Amazon for Molex connectors; and spent the evening rewiring a new header, very slowly and carefully. I checked every pin several times to not spell doom for the system.
Its also interesting to point out, with the PicoPSU, it takes 12V DC in. This helps it be smaller and cooler, since the AC-DC conversion is done with a brick outside the chassis.
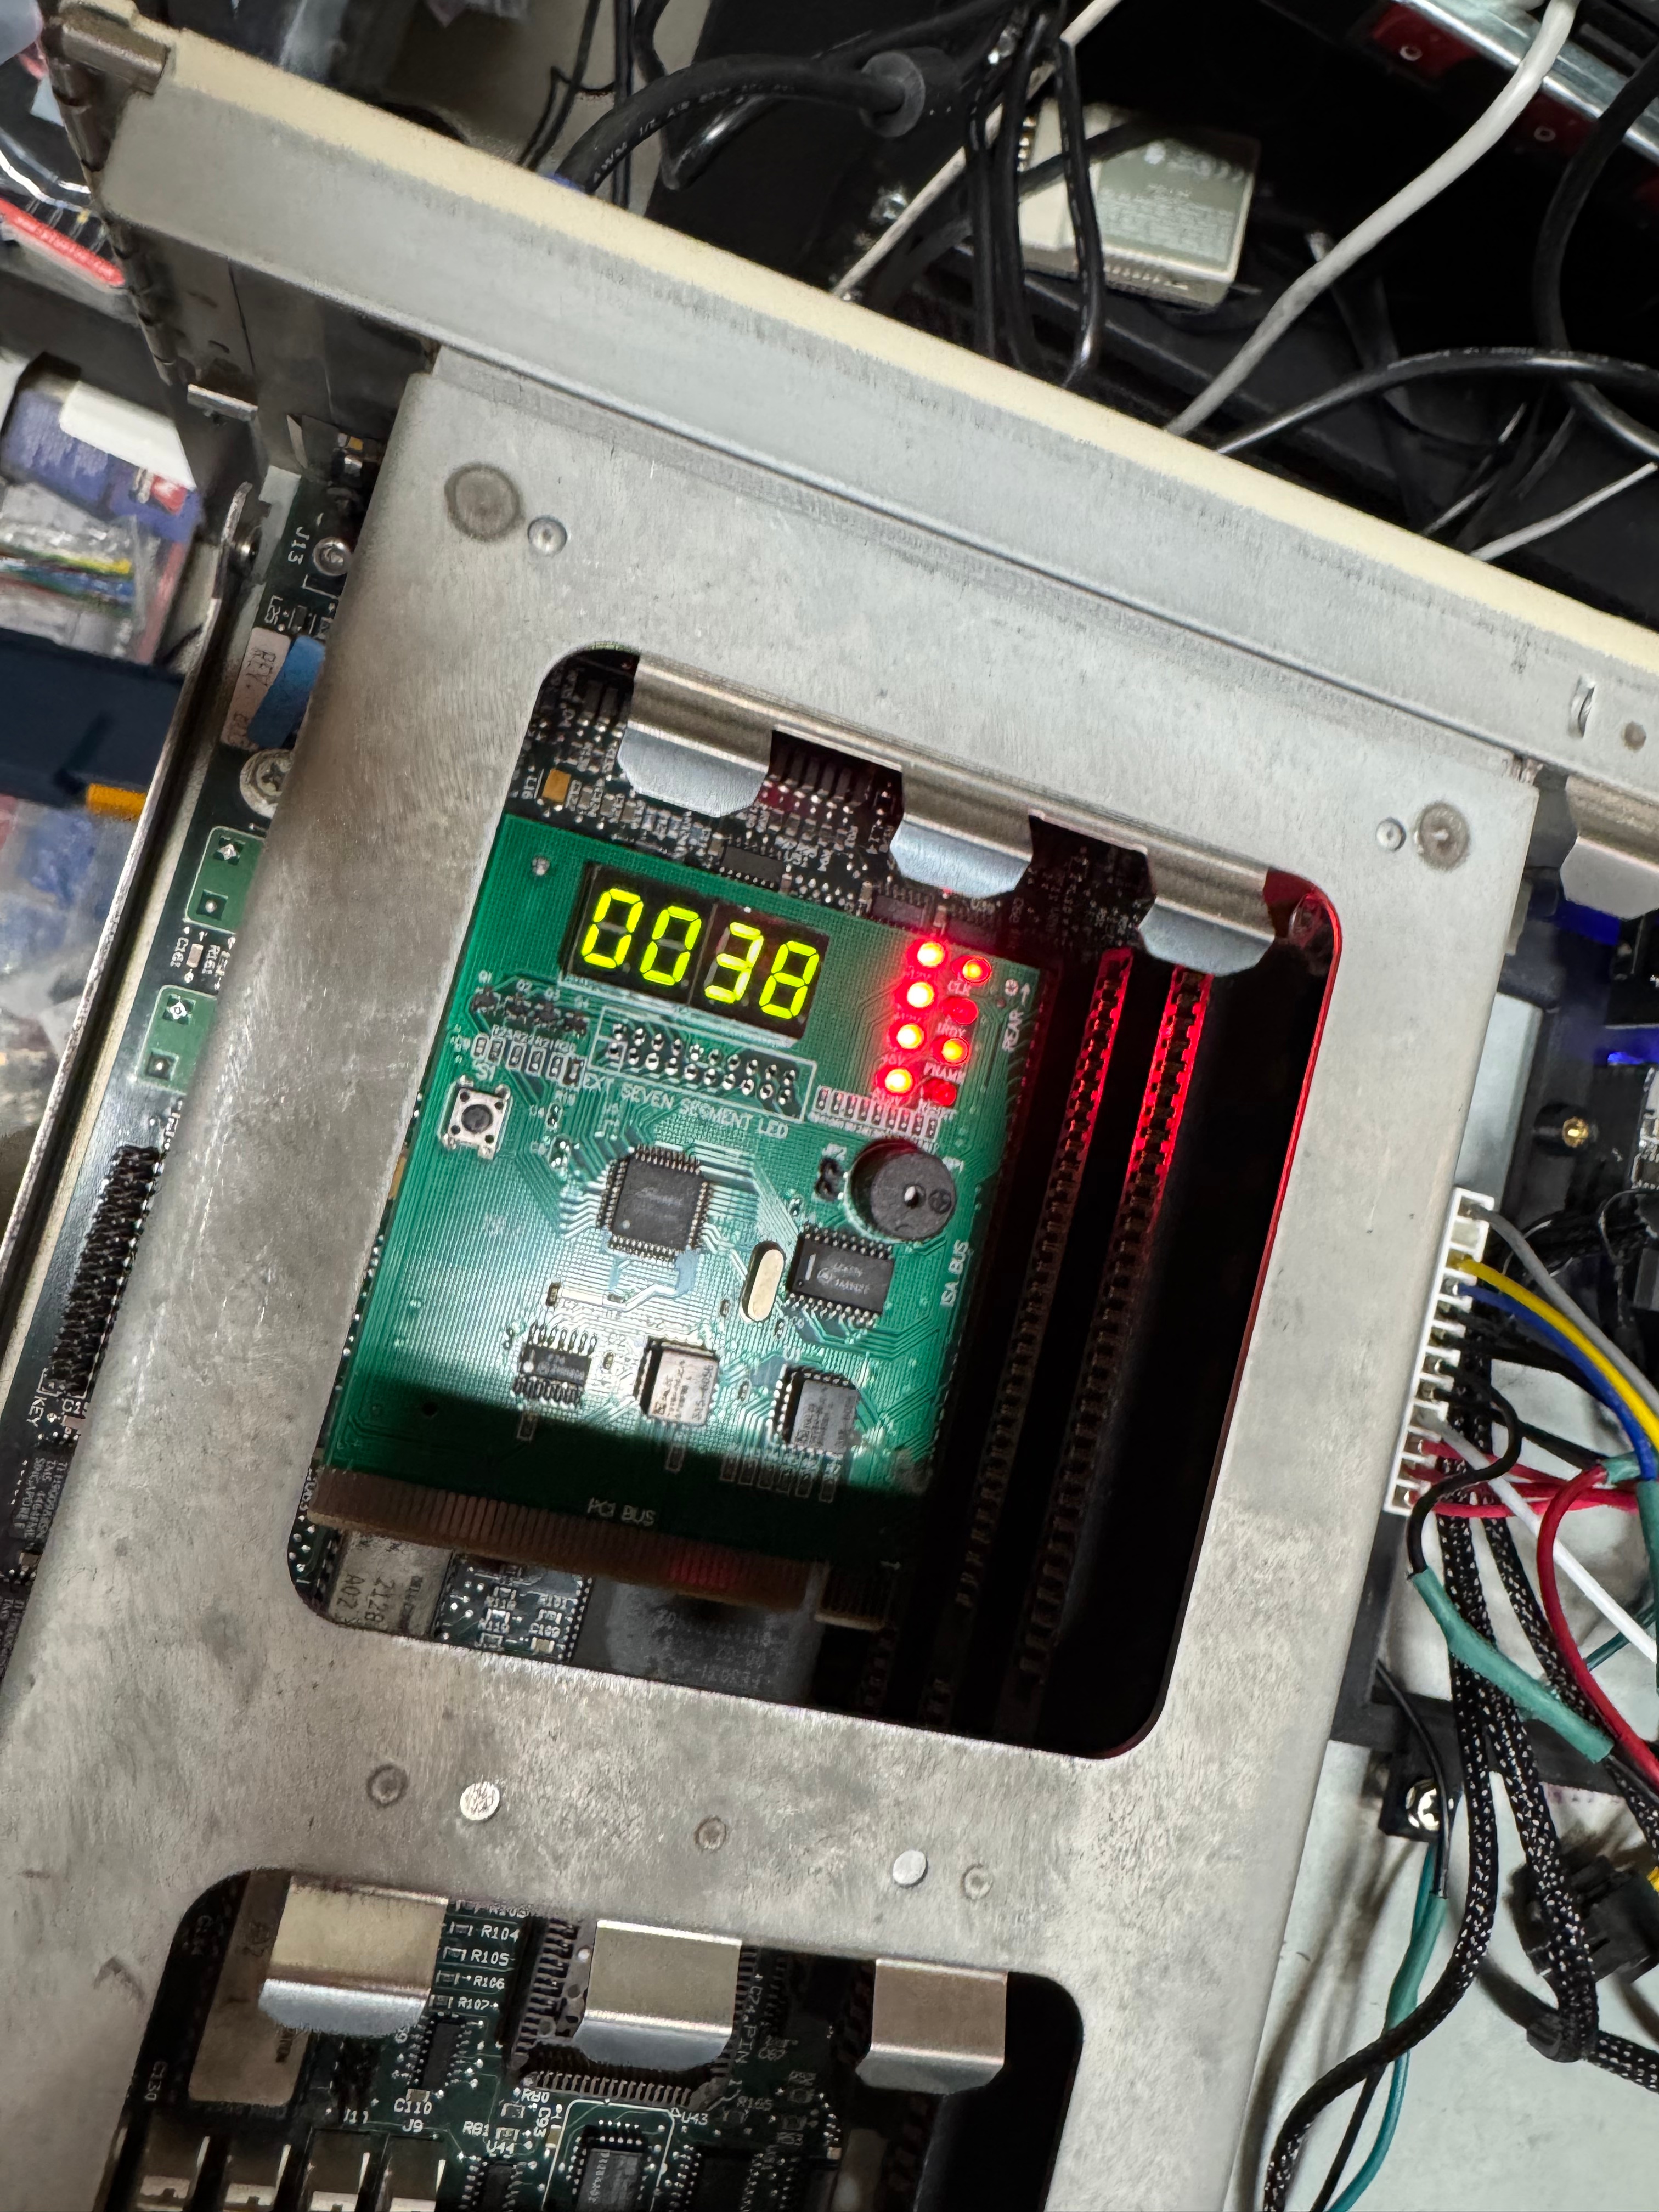
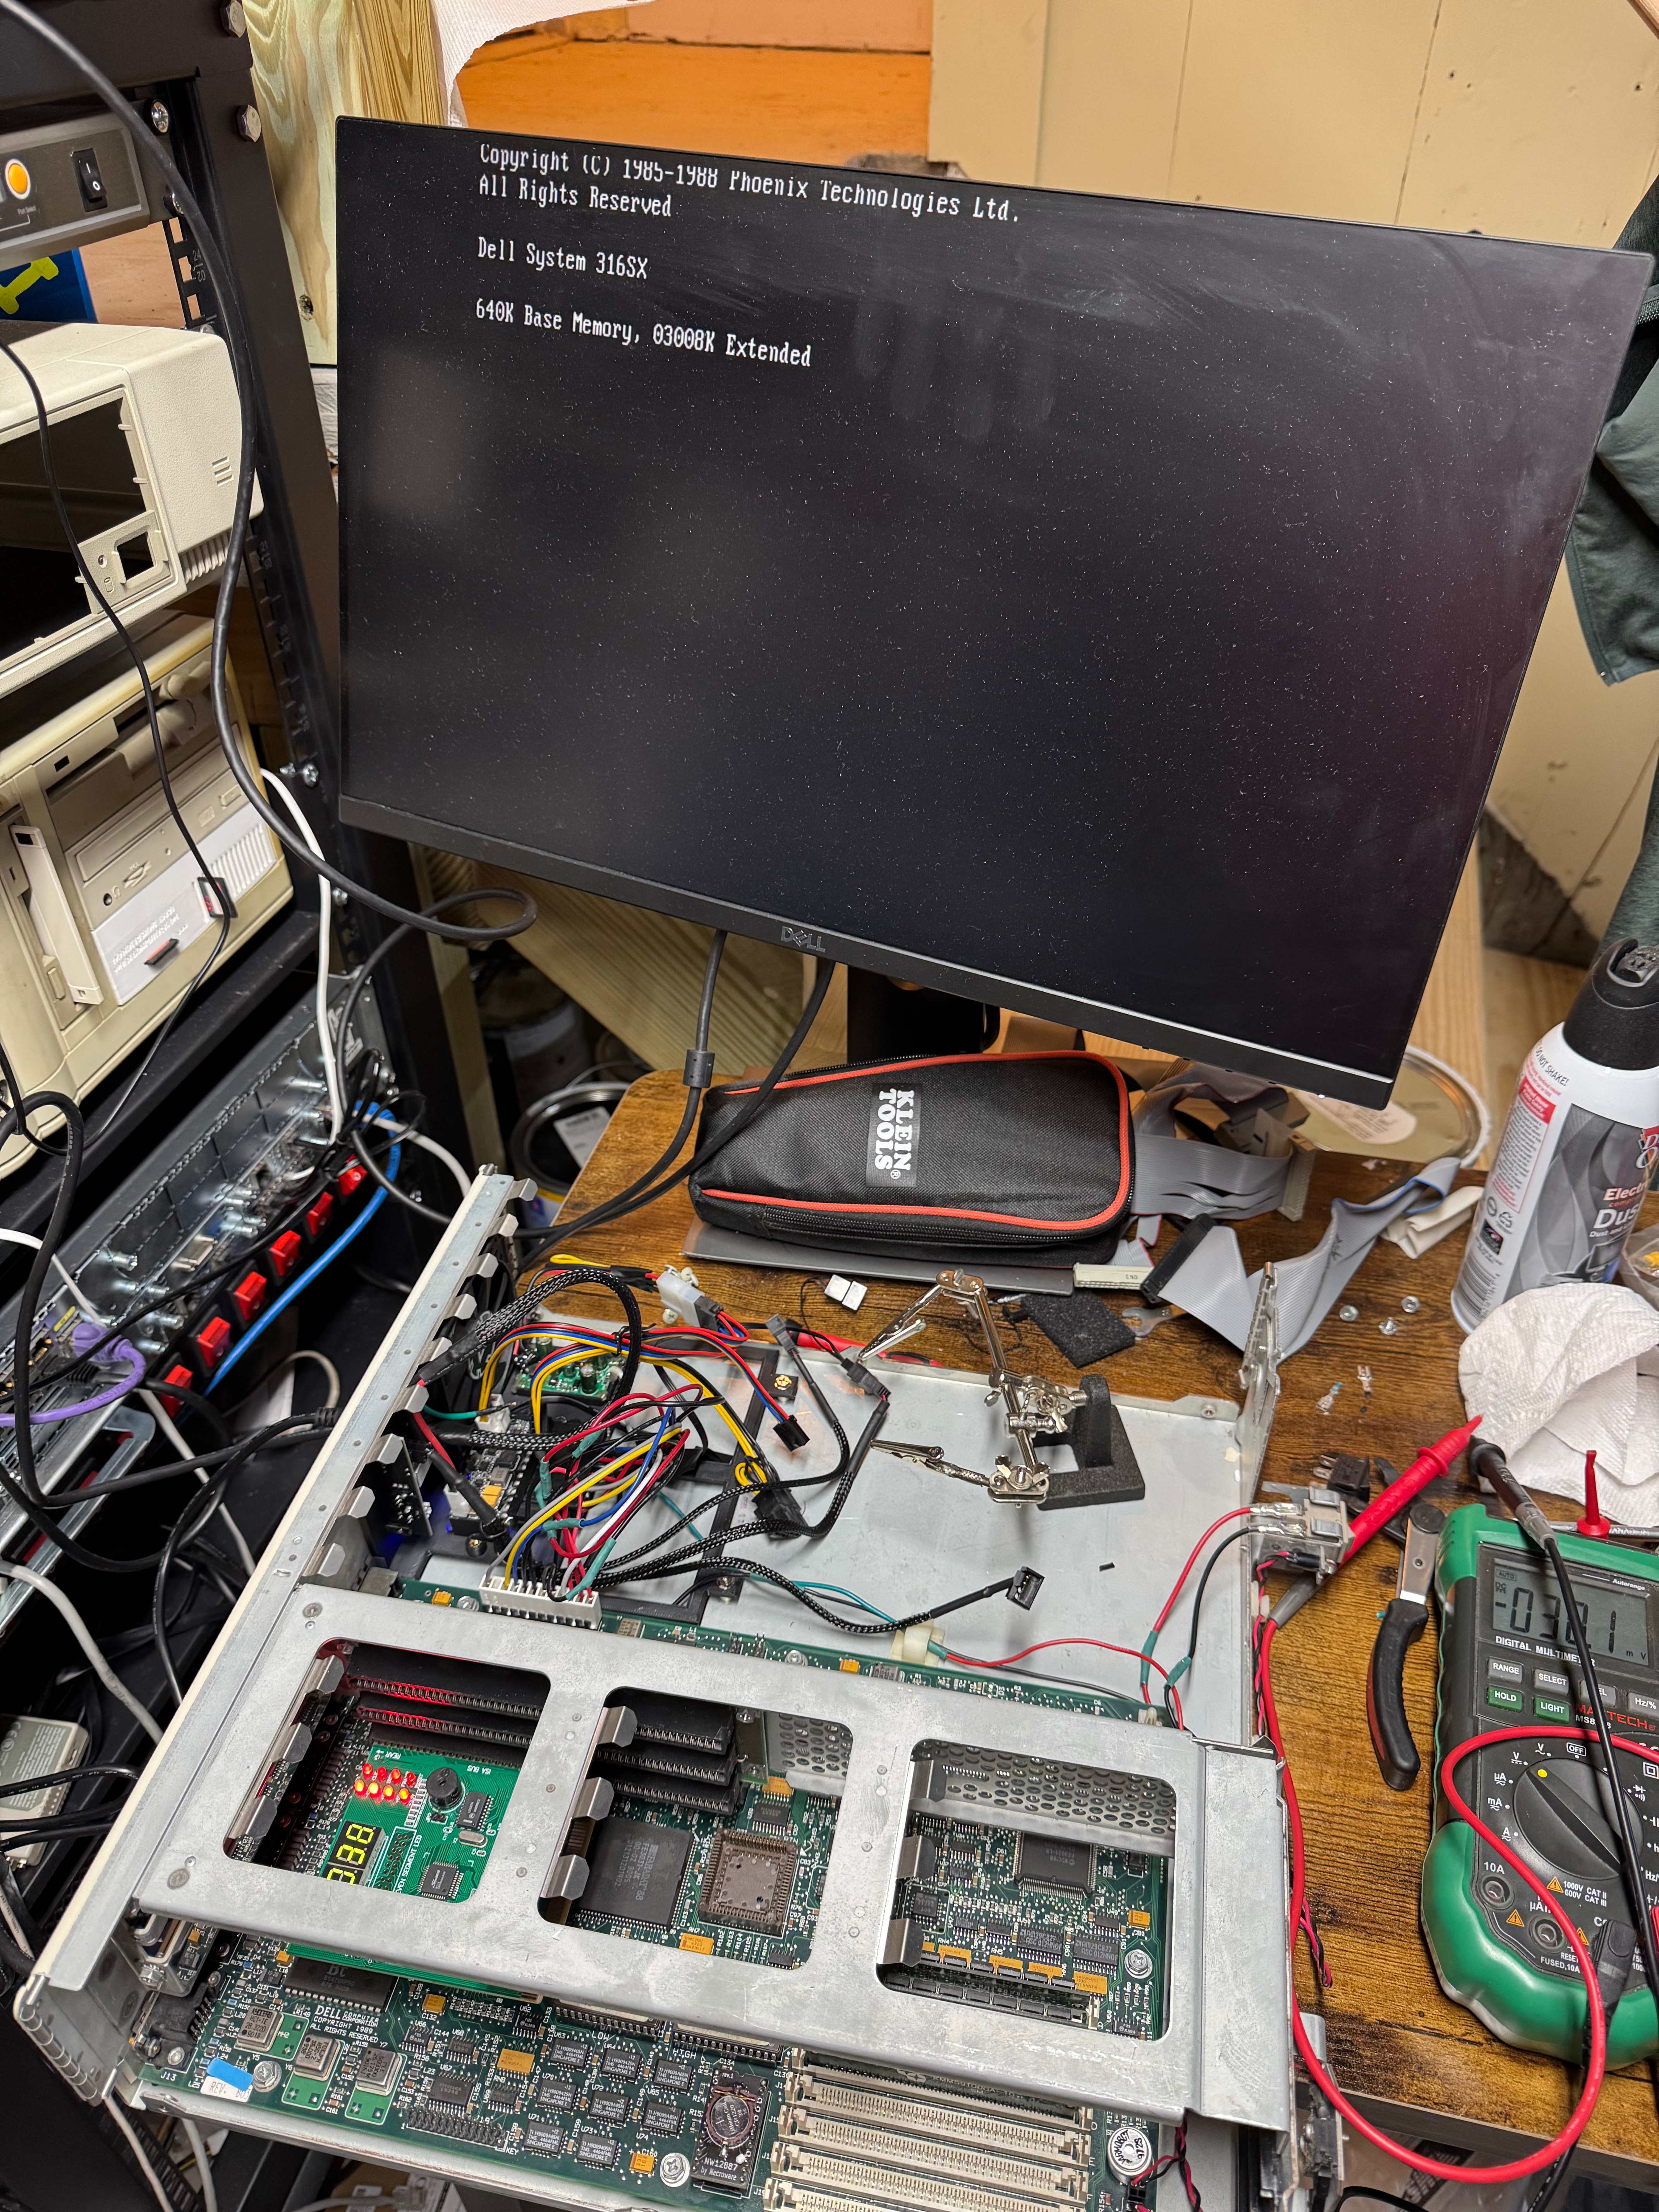
Then I plugged in just the motherboard, and with the power supply held in a little soldering clip, hit the power. And the system came up! Well at least I got video with the BIOS showing up! Plugging in the diagnostic card I saw +12V, -12V, +5V were all good, but the card said 3.3V was failing. That’s odd, 3.3V is not a voltage I provide. Turns out the motherboard uses the -5V rail to create the 3.3V rail. Searching online shown that -5V wasn’t really needed for anything, but its part of the ISA spec and some Sound Blasters and network cards need it, which means I wanted to have it. It’s worth noting this rail is used in very little quantities, the original power supply had .30A for the -5V line max. While the ATX standard mentions -5V, its not longer used in modern PCs. Thus, no modern power supply tends to give out the -5V. I got a step down converter that can do negative voltages and stepped -12V to -5V. Wired that in line, and I suddenly had all the power rails I needed!
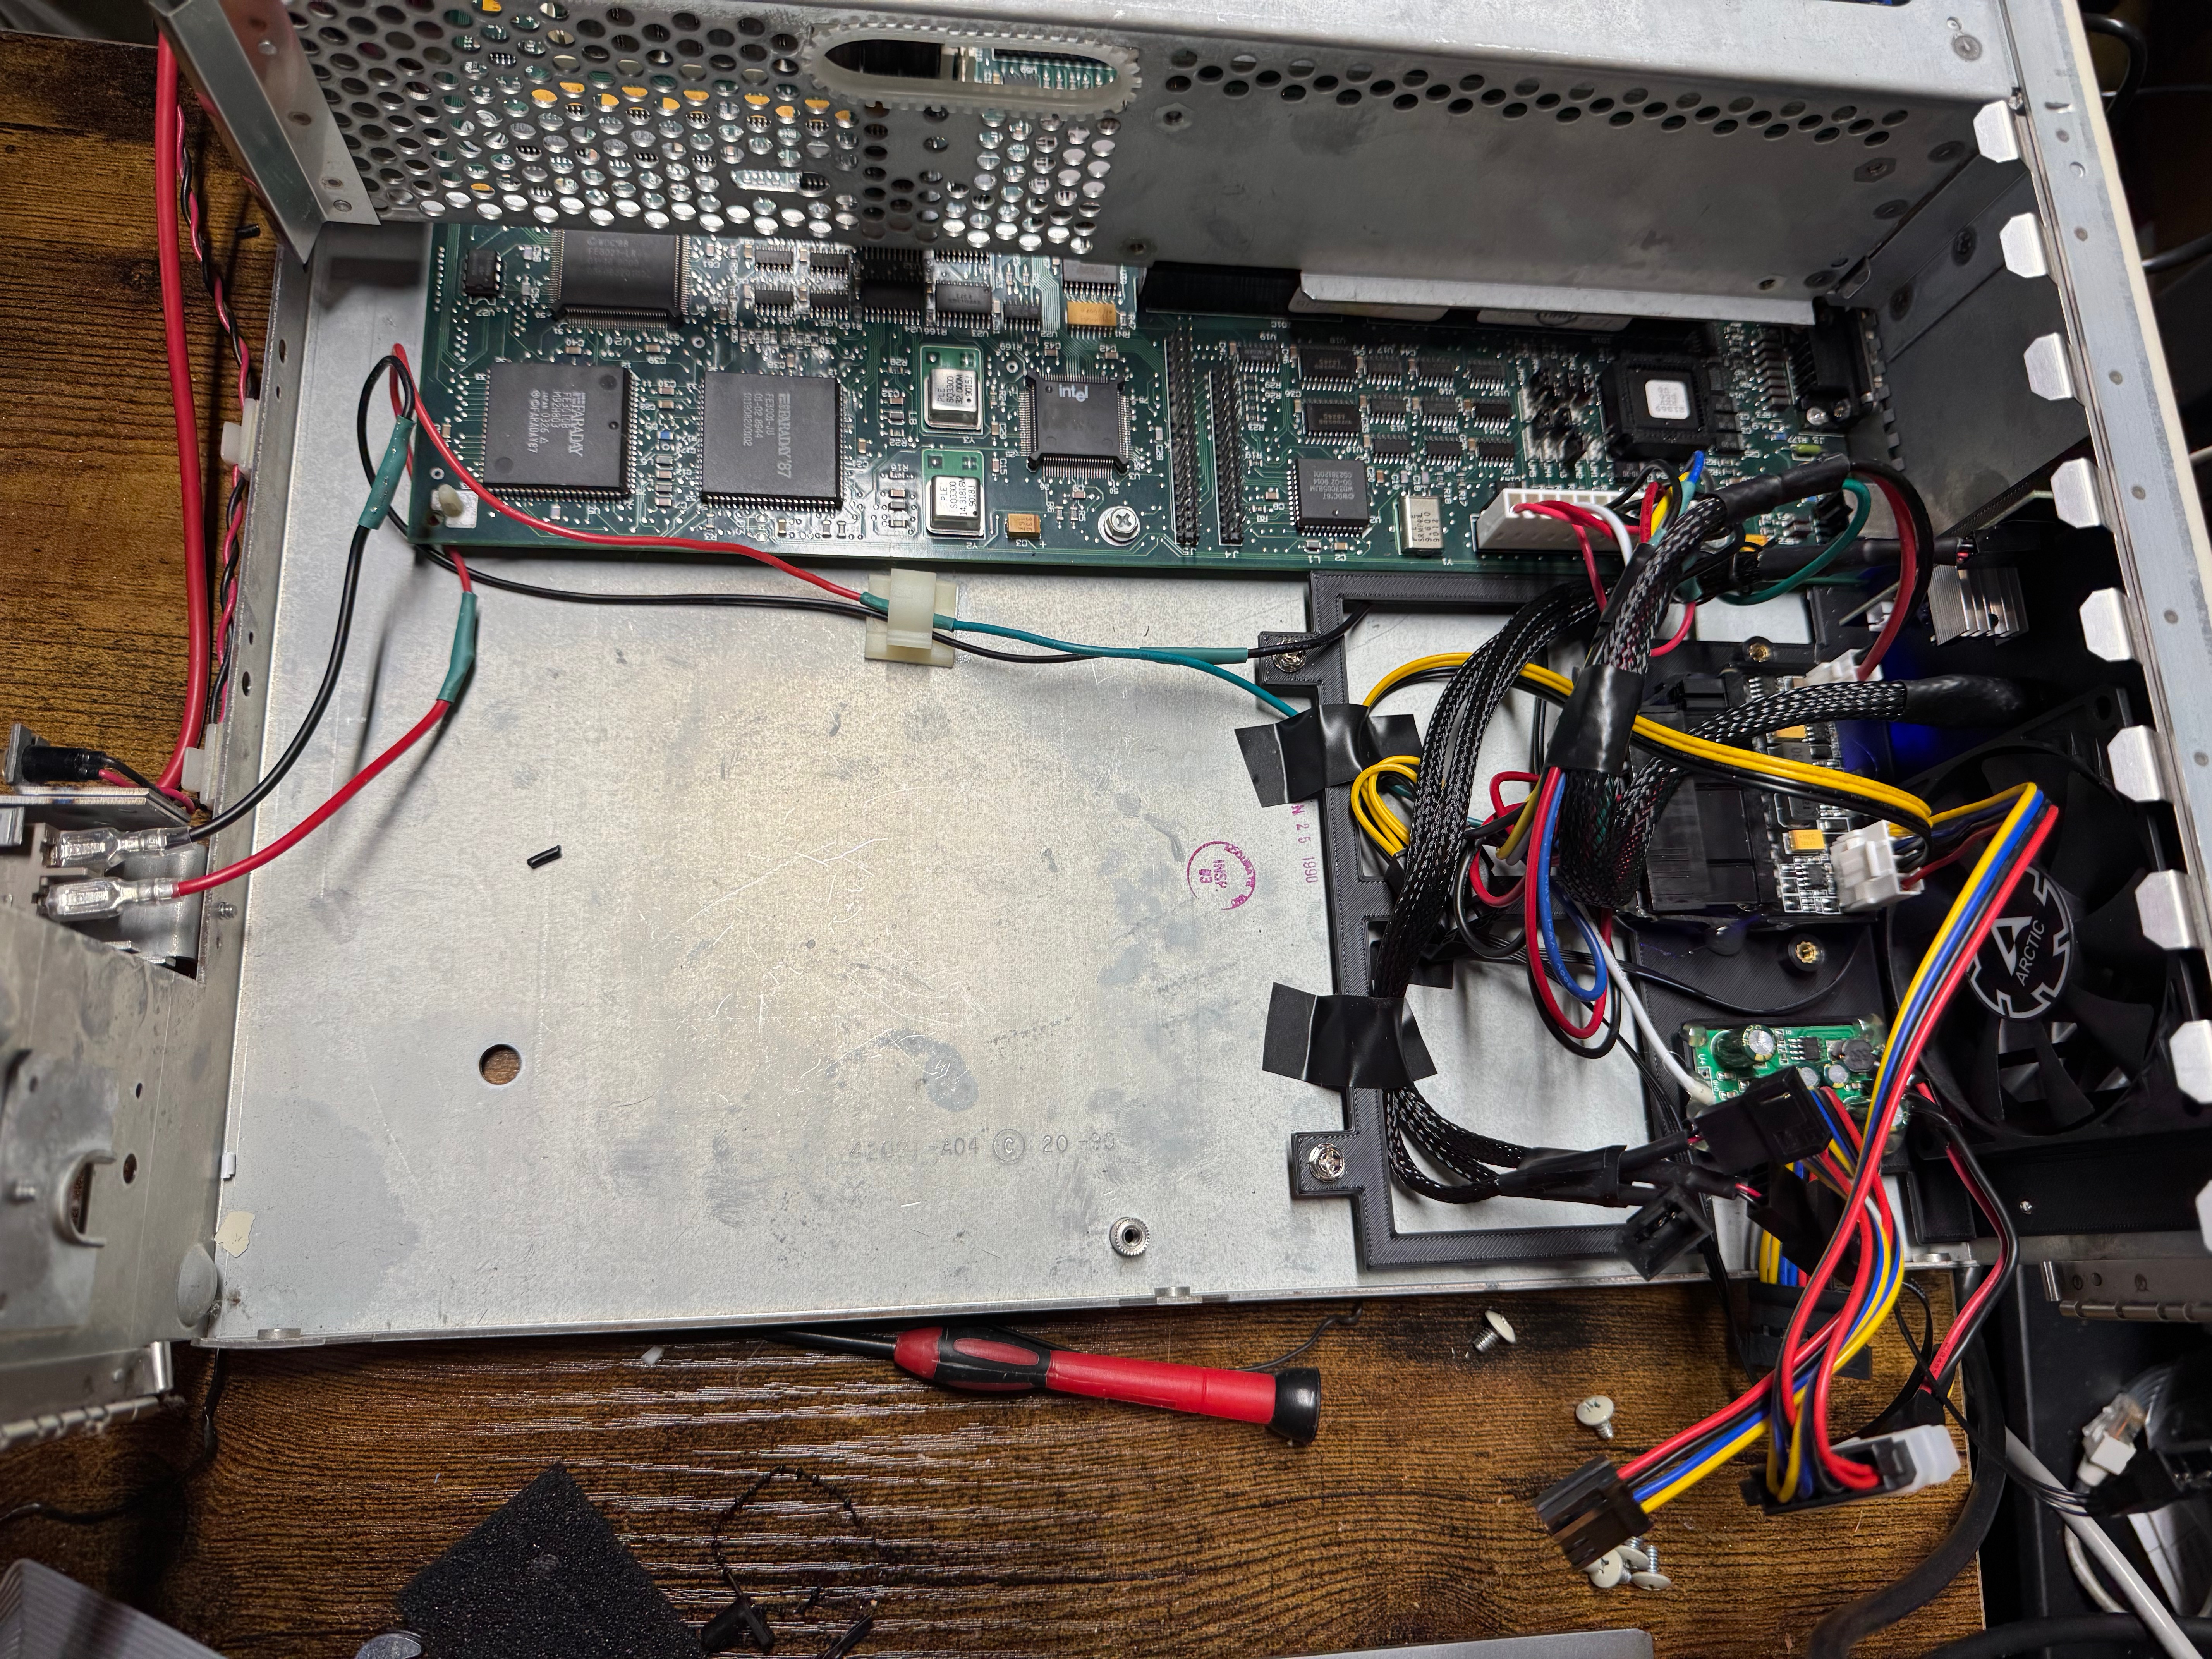
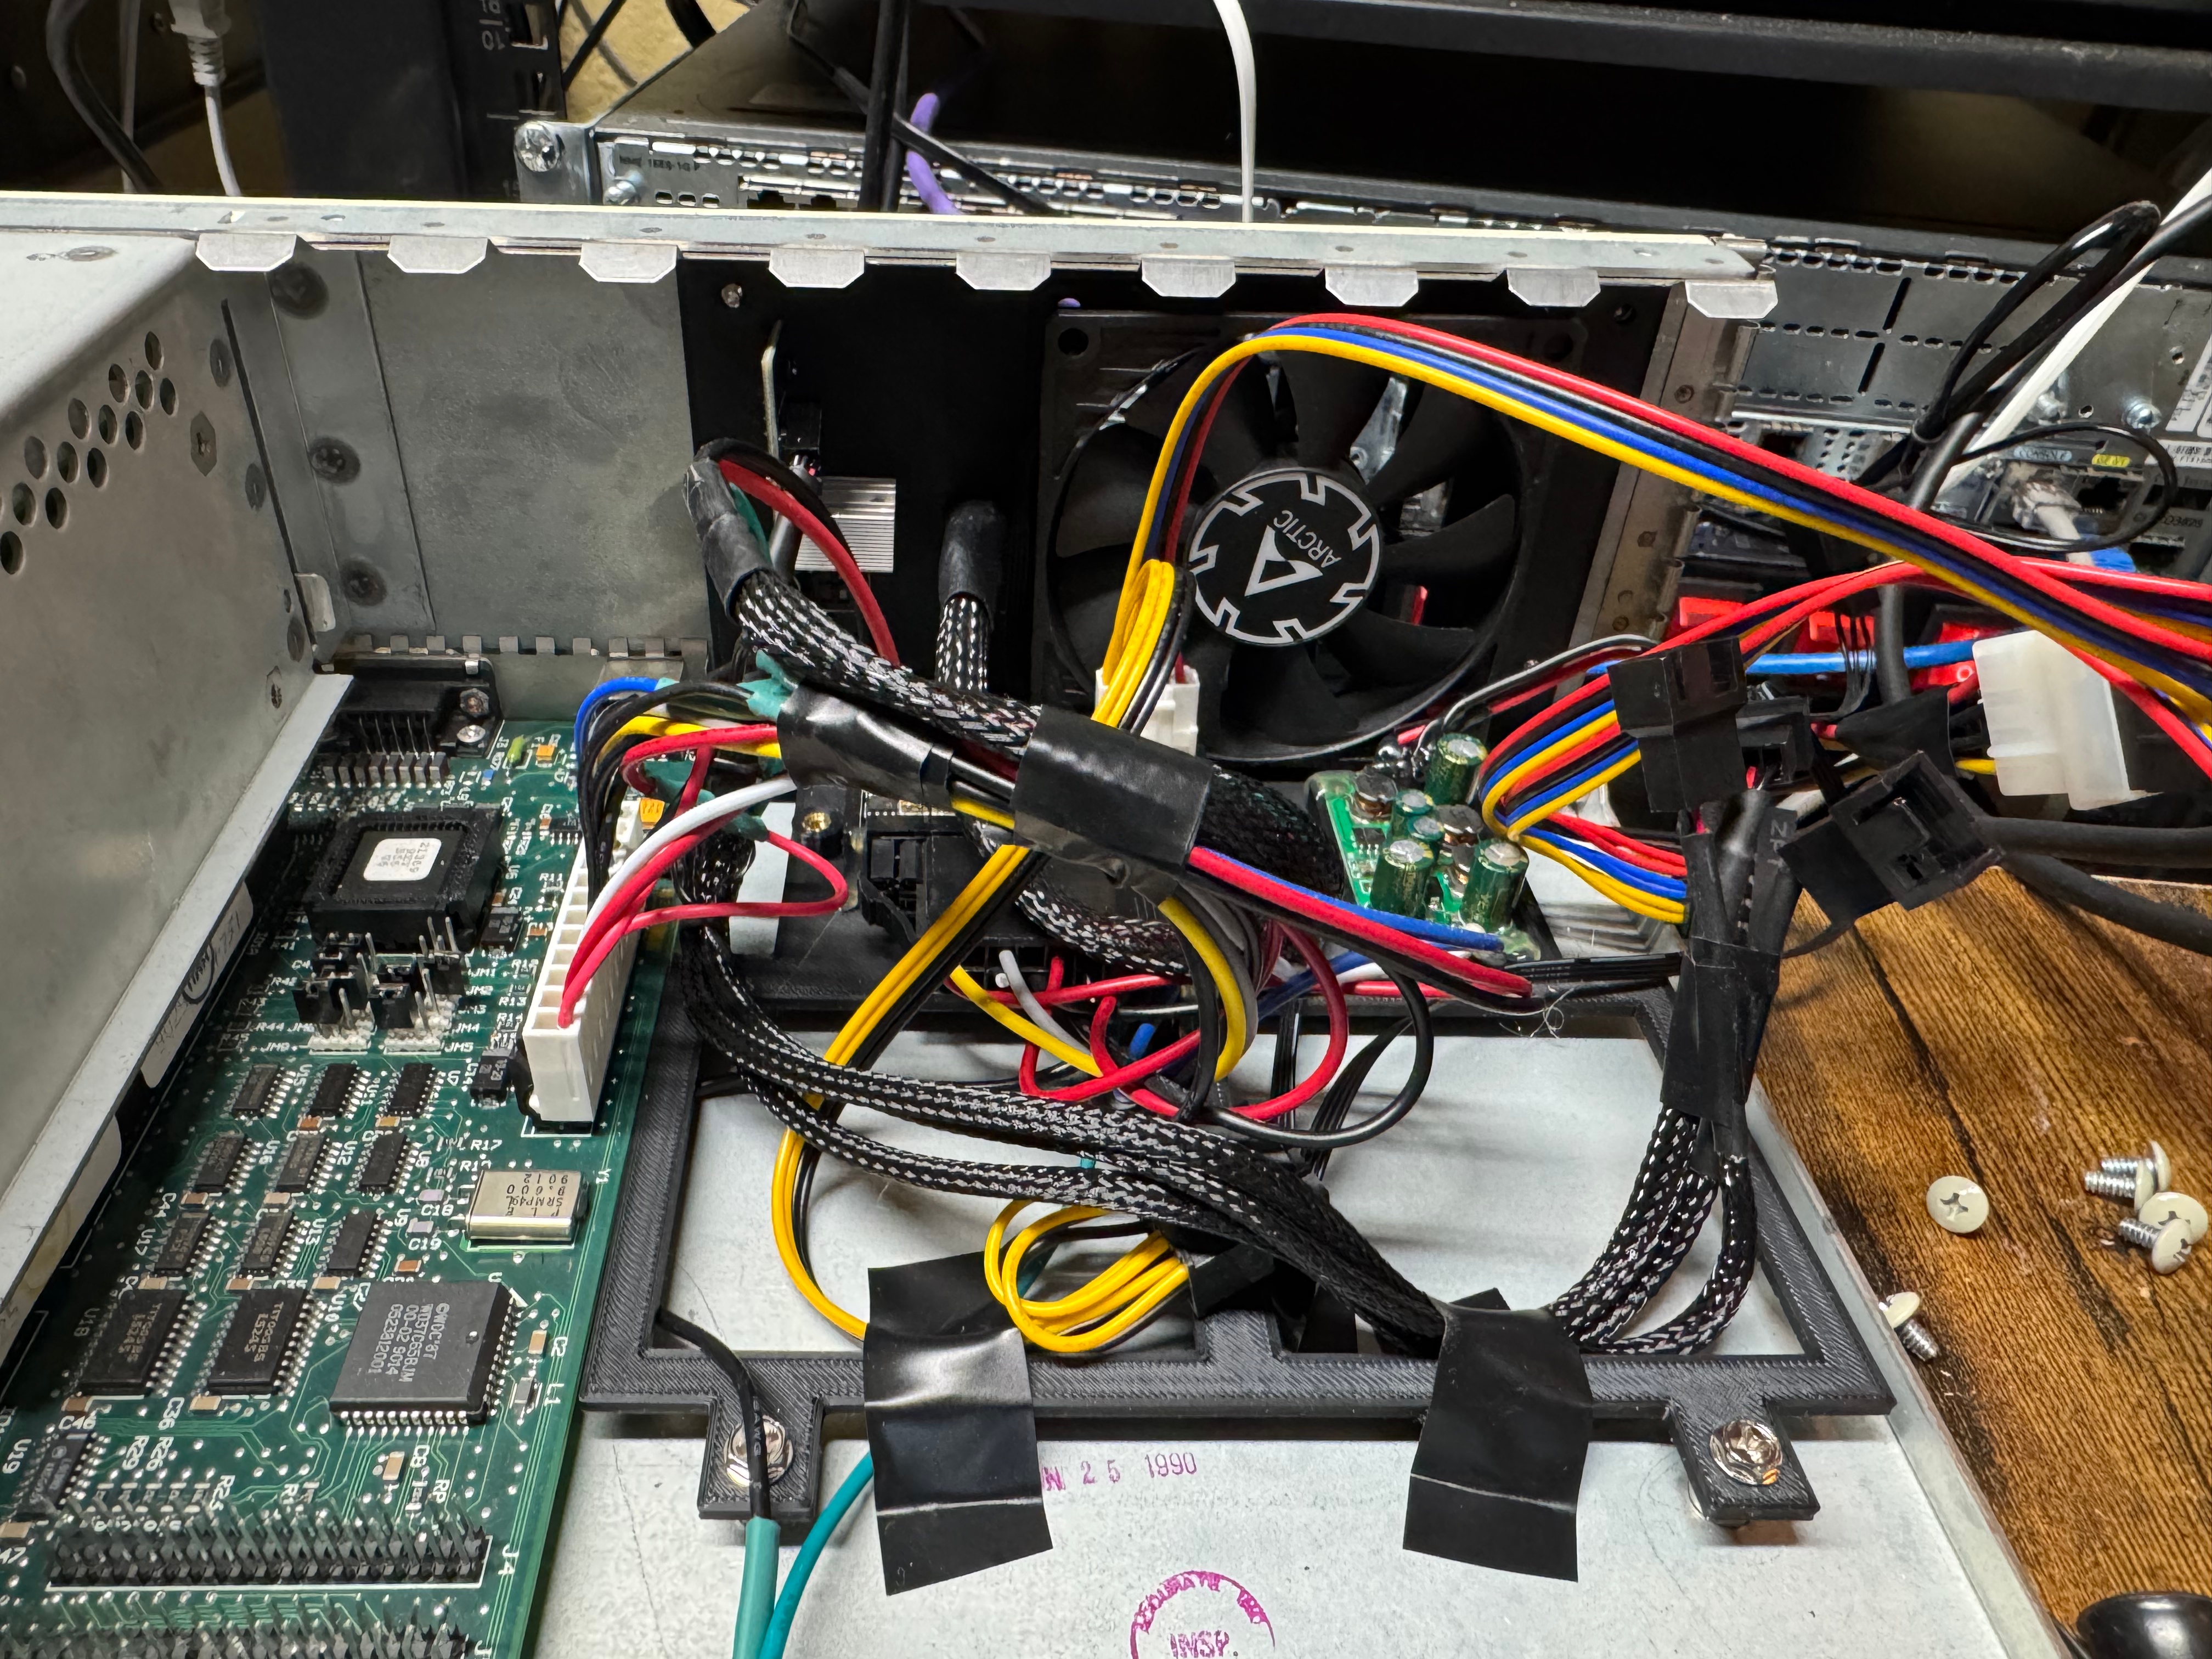
First sketchy bootWide shot of sketchy bootCable messCleaner cablesClose up of powerPSU and POST cardCleaned up cable areaTaping down cables
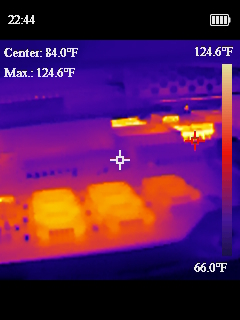
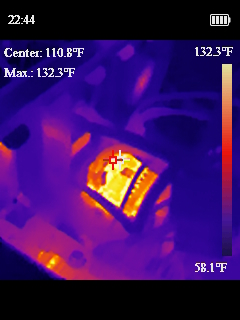
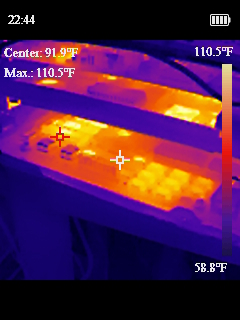
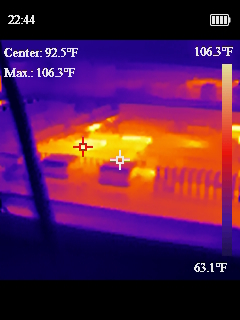
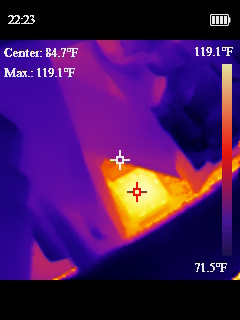
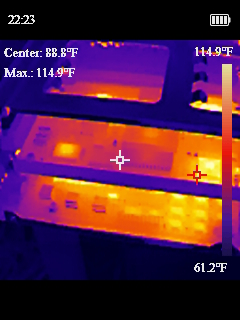
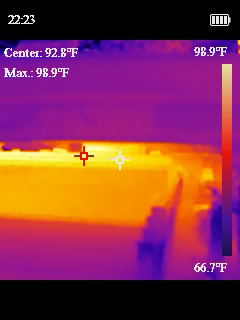
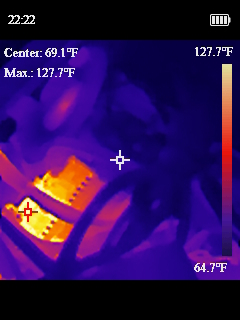
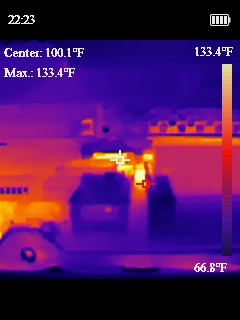
Now that we had our semi-sketchy power situation working, I wanted to design a bracket to drop in where the old power supply went and could hold all these pieces nicely in place. I ended up working on a cover to mostly protect myself from the open PicoPSU running at the heart of the system. I added a fan with a speed controller as well, since the original power supply fan in the system was the only airflow the whole computer has. Then I added another fan to the front of the chassis. The system originally only had the one power supply fan, and when I took thermal measurements some of the chips were getting toasty and I thought another fan couldn’t hurt.
Extra FanExtra Fan
One last fun fact about this old power situation. The old computers didn’t have “soft power” like we do today; where you hit on and it tells the BIOS to start booting. This system had a big ON/OFF switch in the front with mains voltage (120V for the US) going to it. In replacing the PSU, I swapped this for a ATX, low voltage on, switch.
Front switchNew power running to front switch
Video
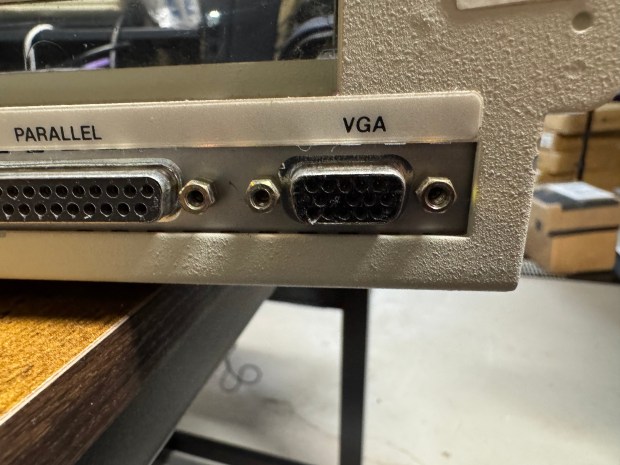
While the Dell 316SX does have standard VGA on the back, there is not a spot for pin 7; the second pin in the second row. If you lookup pinouts for VGA online, this pin is either called “green ground” or “not used”. These days even if not used we include a spot or pin for it and not connect it. This machine has no spot for a pin. I had to get a VGA cable, and cut the pin out; allowing the cable to plug in.
Data Recovery
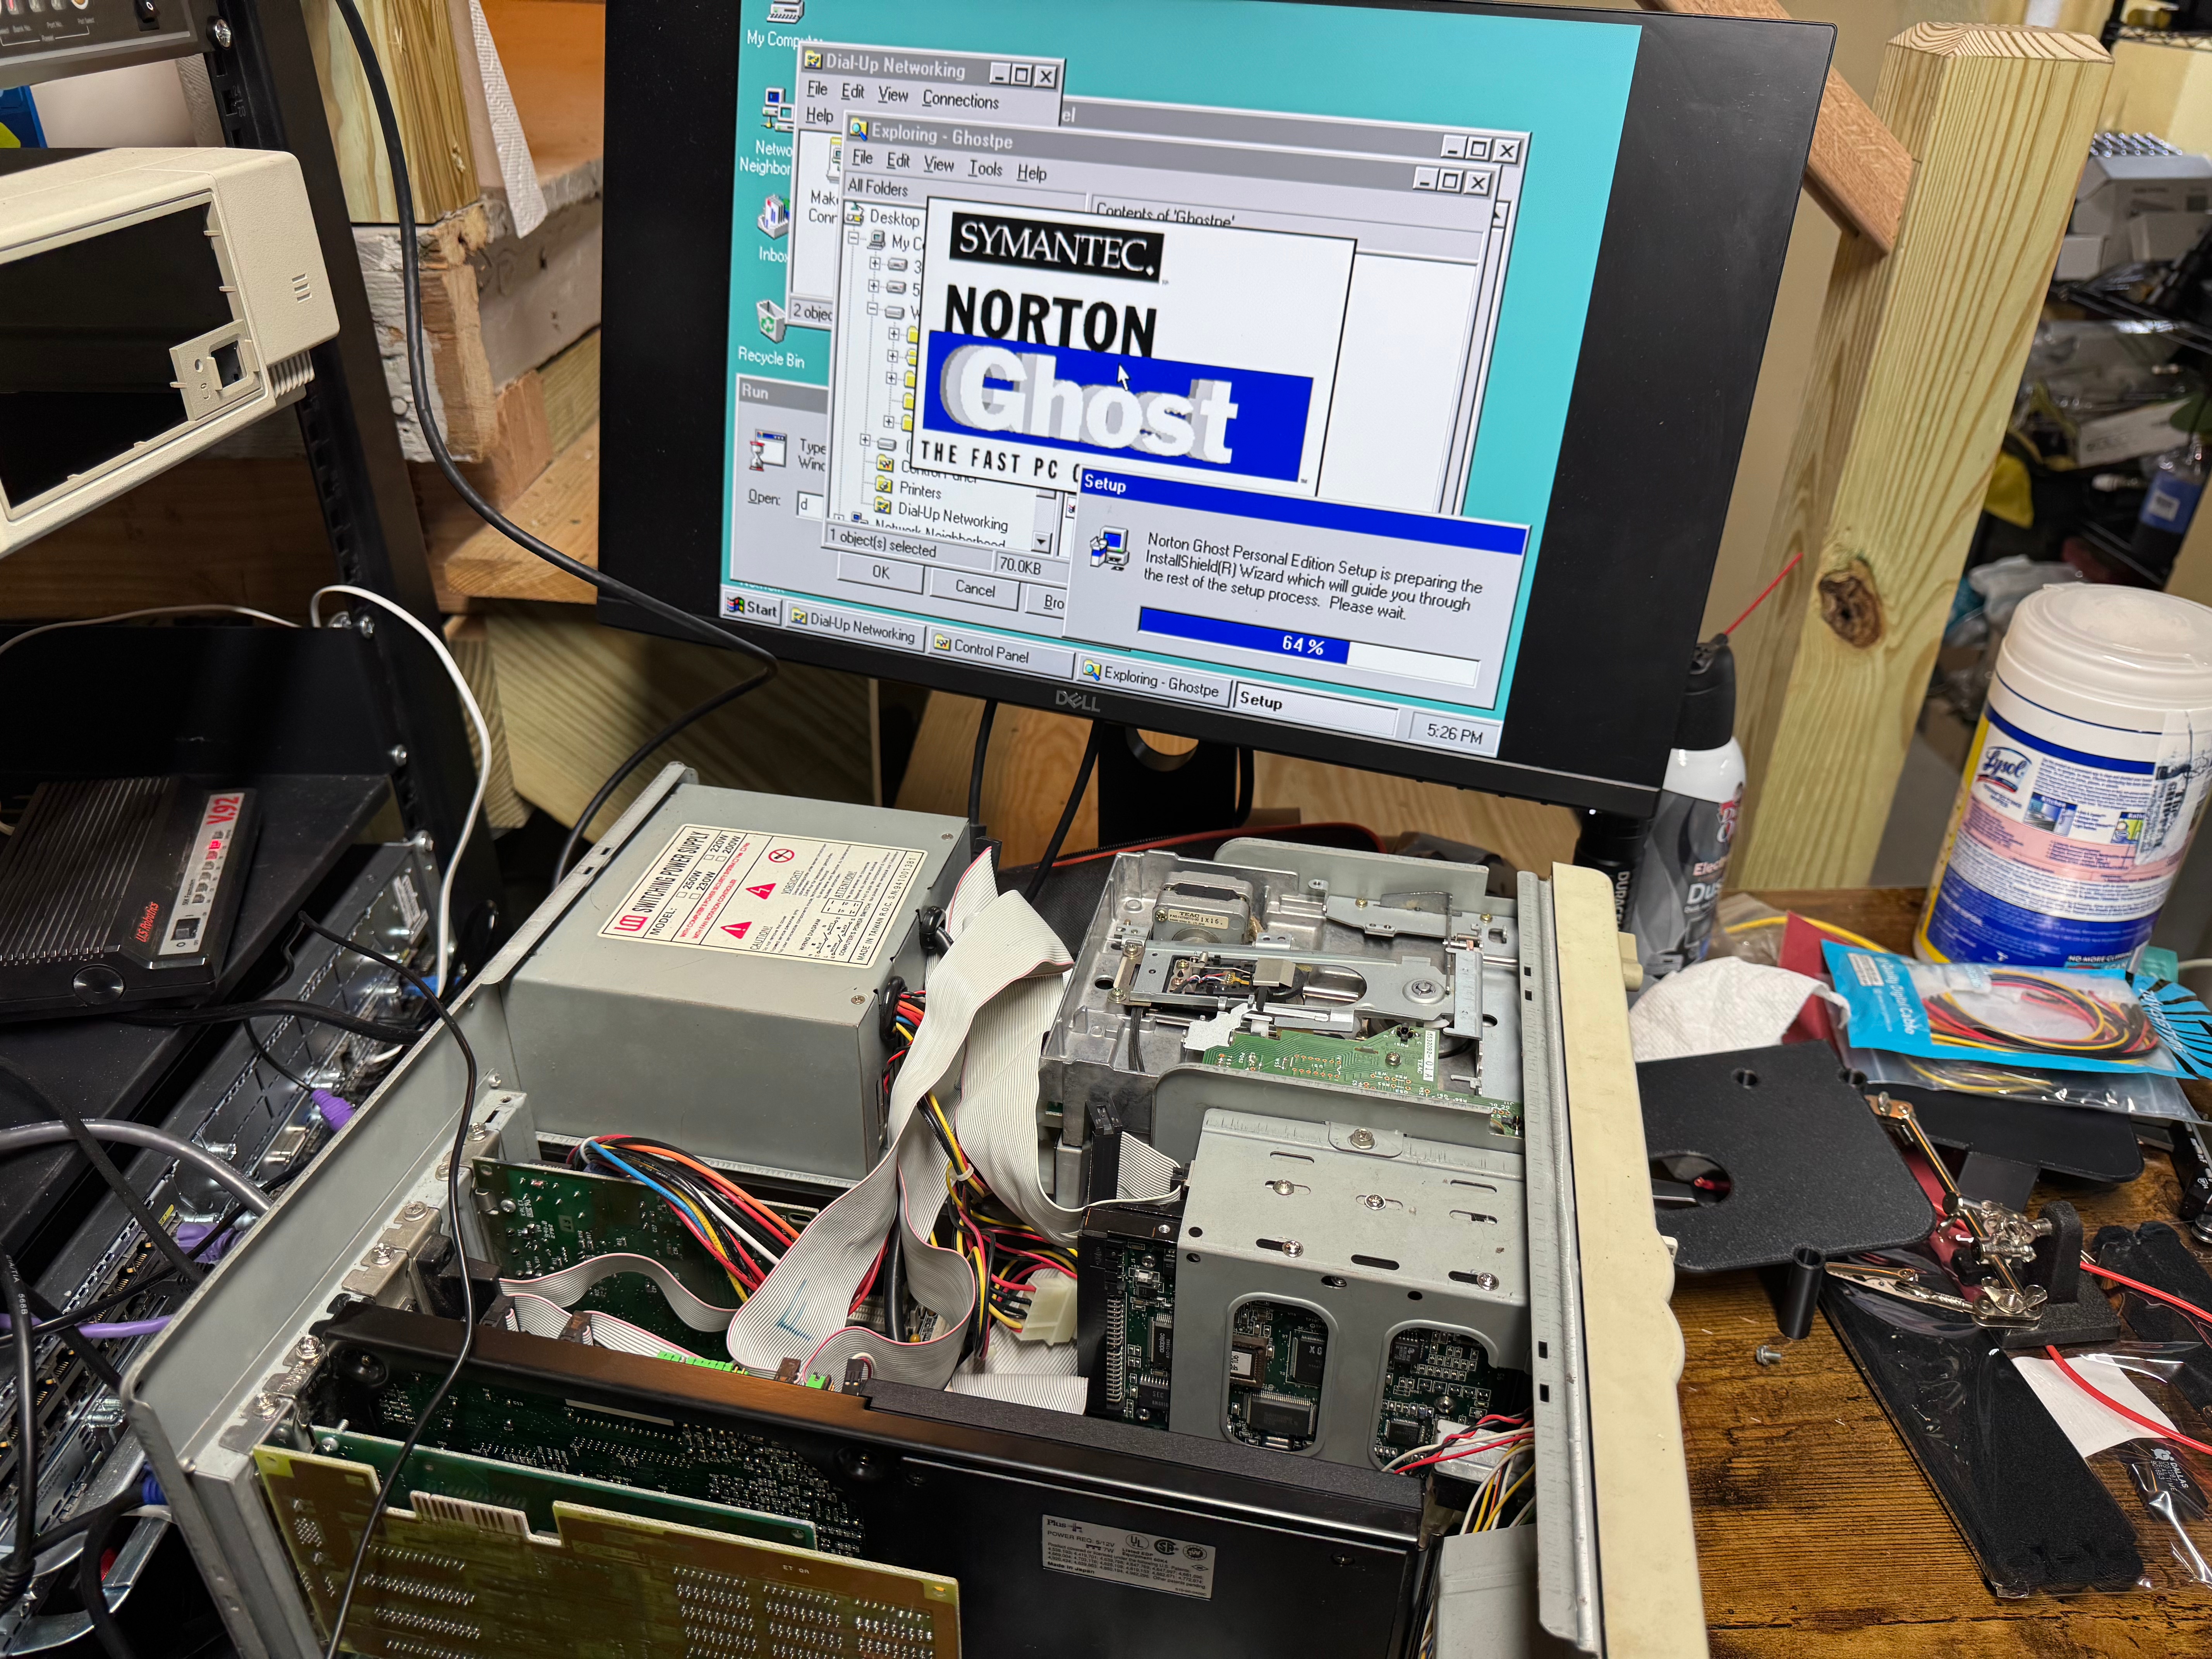
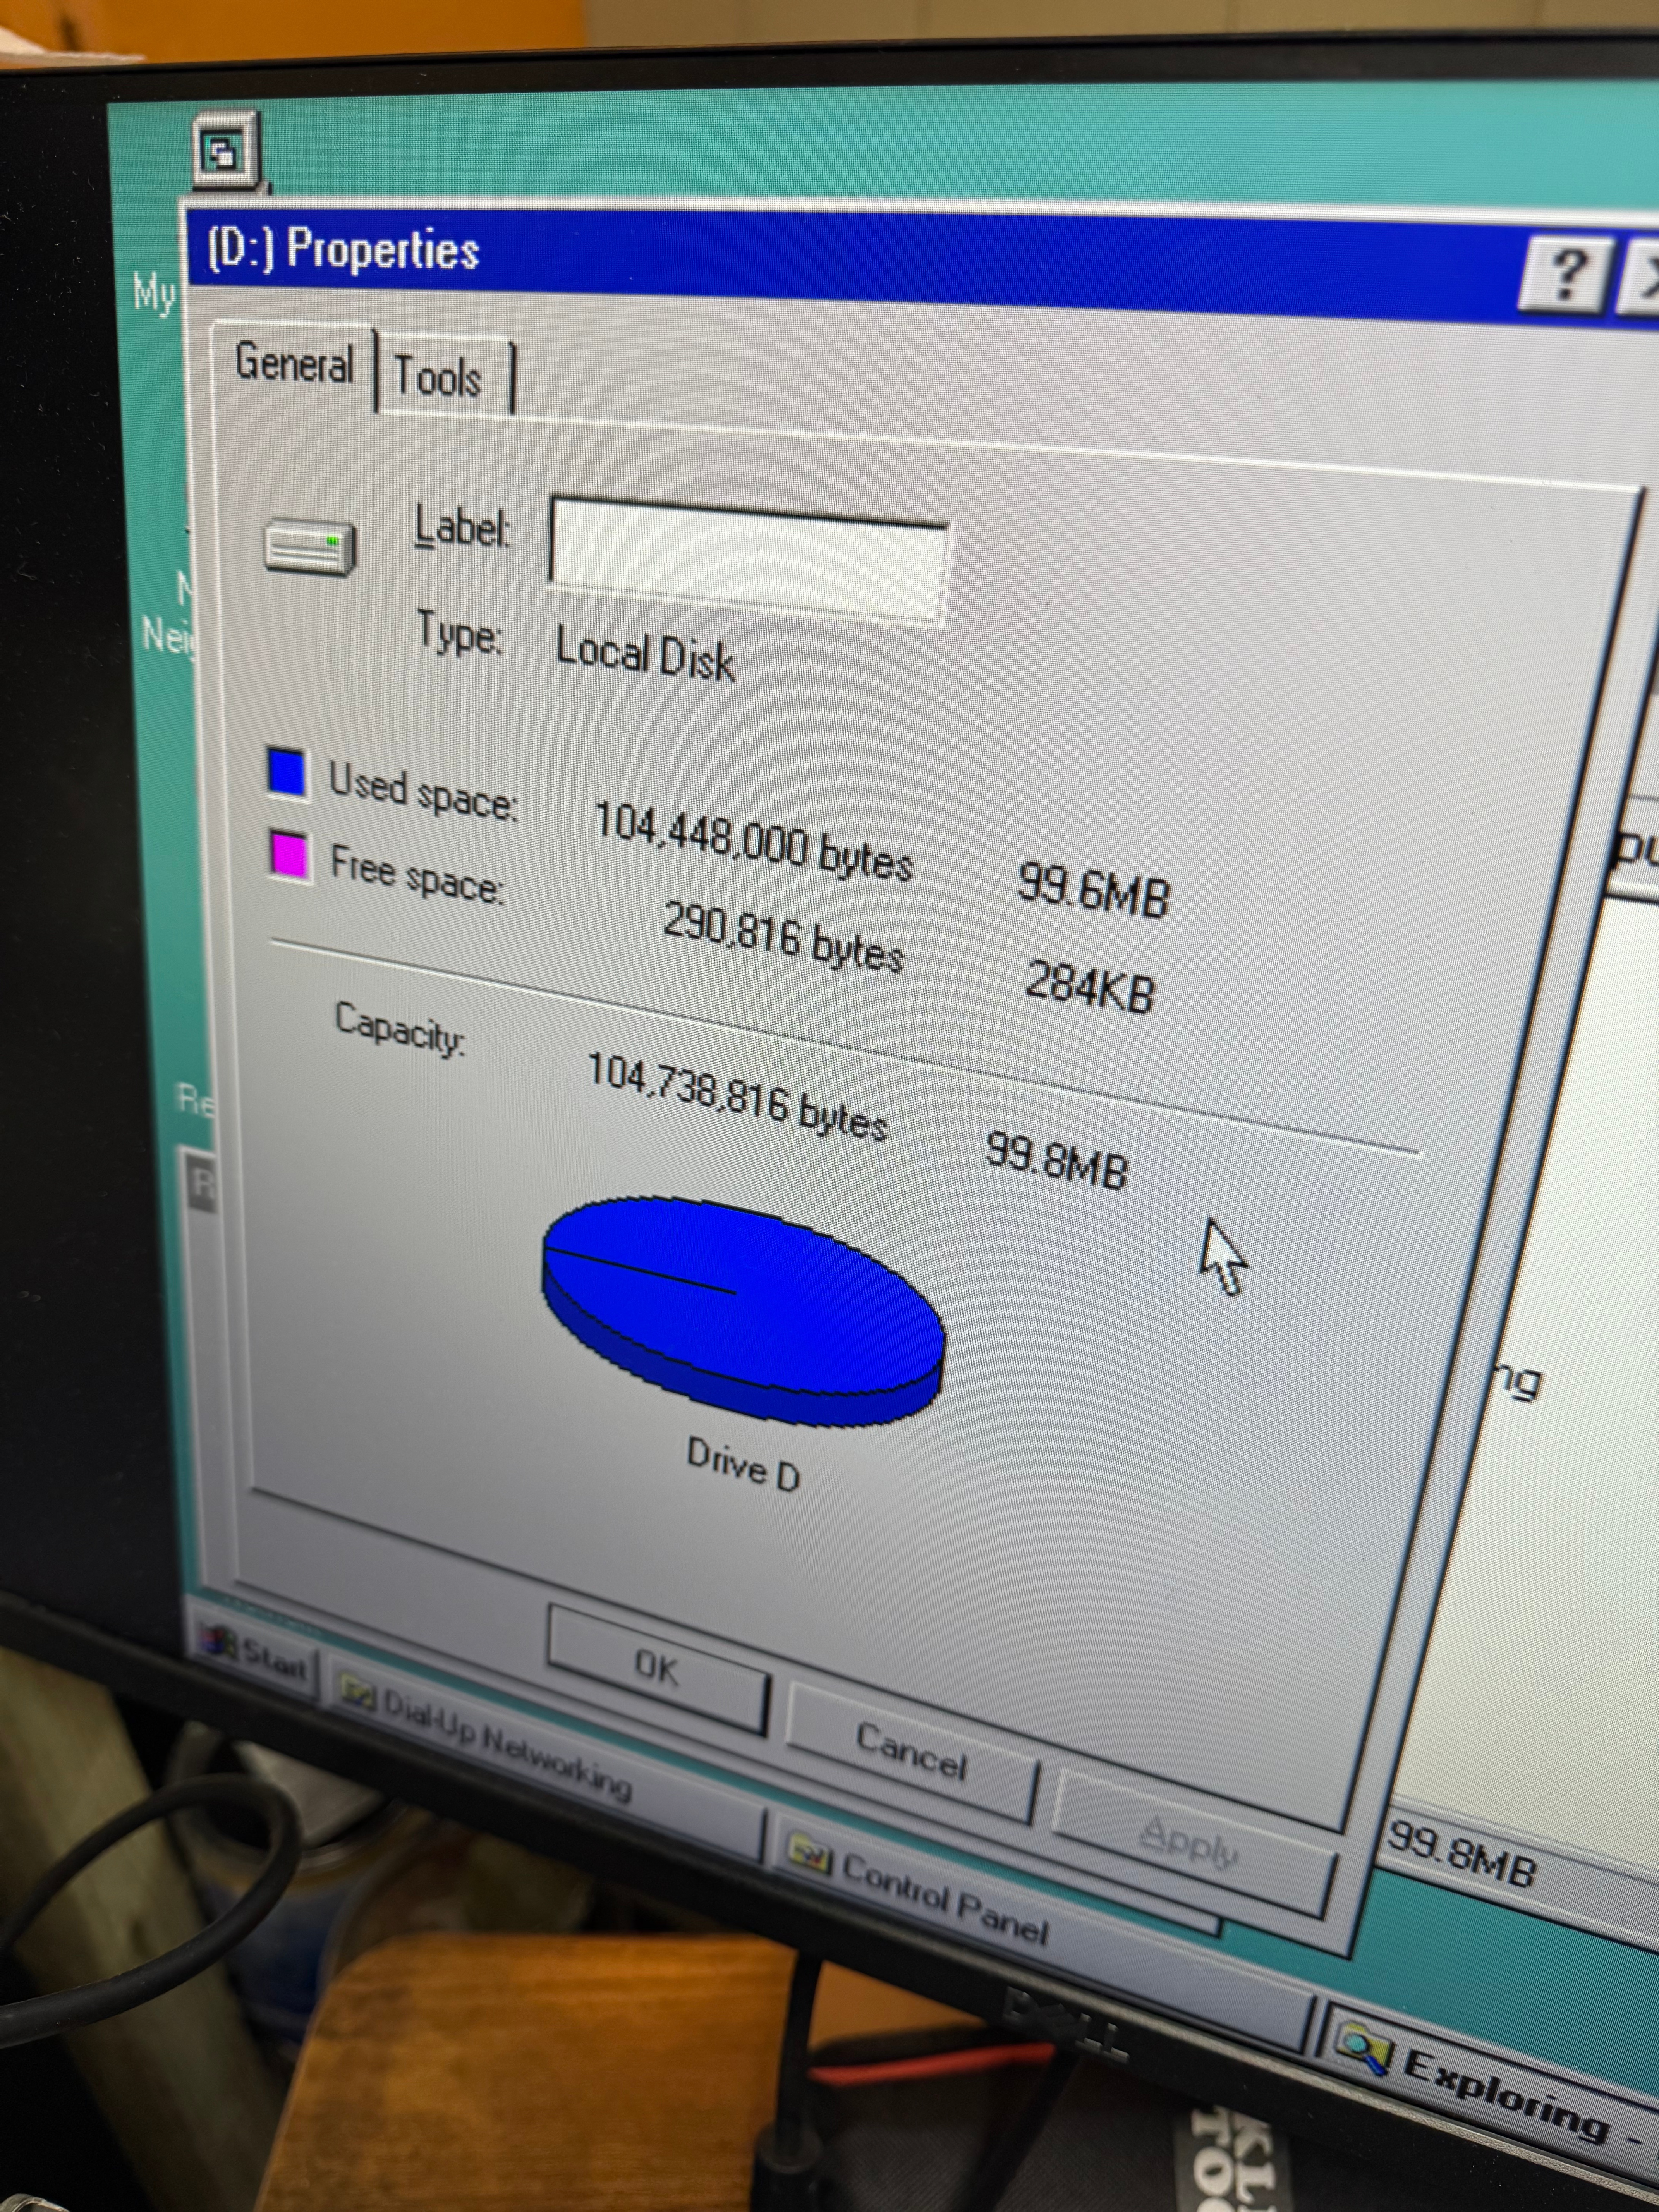
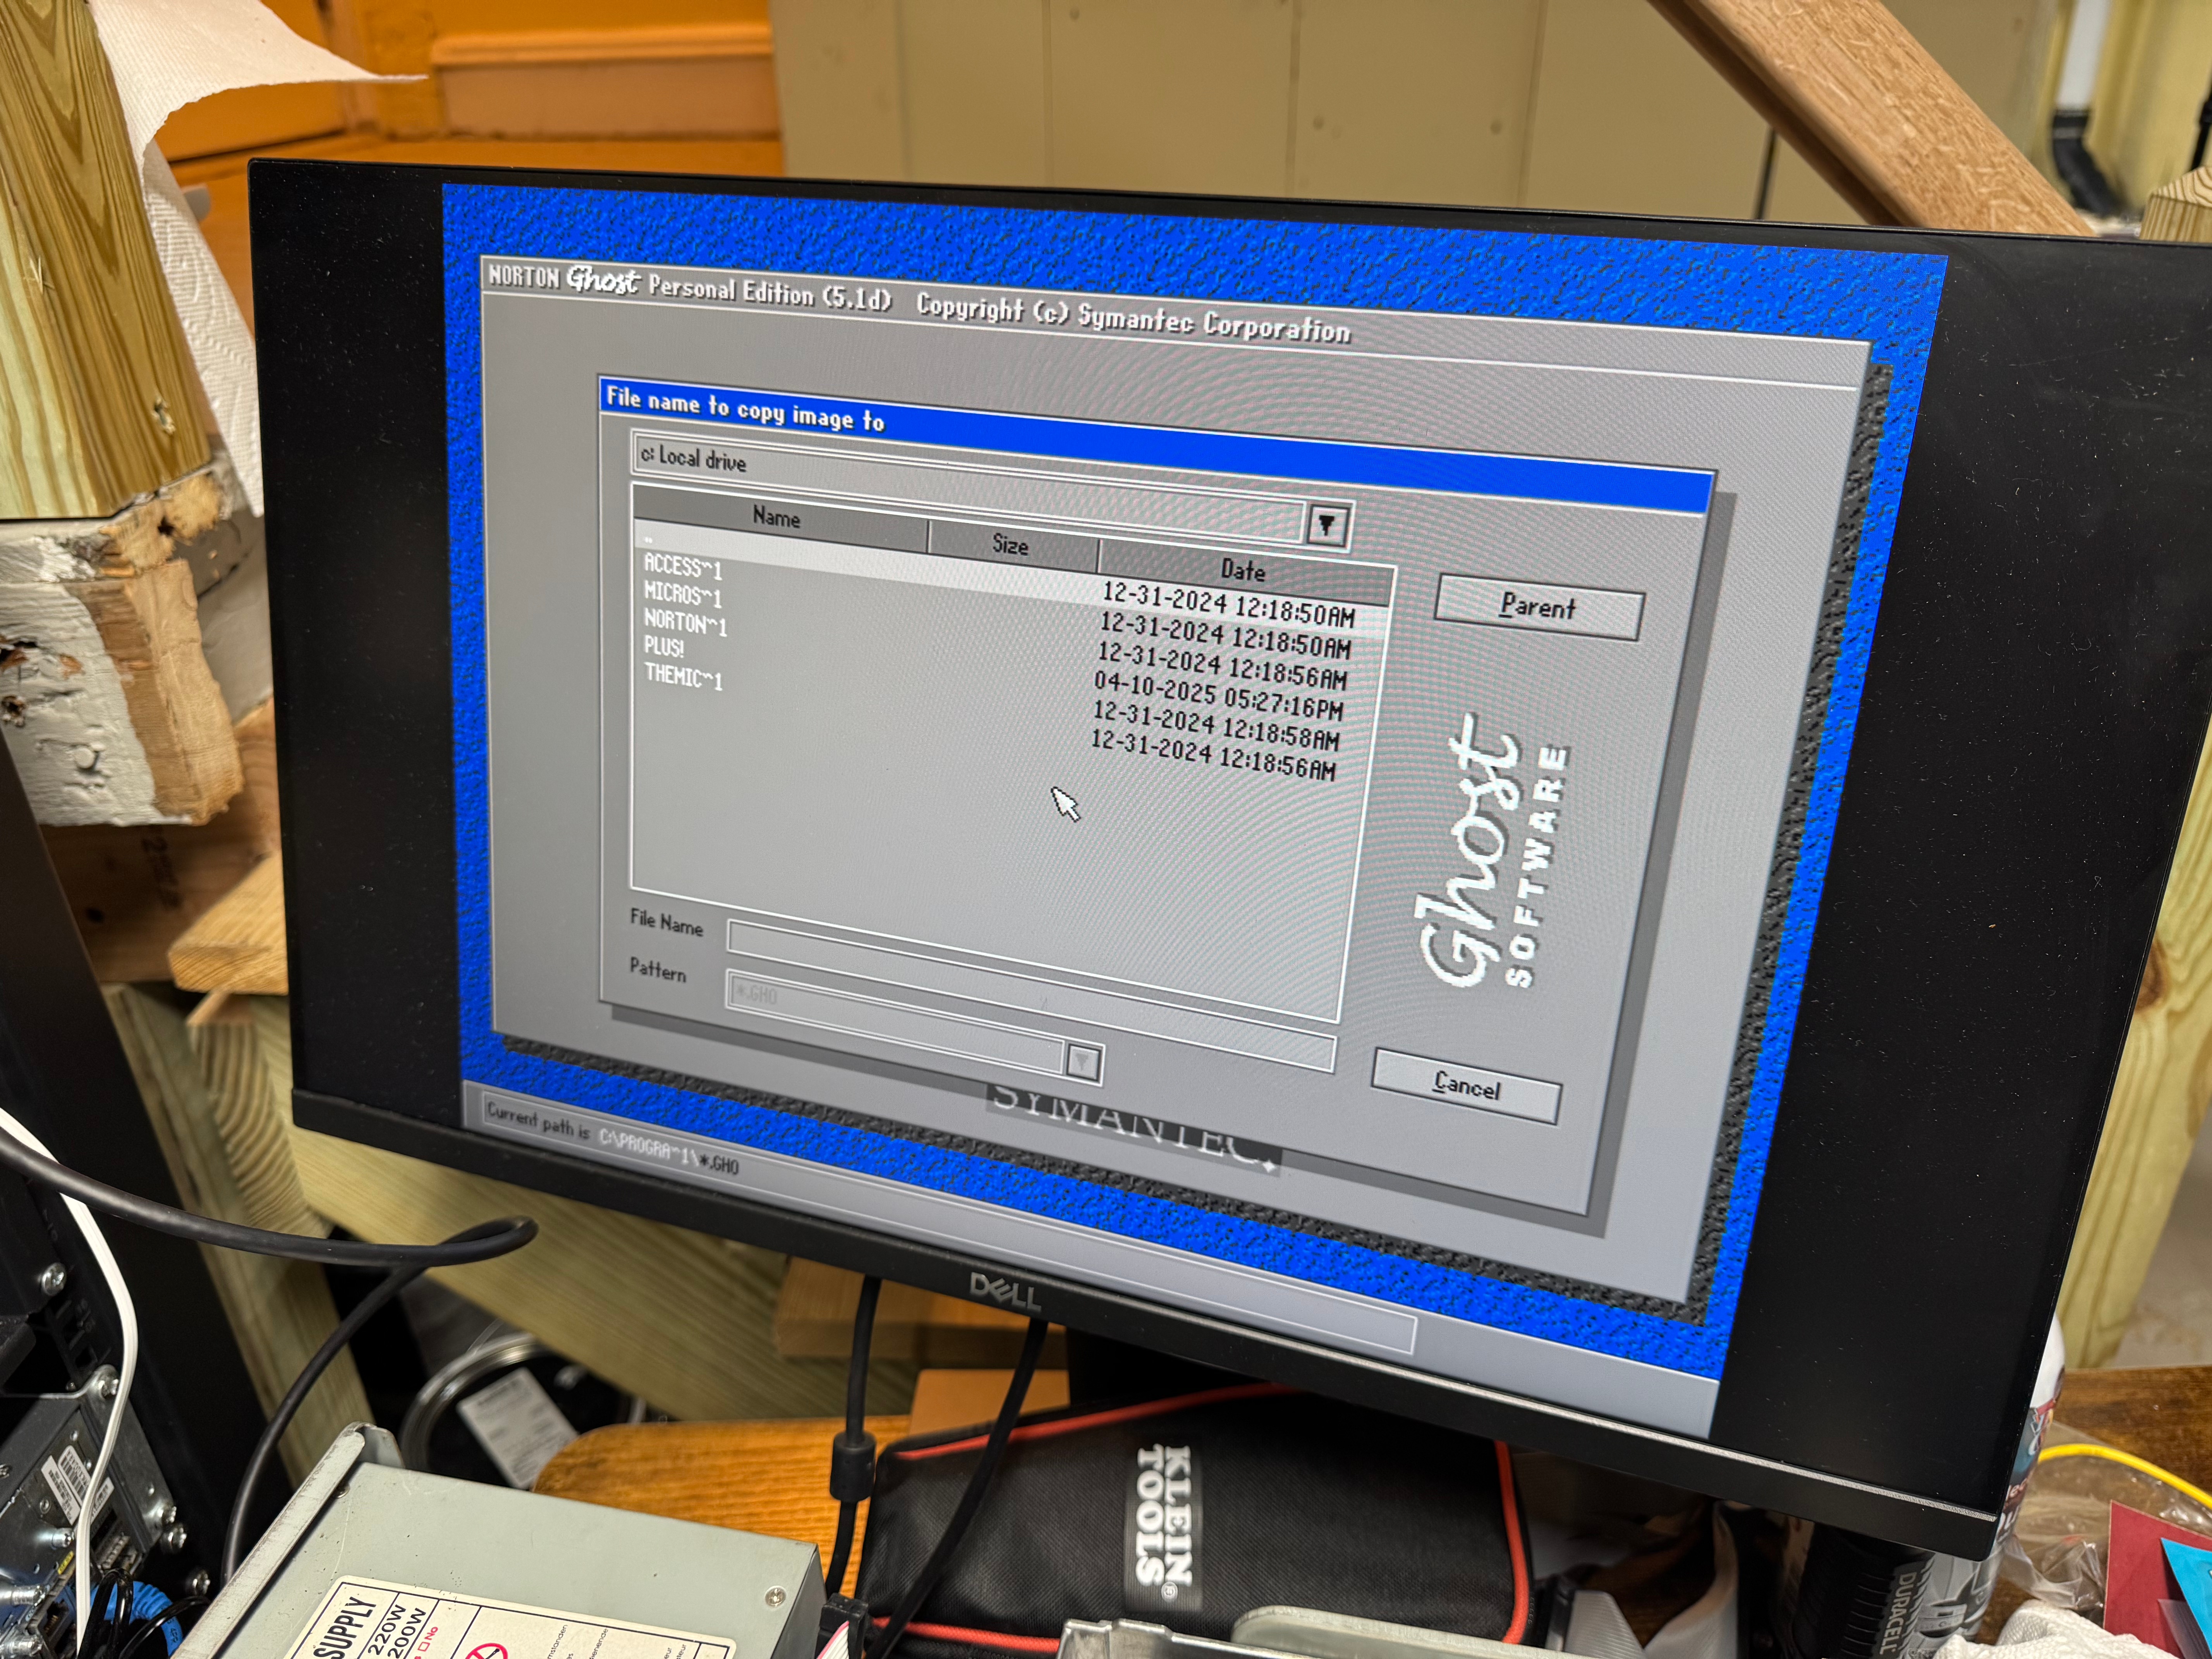
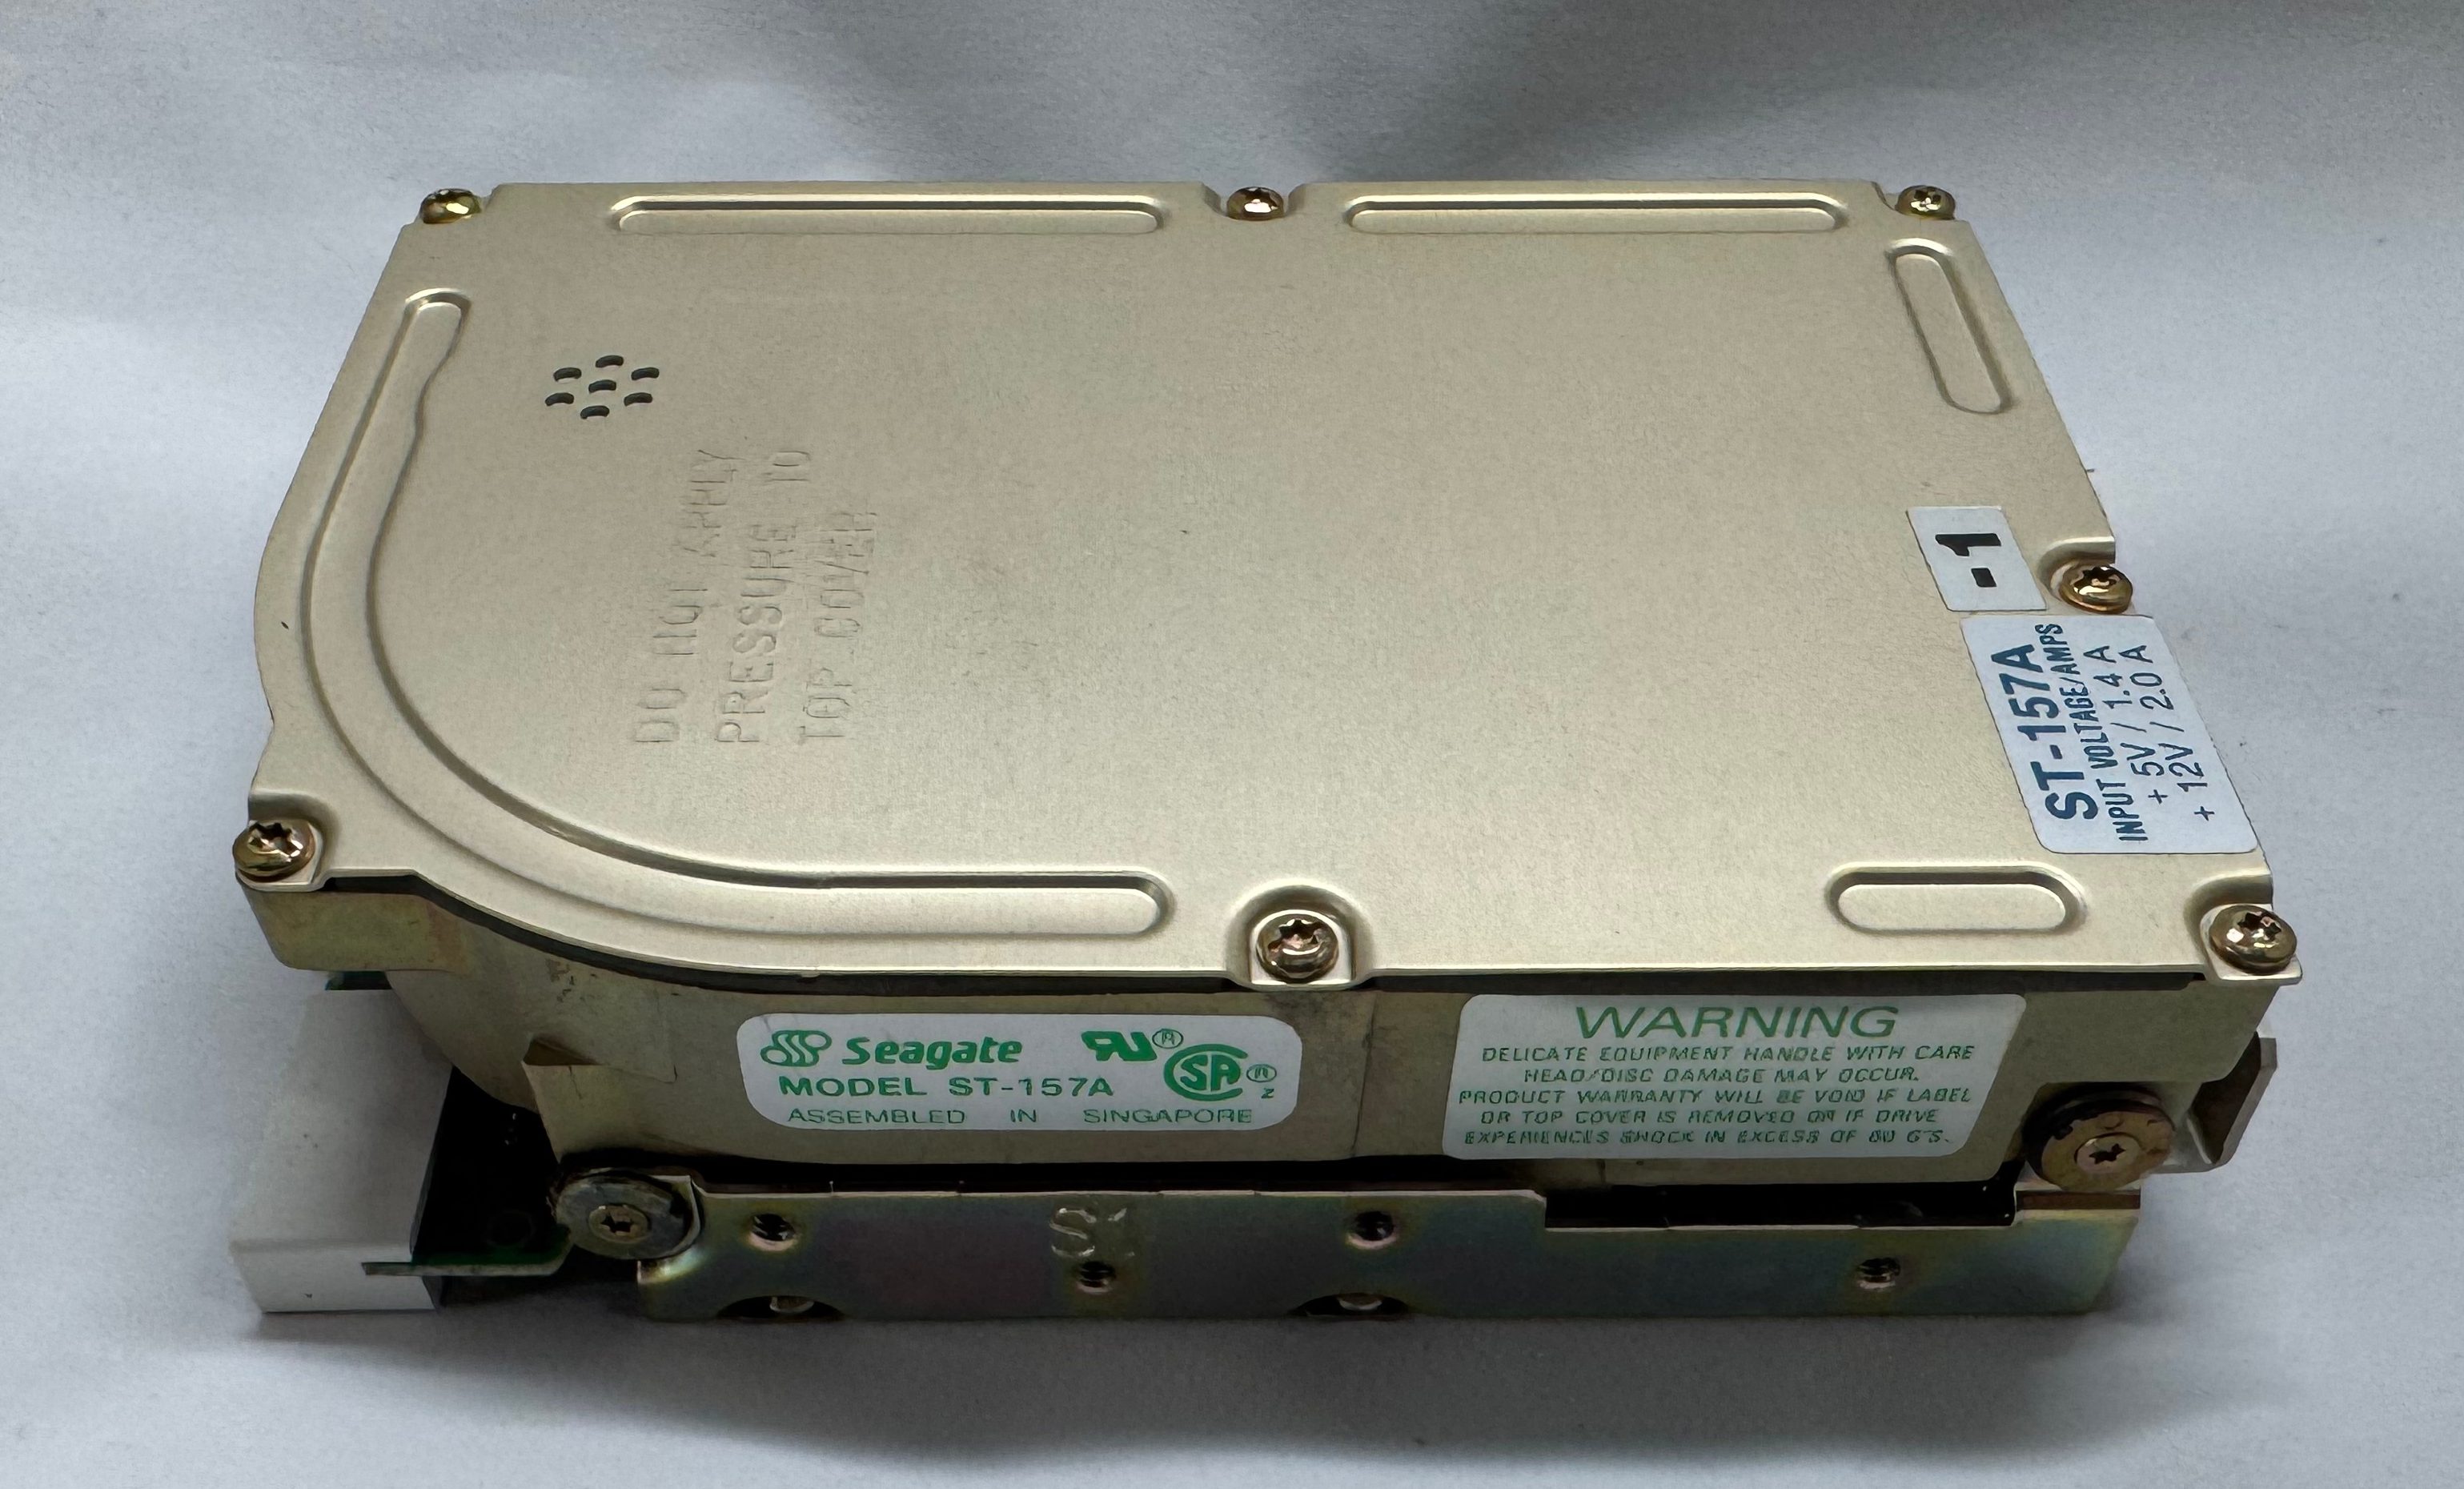
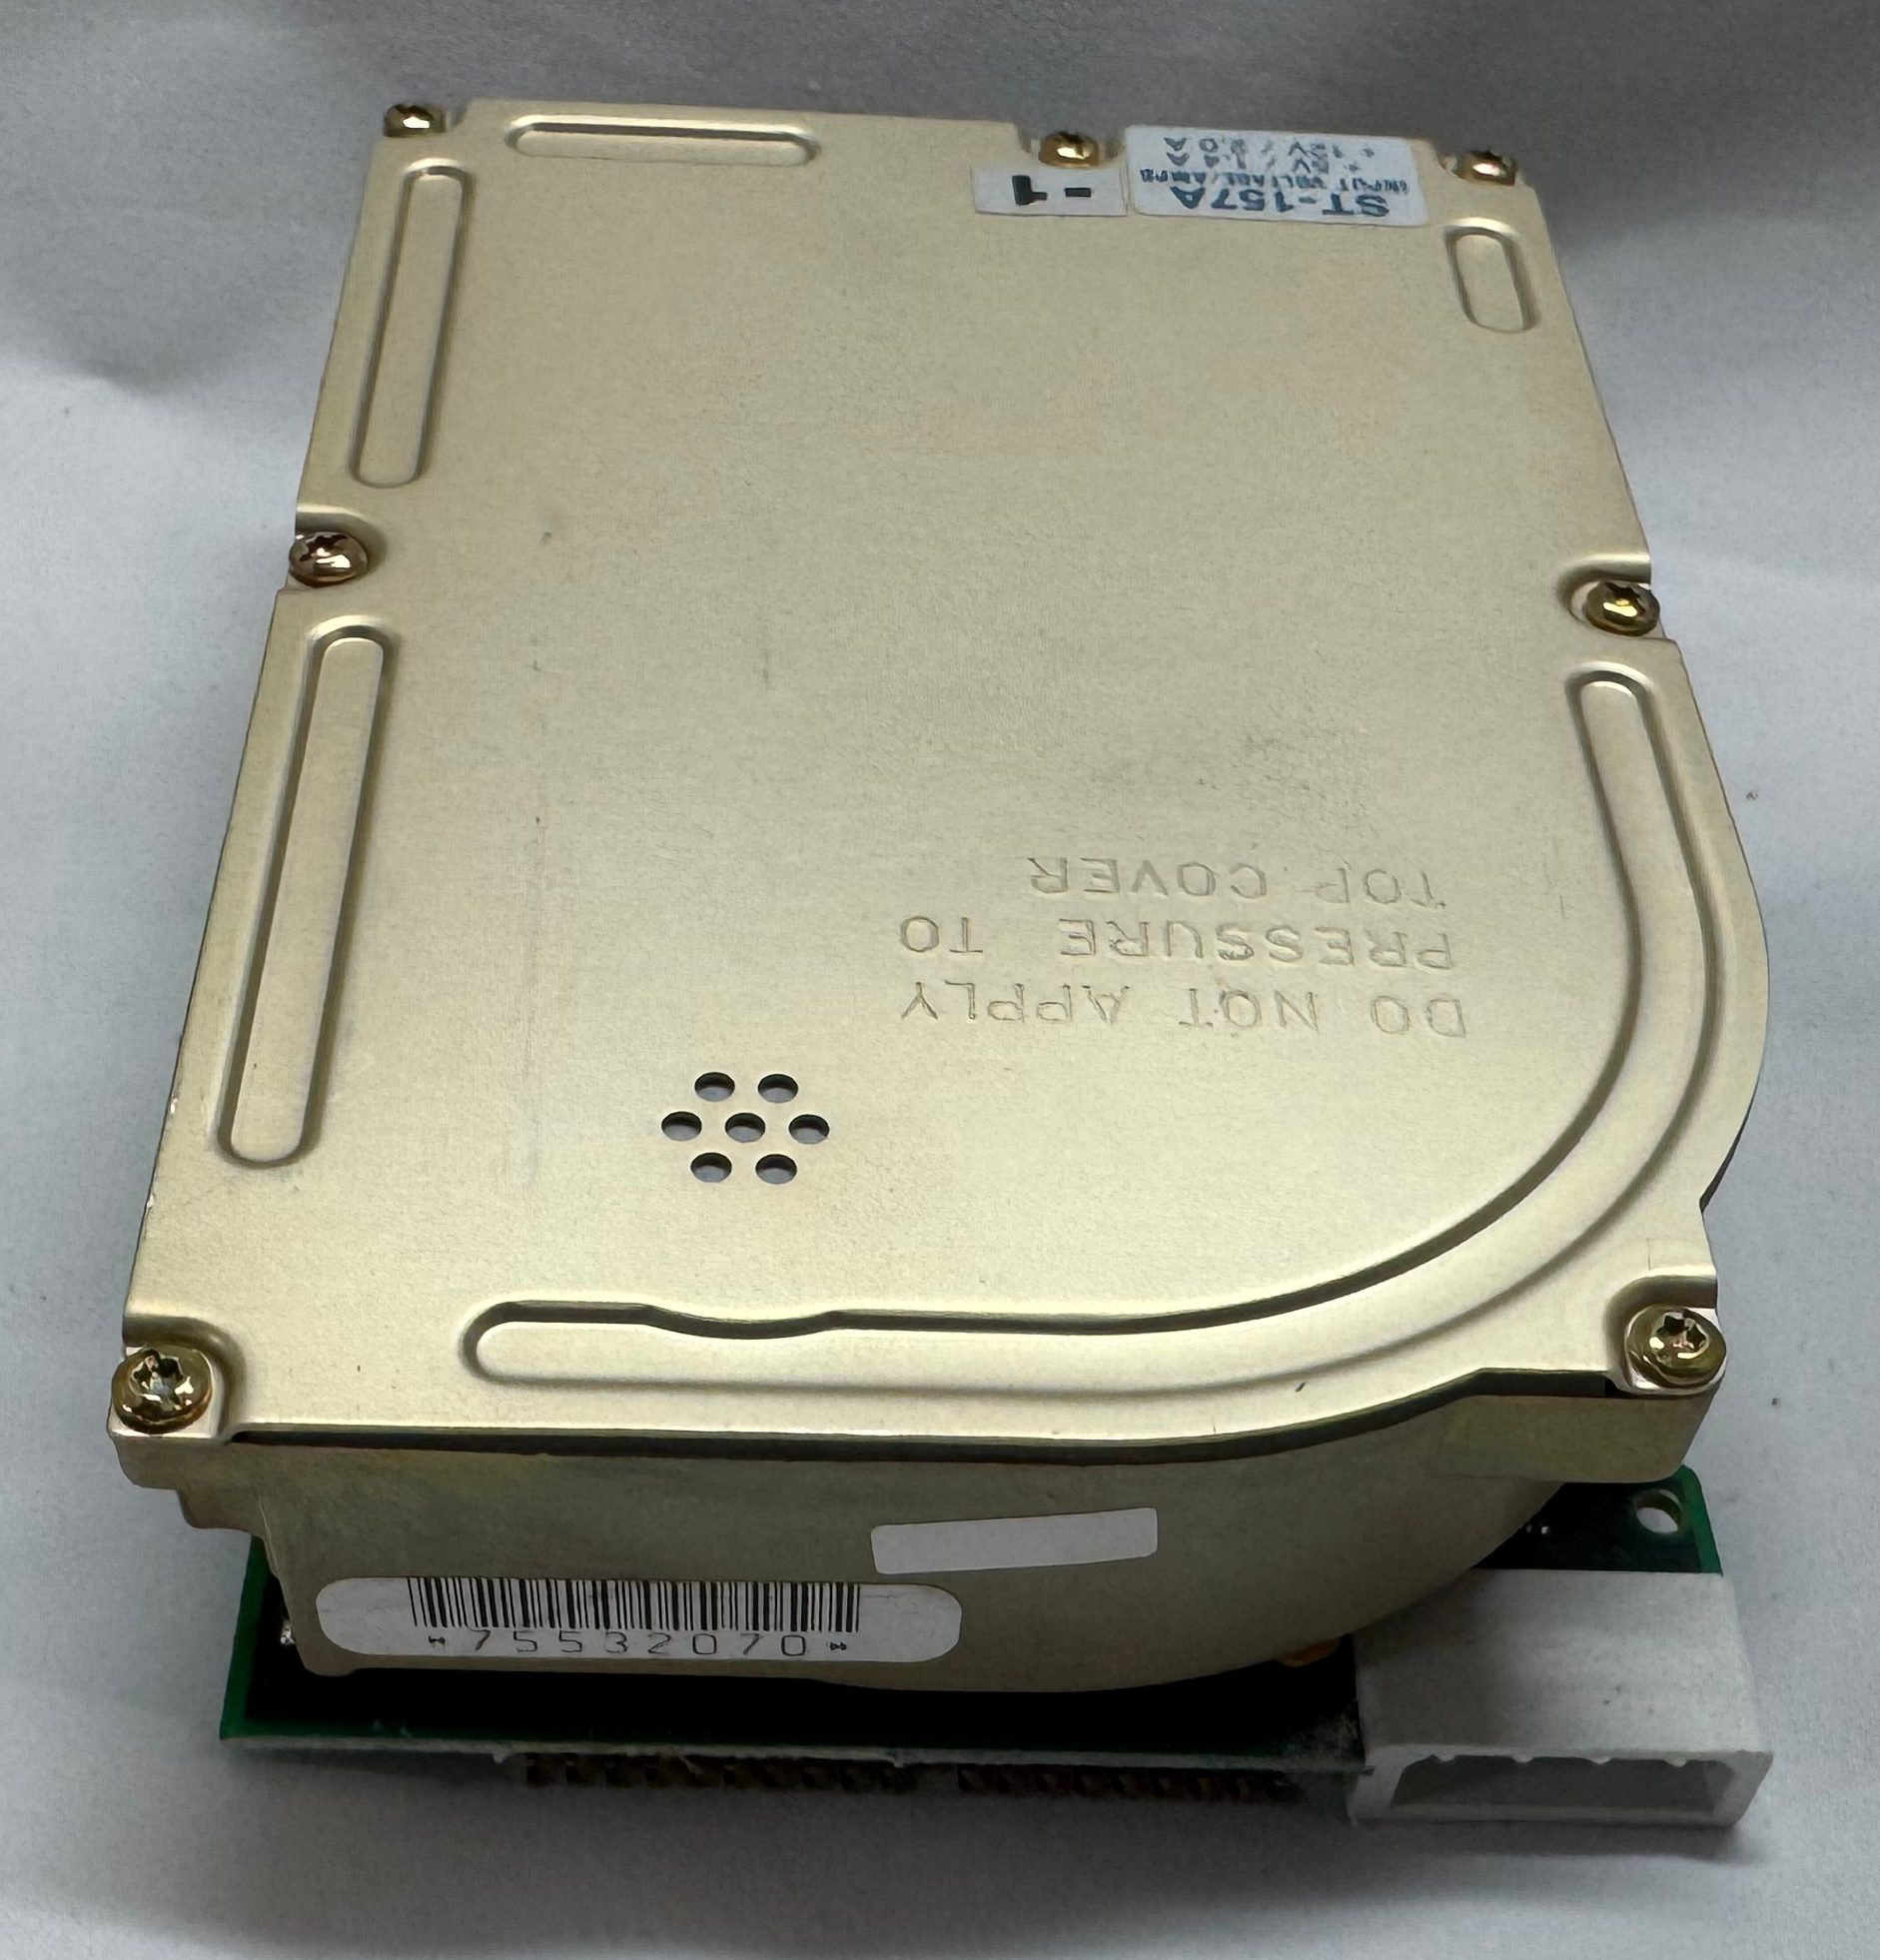
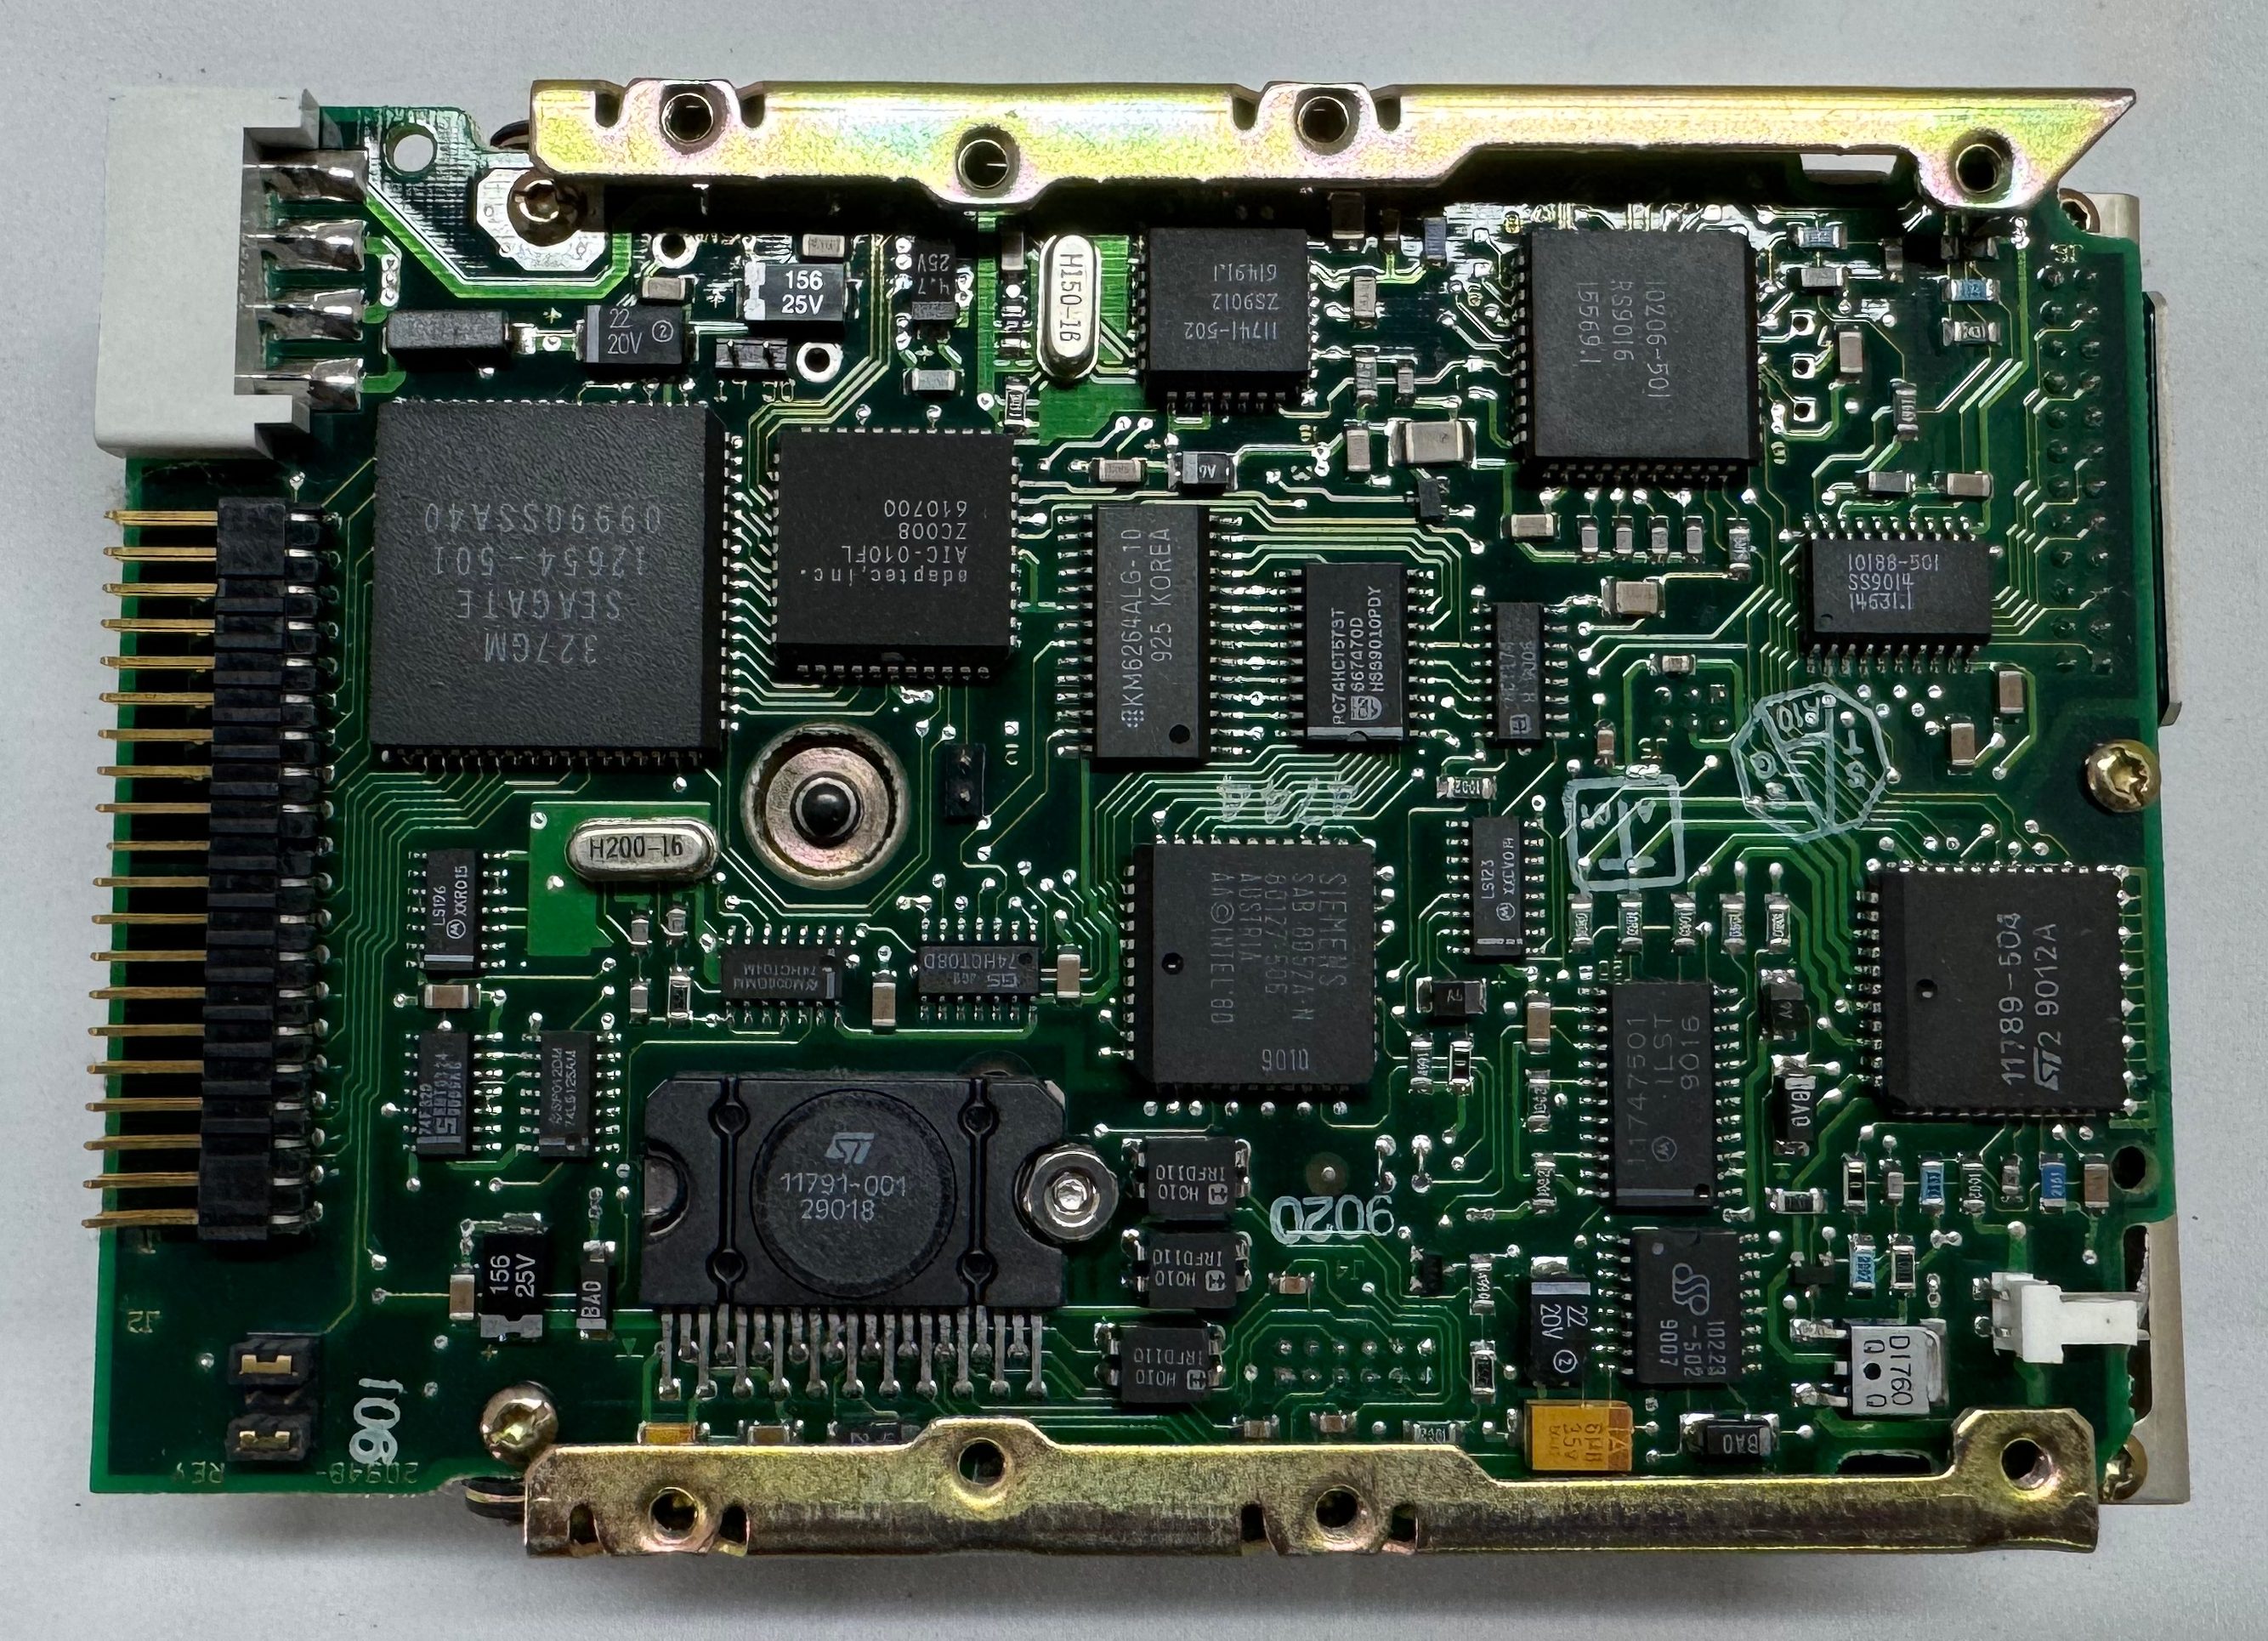
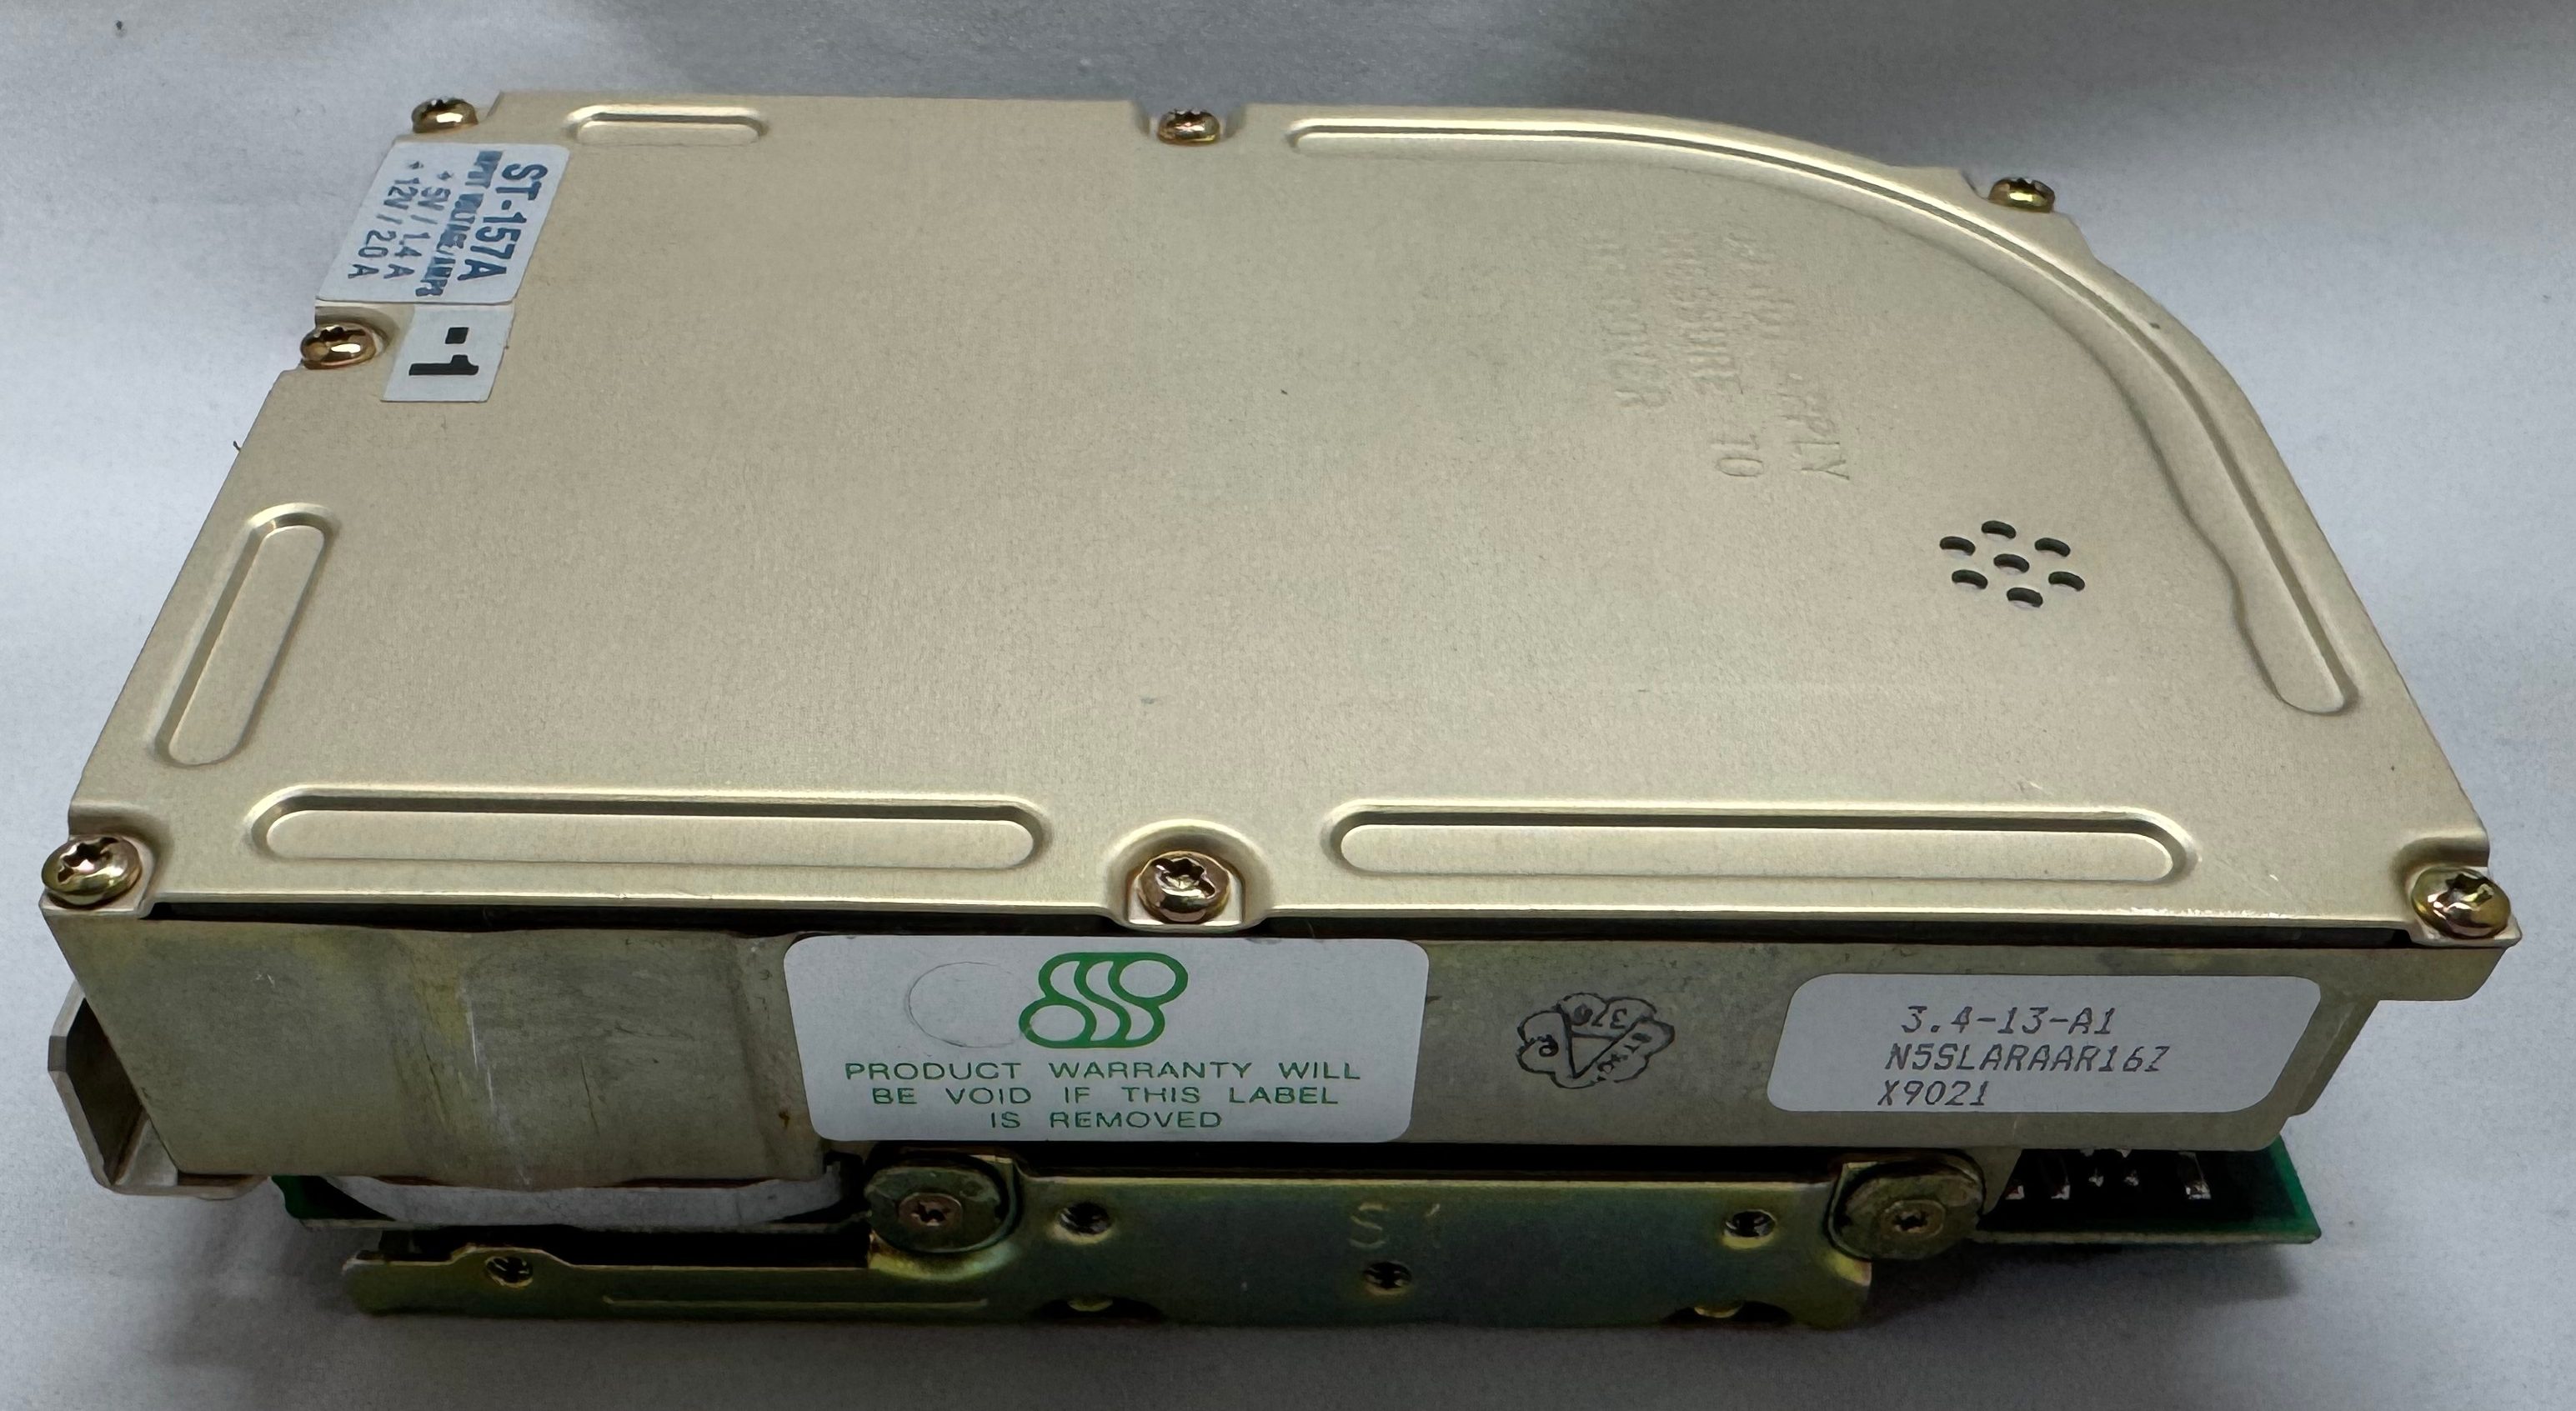
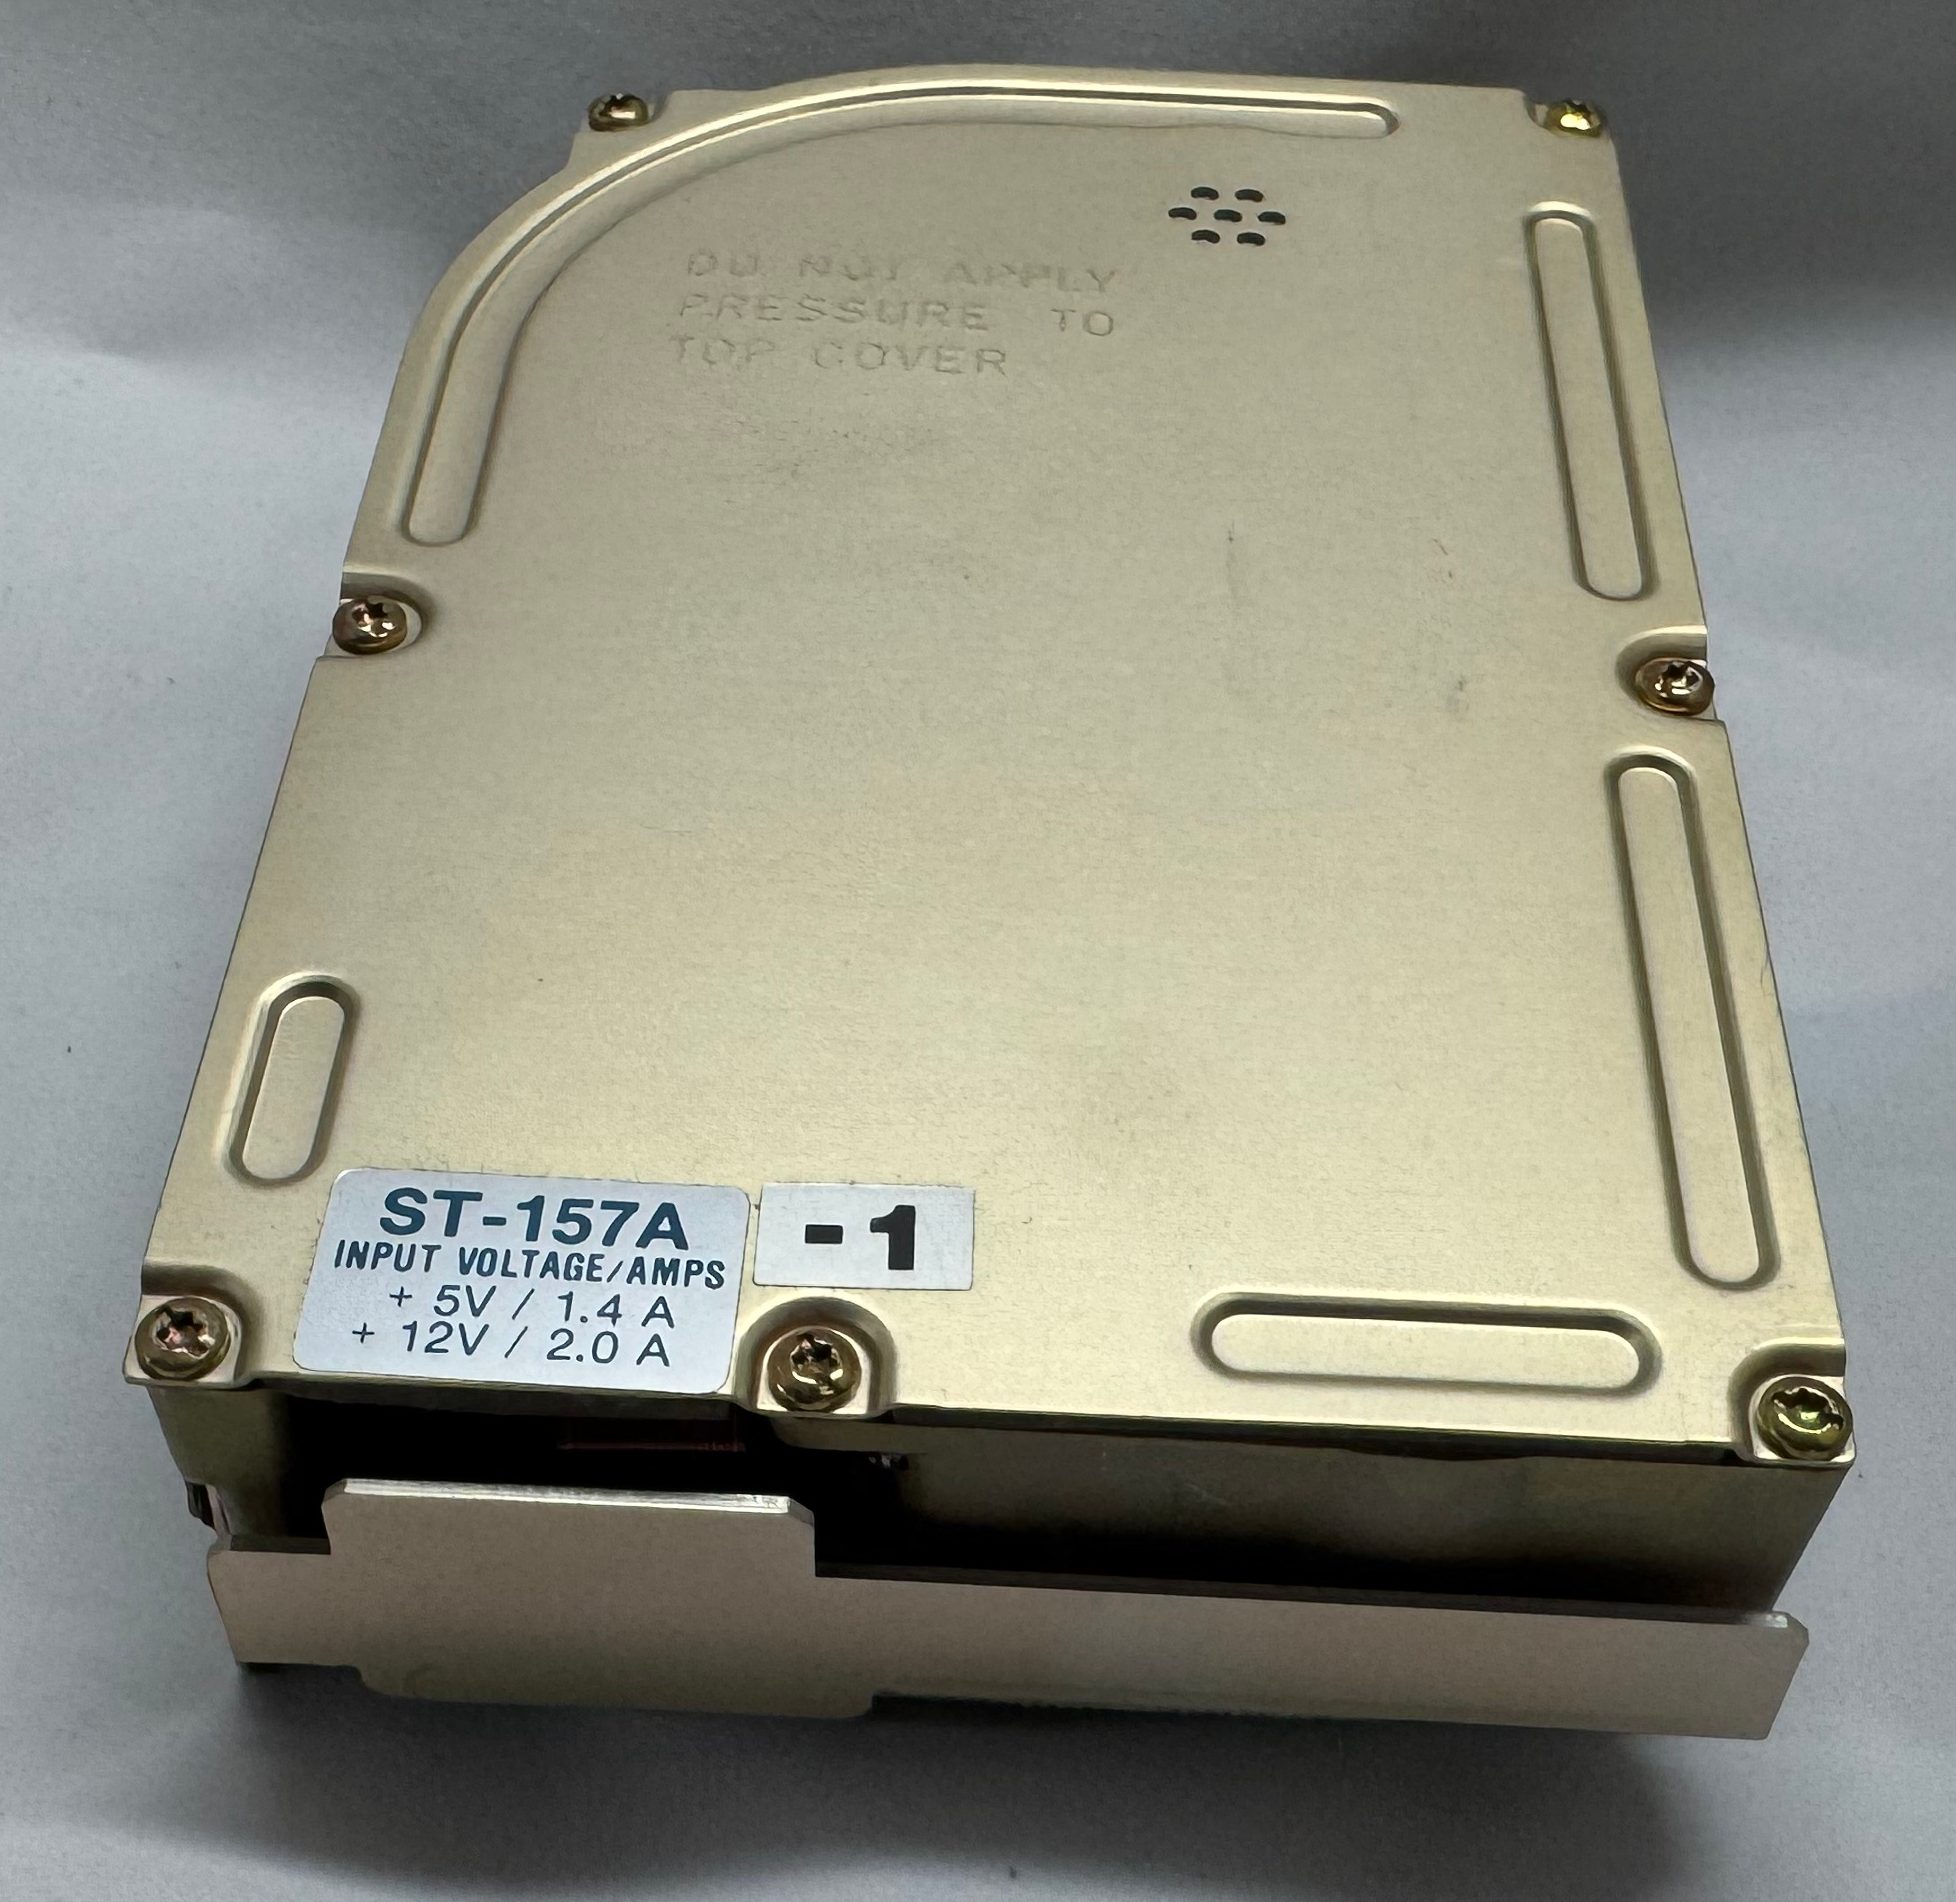
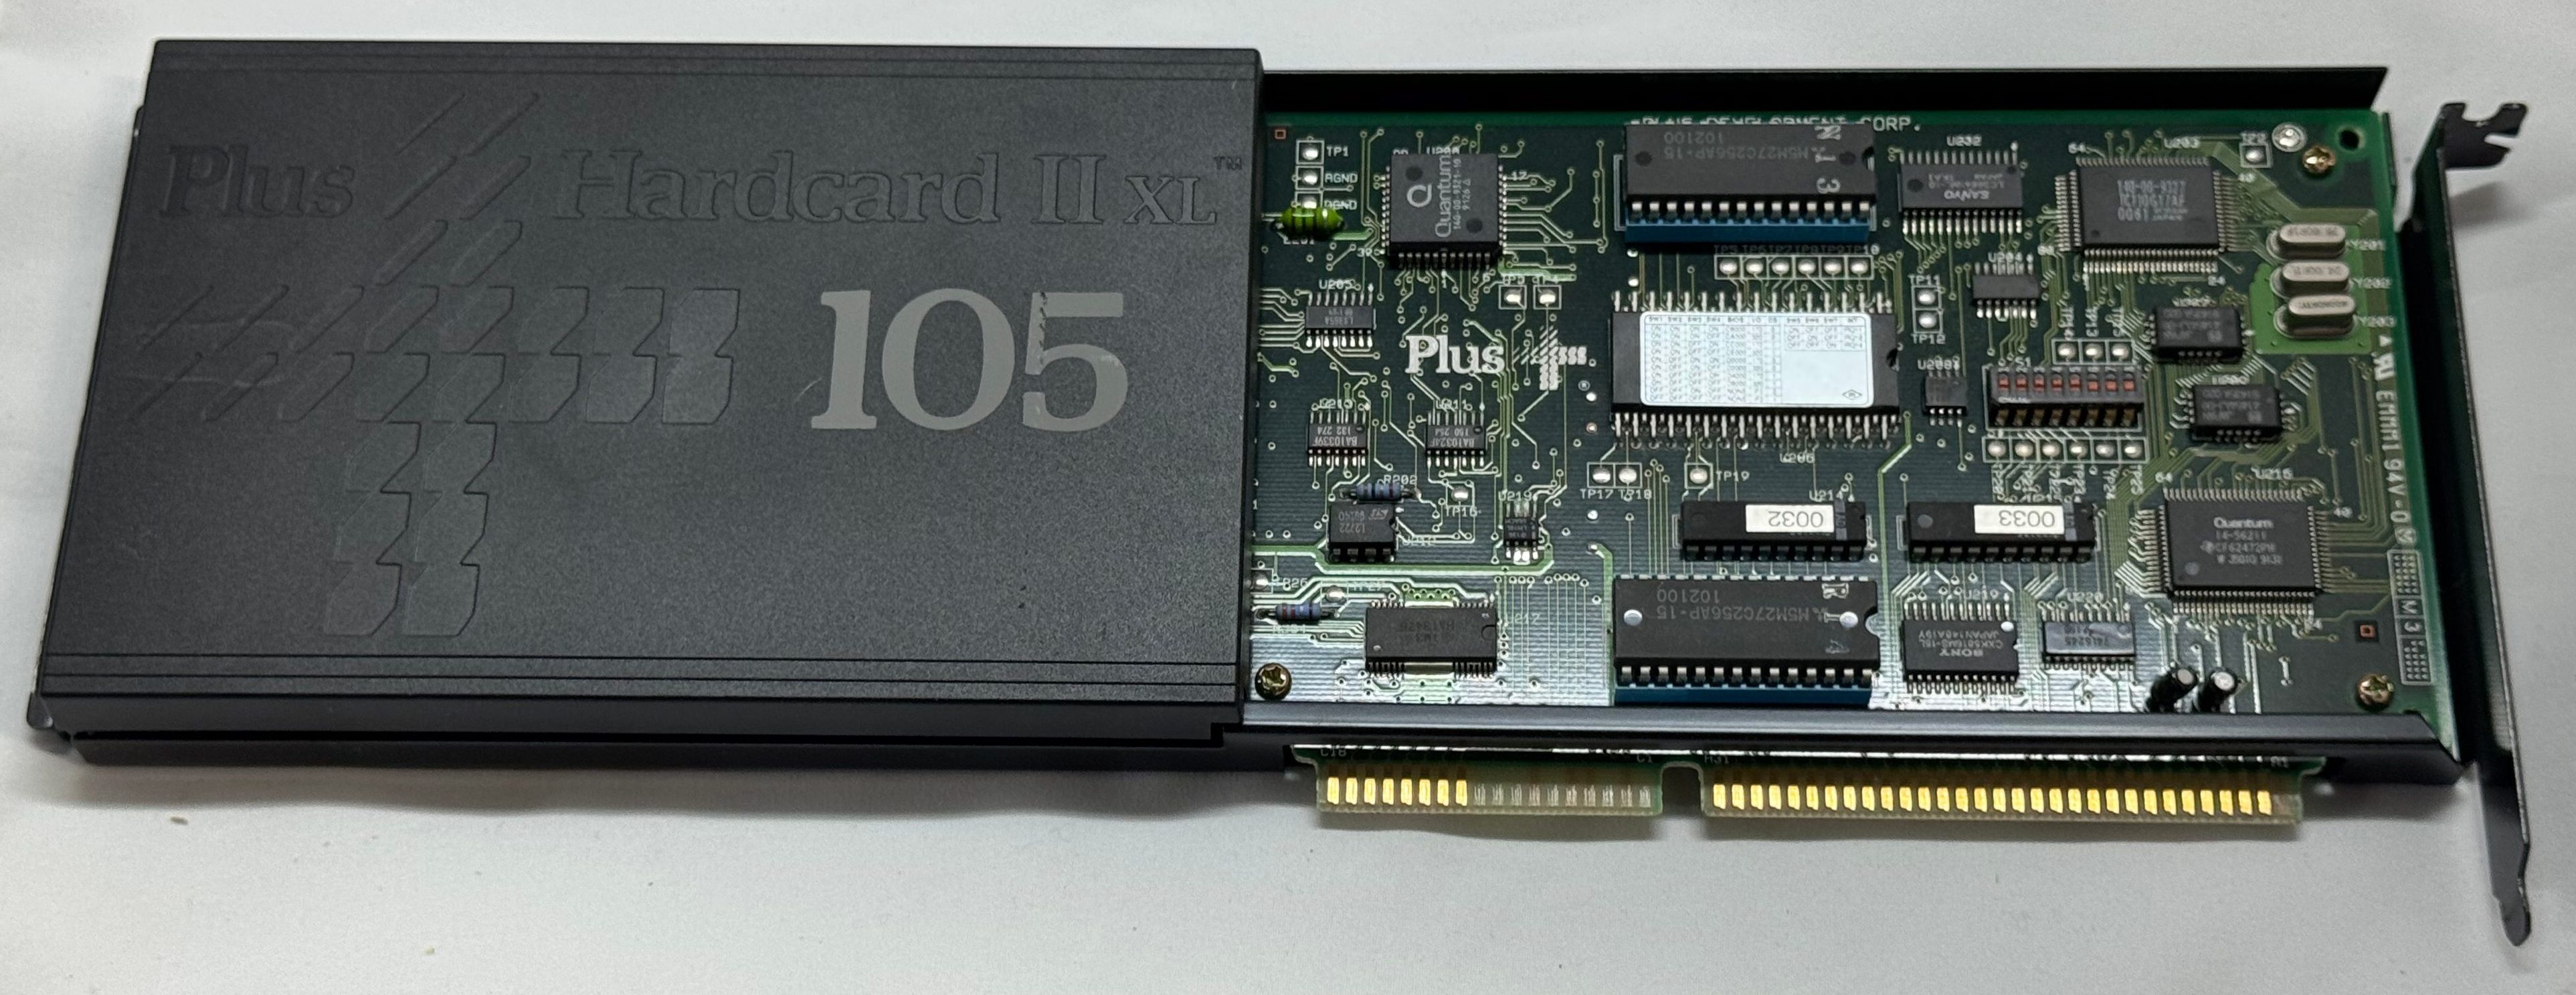
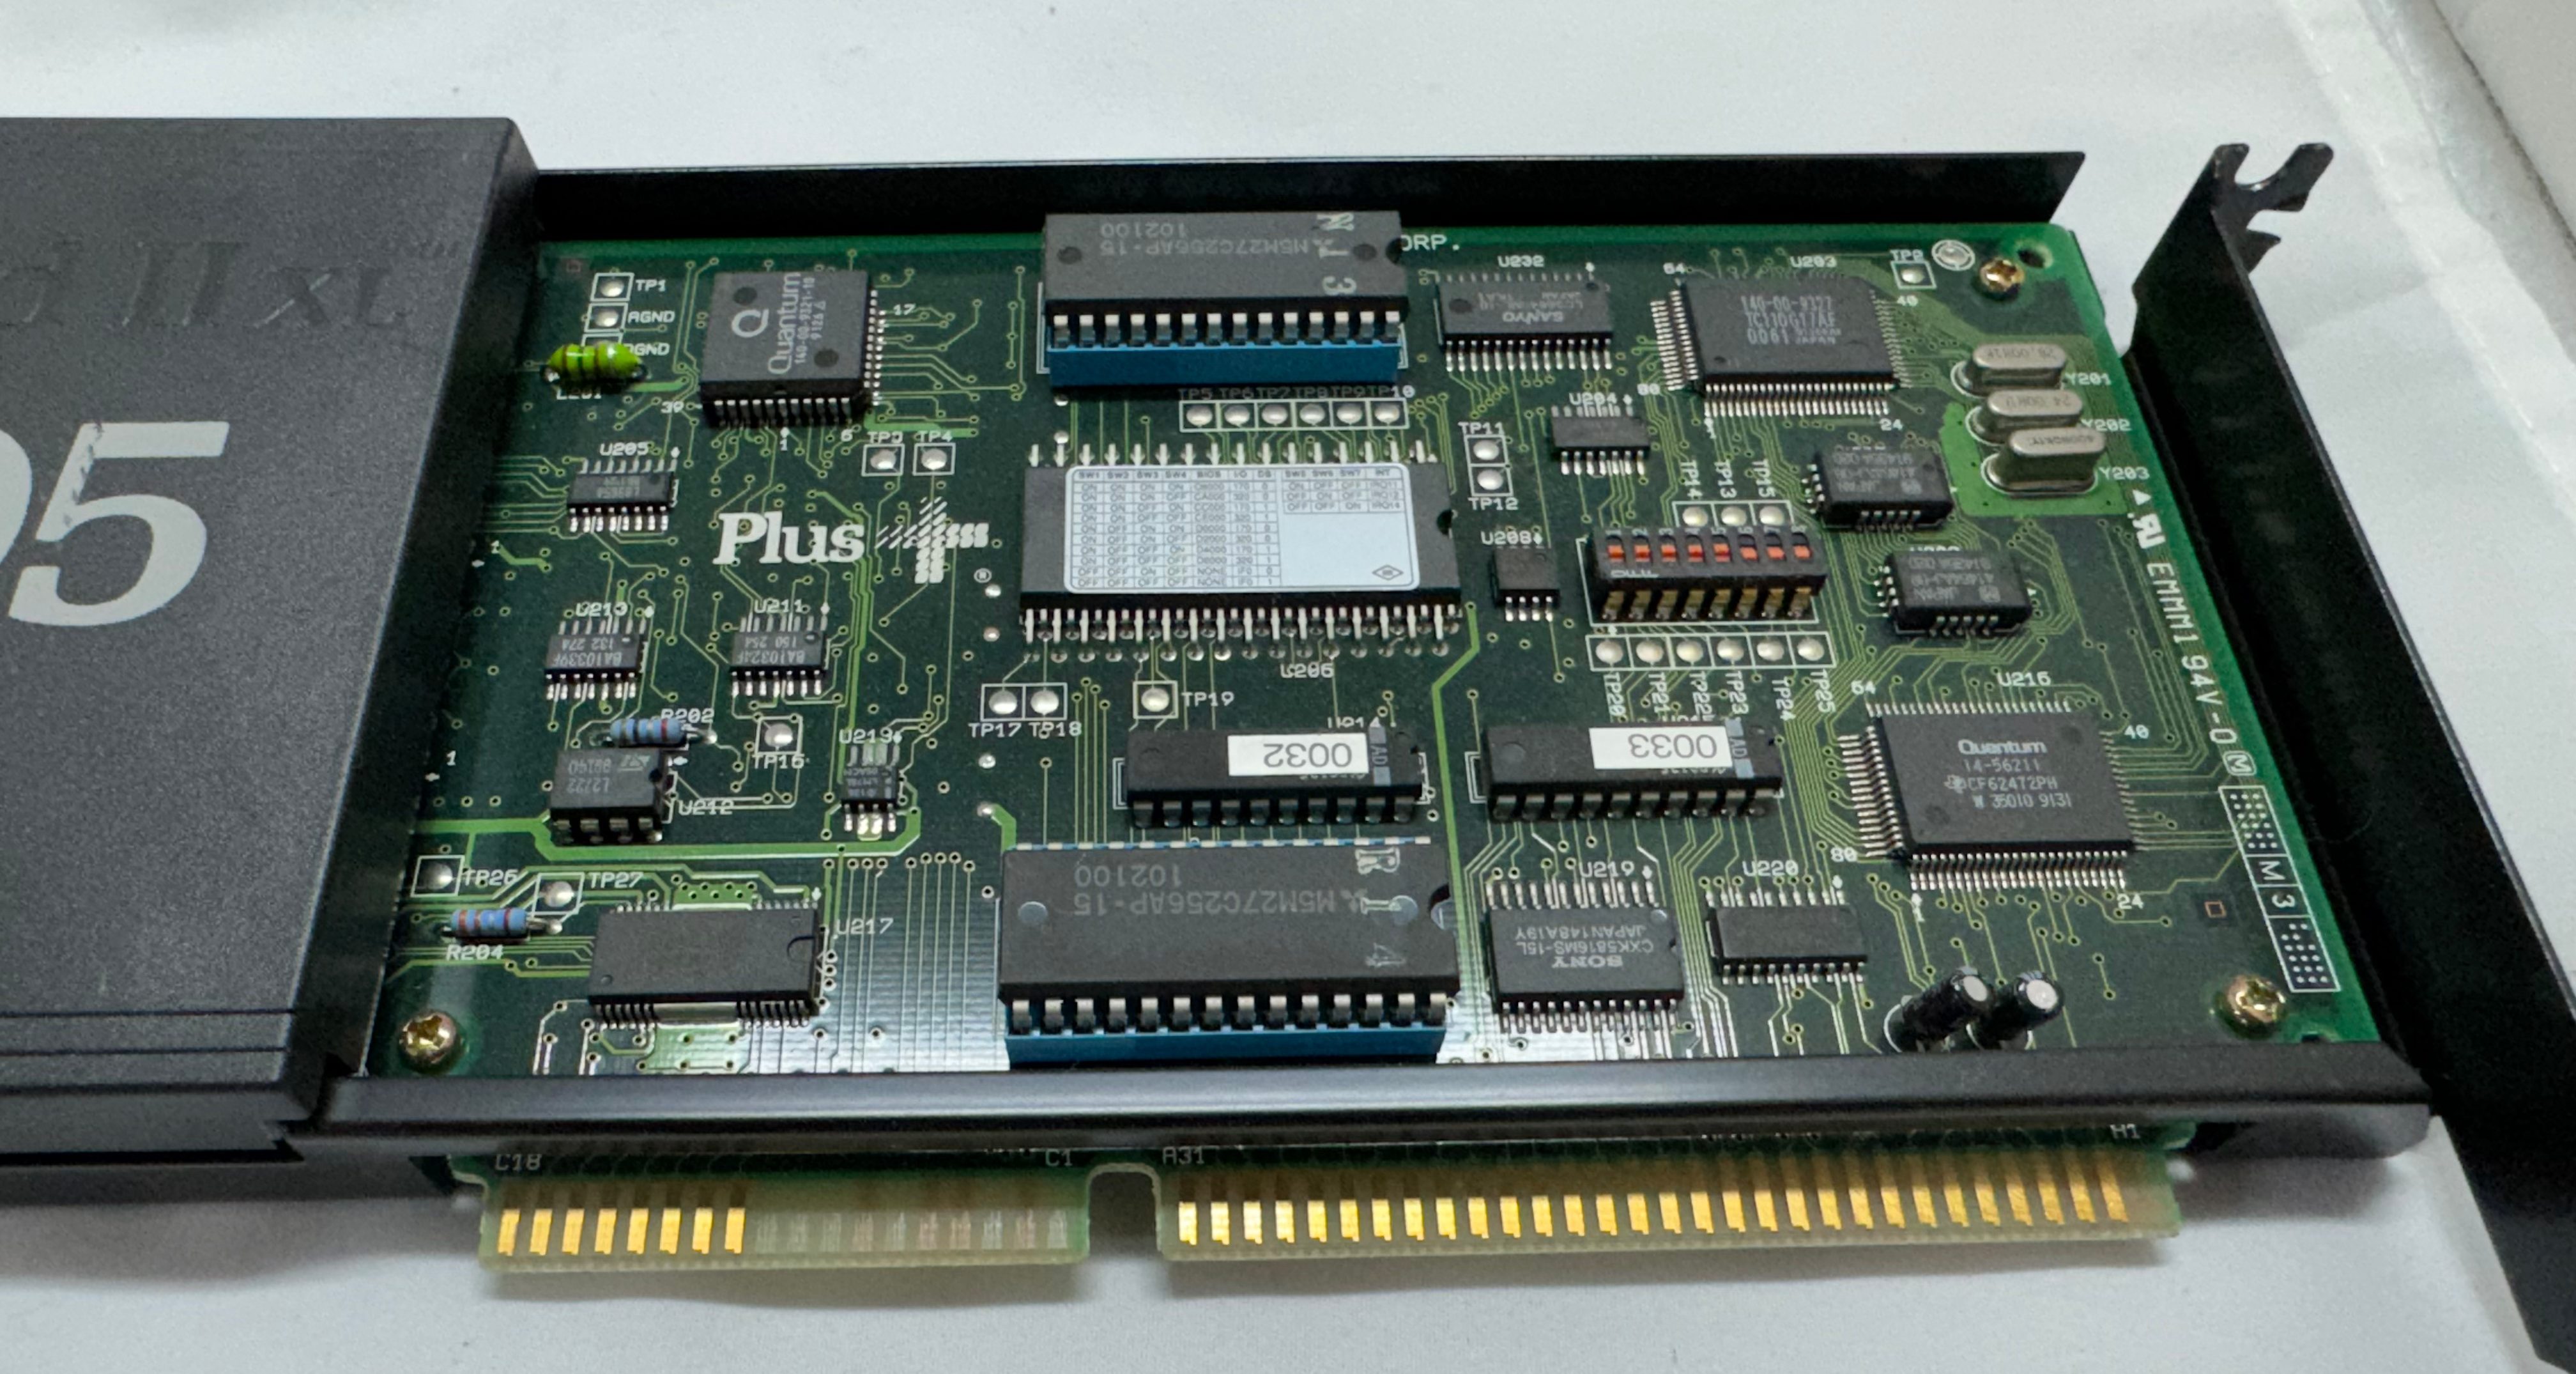
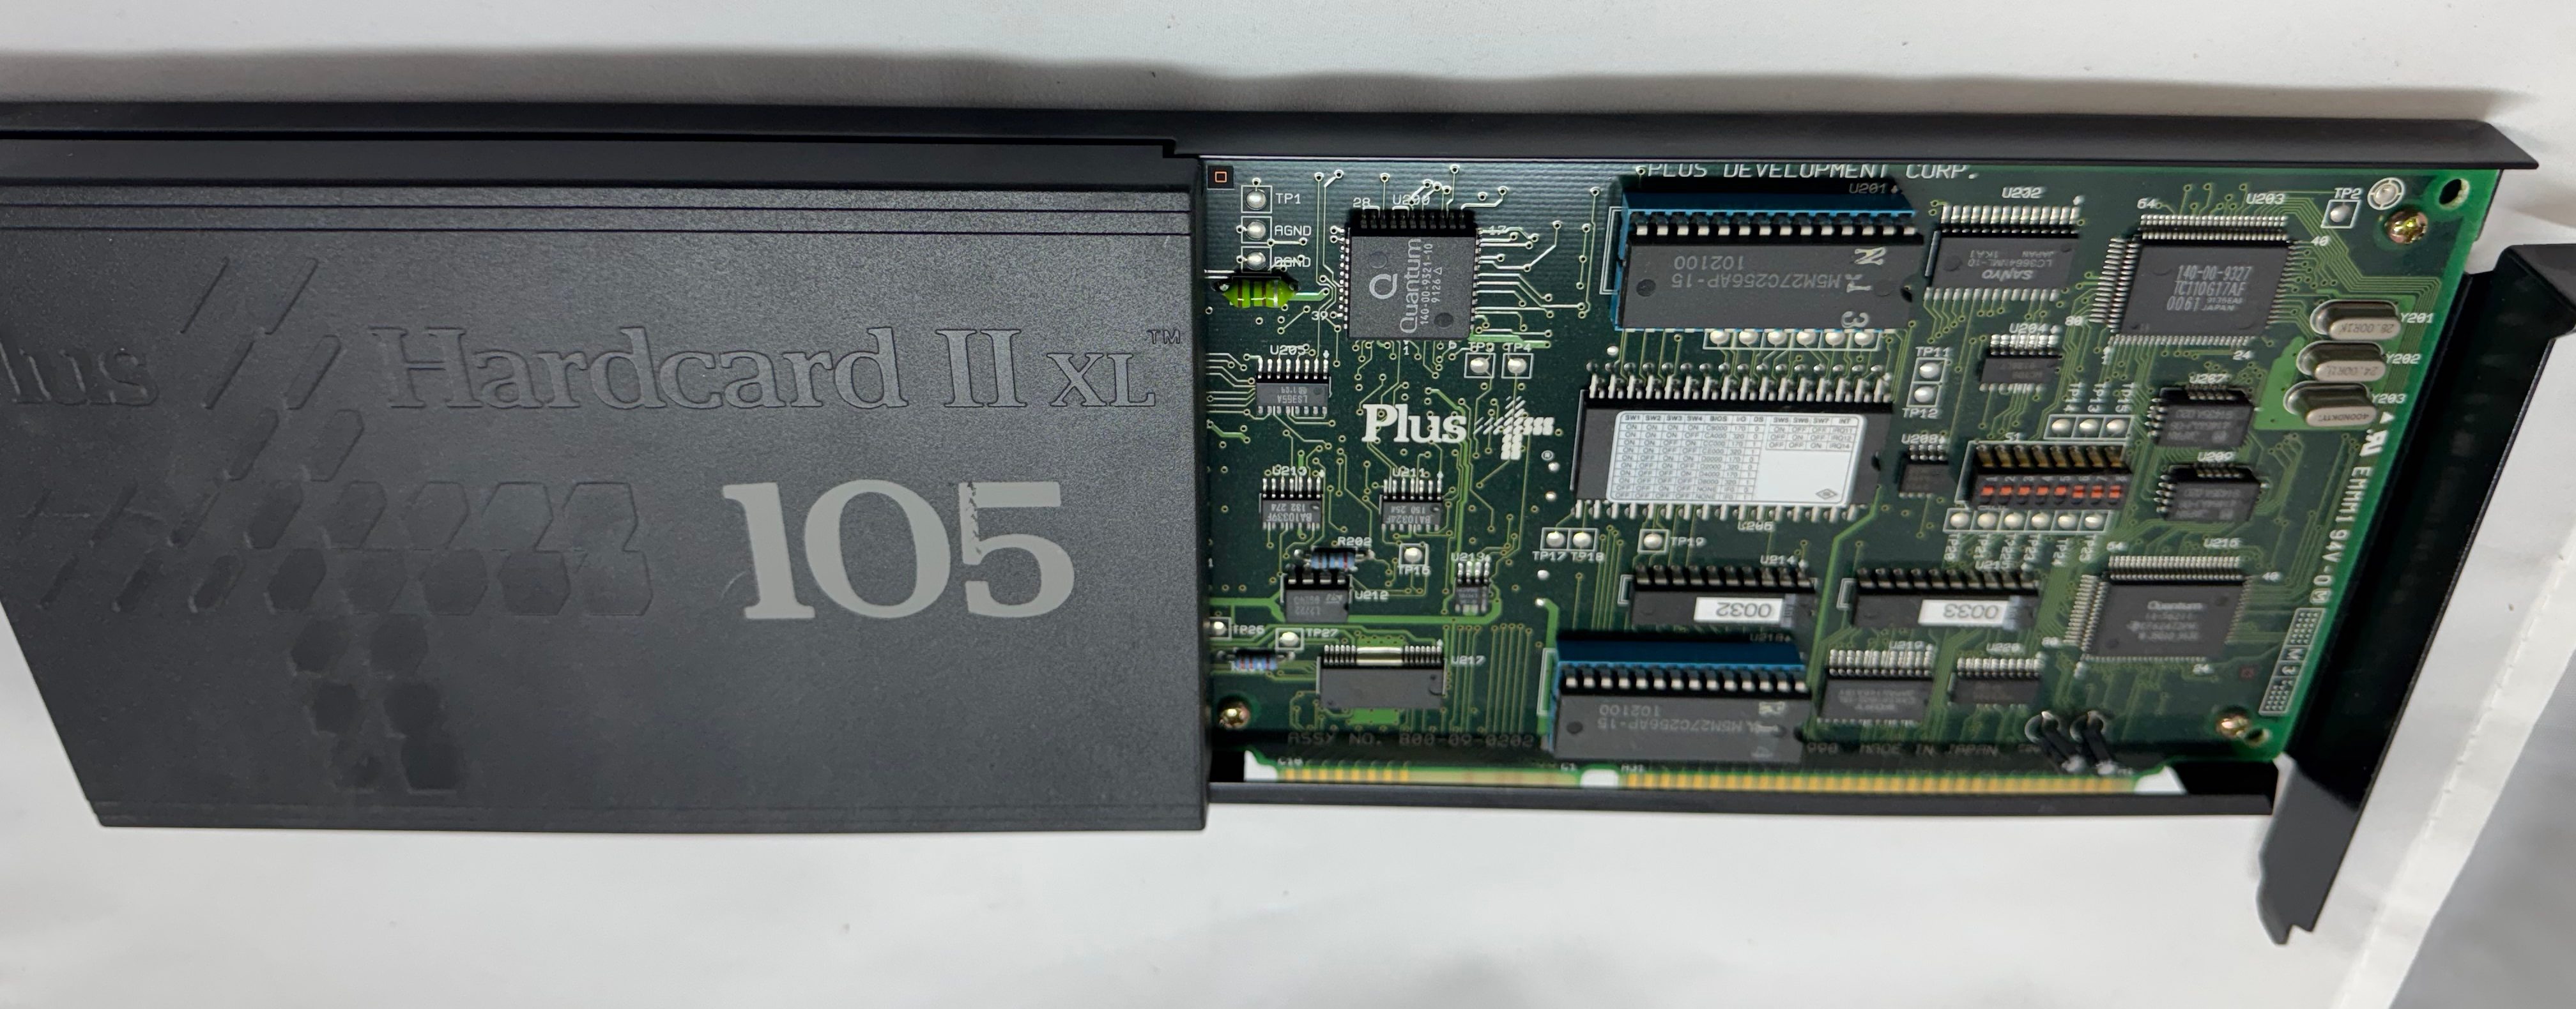
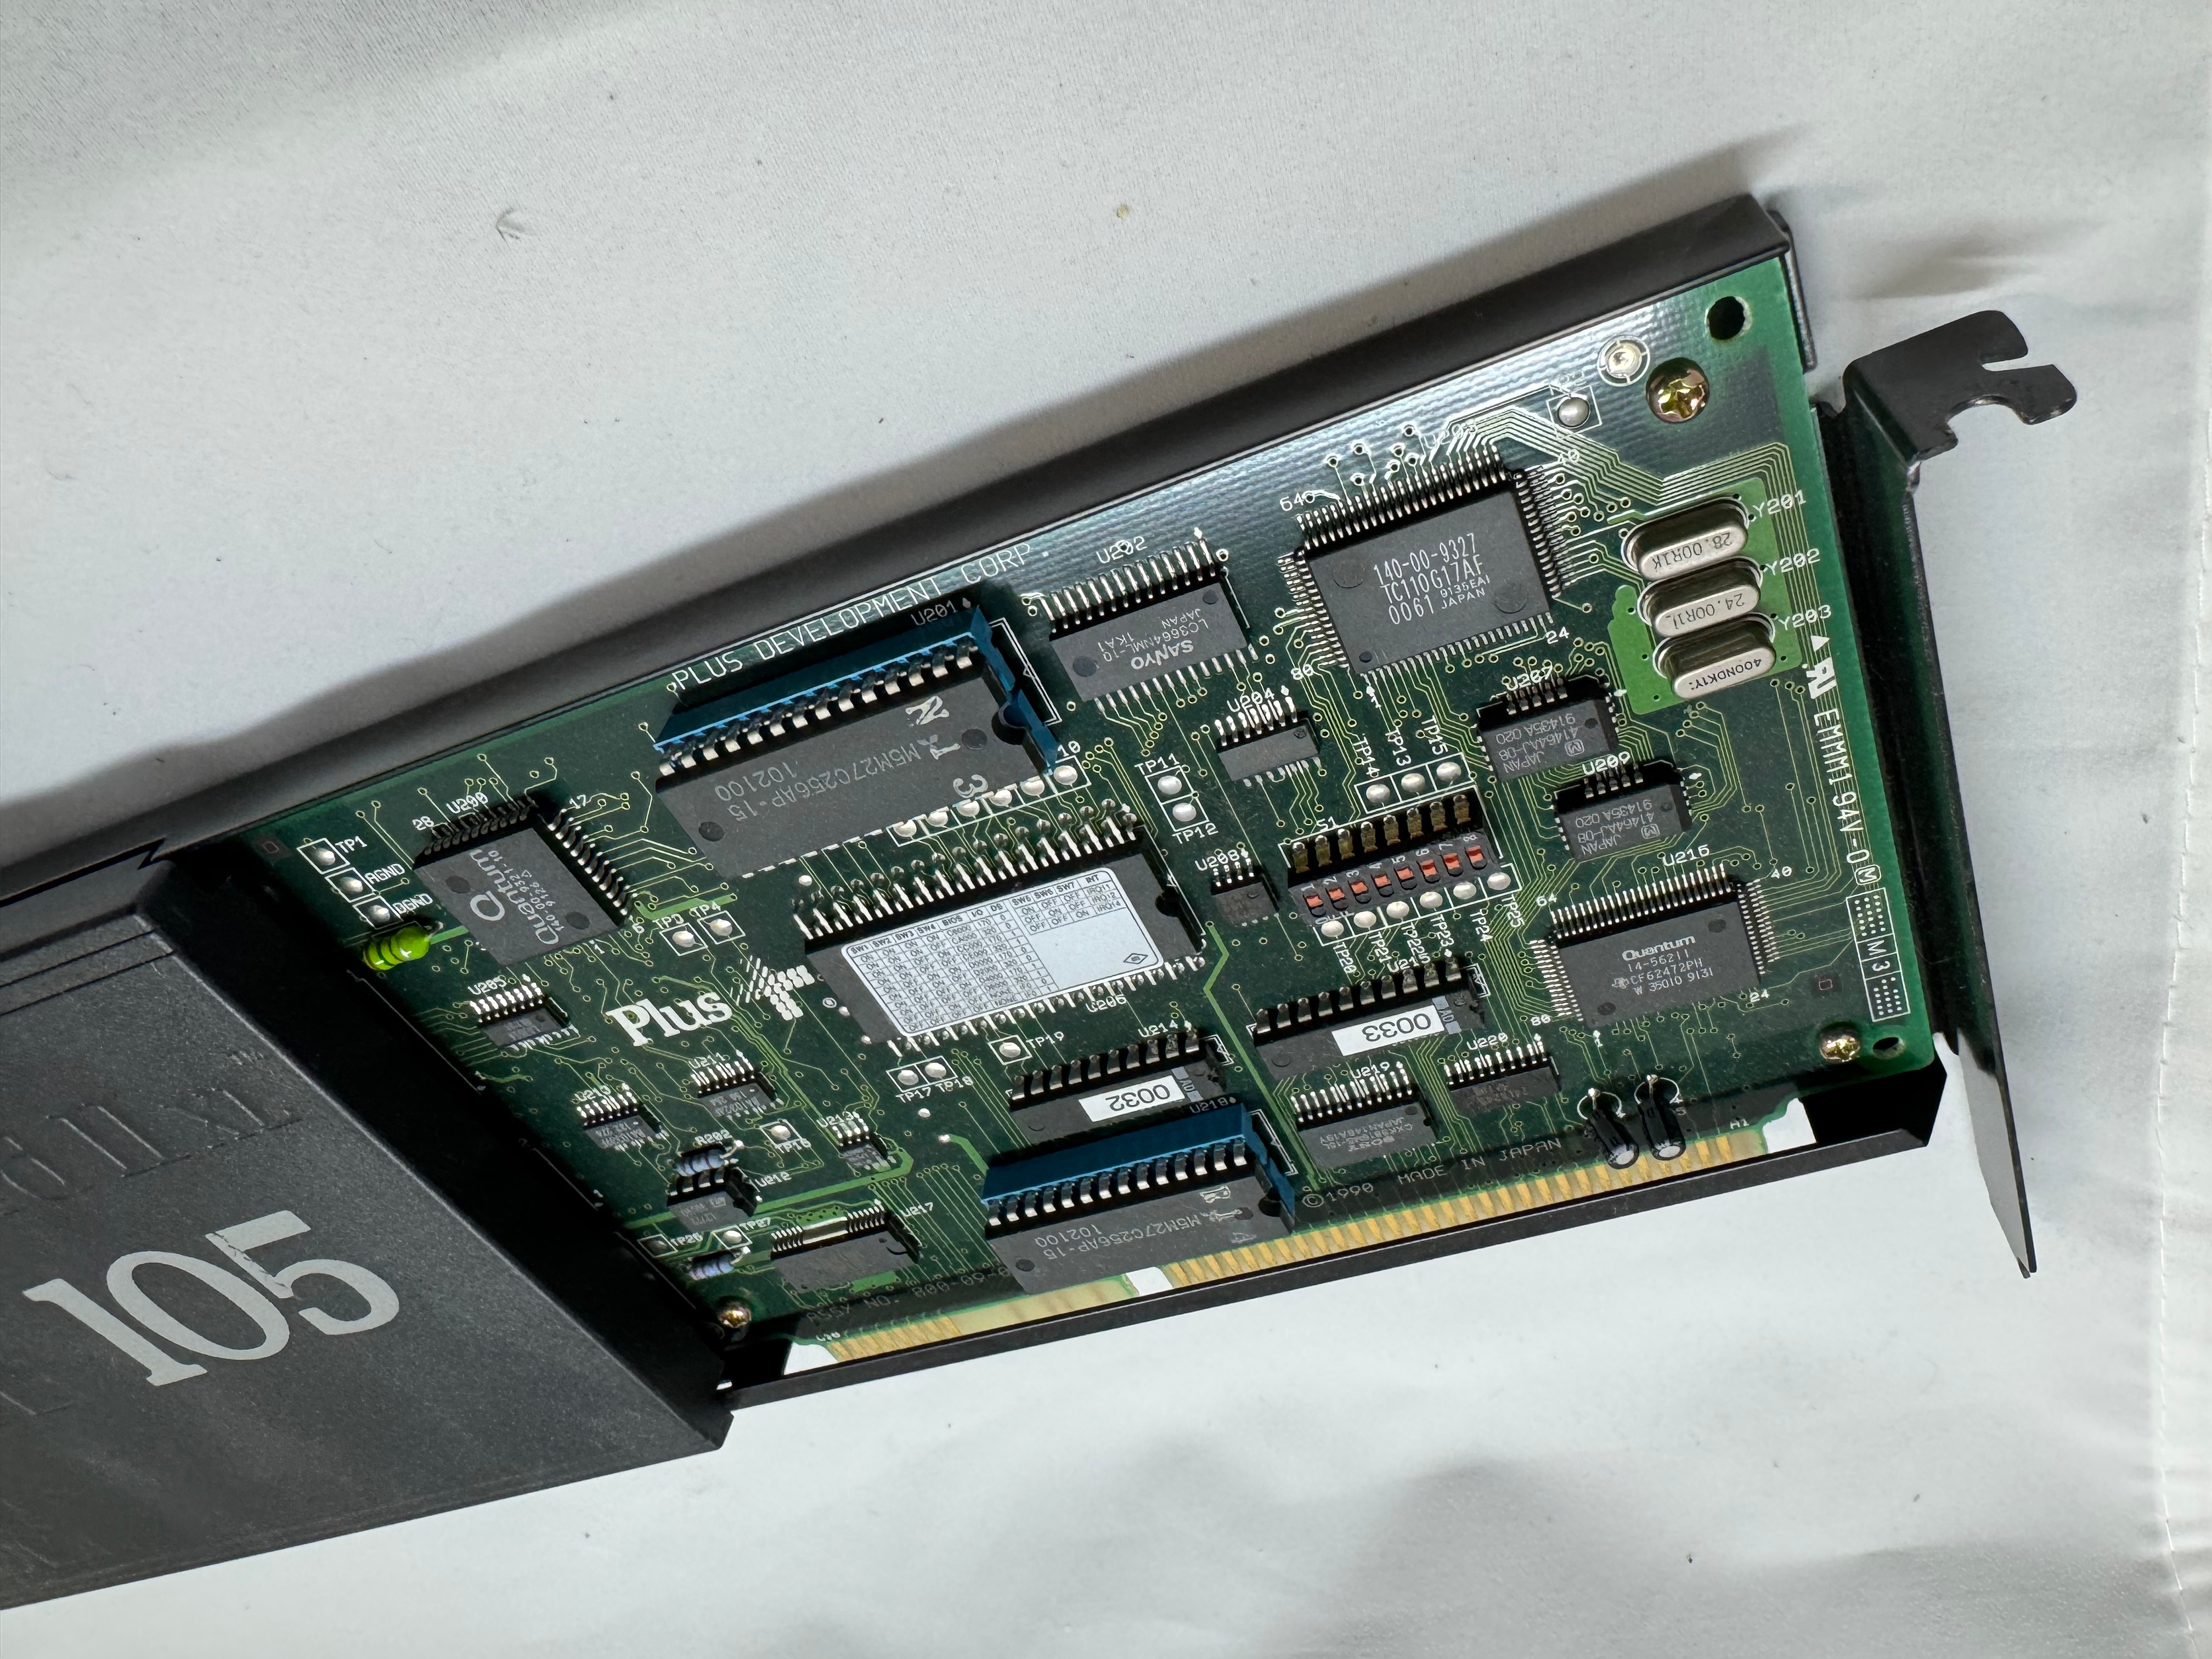
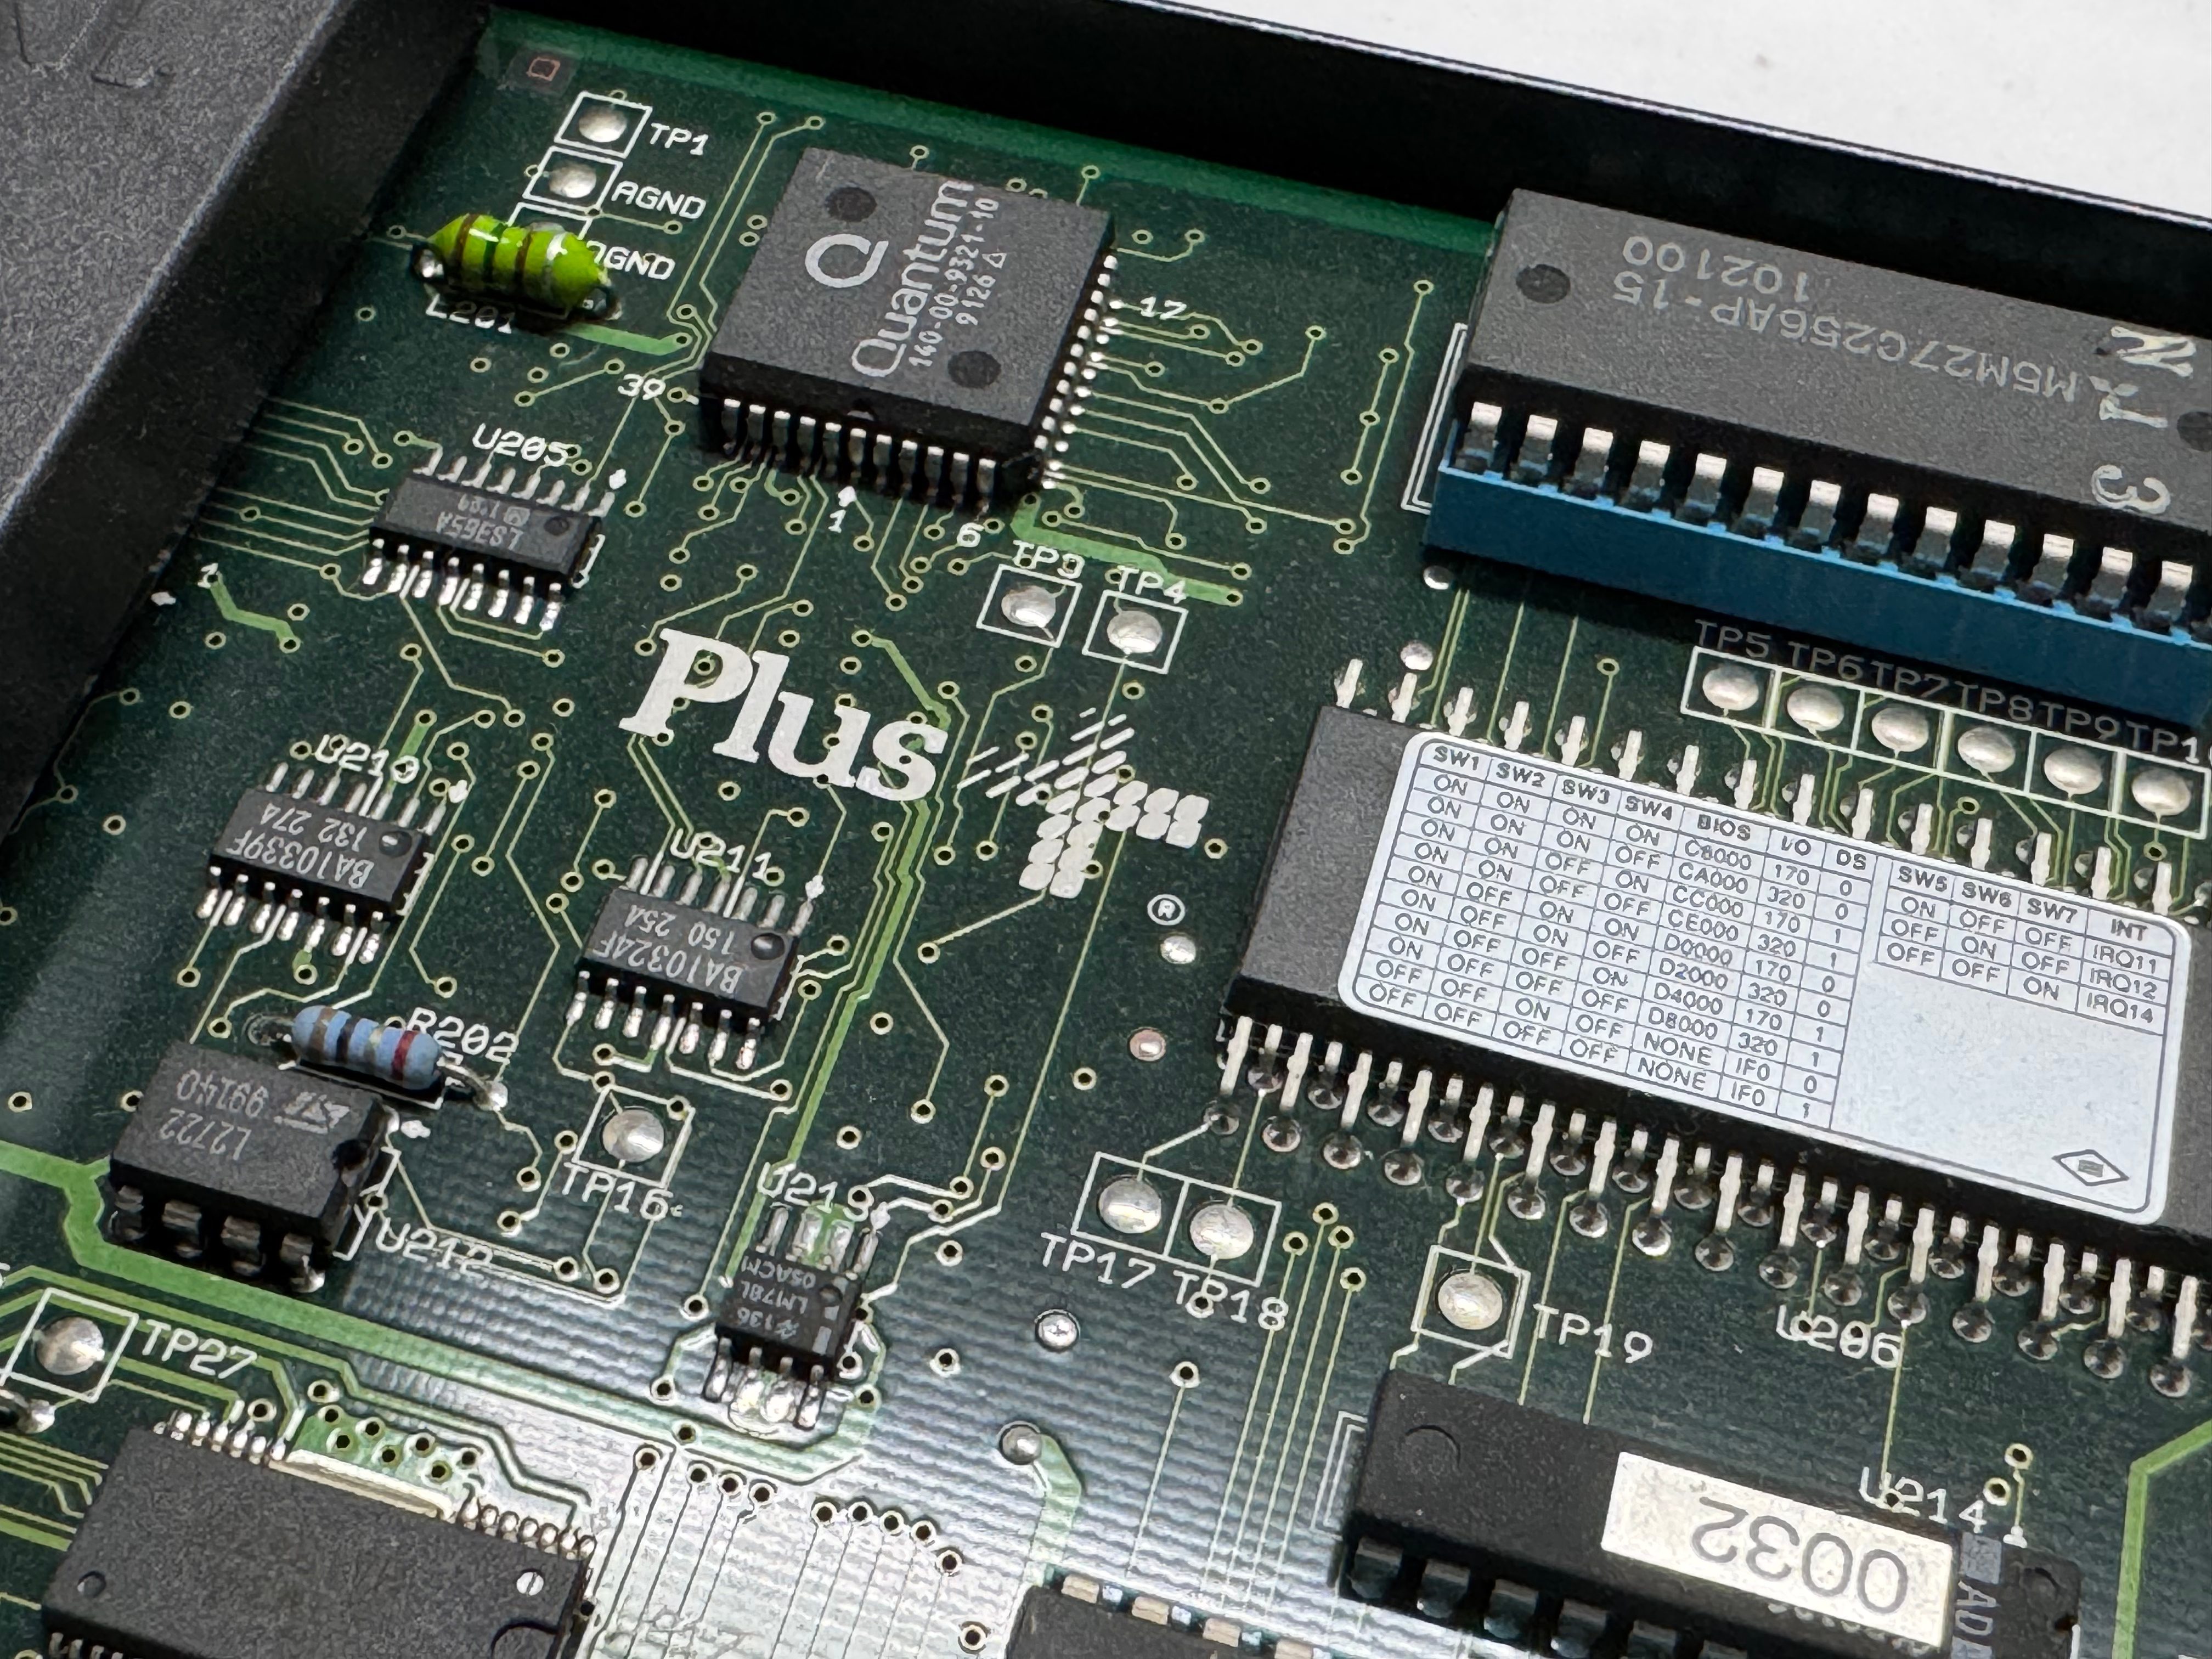
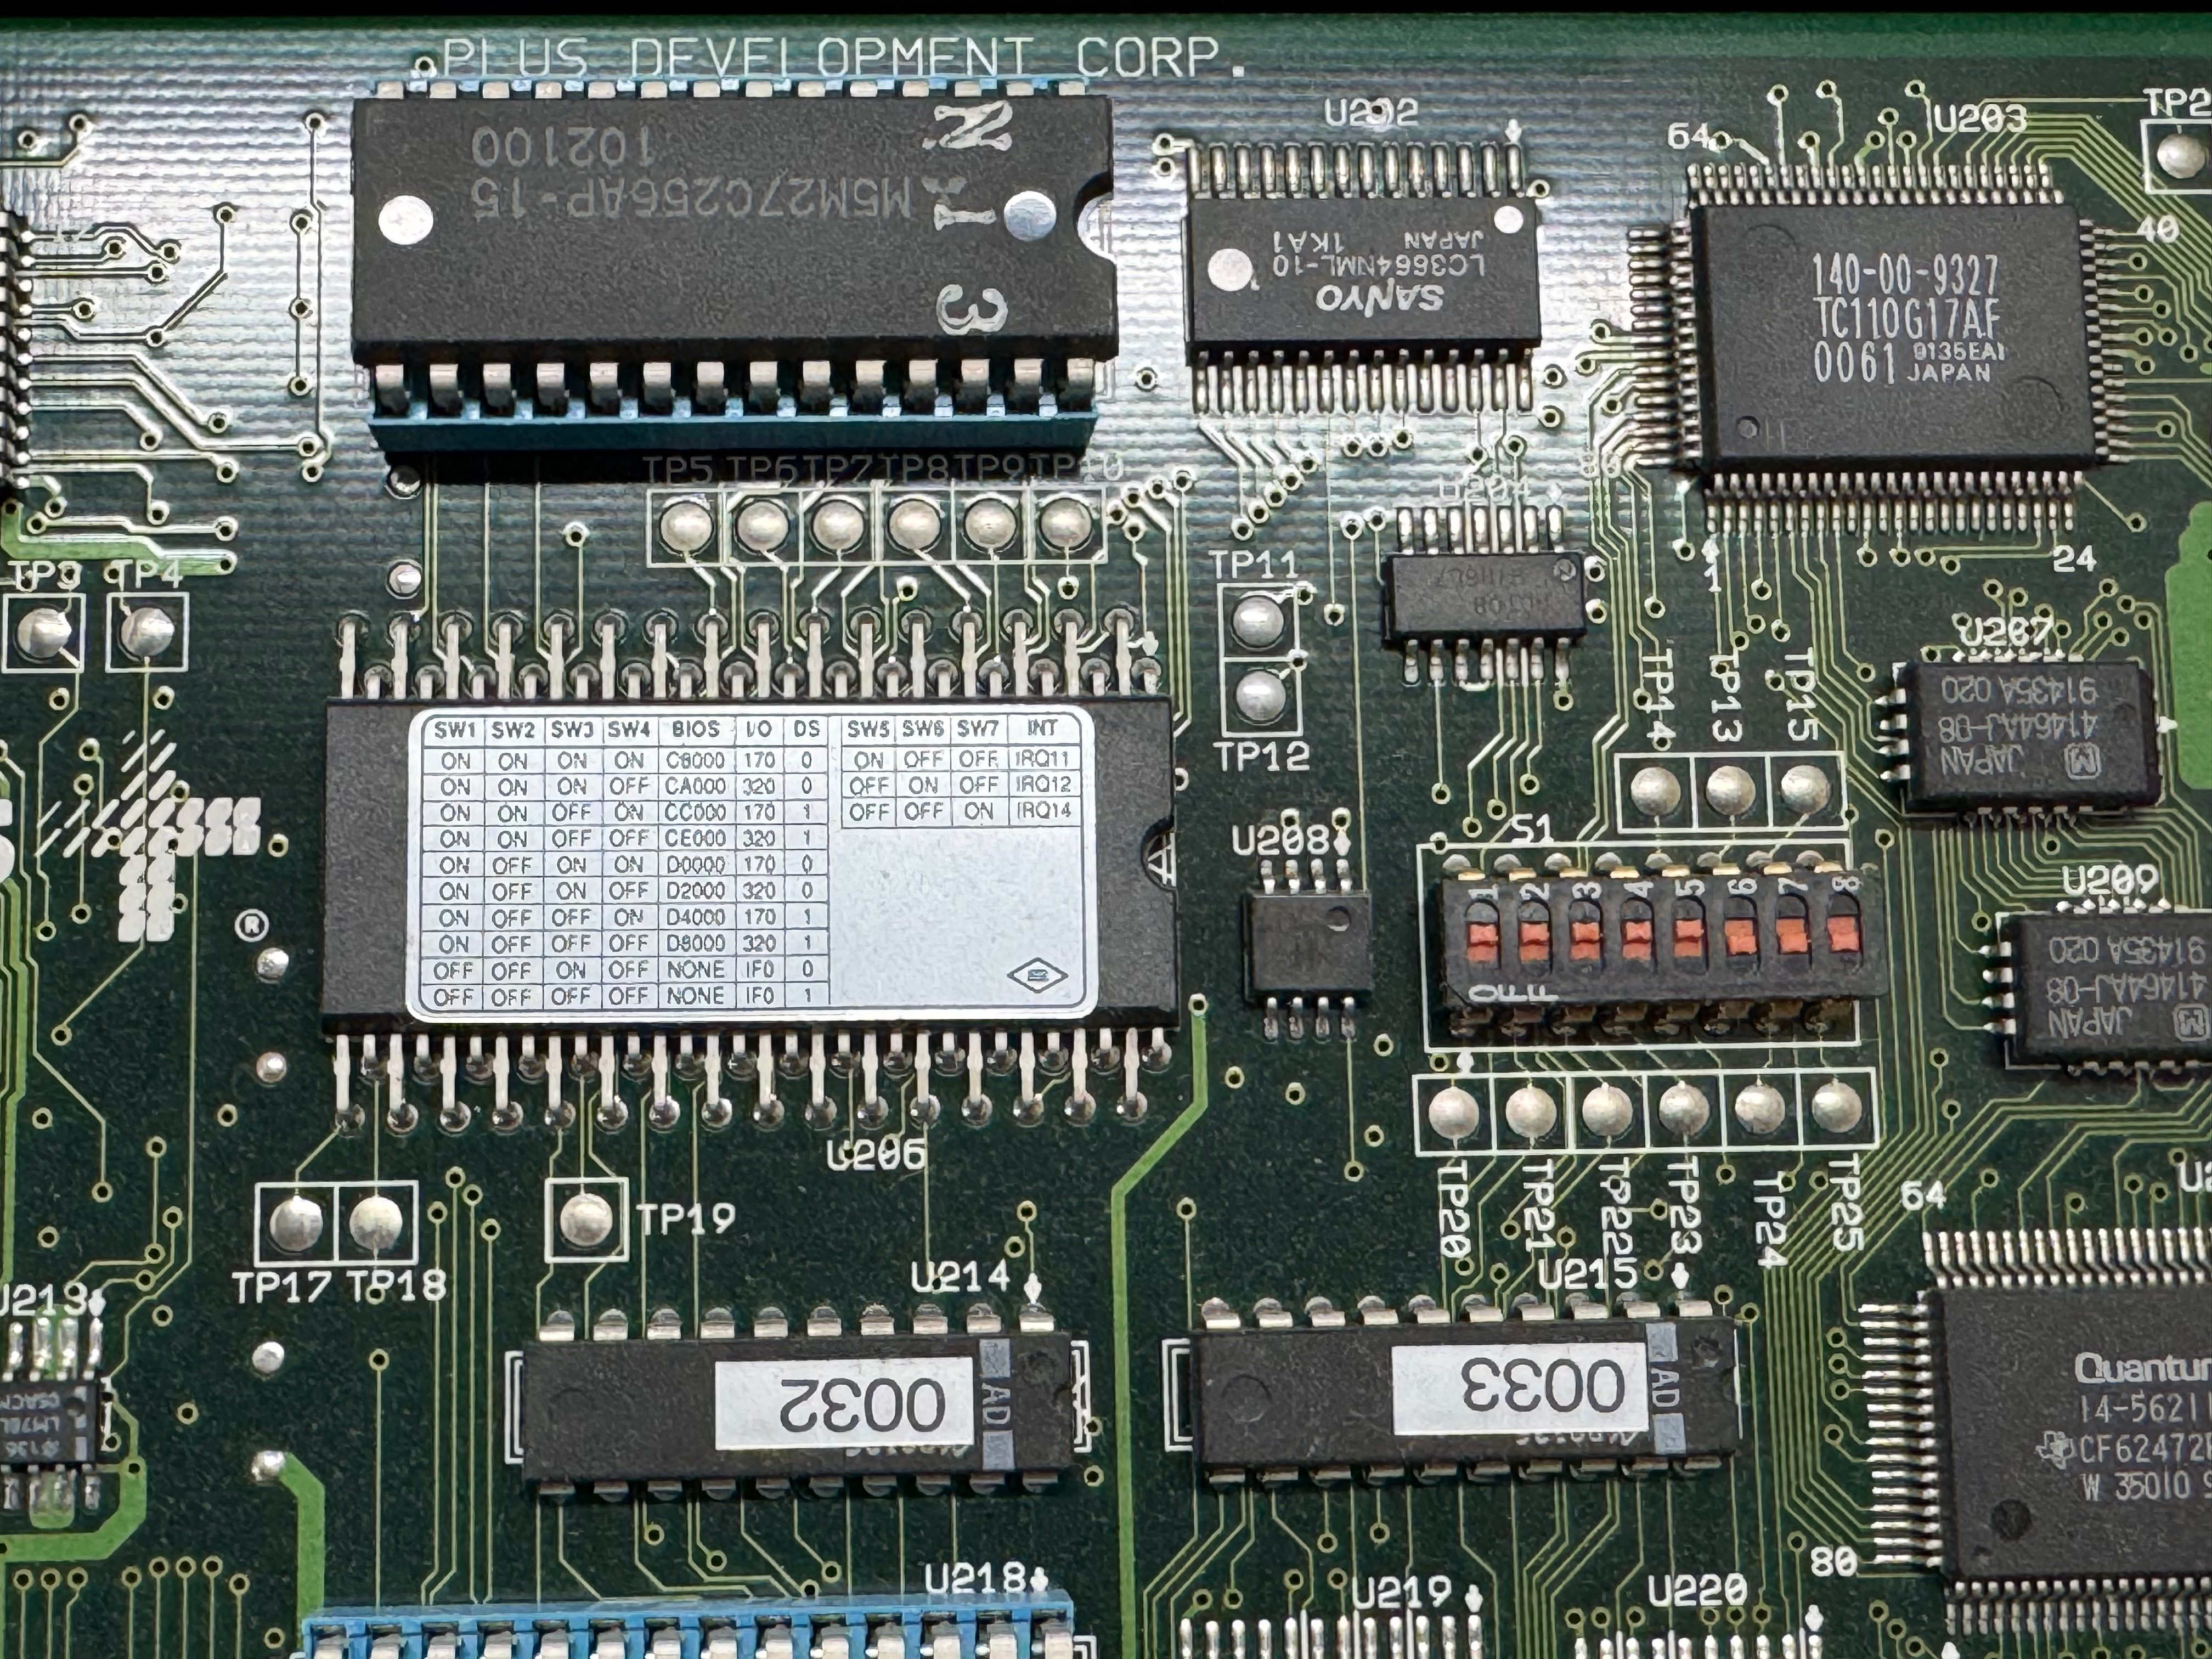
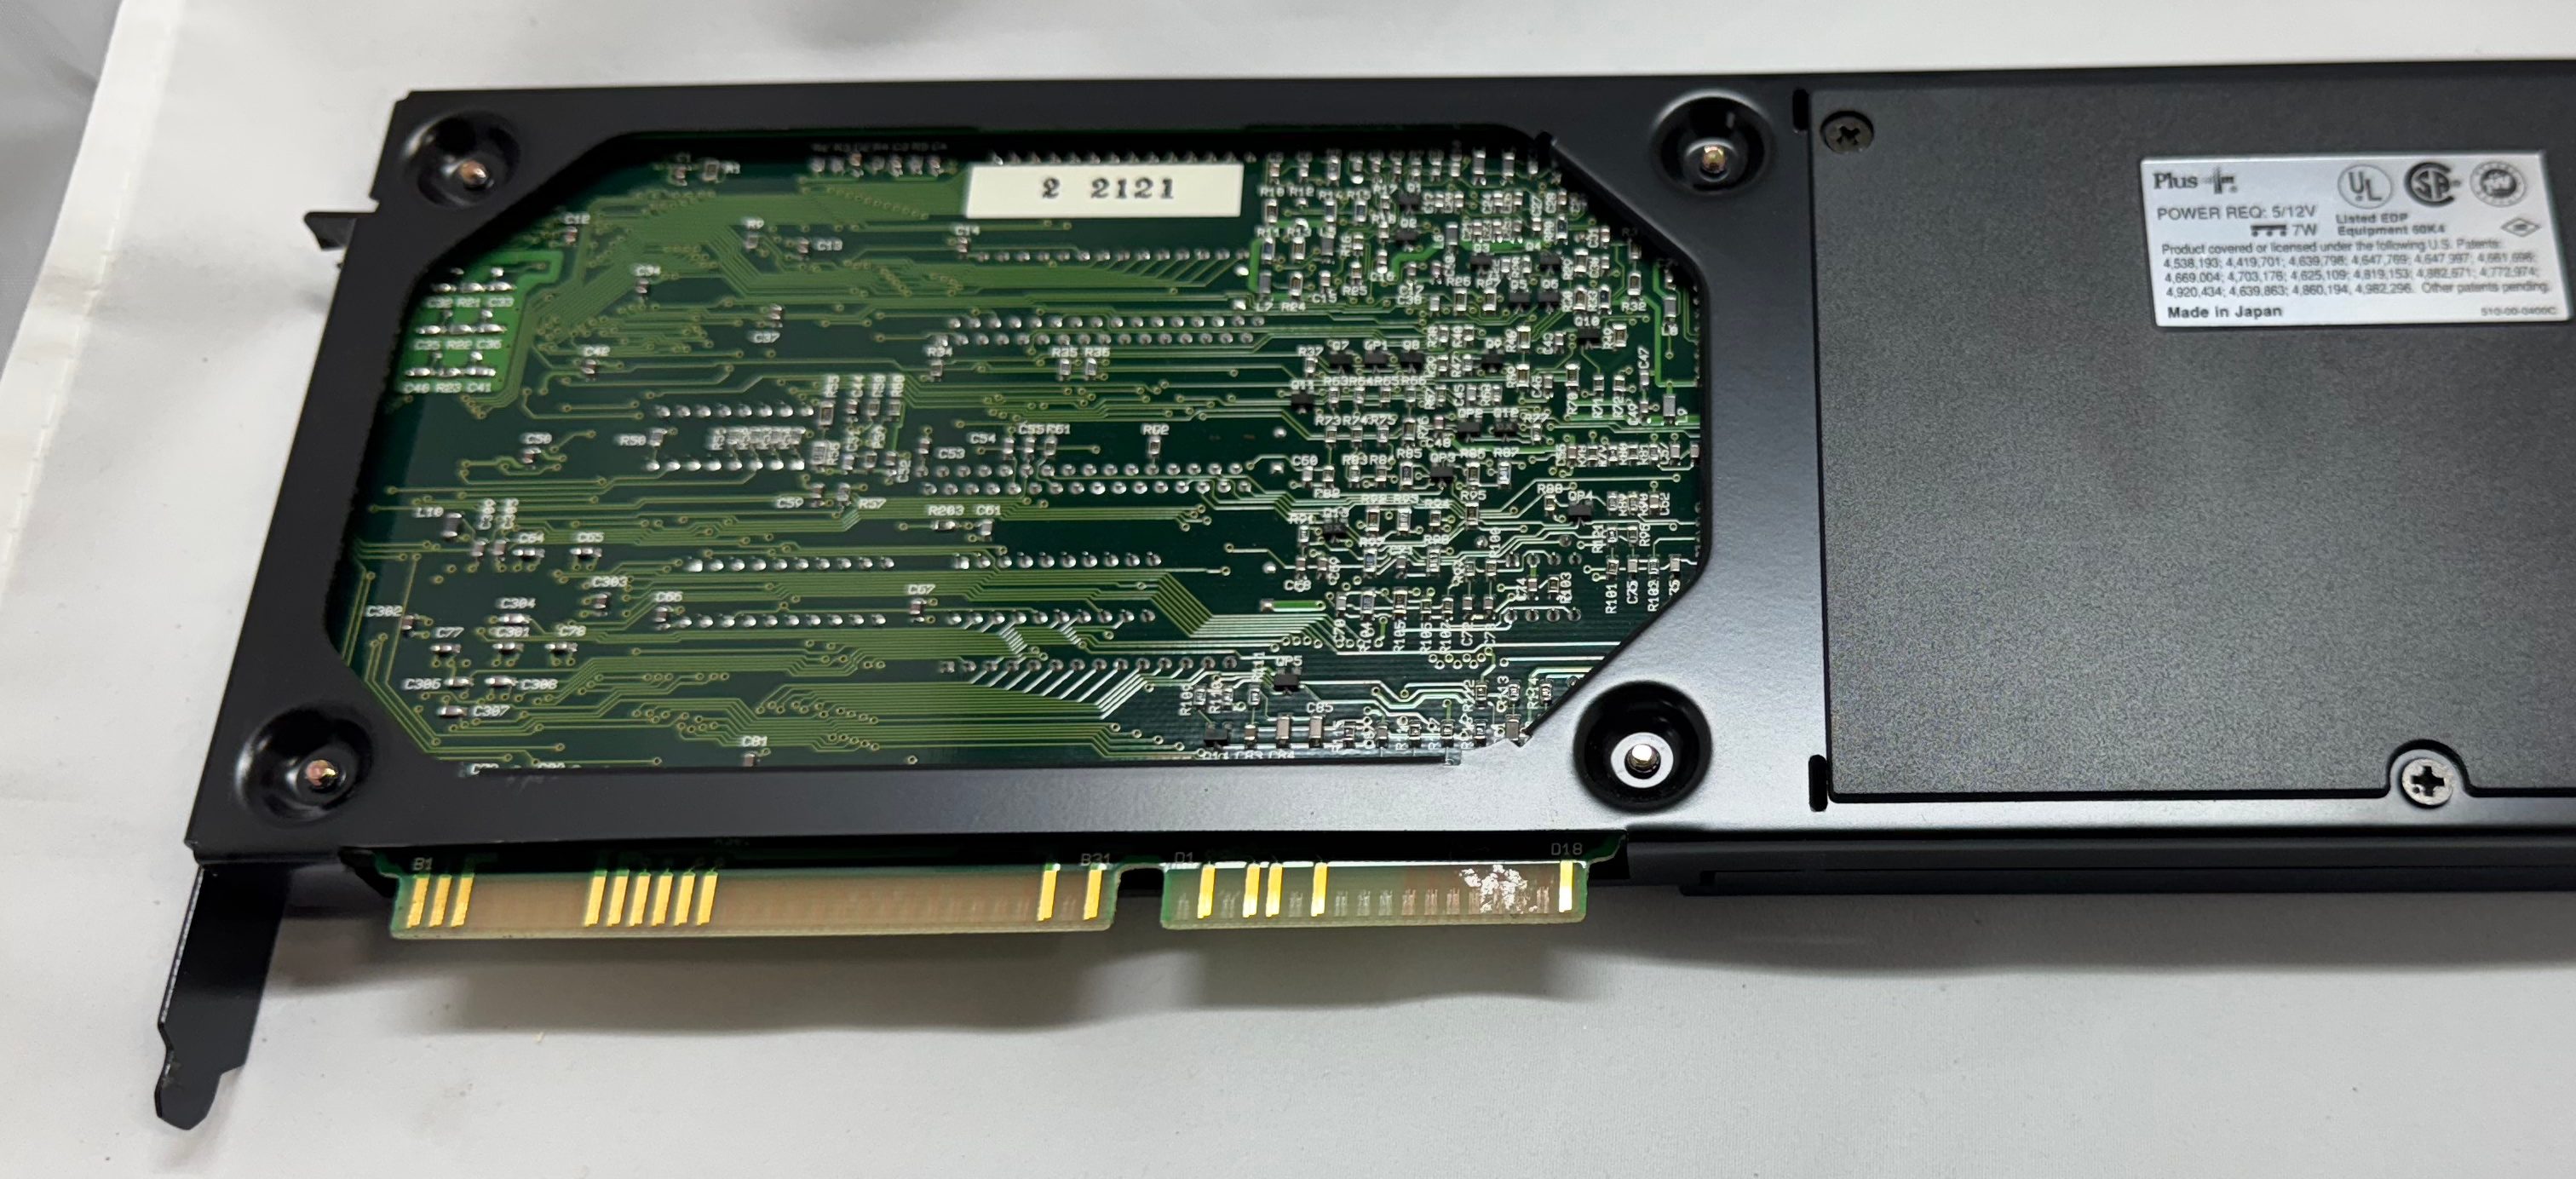
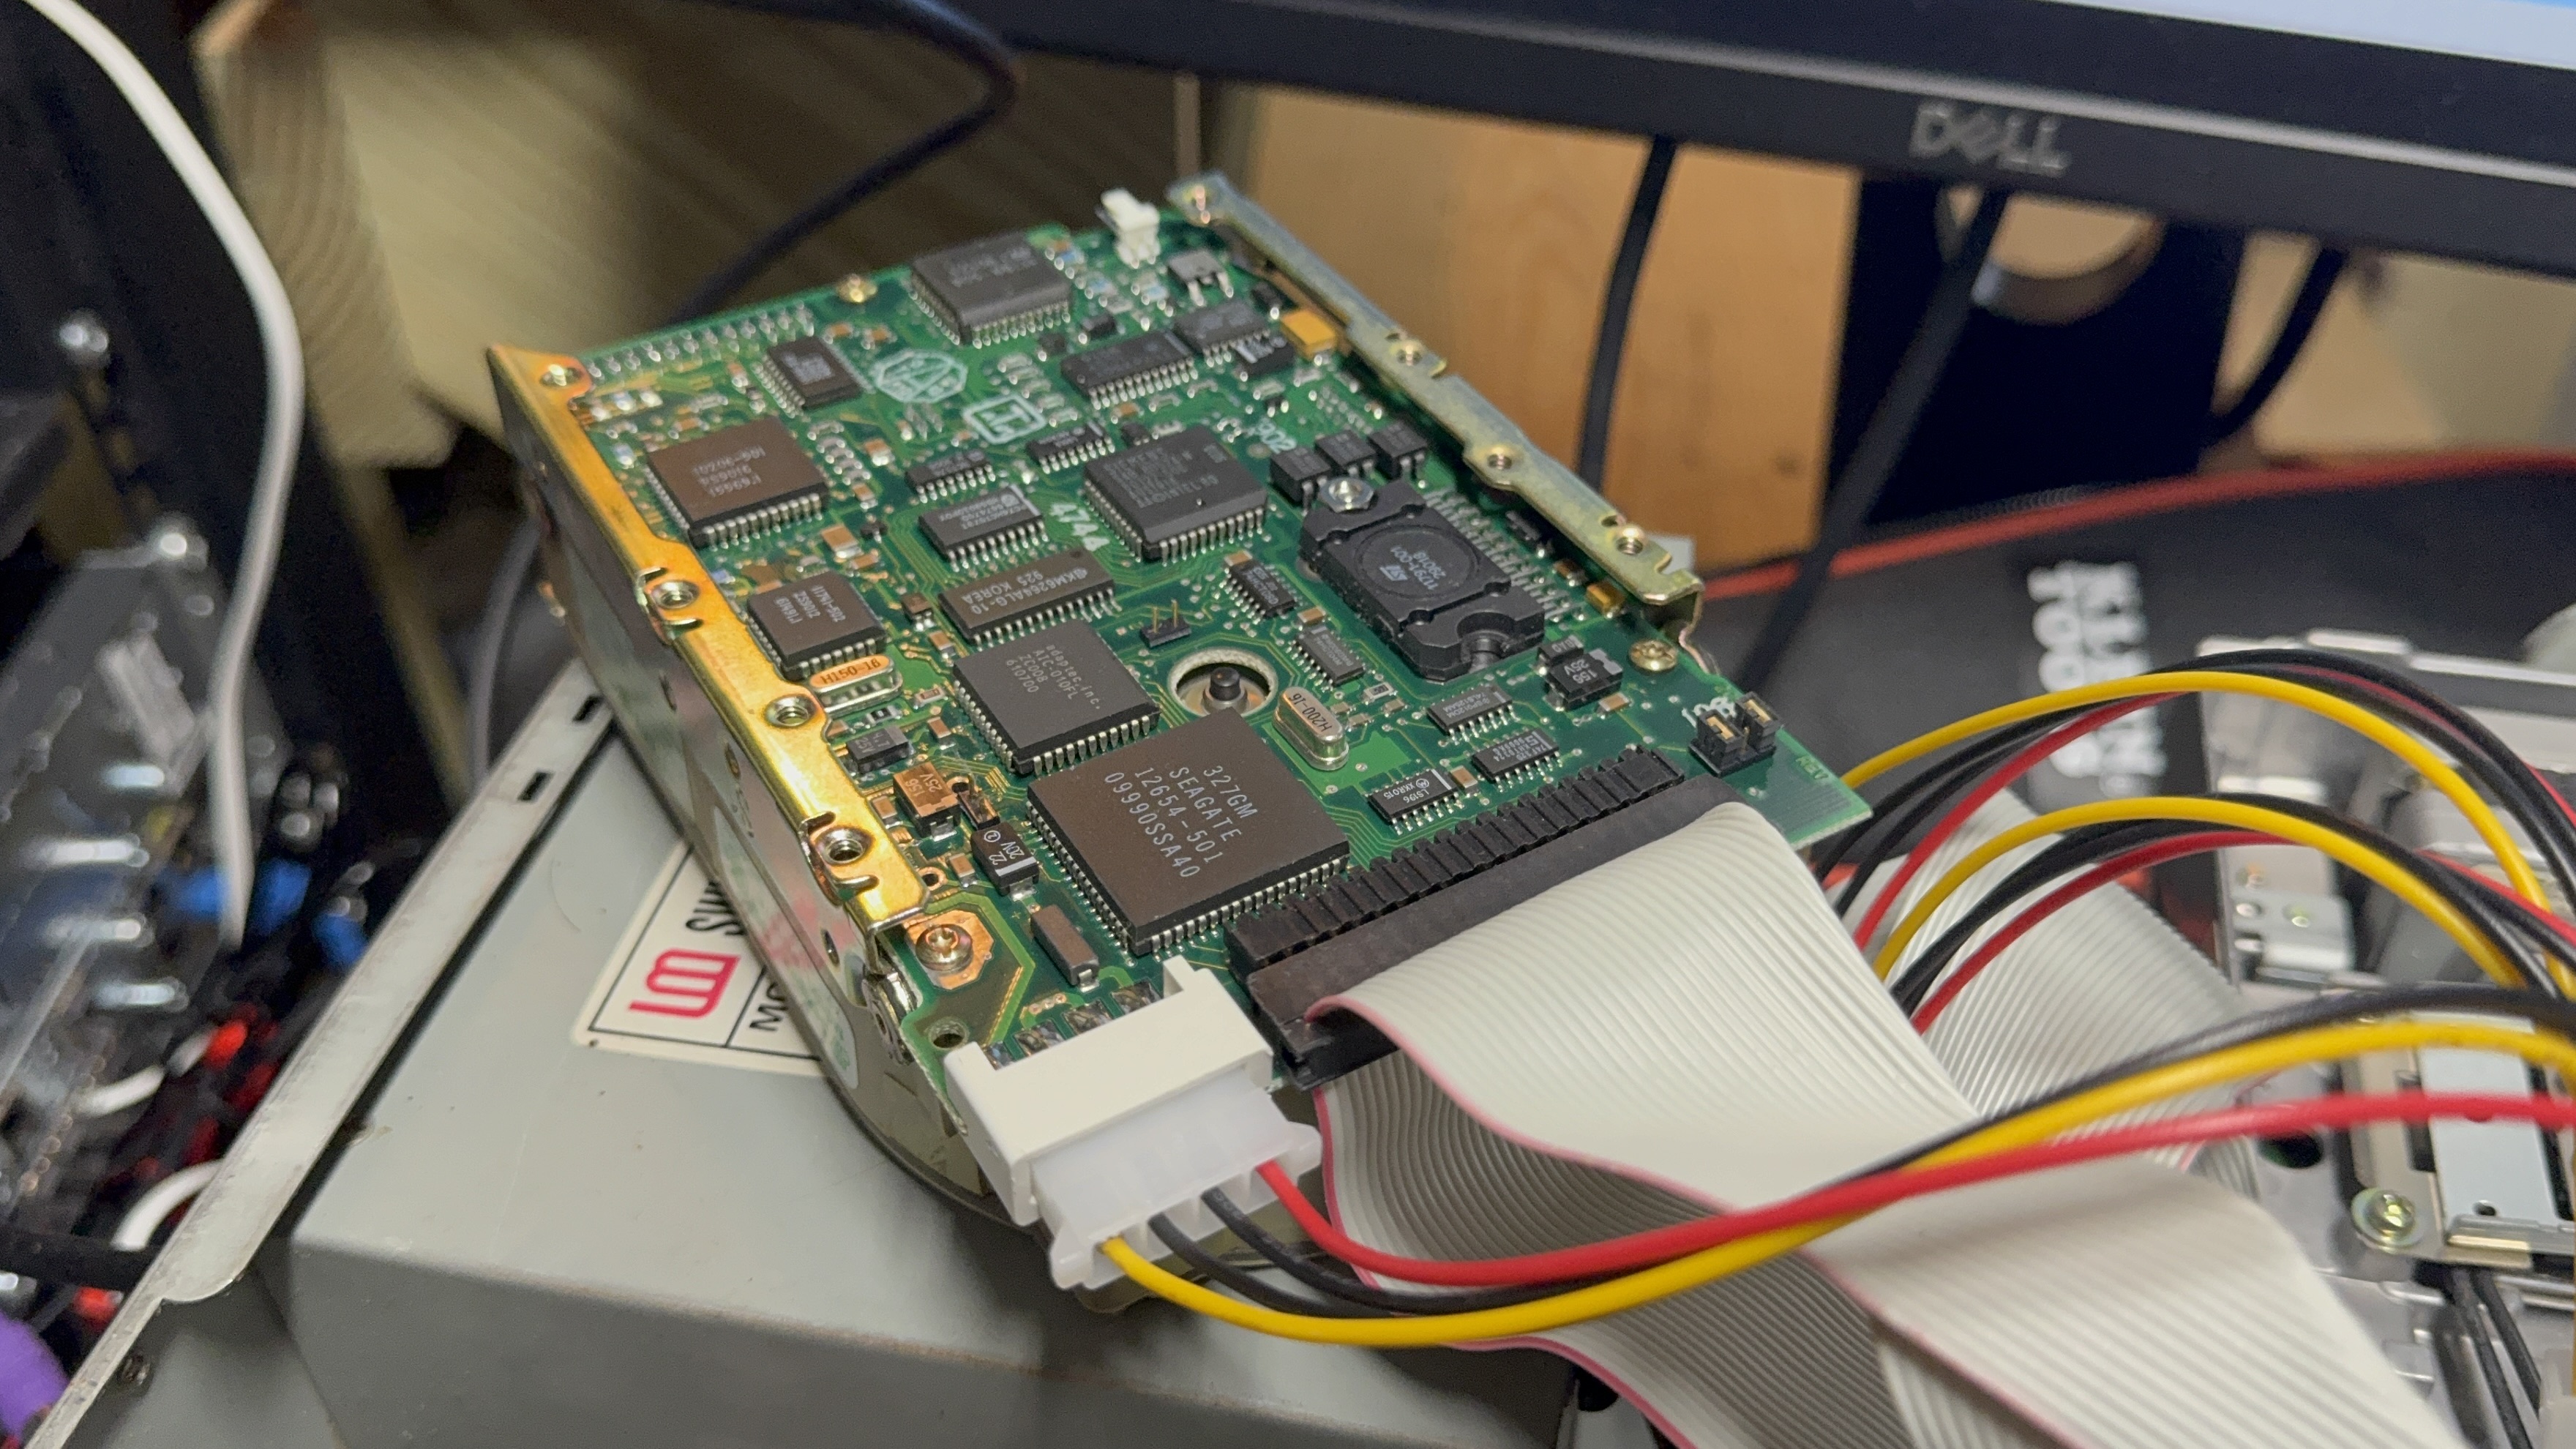
Now we had power, and can POST. The Dell 316SX had a Seagate ST-157A-1 – 44MB IDE/ATA-1 HDD; and a Hardcard II XL – 100MB ISA card. The first thing I wanted to do was get a backup of each of these storage devices just in case after 35 years they suddenly died. The Hardcard was easy, I moved it over to the 486 I had, used an old copy of Norton Ghost, and captured the drive no issues.
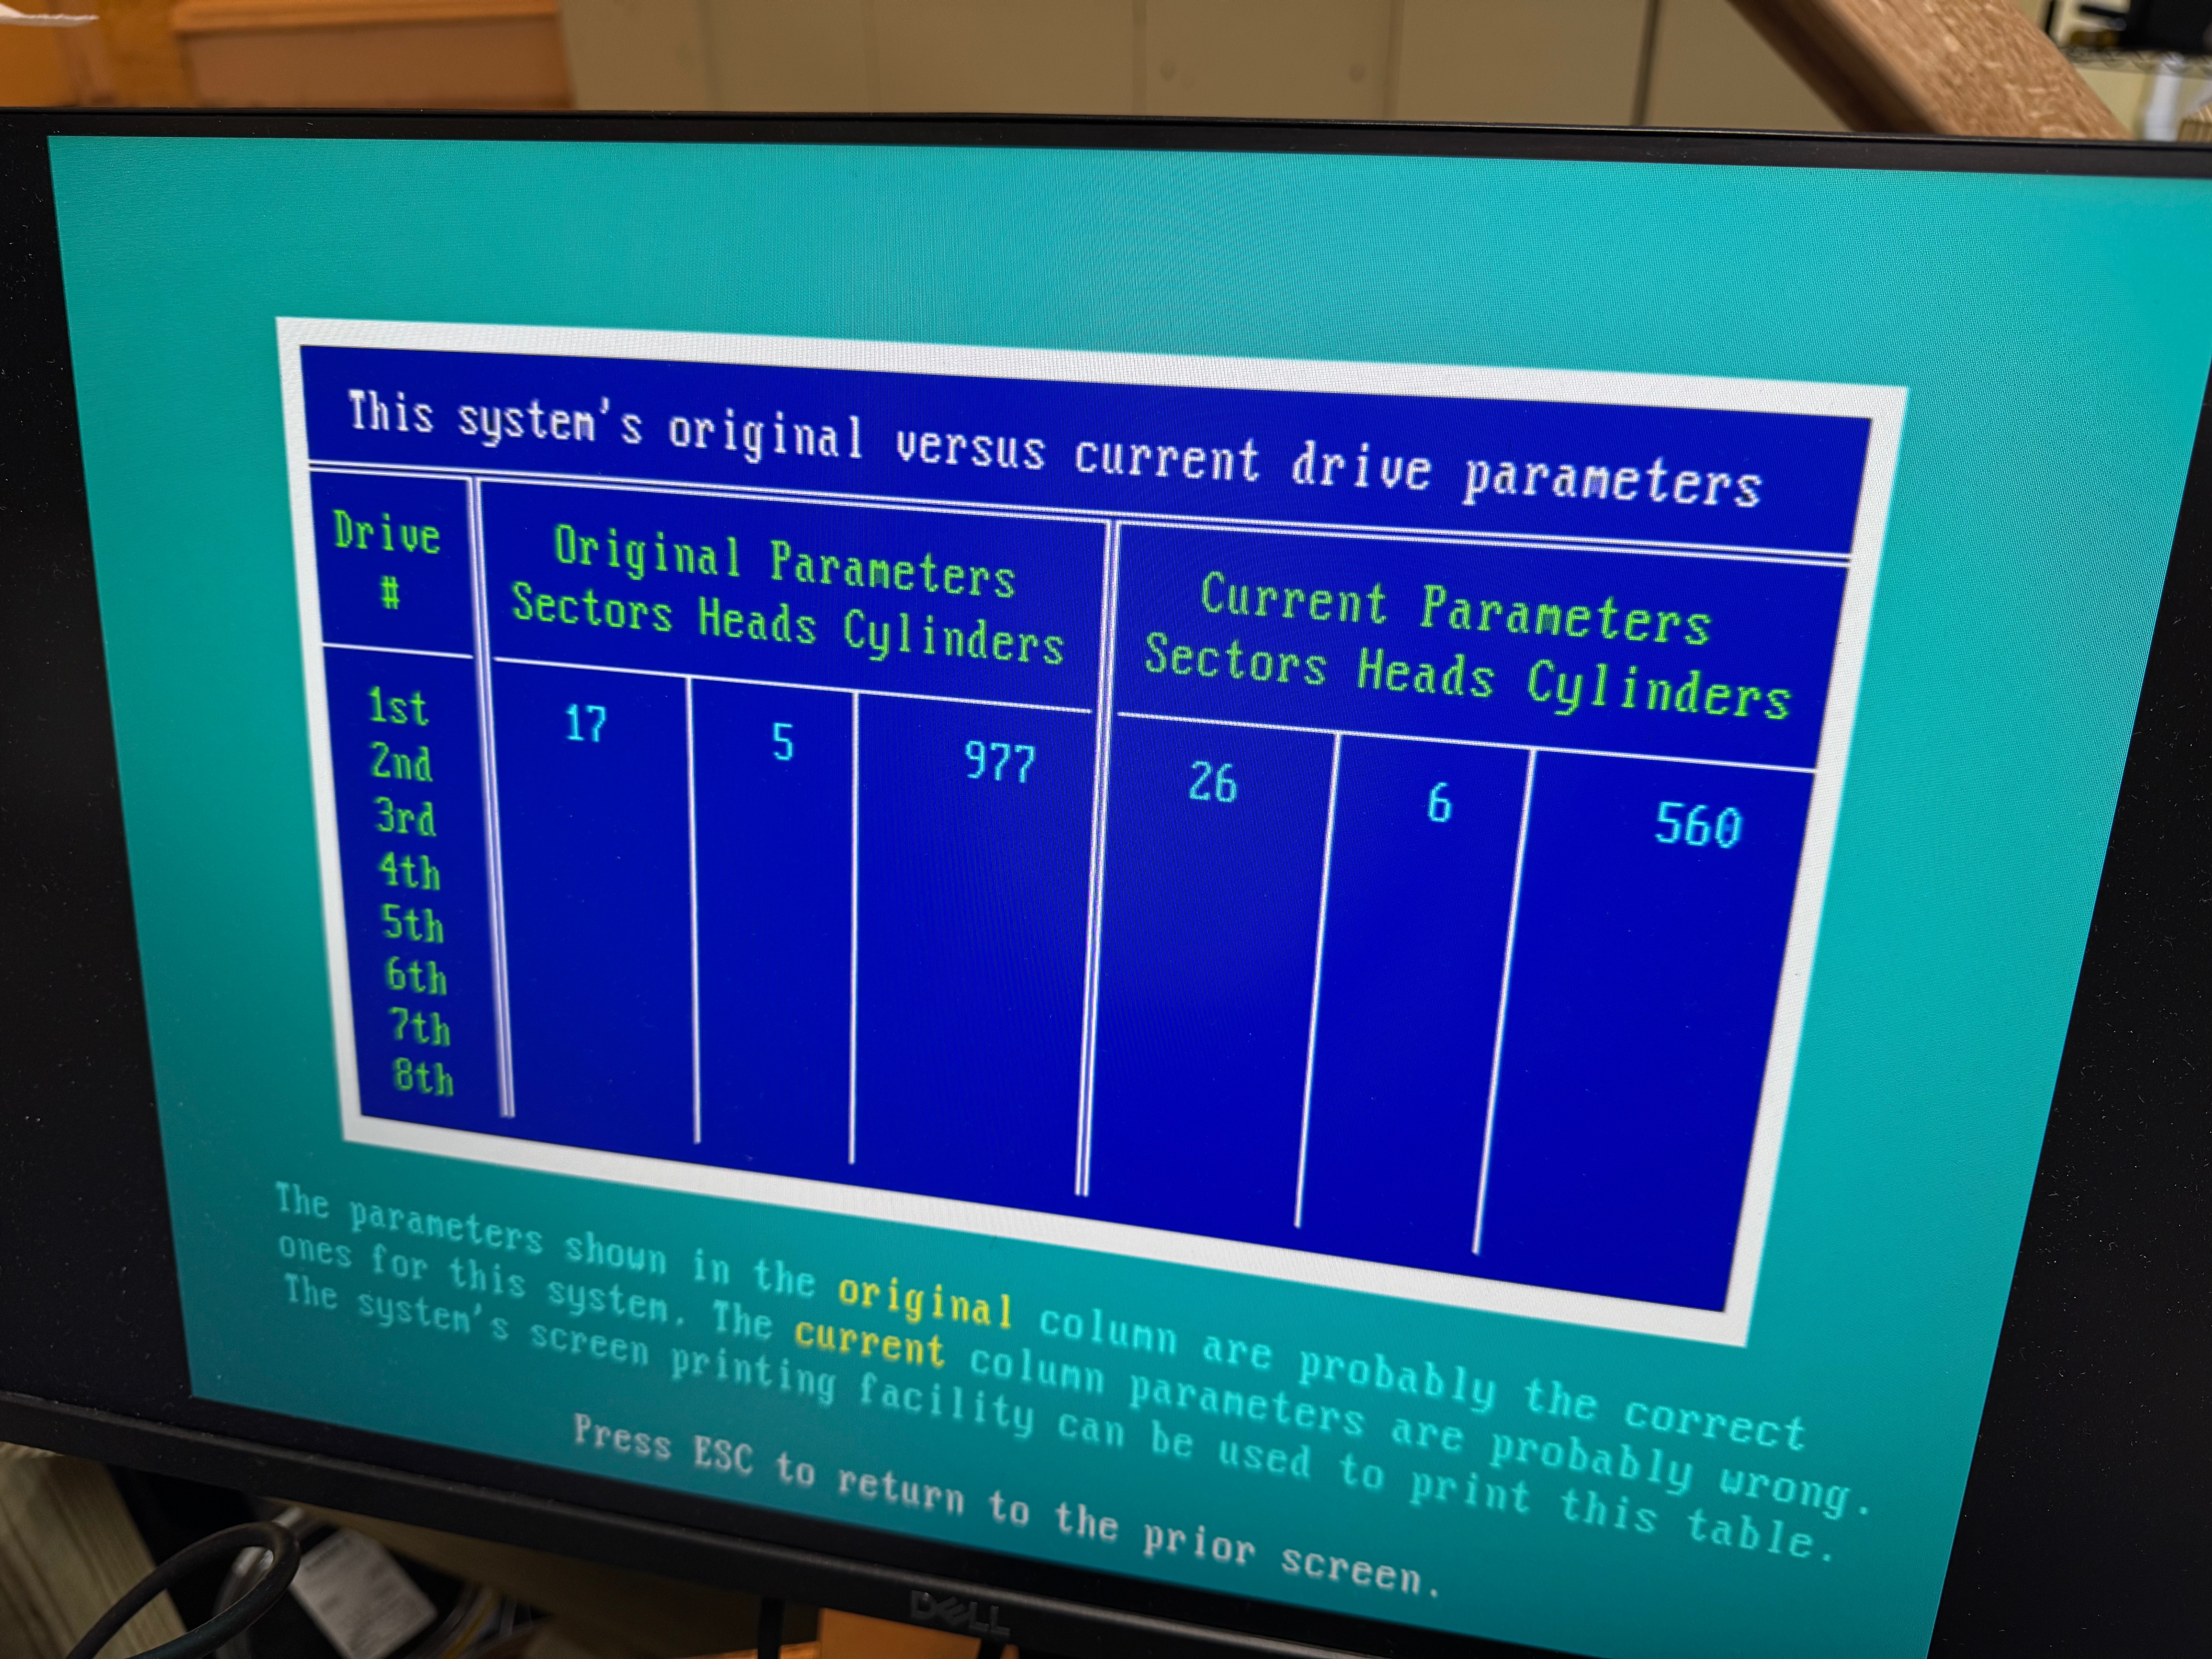
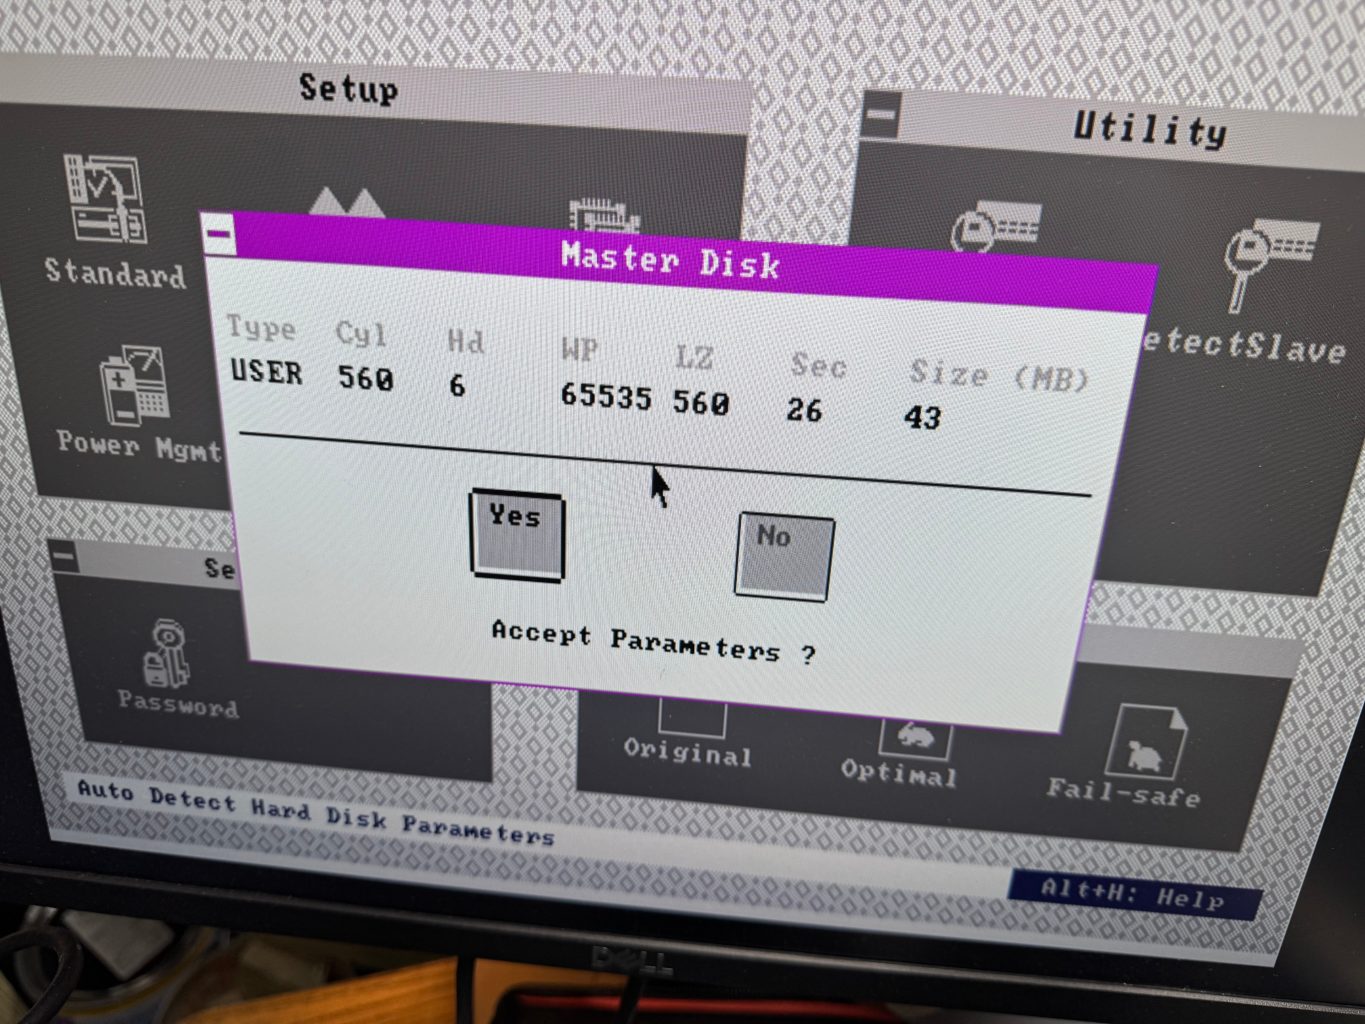
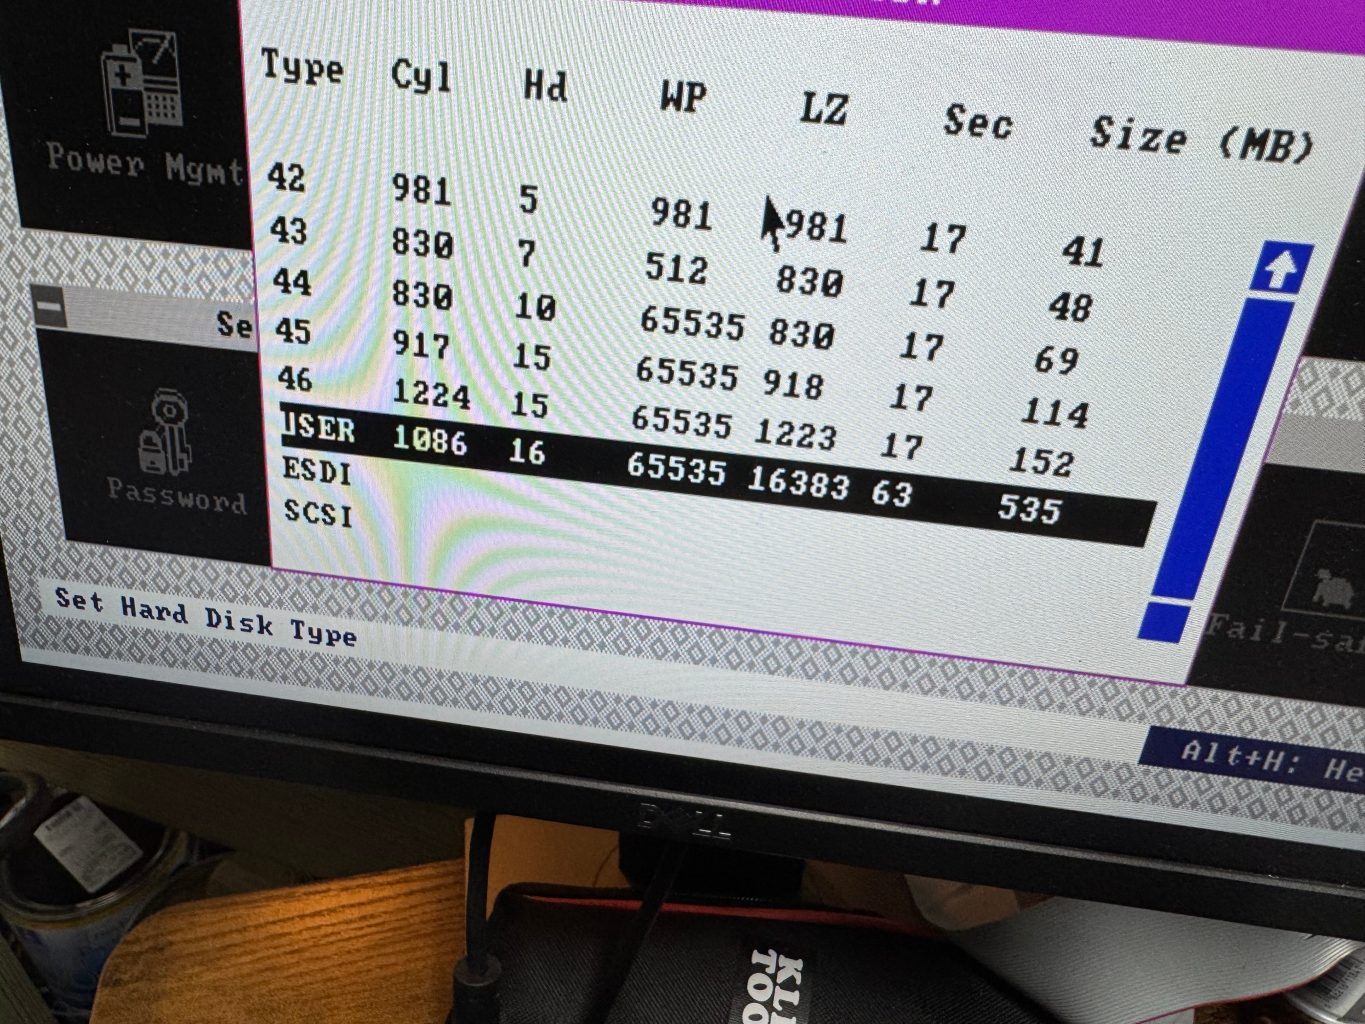
The hard drive was a bit harder since the 486 is old enough it can only have 1 drive on its primary IDE channel; that left the secondary channel. In trying different setups I realized that the Dell 316SX did not have the correct hard drive parameters entered when it was in use. This means, when I tried to read it on a machine where I couldn’t set those settings, I wouldn’t get the correct data back. I HAD to have the disk read from the primary 486 IDE channel where I could edit the parameters to be incorrect on the 486 like it was on the 386. I got an ADAPTEC AHA-1542CP ISA SCSI CONTROLLER (from this seller), this allowed be to boot a DOS floppy, load Ghost, and image the drive to the new SCSI device, with the correct – incorrect hard drive parameters. This SCSI card has a full BIOS on it, allowing DOS to reference and even boot off of it without a driver.
The true savior here was Spinrite. I didn’t realize the hard drive parameters were causing my issues, and I thought the drive had just died. I figured I would give one last shot with Spinrite before calling the drive dead, and the data lost. Before I could start a scan, Spinrite popped up saying that the drive wasn’t recorded correctly and I should edit those settings!
Spinrite to the rescueSD Card params on 486Custom sizing the SD card adapter on the 486Installing GhostVery full HardcardGhost great UI
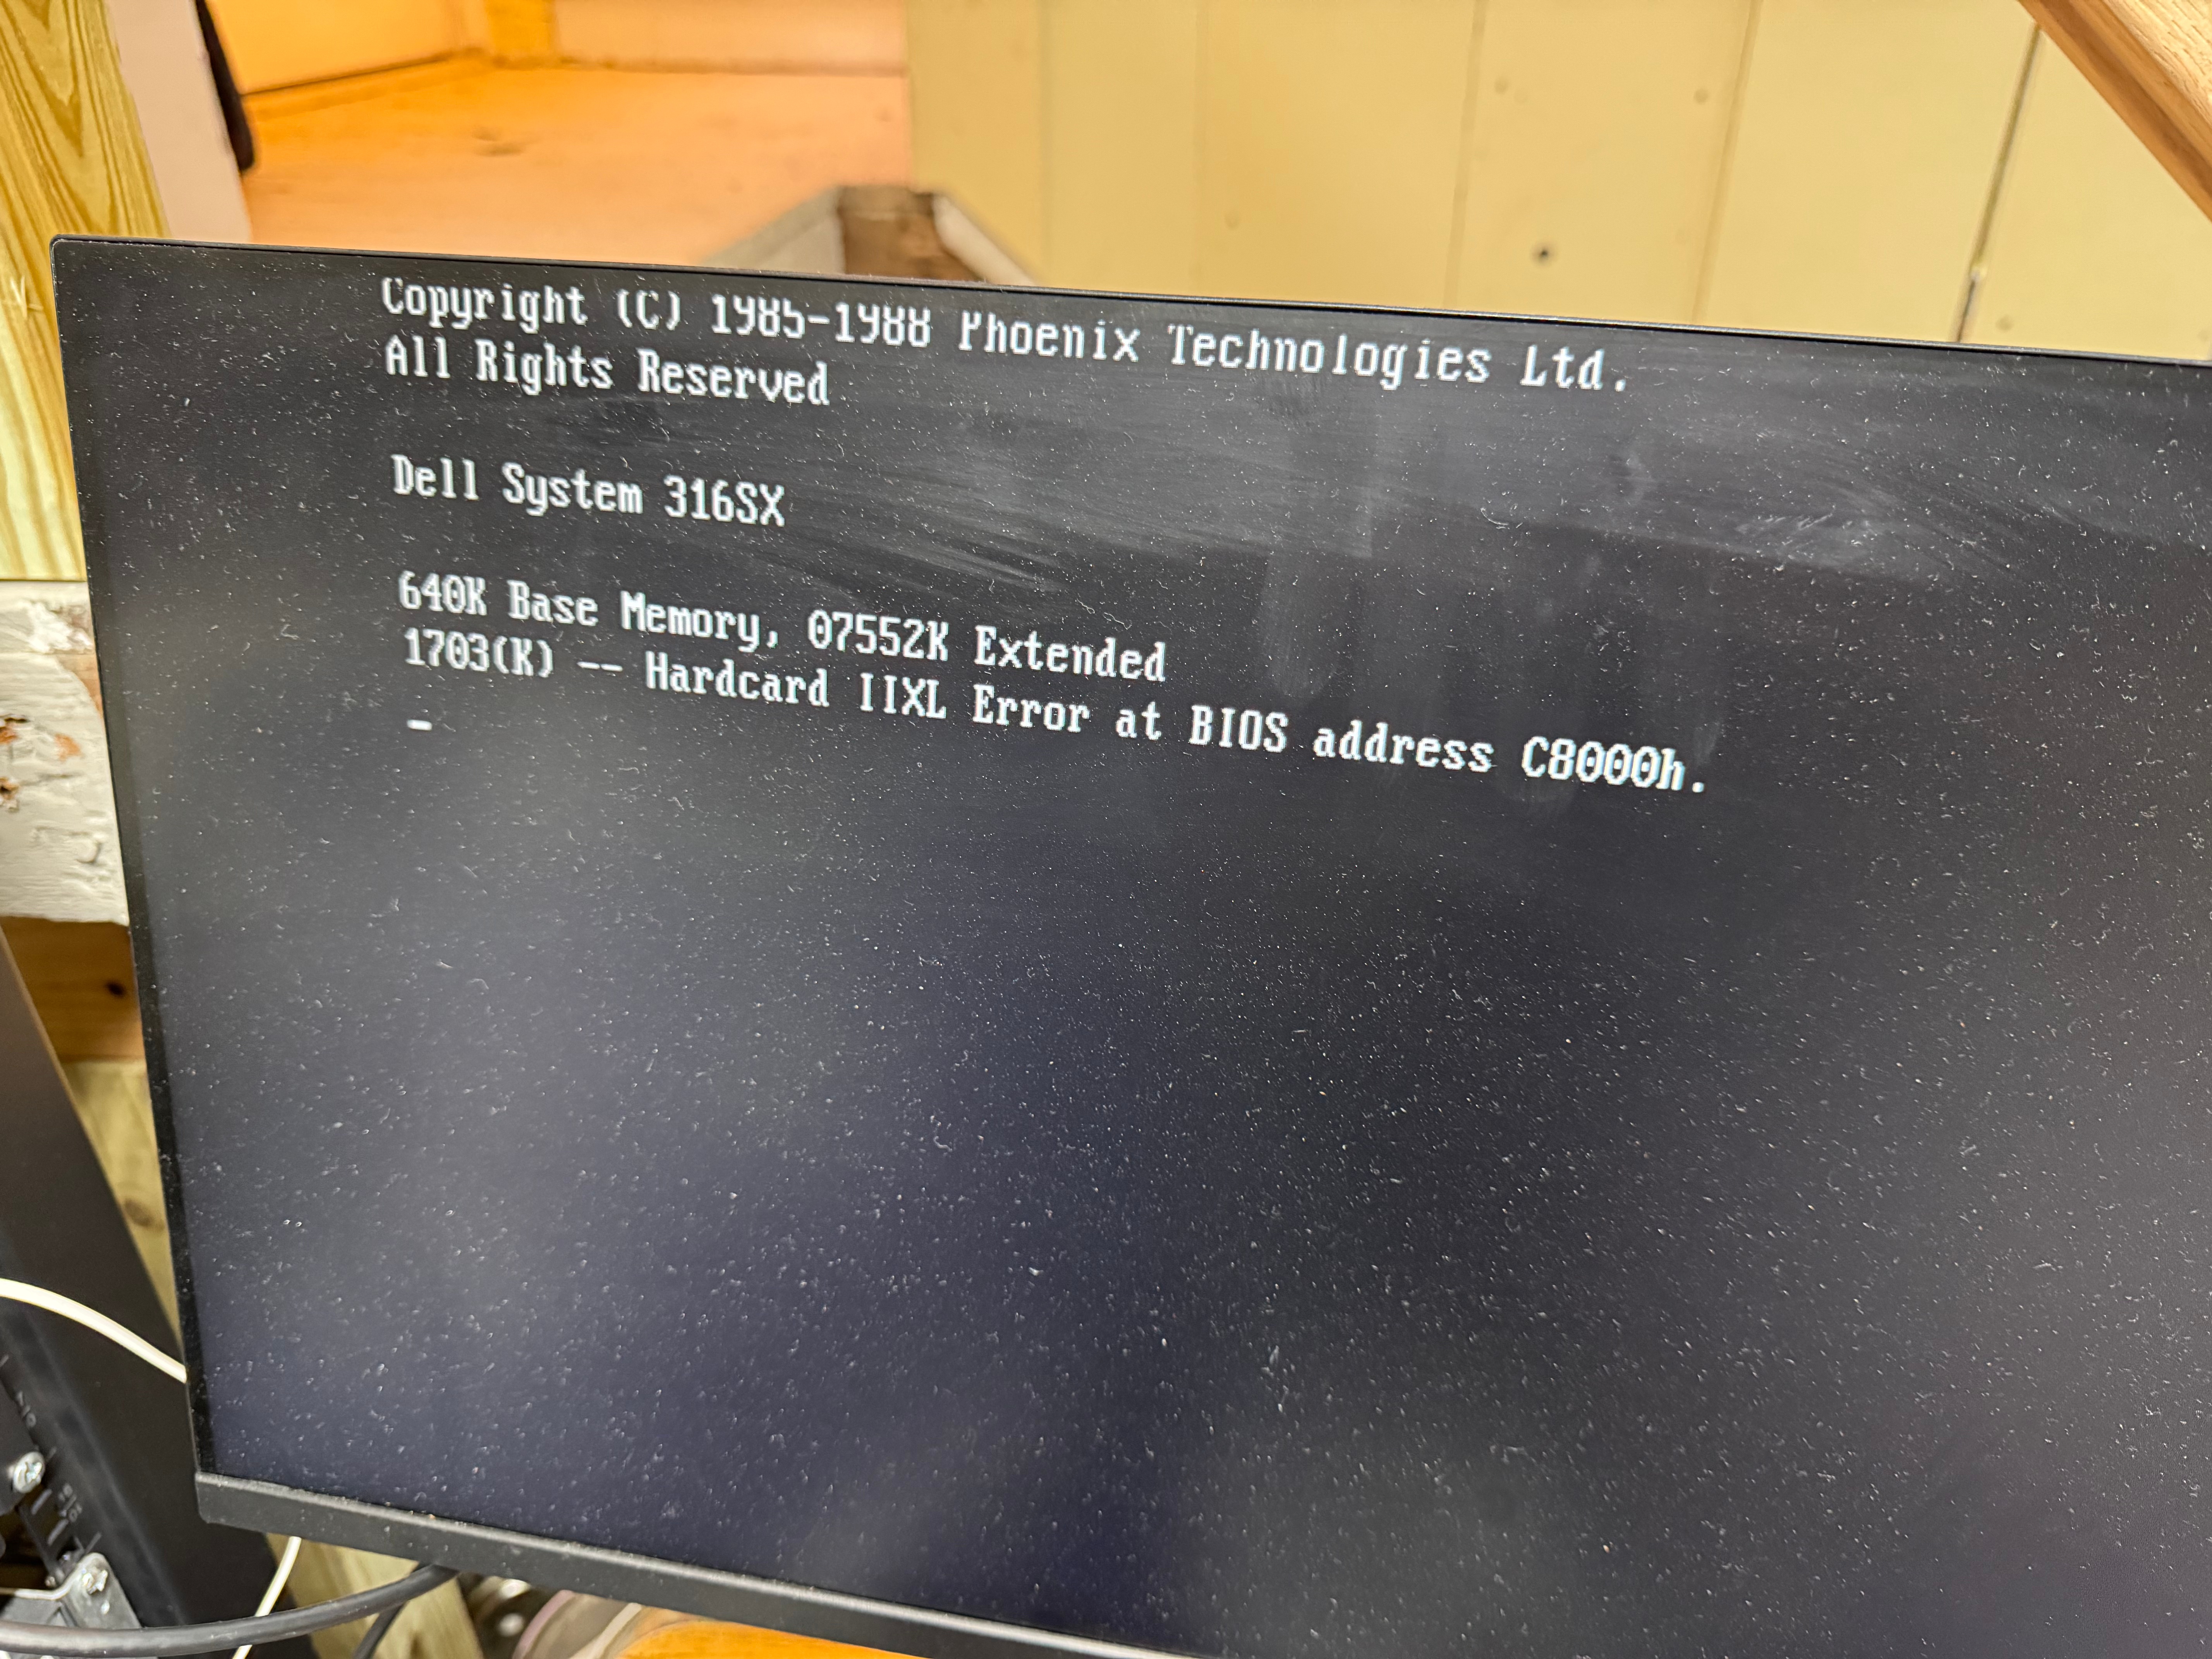
After capturing images of both devices, I started cleaning the system, taking some photos, and putting it back together. One last test of powering it up, and the Hardcard died. It would no longer POST, freezing when the card tried to spin up. I am very glad I captured an image while I could! I copied that image into an image for the BlueSCSI device I had, and we were back in business! The Hardcard started giving “1703(K) — Hardcard IIXL Error at BIOS address C8000h.” which the internet said was the drive had died.
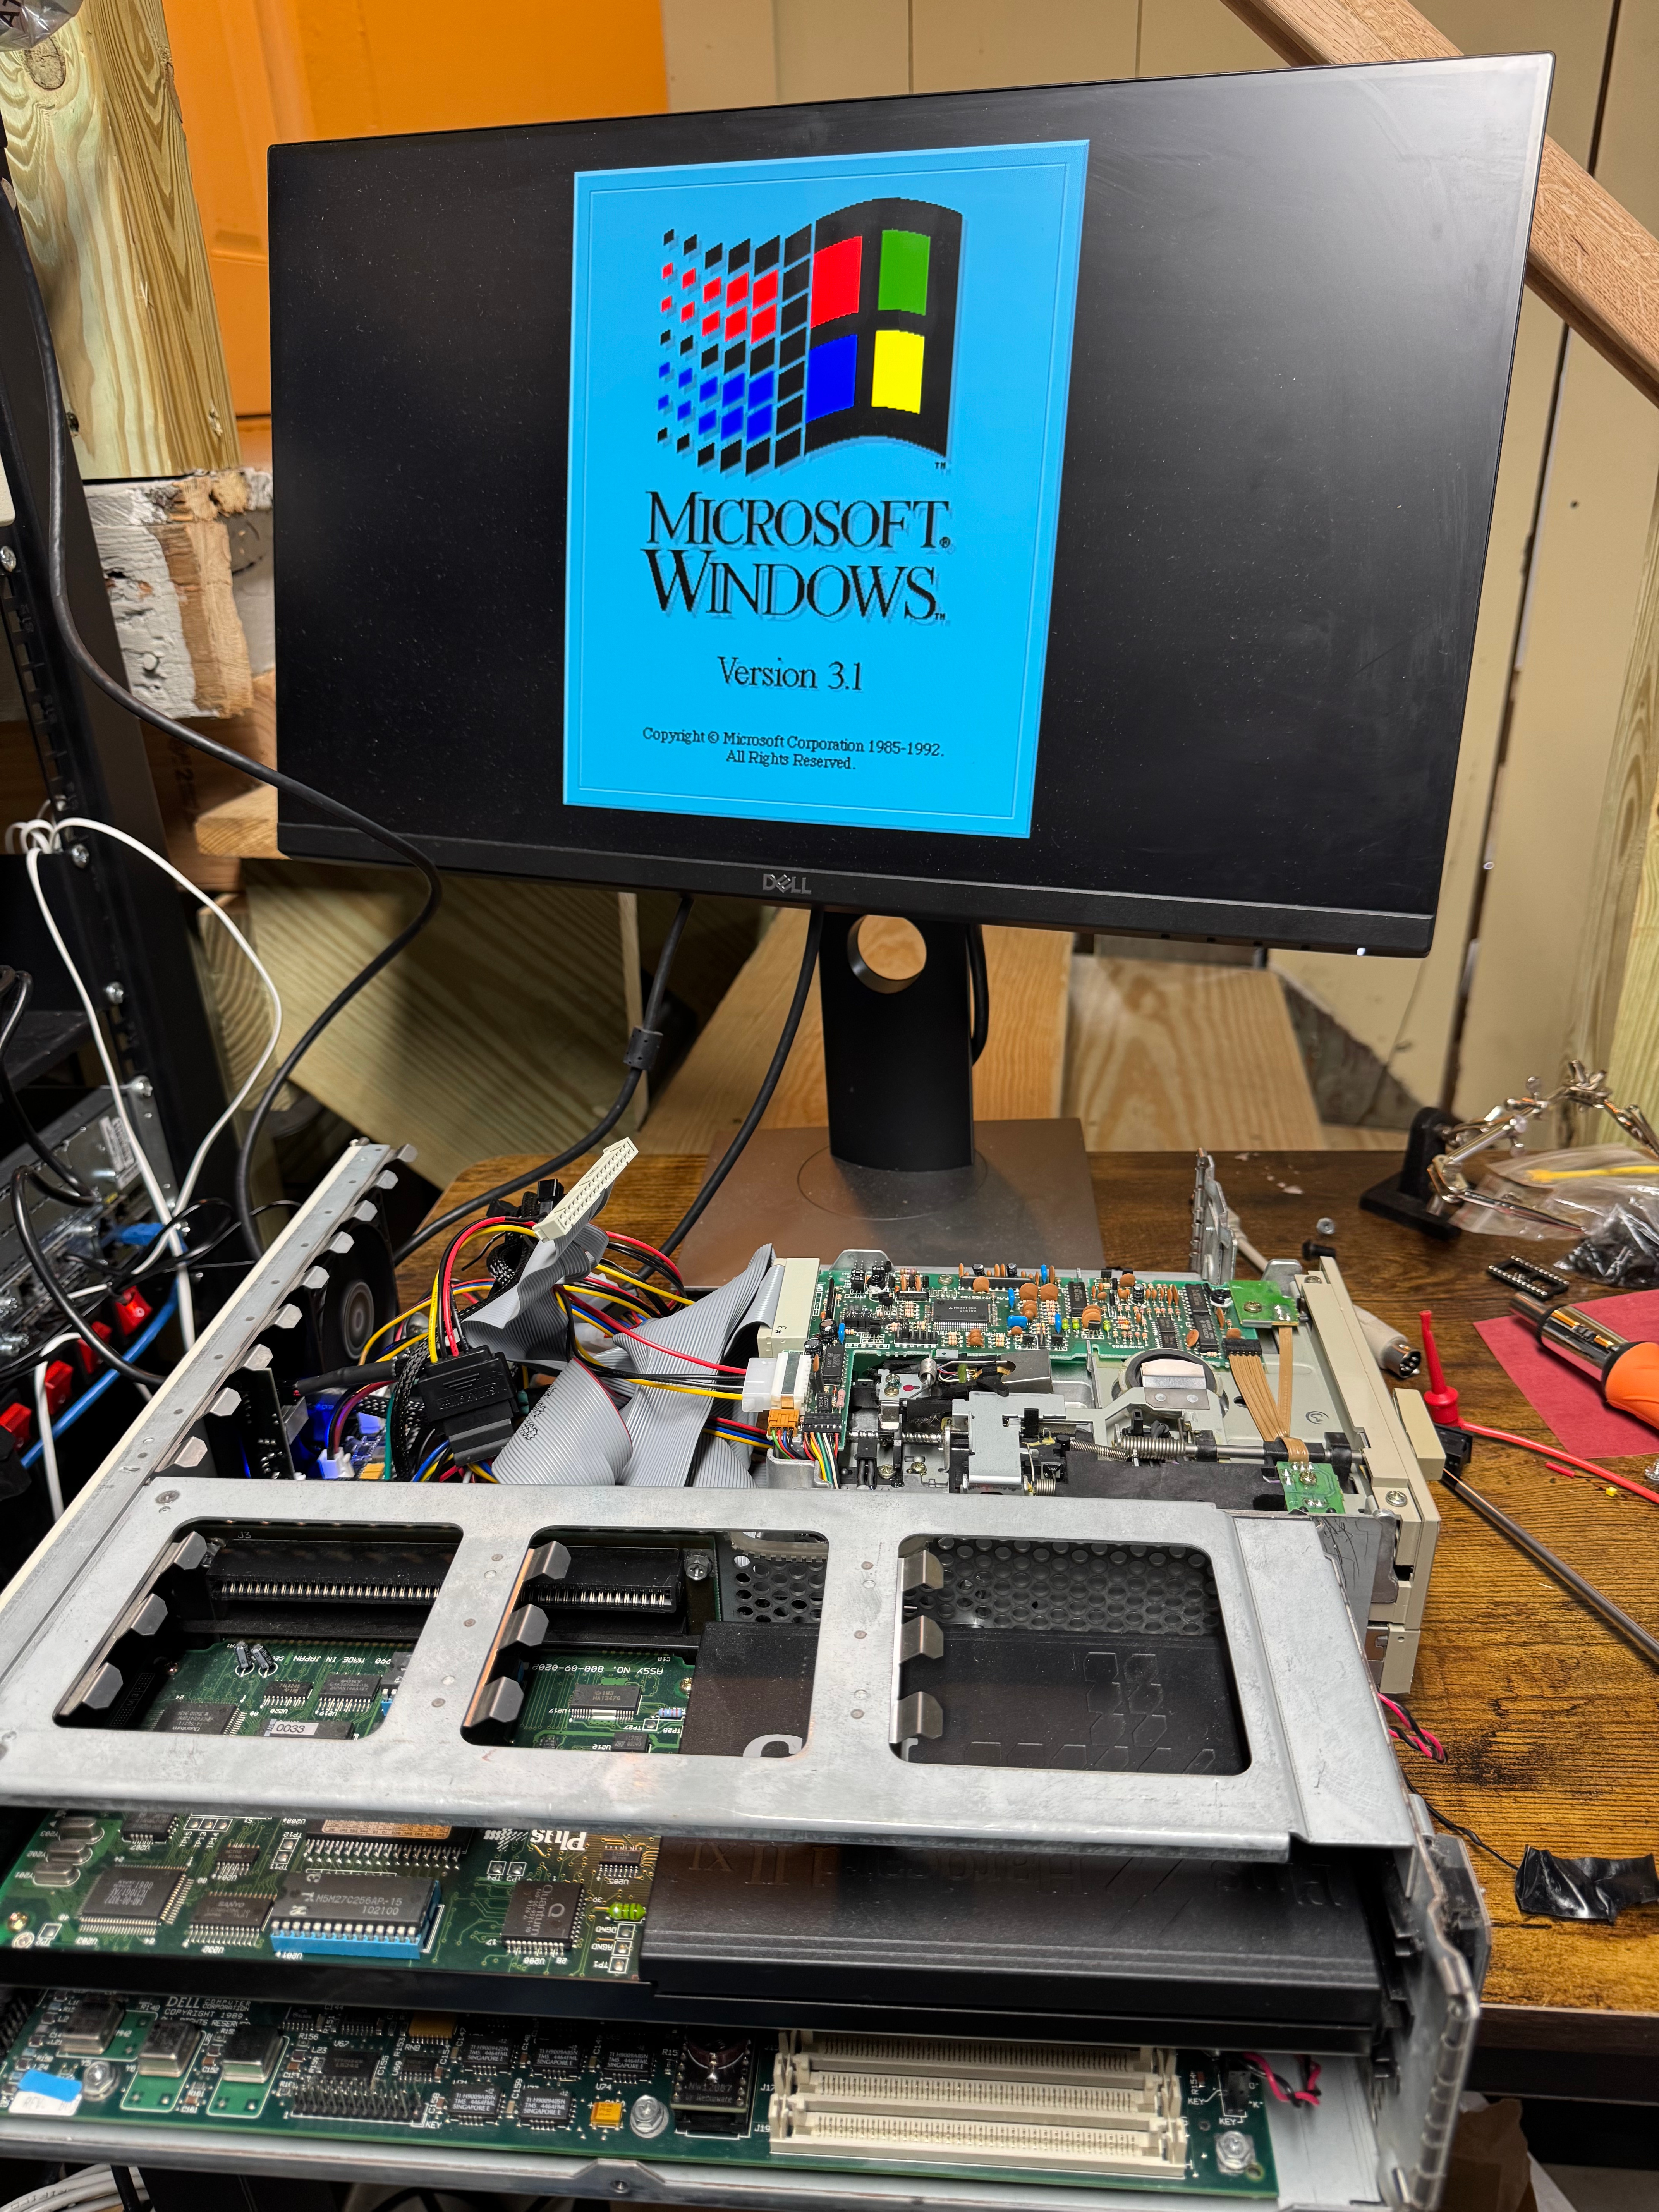
For those of us who haven’t done that much with MS-DOS in years, here is a reminder how partitions work (this is important because the old system had the Seagate drive as C and E, then the Hardcard as D); all Primary partitions that are accessible to the BIOS are added as the system boots, THEN all extended/logical partitions. This means, with the internal drive coming up as C: D:, then the Hardcard as E: I had to figure out how to switch them. In the end, it ended up being that the Hardcard was coming up as a extended partition, and it needed to be a primary one to force it earlier in the order. Turns out the Seagate drive had 1 primary, and one extended partition. After doing that change, and copying all the data back the system and all the links within Windows 3.1 came up correctly.
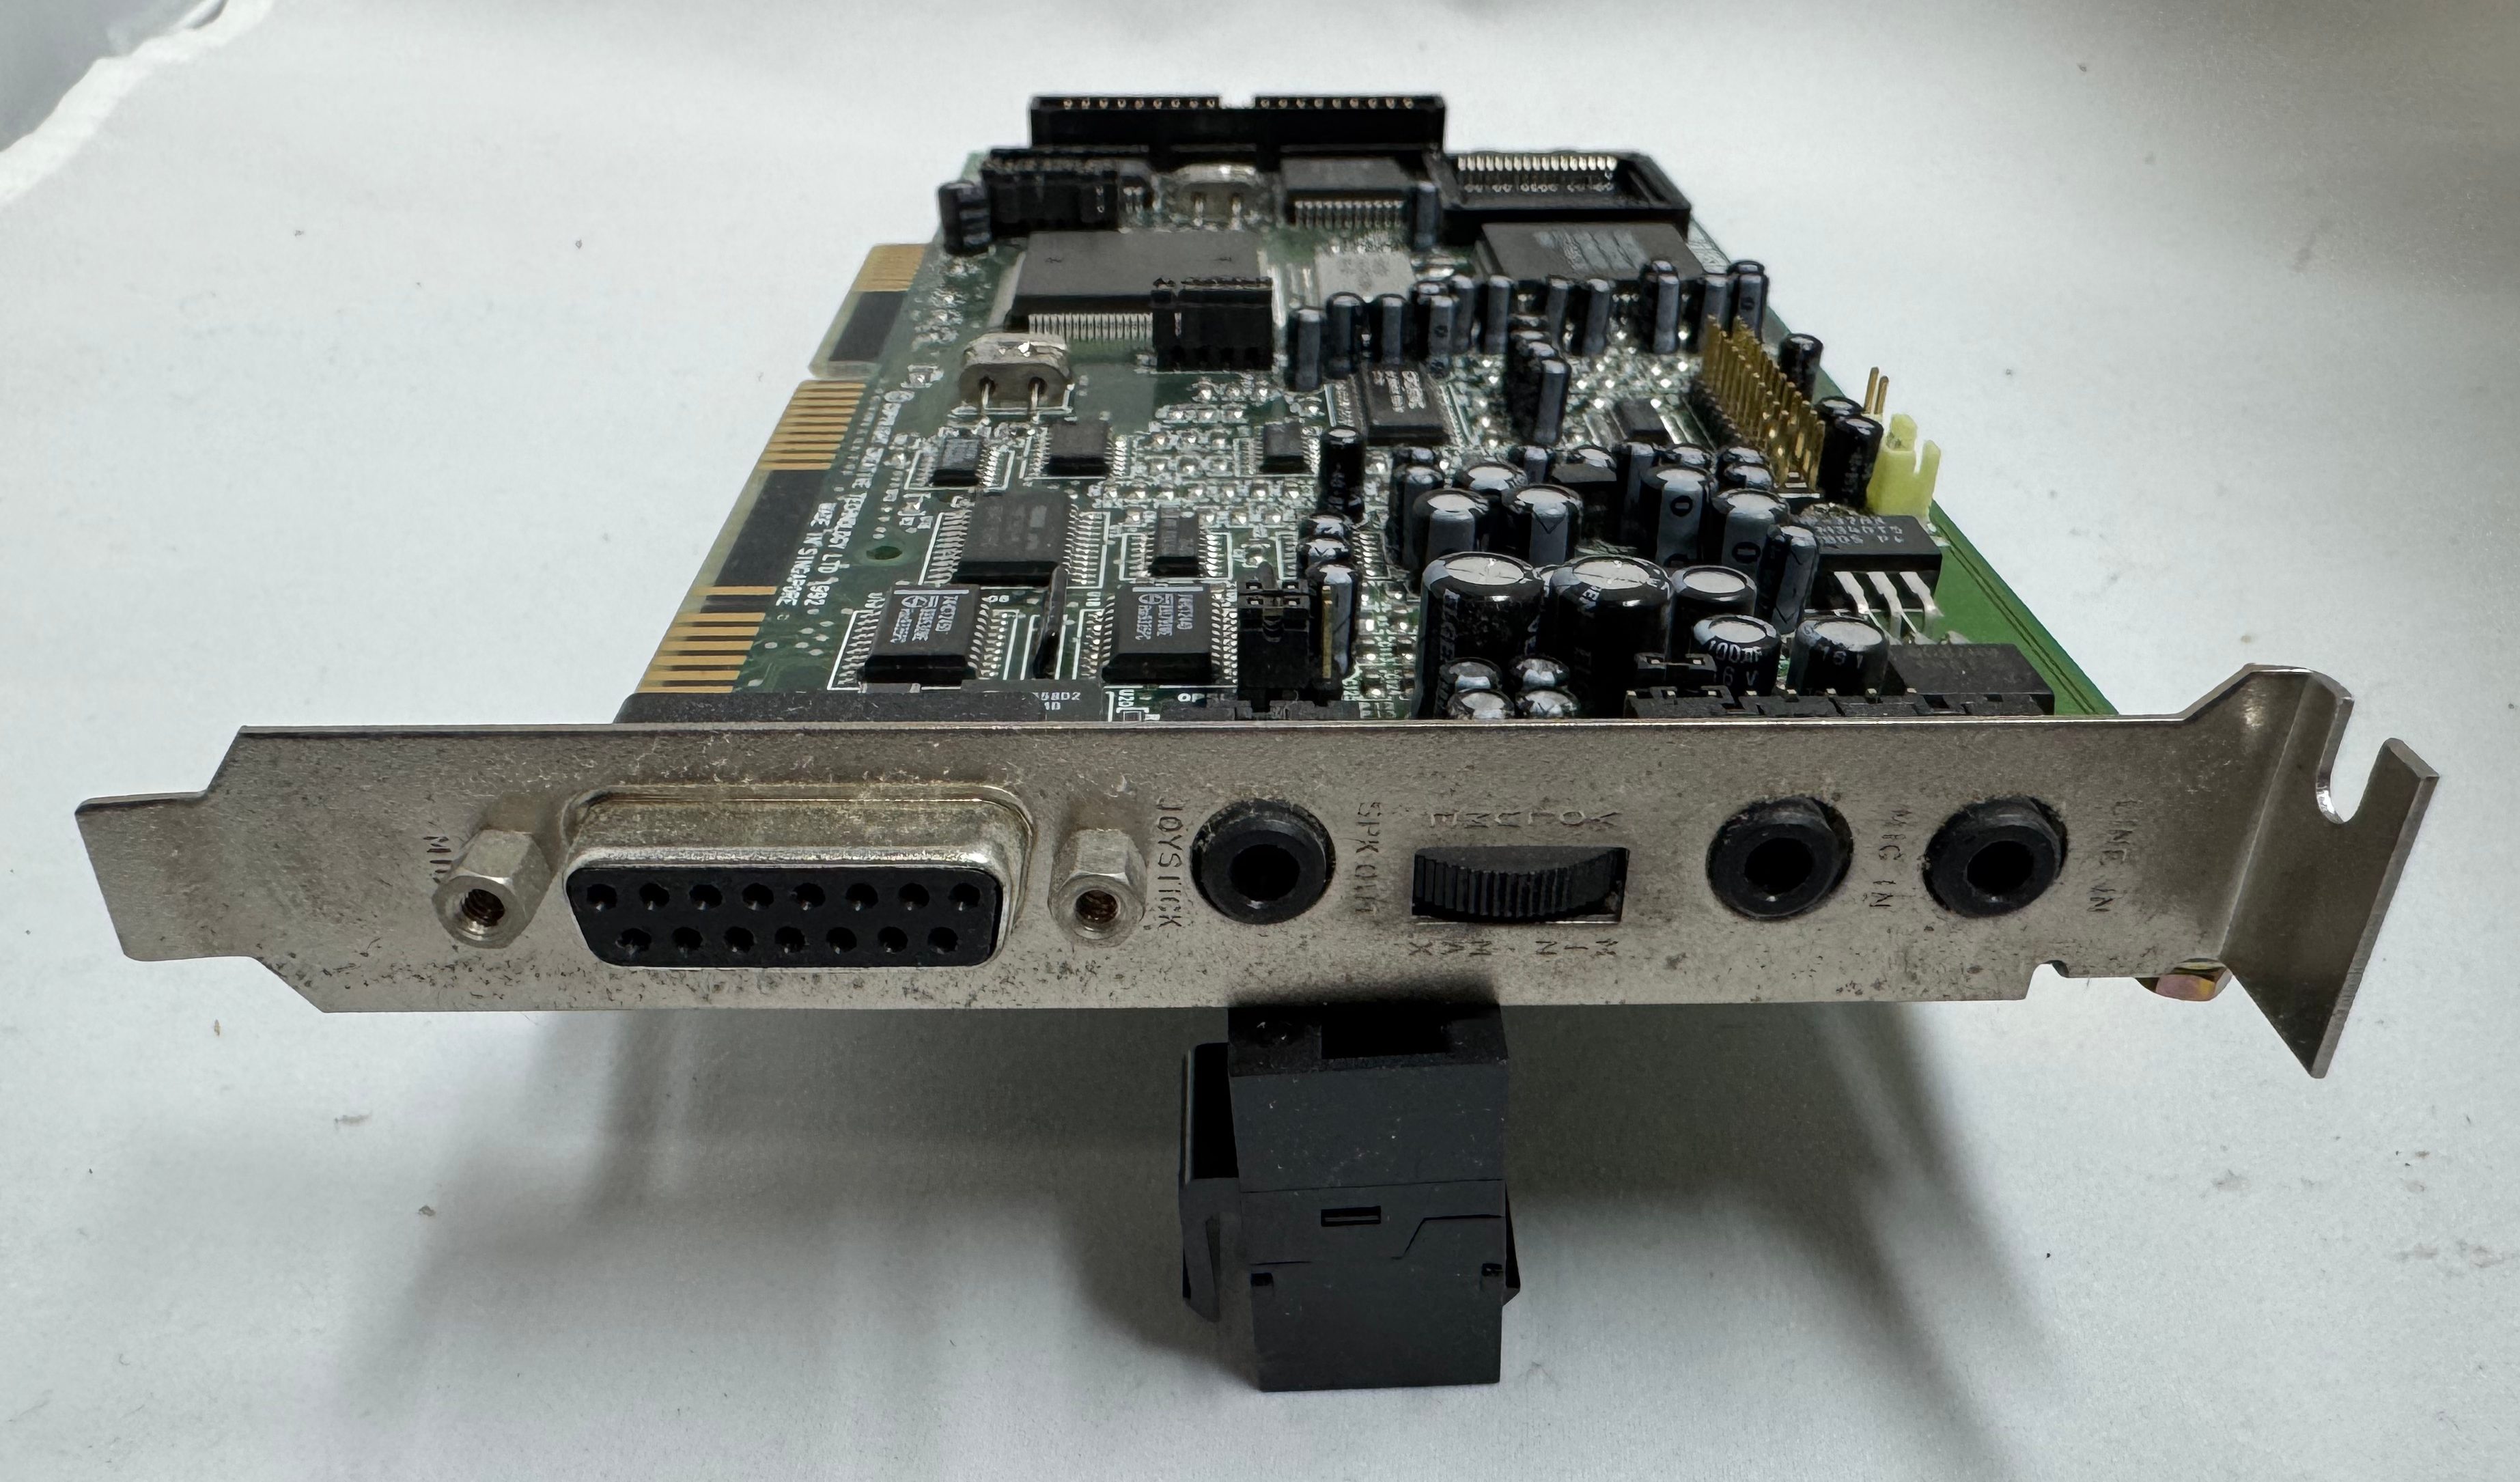
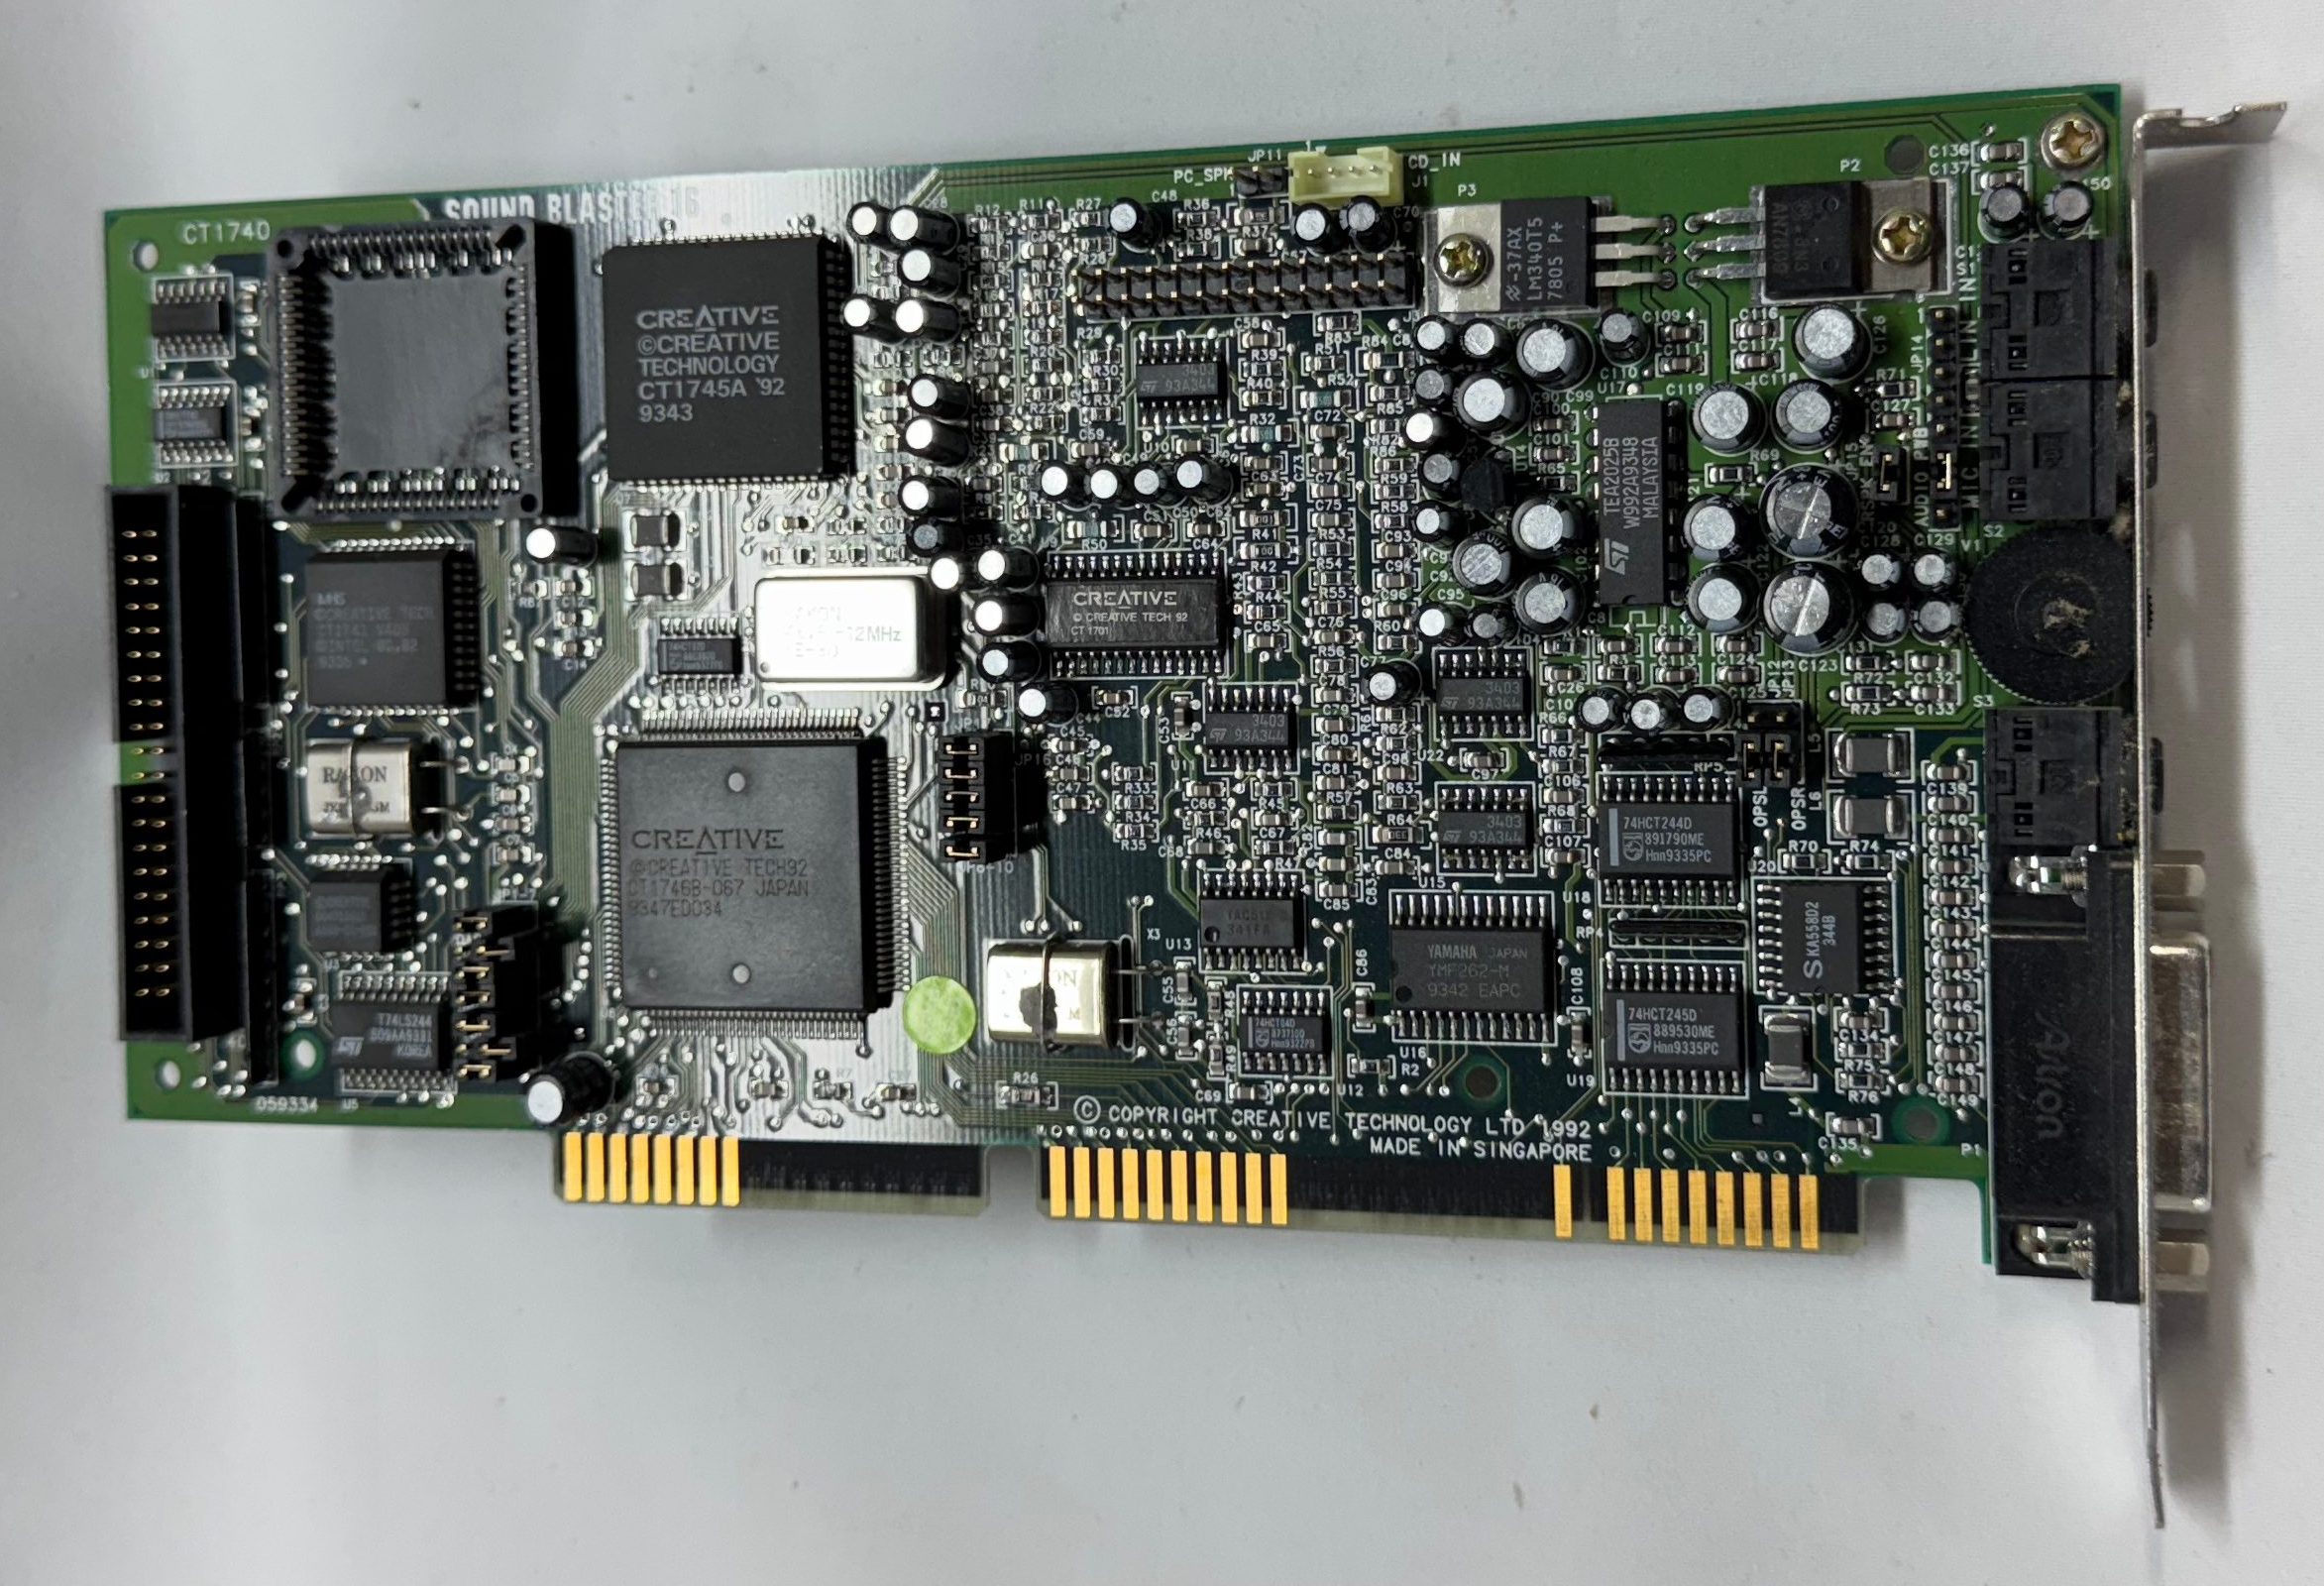
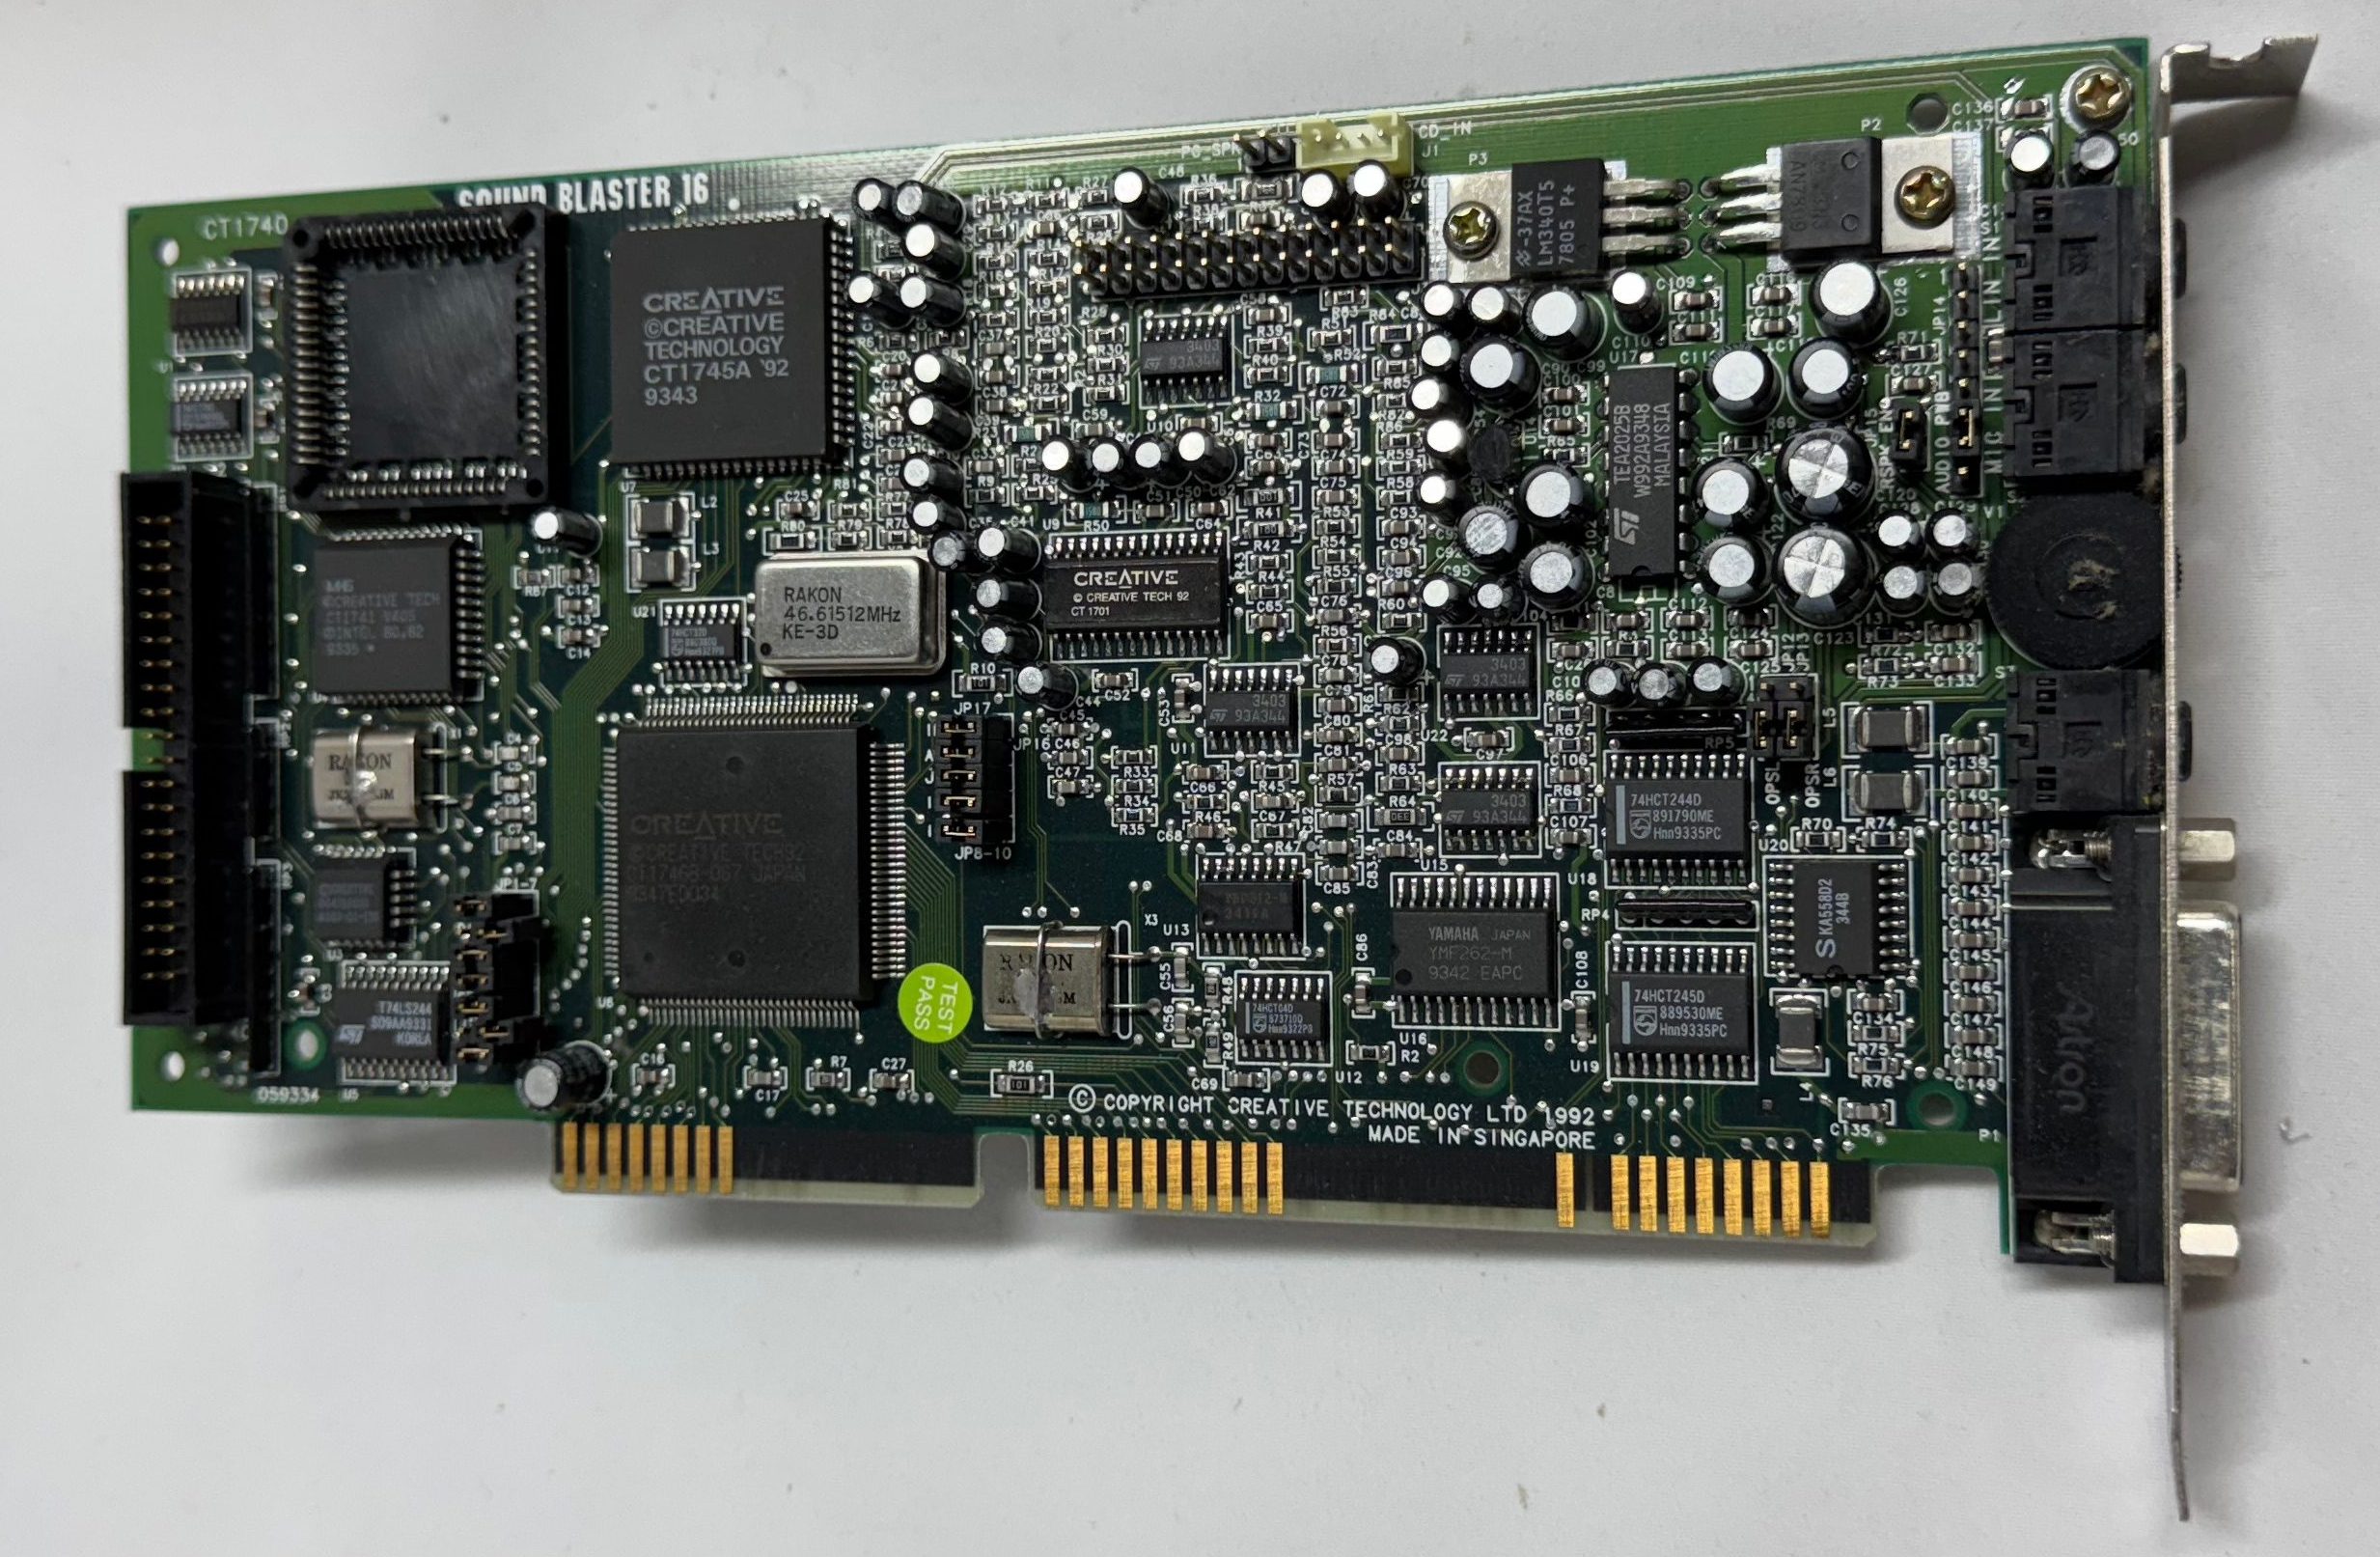
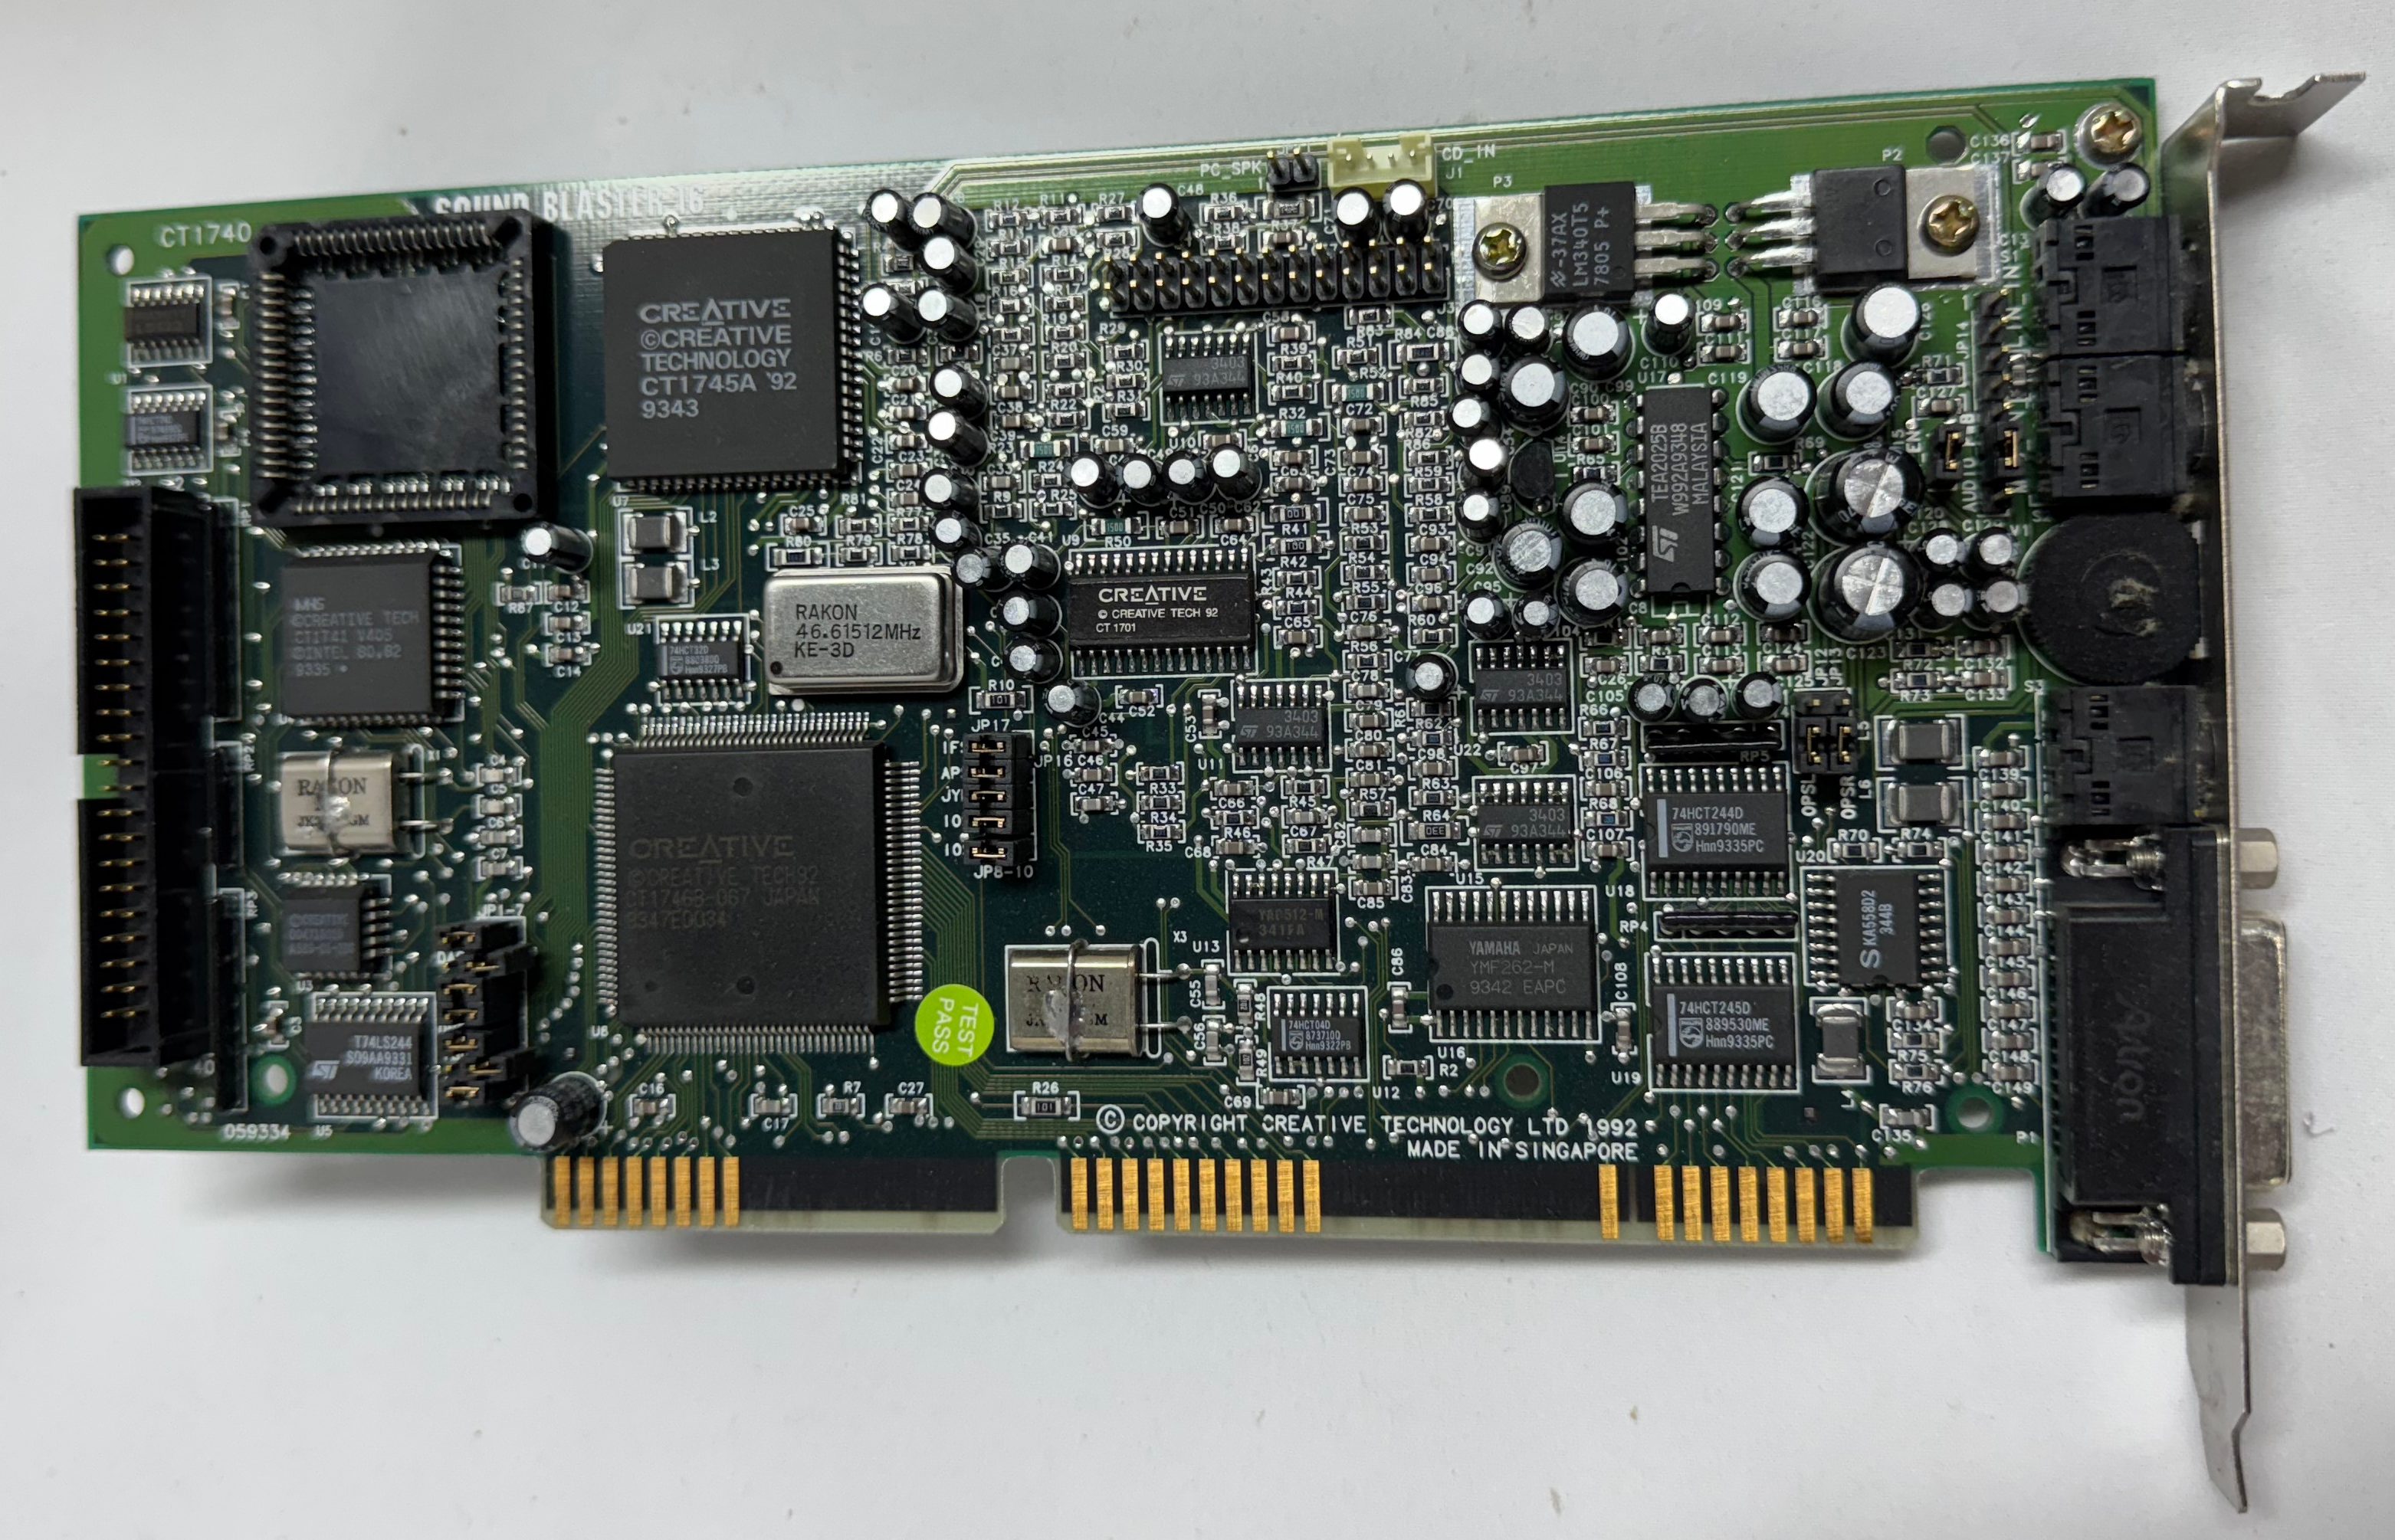
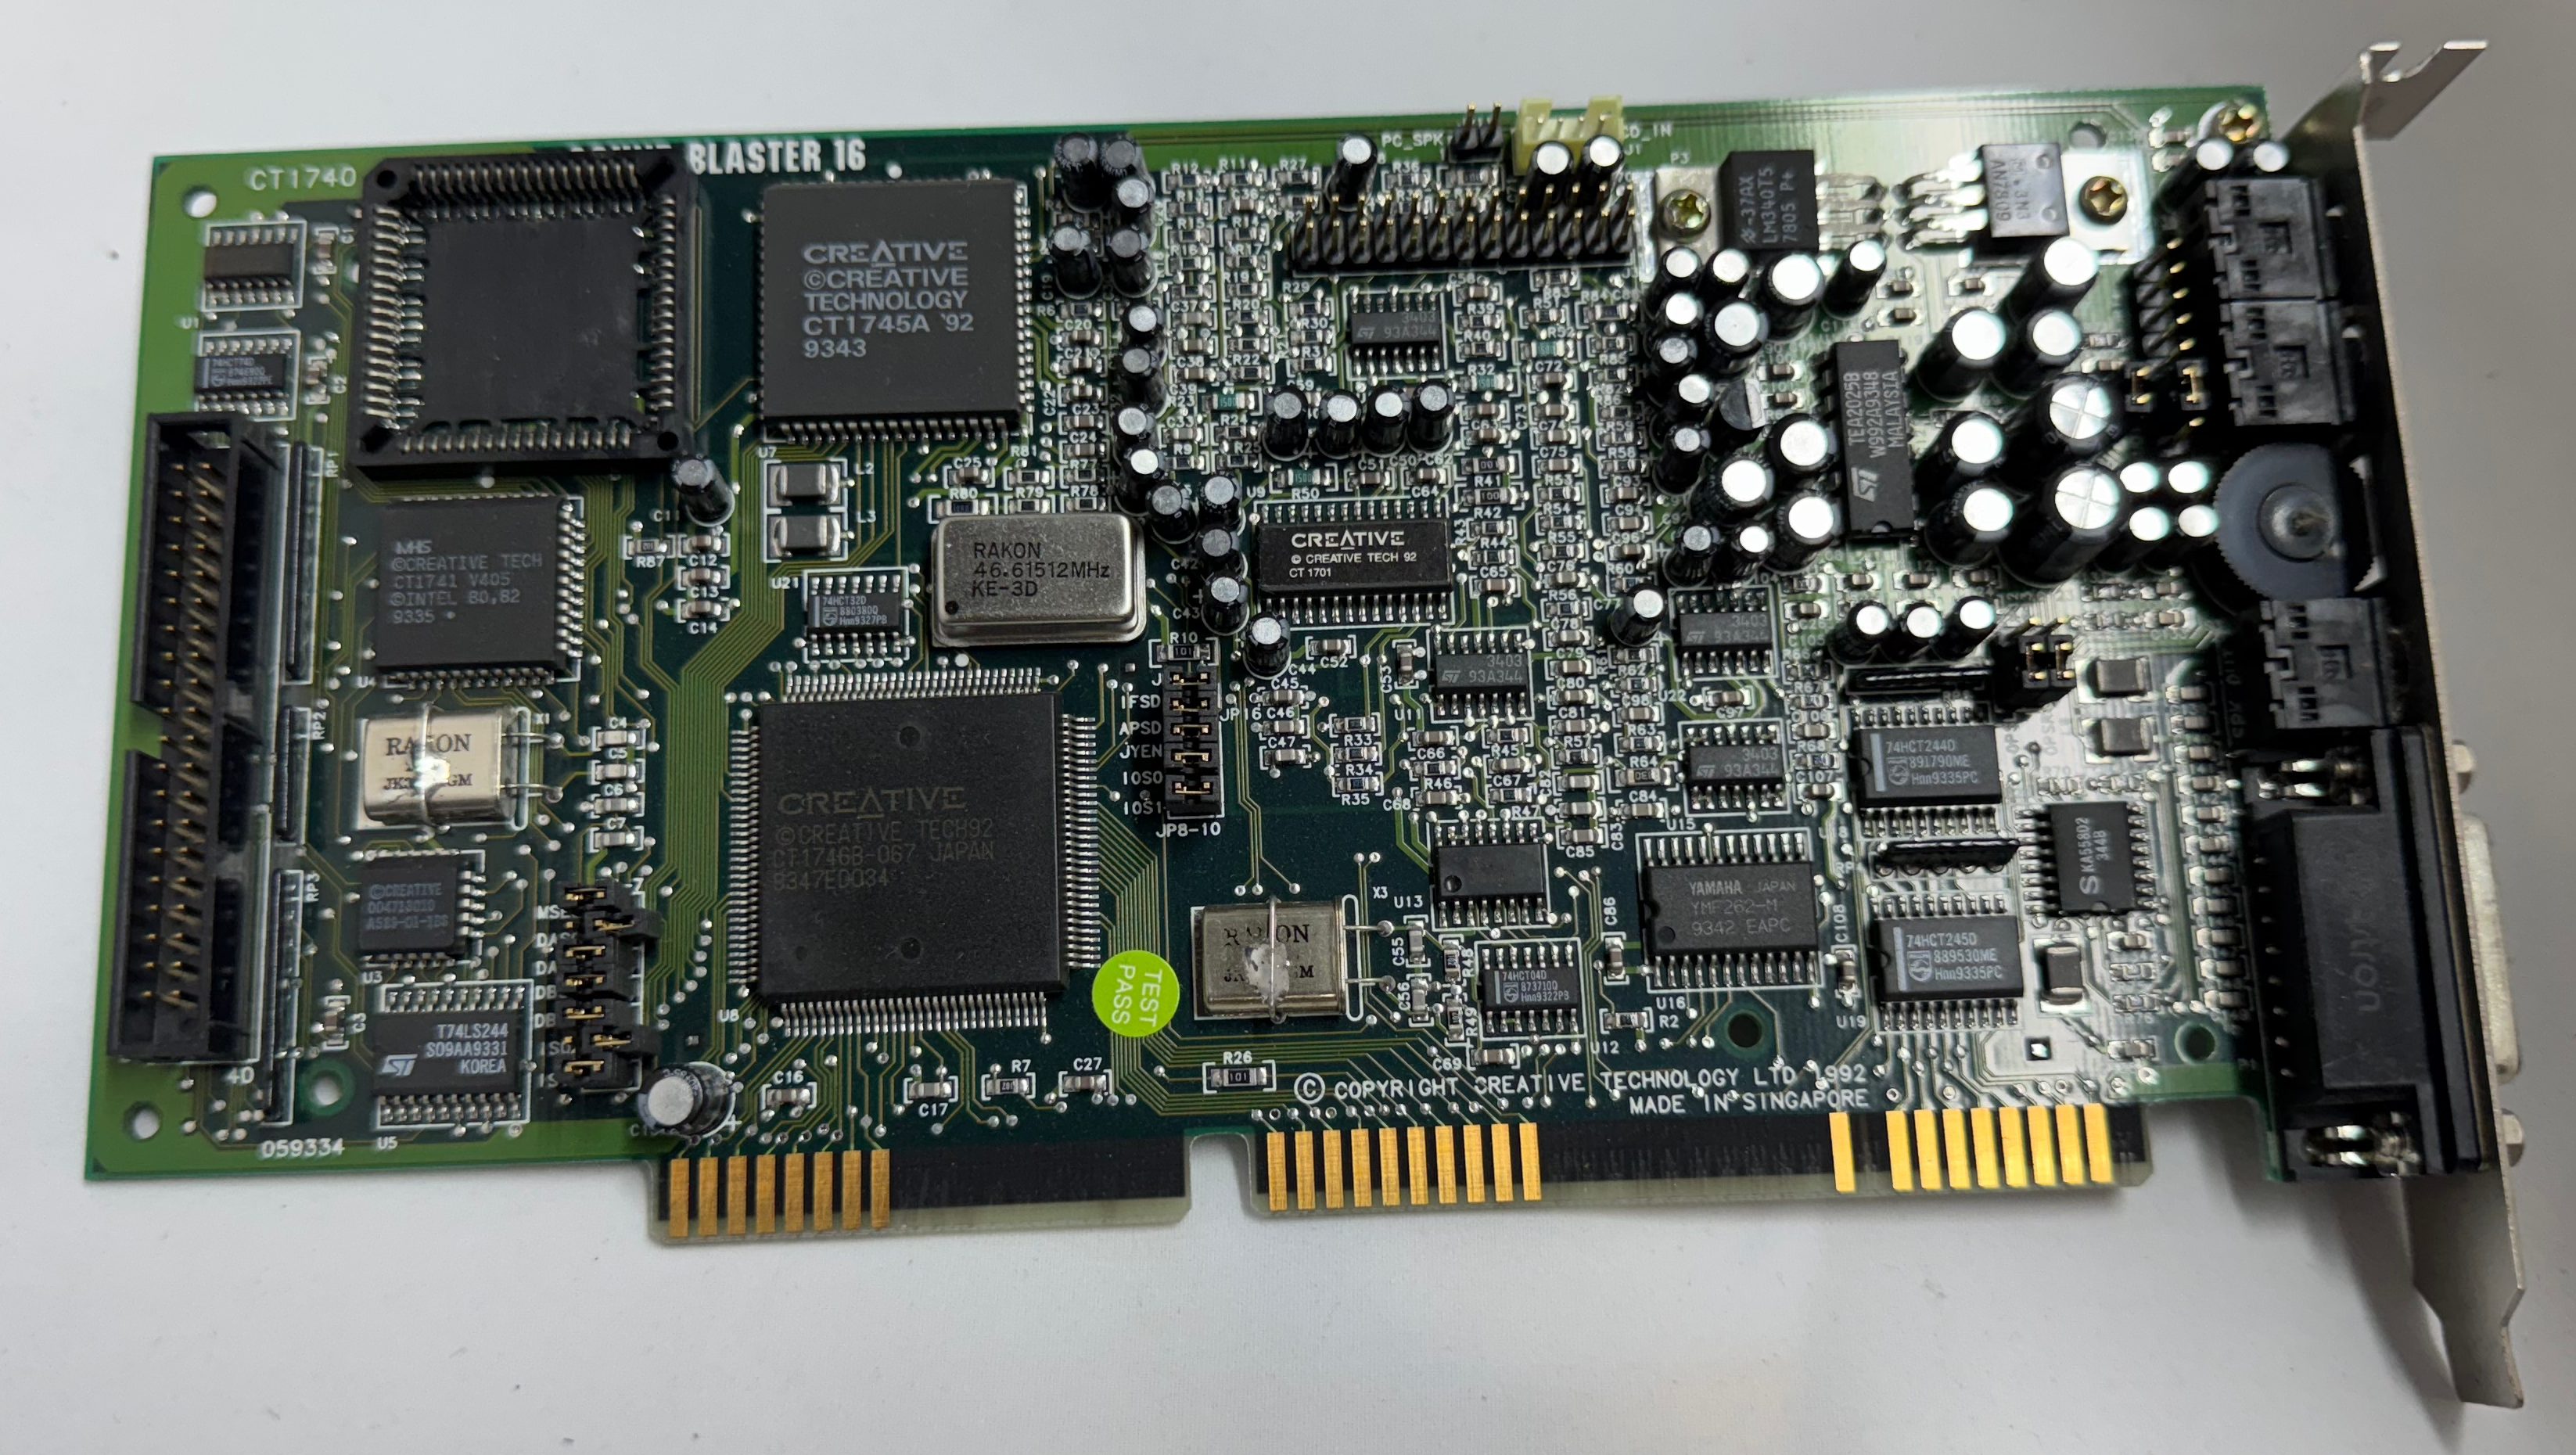
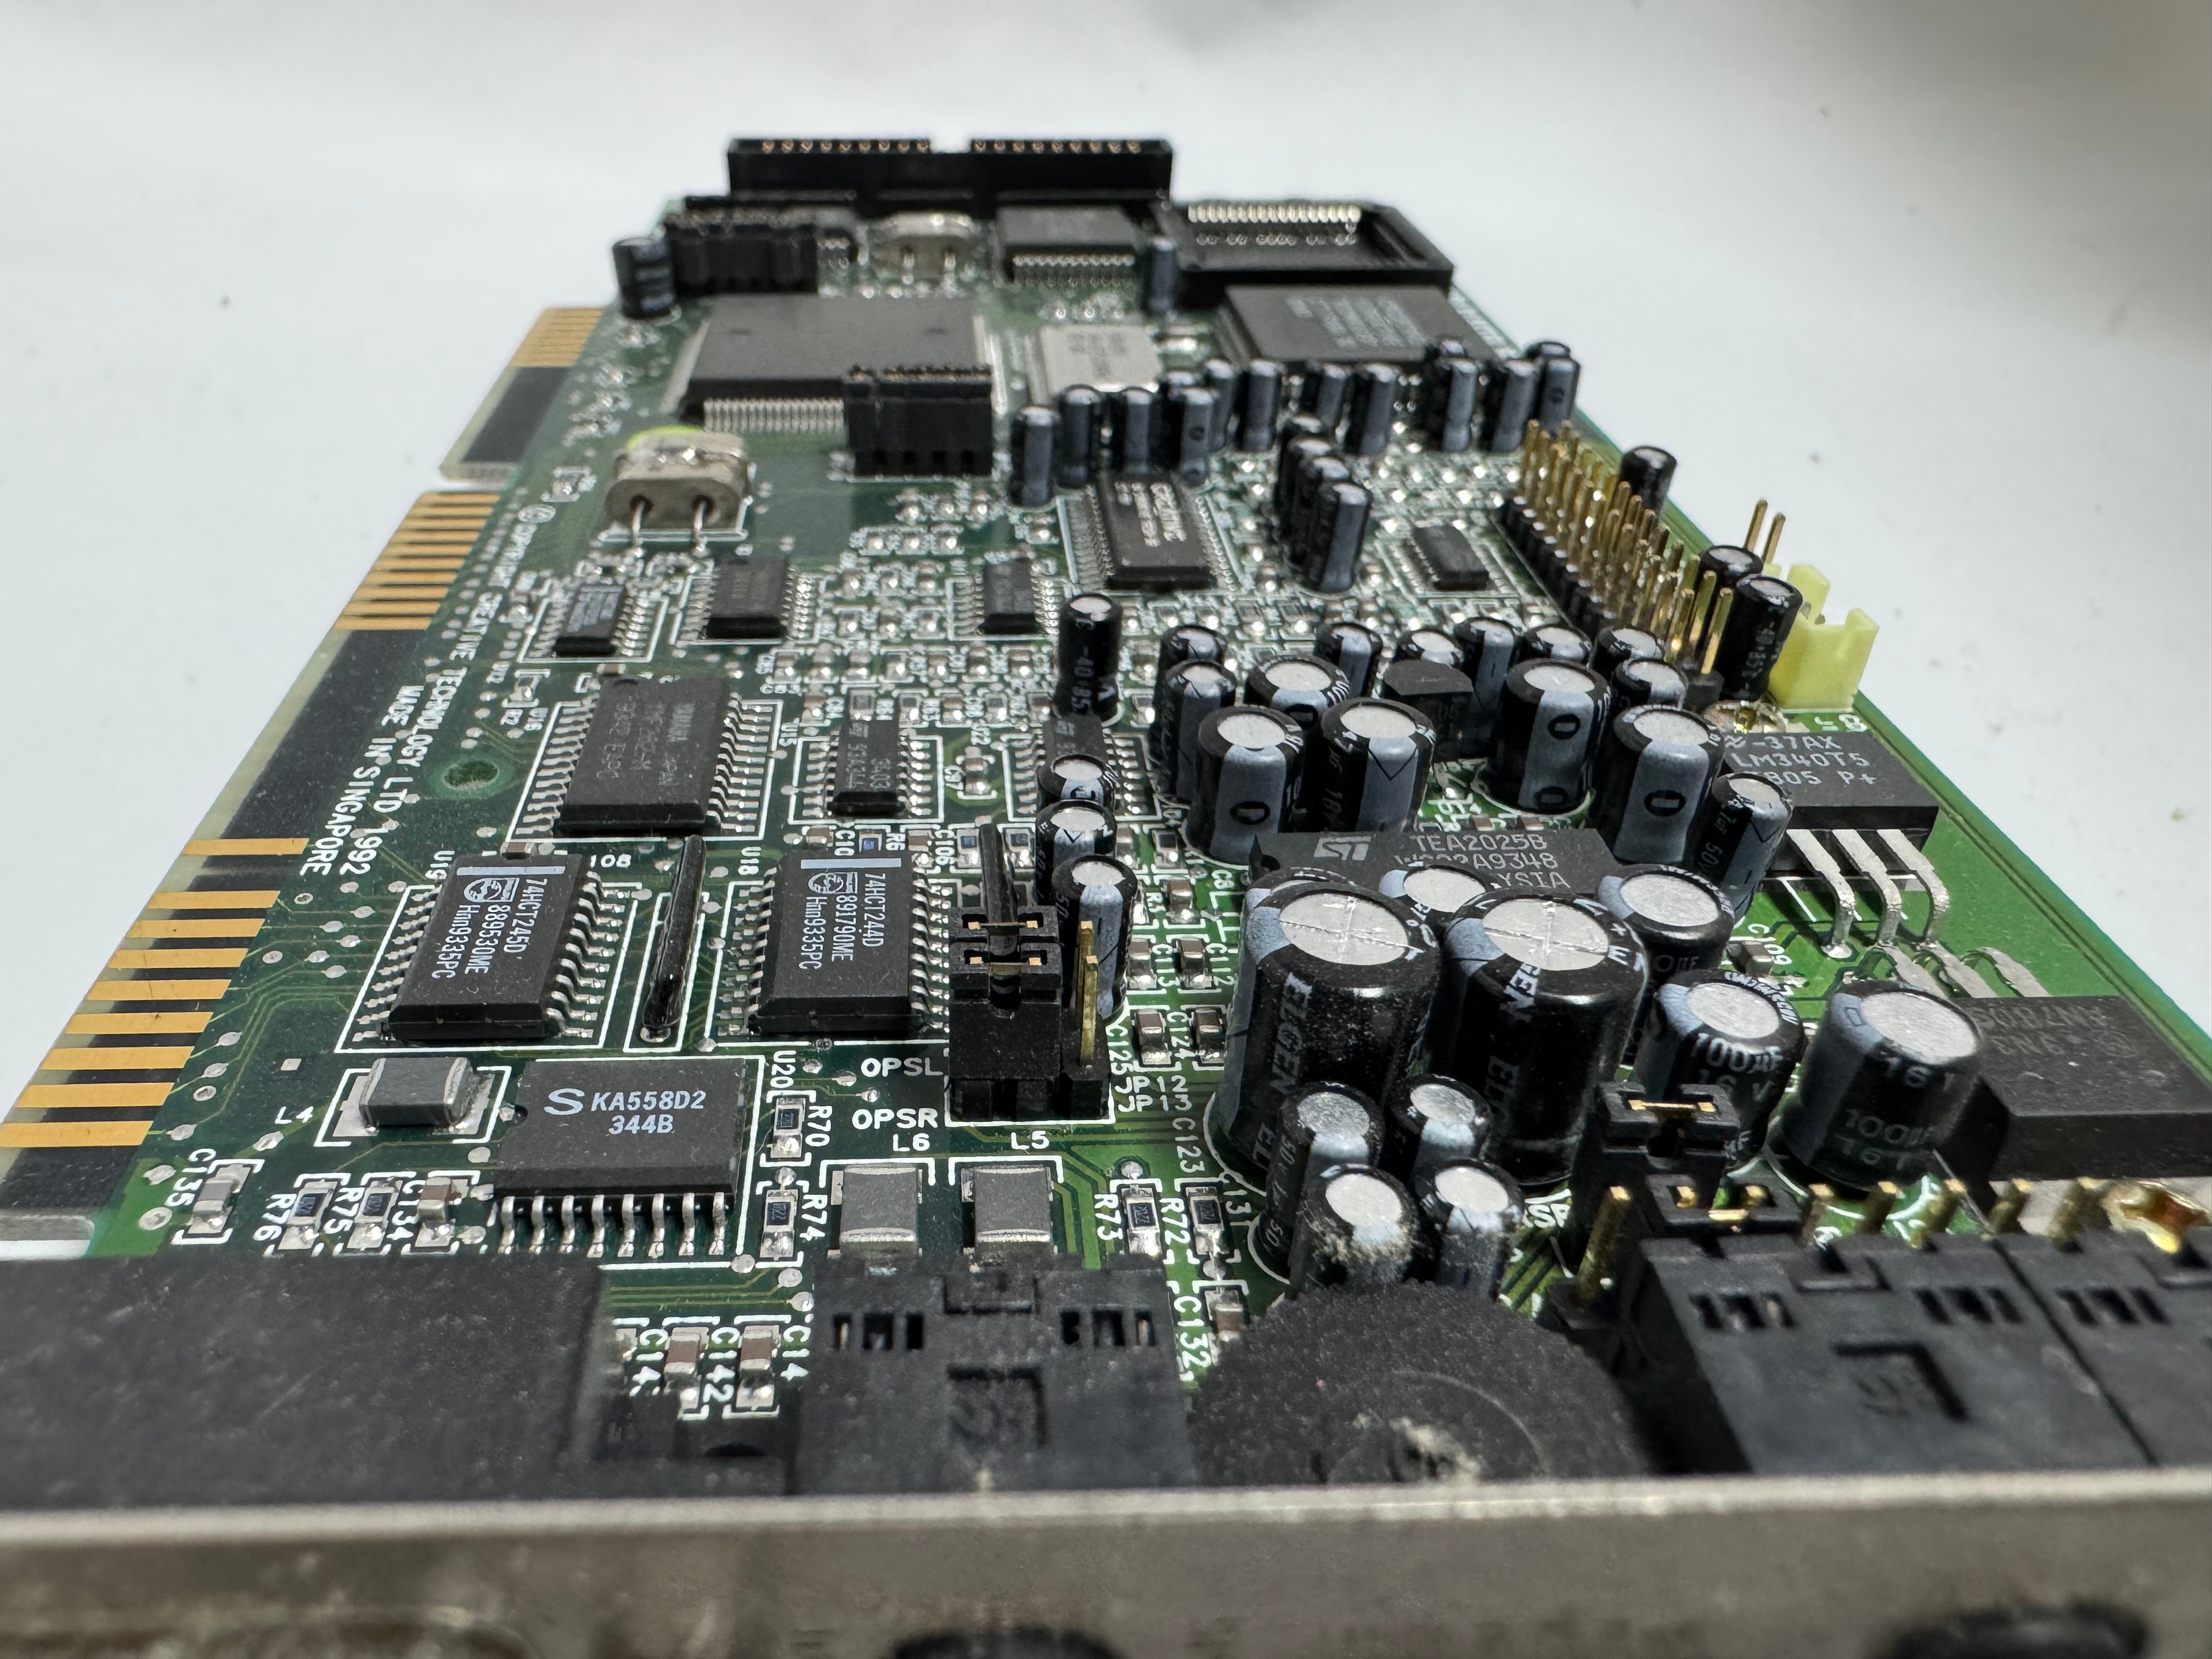
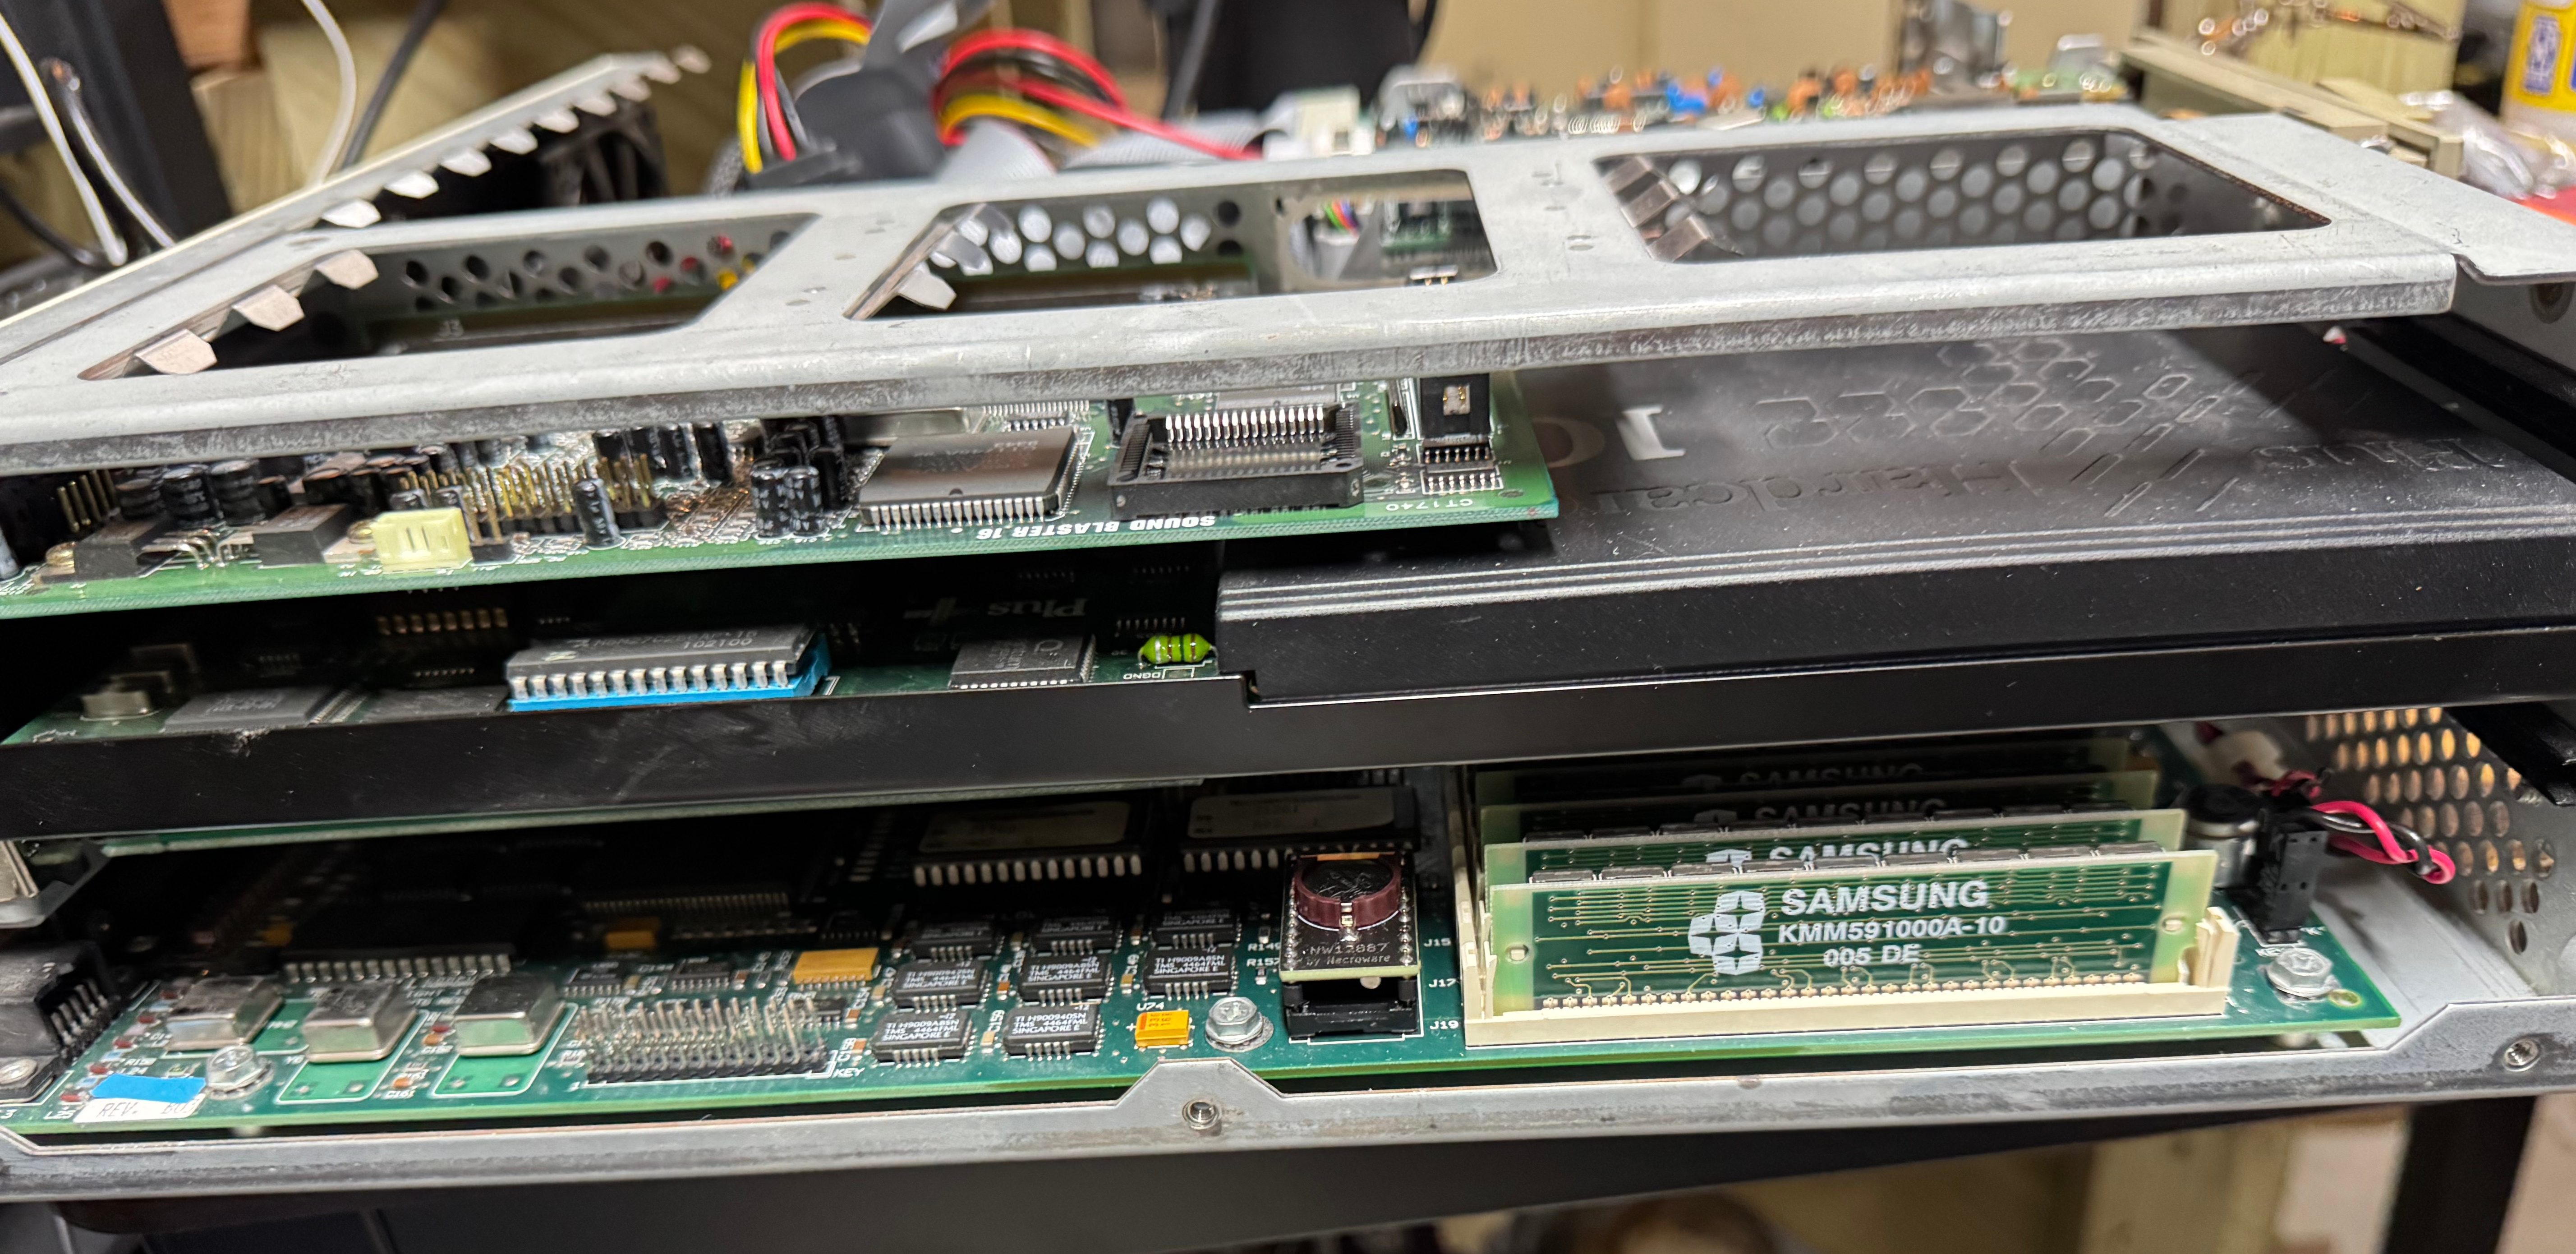
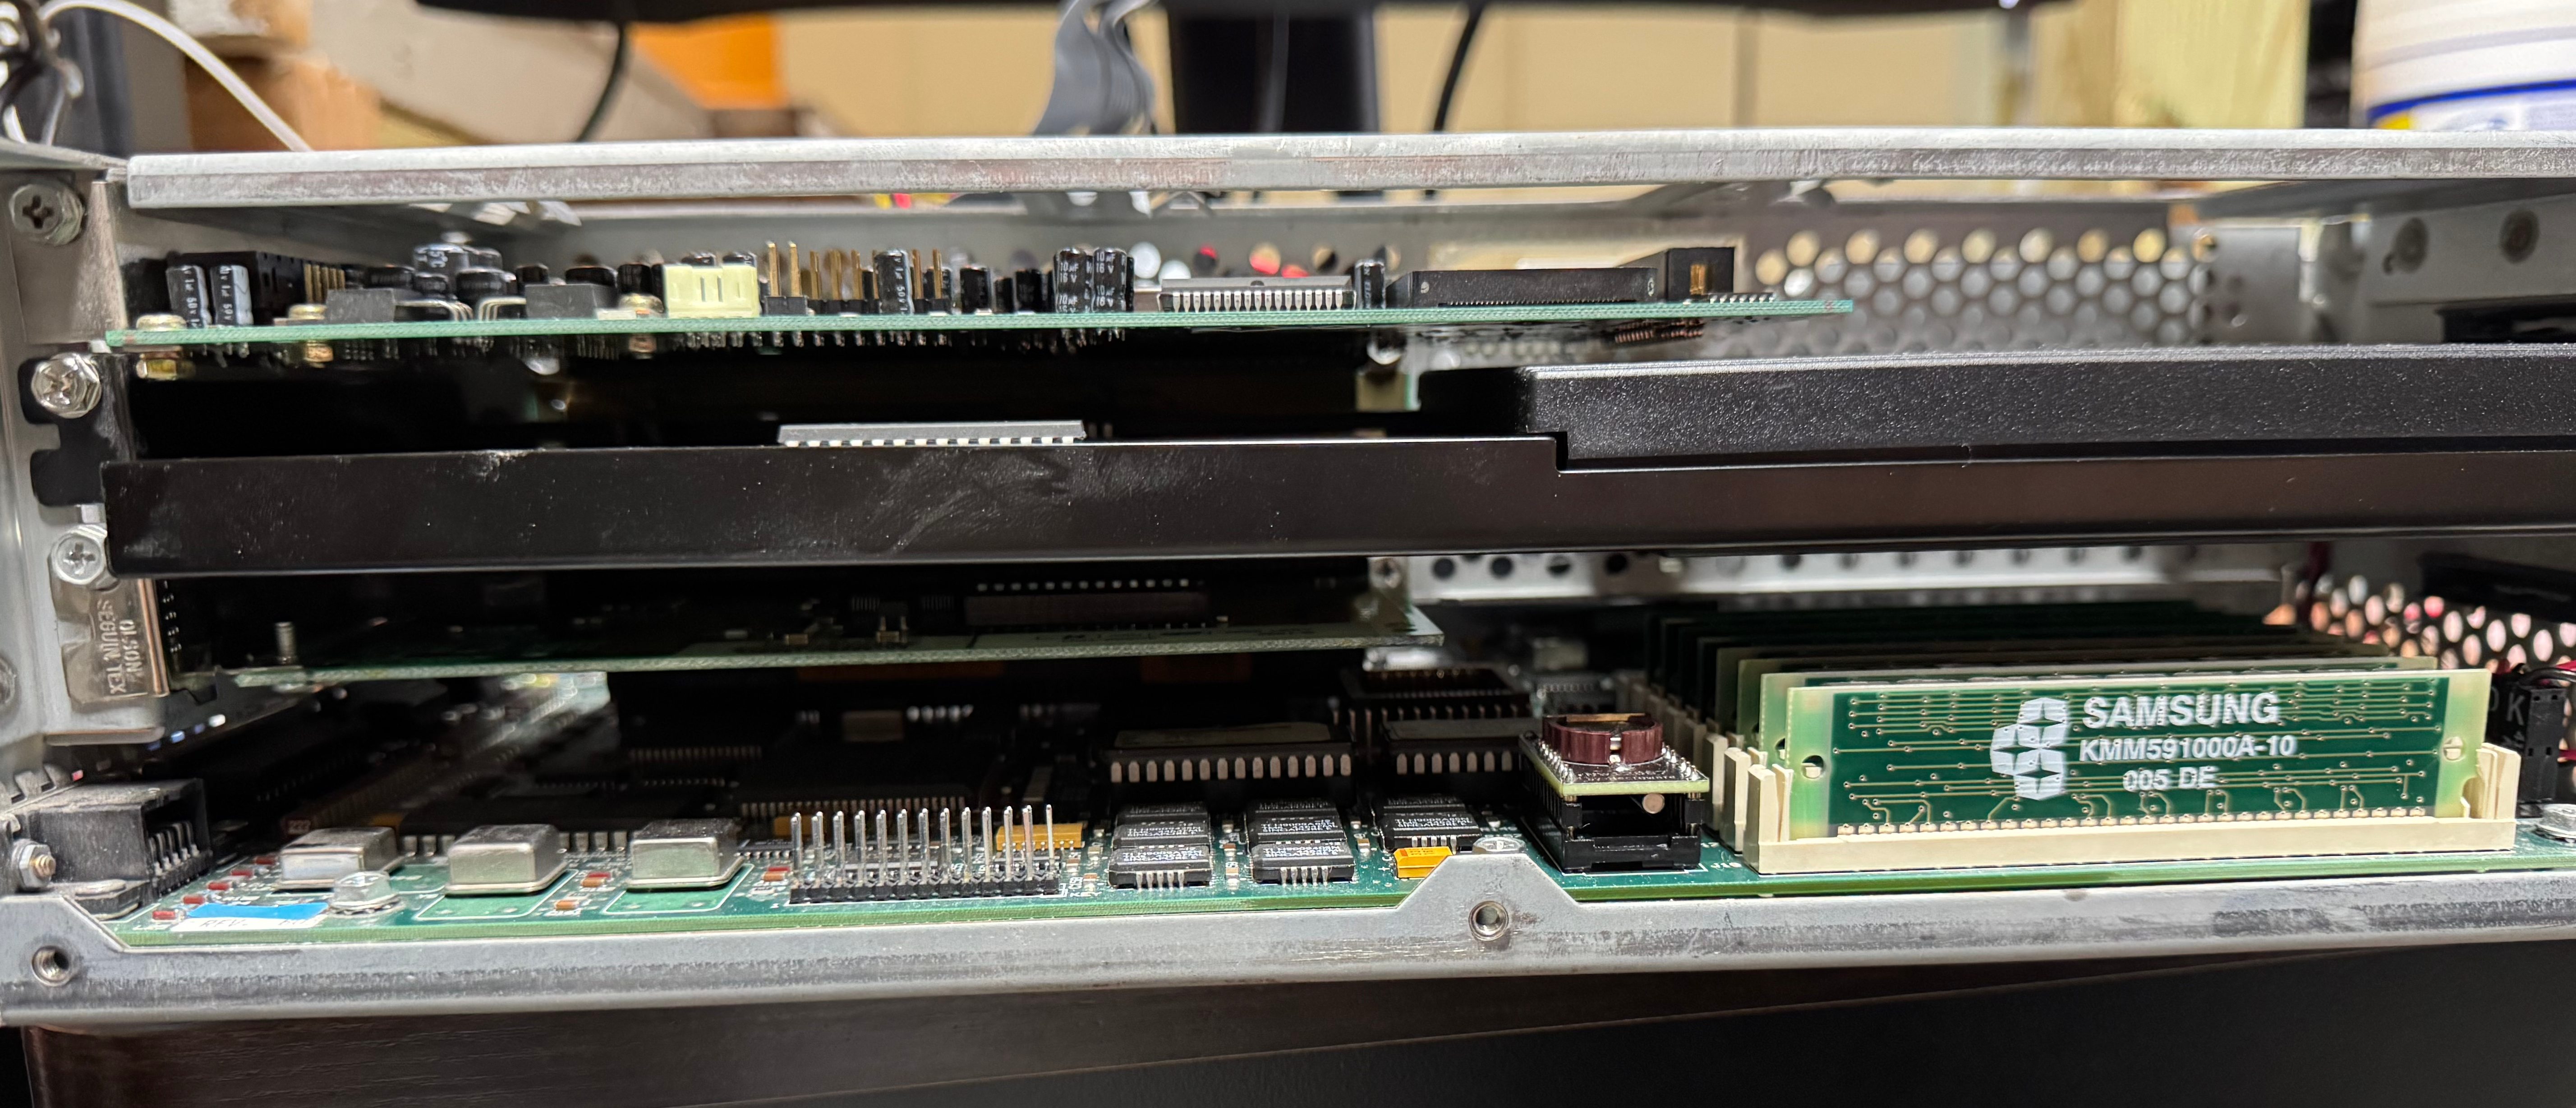
I got the Dell 316SX with a Hardcard II XL – 100MB ISA card and a Sound Blaster 16. I put some deoxit into the volume control knob of the Sound Blaster, it had the crackles when you moved it. That cleared it up.
I mentioned swapping the Hardcard for a SCSI controller. While I was in the system I also decided to get a 10MB Ethernet controller off ebay and put that into the system to have easier file transfers in the future.
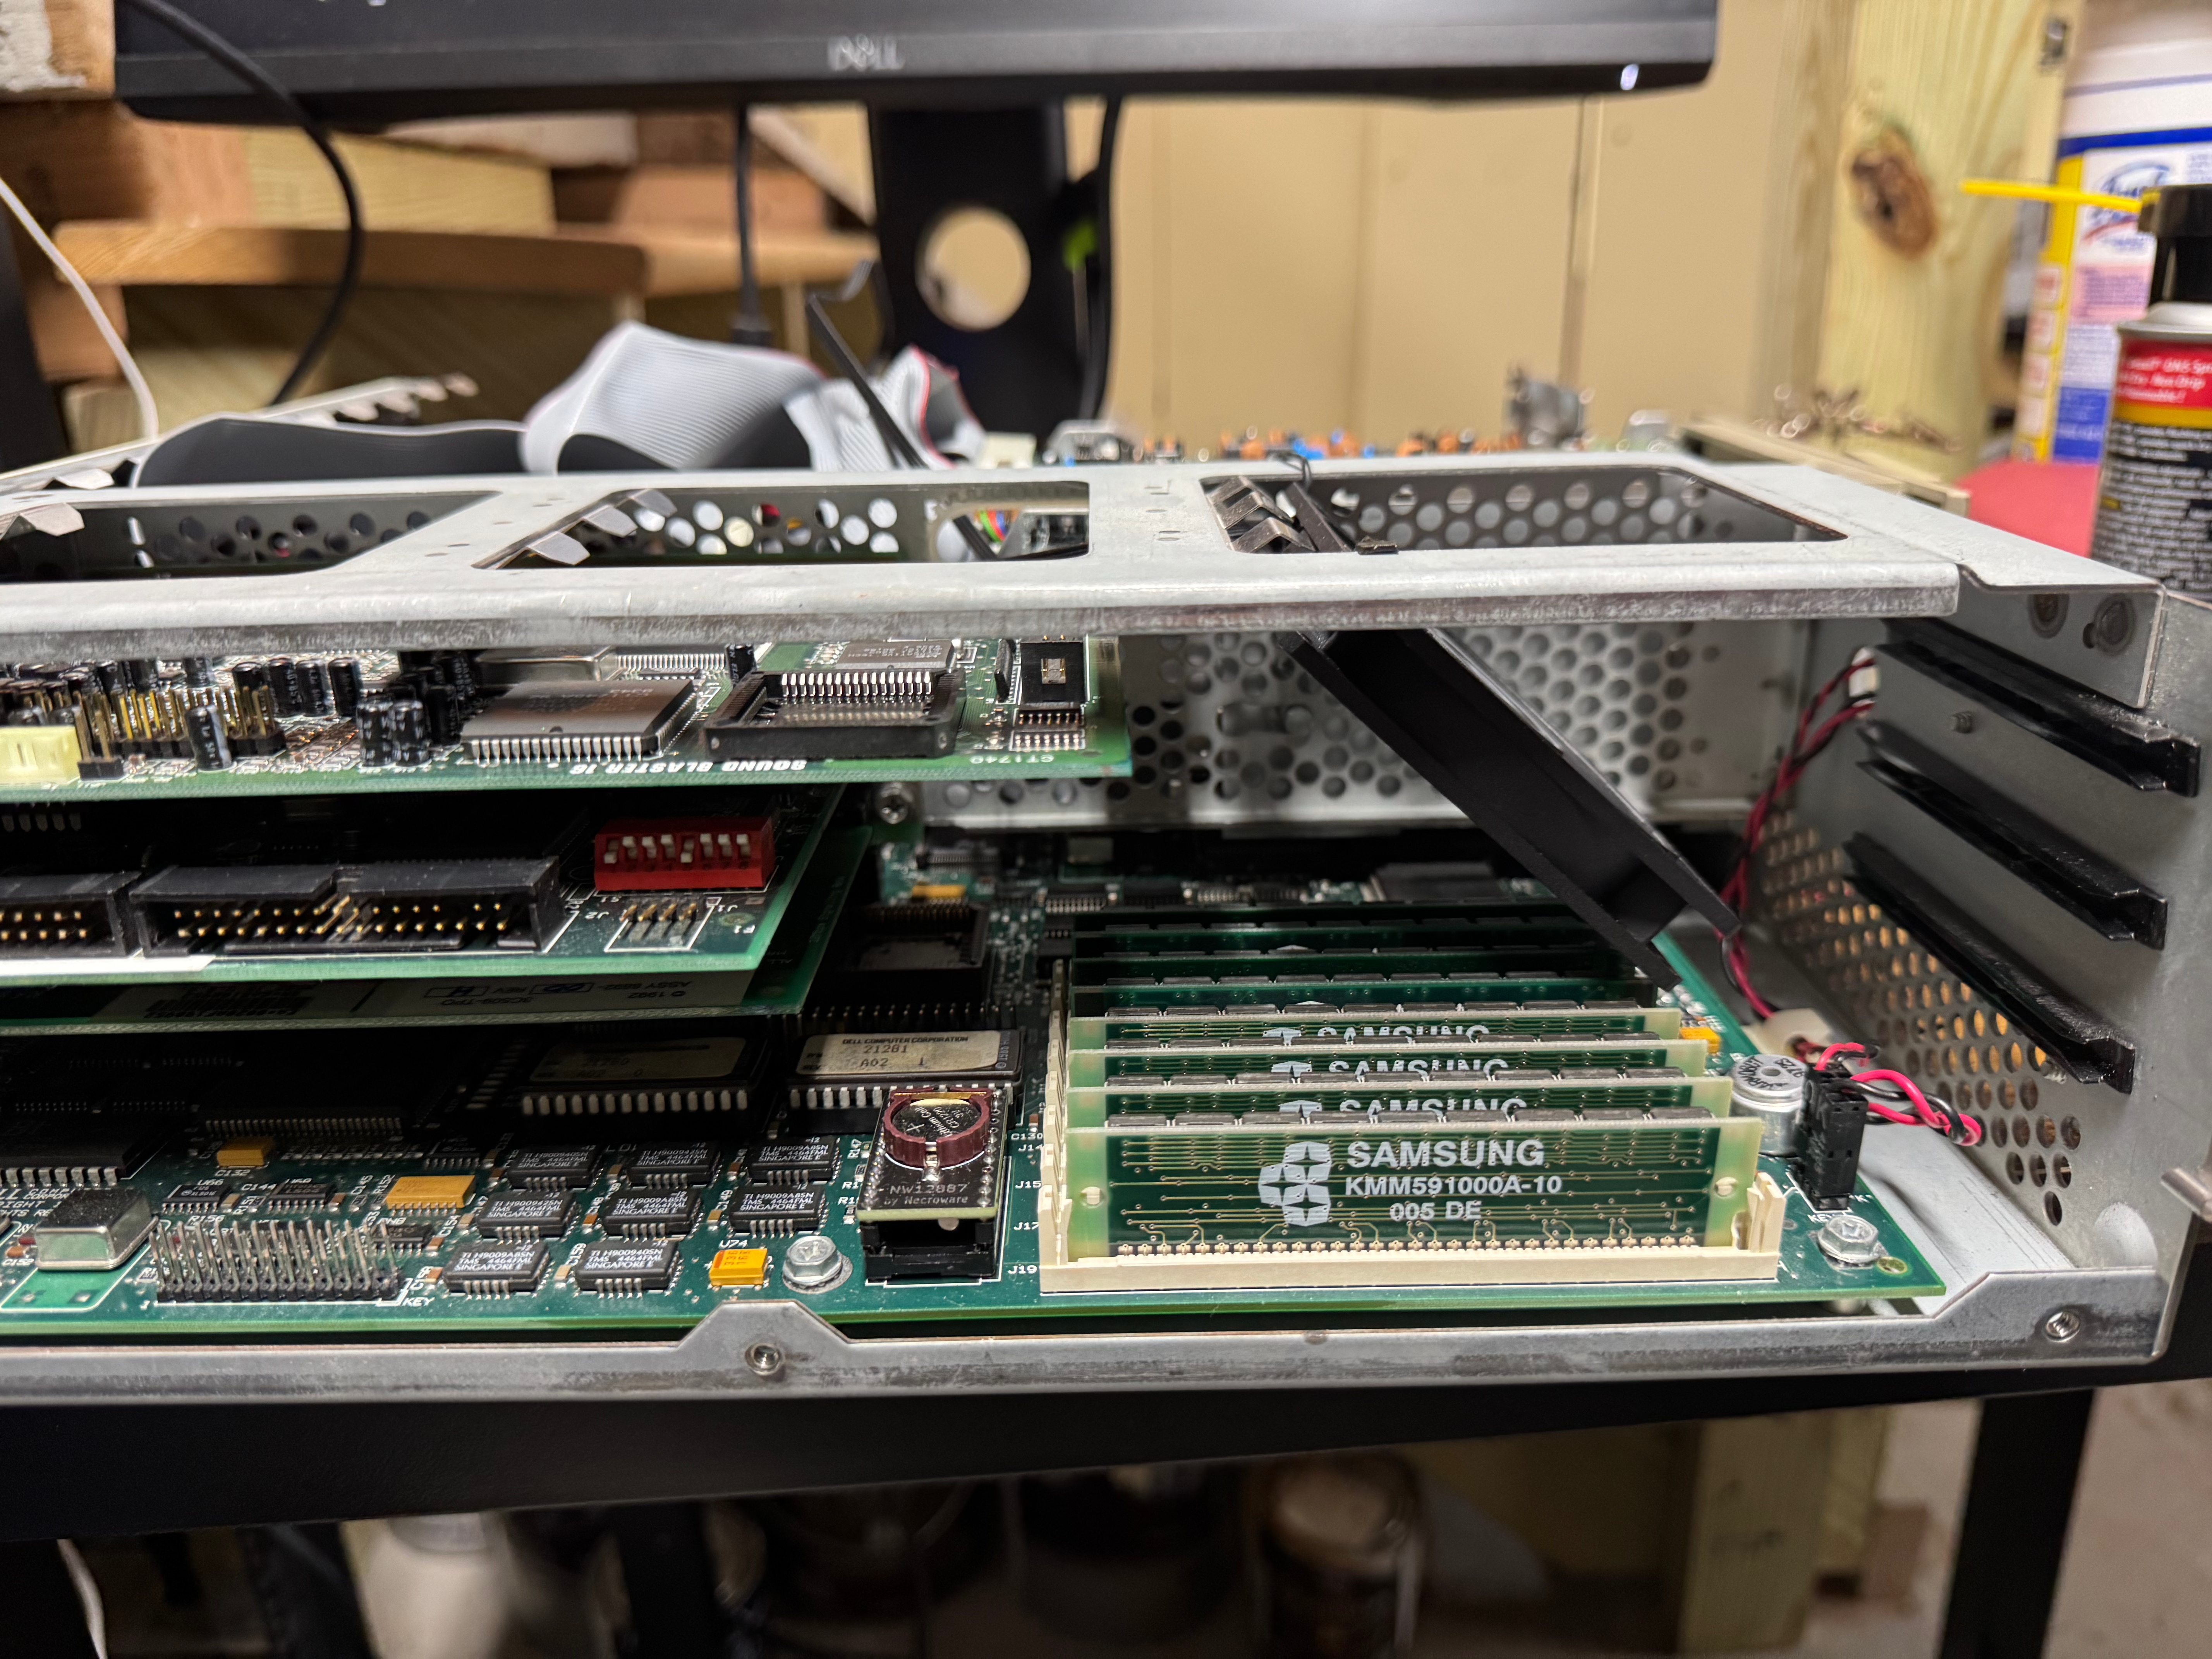
Sound Blaster 16Sound Blaster 16 BoardSound Blaster 16 BoardSound Blaster 16 BoardSound Blaster 16 BoardCard SandwichCard Sandwich while Hardcard was in thereCard Sandwich
Drives
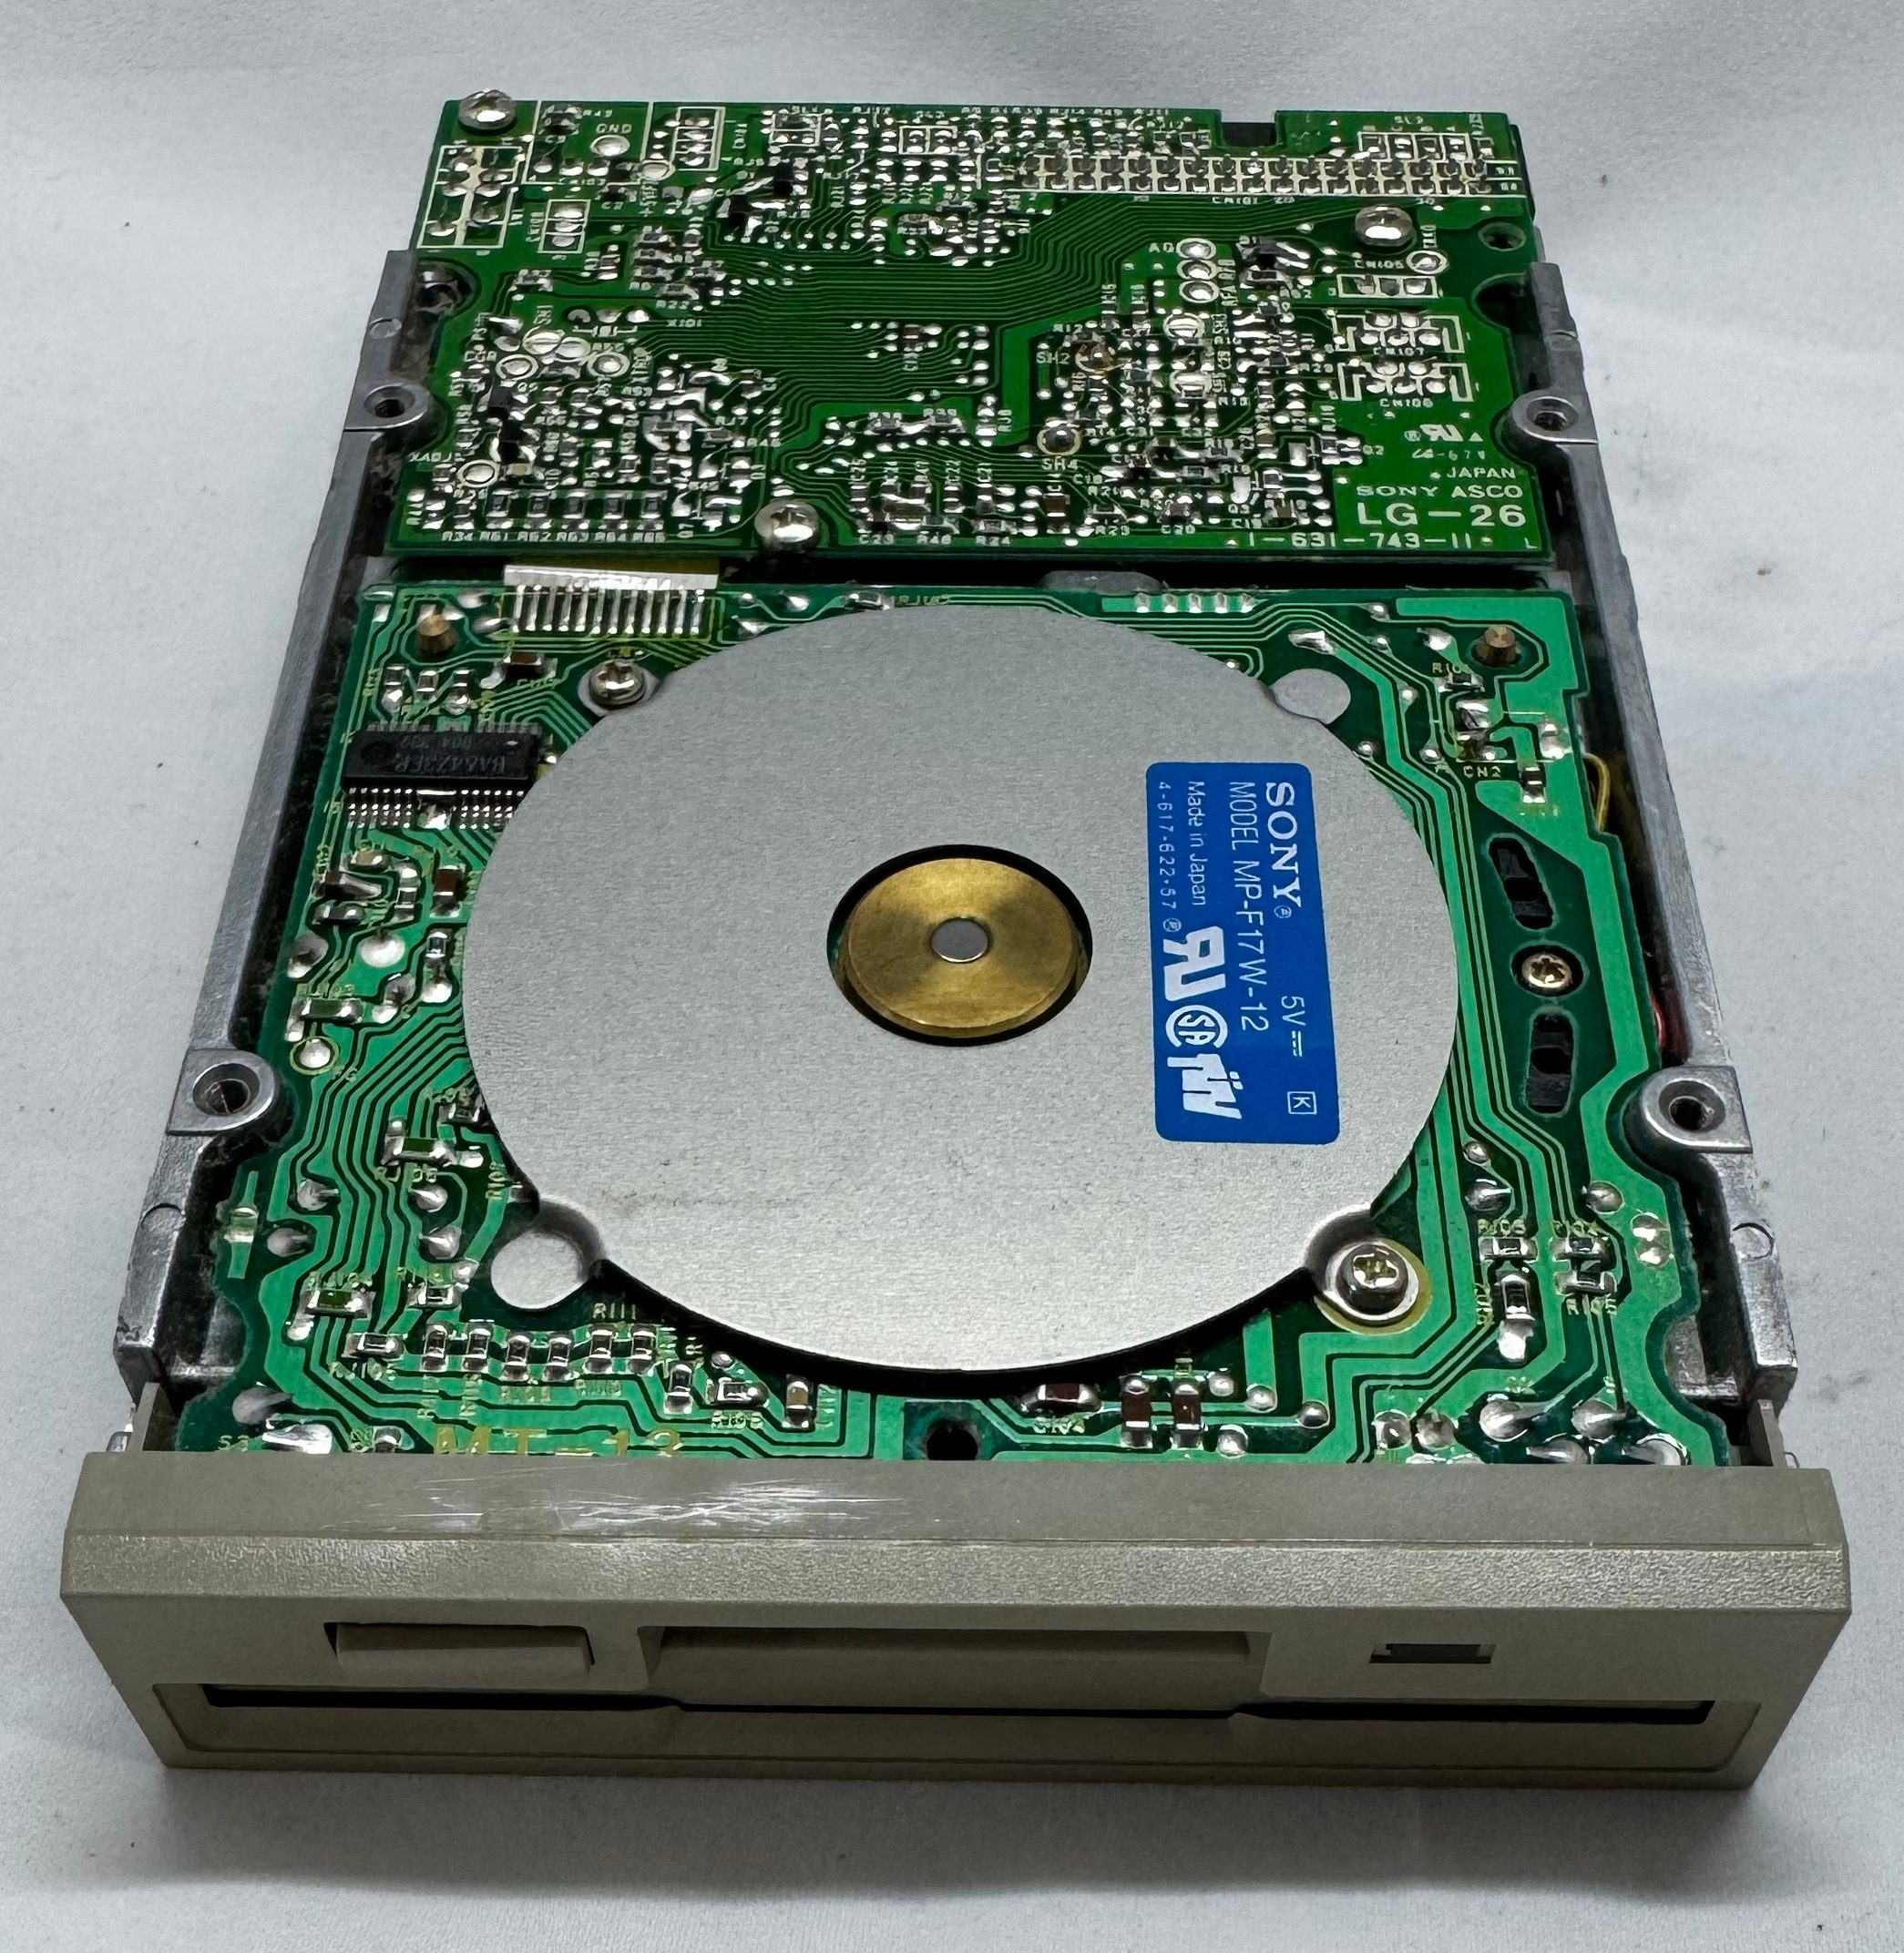
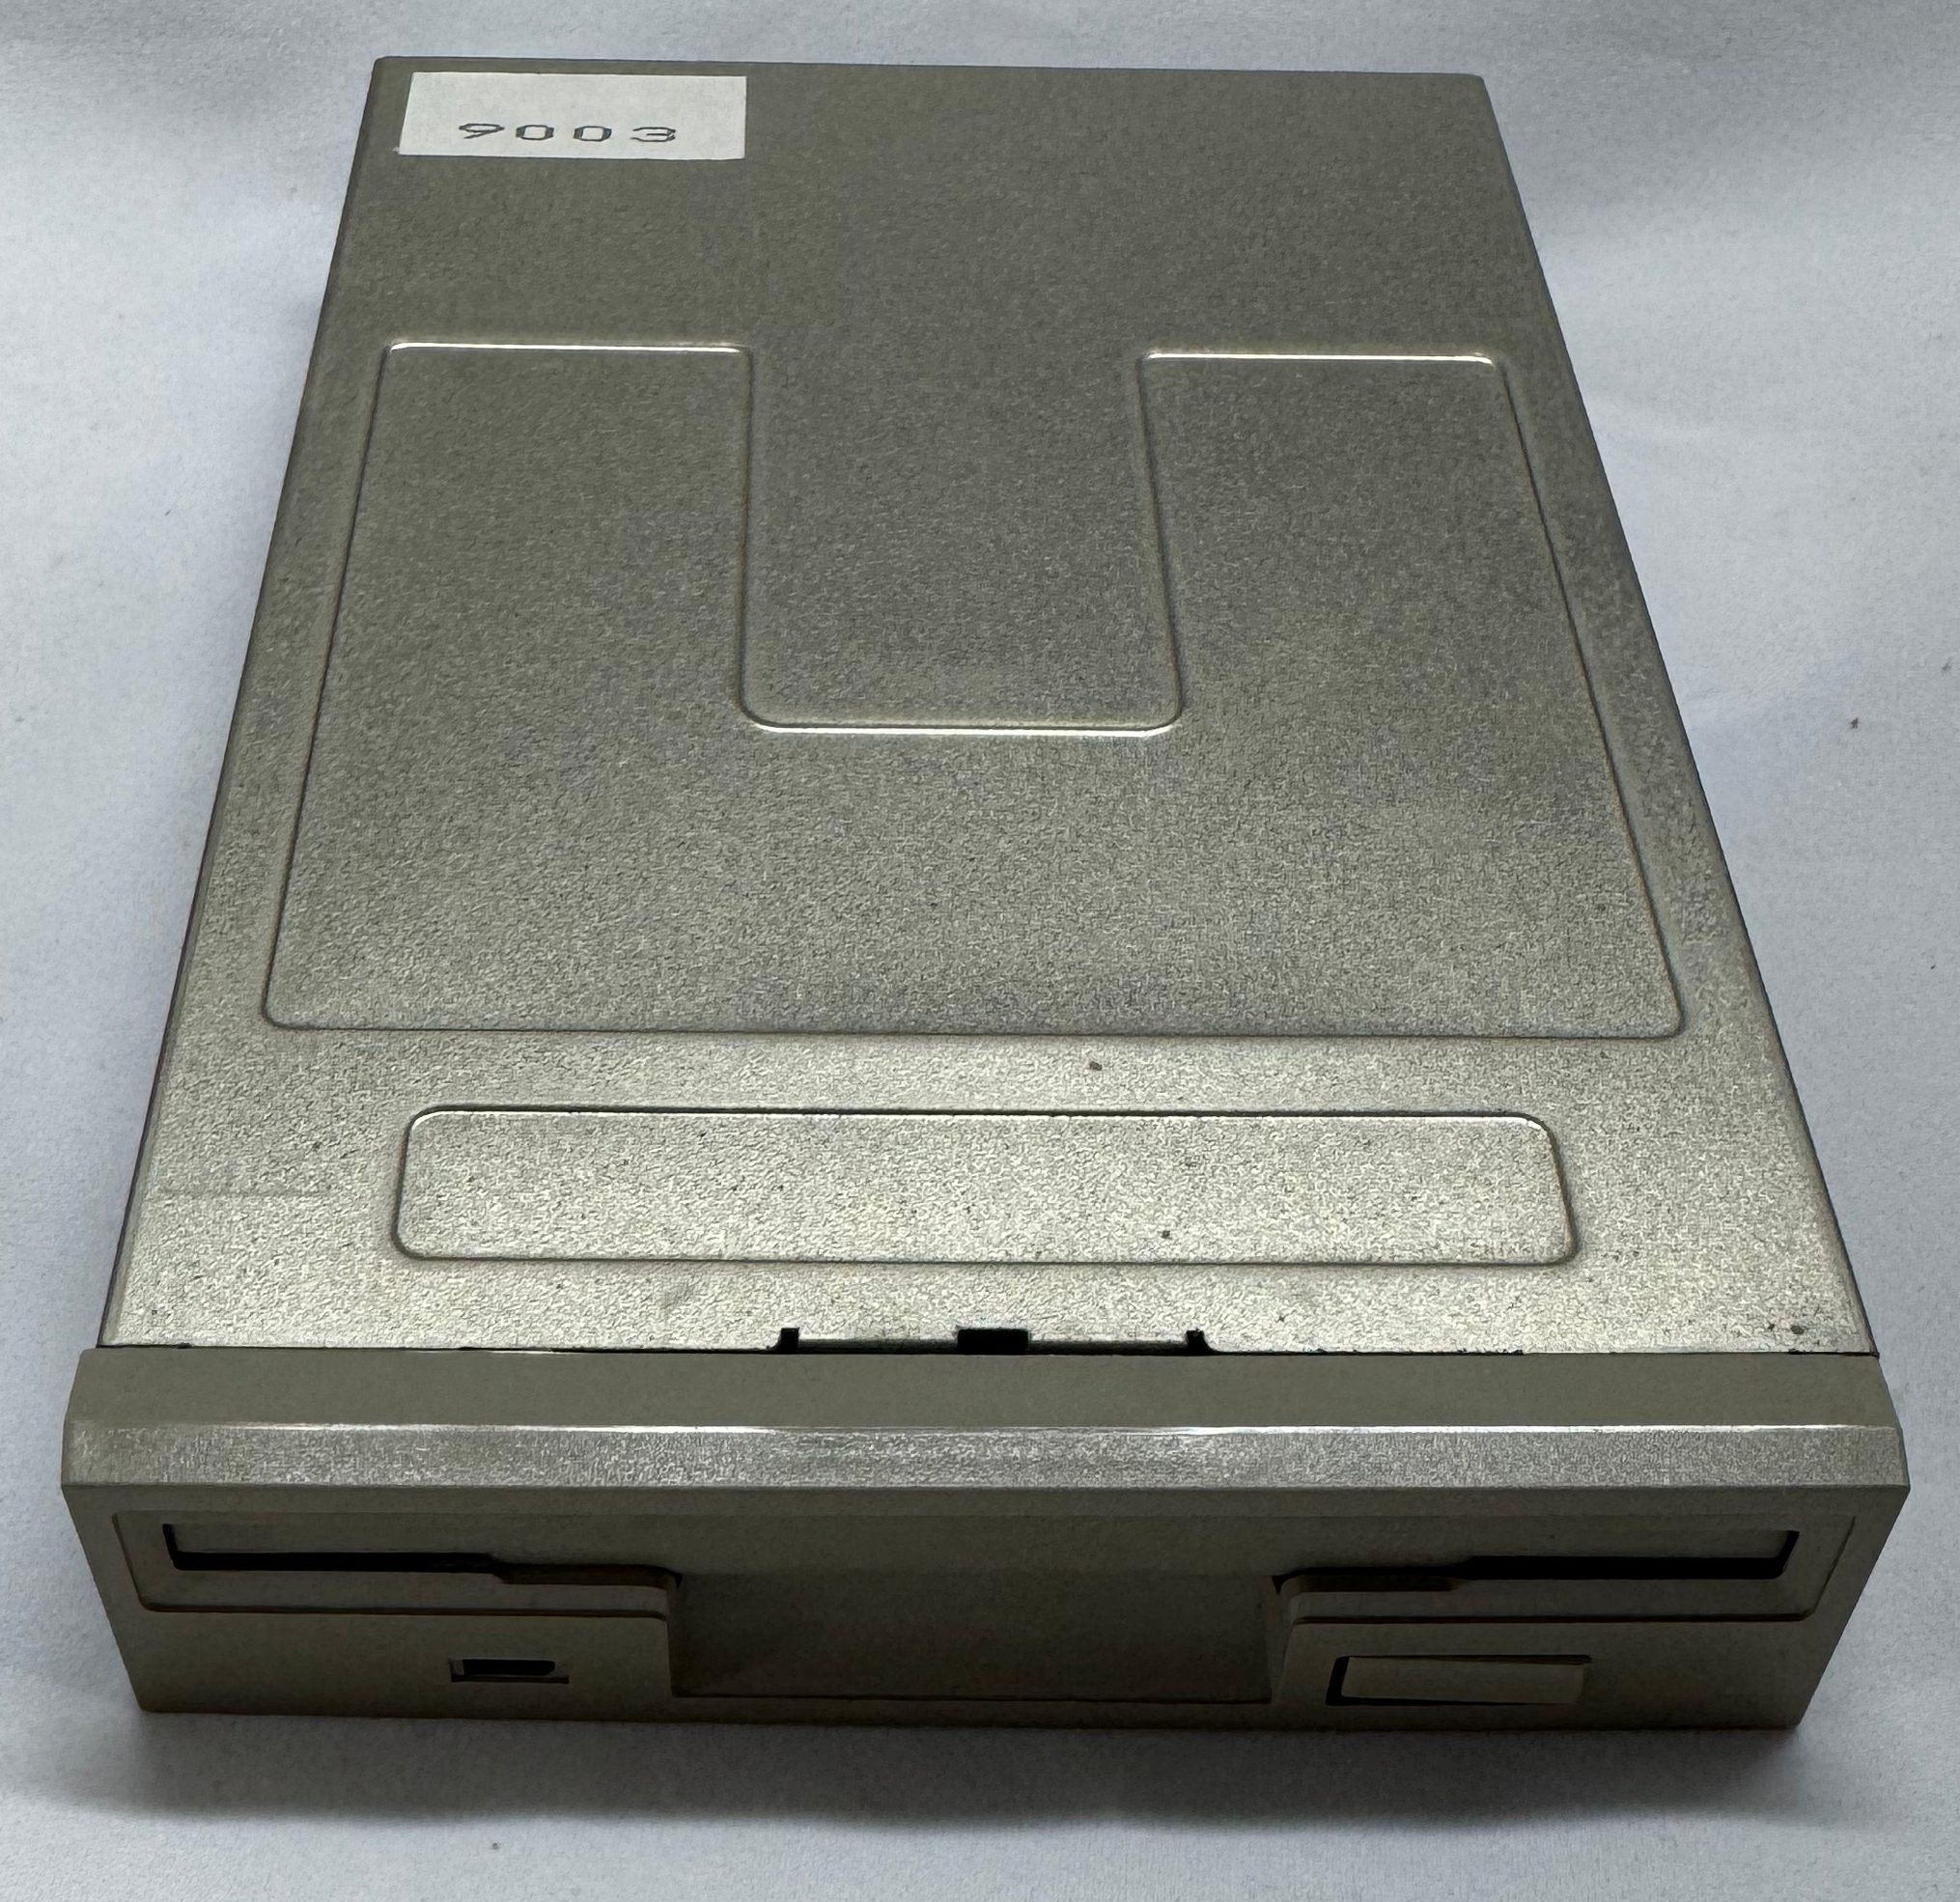
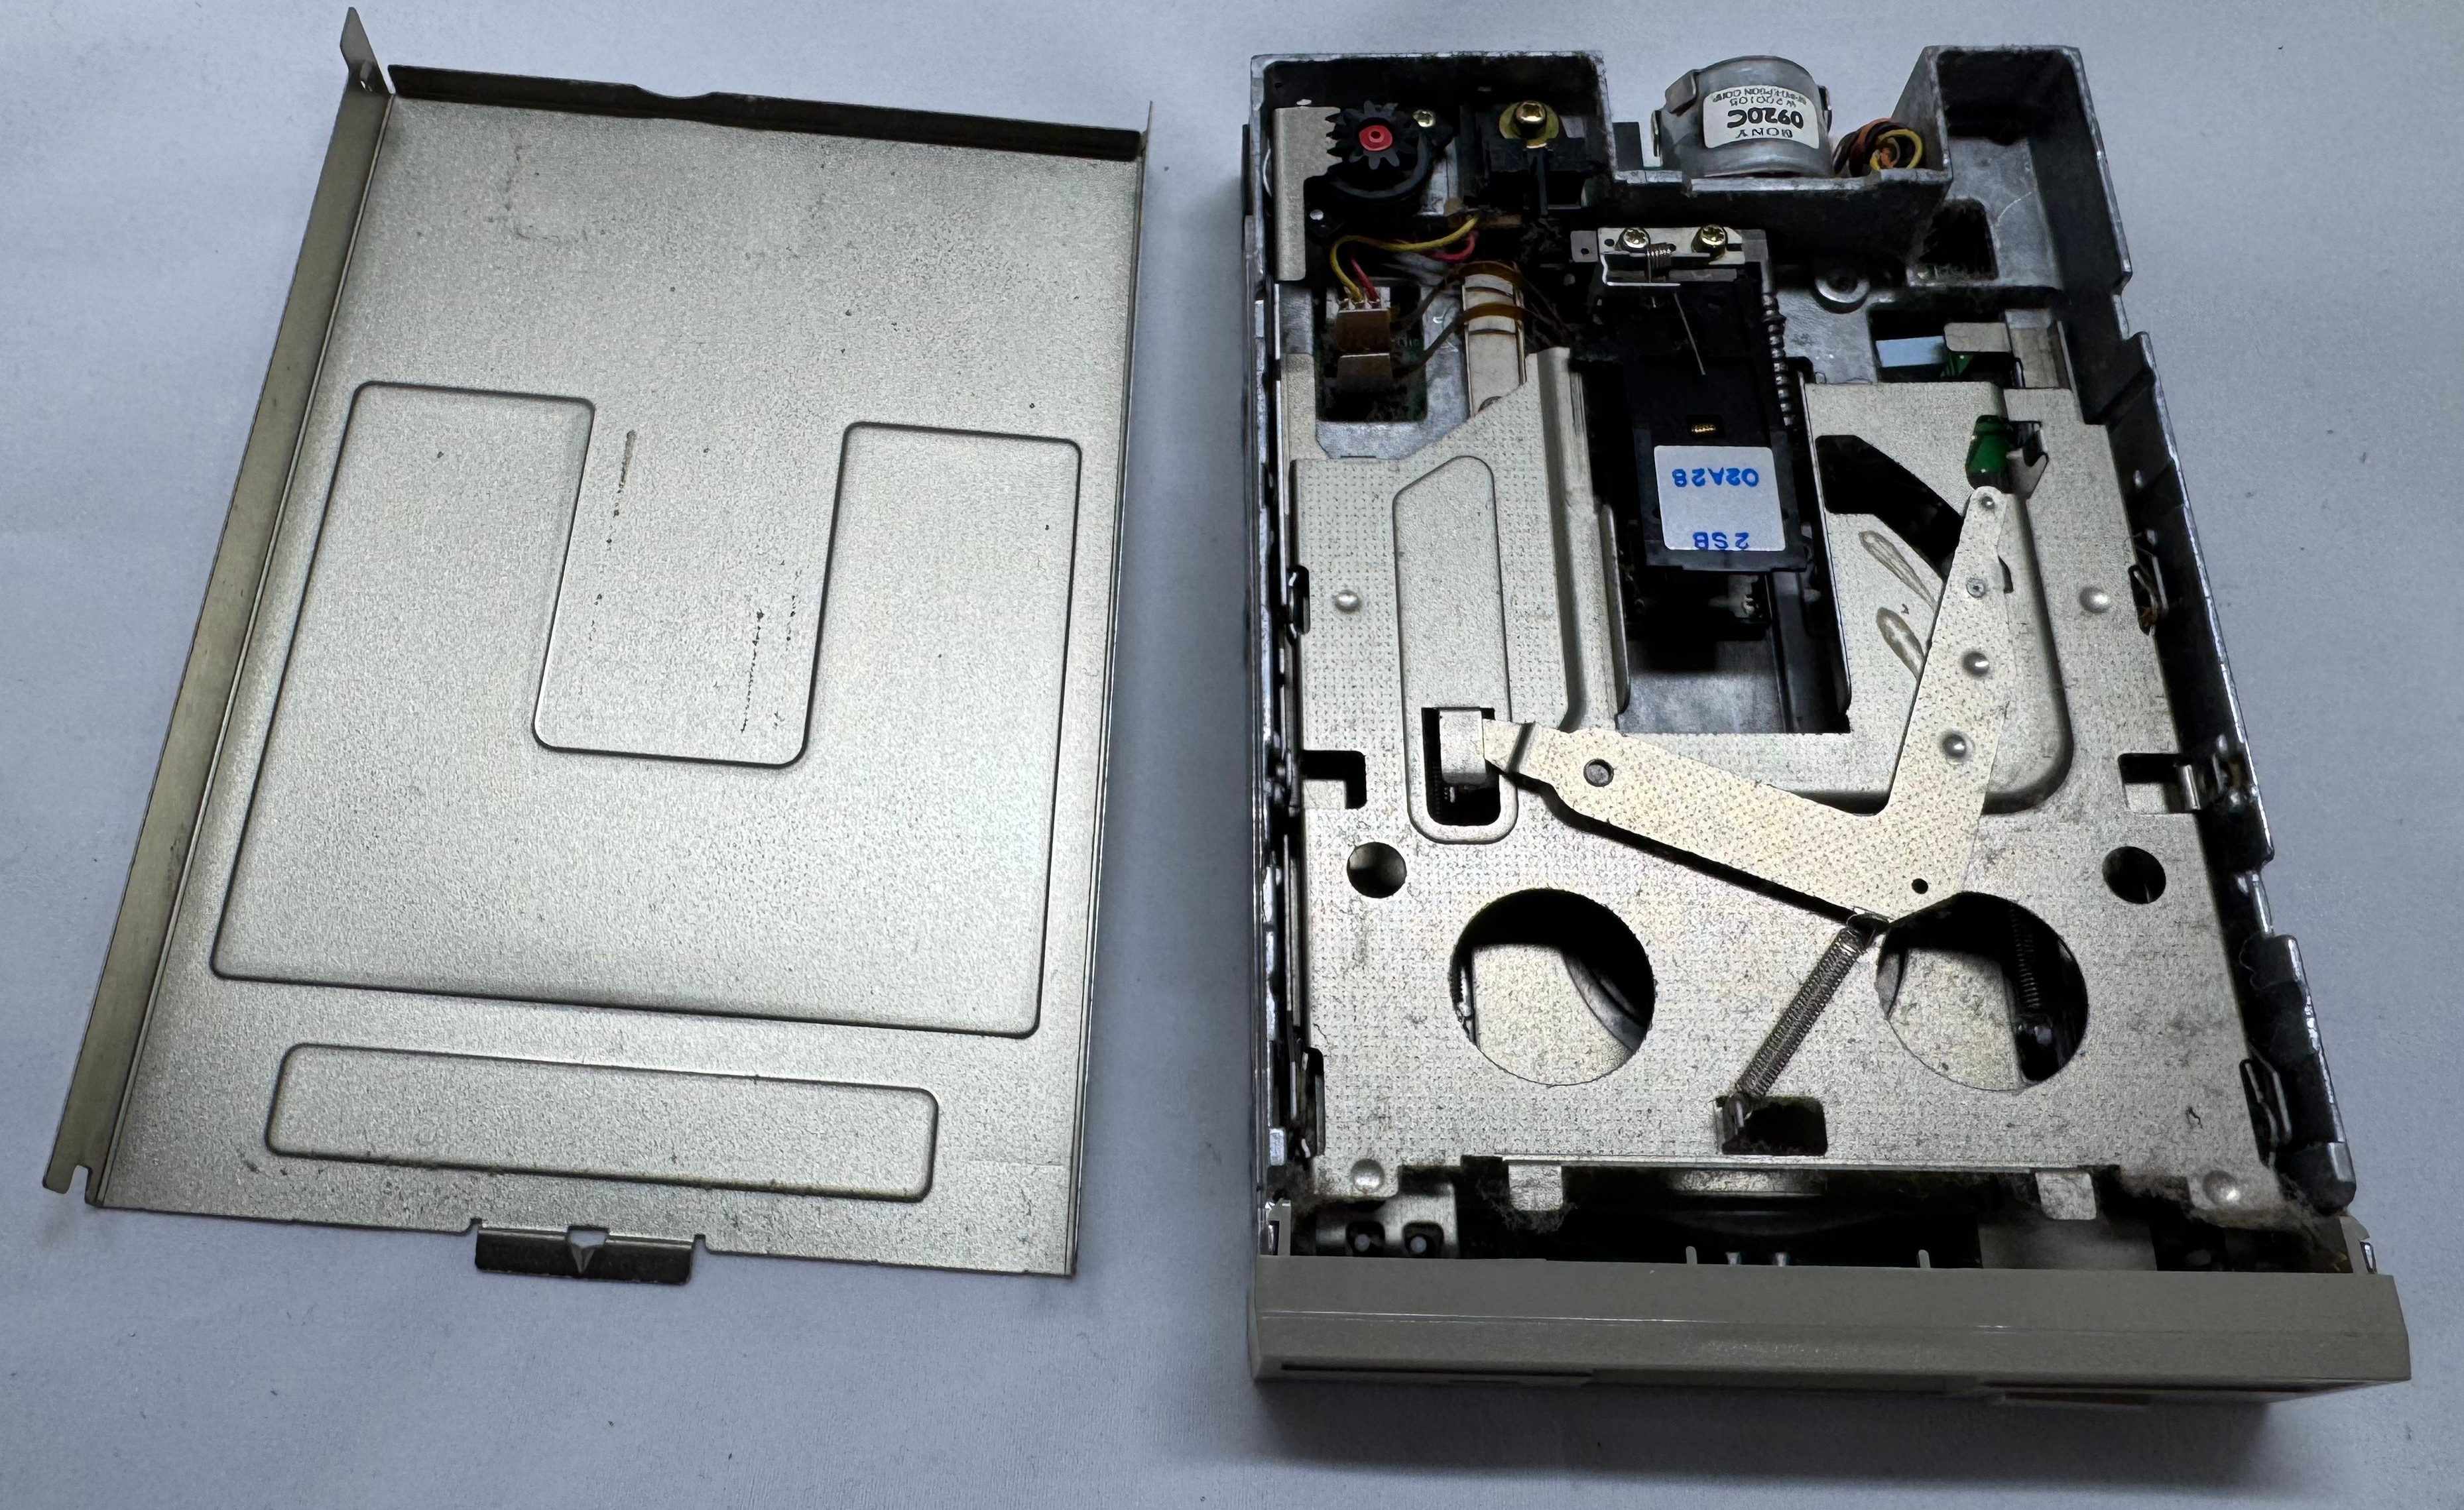
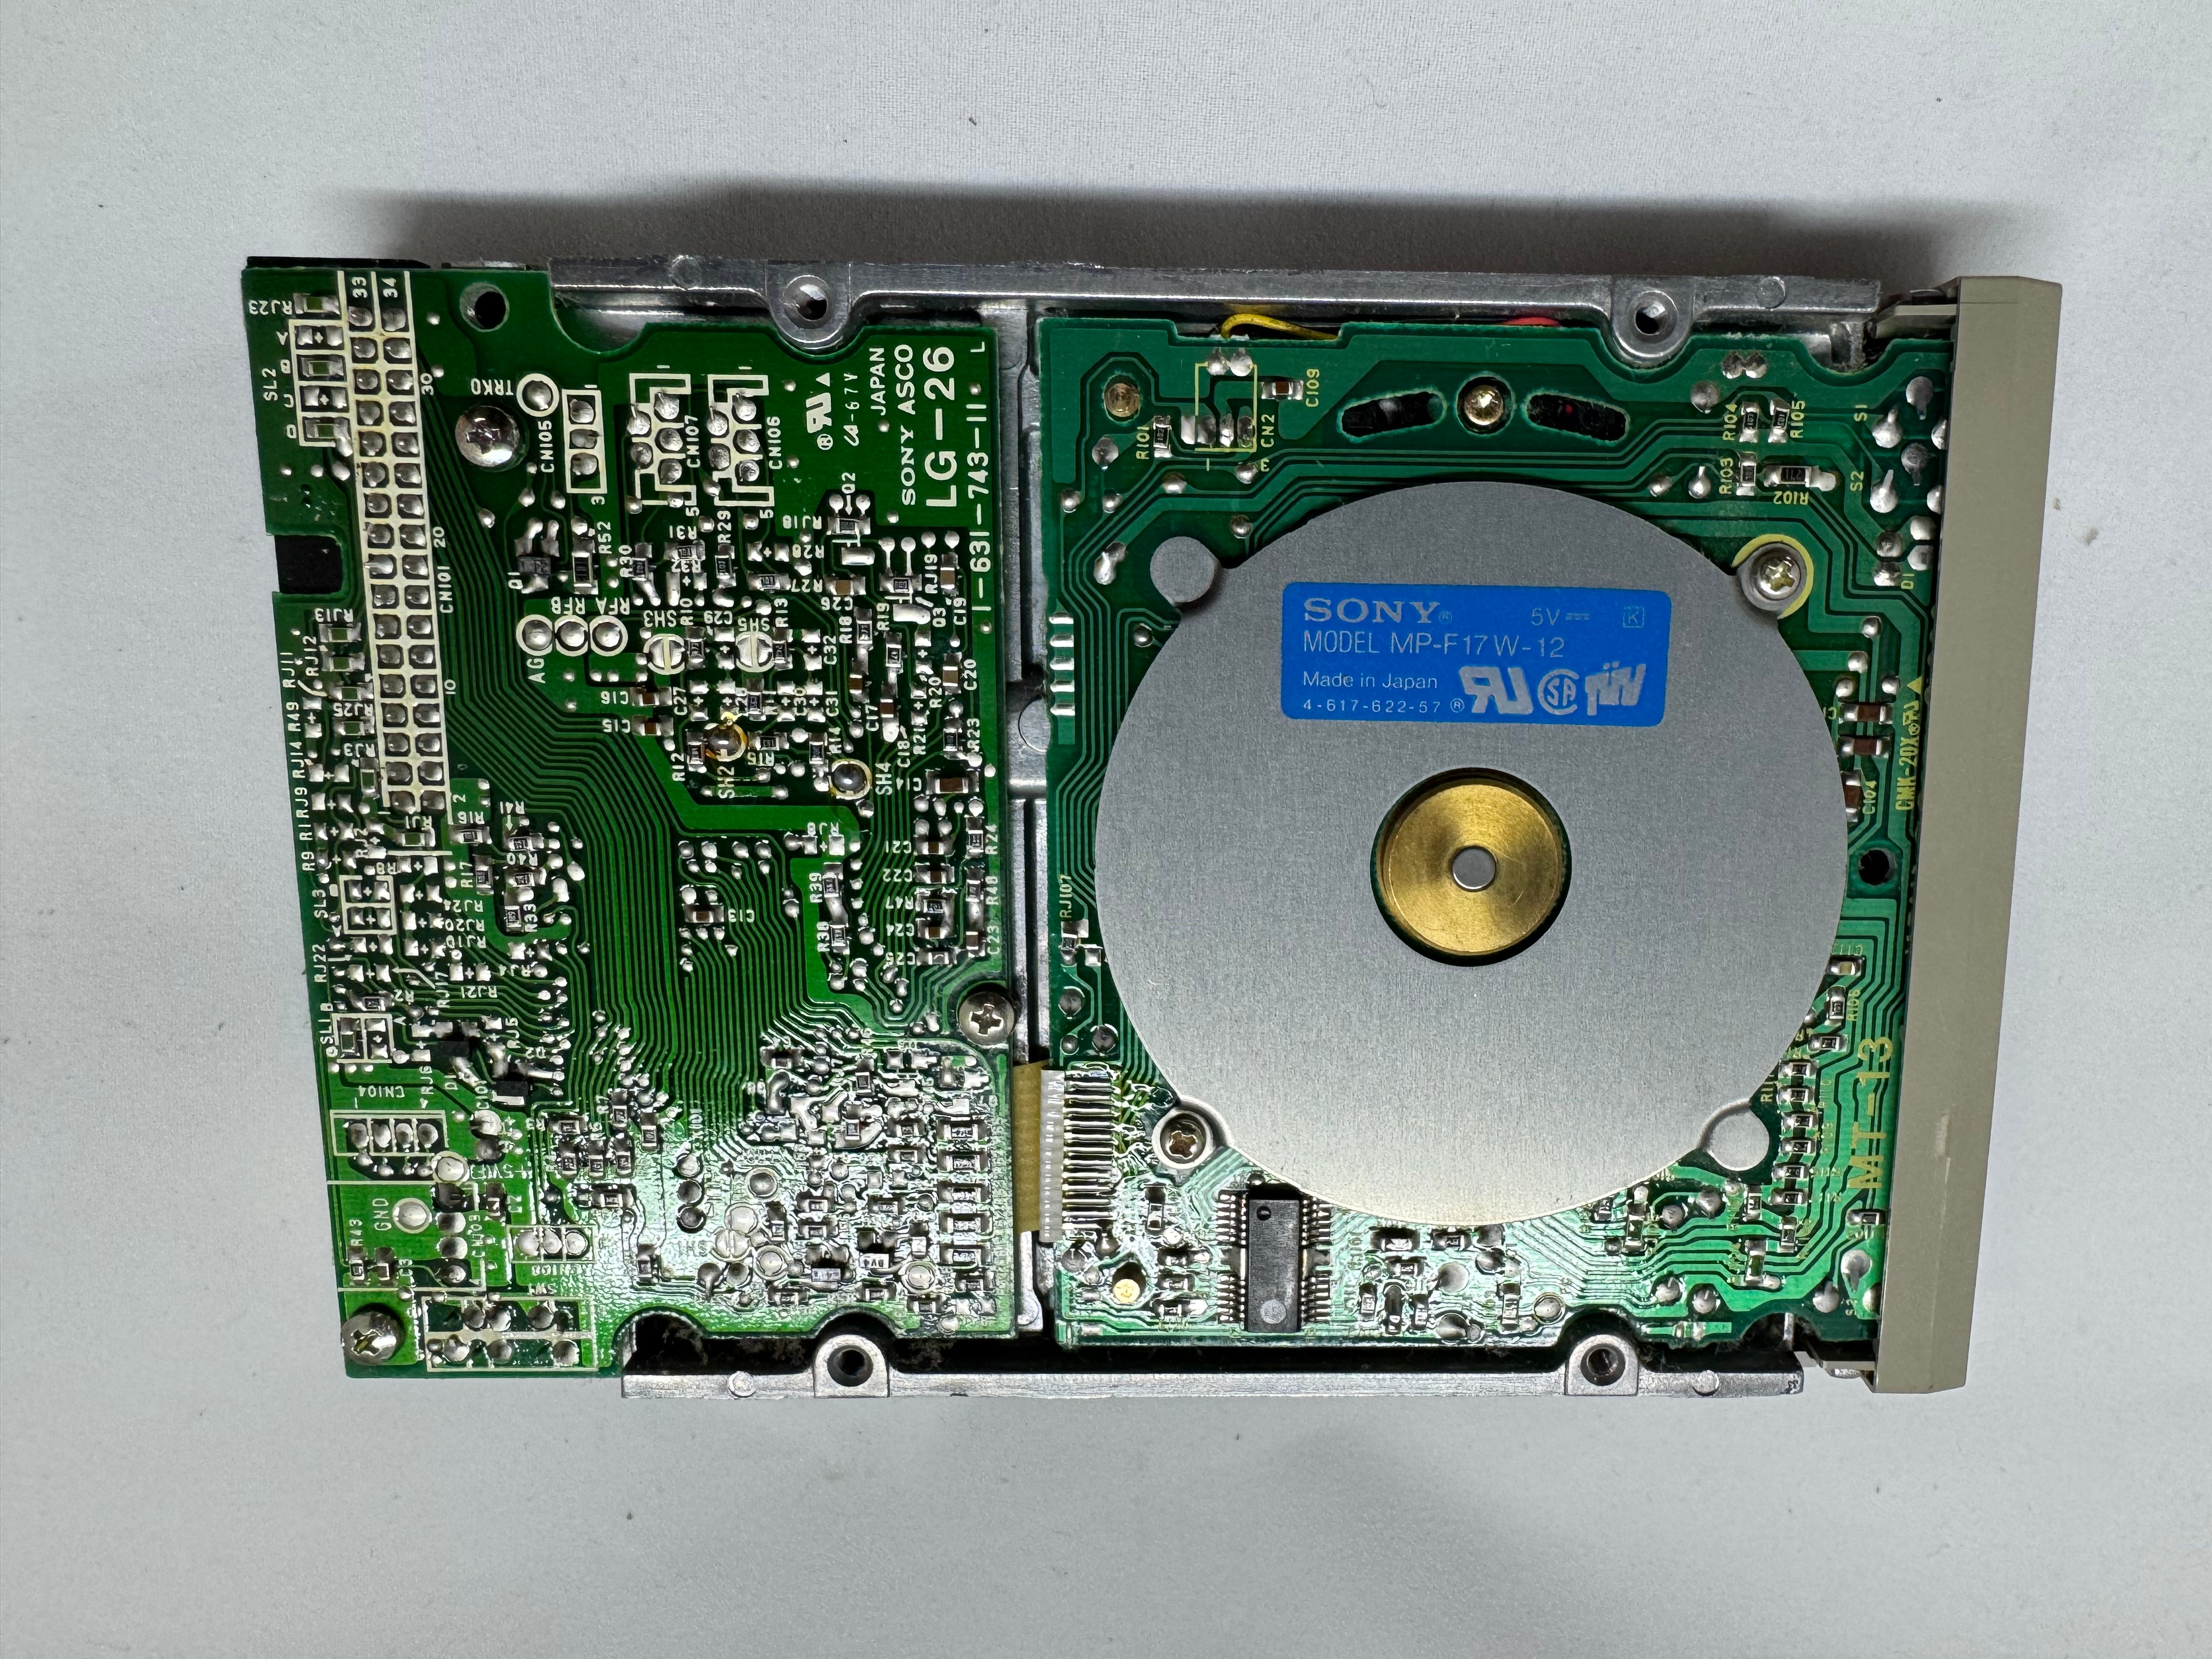
This Dell 316SX has a 5.25″ drive bay, and a 3.5″ bay. Both are working happily, but I did give them some lubricating grease on their rails after cleaning them up.
I put some time into cleaning the case. For being ~35 years old, it was looking in good condition.
Conclusion
In the end, I am very excited to have my childhood Dell 316SX back up and happily running. It took some work, with non-stop issues along the way; but in the end, its working with most of its original hardware. Below are some other photos I have taken. While I was working on the system I ordered 4 more 1MB SIMMs to bring the total memory to 8MB. I figured I would max it out while I had the system open. The only downside is the POST checks all the memory and this slows it down a bit.
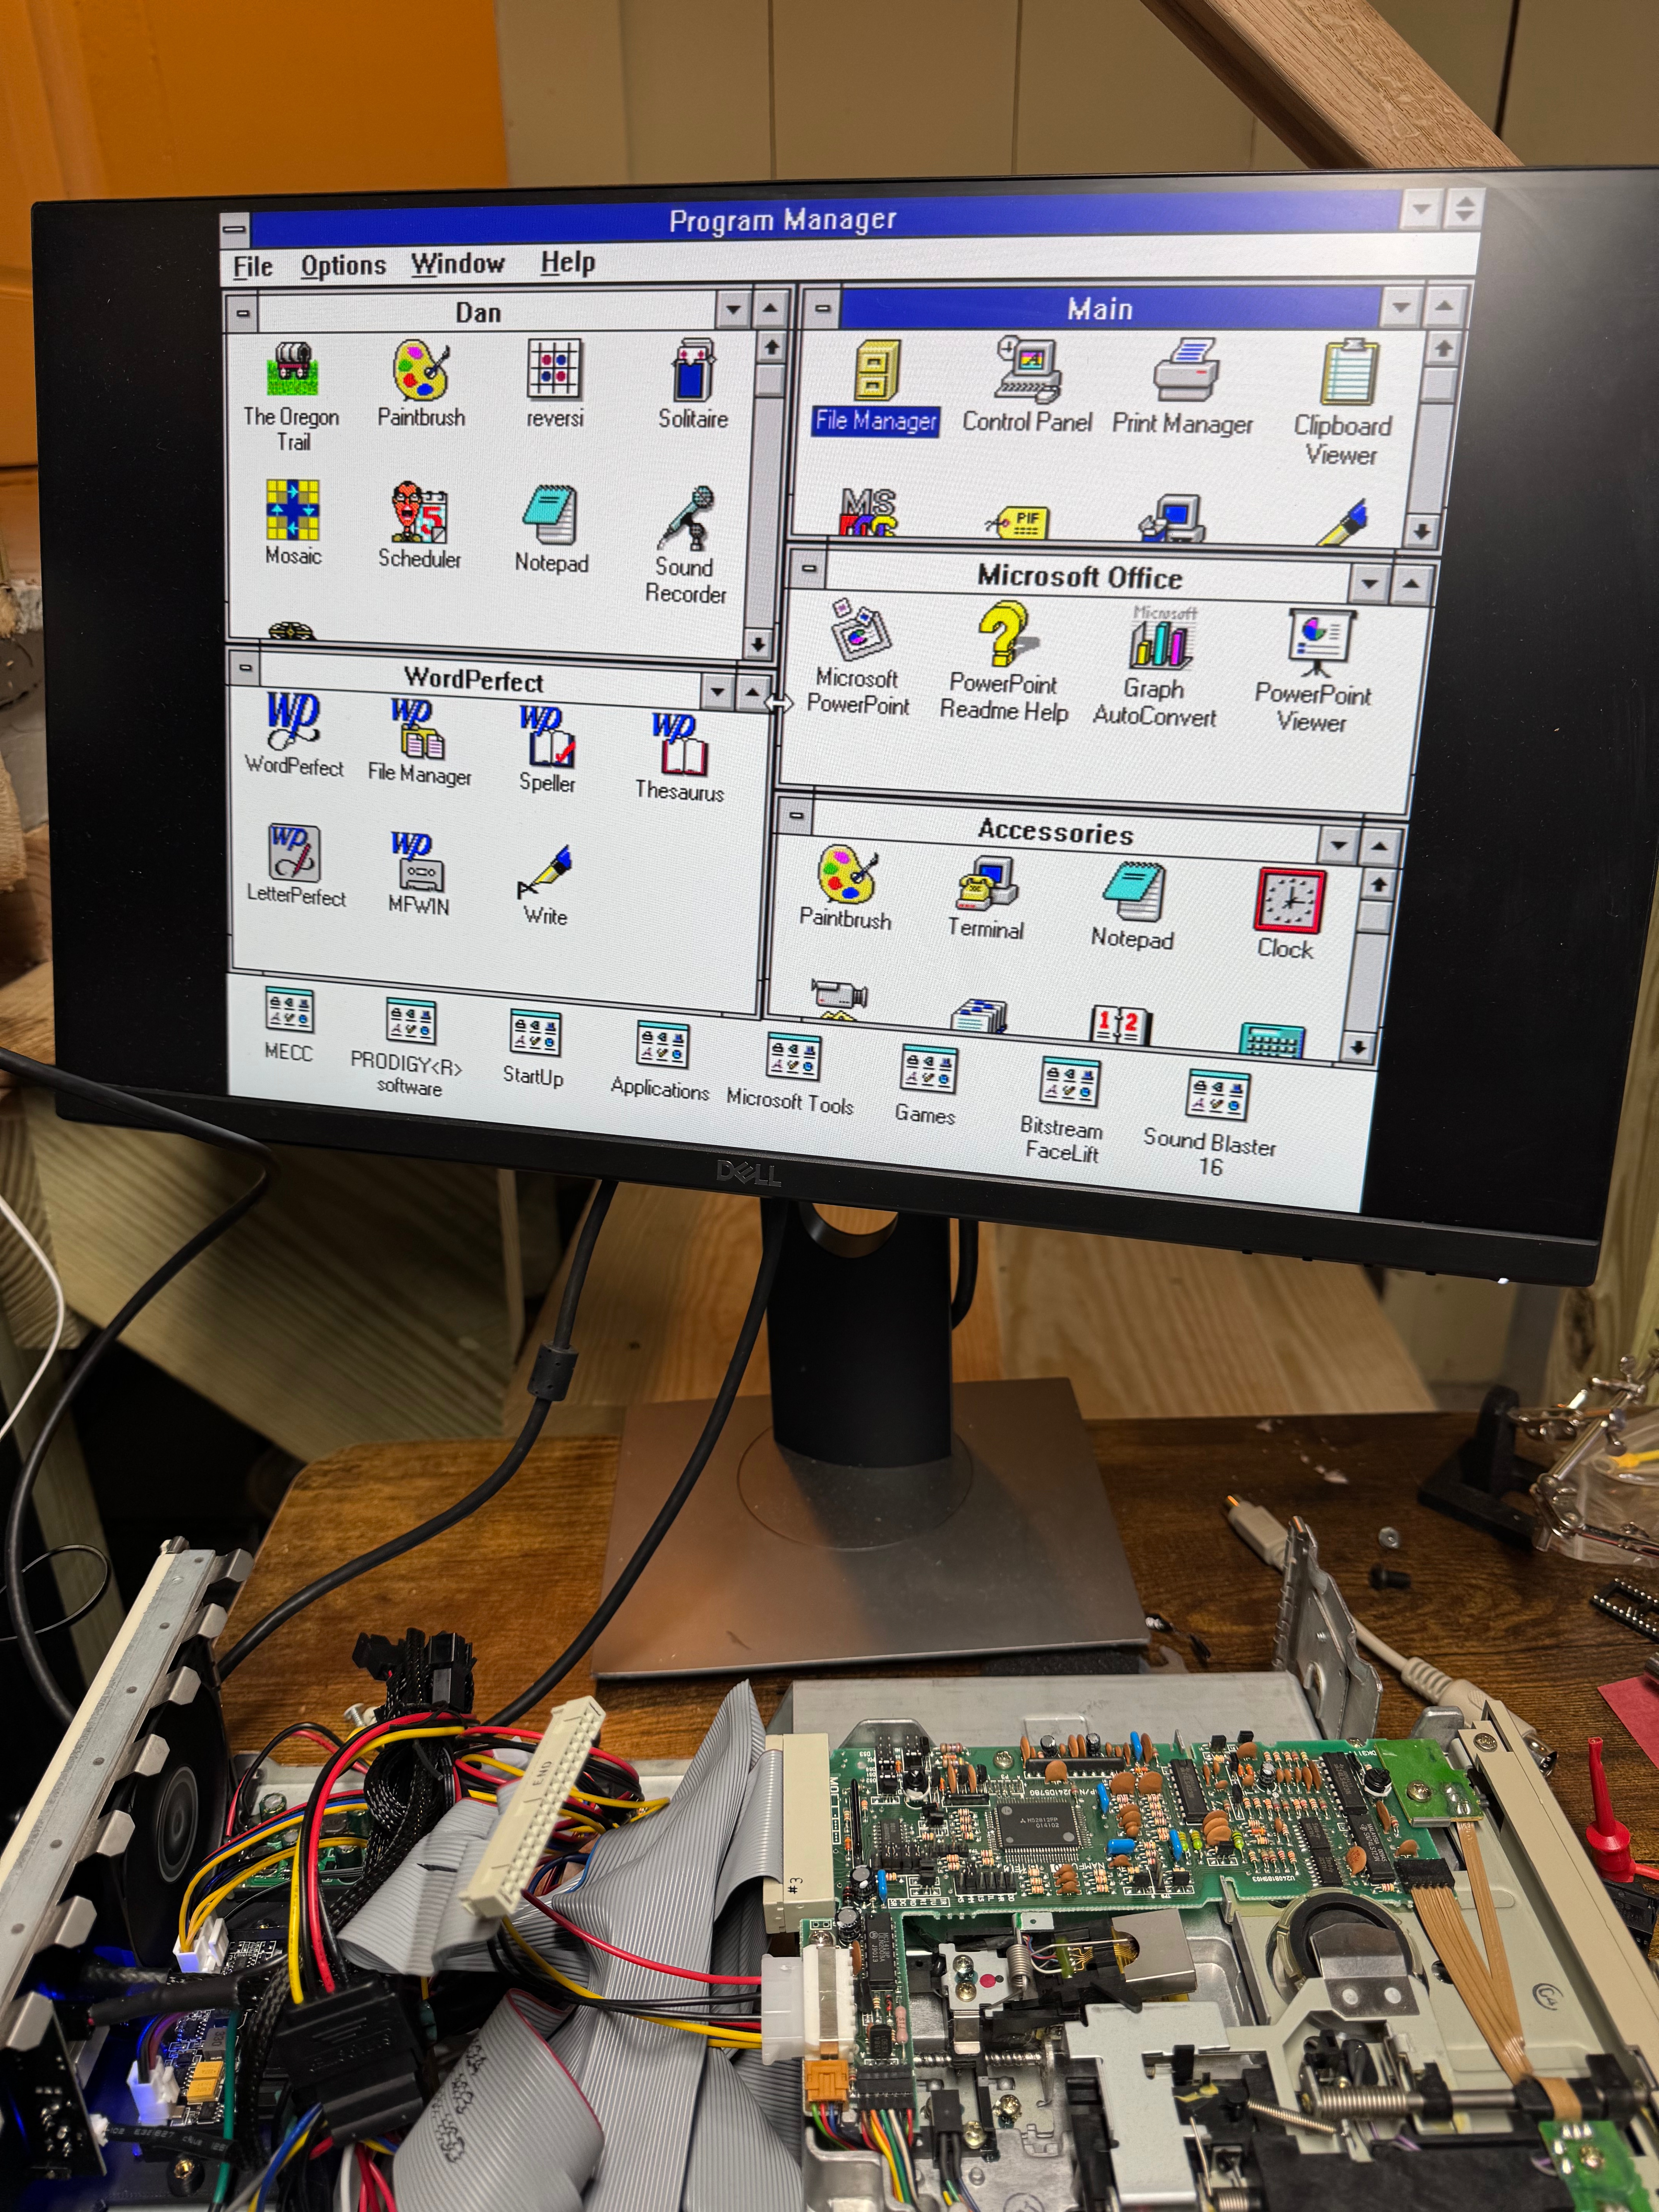
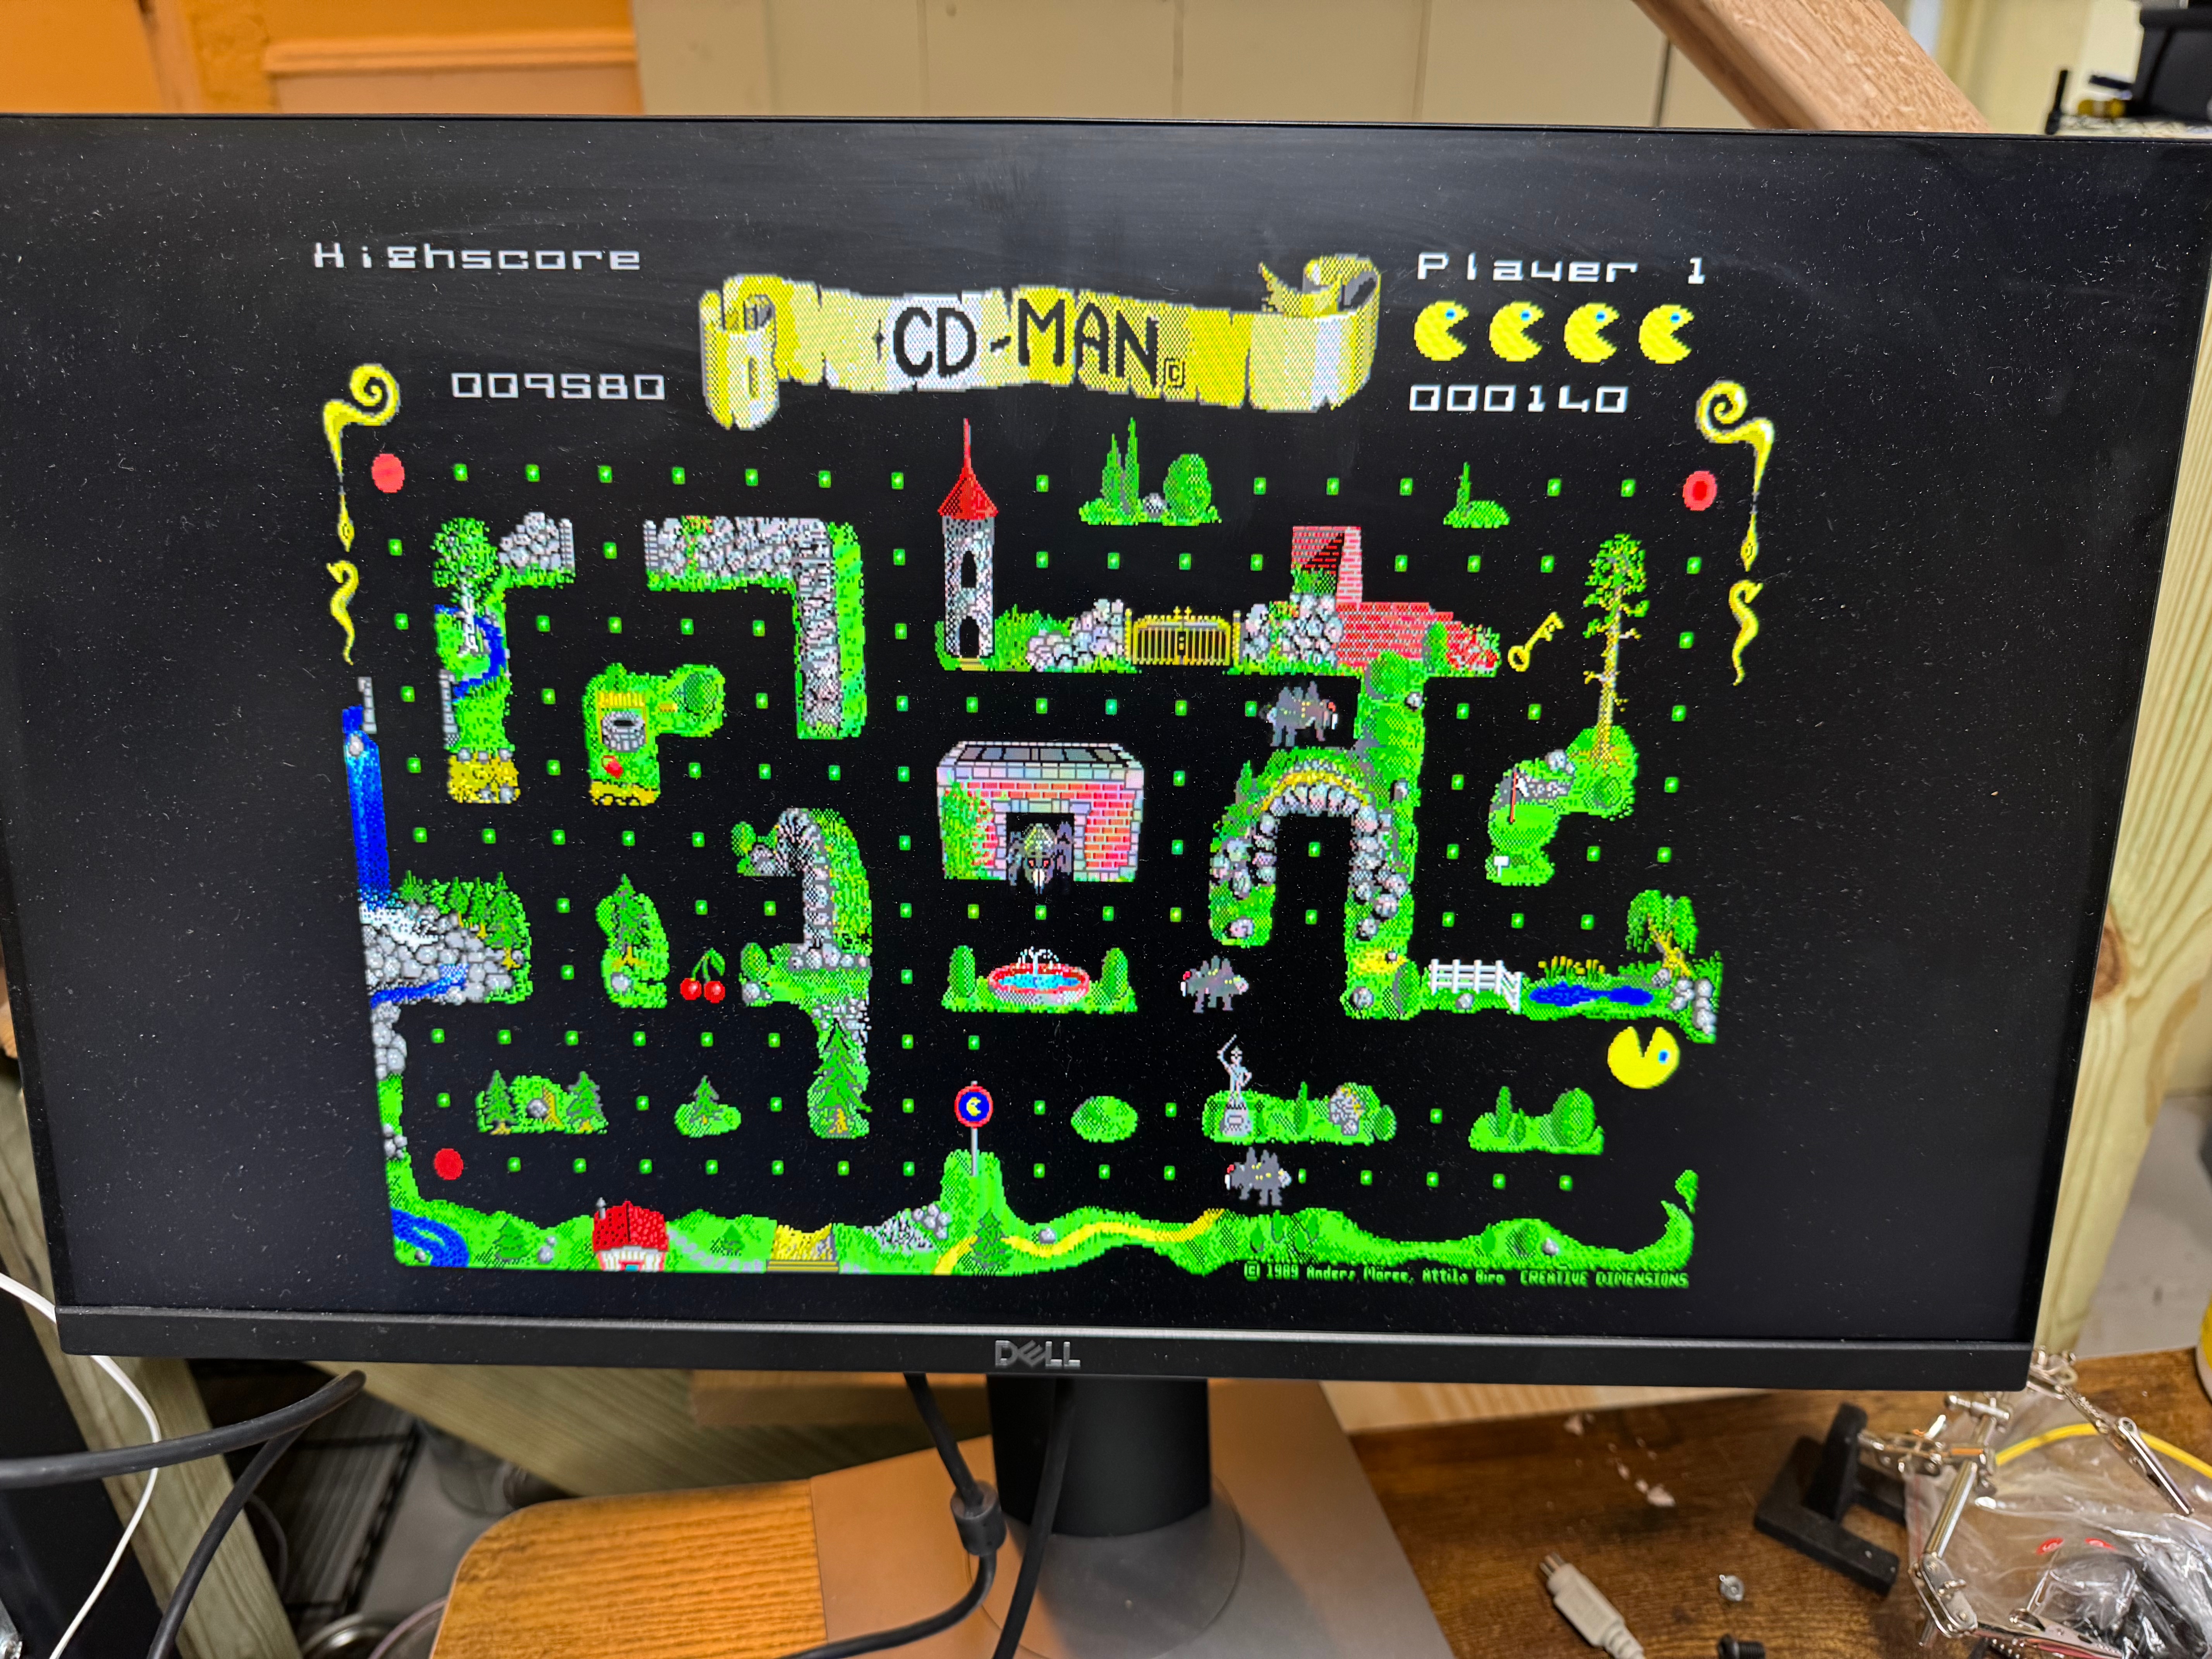
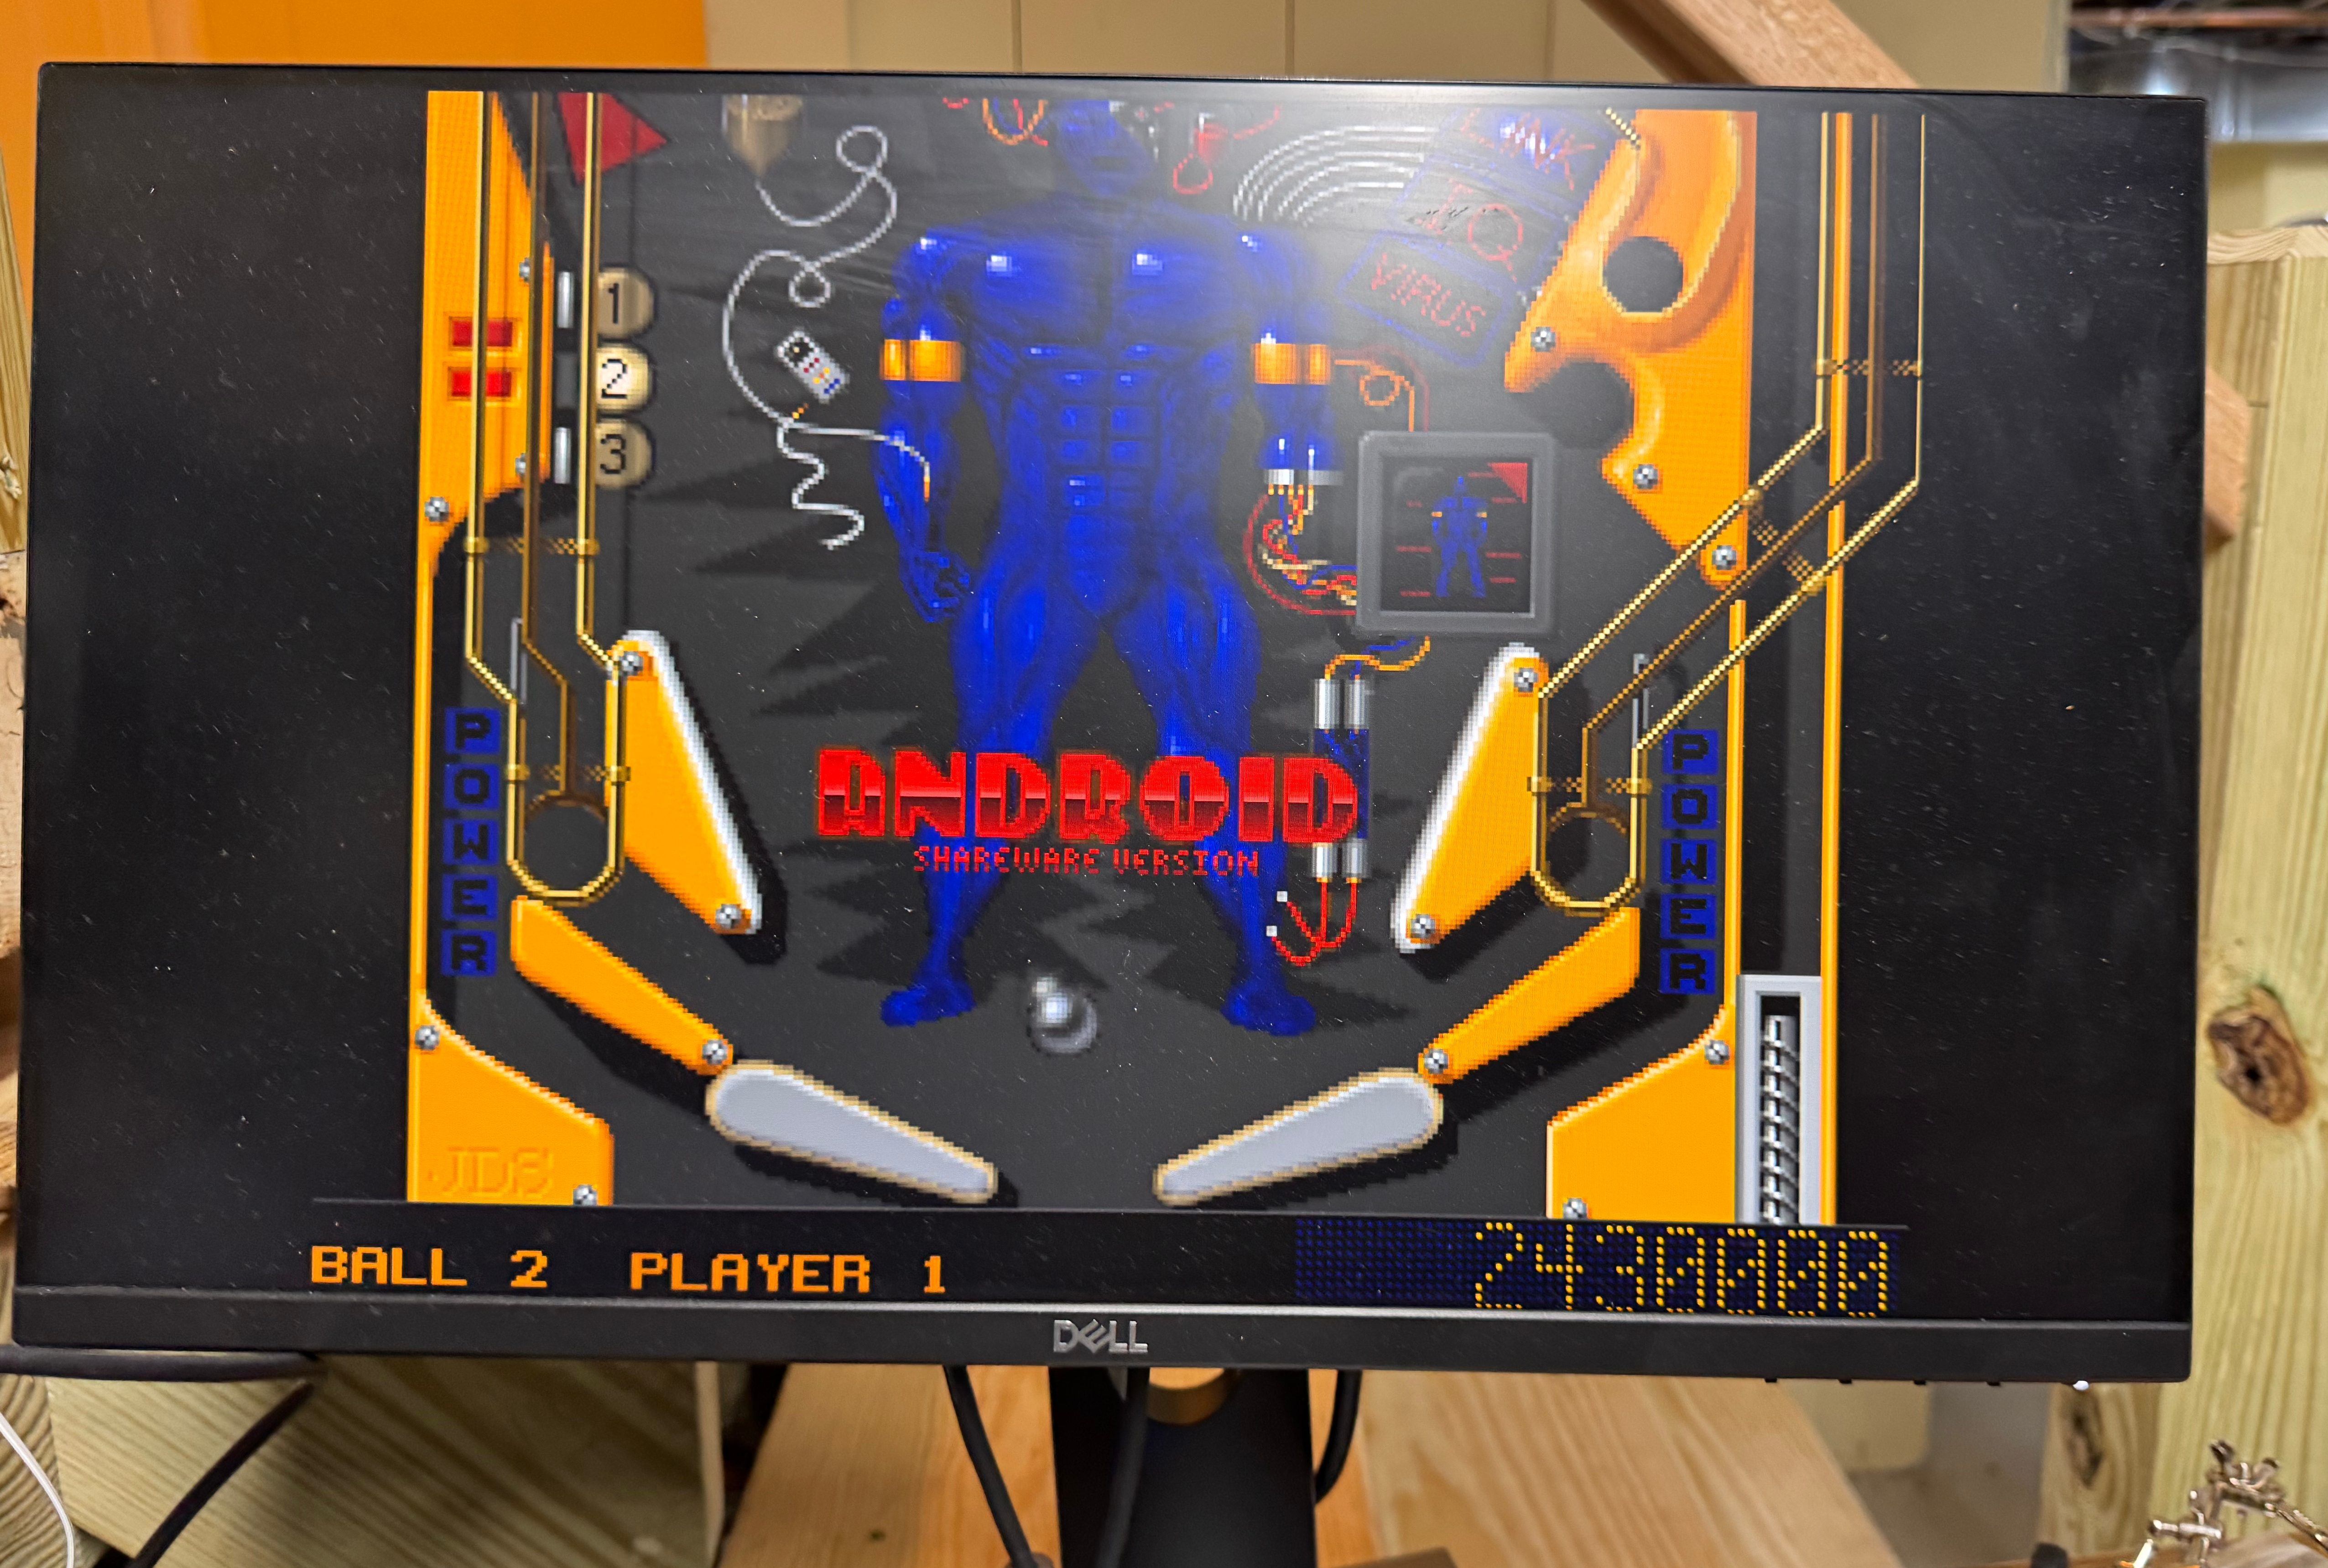
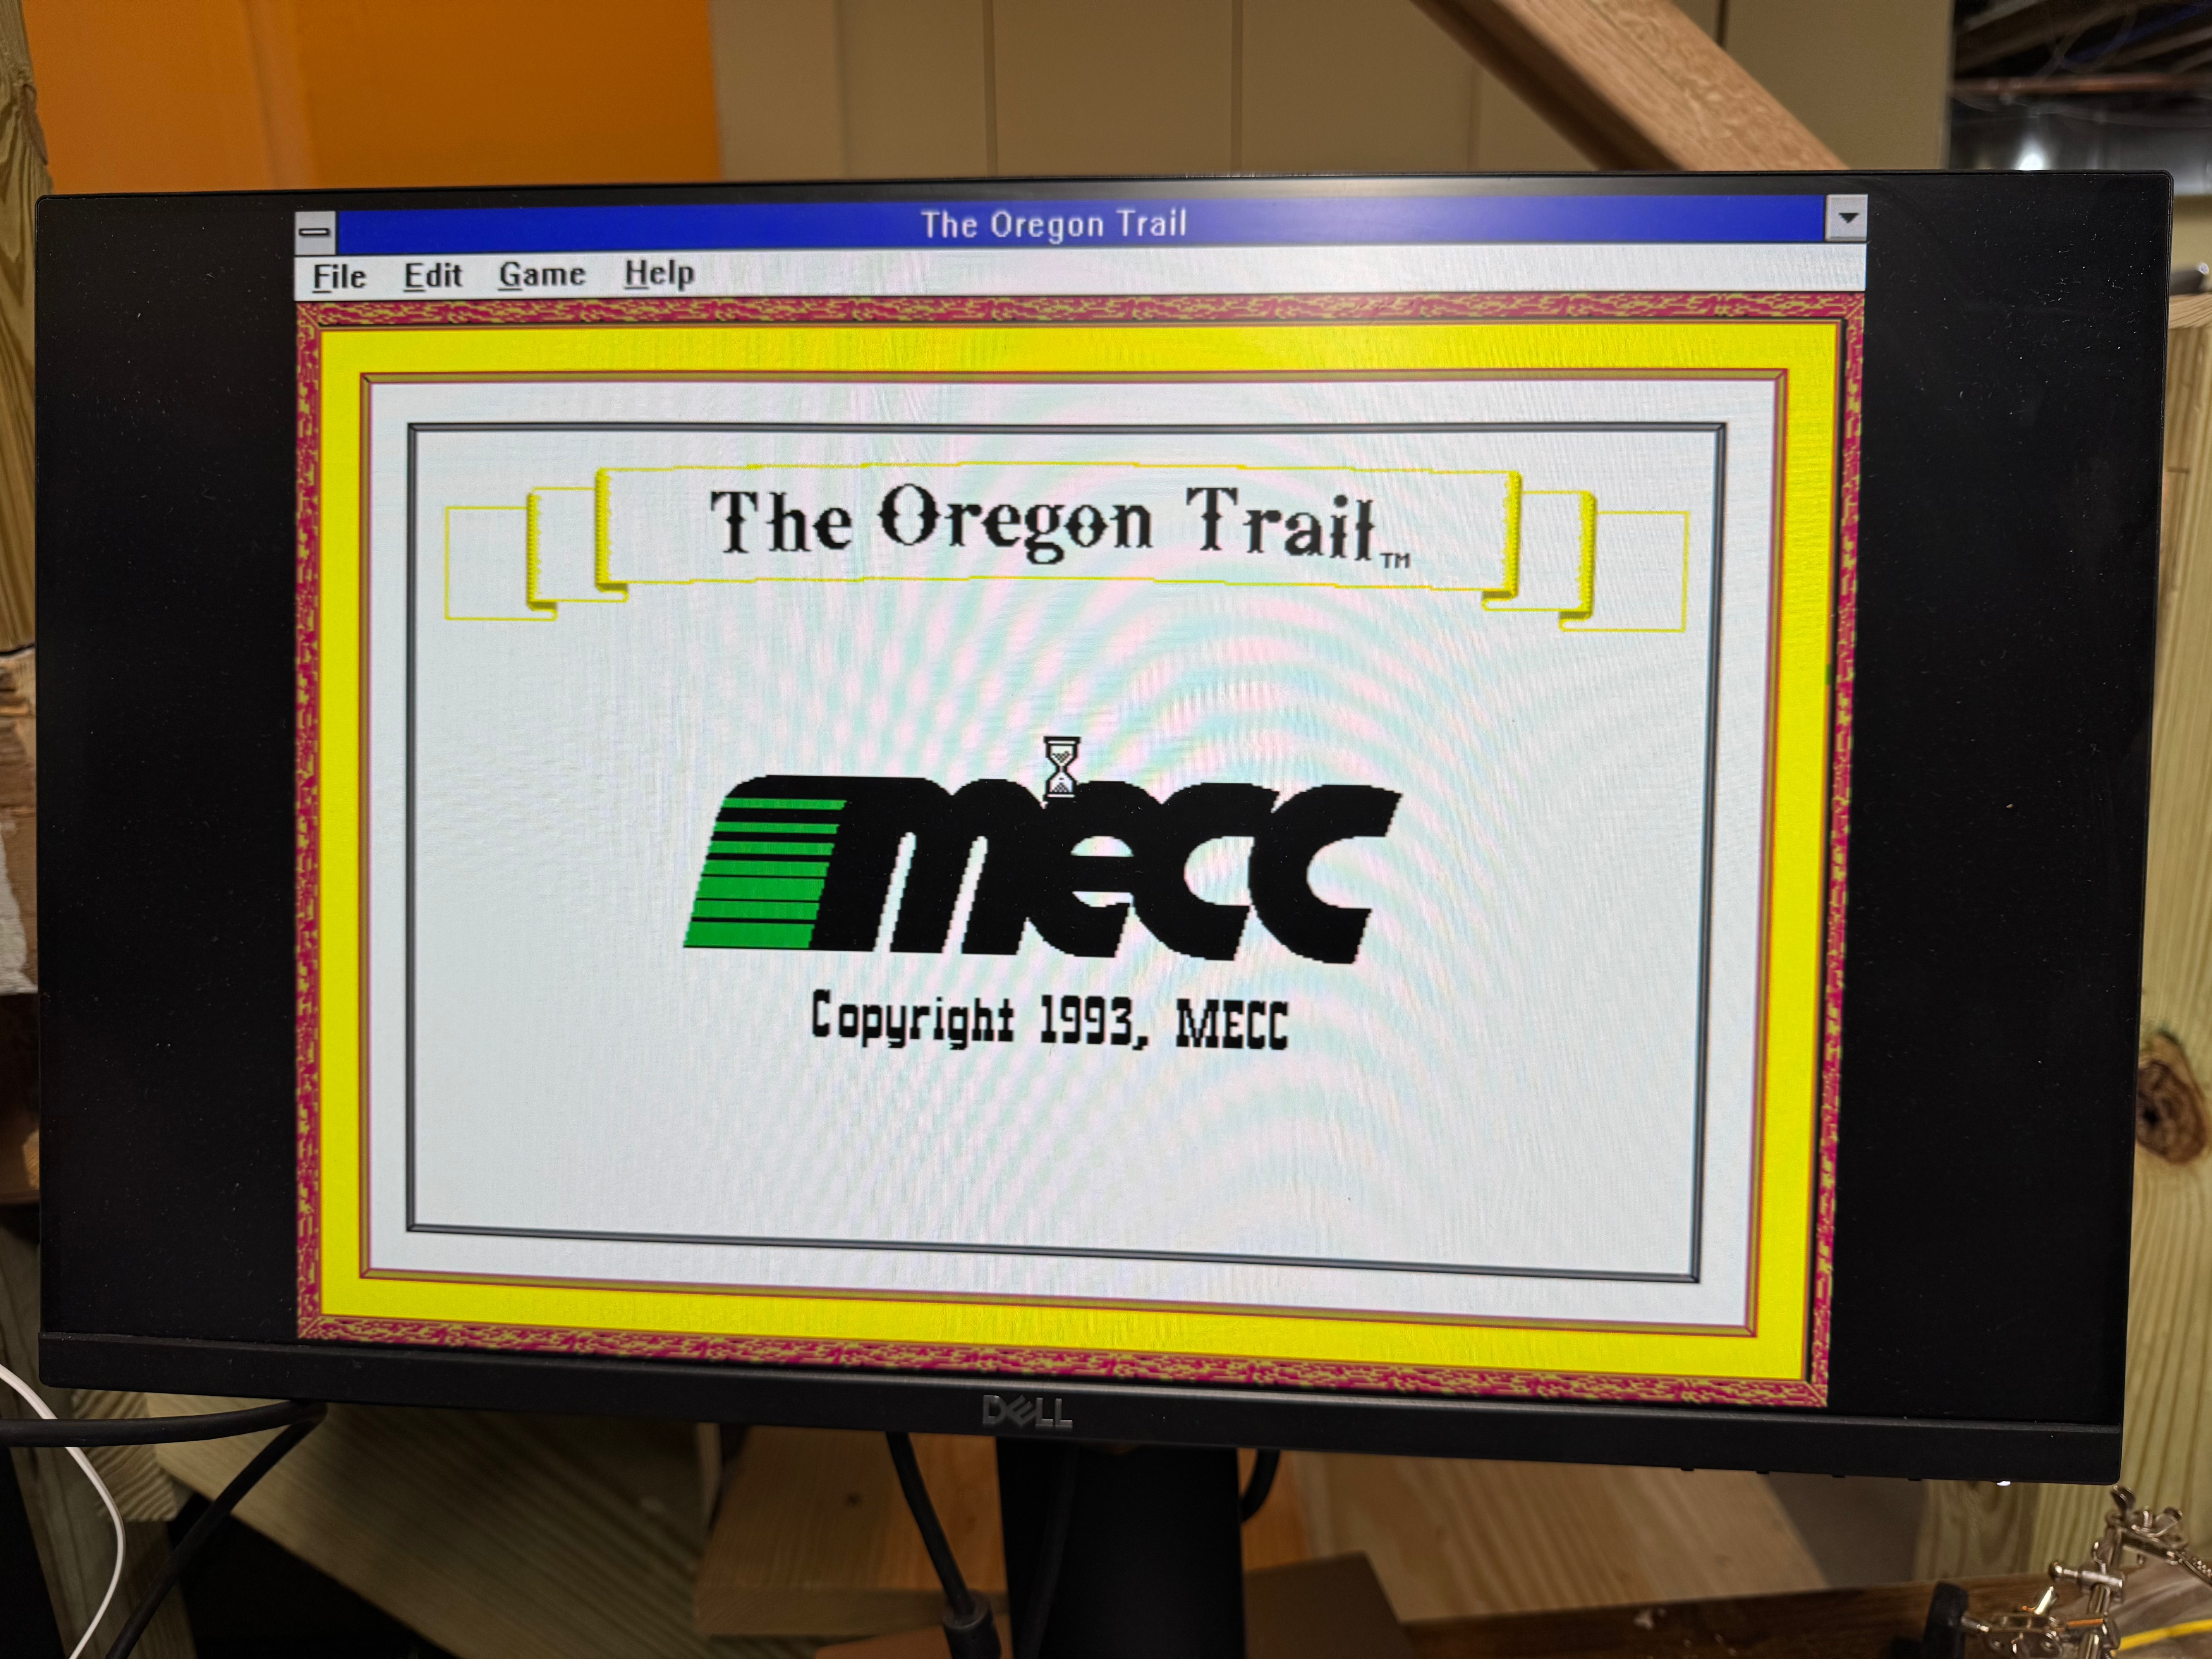
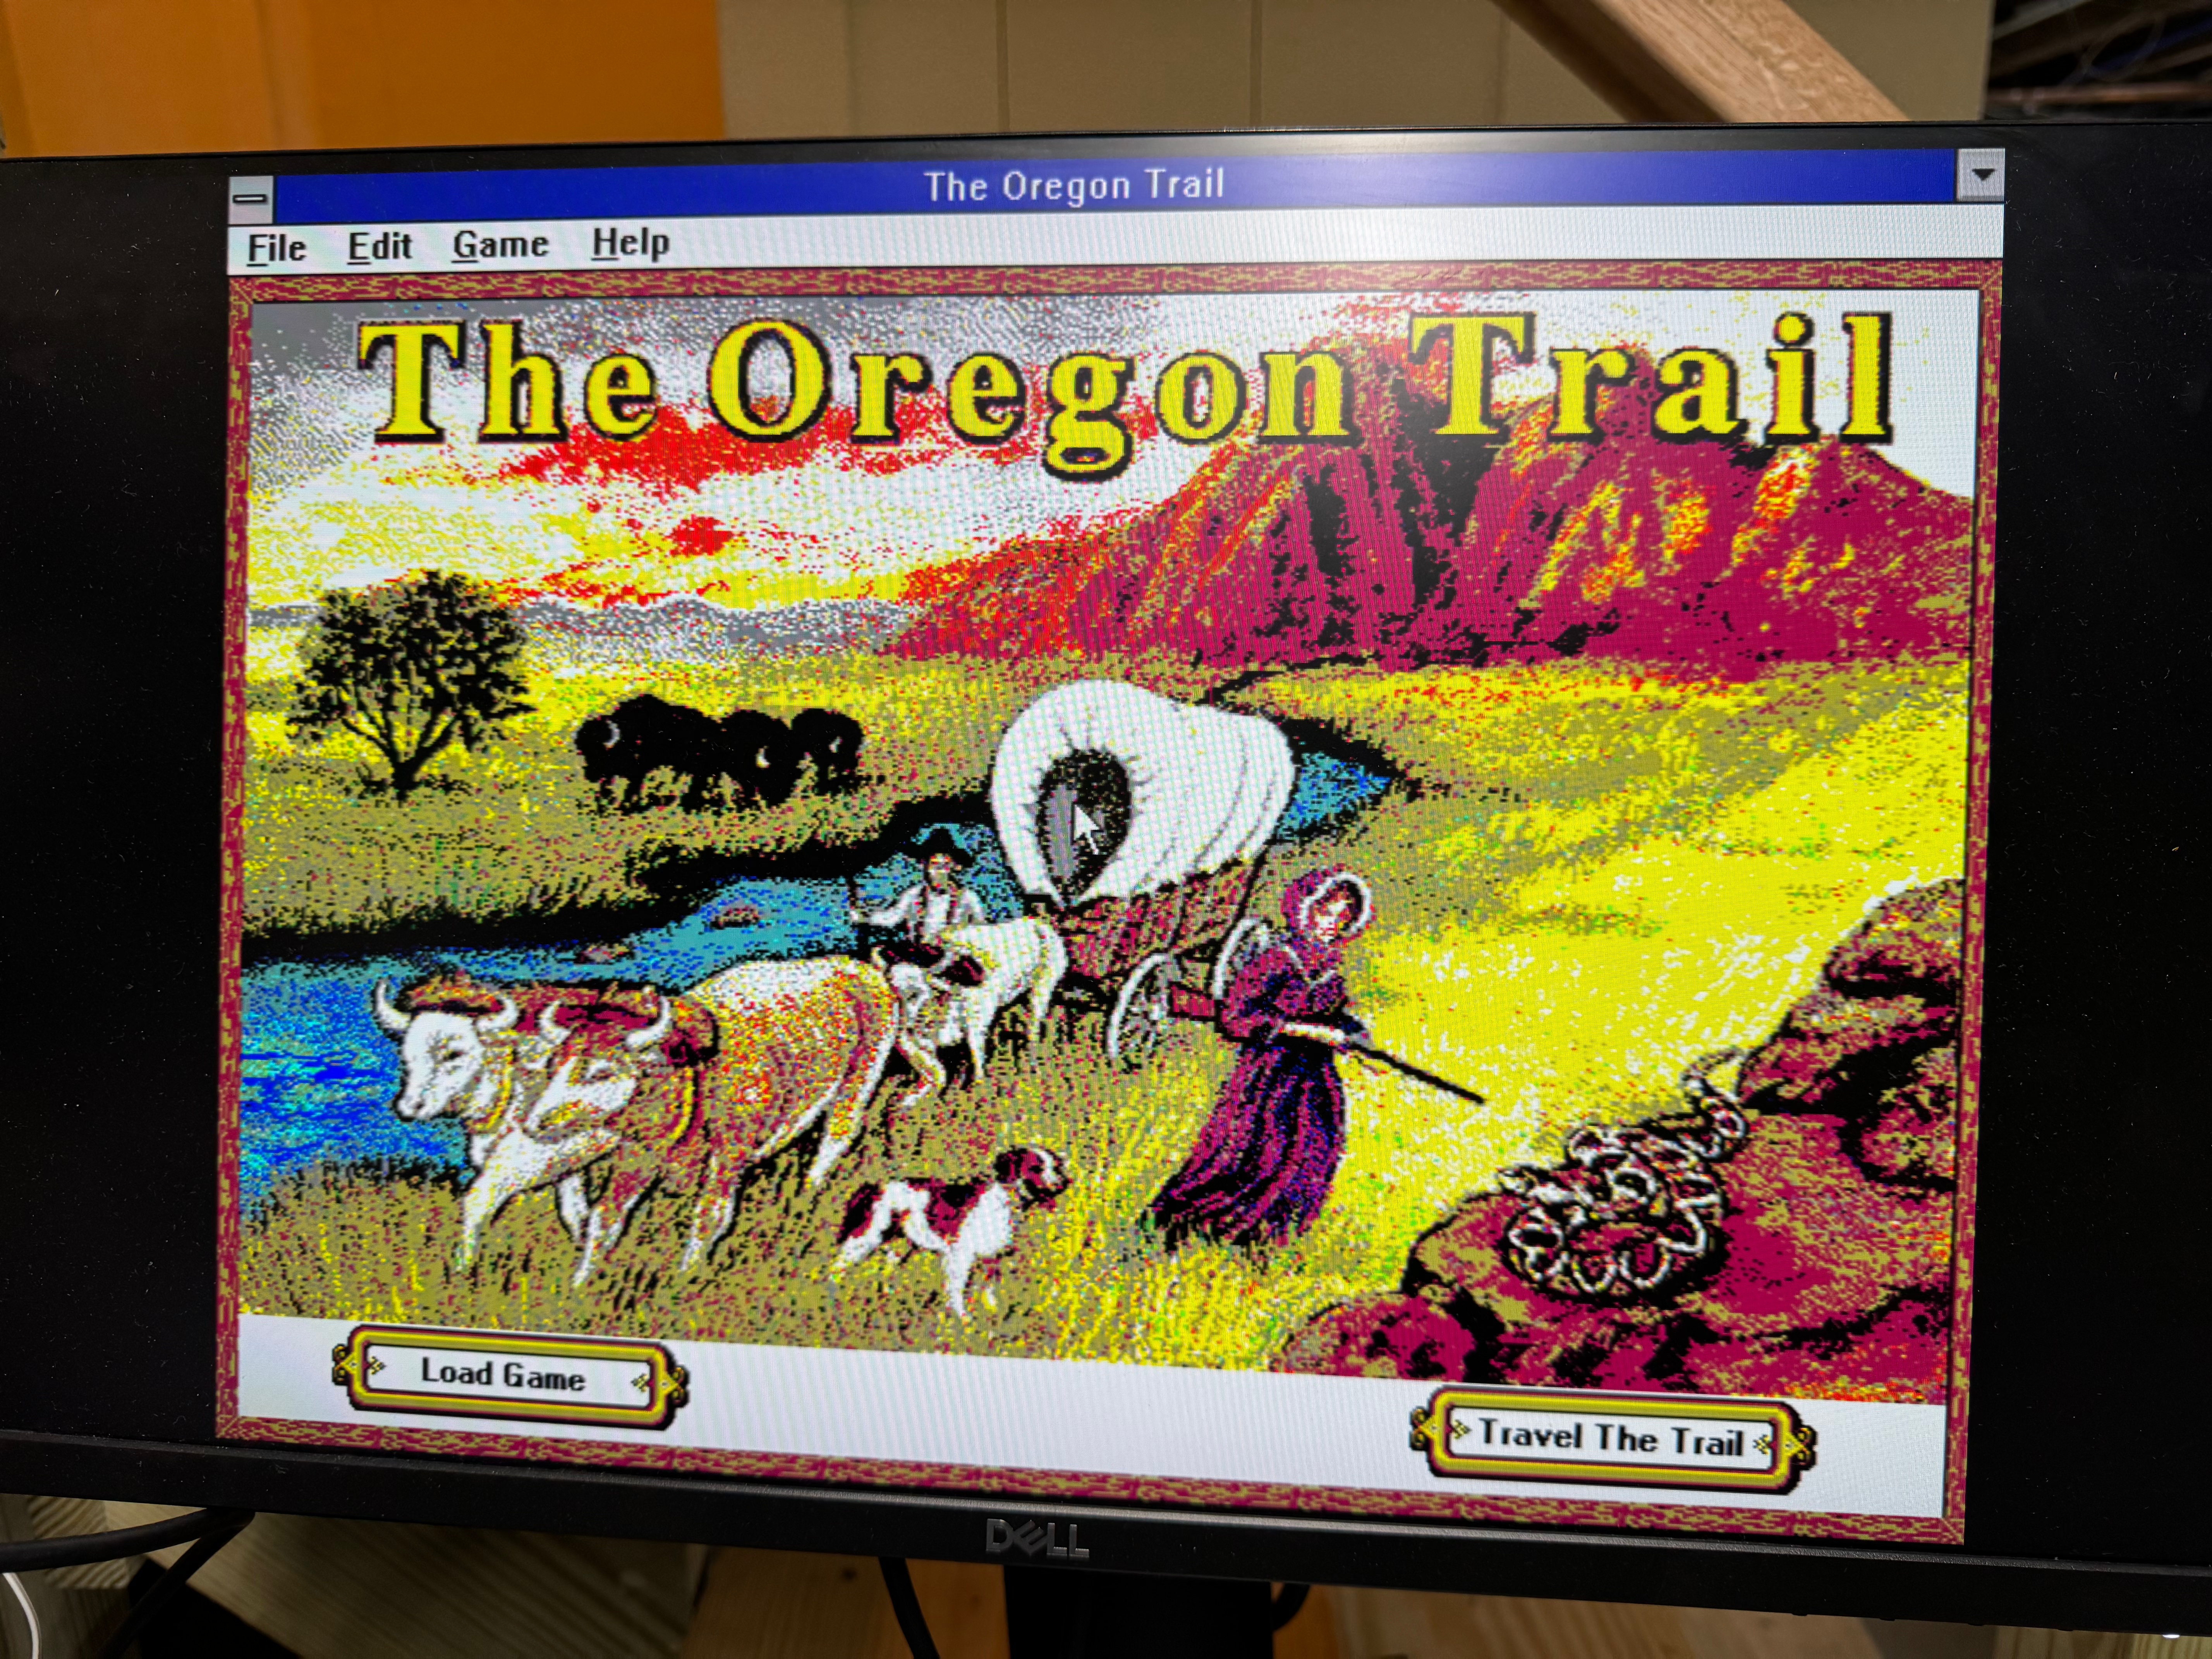
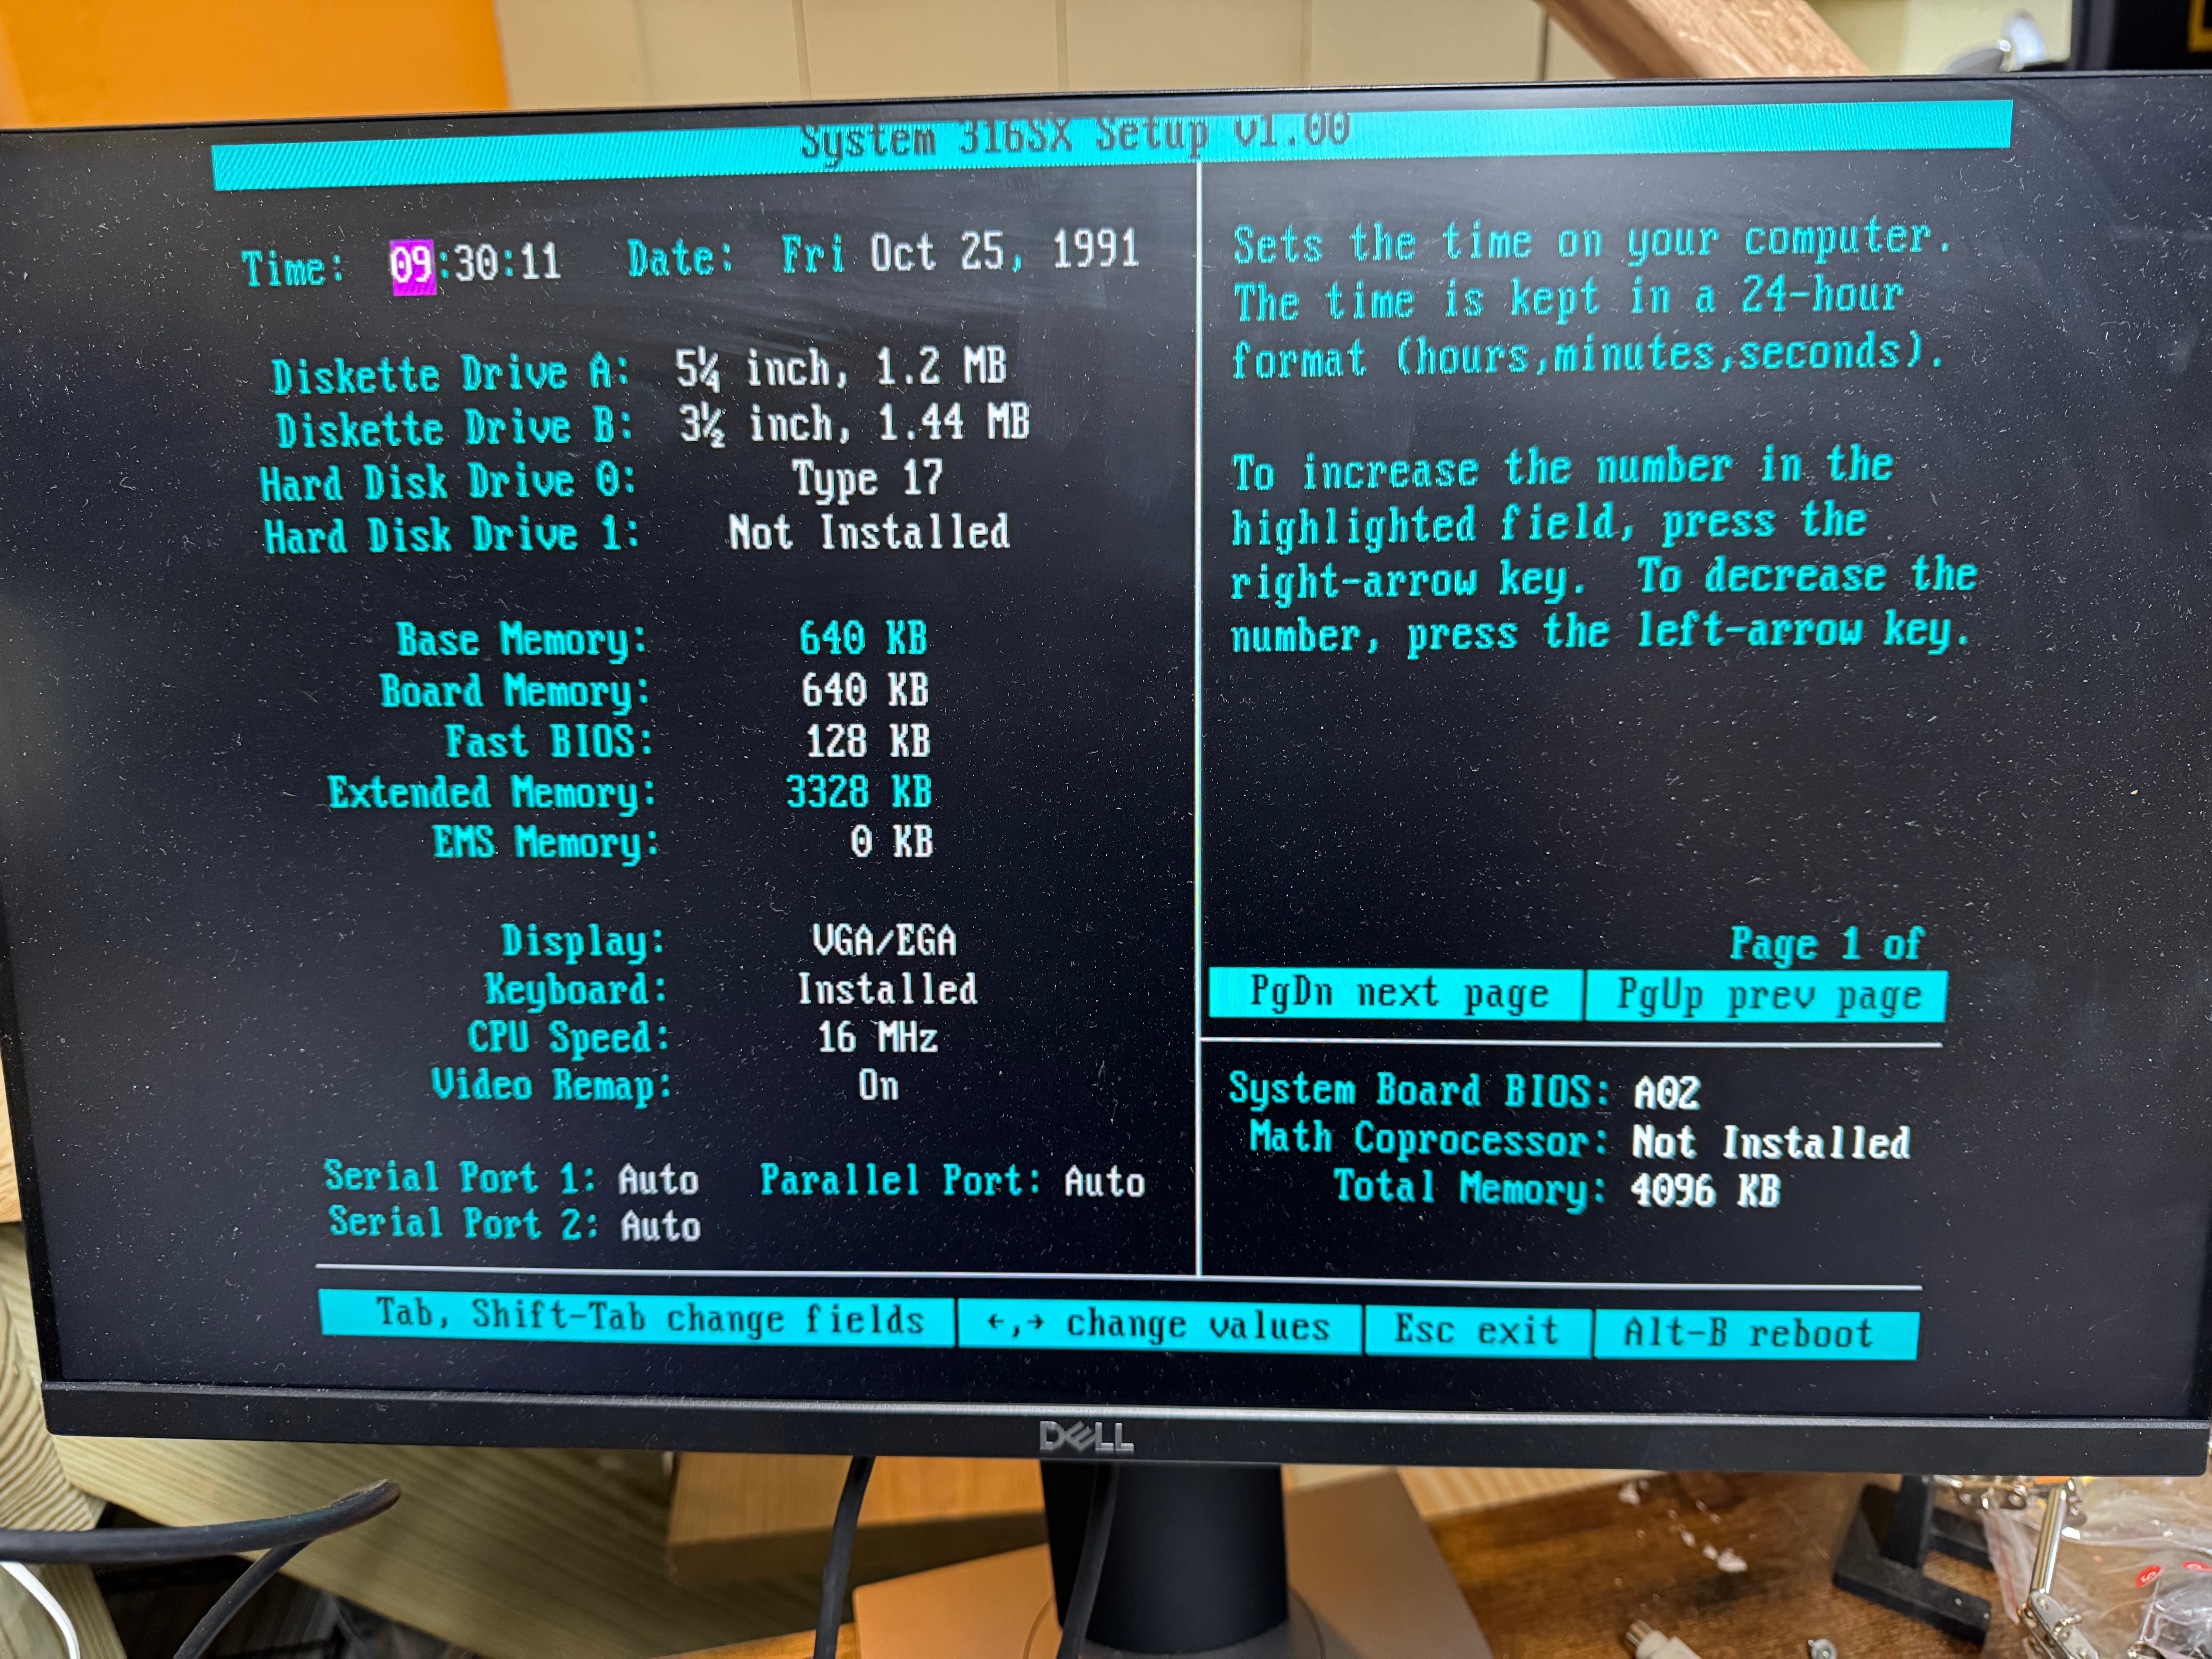
Windows 3.1 Booting!We are in!Prodigy!What was my login?CD-MANEpic PinballThe Oregon TrailThe Oregon TrailMemory MapThe BIOSThe BIOS accepts 2025!
I uploaded this playlist of a few videos I took working on the computer; they are in a playlist below.
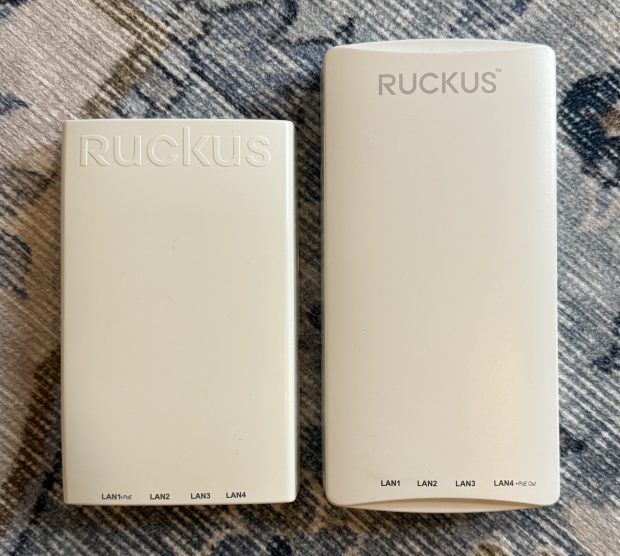
I have a bad habit of buying networking gear when my work/life gets hectic. In a recent time of chaos I decided I should update a Ruckus H510 AP I have to a H550. I saw one on eBay, gave an offer and it was accepted! When the unit came, it still had the config of a news company. I had to factory reset it like mentioned in previous articles. The odd thing is it would not come up for me to access. I could see the “Configure.Me” Wifi network, but when I went to it nothing. I tried going to the web page and got nothing, I set the default IP and couldn’t contact it via wired. I then took out Wireshark and started looking for what happened when I joined its Wifi.
One other thing I didn’t realize… The H550 is taller than the H510… and I had a shelf right above the spot it was mounted. So I did the right thing, and mounted the new one upside down, so the taller part goes down and doesn’t hit the shelf.
While I was here getting more Wifi 6 goodness in my home (I have been running mostly Wifi 5 (802.11ac Wave 2) I thought I would look for deals. I saw someone selling a R550 for sale for parts. It said that when turned on it had a red light. I know that these access points can take a good 3-5 minutes to start, and while they do, they have a red light on… What are the chances that this access point just has a bad firmware image, or… nothing is wrong with it and this person just didn’t wait…
I offered $50 for the broken access point that usually goes for $250, and they accepted! Then I waited for the device to come, and later that week, I plugged it in, powered it up, and… it booted fine! I flashed it over to Unleashed and suddenly I had another great Wifi 6 access point.
I have mostly moved all my access points to Wifi 6 at this point which means I can go above firmware 200.15 (the last for the Wifi 5 systems), but I still haven’t since its still recommended to stay there by some places. And I am pondering setting up the old H510 as a small access point and ethernet port at my workbench.
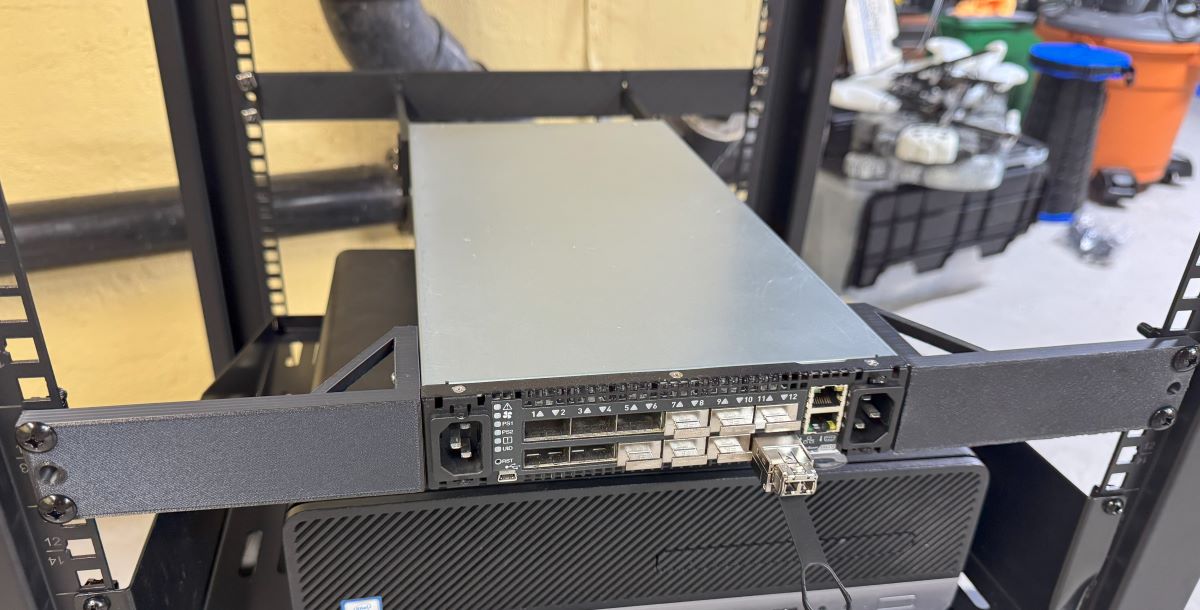
I recently got some more space to do my homelab endeavors. I am enjoying setting up a proper work bench for soldering, and I got a few racks to put different projects in! I am trying to stay focused on projects and get them done, but there are so many to do!
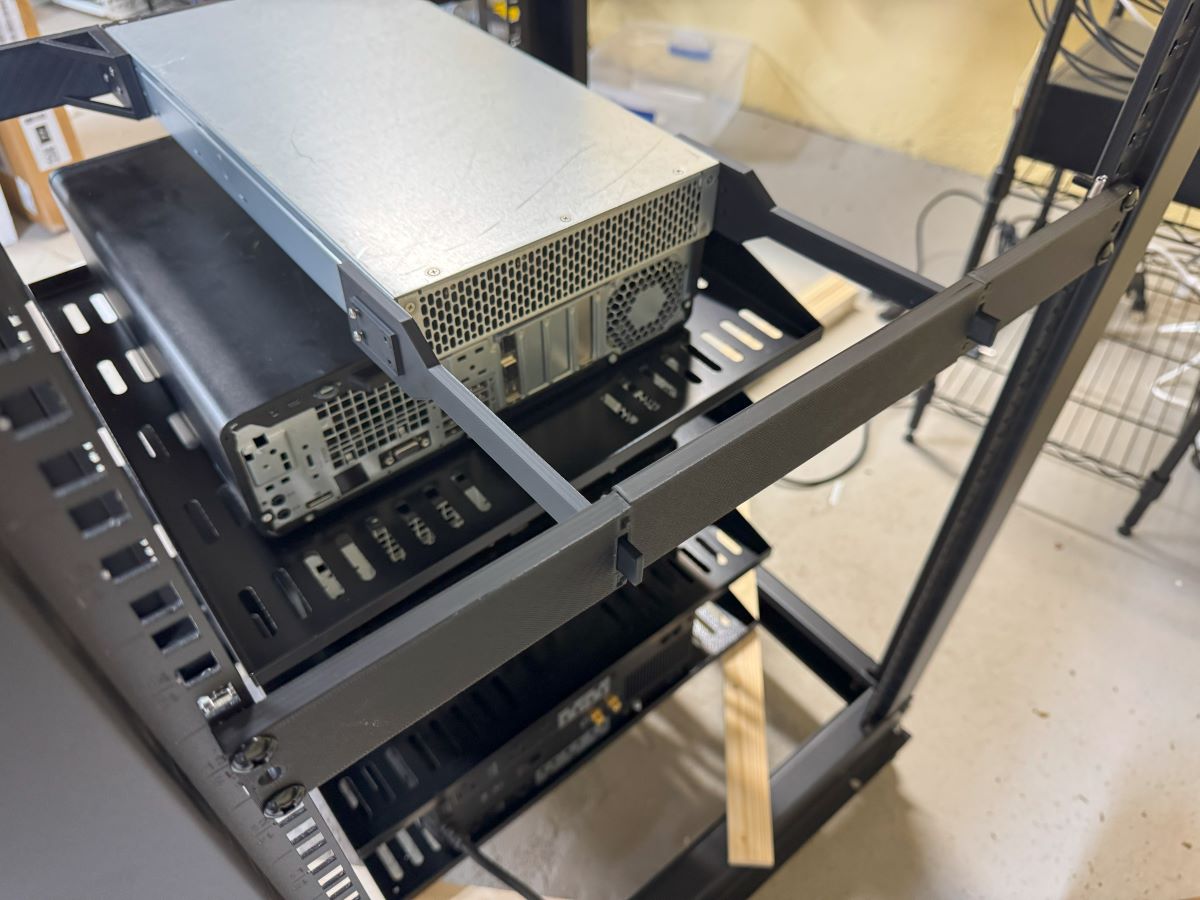
I had our home internet coming in on a little cart and decided it was time to get a small 12U rack, and properly set everything up. The issue is over the years, I acquired switches and gear and not rack ears for them since I wouldn’t need them at the time. I spent the last few weeks working on a few different rack ears for different pieces of gear I have. I also printed this (Dell Micro 1U Rack Mount Remixed by noam_f – MakerWorld) model which allows you to mount Dell Micro computers in 1U. This is nice since my primary domain controller is running on one of those. Someone else made a model of a shelf to hold the power supply (Power Adapter Mount for Dell Micro 1U Rack Mount by Jfrorie | Download free STL model | Printables.com)!
I used metal 2U shelves for the systems I currently have running ESXi. That may be going away soon with all the changes to VMUG licenses. Ill post later more about the state of the racks and network as it progresses.
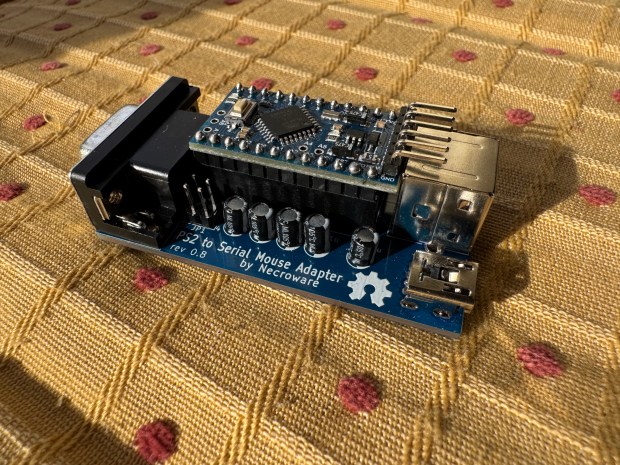
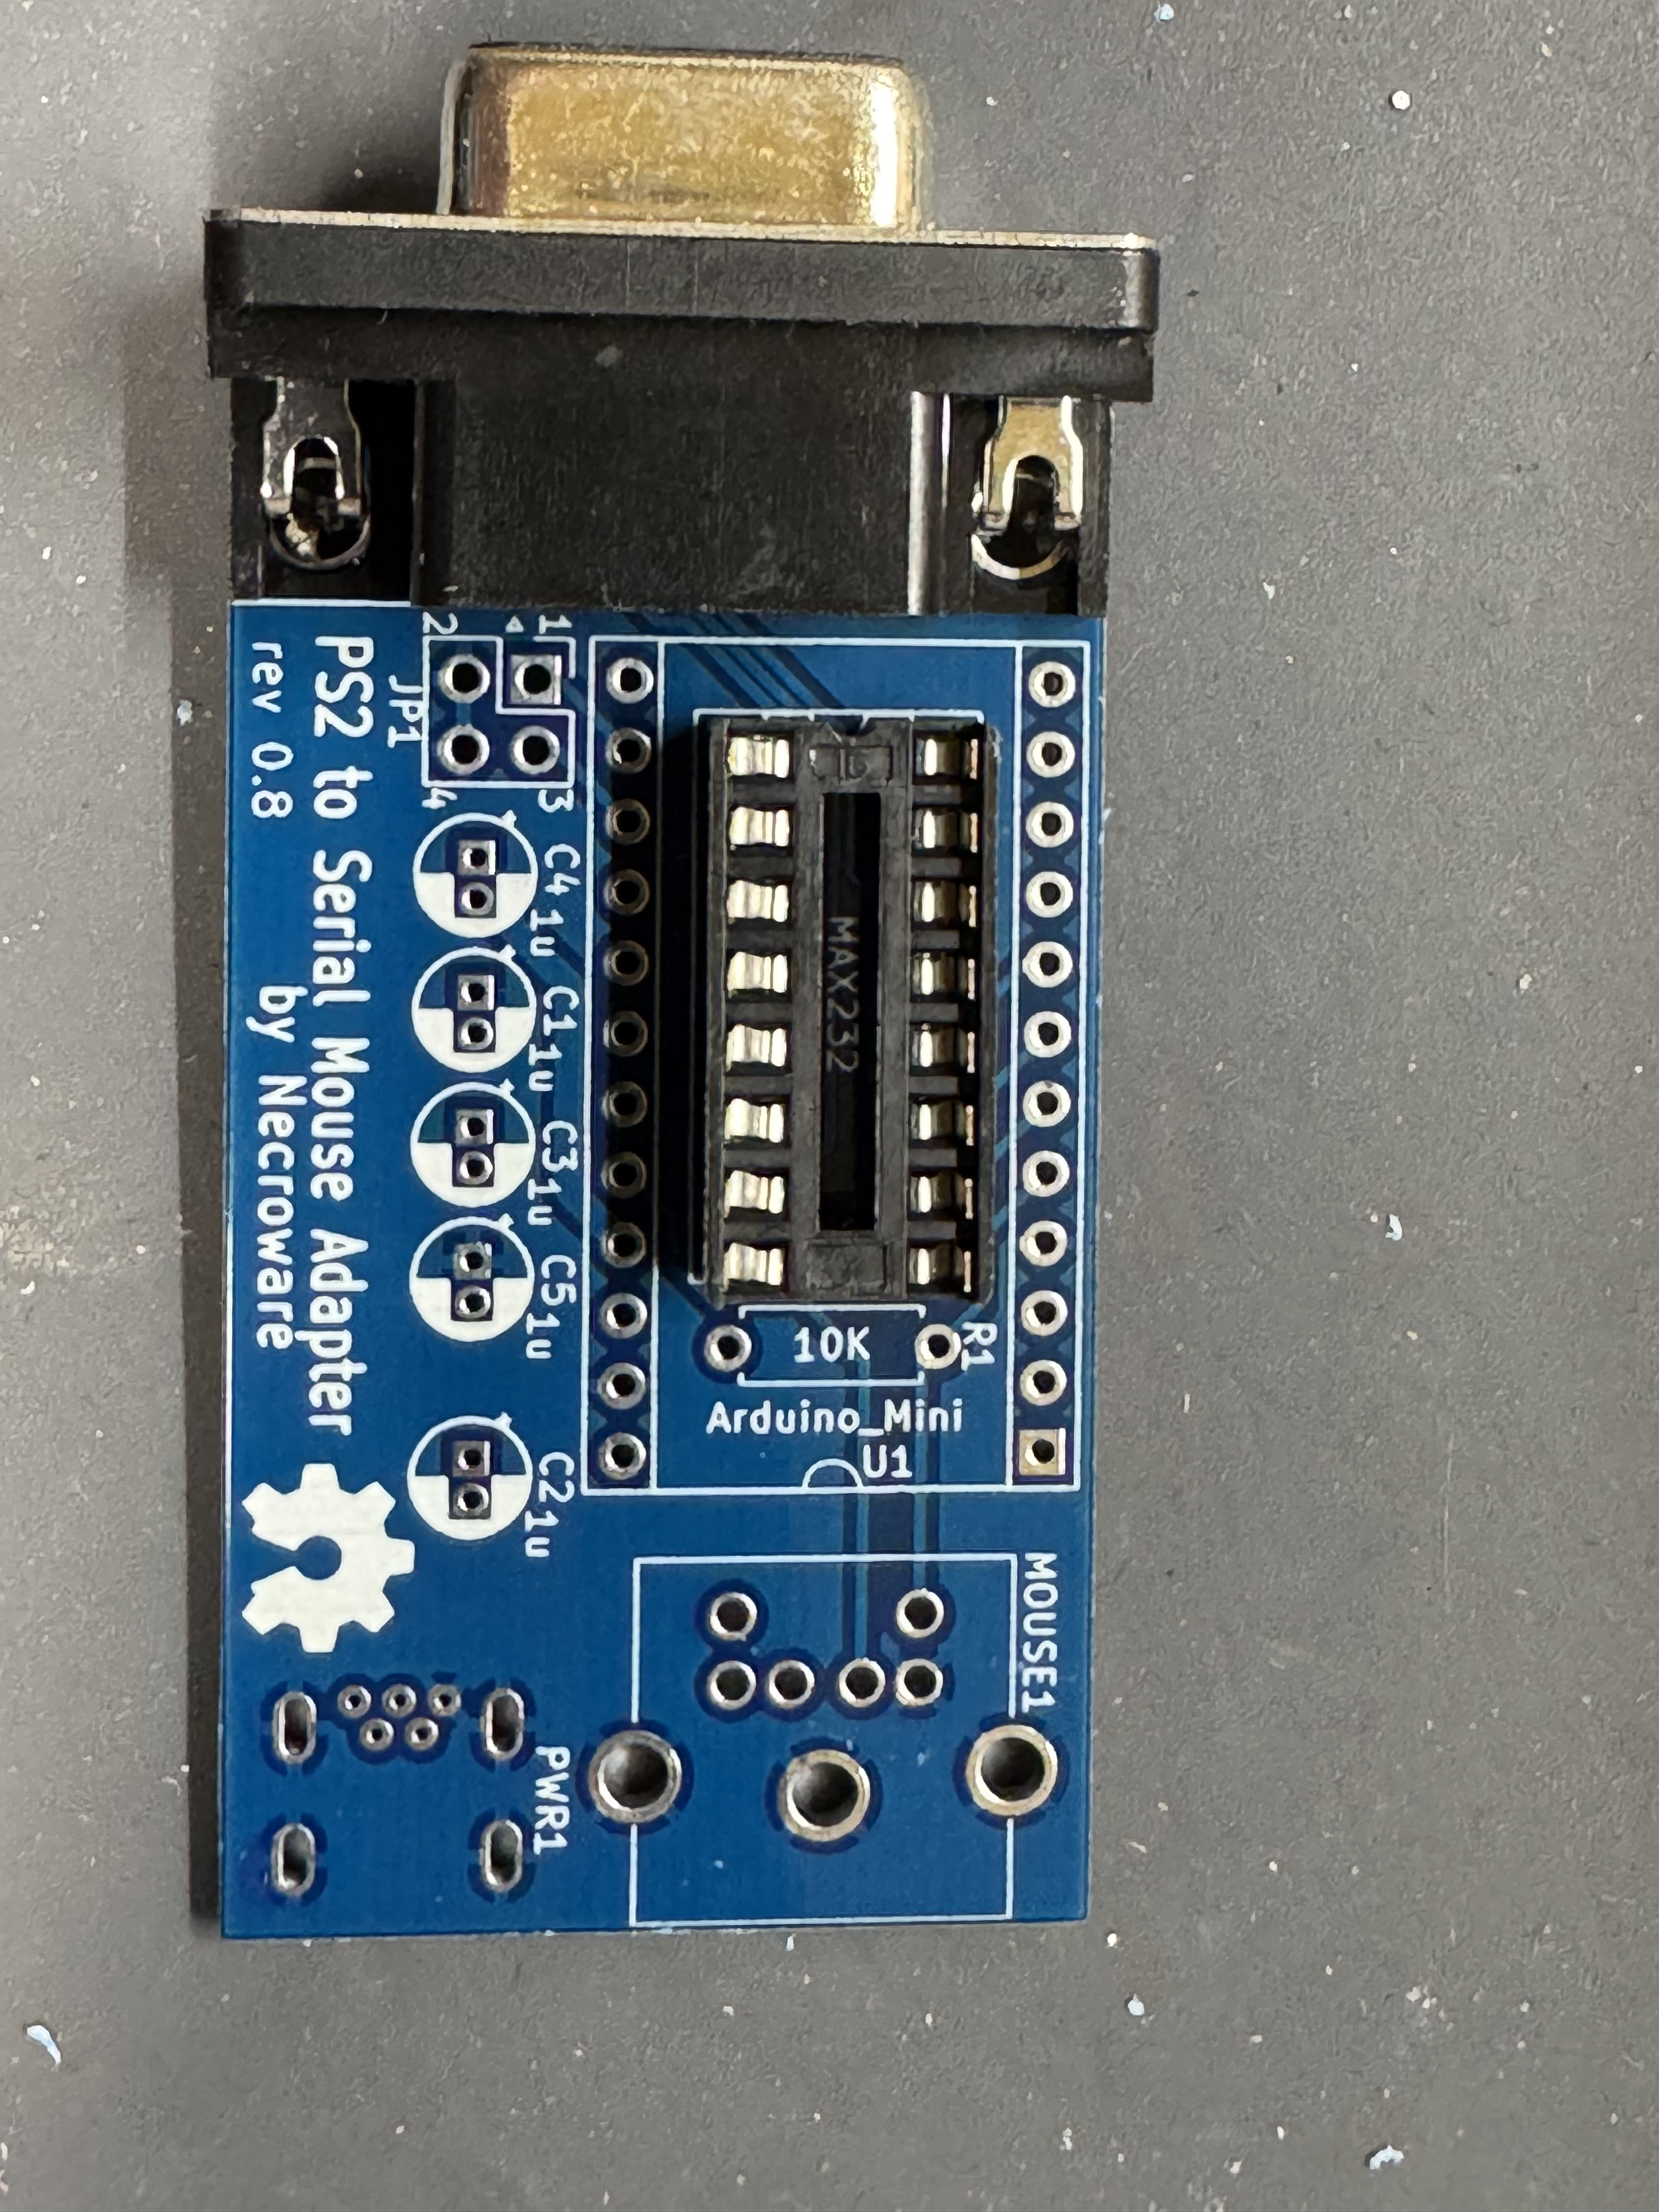
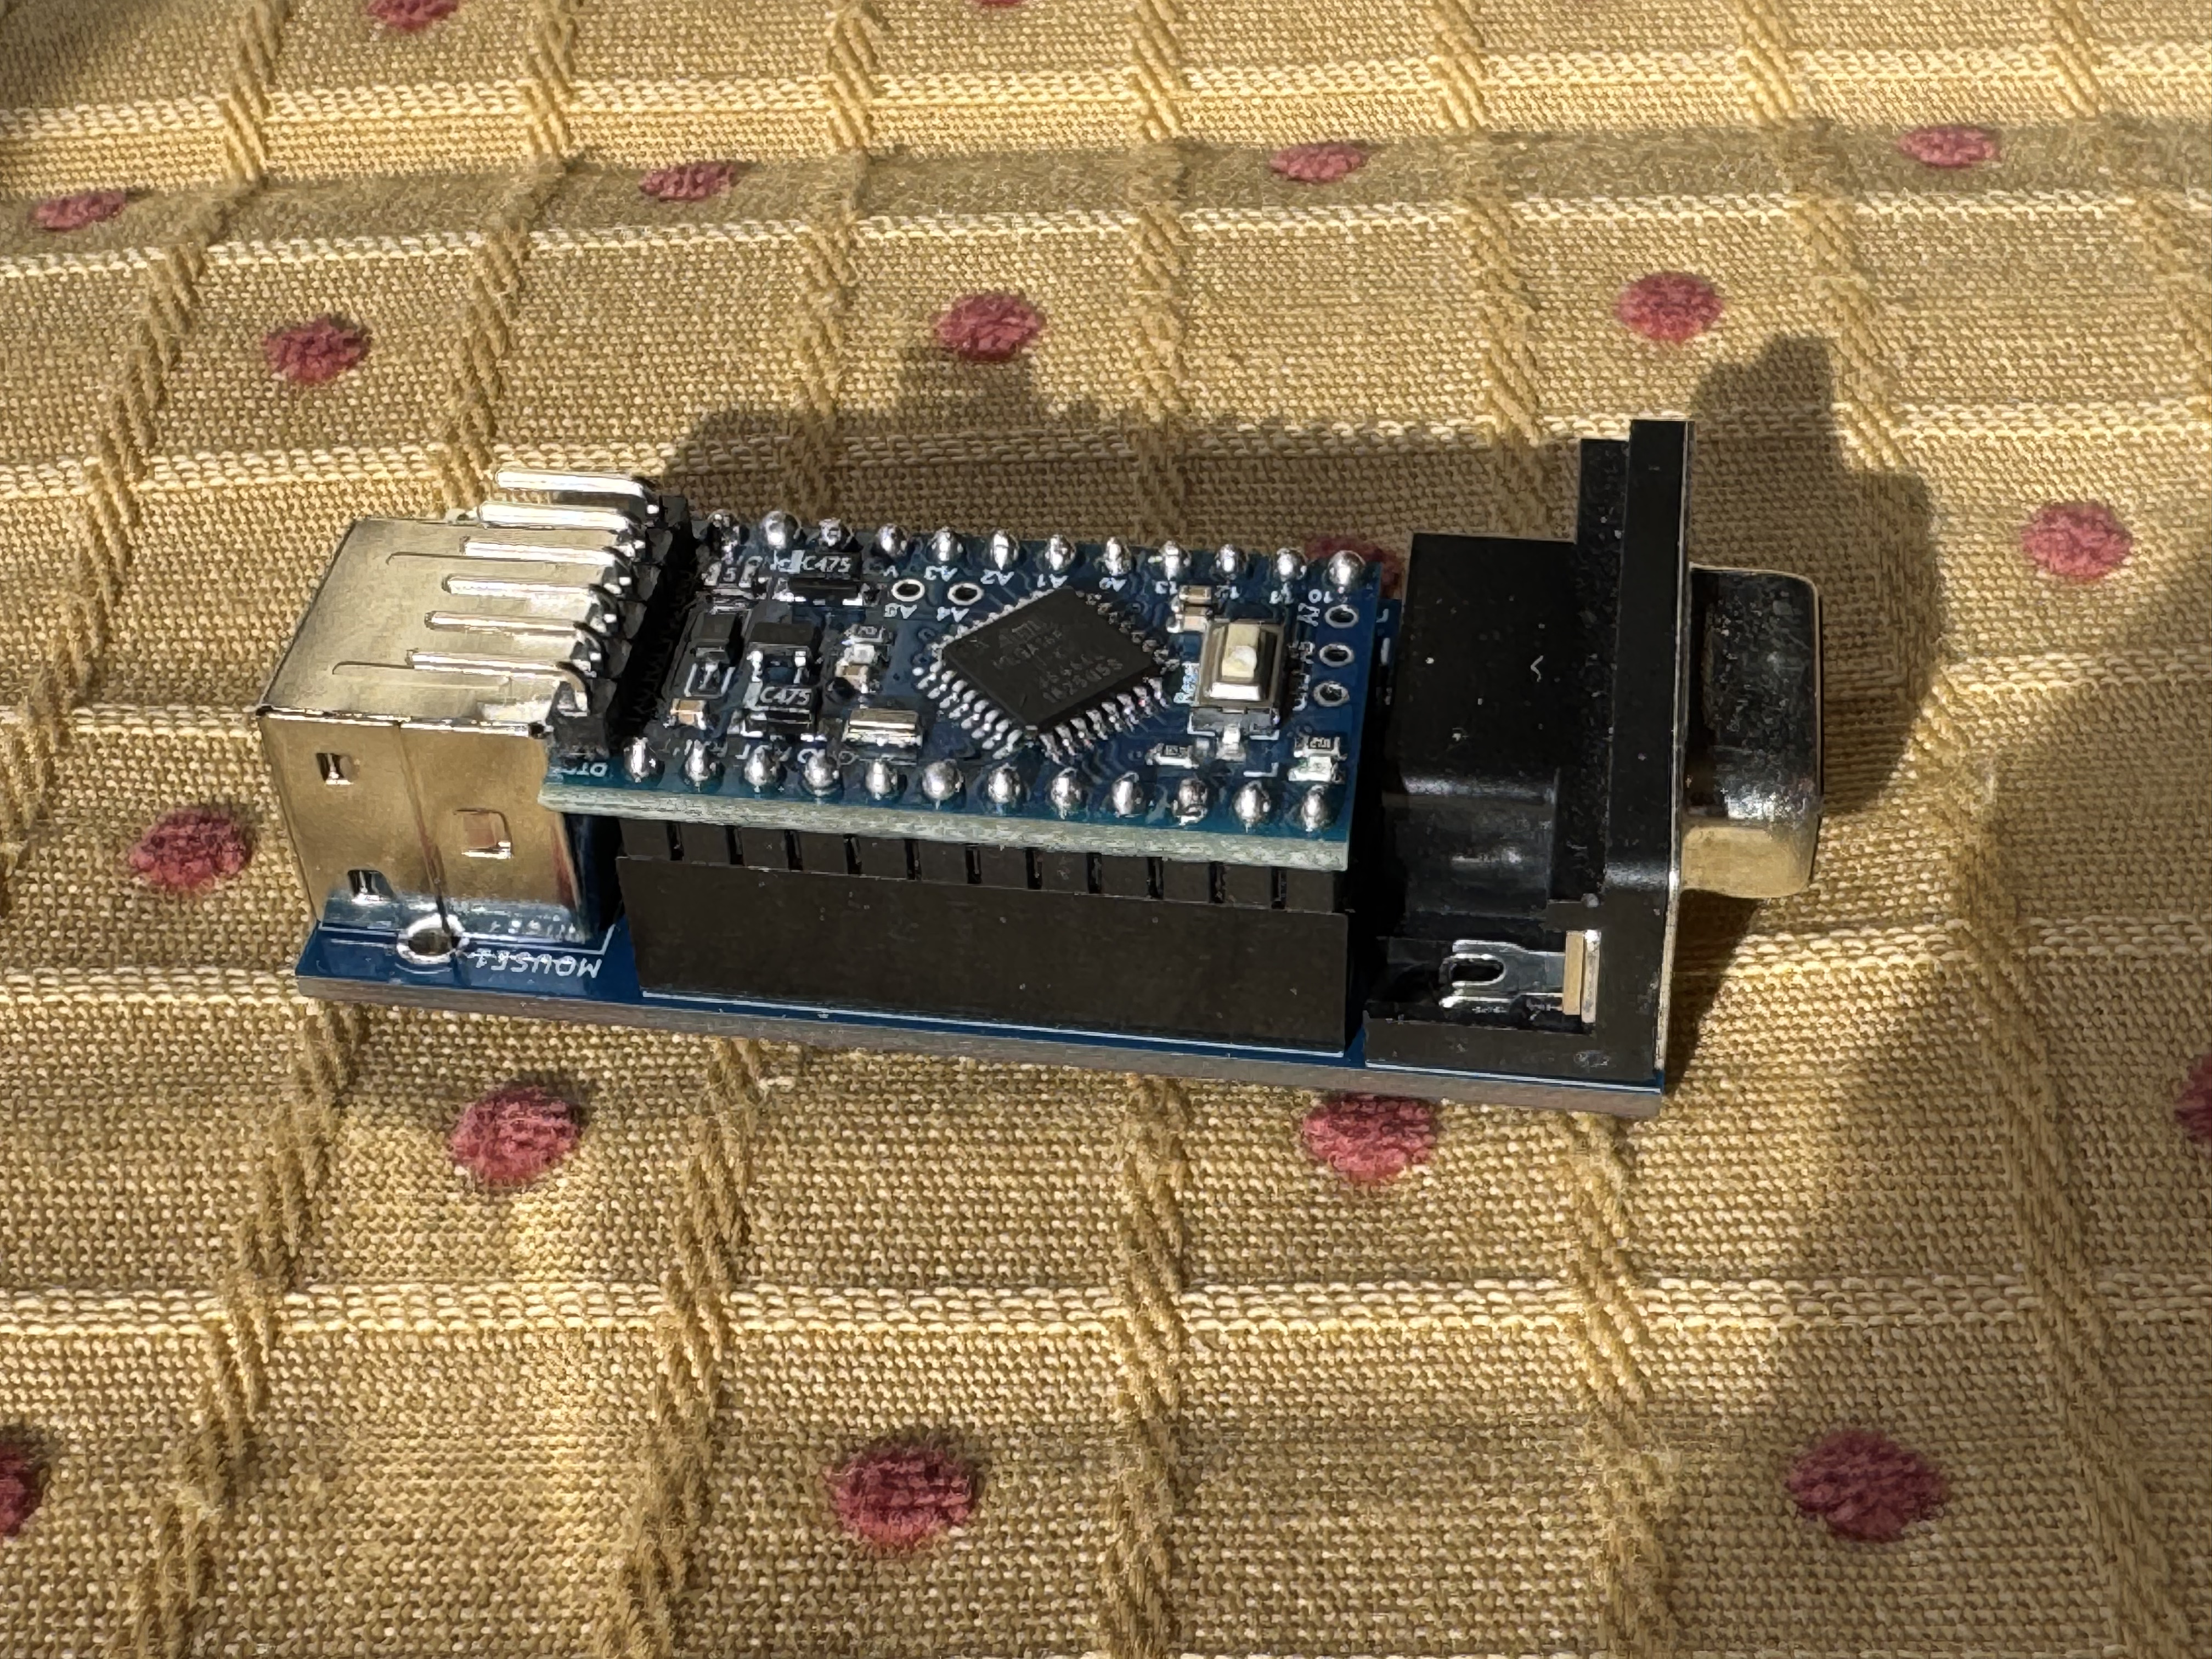
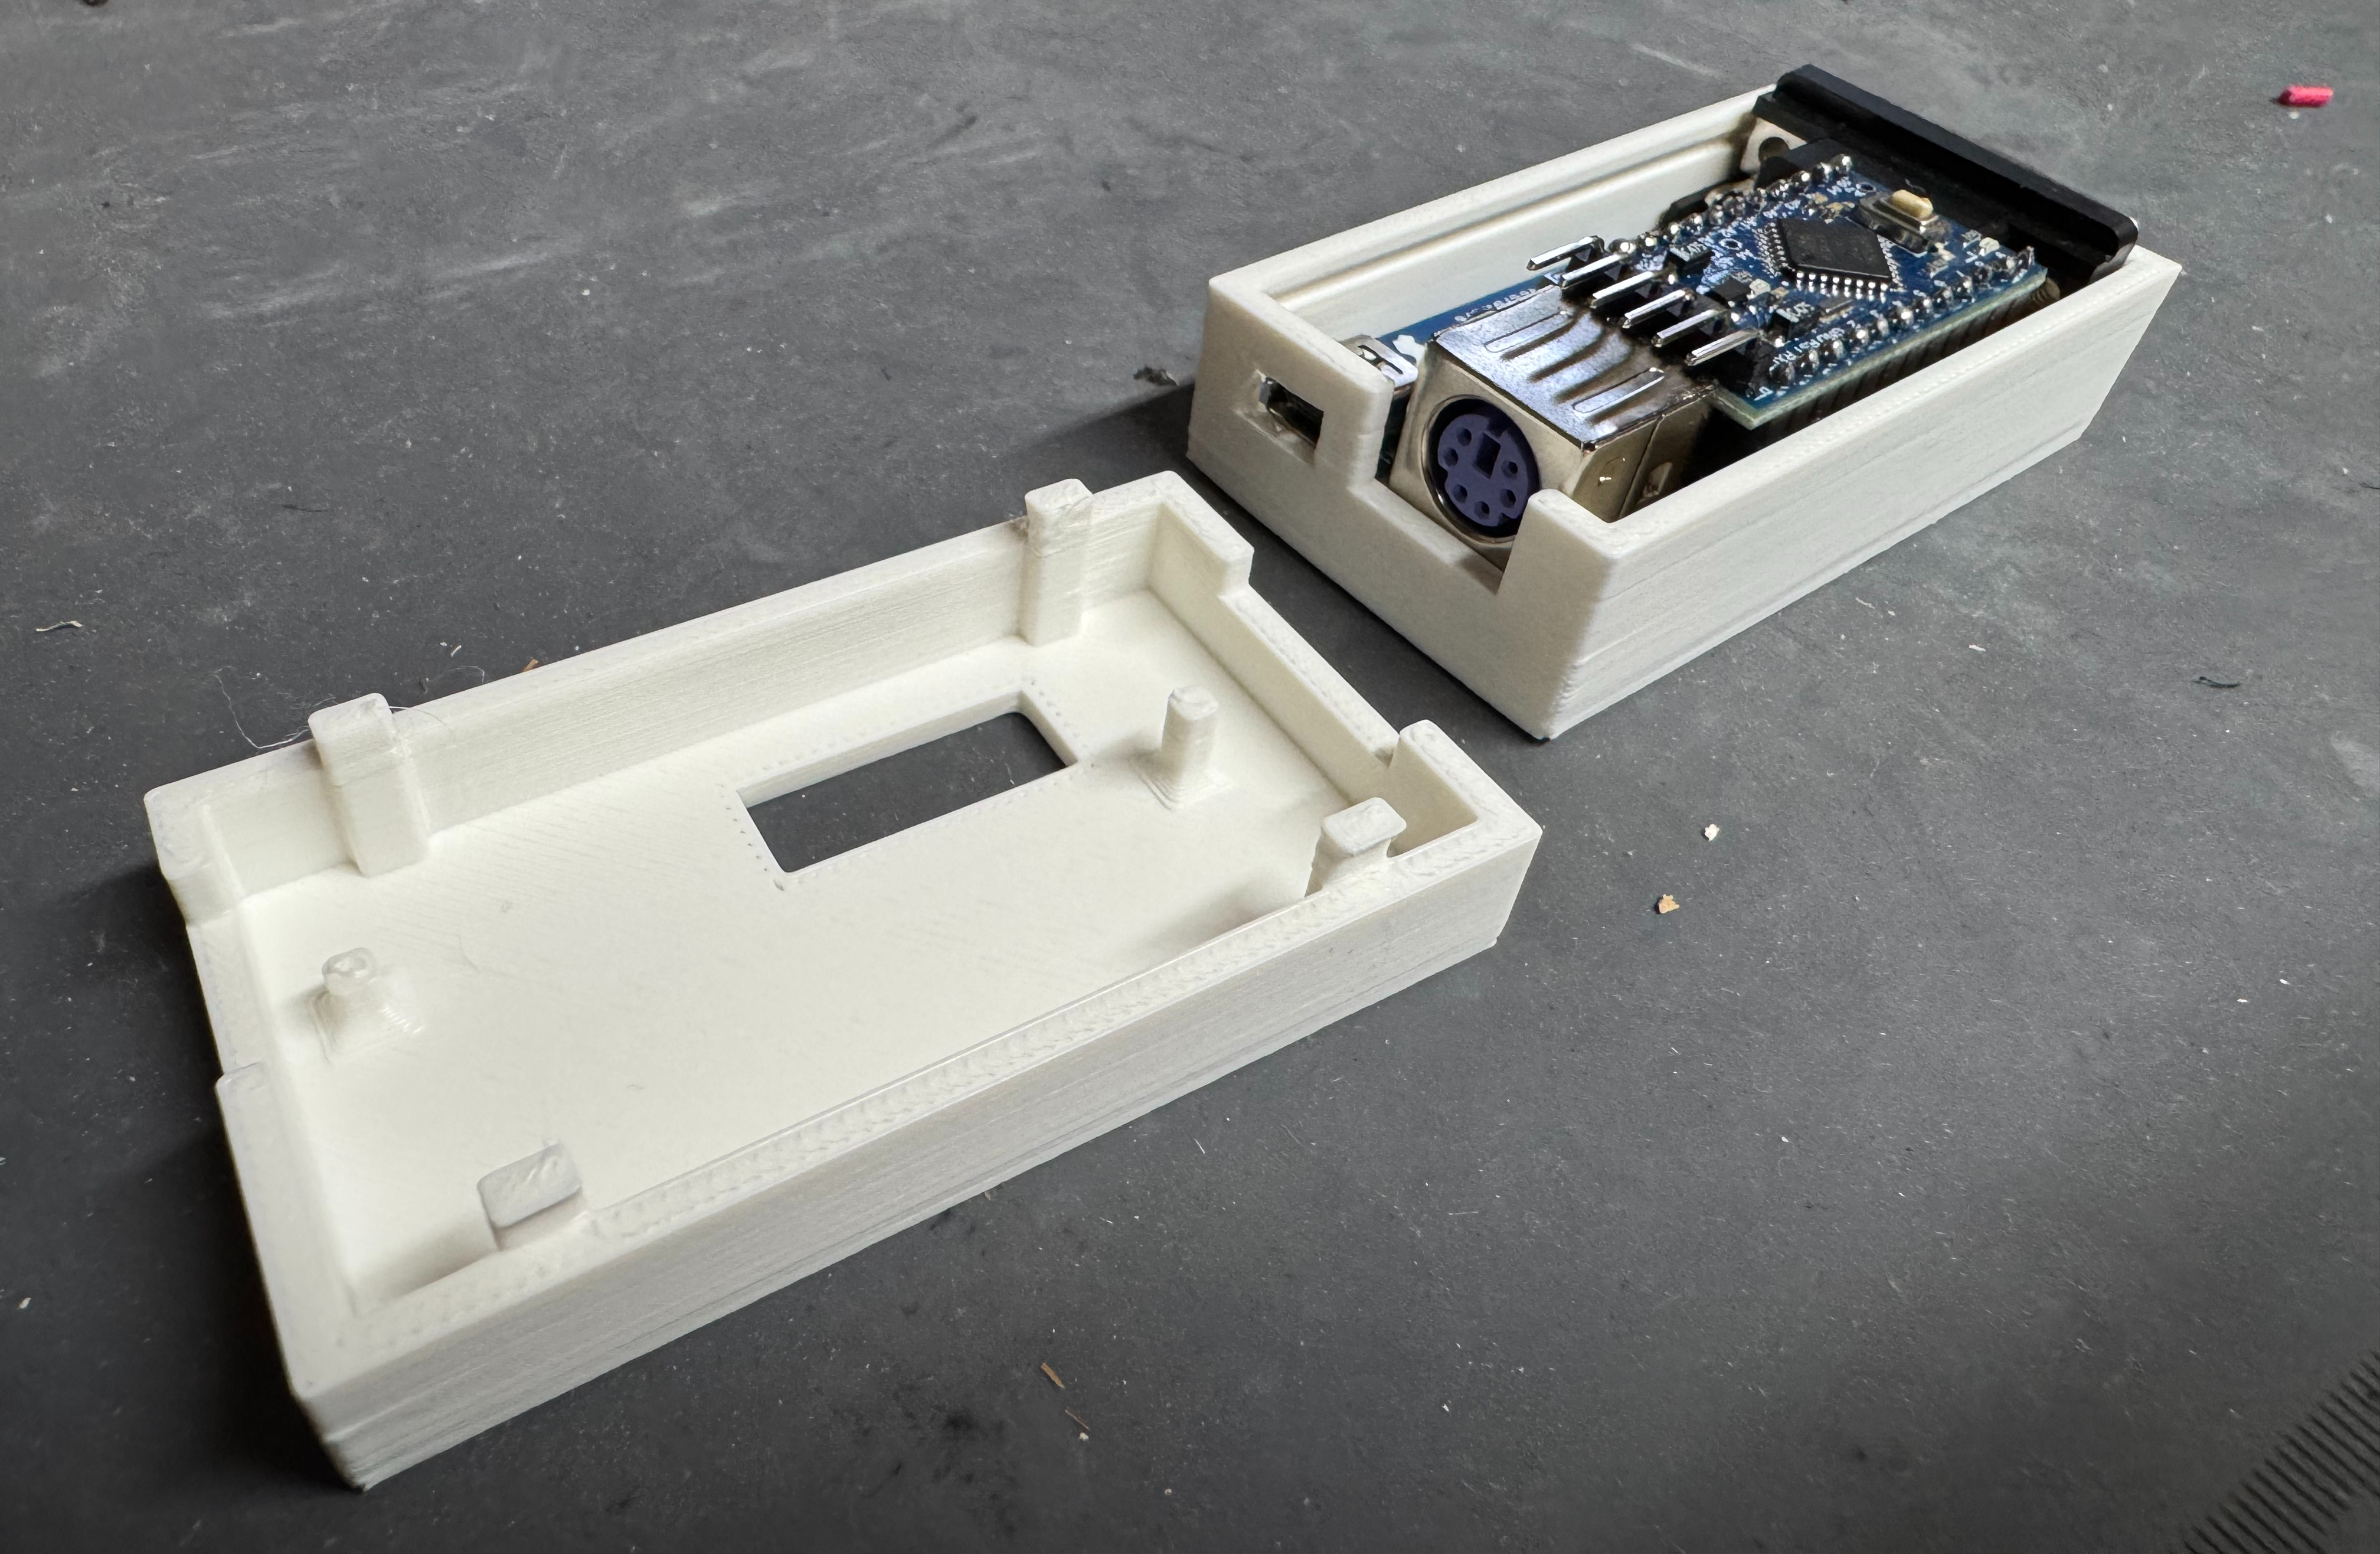
As part of my LAN Before Time rack project, I’m setting up classic PCs with a VGA and PS/2 KVM to manage them. However, one of my systems—a 486—lacks a PS/2 port for the mouse. A simple PS/2-to-serial adapter wasn’t enough; it required a proper signal conversion to work.
After some searching, I found this adapter kit on eBay: PS/2 to Serial Mouse Adapter. It’s based on an open-source project: necroware/ps2-serial-mouse-adapter. The kit didn’t include instructions, and the project assumes you already know how to assemble it; I decided to document my build process step by step.
A Quick Note on KVM Compatibility
This adapter worked flawlessly when I plugged a PS/2 HP Laser Mouse directly into the 486. However, when connected through my KVM, it worked for a few seconds before stopping. After some digging, I found a pull request from last year that mentioned a KVM fix. Flashing that updated firmware completely resolved my issue! Unfortunately, the main repository hasn’t been updated in two years, so hopefully, it gets some attention.
What’s Next?
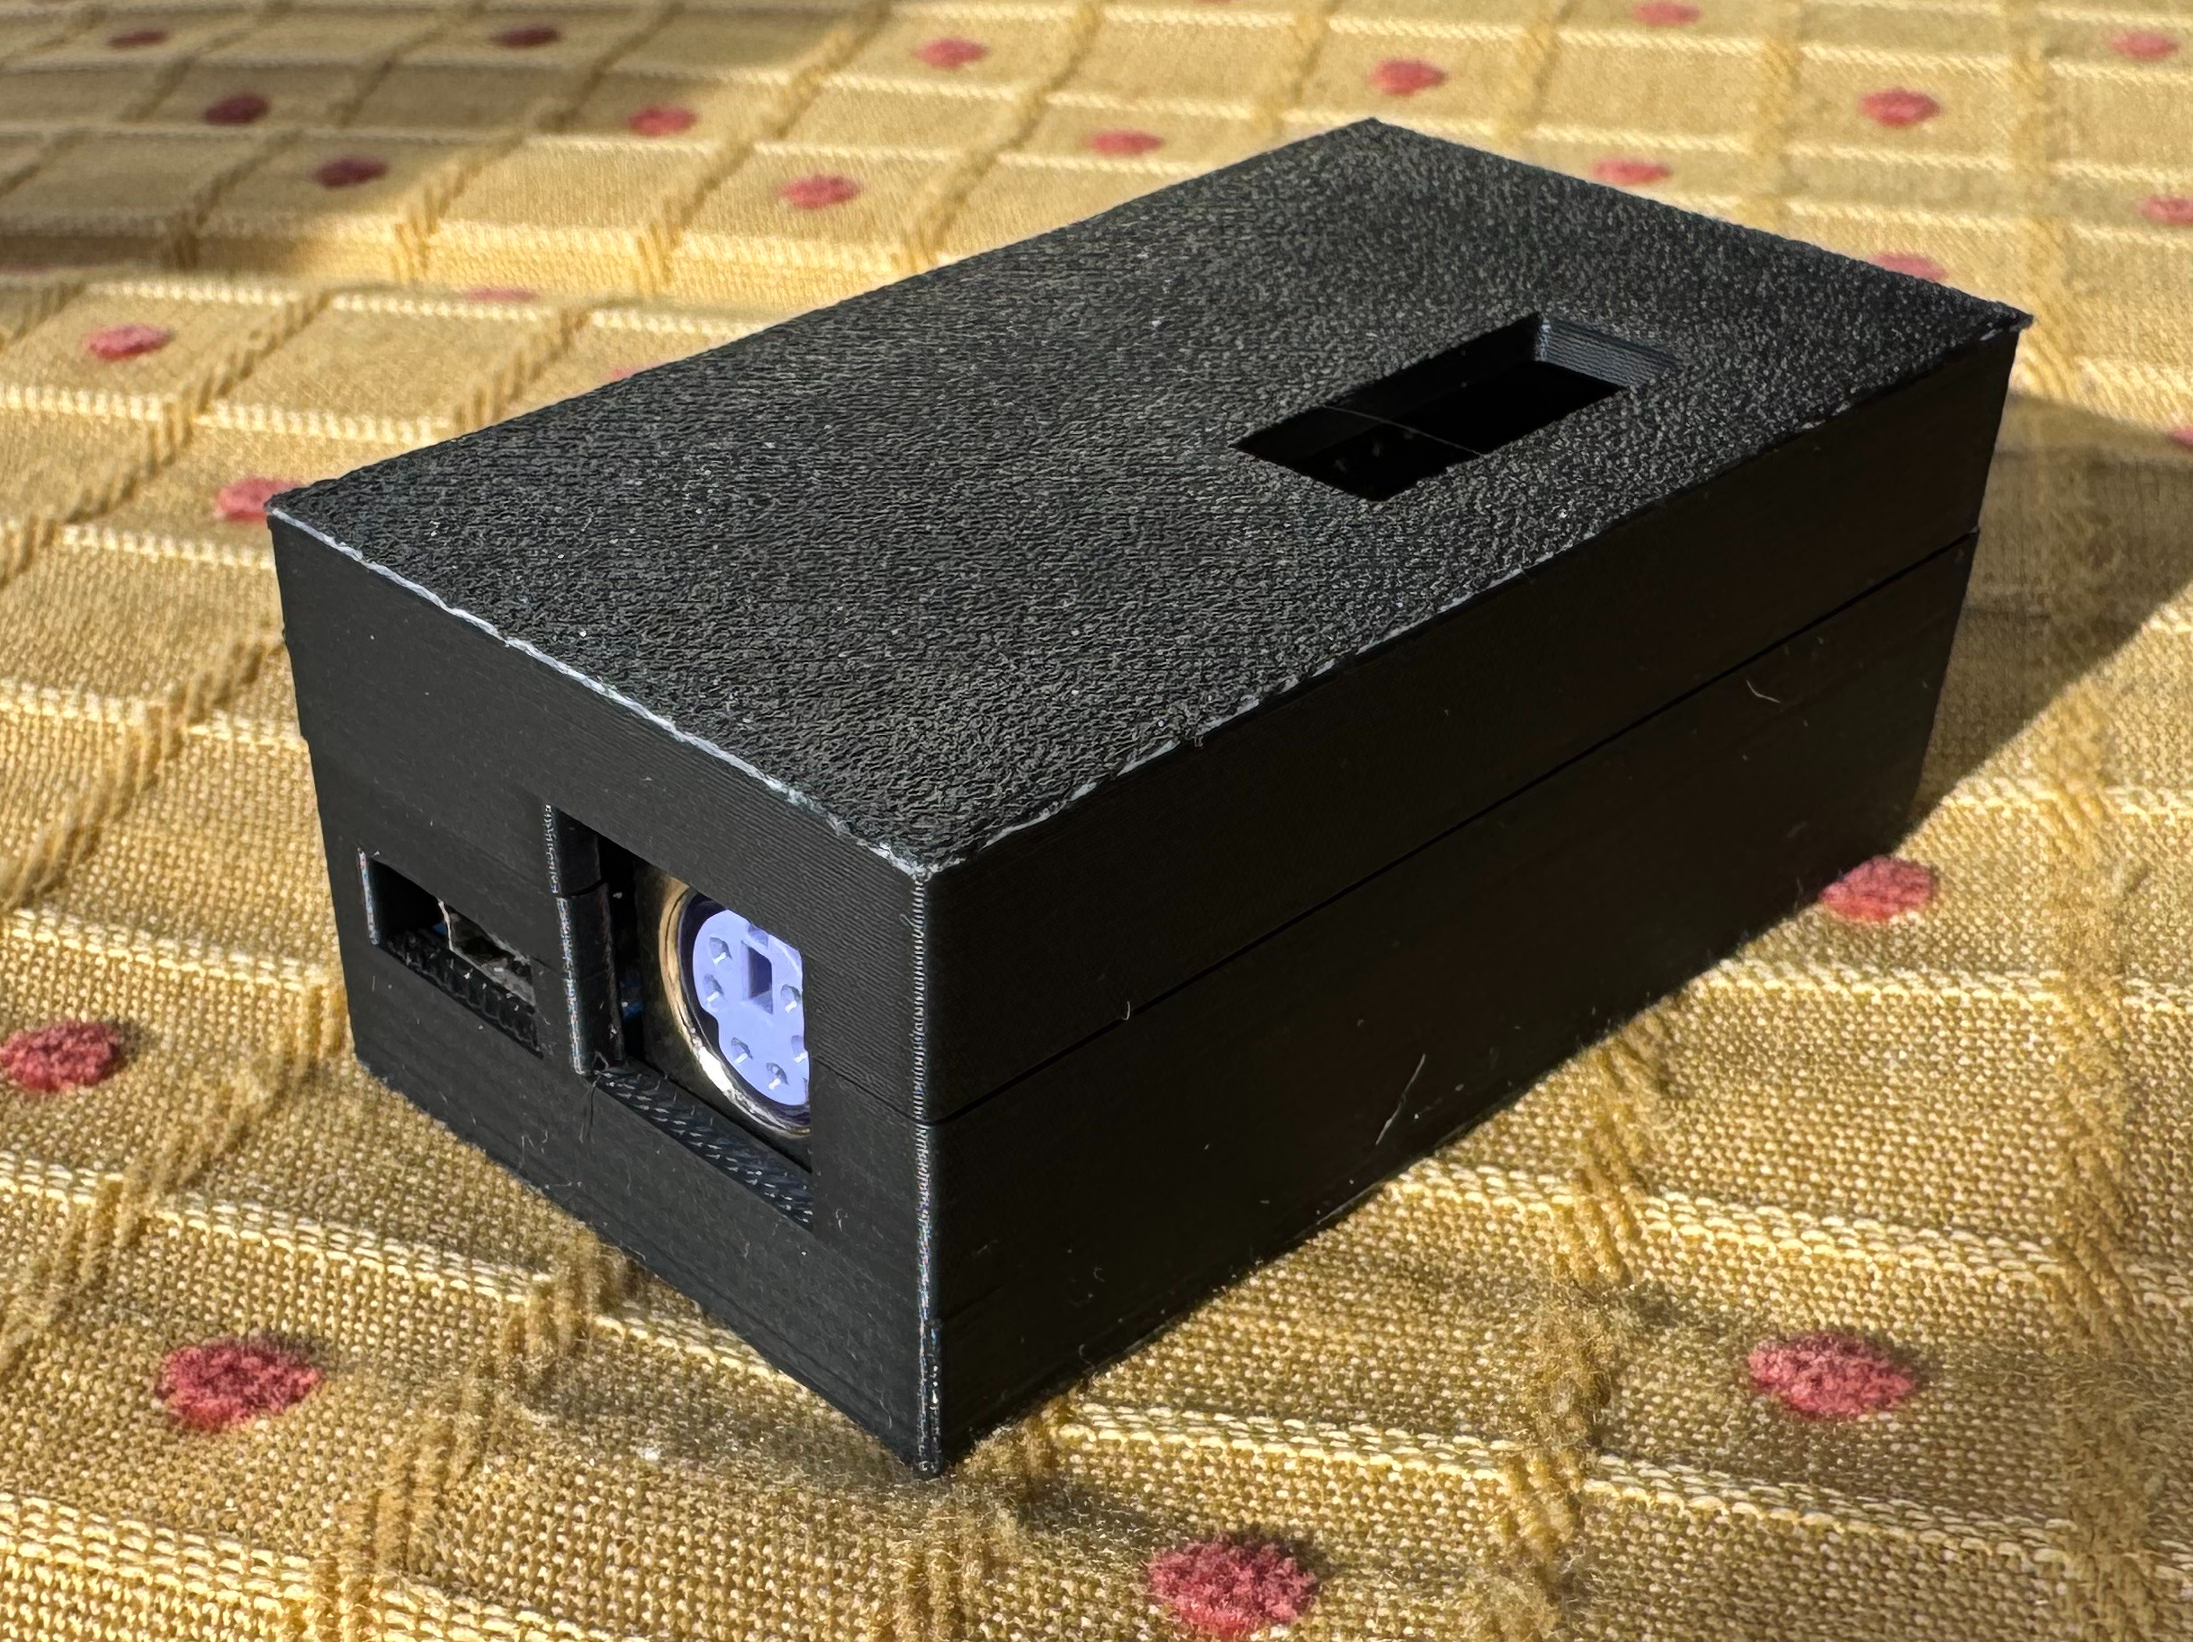
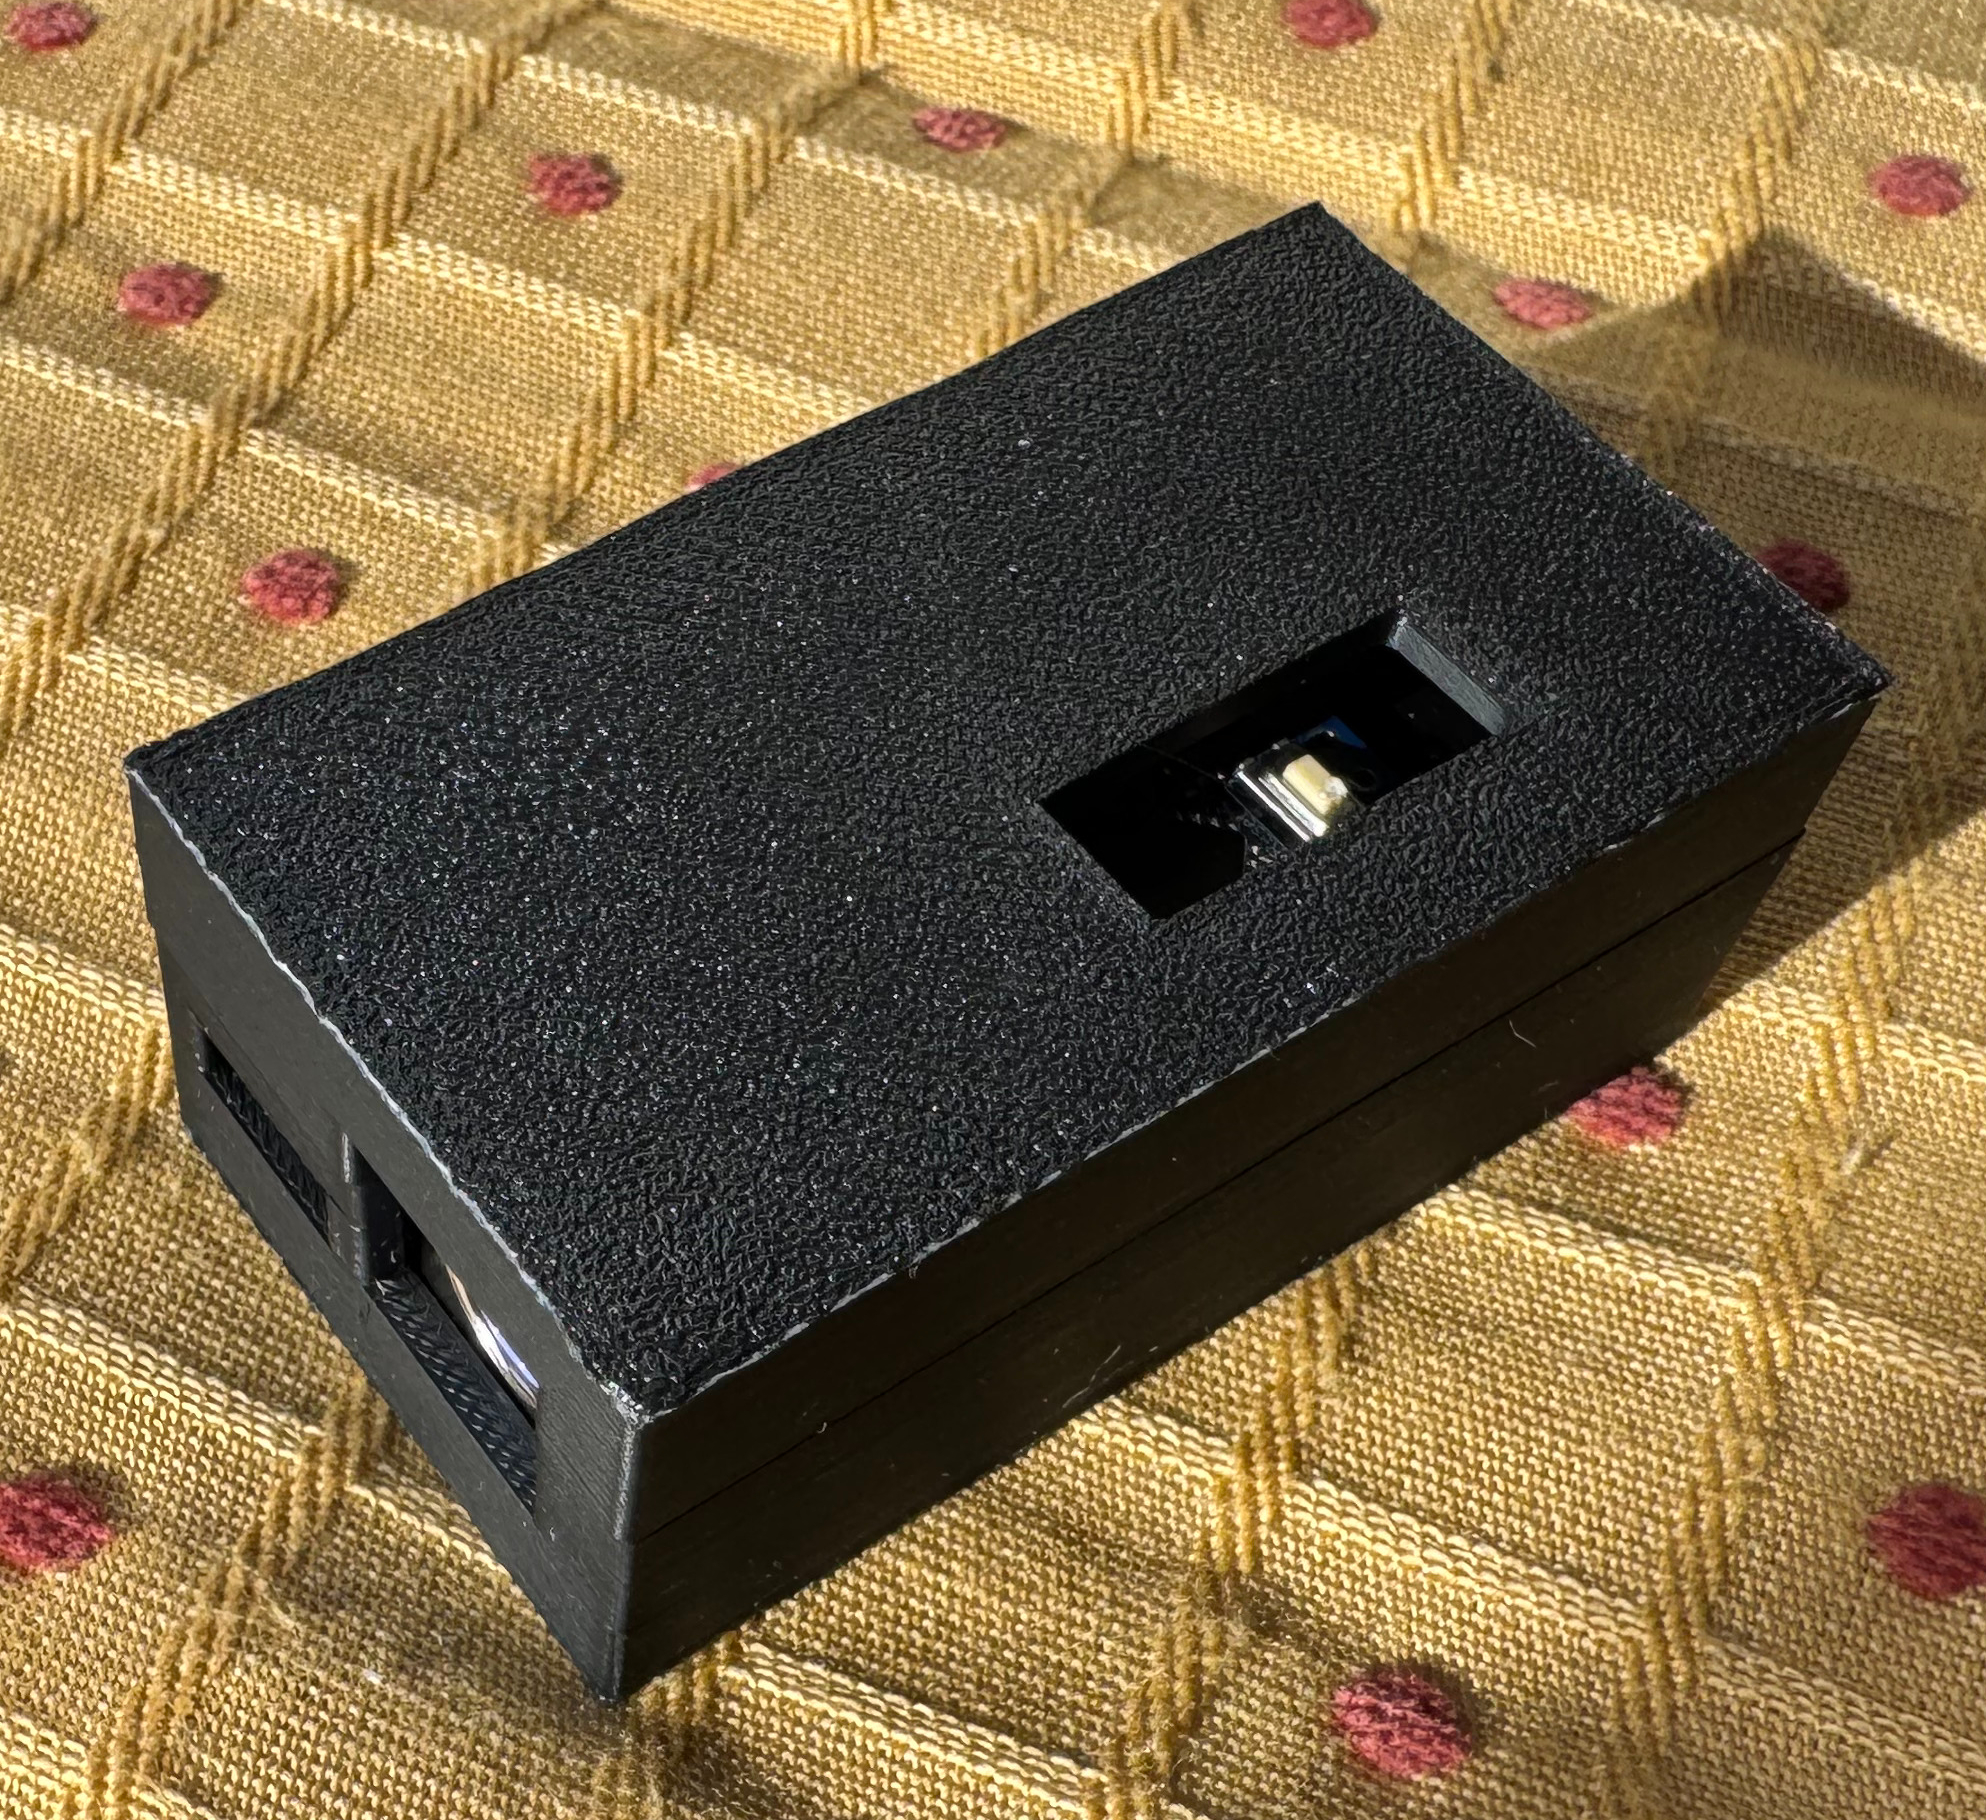
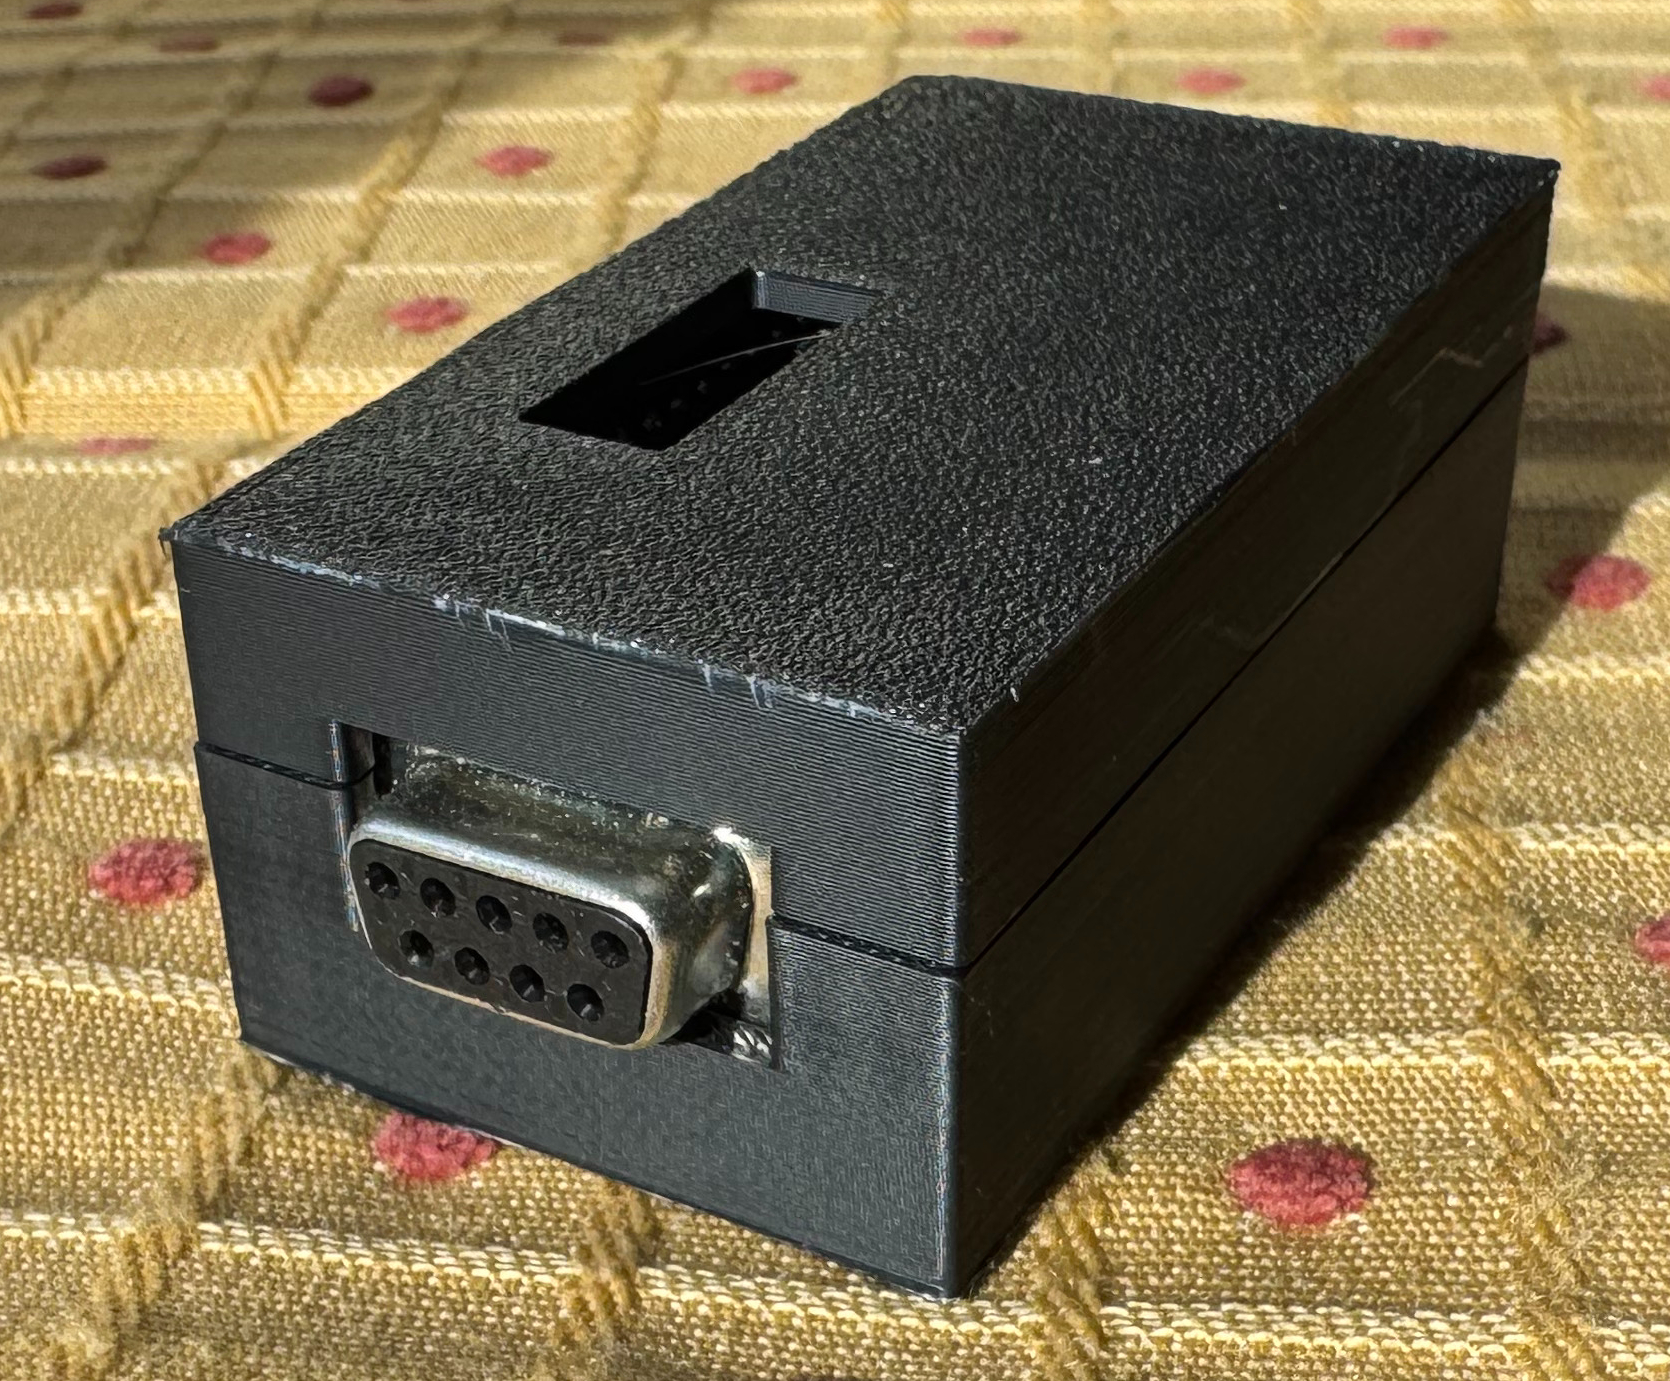
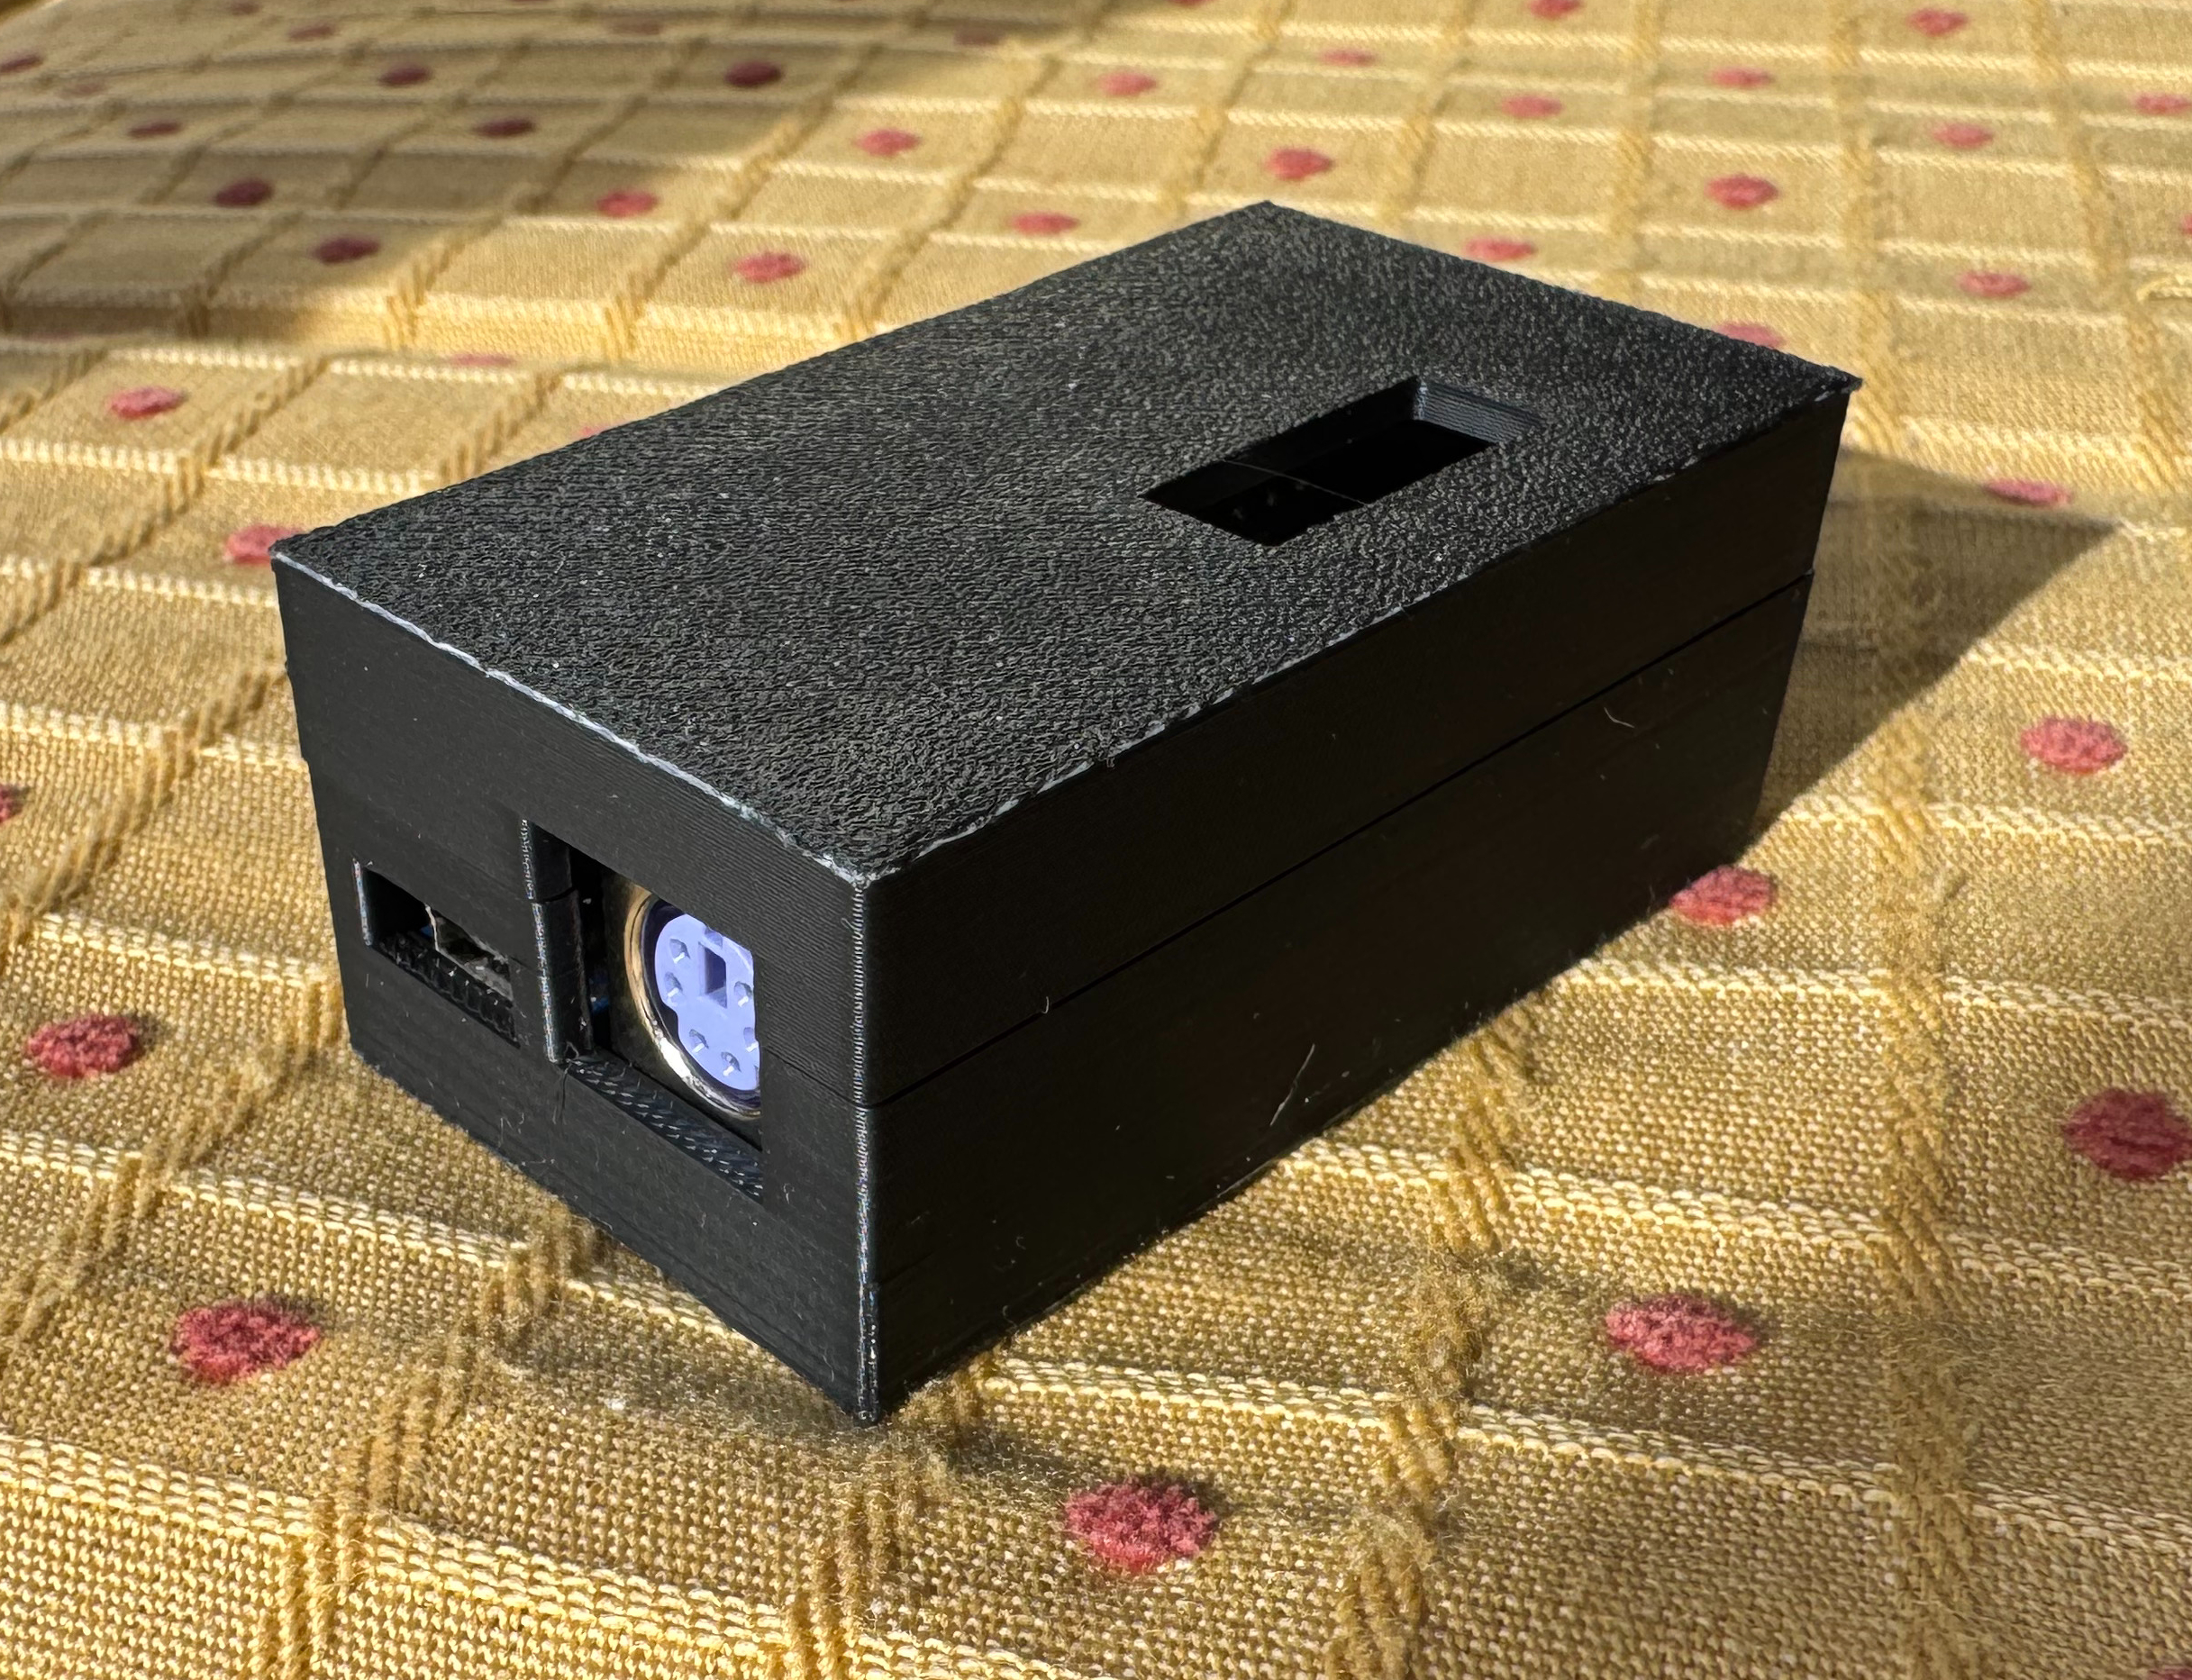
Below, I’ll walk through assembling the adapter. After that, I’ll cover how to flash the updated firmware using a USB-to-TTL converter. These converters are cheap and easy to find—here’s the one I used: USB to TTL Adapter. Finally, I will show a case I designed and 3D printed for the device.
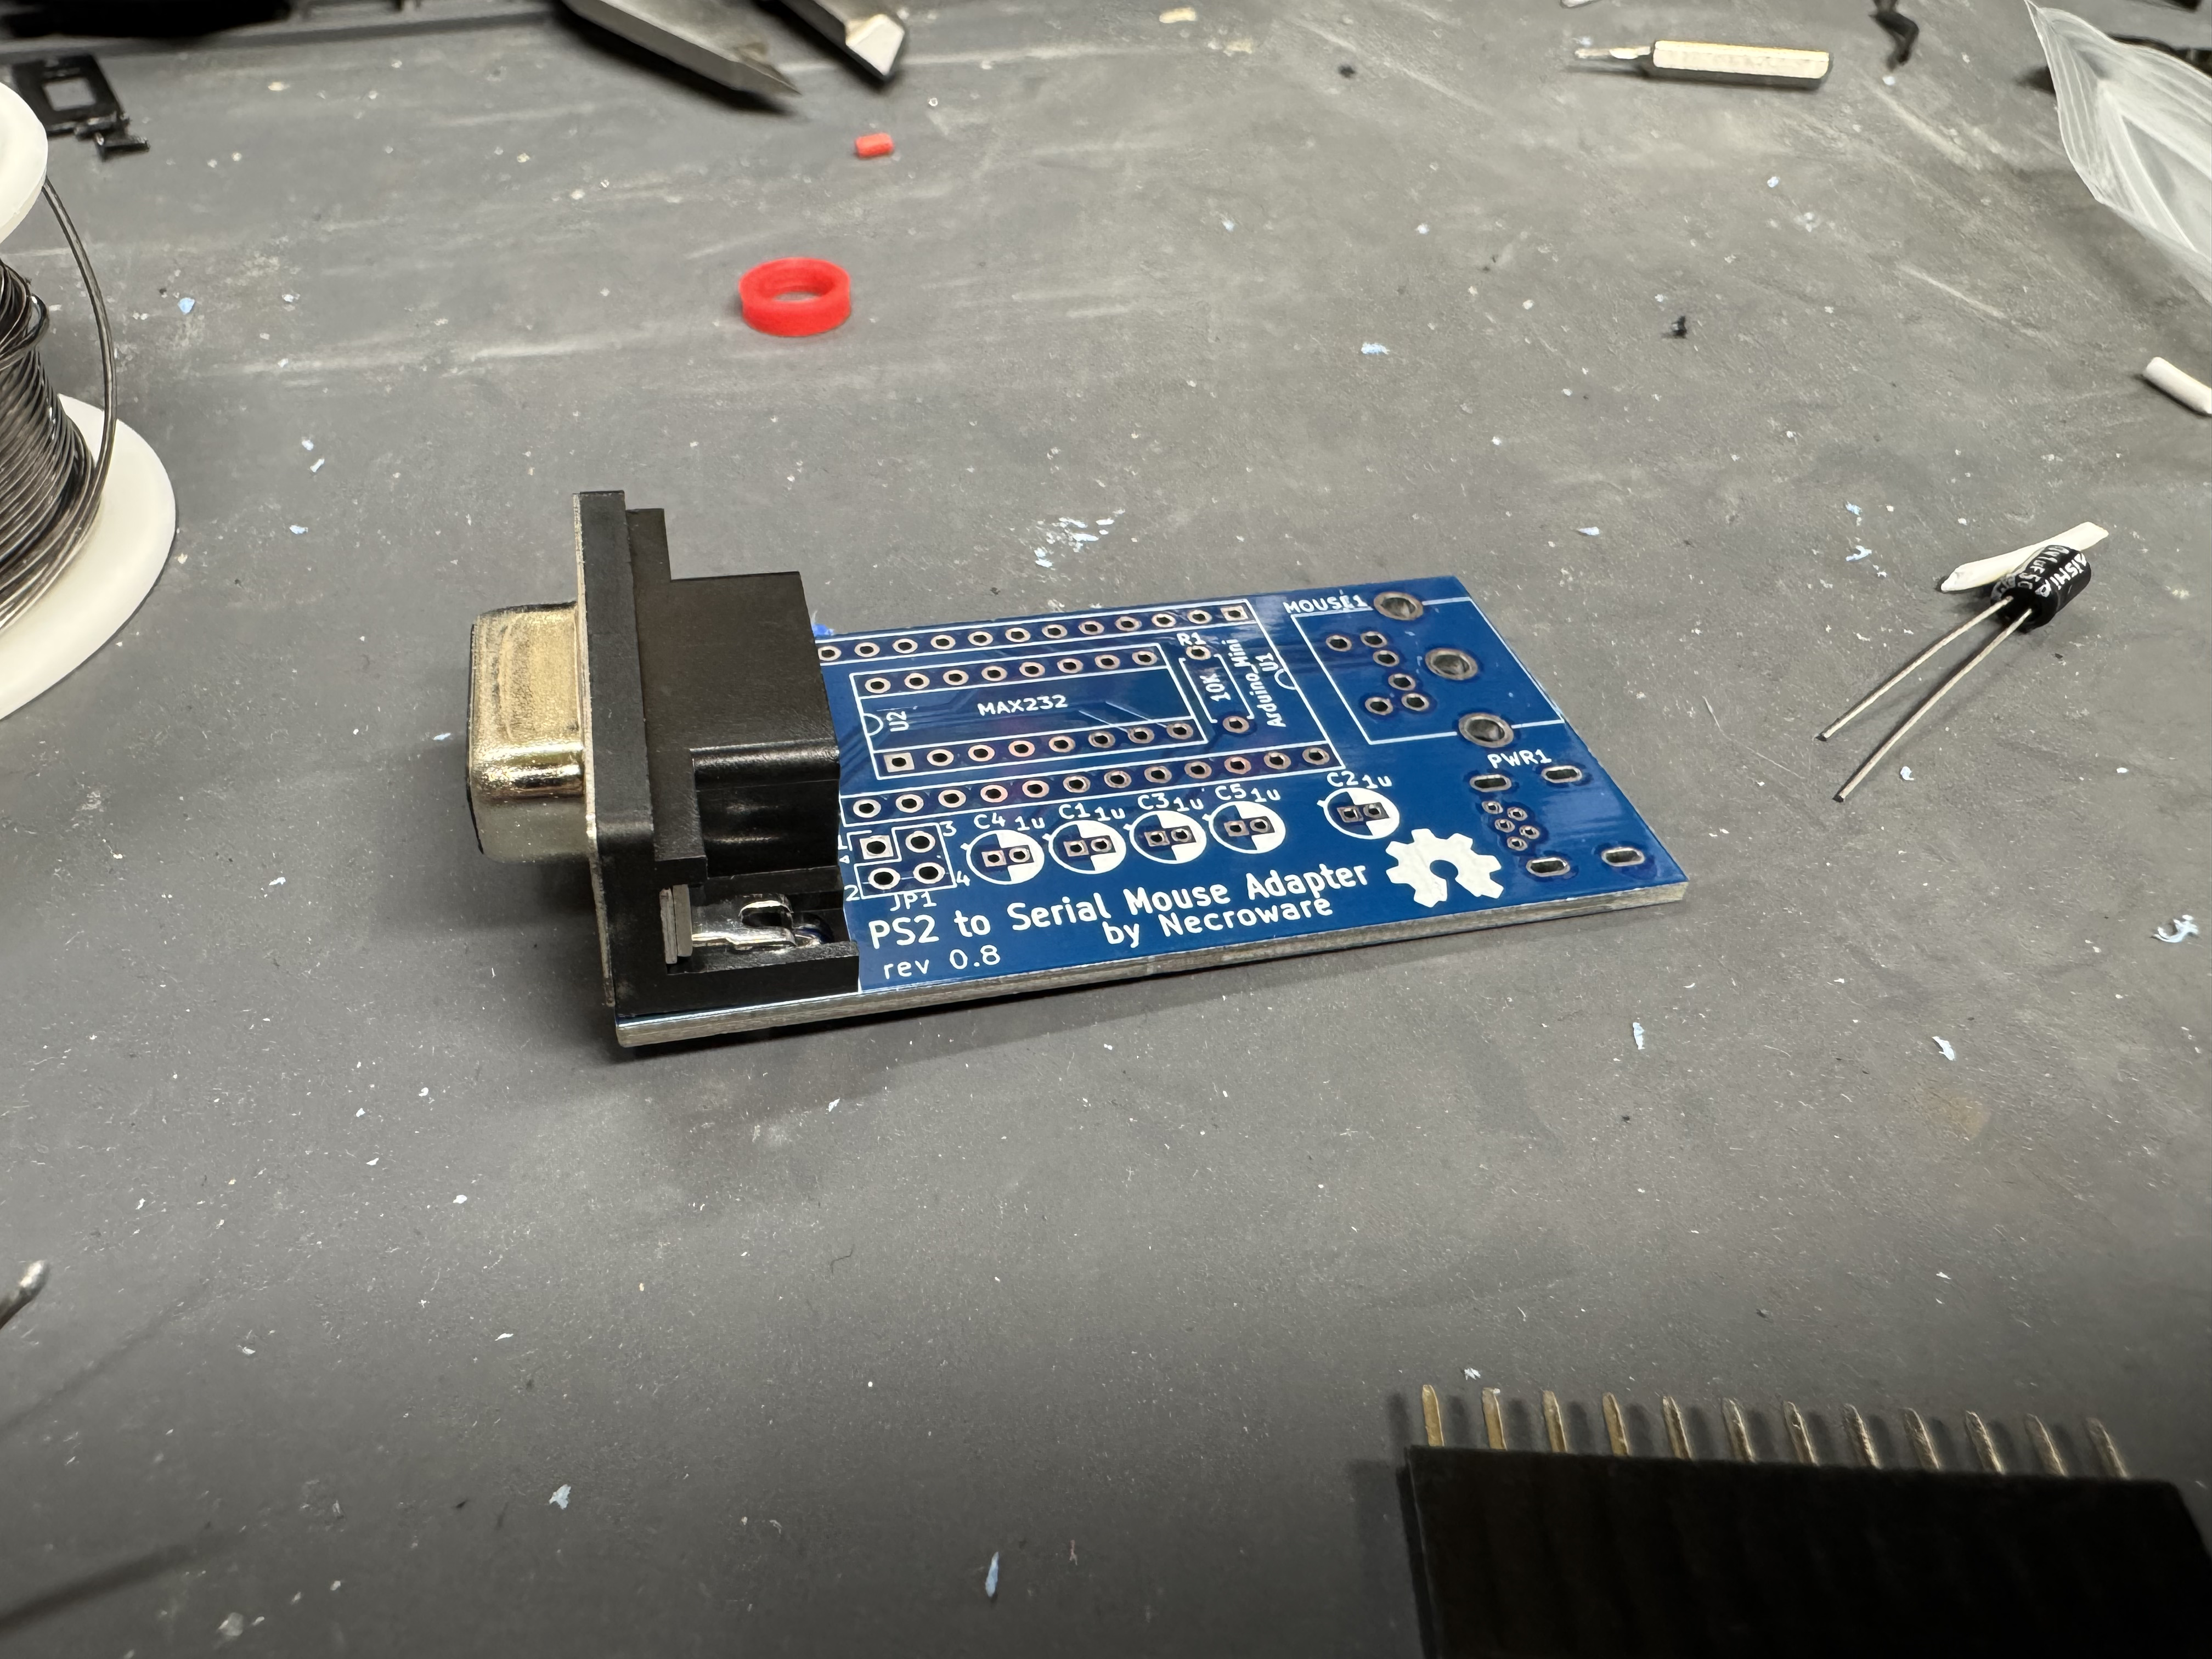
Steps
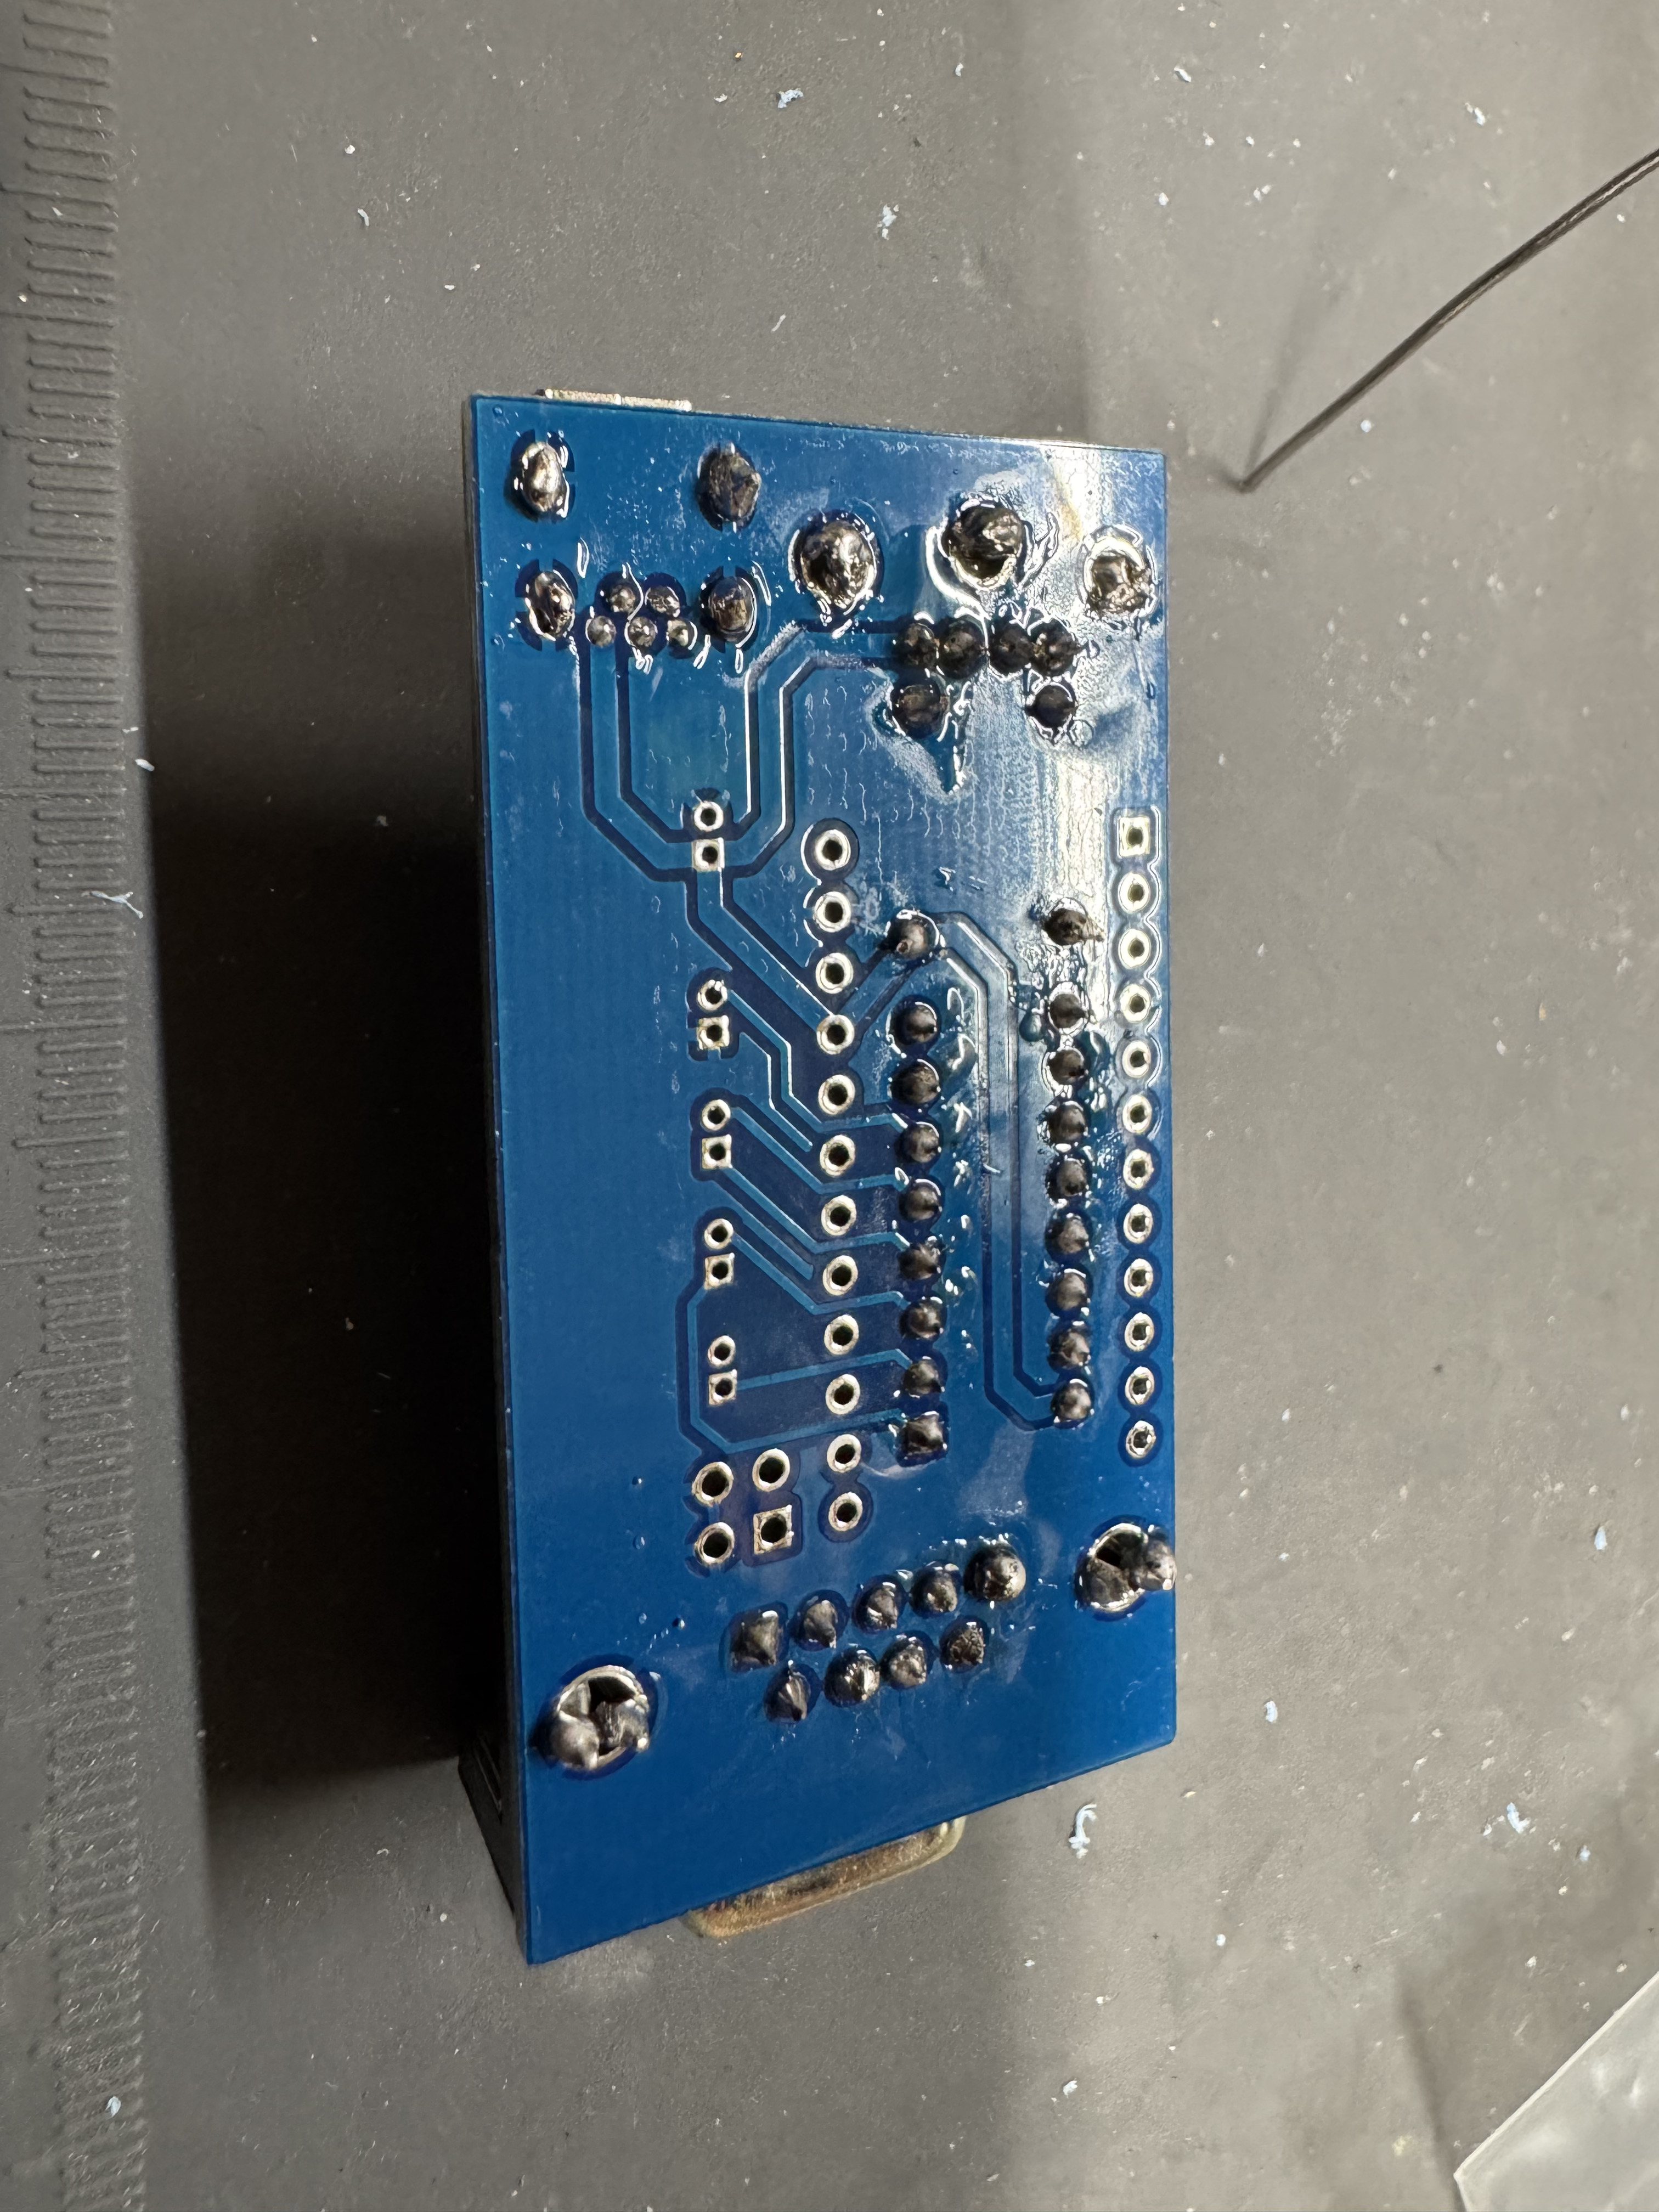
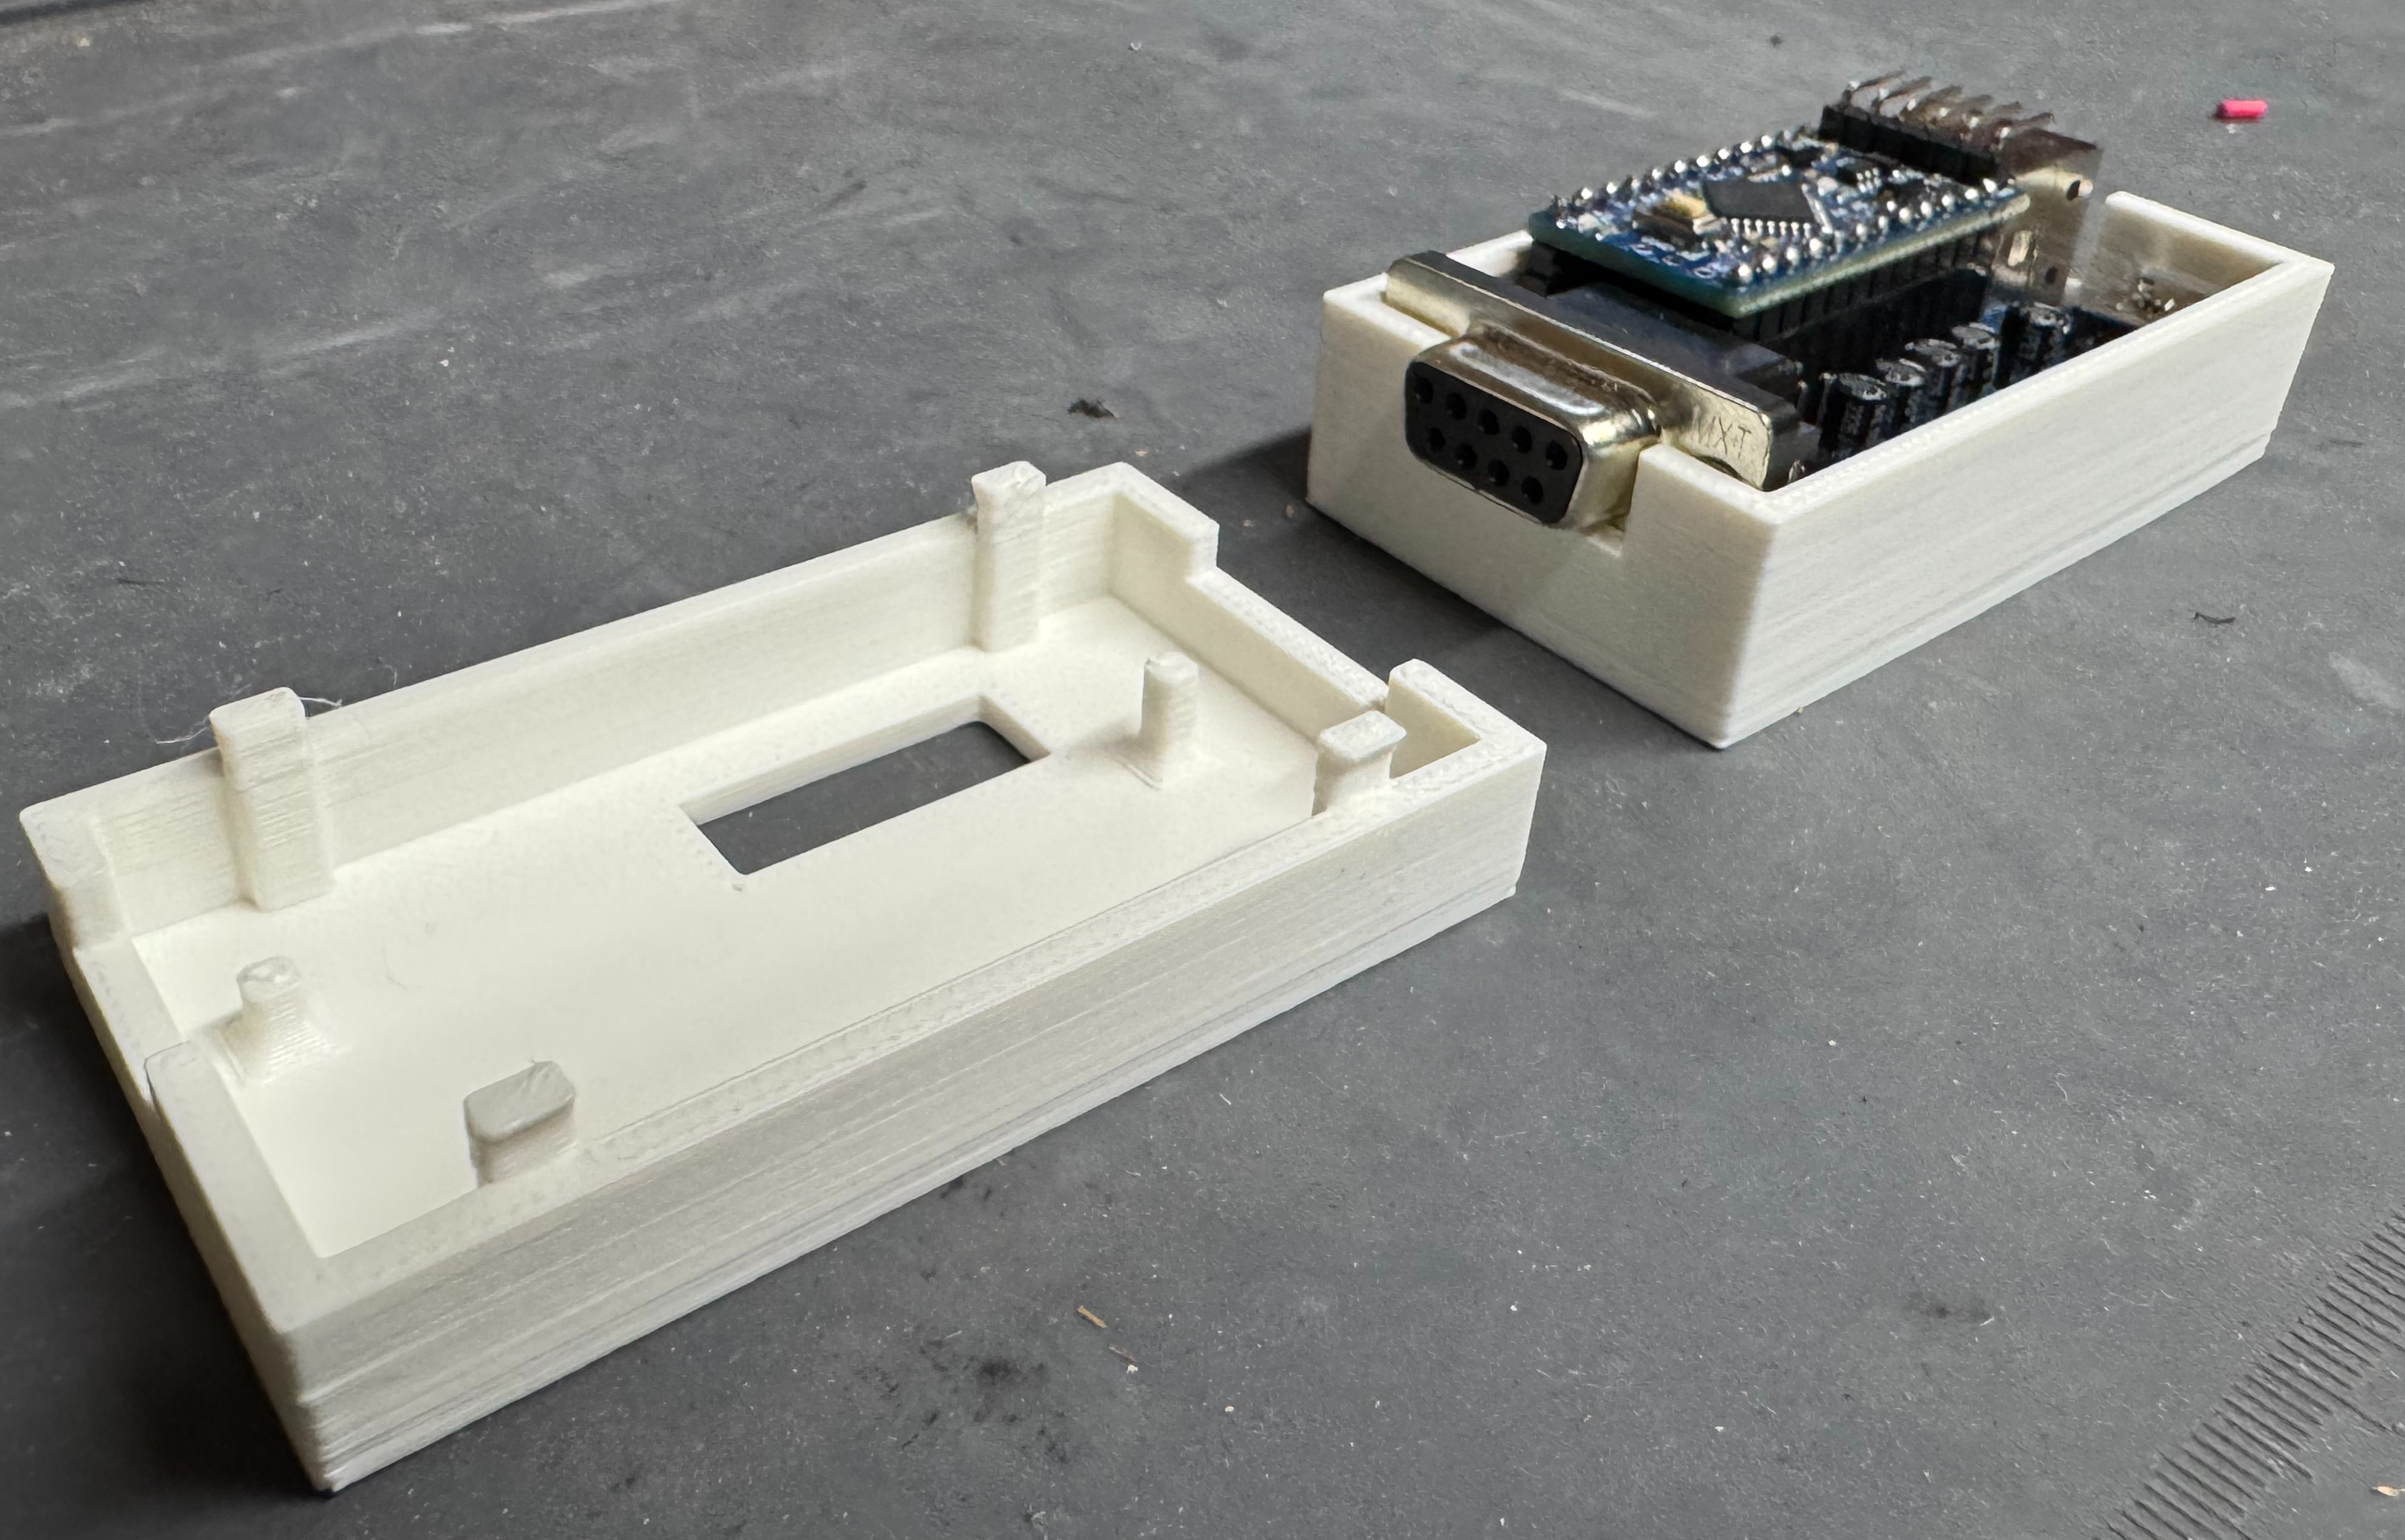
Put the serial connector through the top side of the board and solder it in place on the bottom, starting with the mounting legs and using plenty of solder. These take a lot of the strain of the connections. Then carefully do each of the data pins, making sure not to bridge any.
Insert the lower chip socket, and solder in place on the underside.
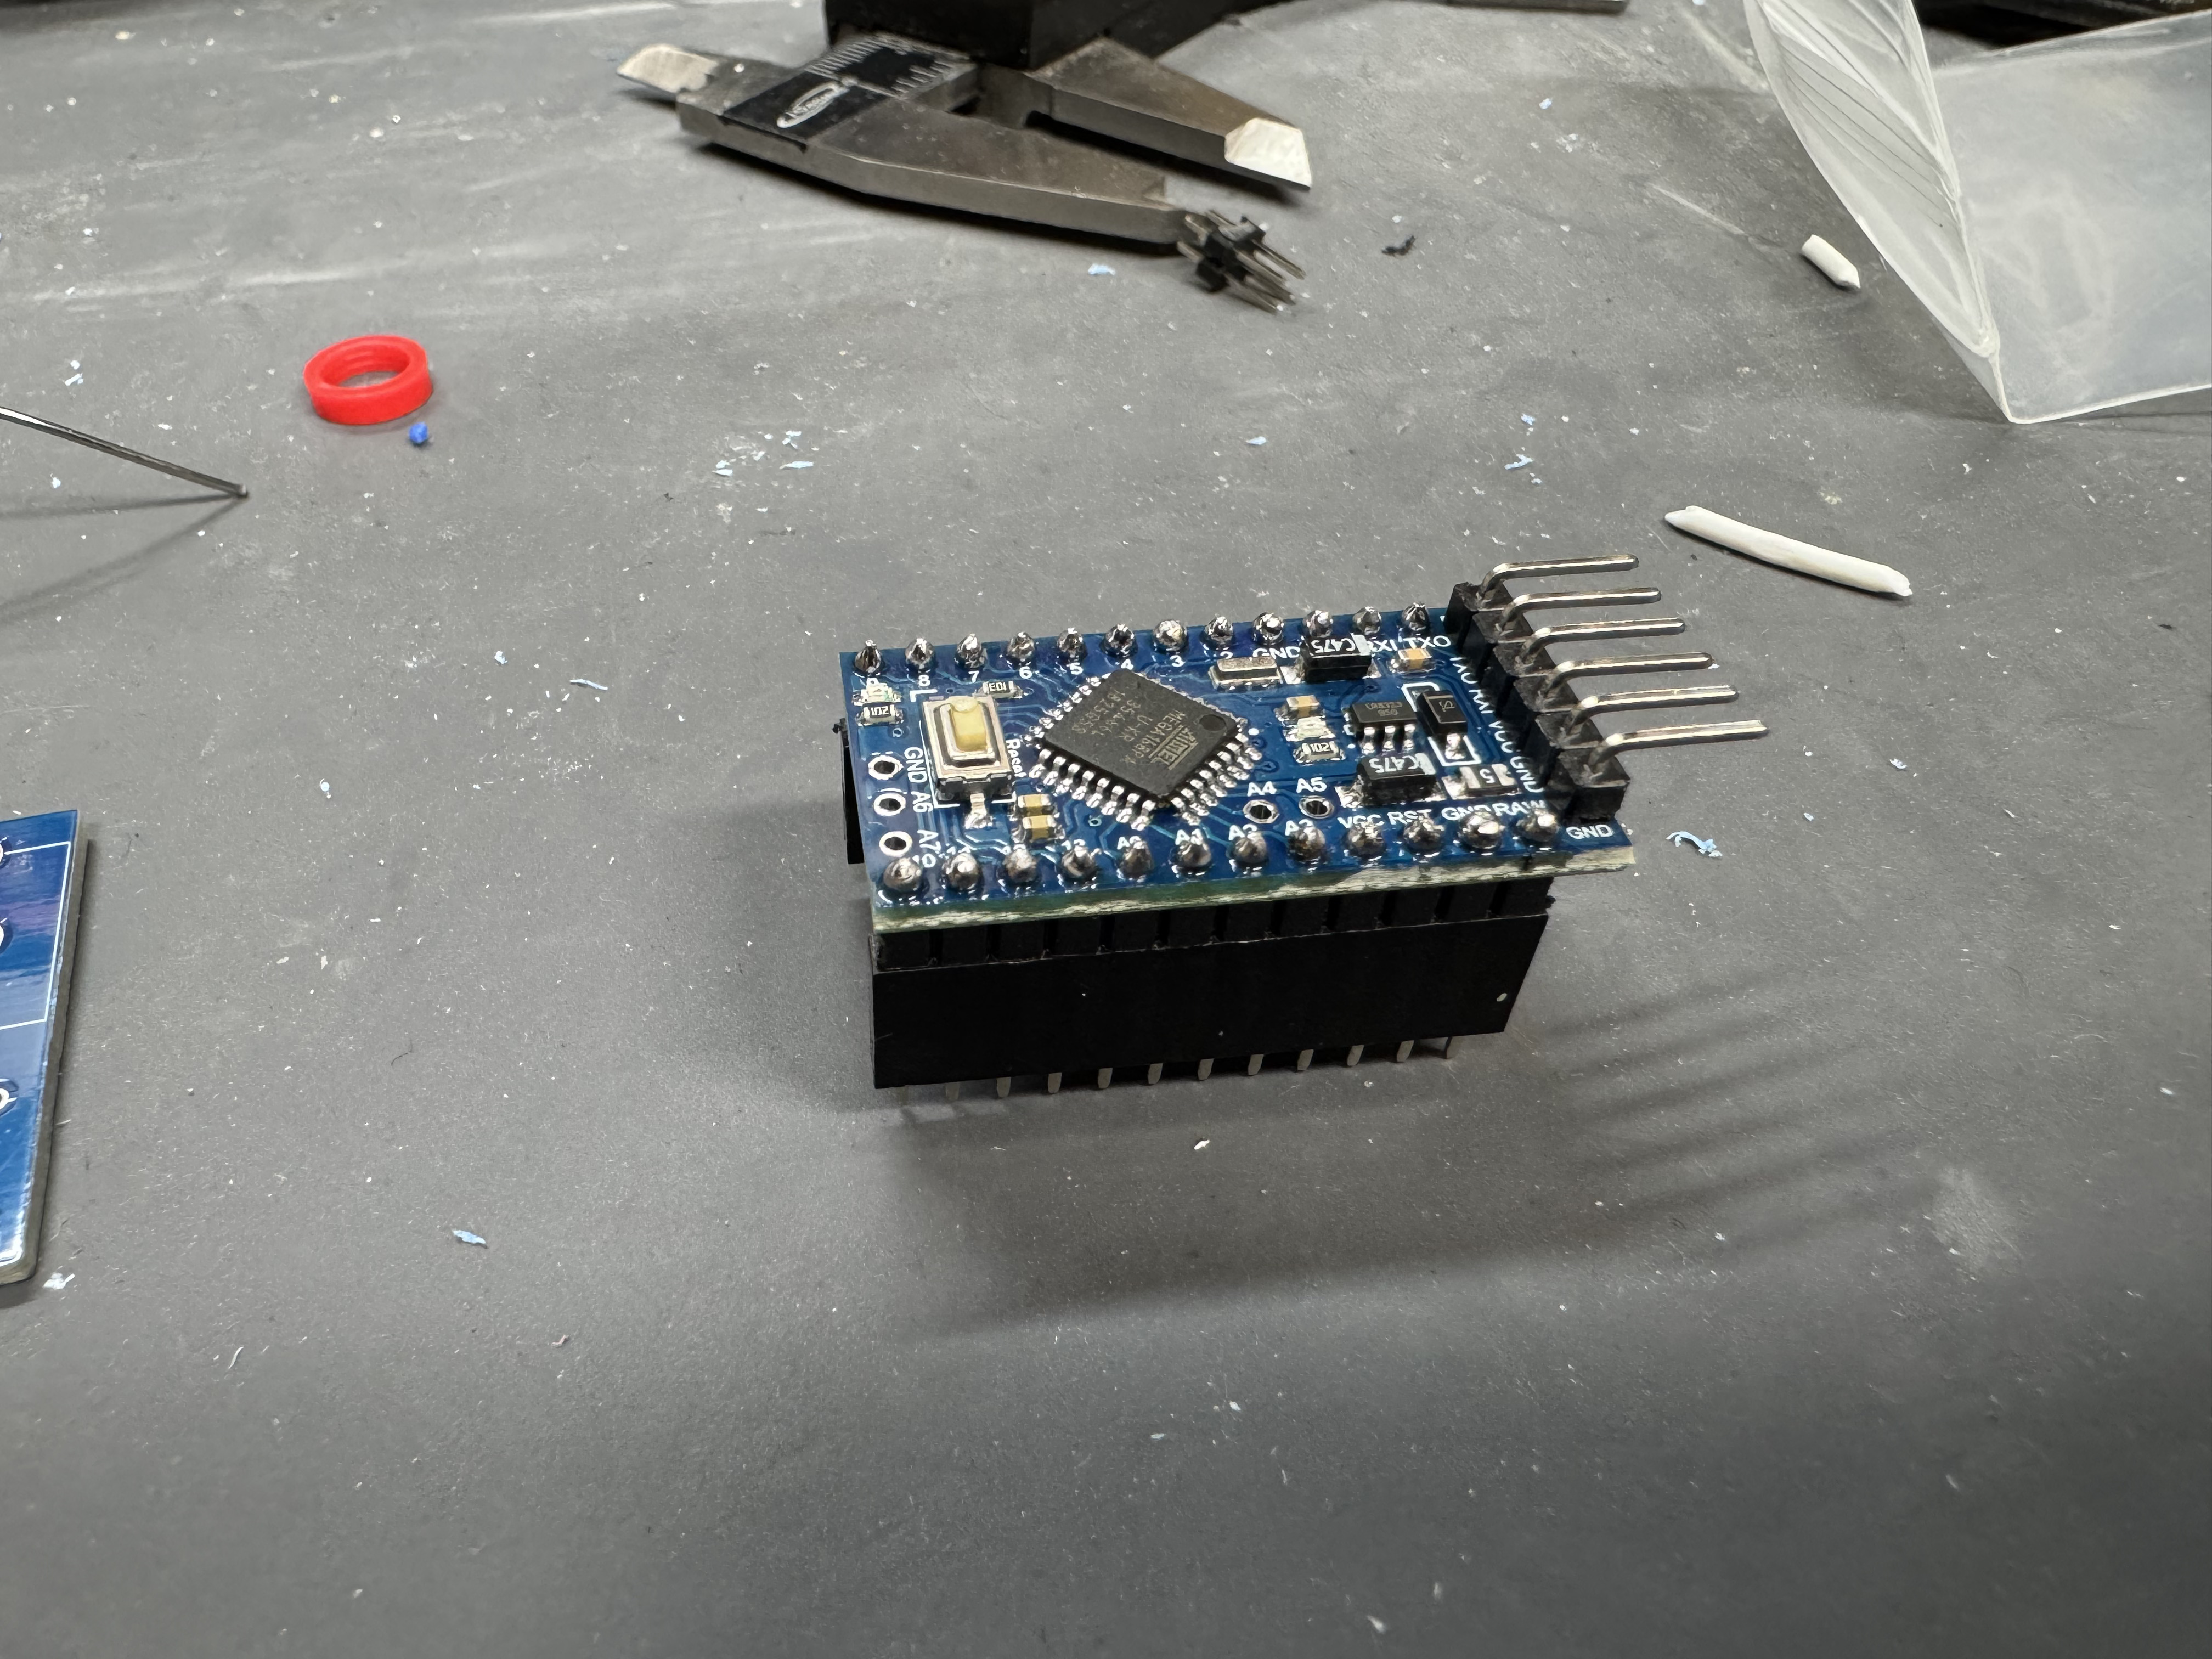
The Arduino Pro has 3 different parts we need to solder. The first is the head with the 90 degree pins at the end. This will allow us later to flash the controller if we want to move to other firmware. Put those through the top (the side with the chip) and then solder them in the underside.
Next, put the Arduino header pins in the bottom. I put them into the header connector to hold them in place. Do not put too much heat on each pin with the plastic part below. (Not my best soldering job)
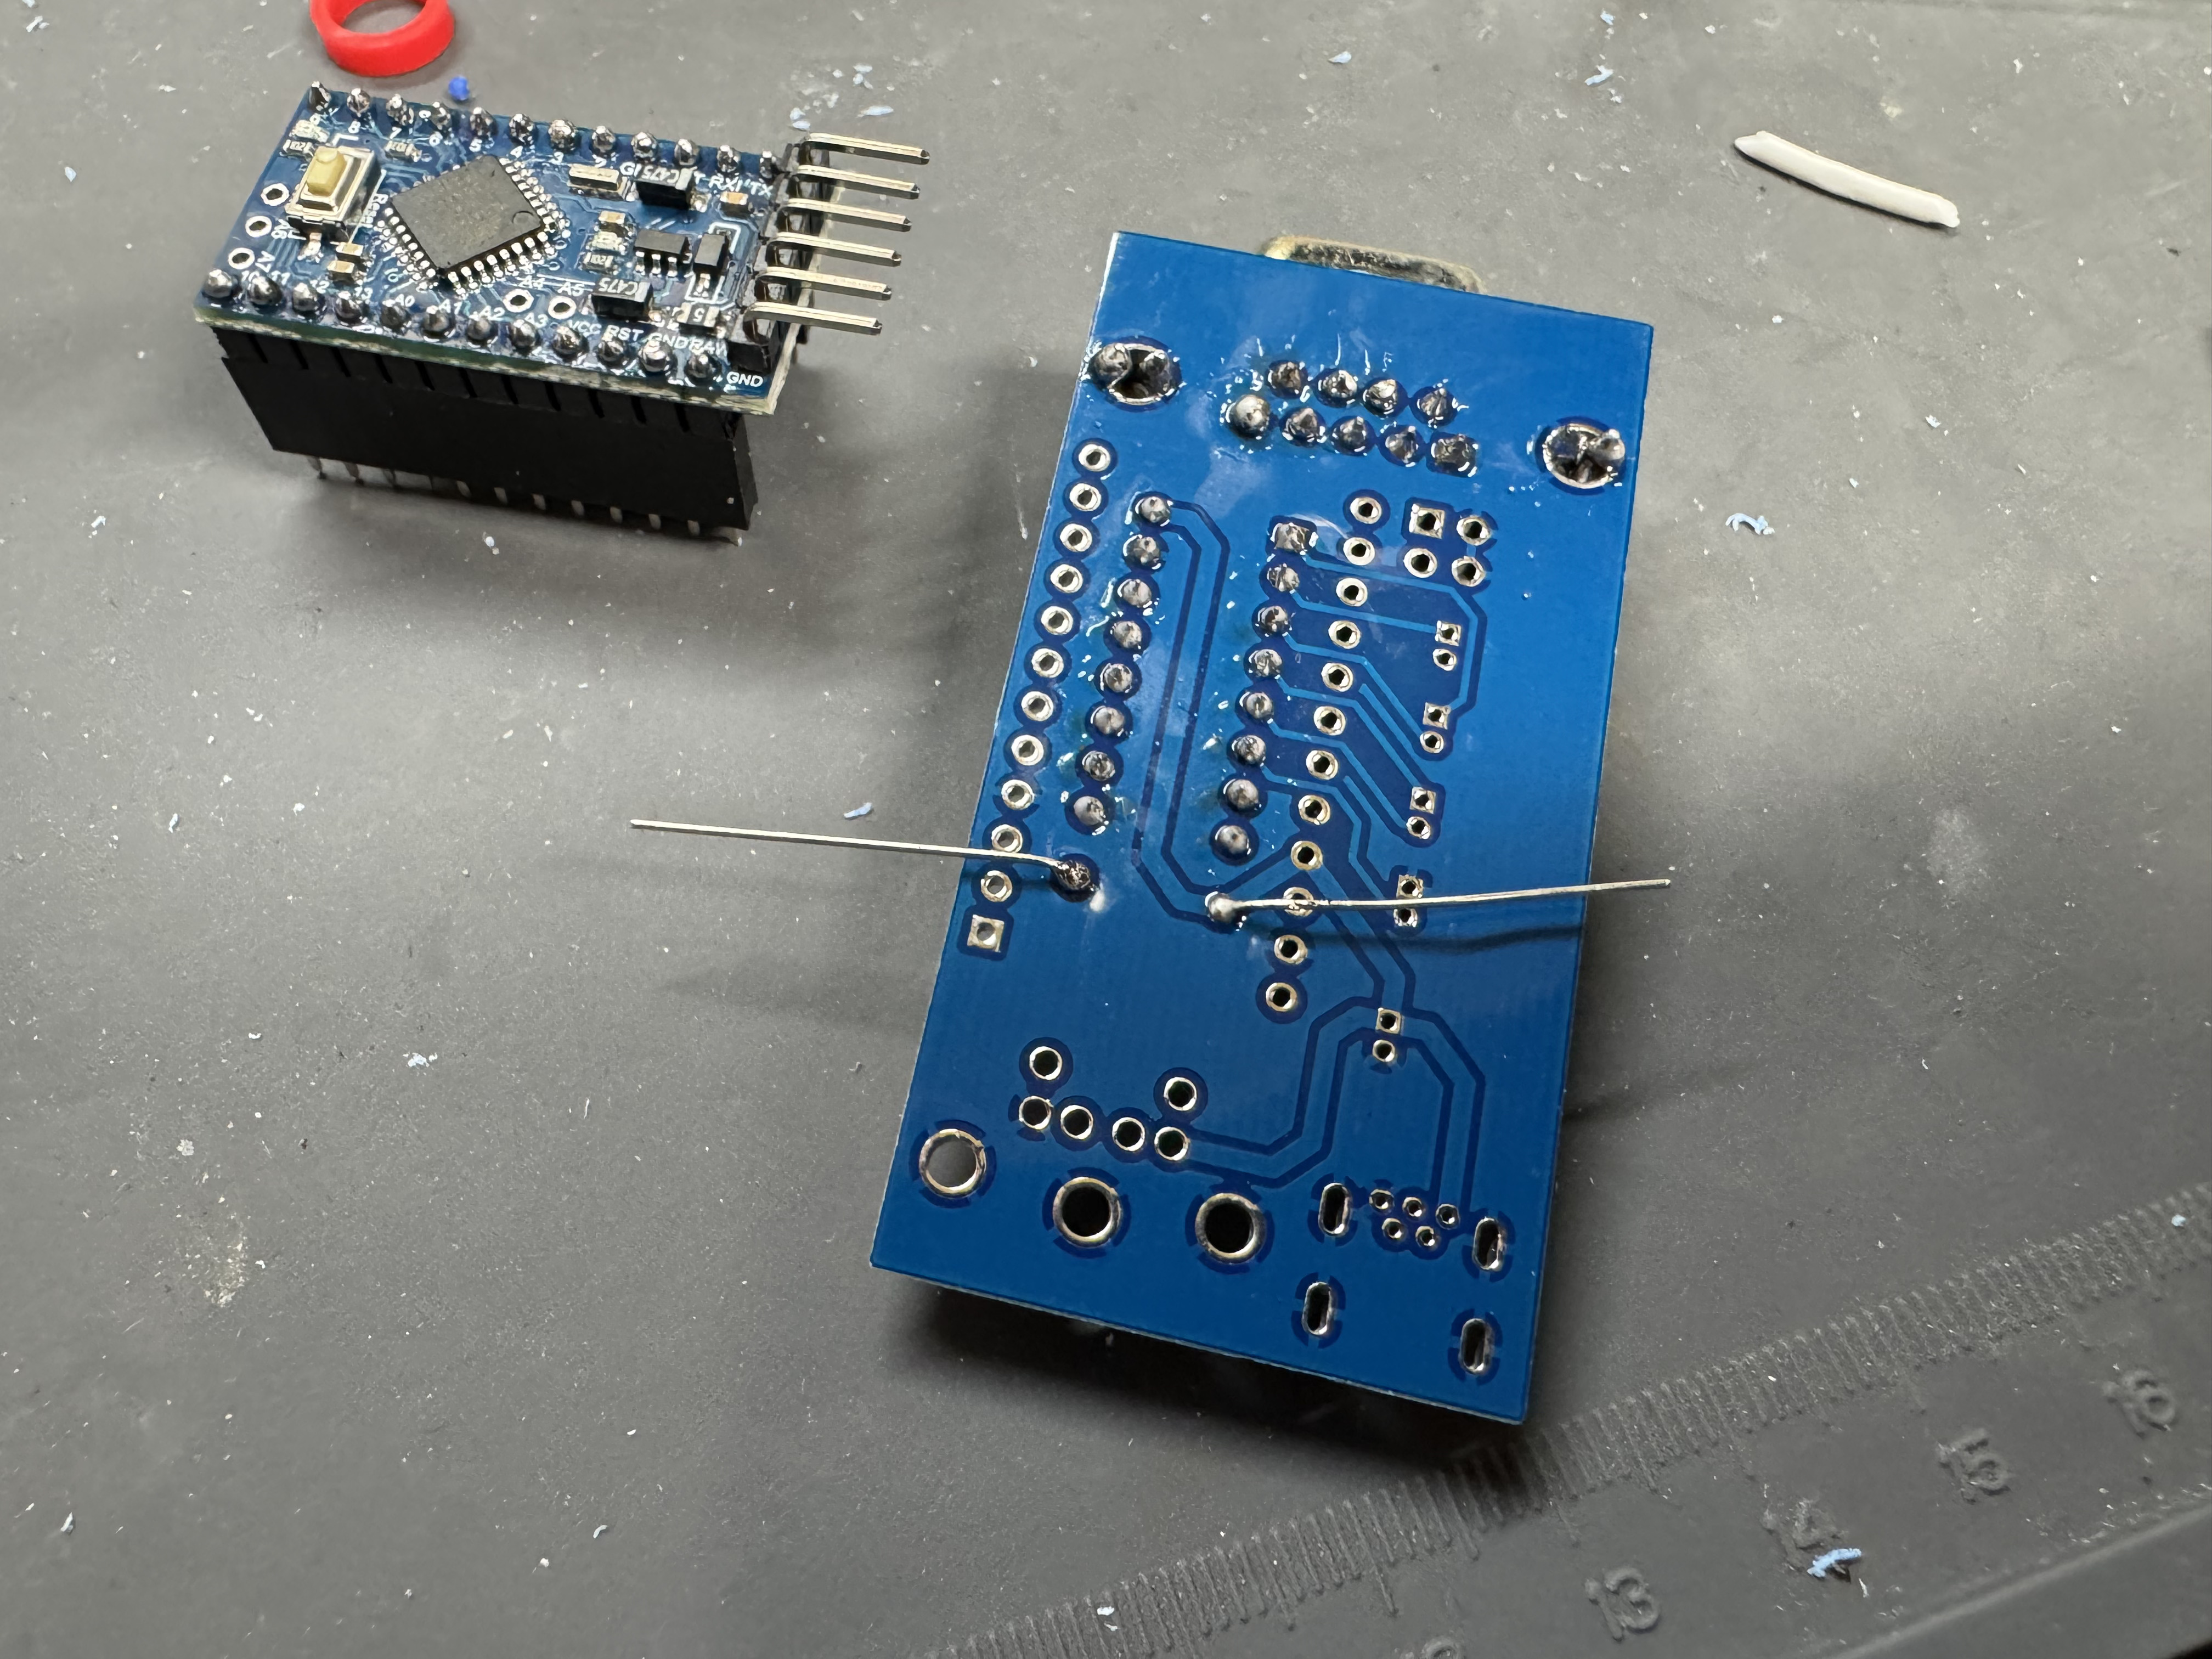
Solder in the 10k resister, here I am soldering it on the bottom while it went in through the top. After it is in, cut of the excess legs.
Solder in the PS/2 port, use a good amount of solder on the mounting points so it doesn’t move when inserted, then solder the data pins.
Solder in the micro-usb port, careful of the tiny pins.
Add the jumper pins, solder them in.
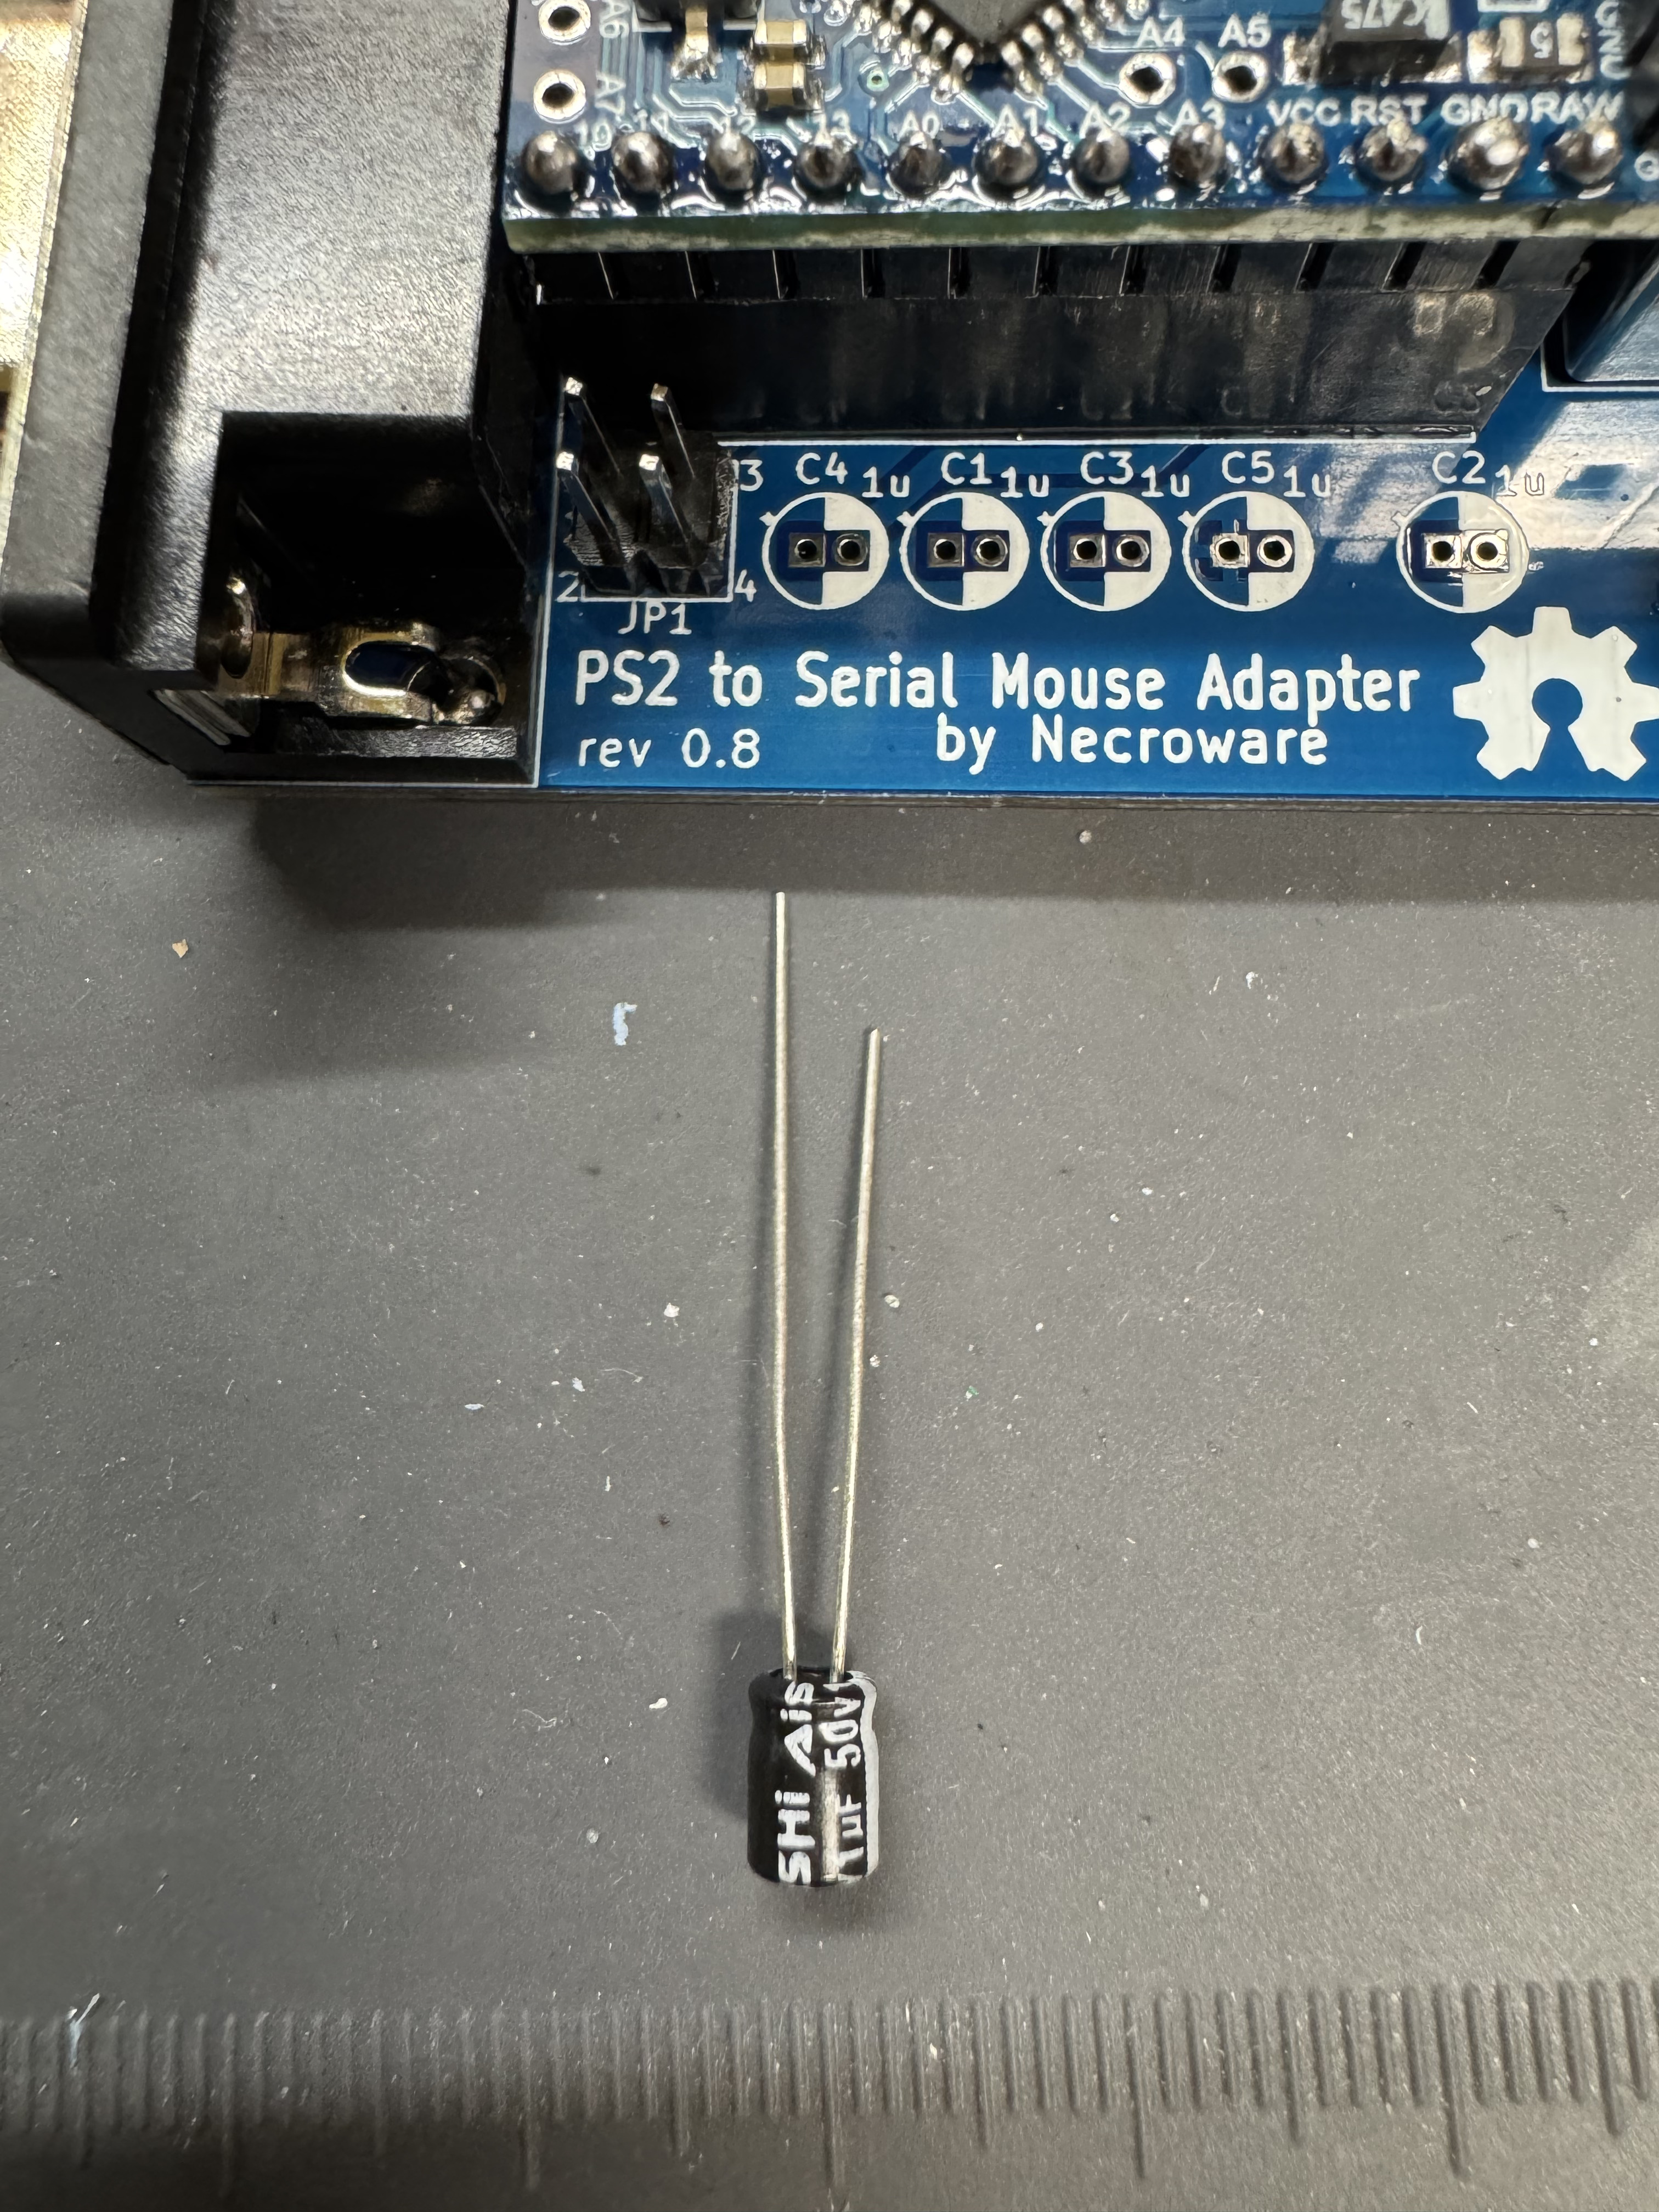
Now time for the capacitors, these are polarized, note the right side of the silk screen is white that should line up with the white side of the cap. (the shorter leg side)
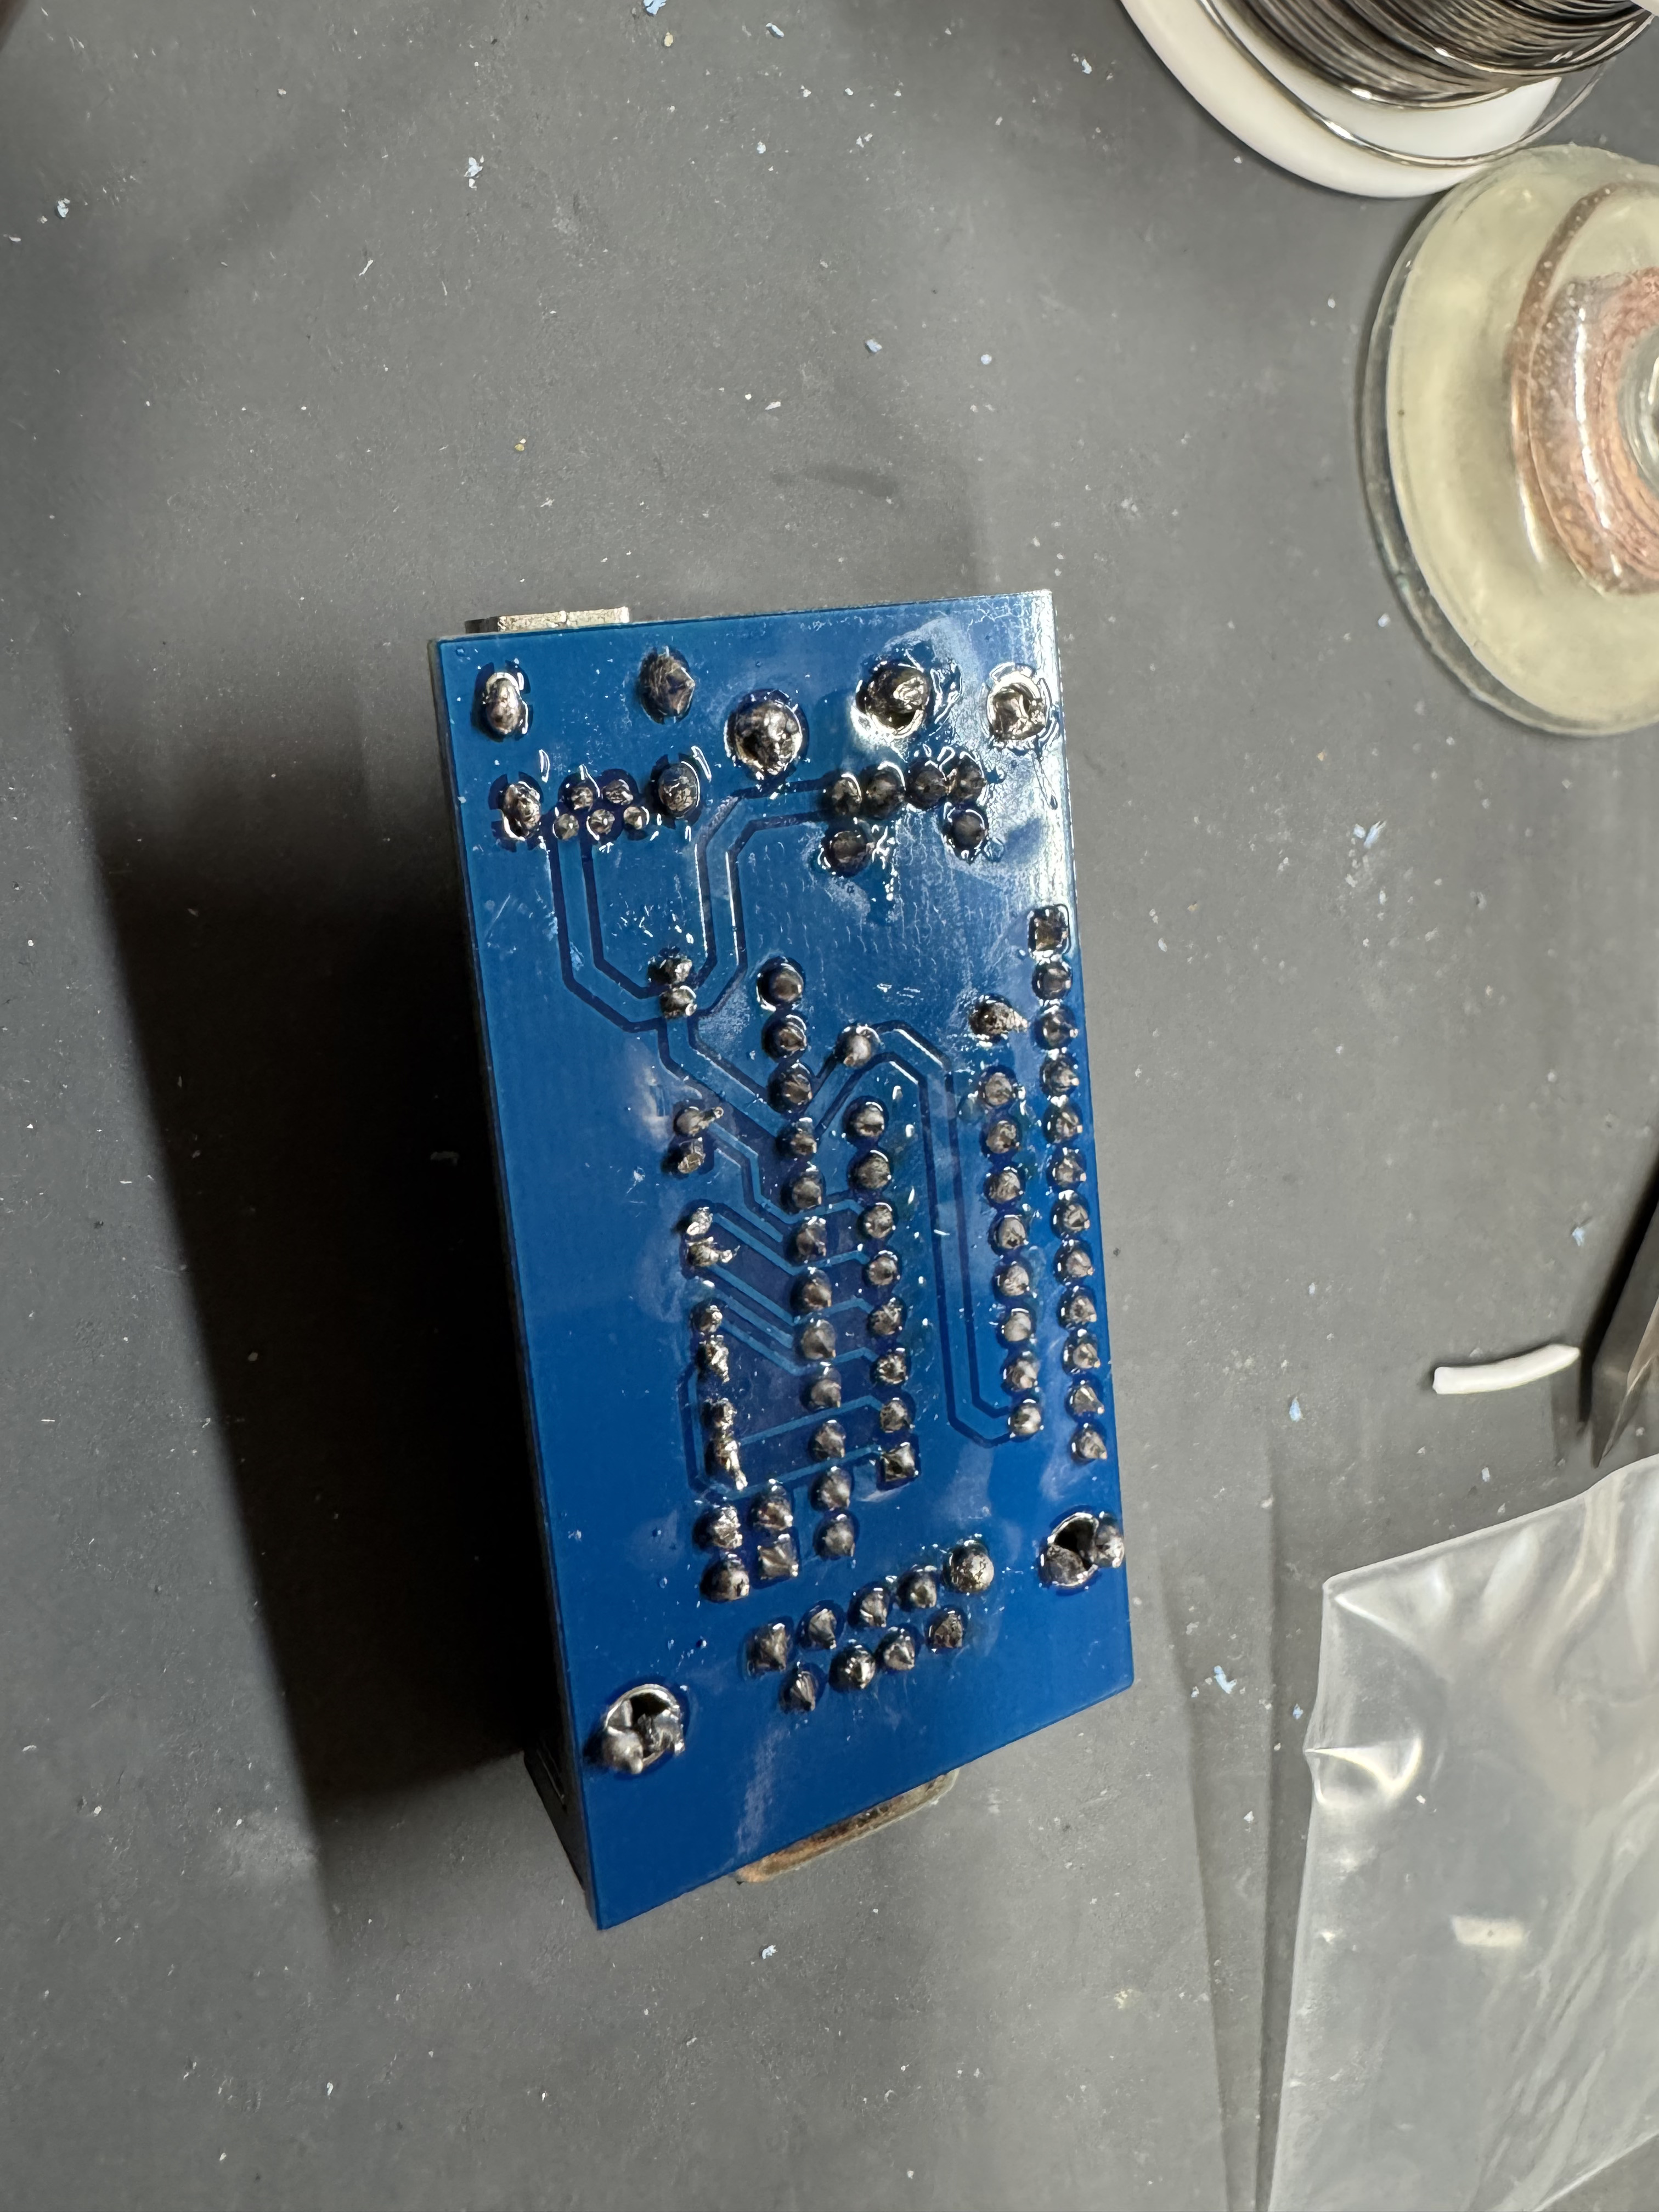
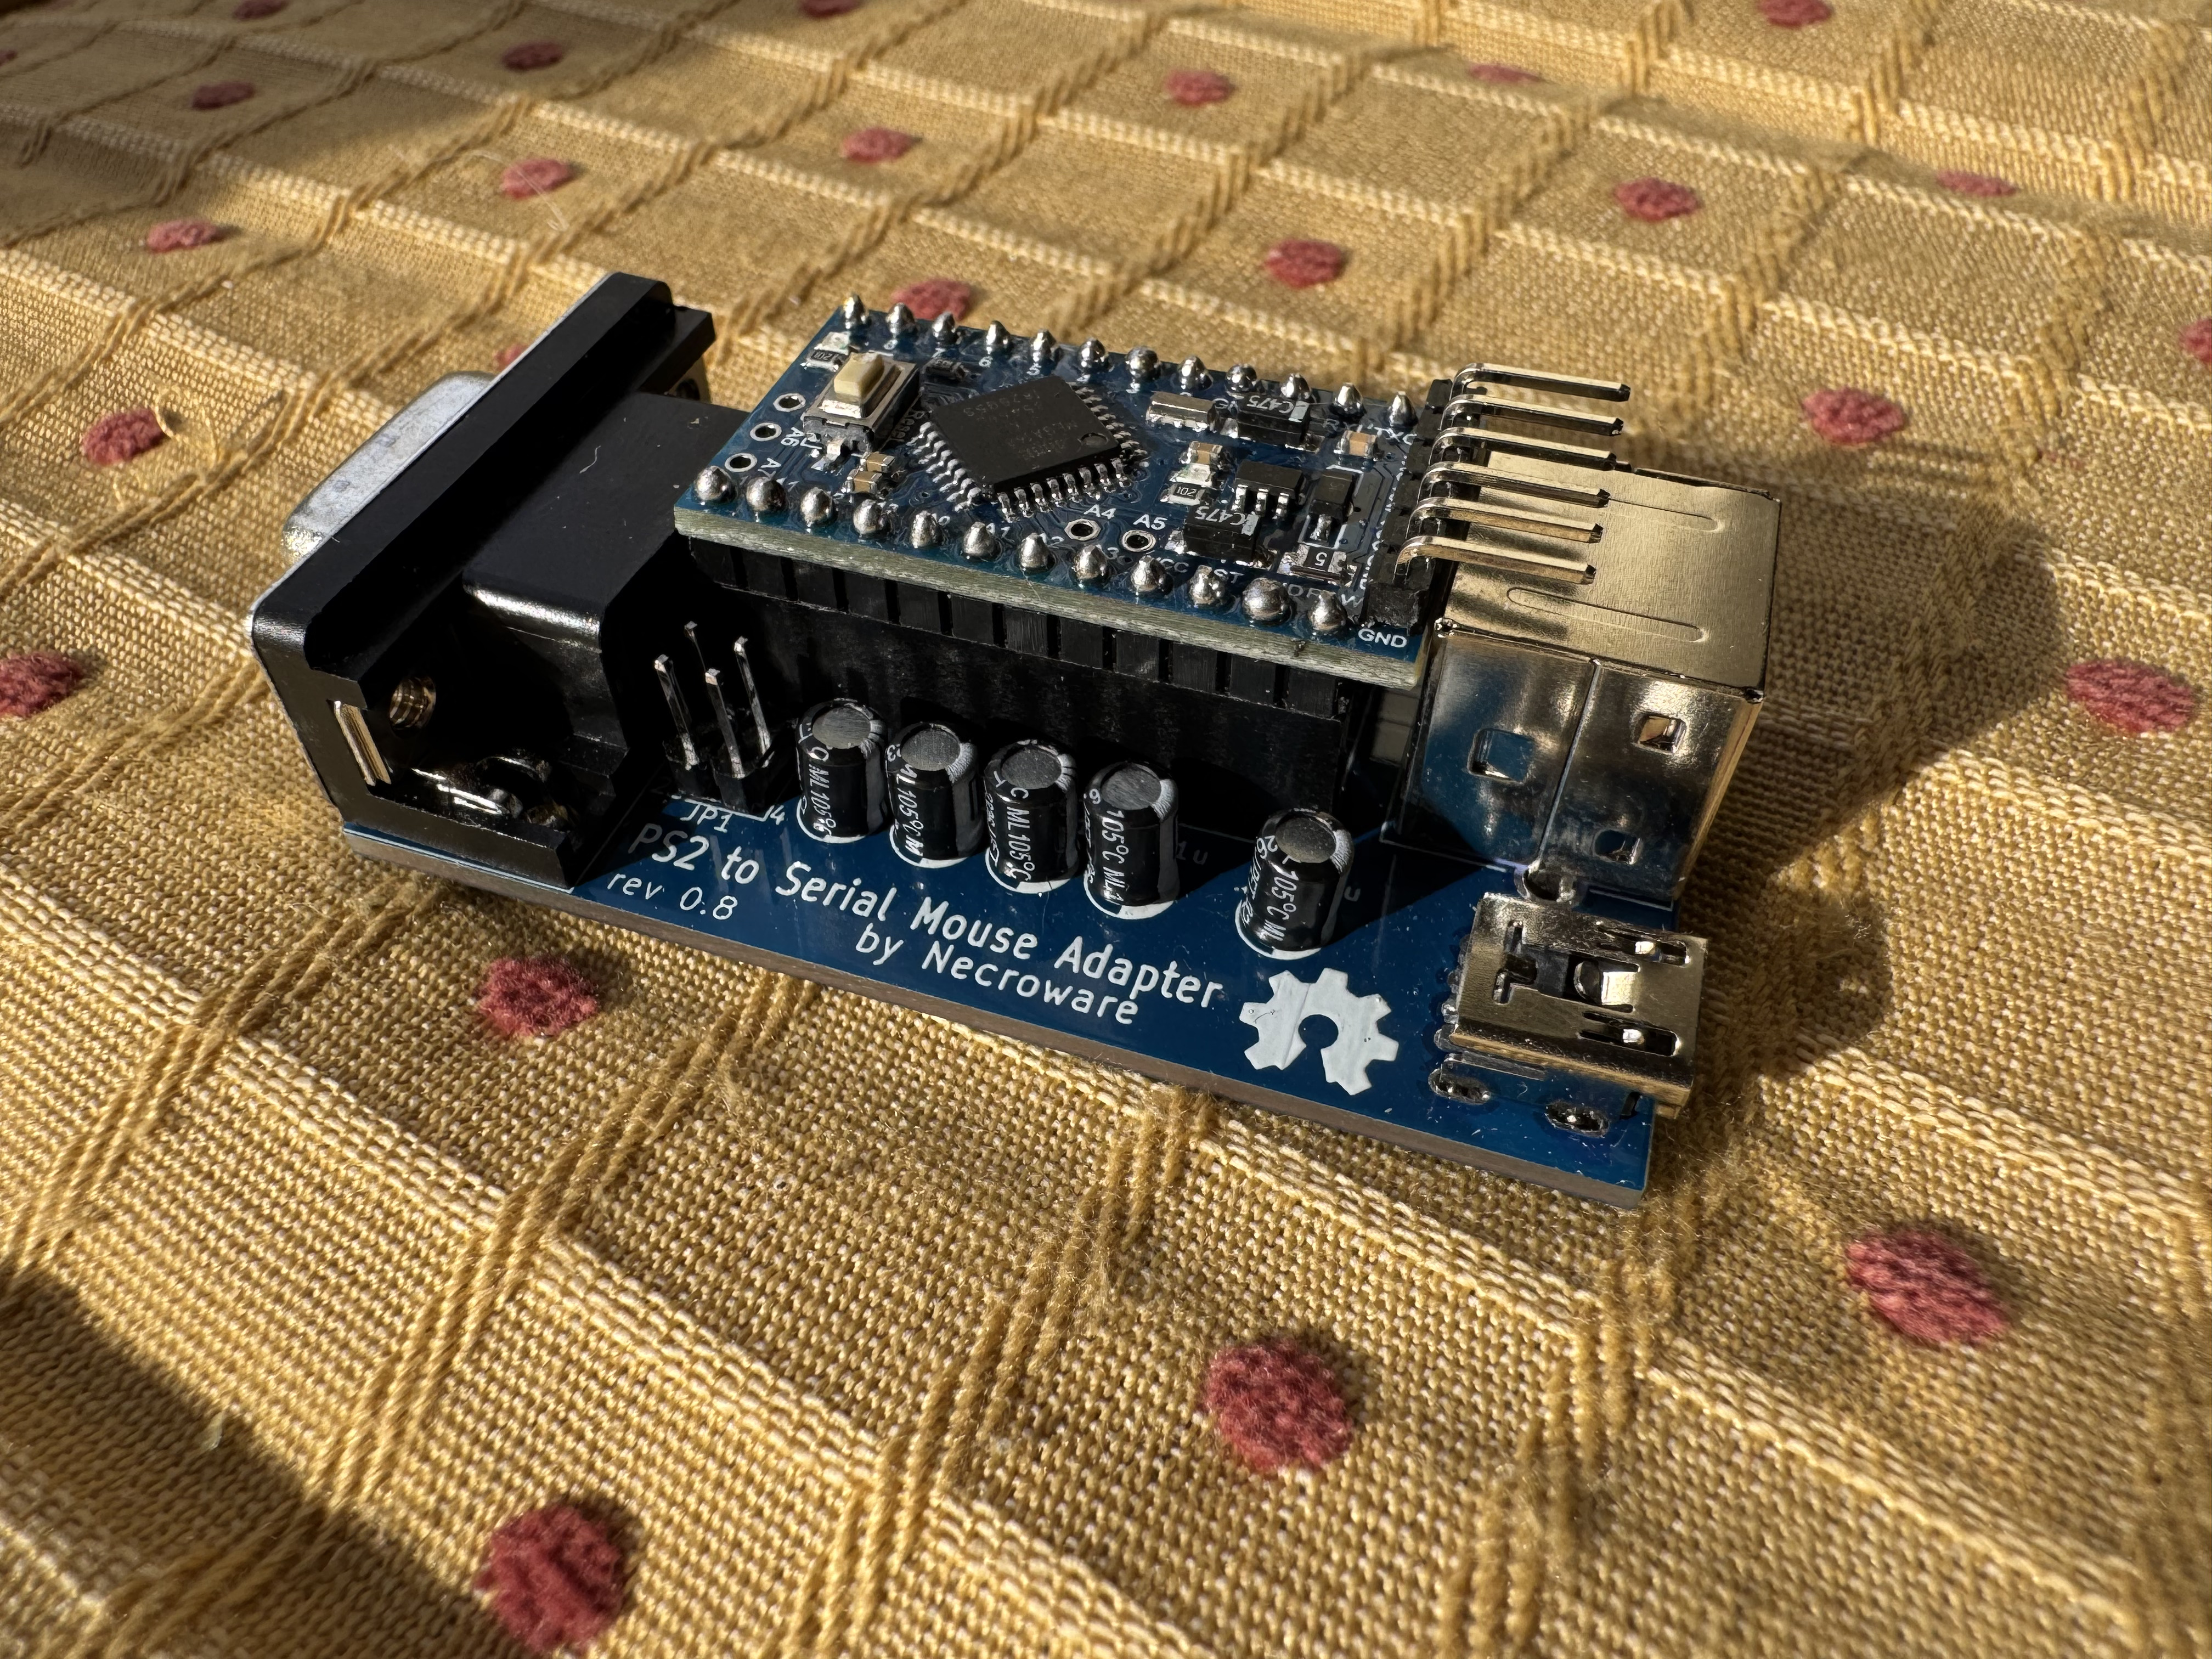
Finish up by soldering all the pin headers for the controller to sit on the board.
The board should now be complete! If you bought it from the seller I did, (who has been great, and I have bought other items from) then you have the main repos firmware on it. I won’t go too far in depth for this, but if you clone the fork down you can then use Platform.IO to flash the firmware. There are guides out there to do this on. Platform.IO is great when doing Arduino projects.
If you go the same kit I did, then it comes with a “pro16MHzatmega168” not the “pro16MHzatmega328” used in the Pull Request. Change the two lines where the 328 is mentioned to the 168-model string. If you do not, you will get a “timeout connecting to Arduino” when attempting to flash.
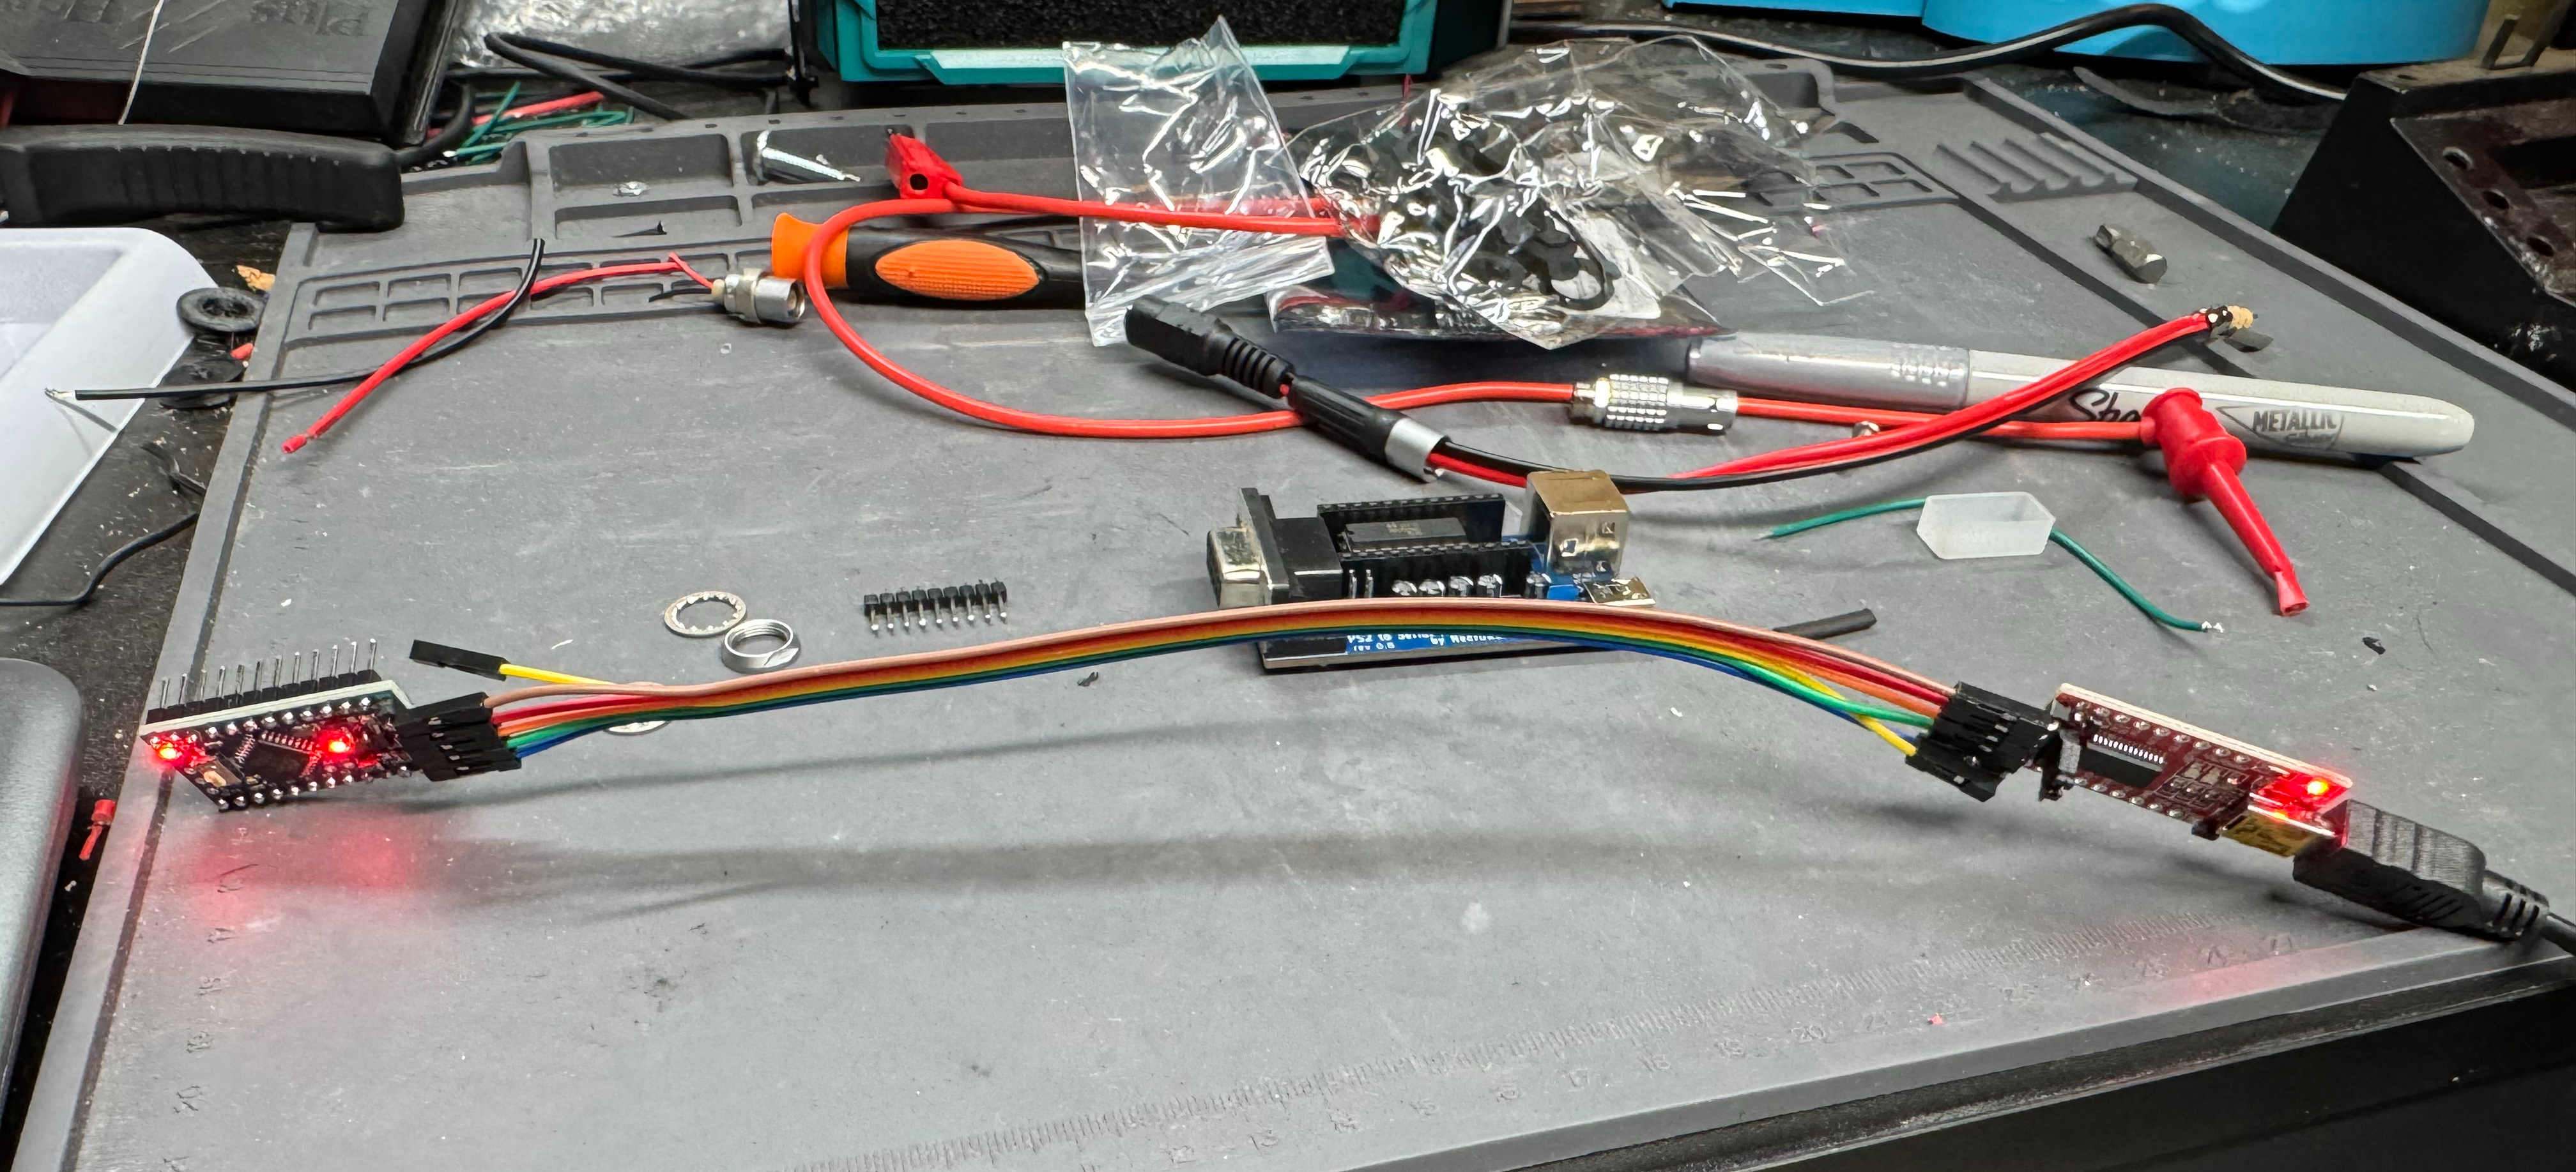
As mentioned, you need a TTL converter, then to flash the chip. The TTL converter (which I hadn’t used before) pins actually line up with the pins on the Arduino Pro. You need to hold it there for a total of 30 seconds while it flashes. You can just stick the header pins of the Arduino through the holes of the converter, then hit send via Platform.IO.
Flashing the new firmware on my messy desk, I did not need long cables like this…
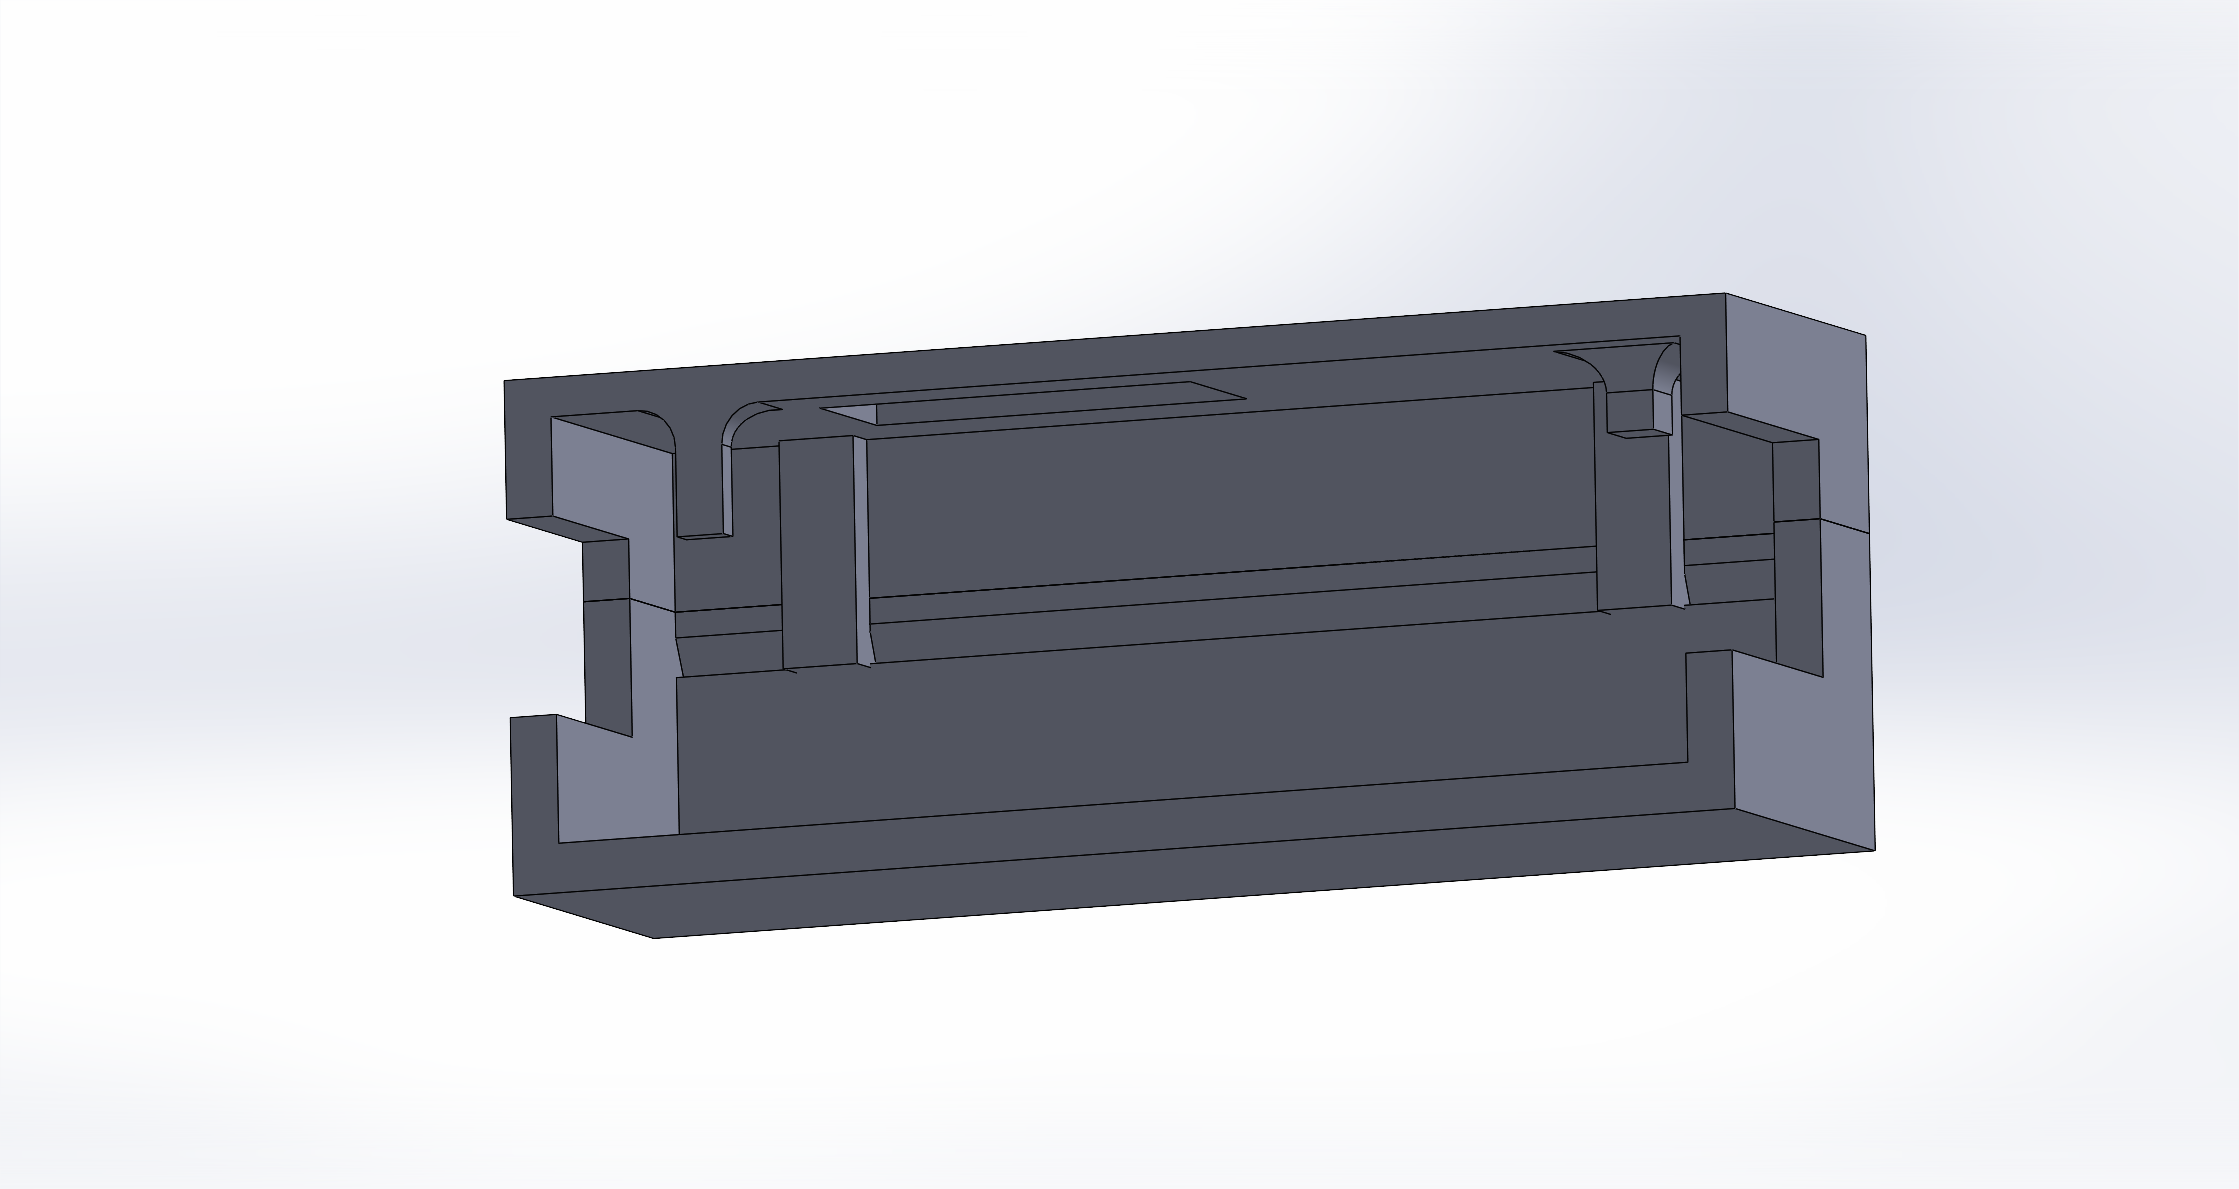
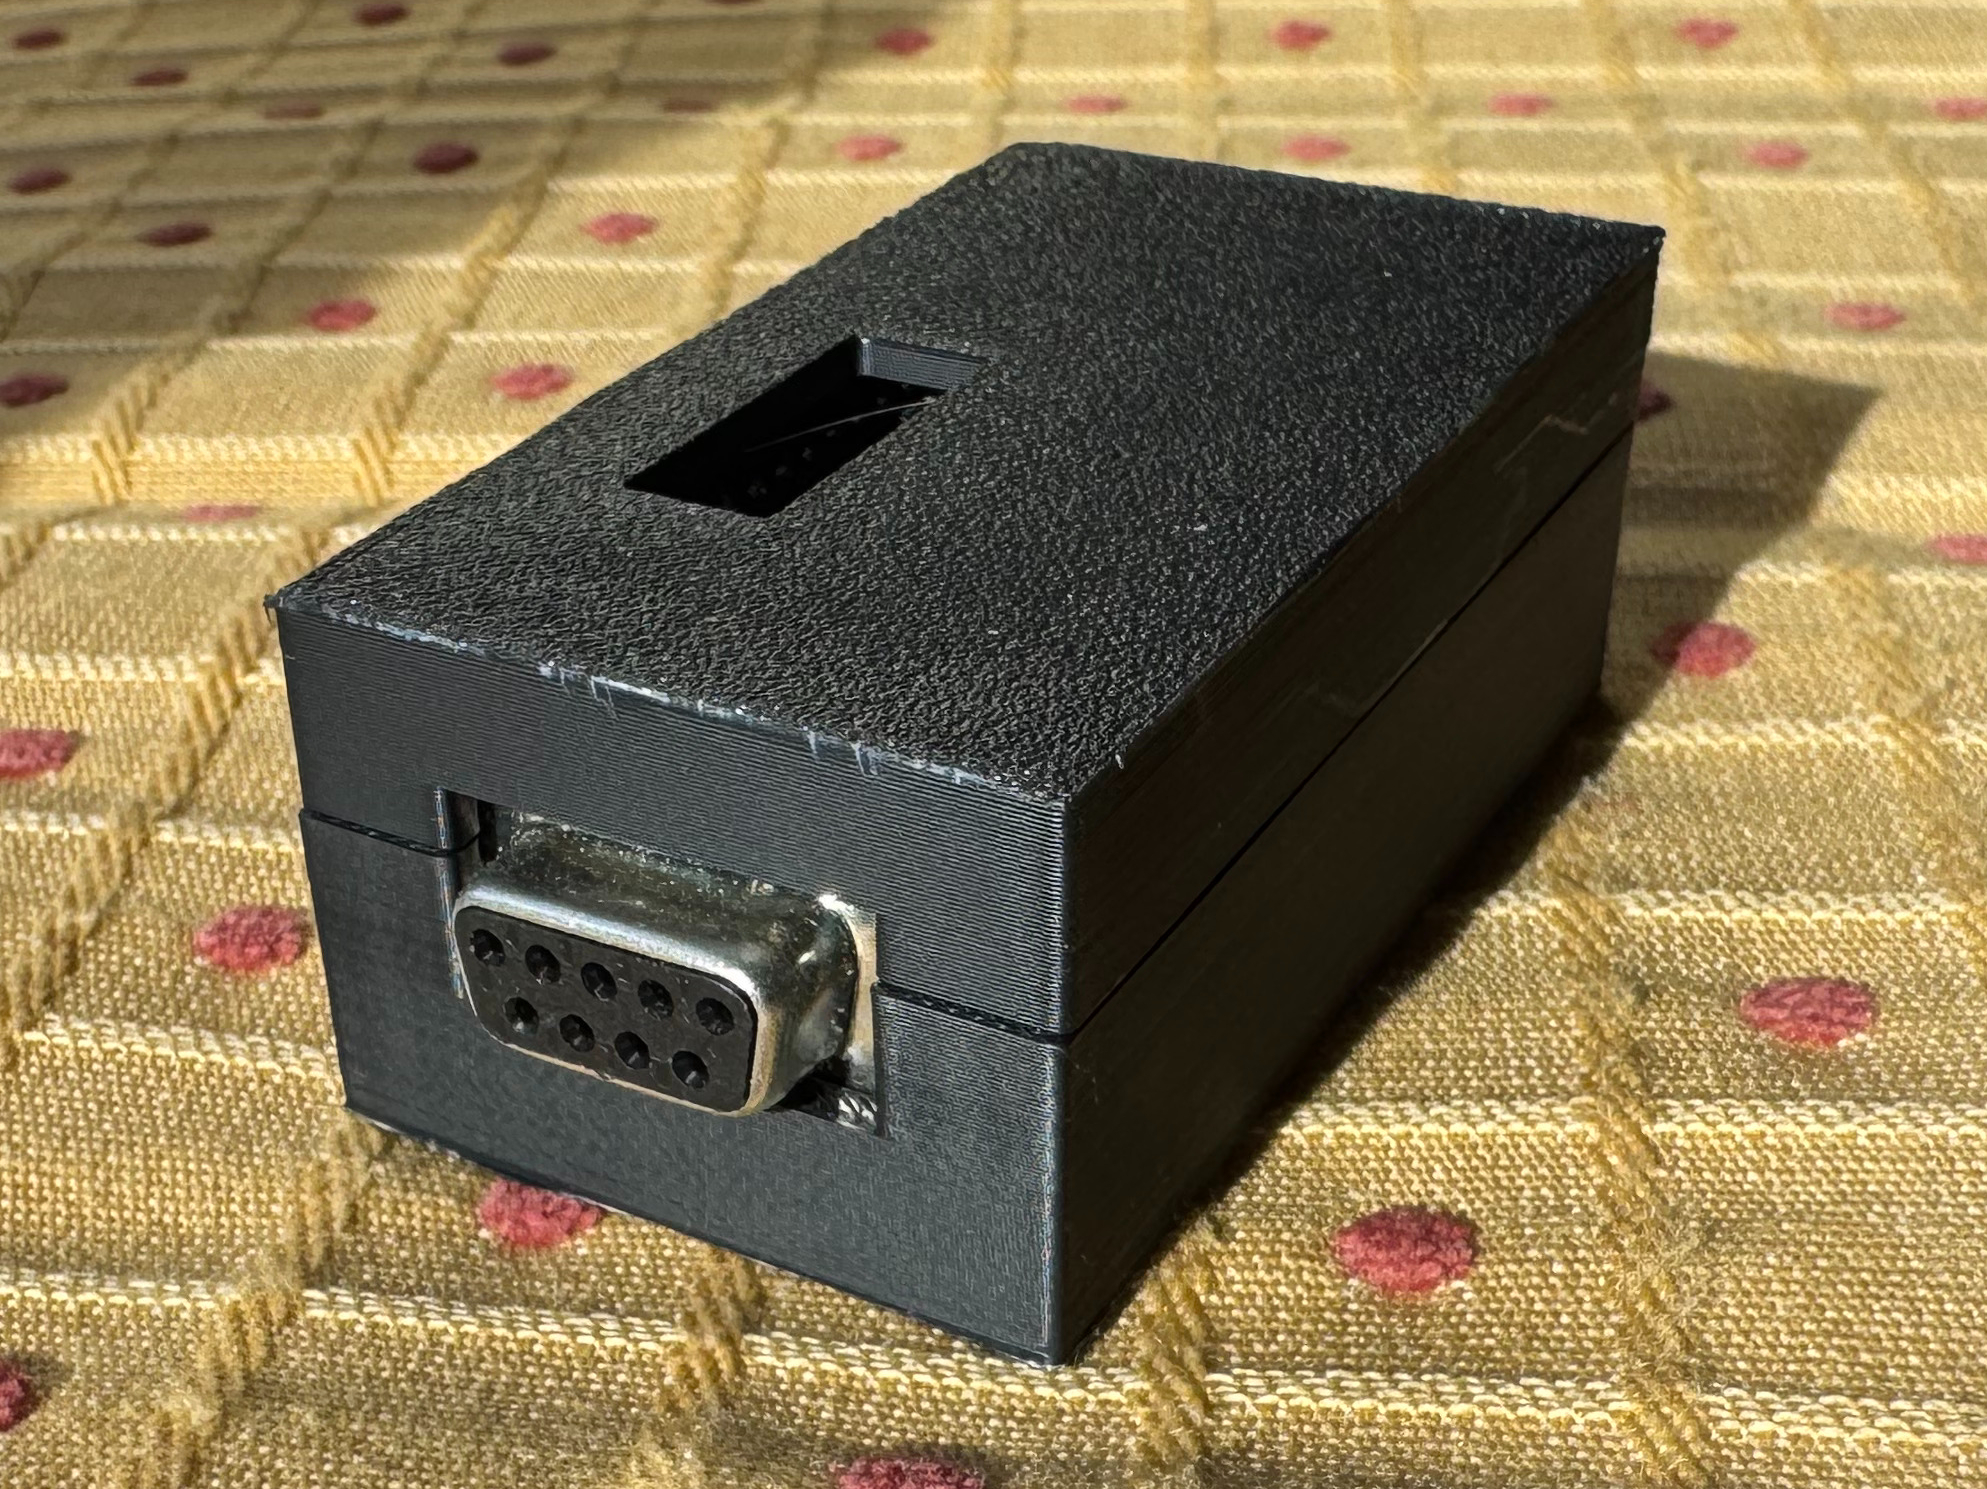
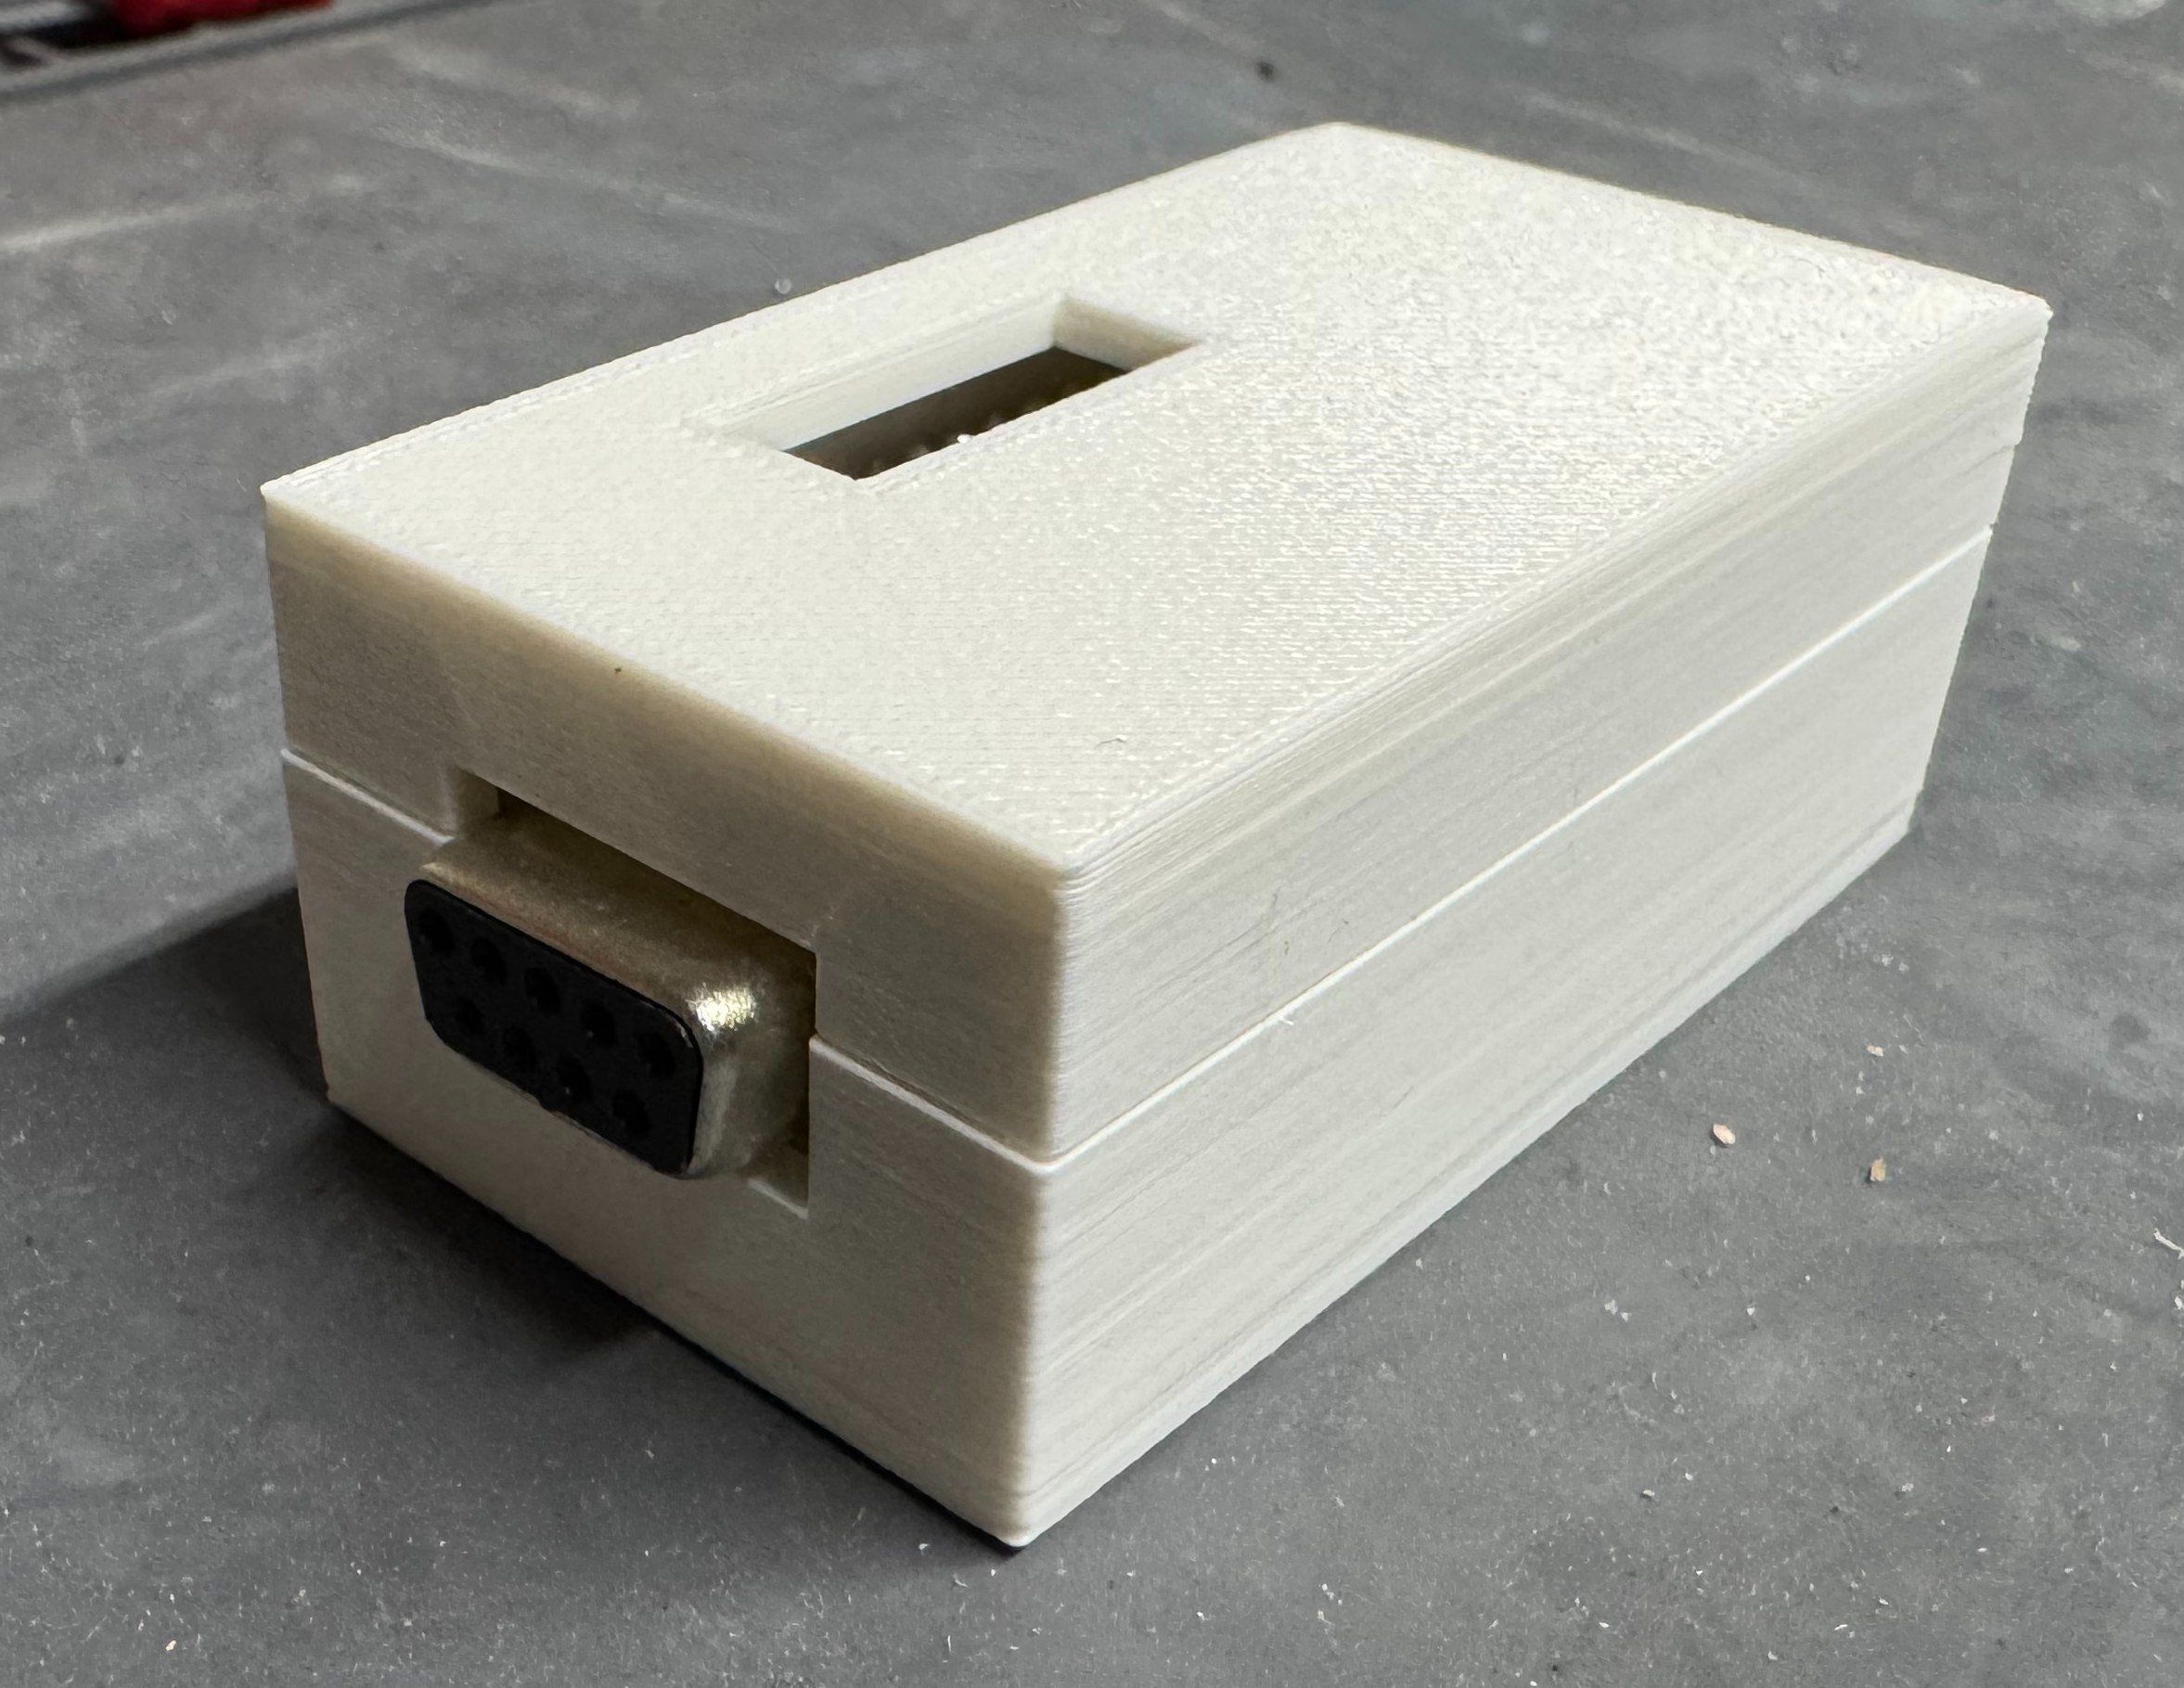
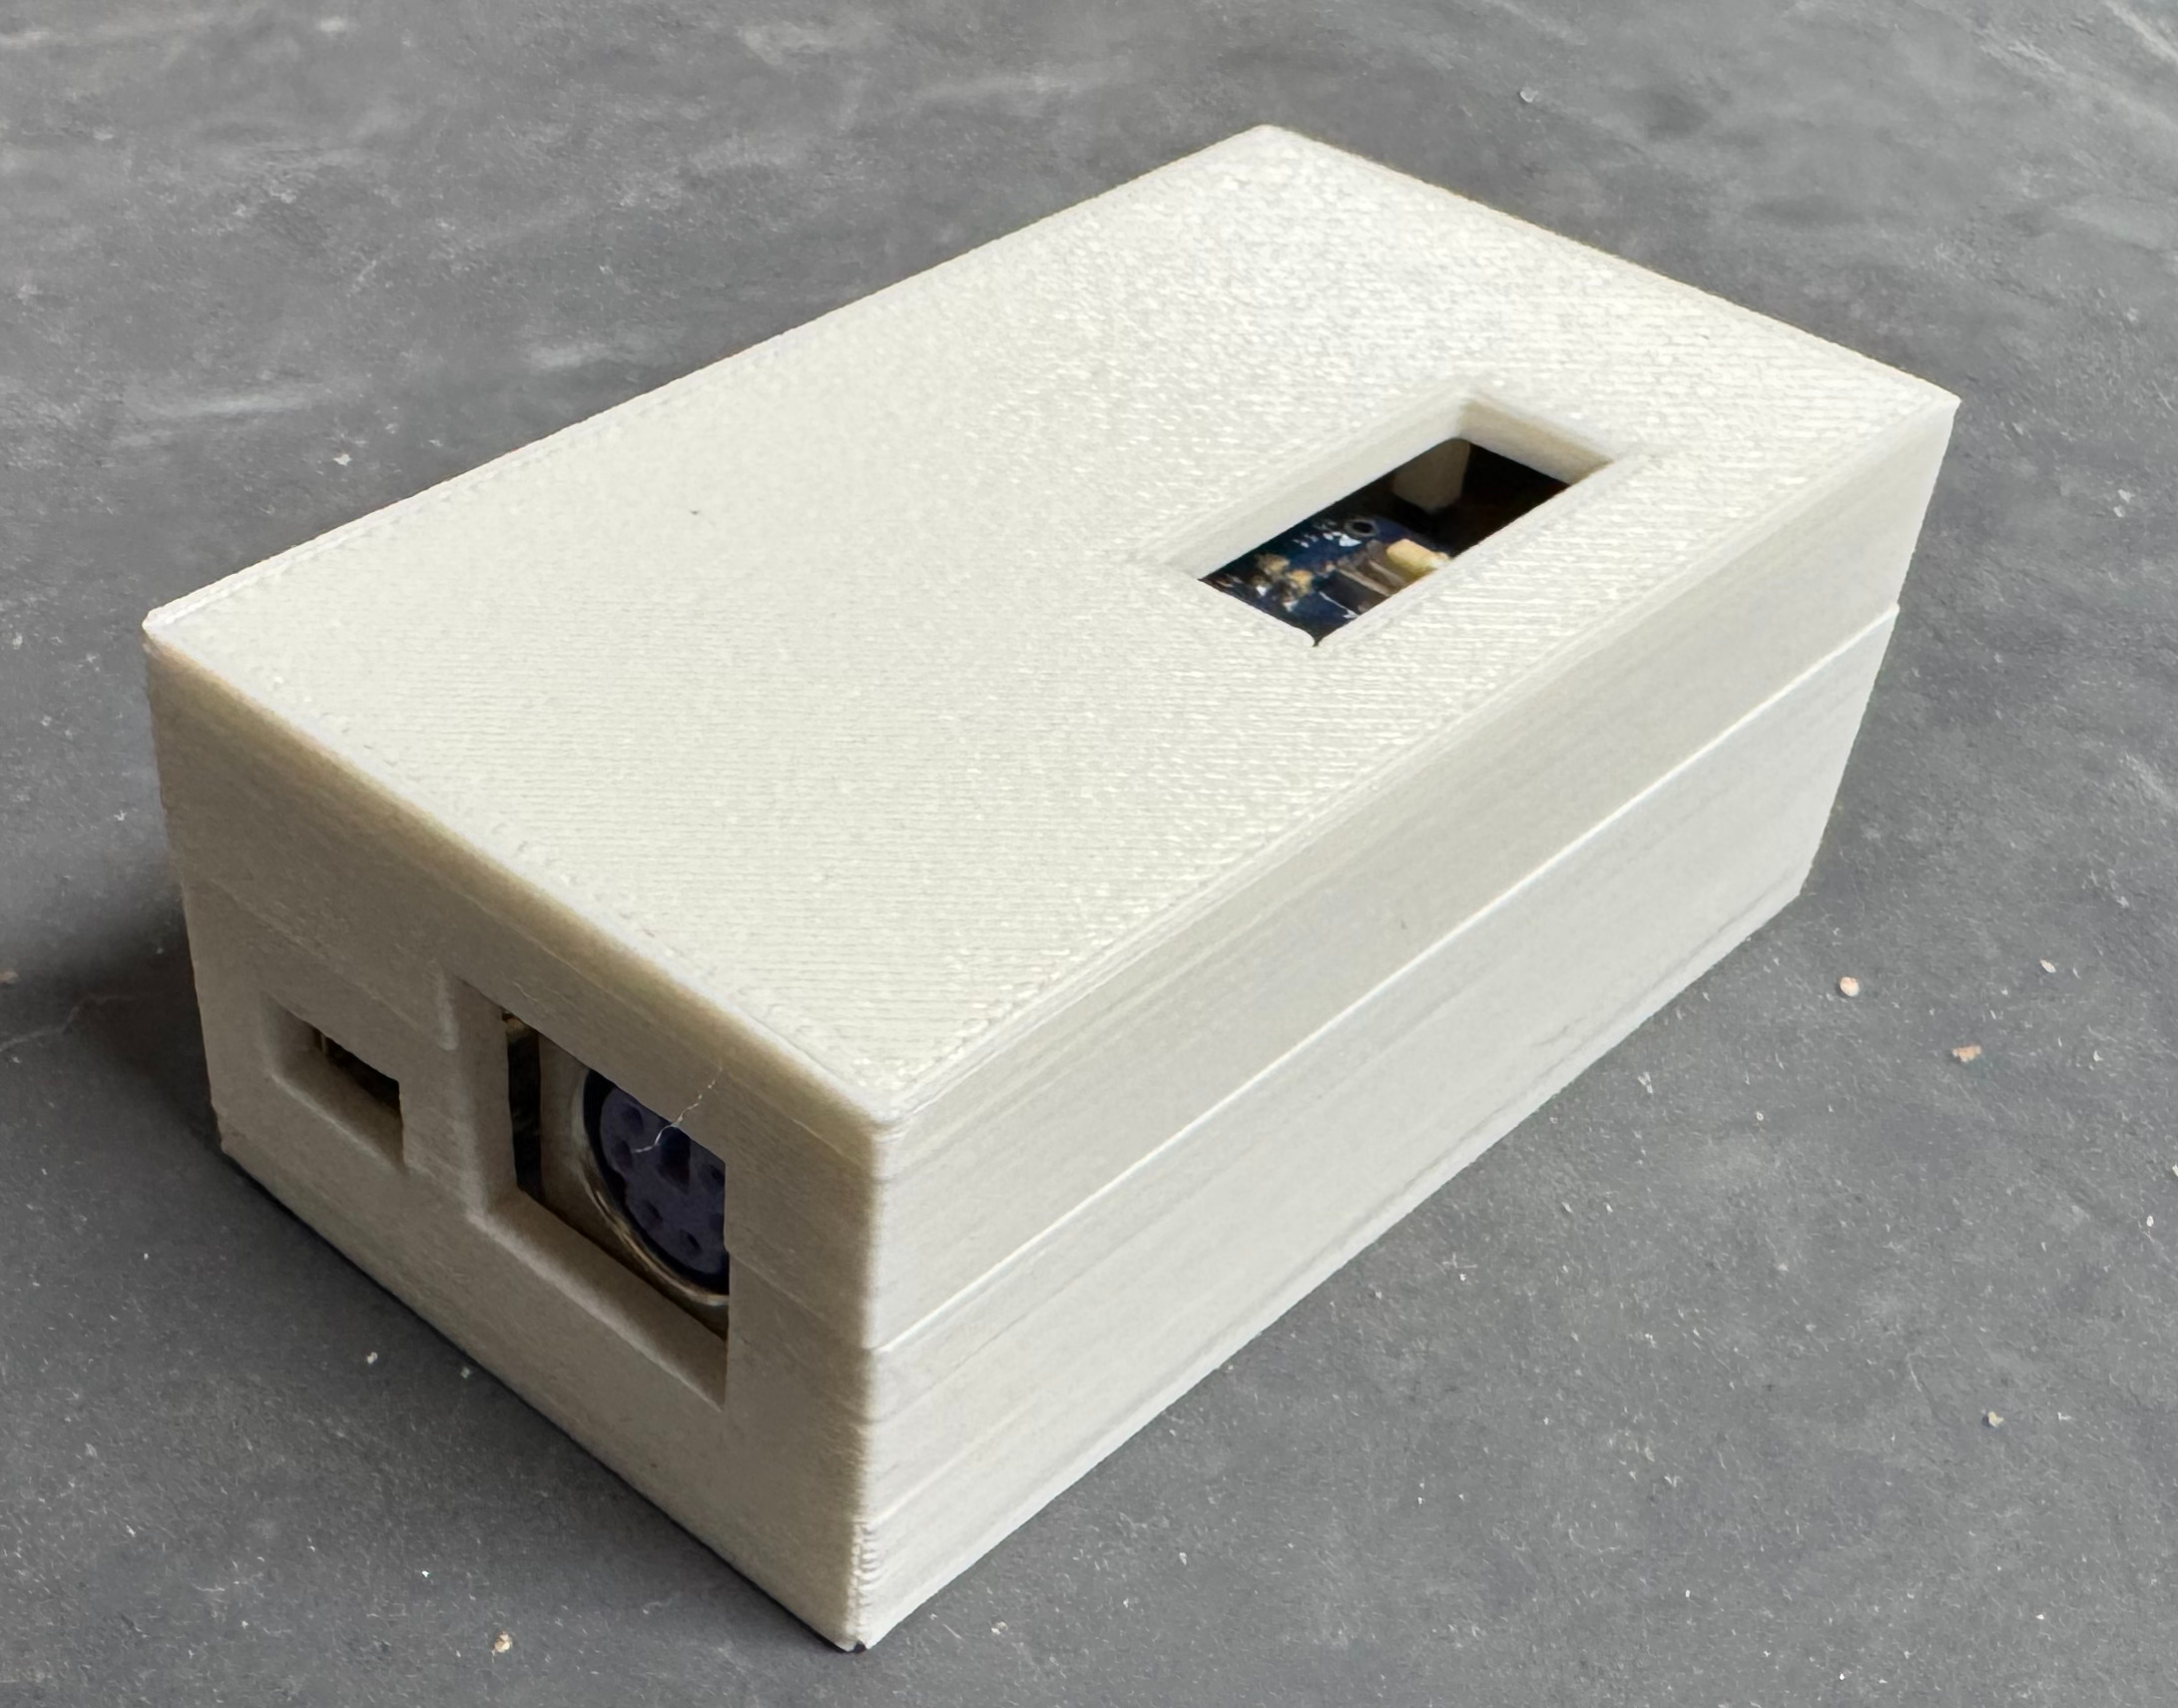
3D Printed Case
This is a device I will keep behind my old PC, and I didn’t want it to be a raw circuit board. I didn’t see any cases to 3D print, so I put one together. This was the first time I made a case that used little feet to snap the top and bottom half together; no screws! I also put little towers in to hold down the PCB in place. It took a few revisions, but I think came out nicely. There is also a little window to hit the reset button if needed. The black case was the second revision, the white case is the first.
A while ago I was working on a system to handle network boot operations. The main server is written in Java, and I needed to be able to read contents out of ISO files. The easy solution would have been to extract the ISO to the hard drive. I was trying to avoid that to save space; and with all the different images, not have thousands of tiny files littering the drive.
Then I found stephenc repo (java-iso-tools) for reading ISO files in Java. This library worked great! It had examples which helped me get started, and was fast to dive though a file. It supported the traditional ISO-9660 formatted files, which I needed, and I was good to go. Years later, the people over at CentOS and Redhat Linux had the idea to start putting giant SHA hashes as file names. Suddenly the disc images I was getting contained filenames that were 128 characters in length; and sadly java-iso-tools was failing to parse these names. To explain why, we need a bit of a dive into how the ISO-9660 standard works.
ISO-9660 is Developed by ECMA (European Computer Manufacturers Association) as ECMA-119, and then was adopted into ISO-9660. Thus, technically I was able to get the standards documents and investigate how ECMA-119 worked. Images start with a header; pointing to several tables, and the root folder file. The information about files on the disc span out from that root file. The root file, is the root directory on the image. From there every file is either a directory (with/without children) or a file which can be read.
The standard has had many changes to it over the years. While the original ECMA-119/ISO-9660 standard dates back to the start of the CD-ROM, over time people added to the standard. With PC’s at the time running MS-DOS and being able to save files to a FAT file system as 8 letter then 3 letter for extensions, the formatted needed added onto so one day CentOS could have 128 character file names. Some early additions to the format were Rock Ridge, and the Enhanced tables. When reading the first bytes from an image, there are several byte blocks which state which version of the standard they work with; this was forward thinking in this way. The basic tables help simple devices easily be able to read the discs. They can offer short file names, and point to the same binary data other tables later do. Then the enhanced tables can offer more information, and be able to add additional features to the disc. Some of these features can include things like file permissions.
At this point I had decided I needed to fix the problem and was going to write my own library to do it. While it sounds crazy, I enjoy writing these low level libraries. I started with the ECMA-119 standard, and going through the flow, like I was a CD-ROM device reading an image. I would later add on code for Rock Ridge, and reading all the enhanced tables, and even adding on a UDF parser.
I don’t want to spend too much time going through the standard. If you are interested: ECMA-119/ISO 9660 Standard, ECMA-167/ISO_IEC 13346/Original UDF Standard, Rock Ridge, UDF 2.60, there is a collection of the standard documents in depth. This post is more to talk about the project in general, and how I enjoyed working on it. A few constraints I set upon myself were I wanted it to be 100% in Java 8. That way it could be natively compiled if someone wanted to do that, wouldn’t just be connecting to some native binary tool, and would work with older Java code bases. The project currently targets Java 11 being the LTS out at the time I was working on it. I know there are many code bases out there which are Java 8, and I actually dont think there is any code except some tests using Java 9+ features. If someone had a Java 8 project, they could remove the tests and compile to 8. We live in a little bit of an odd time now, where a project like this targets more enterprise users who tend to be back on older versions. And at the same time Java 24 is coming out. I wanted to give high level classes that a user needing a simple tool could use; but at the same time have deeper level objects publicly available.
I was using this in the earlier mentioned network booting environment.There I can be building 100+ servers at a time; speed, small, and fast code were important. I ended up adding as test some performance benchmarks. I test the old library as my control, then I do normal file lookups as well as pre-indexed. I developed a system where certain heuristics of the image are taken and can be stored. Then you can feed in this initial “vector” I called it, of the image and a file vector. If the image matched the initial vector for a few characteristics, we could reasonably assume its the same image originally scanned, then instead of reading all the header tables, we jump to the location of the file vector with trust. This does leave it up to the developer to make sure they are matching pre-indexed images with vectors; but if you do, you can much faster serve files.
This project was fairly straight forward to test, I had many and there are many ISO images out on the internet. And plenty of them are Linux Images! I also had the older library which I could use as a control to test against. I ended up writing many tests which help when people send Pull Requests to make sure nothing has broken. This project I needed done to support what I was working on. There were a few places where I didn’t fully flush out the metadata, but left it to the end user to, if they cared about that data type. I spent a lot of time in Hex Fiend hex editor marking segments and trying to understand where code I had was breaking down.
Over the years of working in Open Source, and going to a technical college, I have seen many strong technical projects that are very impressive code, and can do a ton of interesting things. And then the developer focuses on interesting things they can make their code do, and spends no time putting documentation together. At the same time there are many project that get the job done, but aren’t anything special; these projects put a few documents together and maybe an example, and then get all the usage. The area developers hate to spend time, but can be the most valuable is documentation. That pushed me to spend a lot of time commenting the code, and writing a large README file showing how to work with the library.
I hope you will take a look at the project, maybe use it, and feel free to drop issues as they arise! I have been using the library in production for years now. It doesn’t get a ton of updates, because there hasn’t been a lot I need to add to it. When a PR or Issue arise I take care of it. And with the project being published under my work, I get a lot of automated PRs to help upgrade the library.